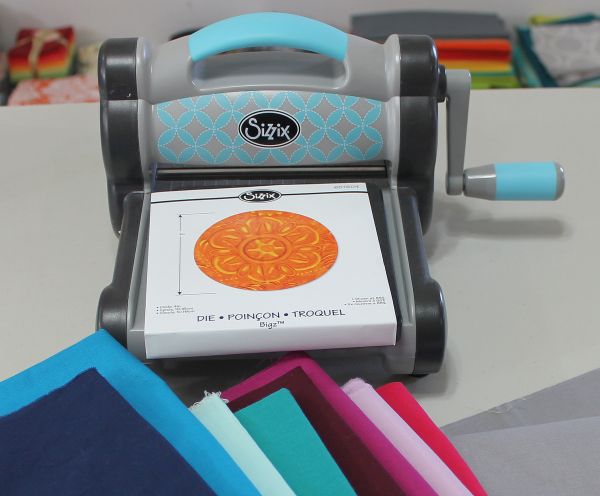
This summer I had fun playing around with a Sizzix Fabi Personal Die Cutter.
 Here’s what I did to test it out:
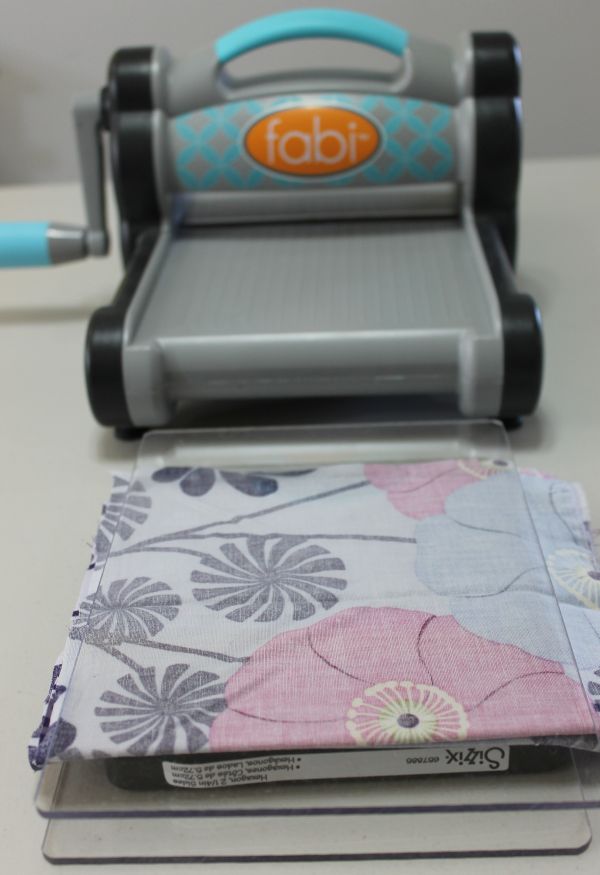
To use the die, you simply fold the fabric and place it on top of the cutting pad, then sandwich it between the two plastic safety plates.
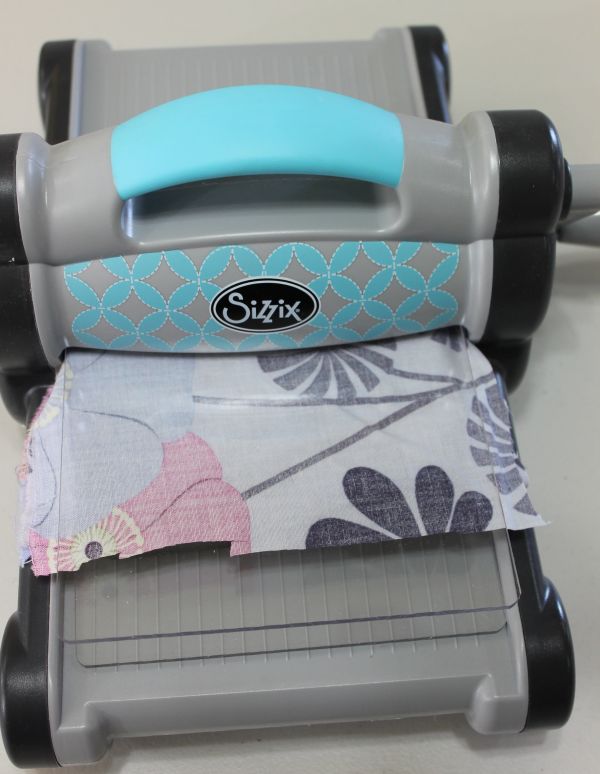 Hand crank it through the machine and voila! Perfect shapes every time!
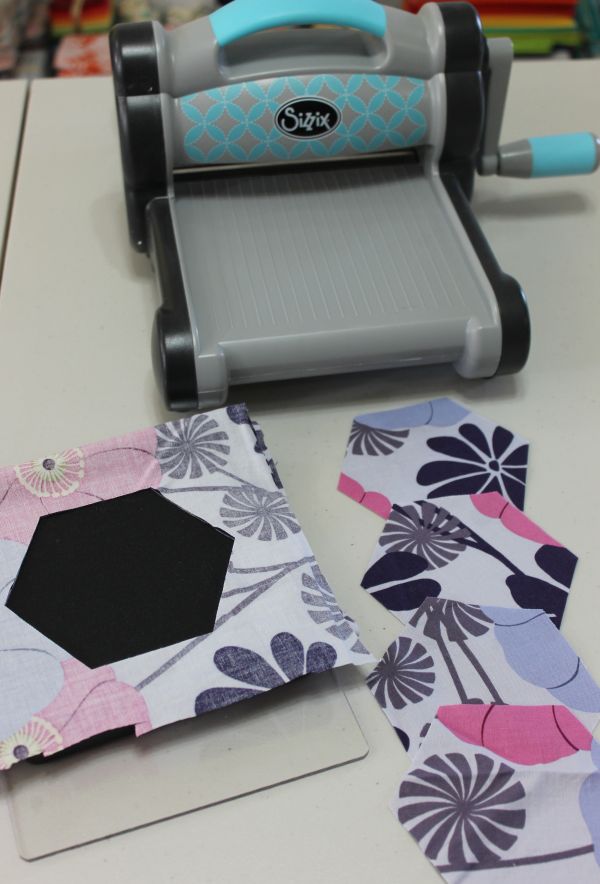 Comfortable that I knew how this machine worked, I was ready to try it out on some circles backed with fusible web. (This is for my upcoming Abacus Quilt Along which I mentioned in yesterday’s post.) I thought, if this can work for machine applique, I may never go back to using scissors!
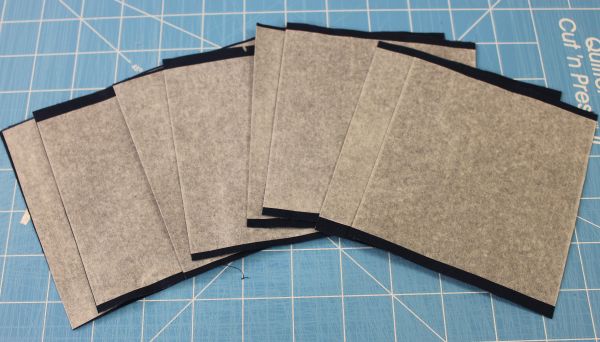
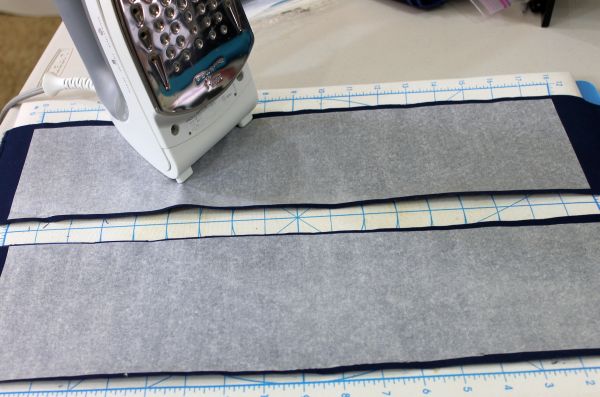 To make the job easier, I ironed strips of paper backed fusible web to the back of my chosen fabrics. I cut each strip about an inch wider than the die. I then rough cut them into squares before running them through the machine. There seemed to be less waste cutting this way.
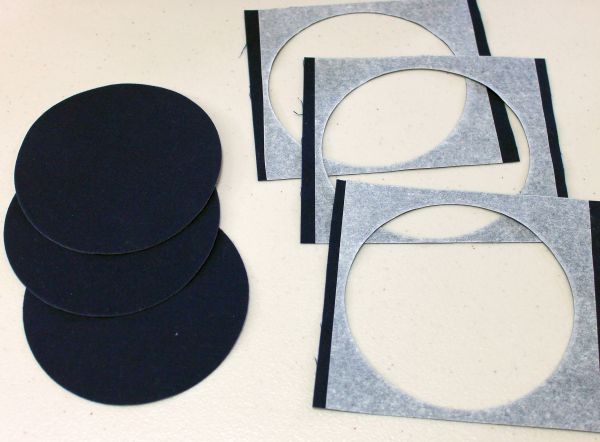
 I stacked 3-4 layers of fusible backed squares and fed them through the machine. Oh. My. Gosh. That was so fast!
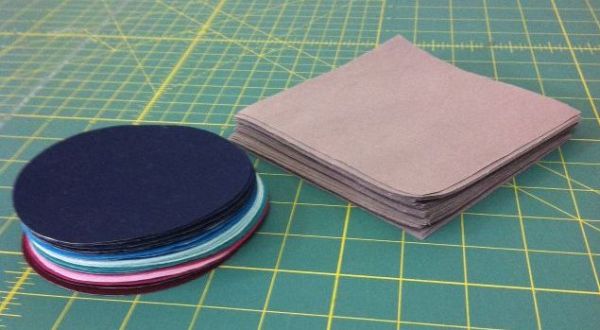
 Now I have a pile of perfect circles, all ready to be made into a quilt!
 Try It Out

 If you would like to use the Fabi Personal Fabric Cutters to make my Abacus quilt, click here for the tutorials.

When will the incredibly lucky winner be announced? Thanks!
Following sizzix…what a cool tool. Thanks for the giveaway
I’m follow on FB
I’m following Sizzix on FB!
I followed sizzix on facebook and I would love to win this!!! Thanks
Amazing! Circles take a LONG time to cut correctly with scissors! I am following Sizzix on Facebook. Thanks for the chance!
I am a new Follower on FB – Would LOVE to win this!
Thanks! I’d love one of these!!
I’m following Sizzix on FB.
Thanks for the tutorial! I am a fan of Sizzix already on FB and Twitter, thanks for the chance to win!
Have a wonderful day!
I like Sizzix on Facebook
Can’t wait to try this one. thank you!!
Love the tutorial. I follow Sizzix on Facebook. Thank you for the chance to win.
I follow Sizzix on FB. I would love to win one of these. Thanks, Christa for the tutorial (excellent one) and for the chance to win.
I’m not usually a follower but when I do, it involves Sizzix!
I follow Sizzix on Facebook, and thank you so much for a chance to enter such a generous giveaway!!
I now am a follower of Sizzix on Face book. Thanks for the great giveaway!
I follow you on Fb! Thanks for the chance!
I follow you on Facebook!
Having used Sizzix in the past for scrapbooking, it does feel very natural to do so with fabric. I am a follower of Sizzix.
following sizzix on fb
I love Sizzix giveaways!!!
I’m a follower!
I’m a follower on FB of Sizzix.
i’m a follower too!
I am following Sizzix on FB. :_)
Great tutorial! I follow Sizzix on FB!