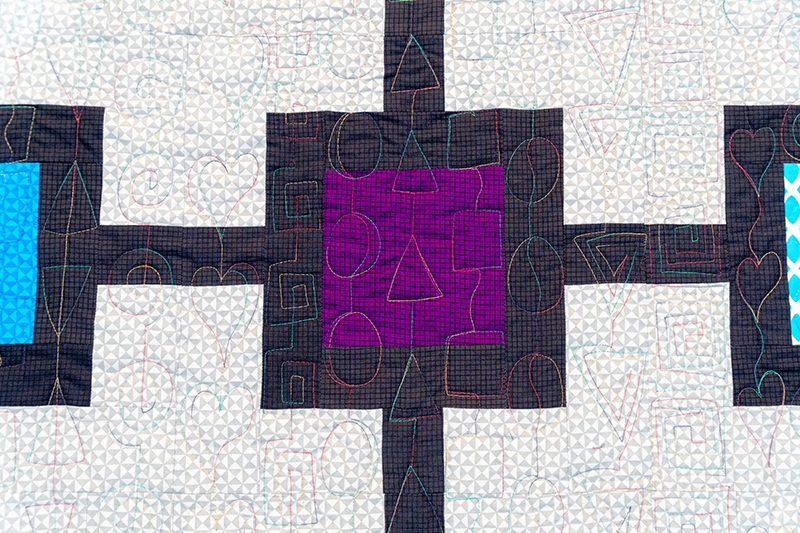
If you remember shattered lines all the way back in episode 7? We’re bringing it back this week and teaching you how to do a version with decorative stitching! Like all decorative stitch designs, you can change which settings you use for endless combinations and variety. Check out the video below to learn more:
Shattered Lines on Little Man’s Fancy
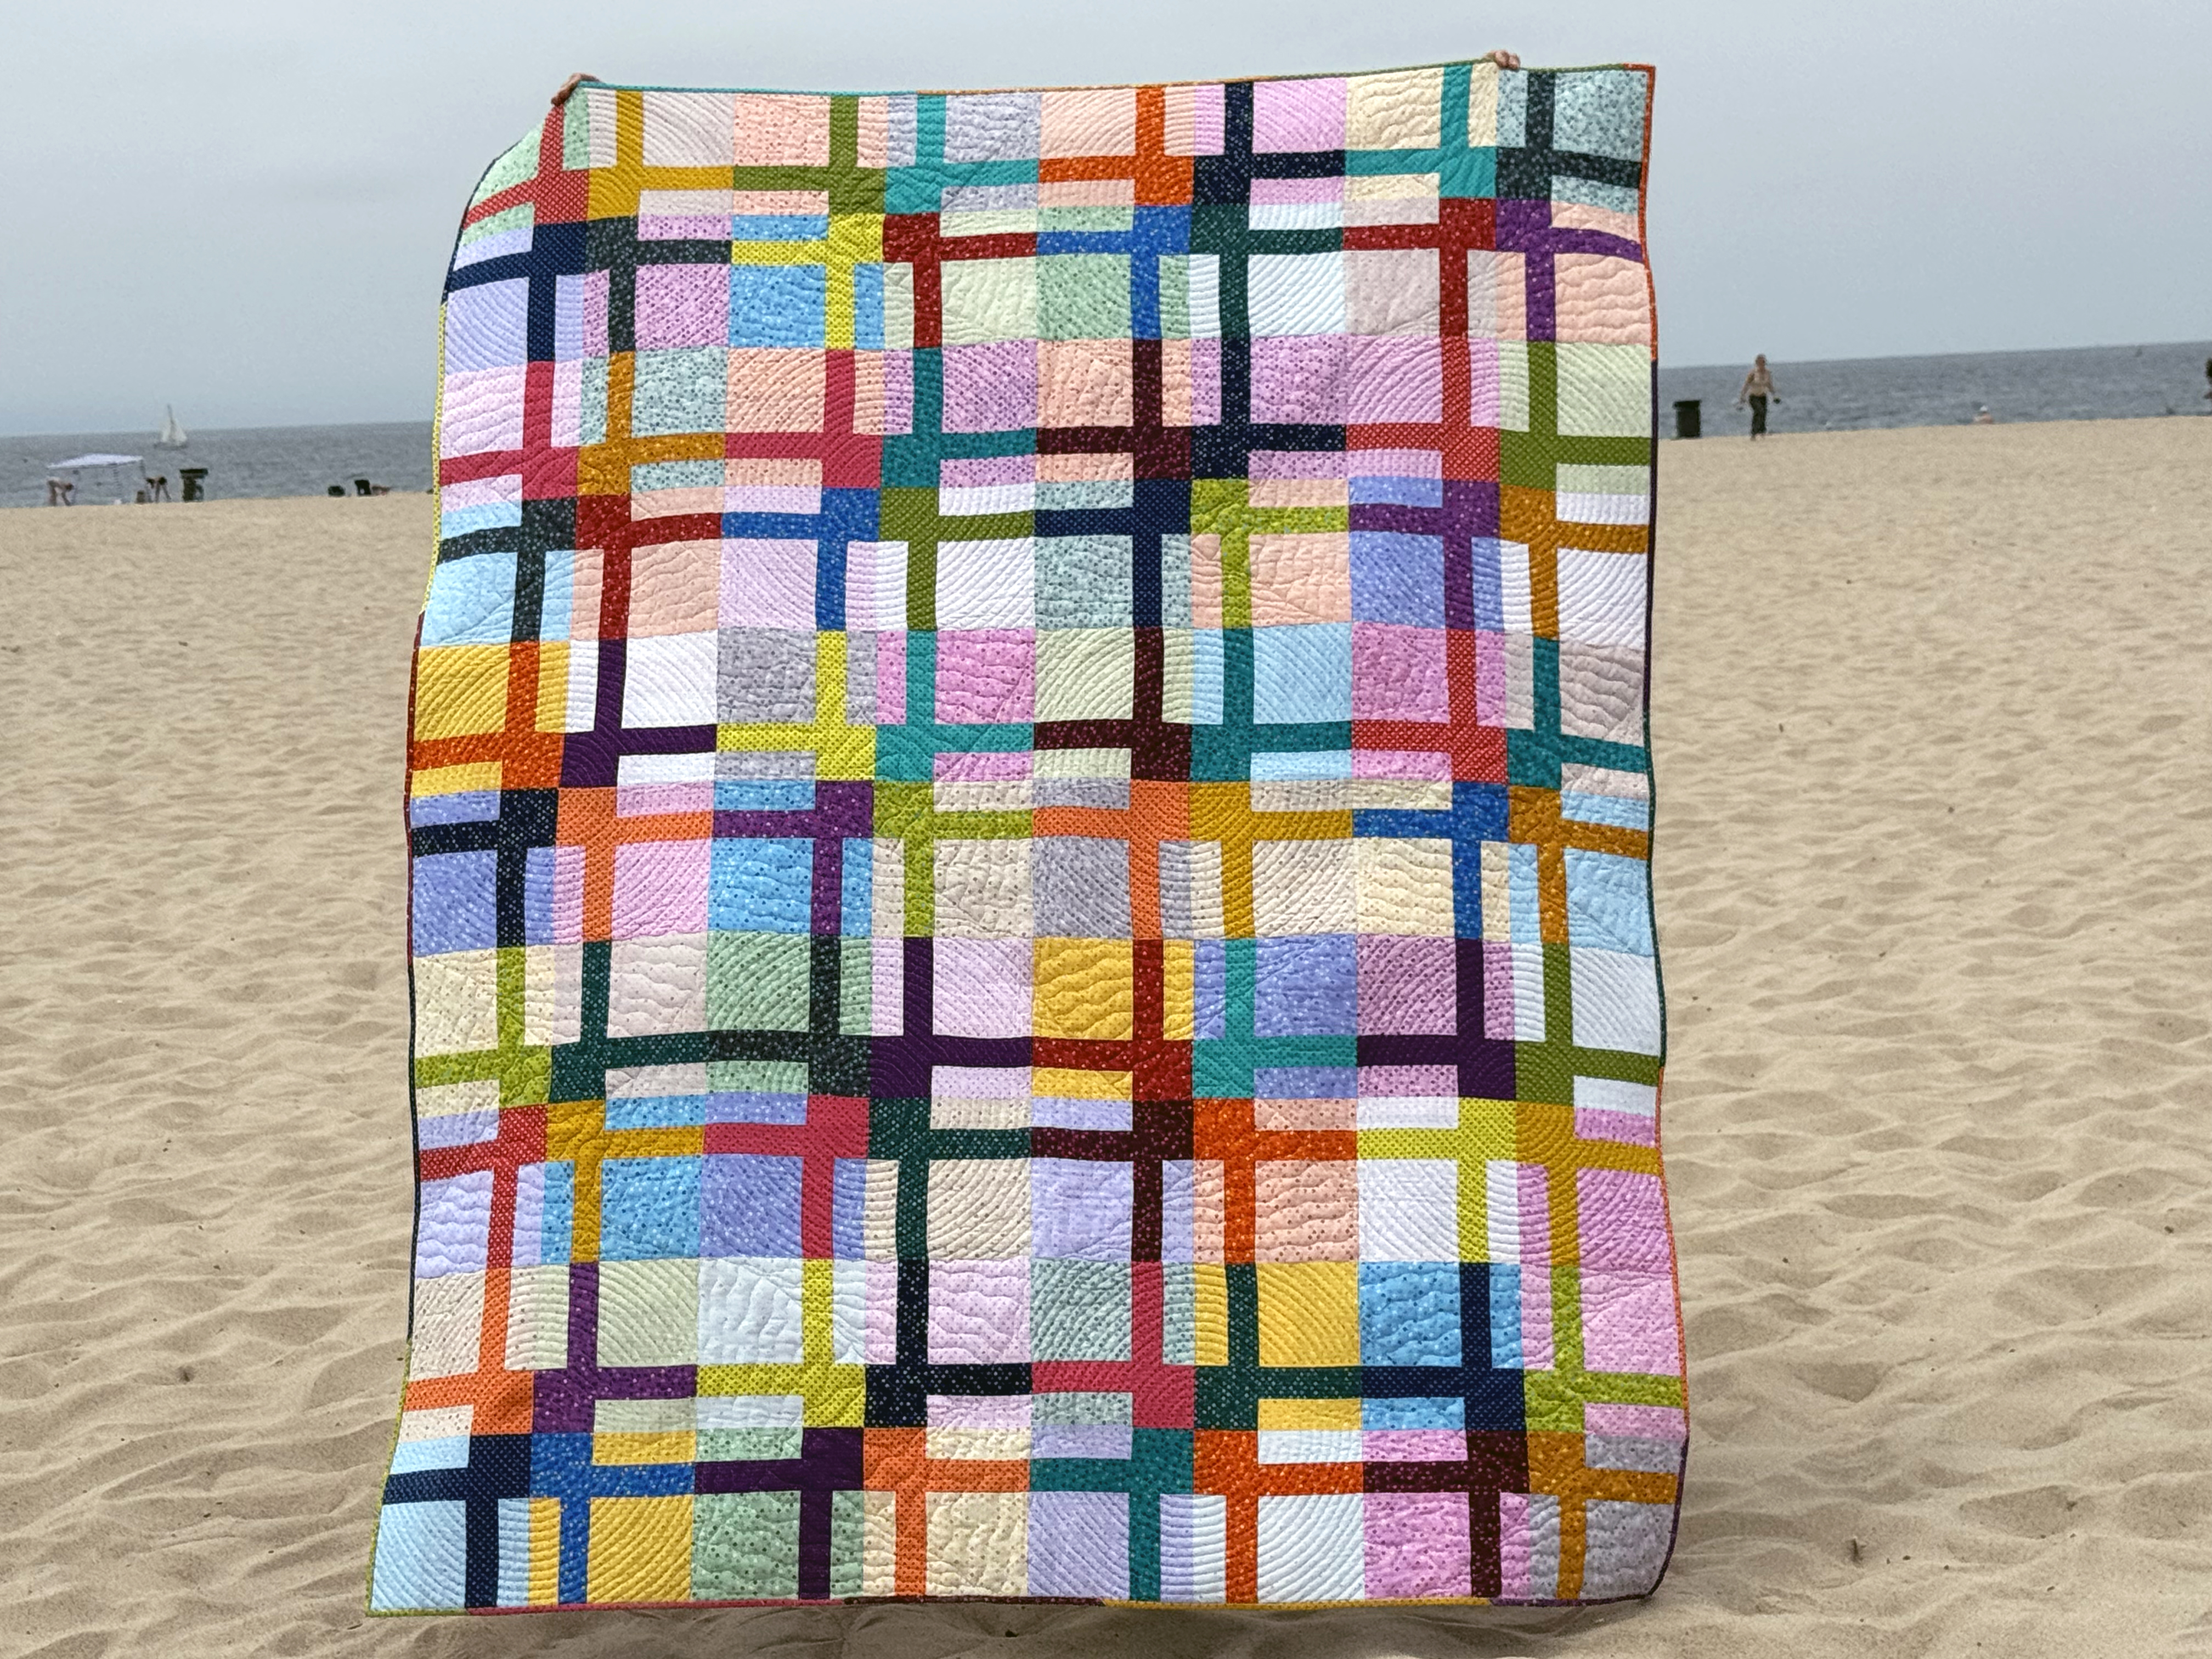
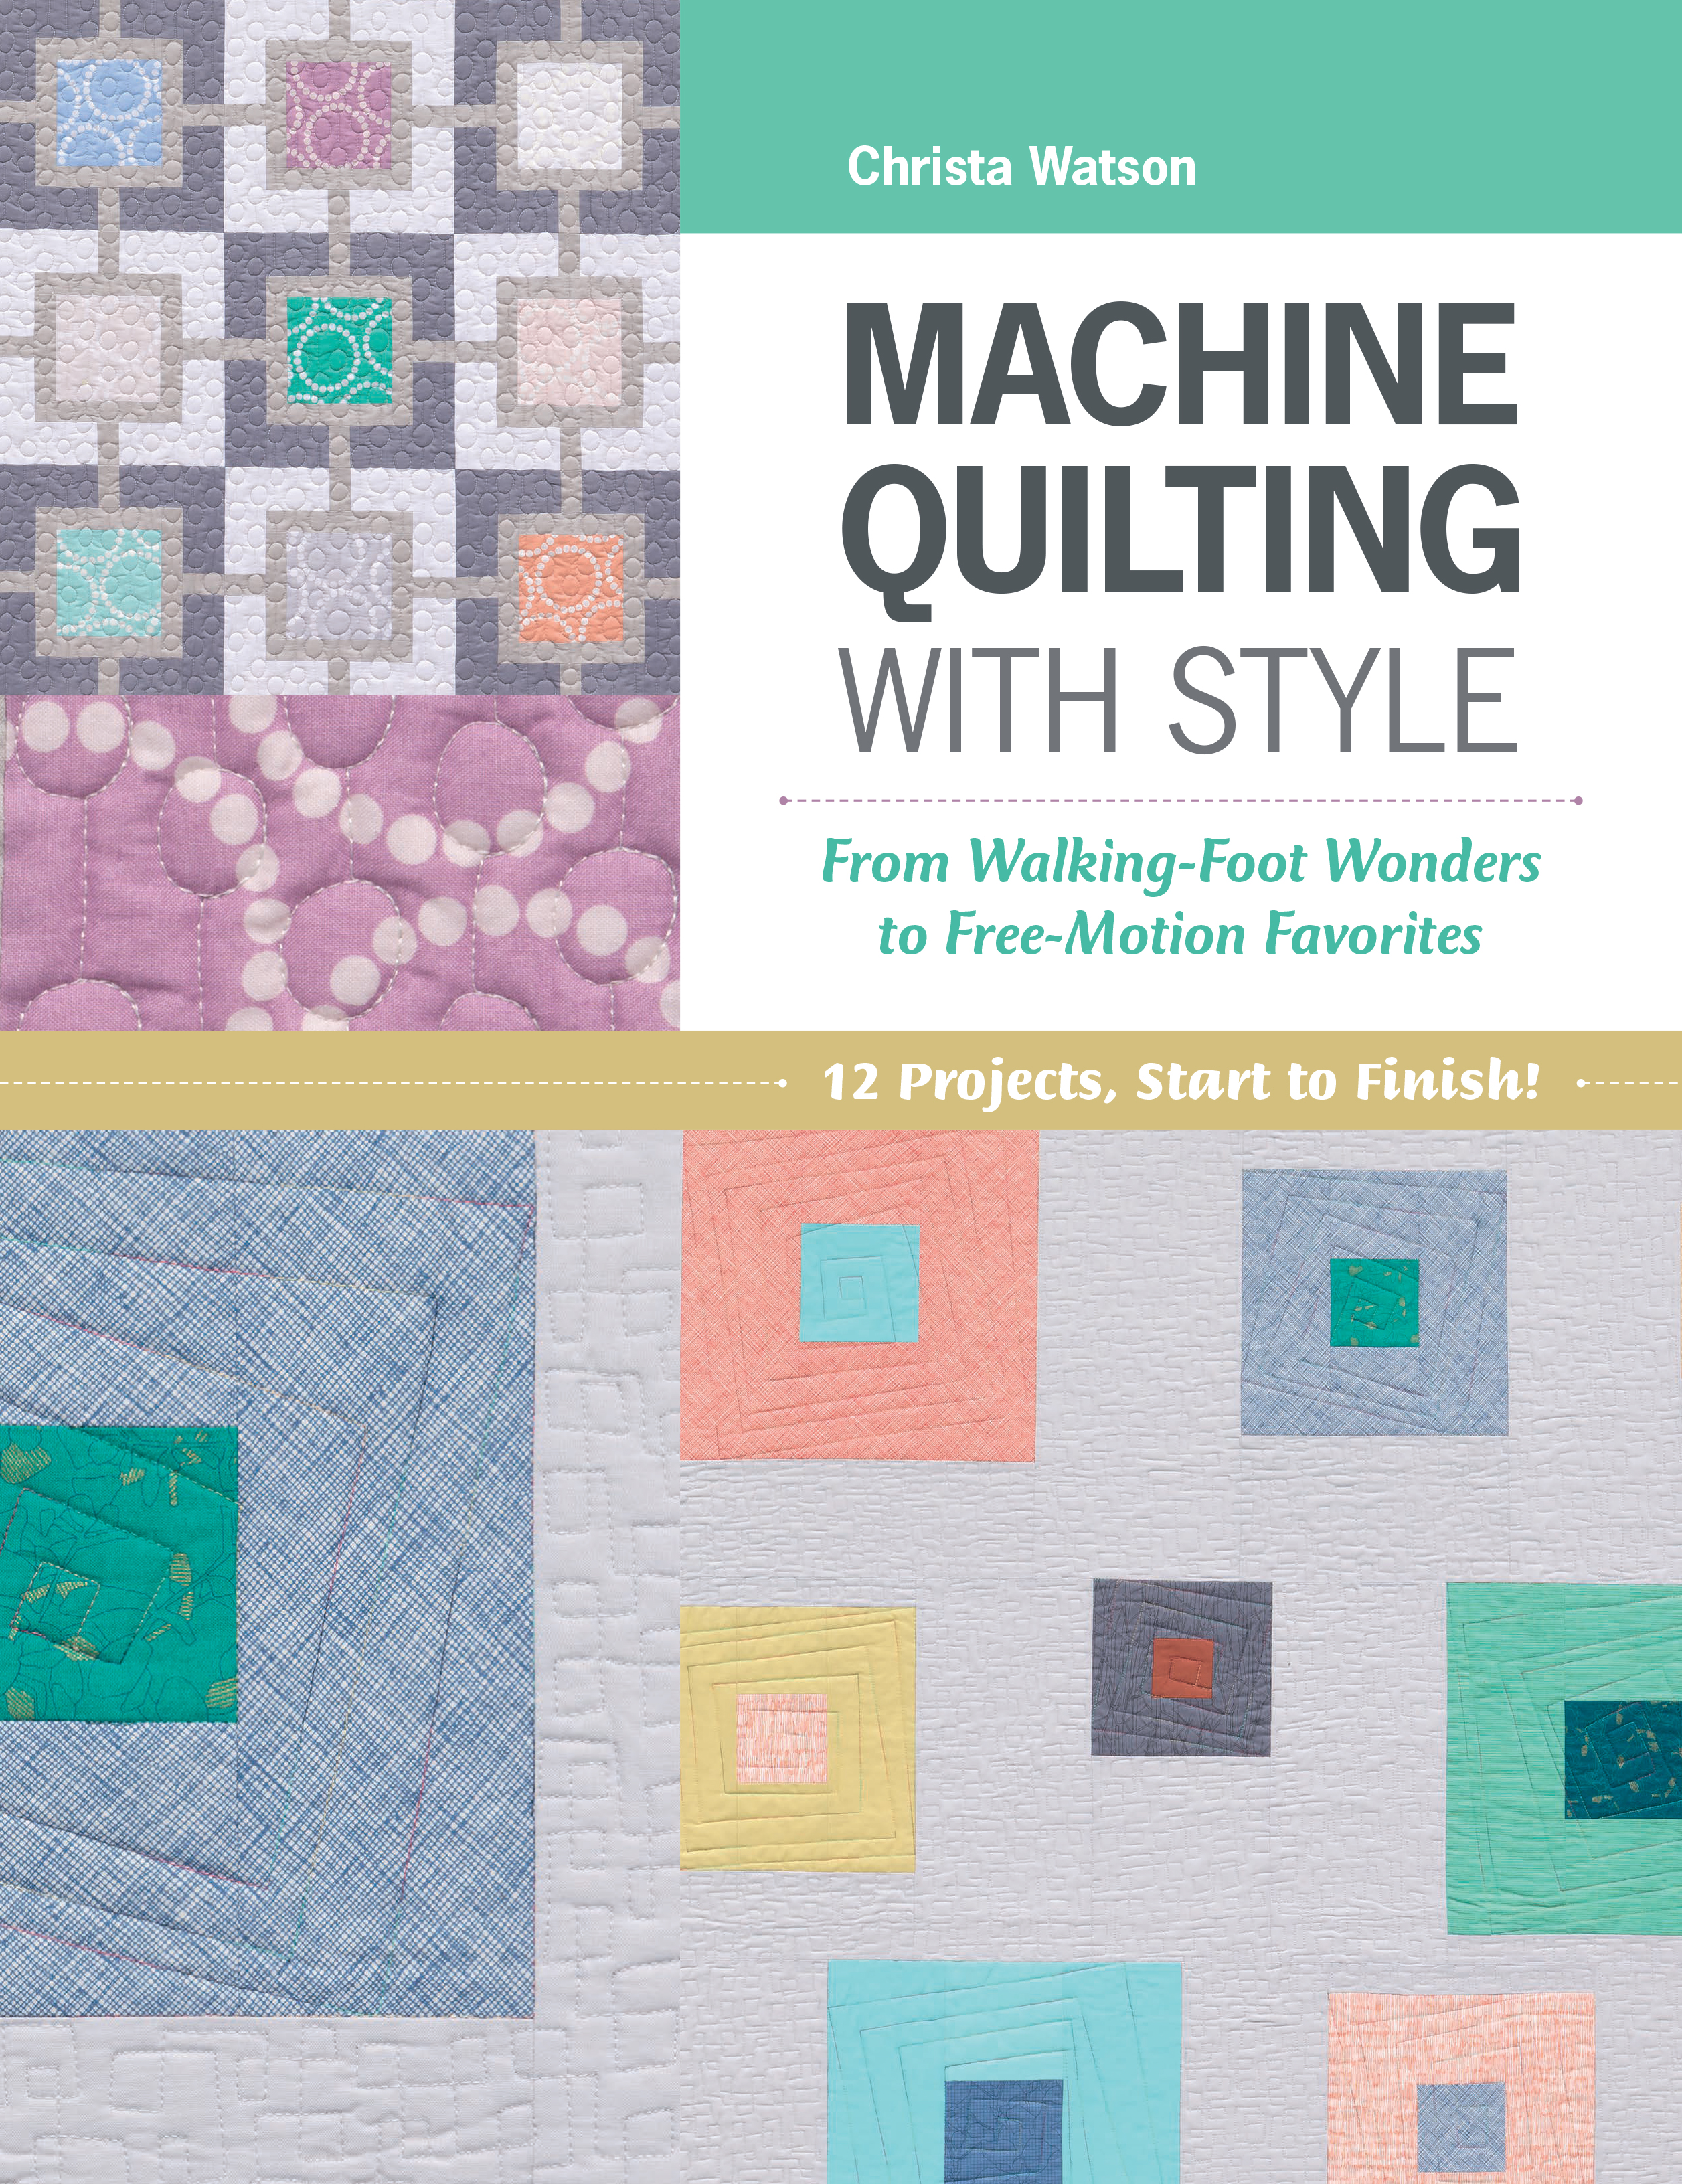
In the video I showed you how I quilted regular shattered lines on Little Man’s Fancy. This quilt actually comes from the first book I ever wrote, Machine Quilting With Style. It’s also the first time I quilted shattered lines on a full-sized quilt! If you want to learn how to make this quilt, check out the link below to get the PDF for Machine Quilting With Style:
Click Here to Grab the Machine Quilting With Style PDF
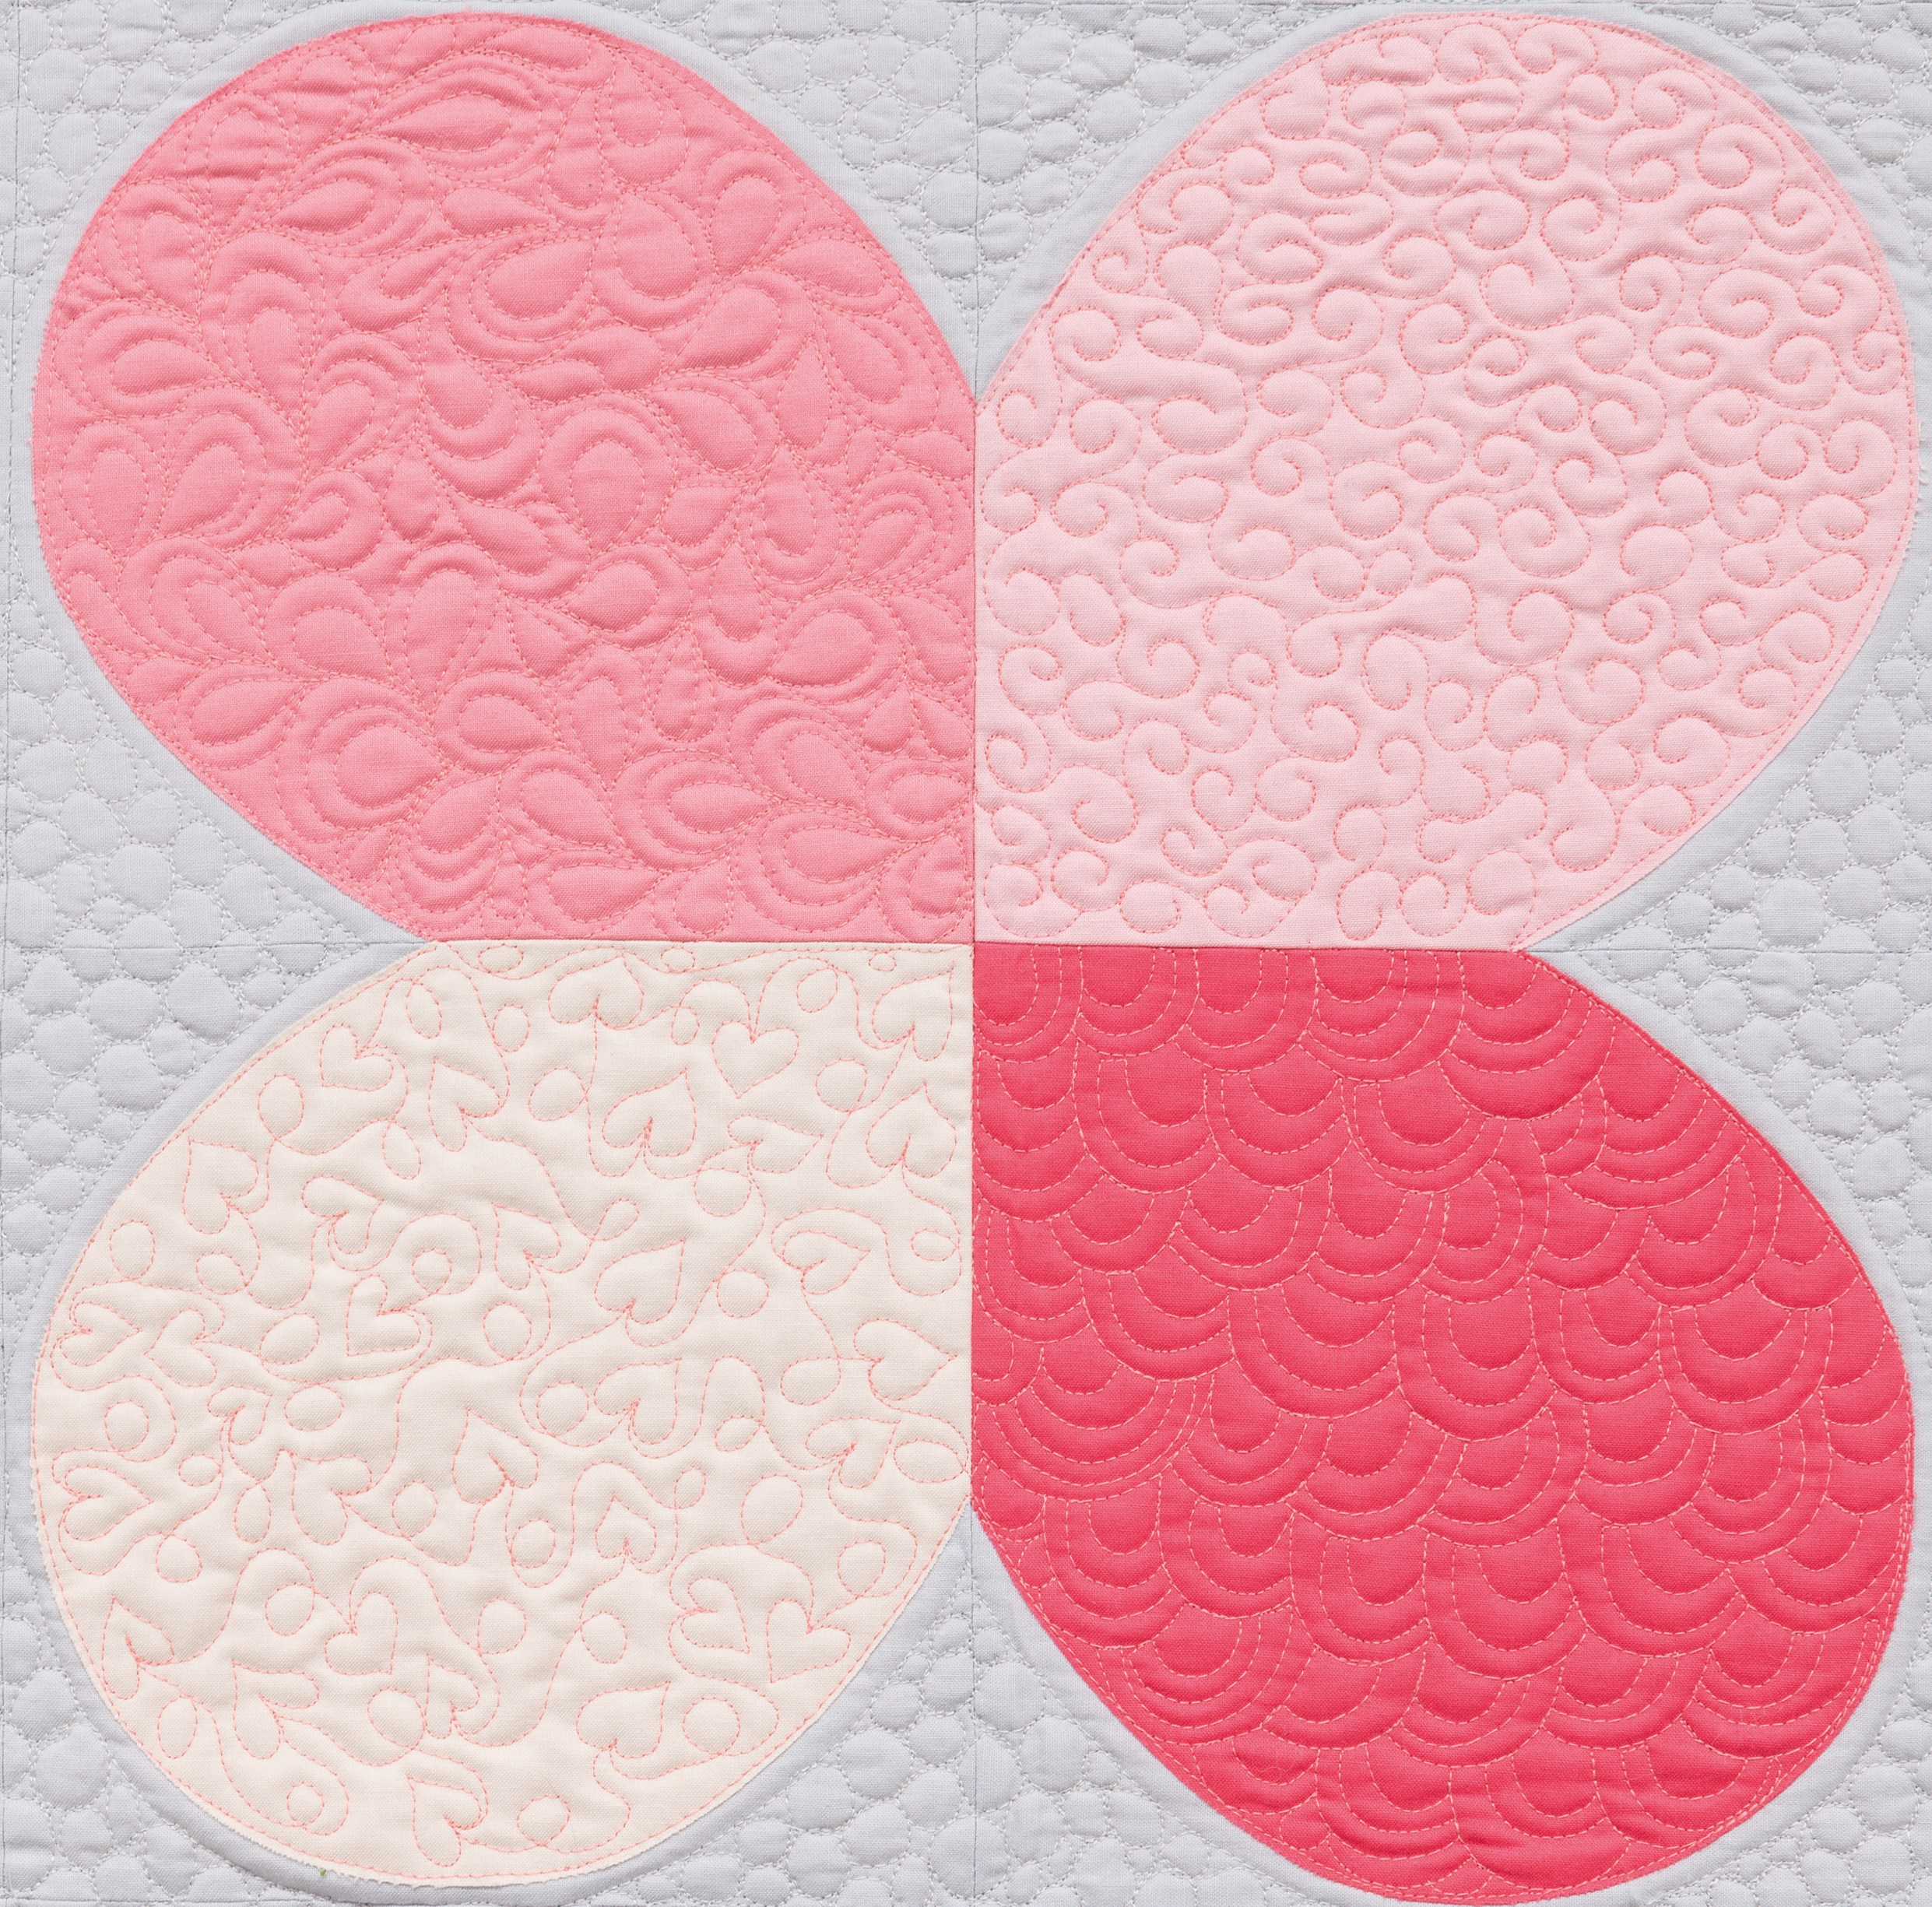
Here’s a closeup of the quilting. You can use decorative stitch shattered lines or any of the variants of this design on this quilt.
Bonus Video – How to Machine Quilt Shattered Lines on Bling
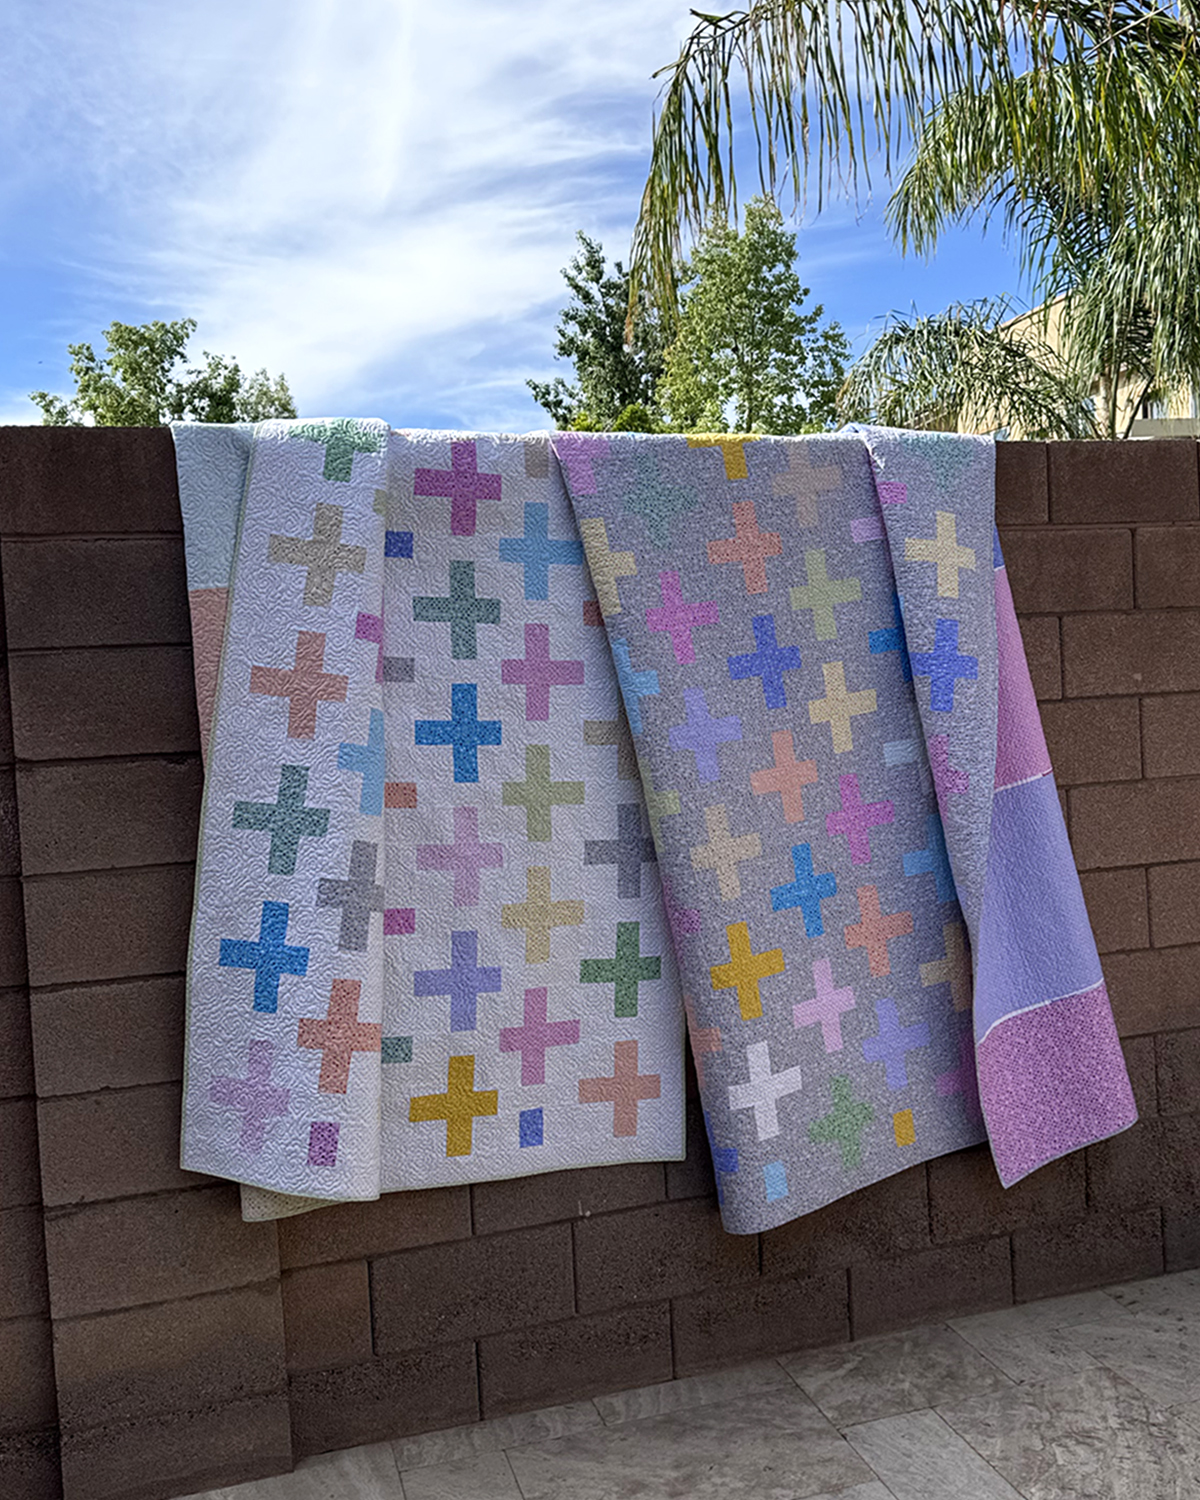
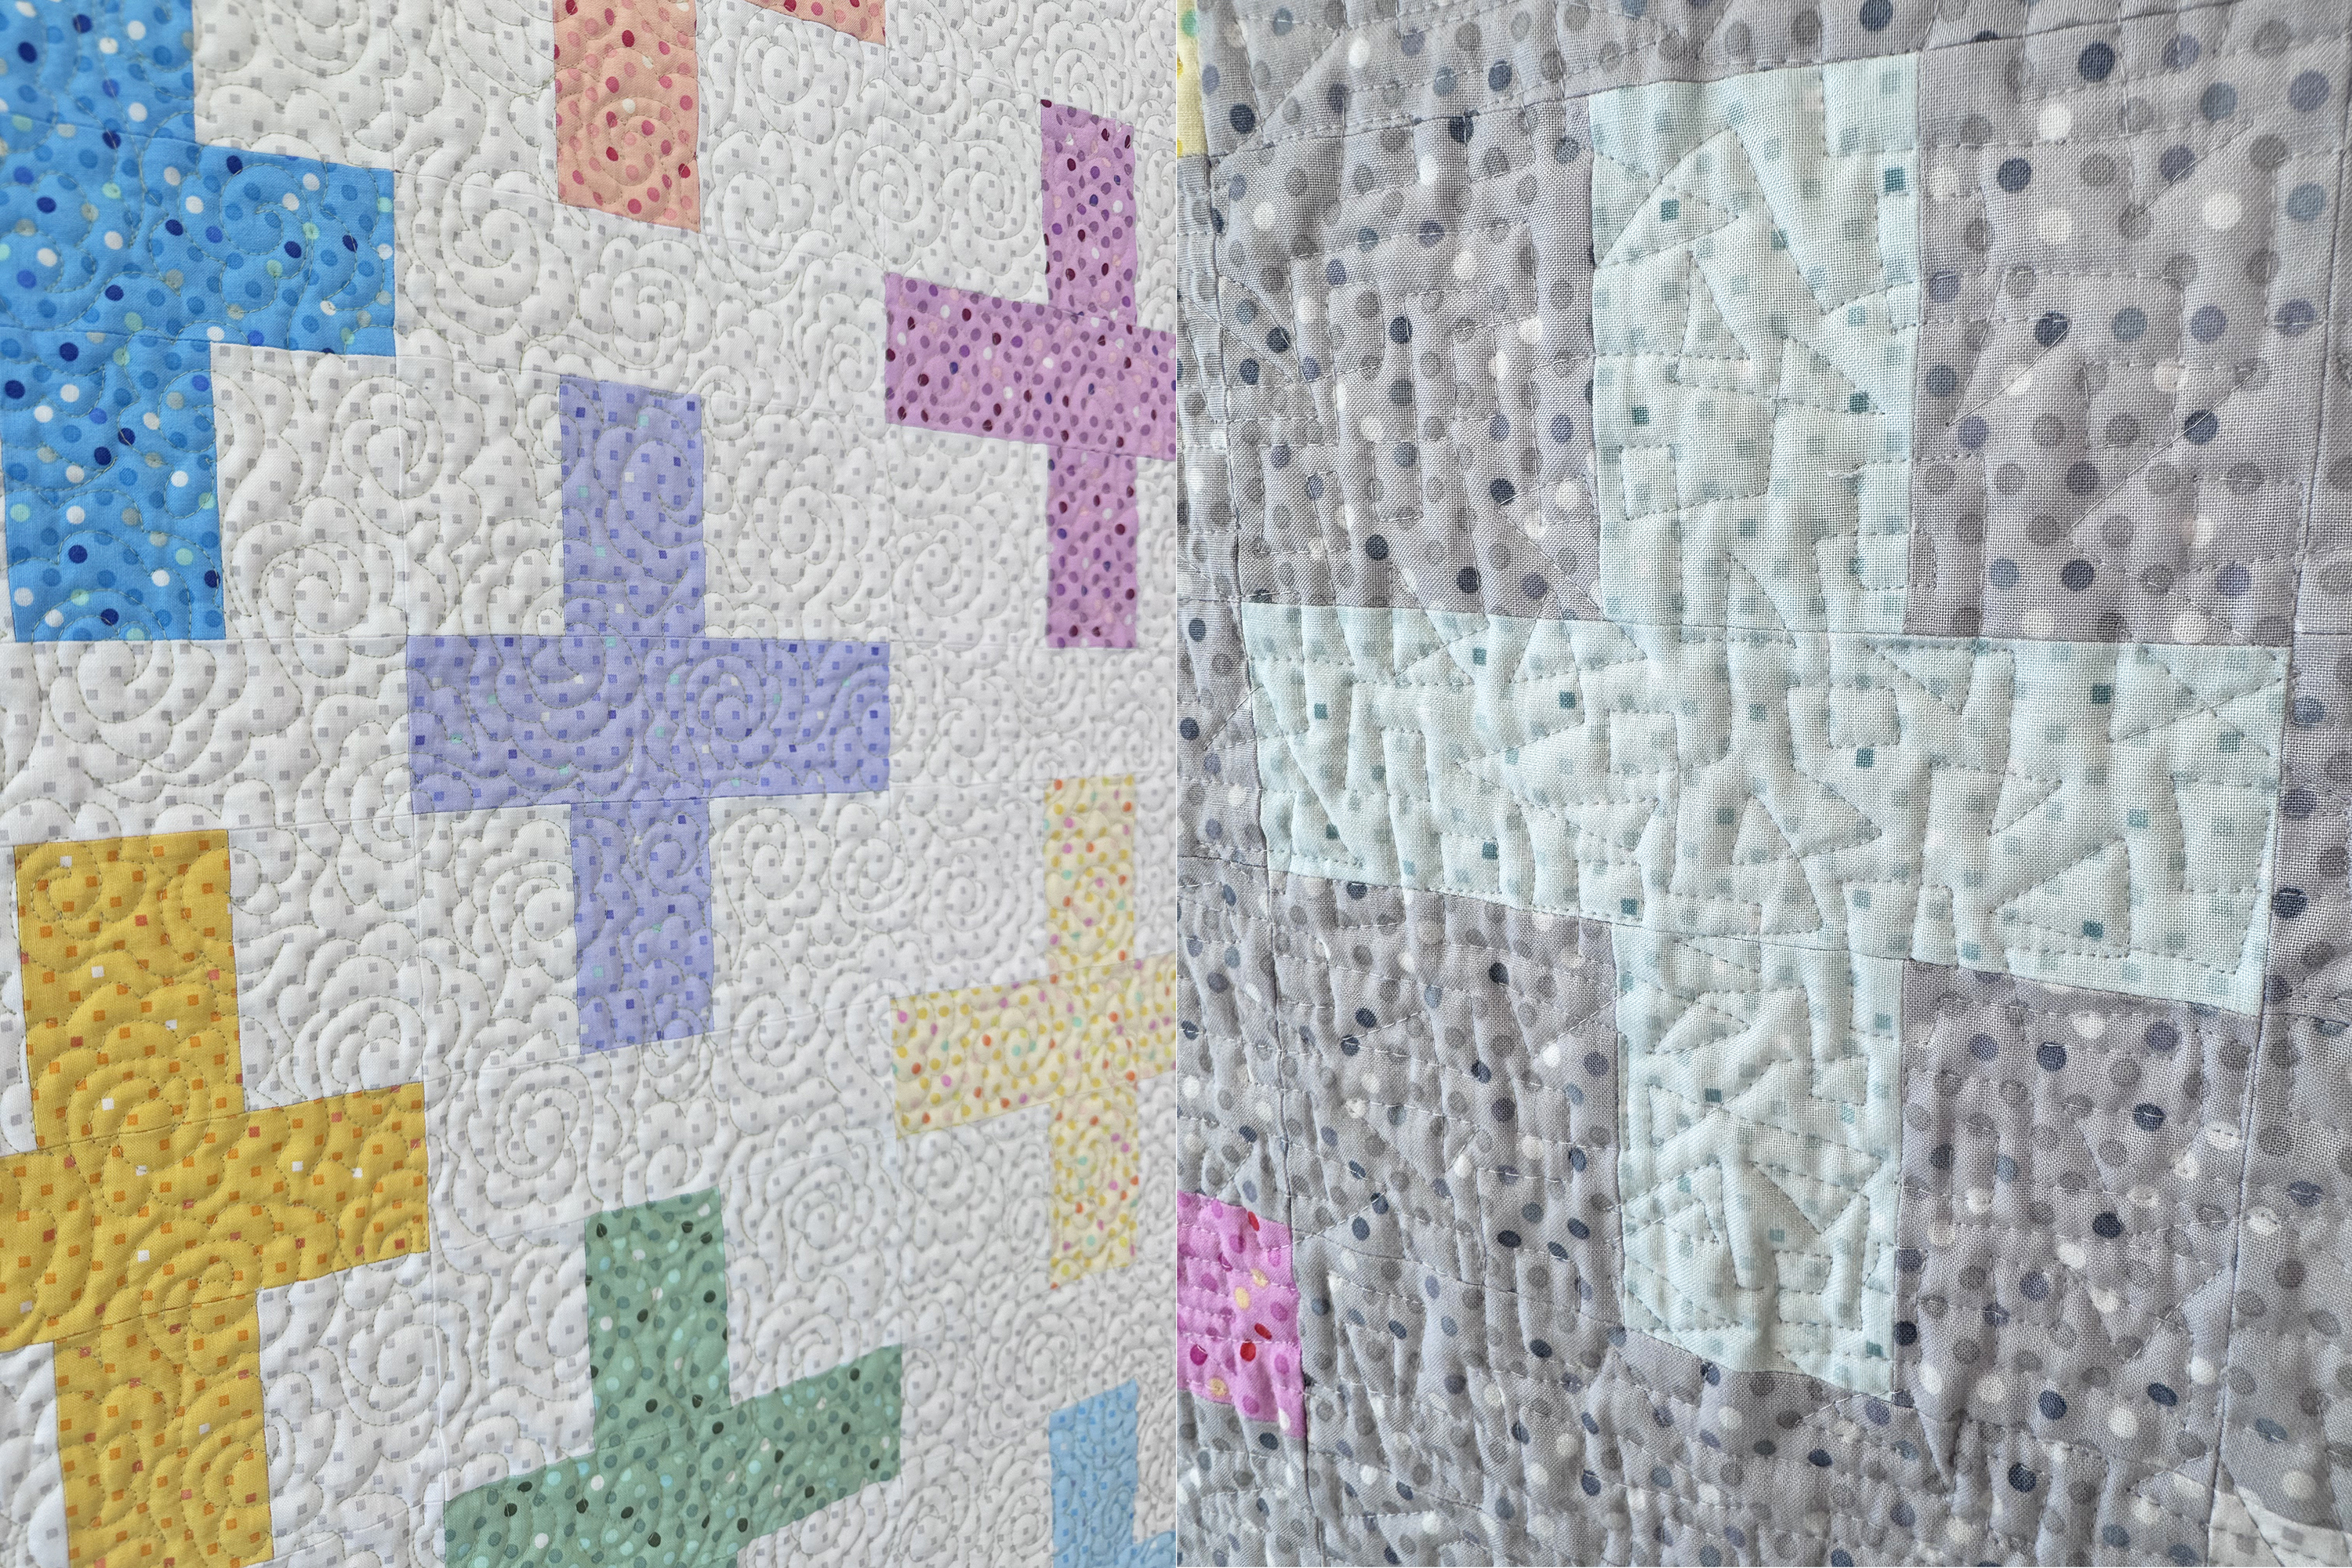
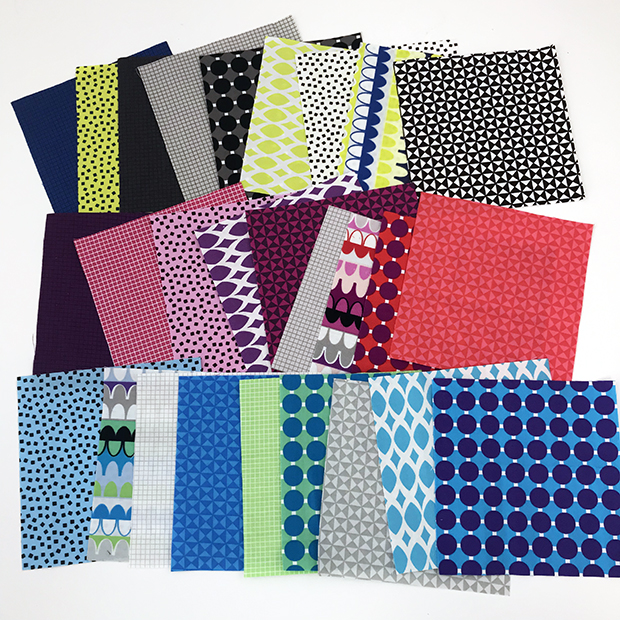
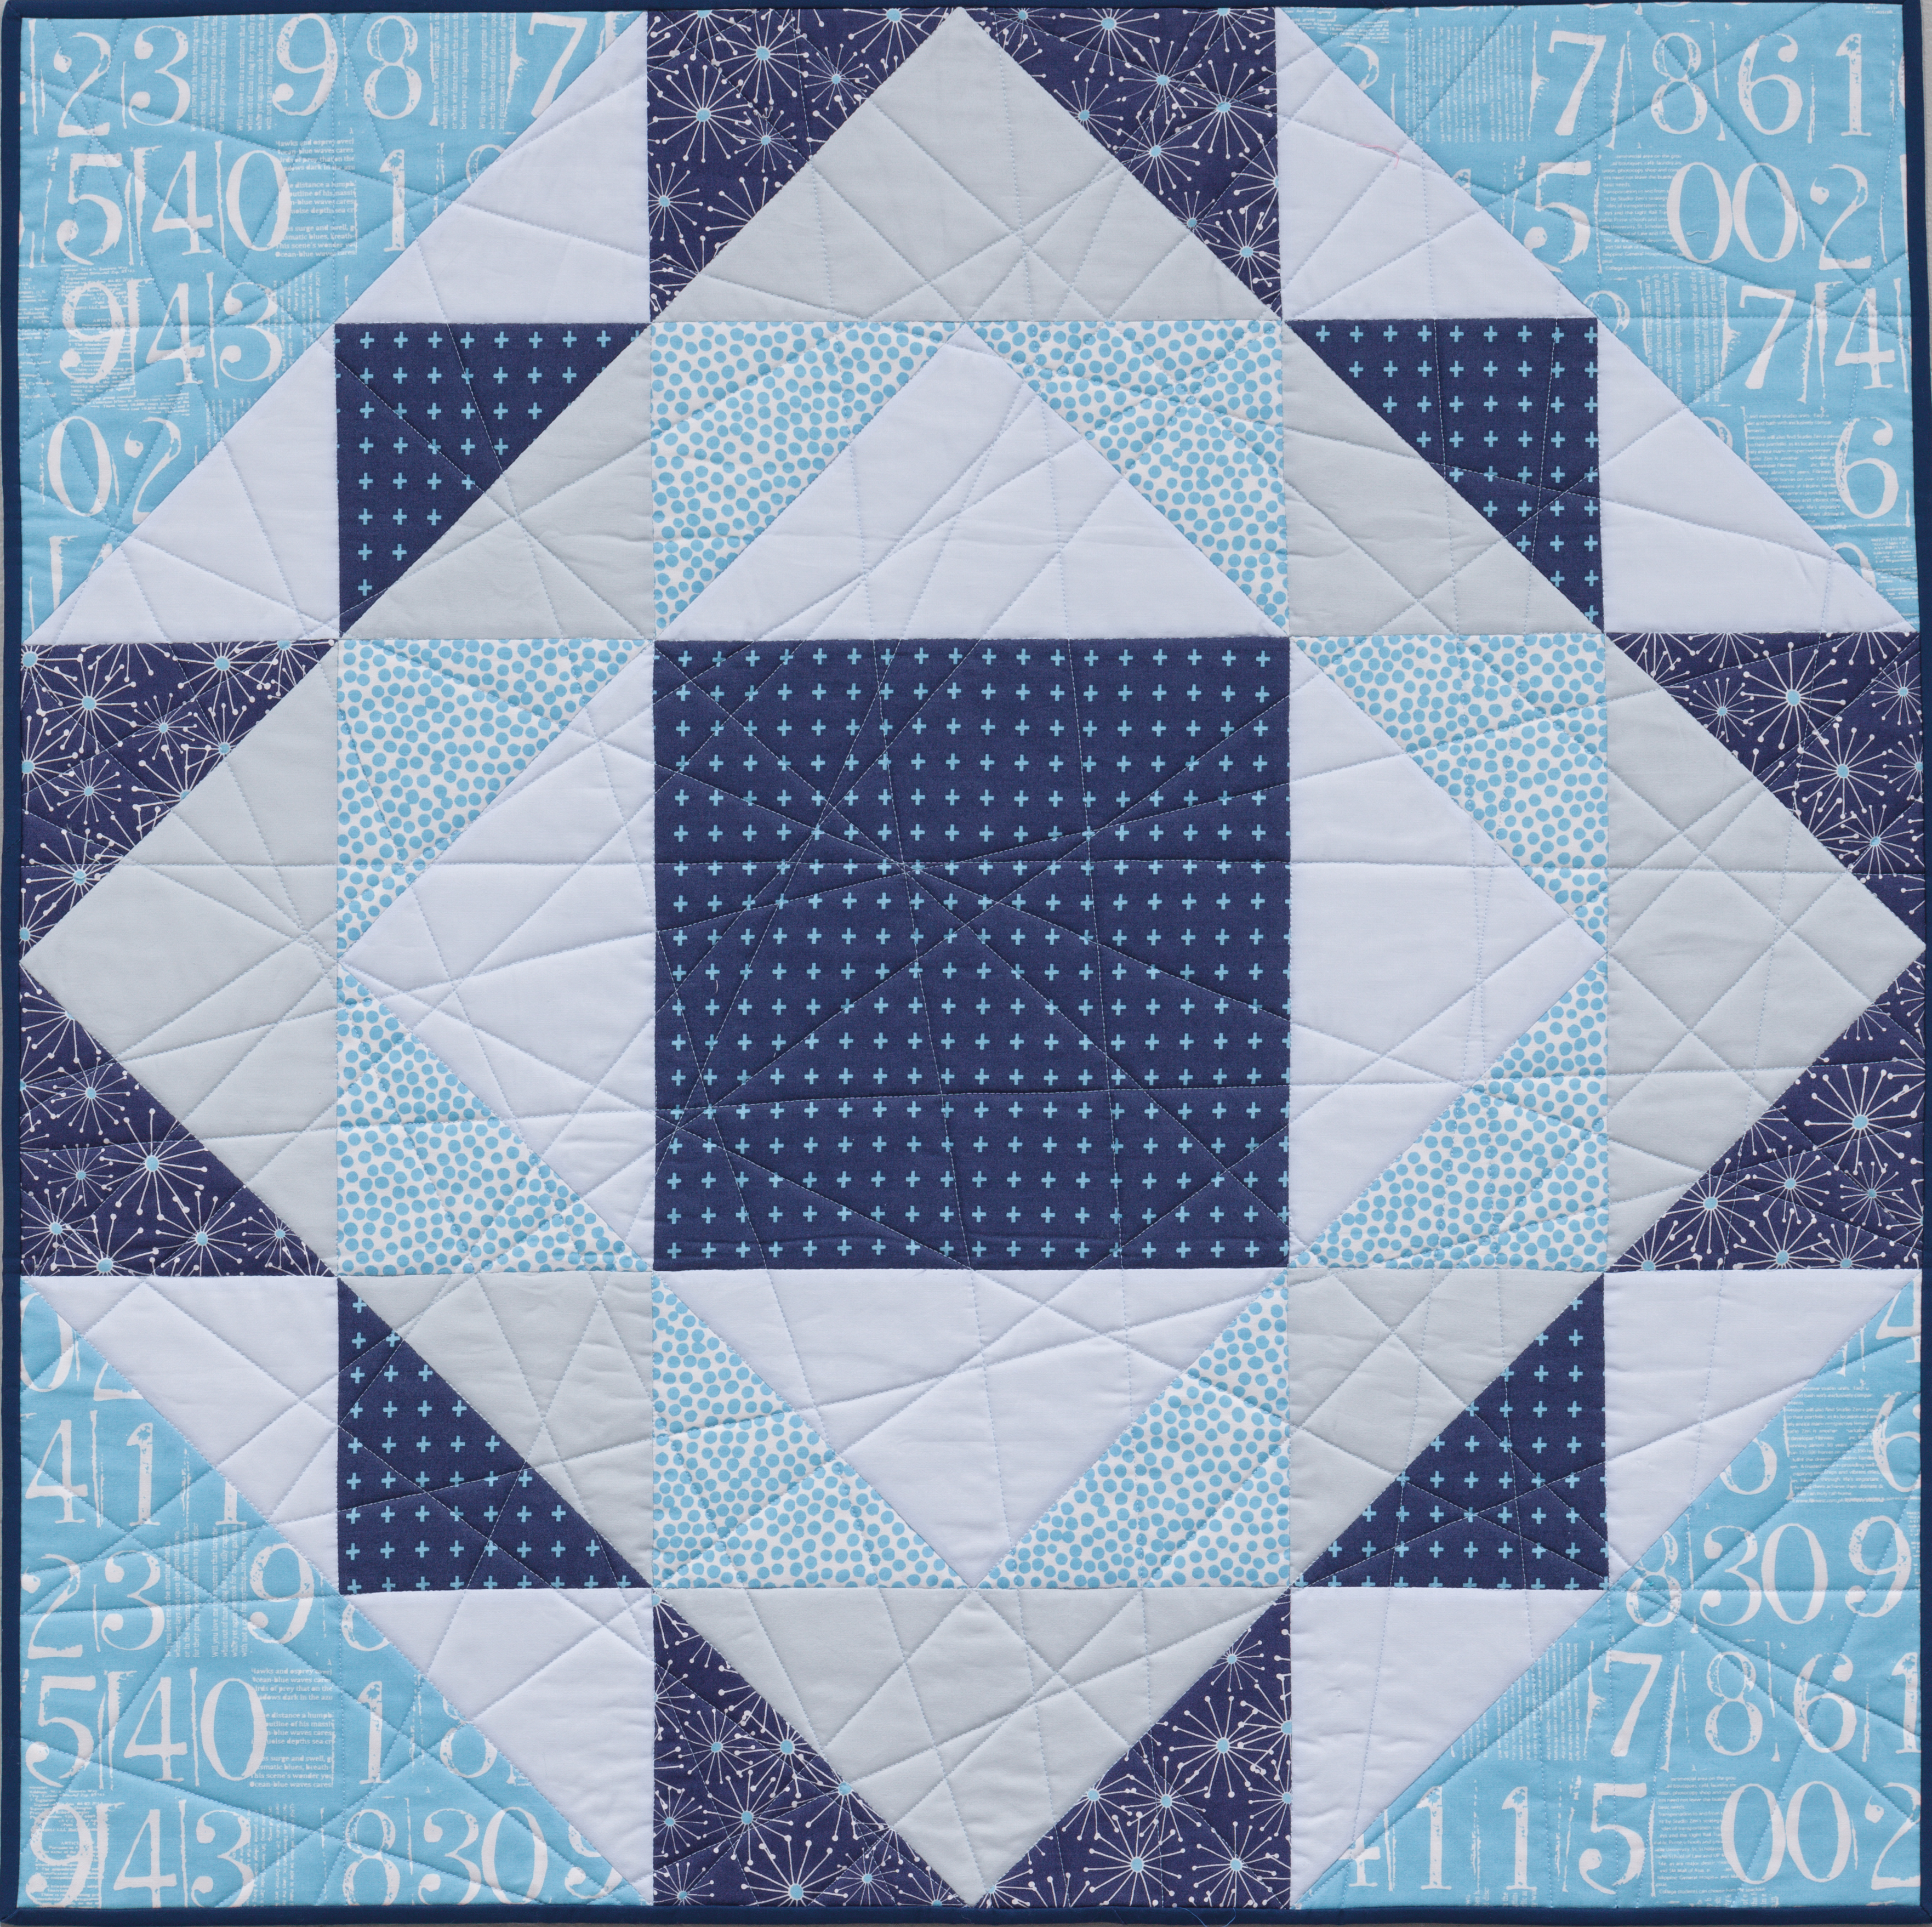
Another quilt I’ve stitched this design on is Bling. Like Little Man’s Fancy, you can replace the regular shattered lines with decorative stitching ones to give it a more elegant and traditional look. I’ve provided a tutorial below that gives an in-depth explanation on how I made this quilt from start to finish:
Grab the Bling Quilt Kit
Want to try making this quilt yourself? You can pick up a kit of the latest version of this quilt on my shop. Let me know how you chose to quilt it!
I hope you enjoyed this week’s video! Join us next week for another machine quilting tutorial!