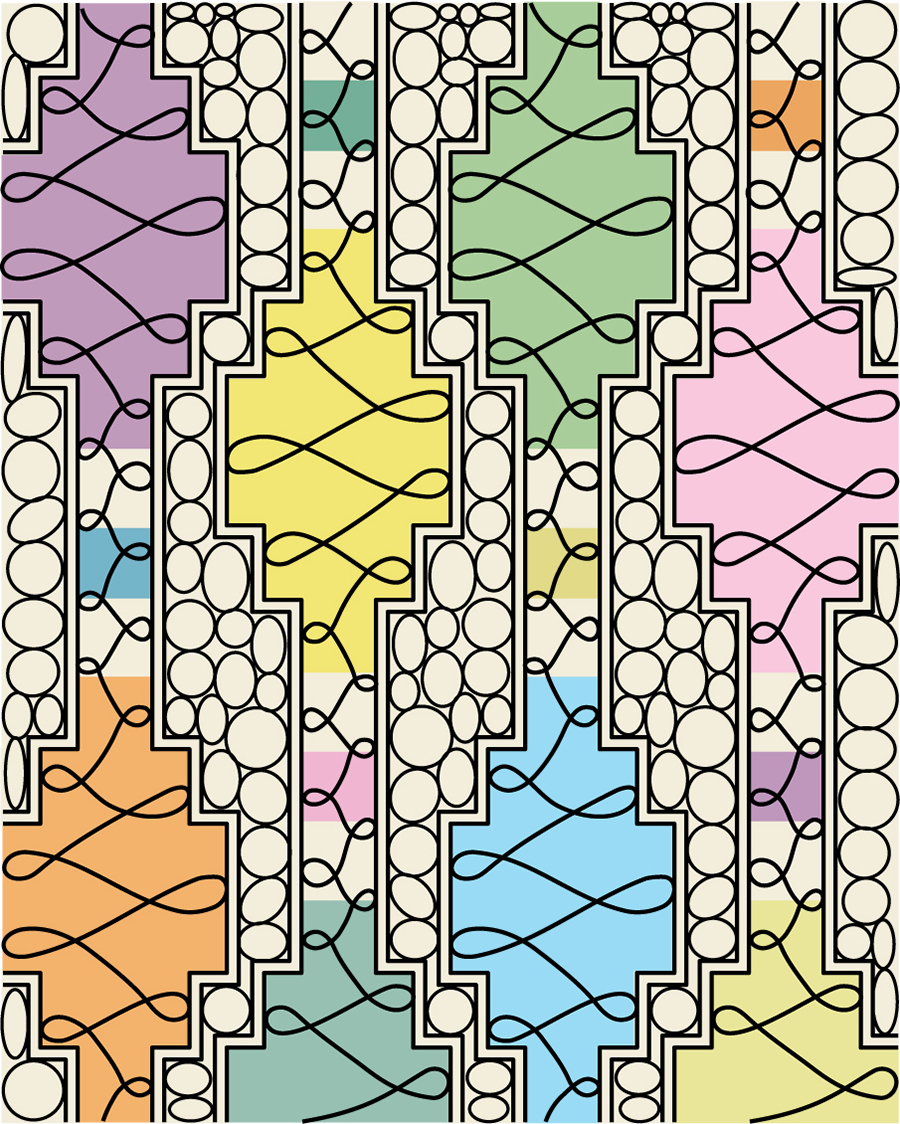
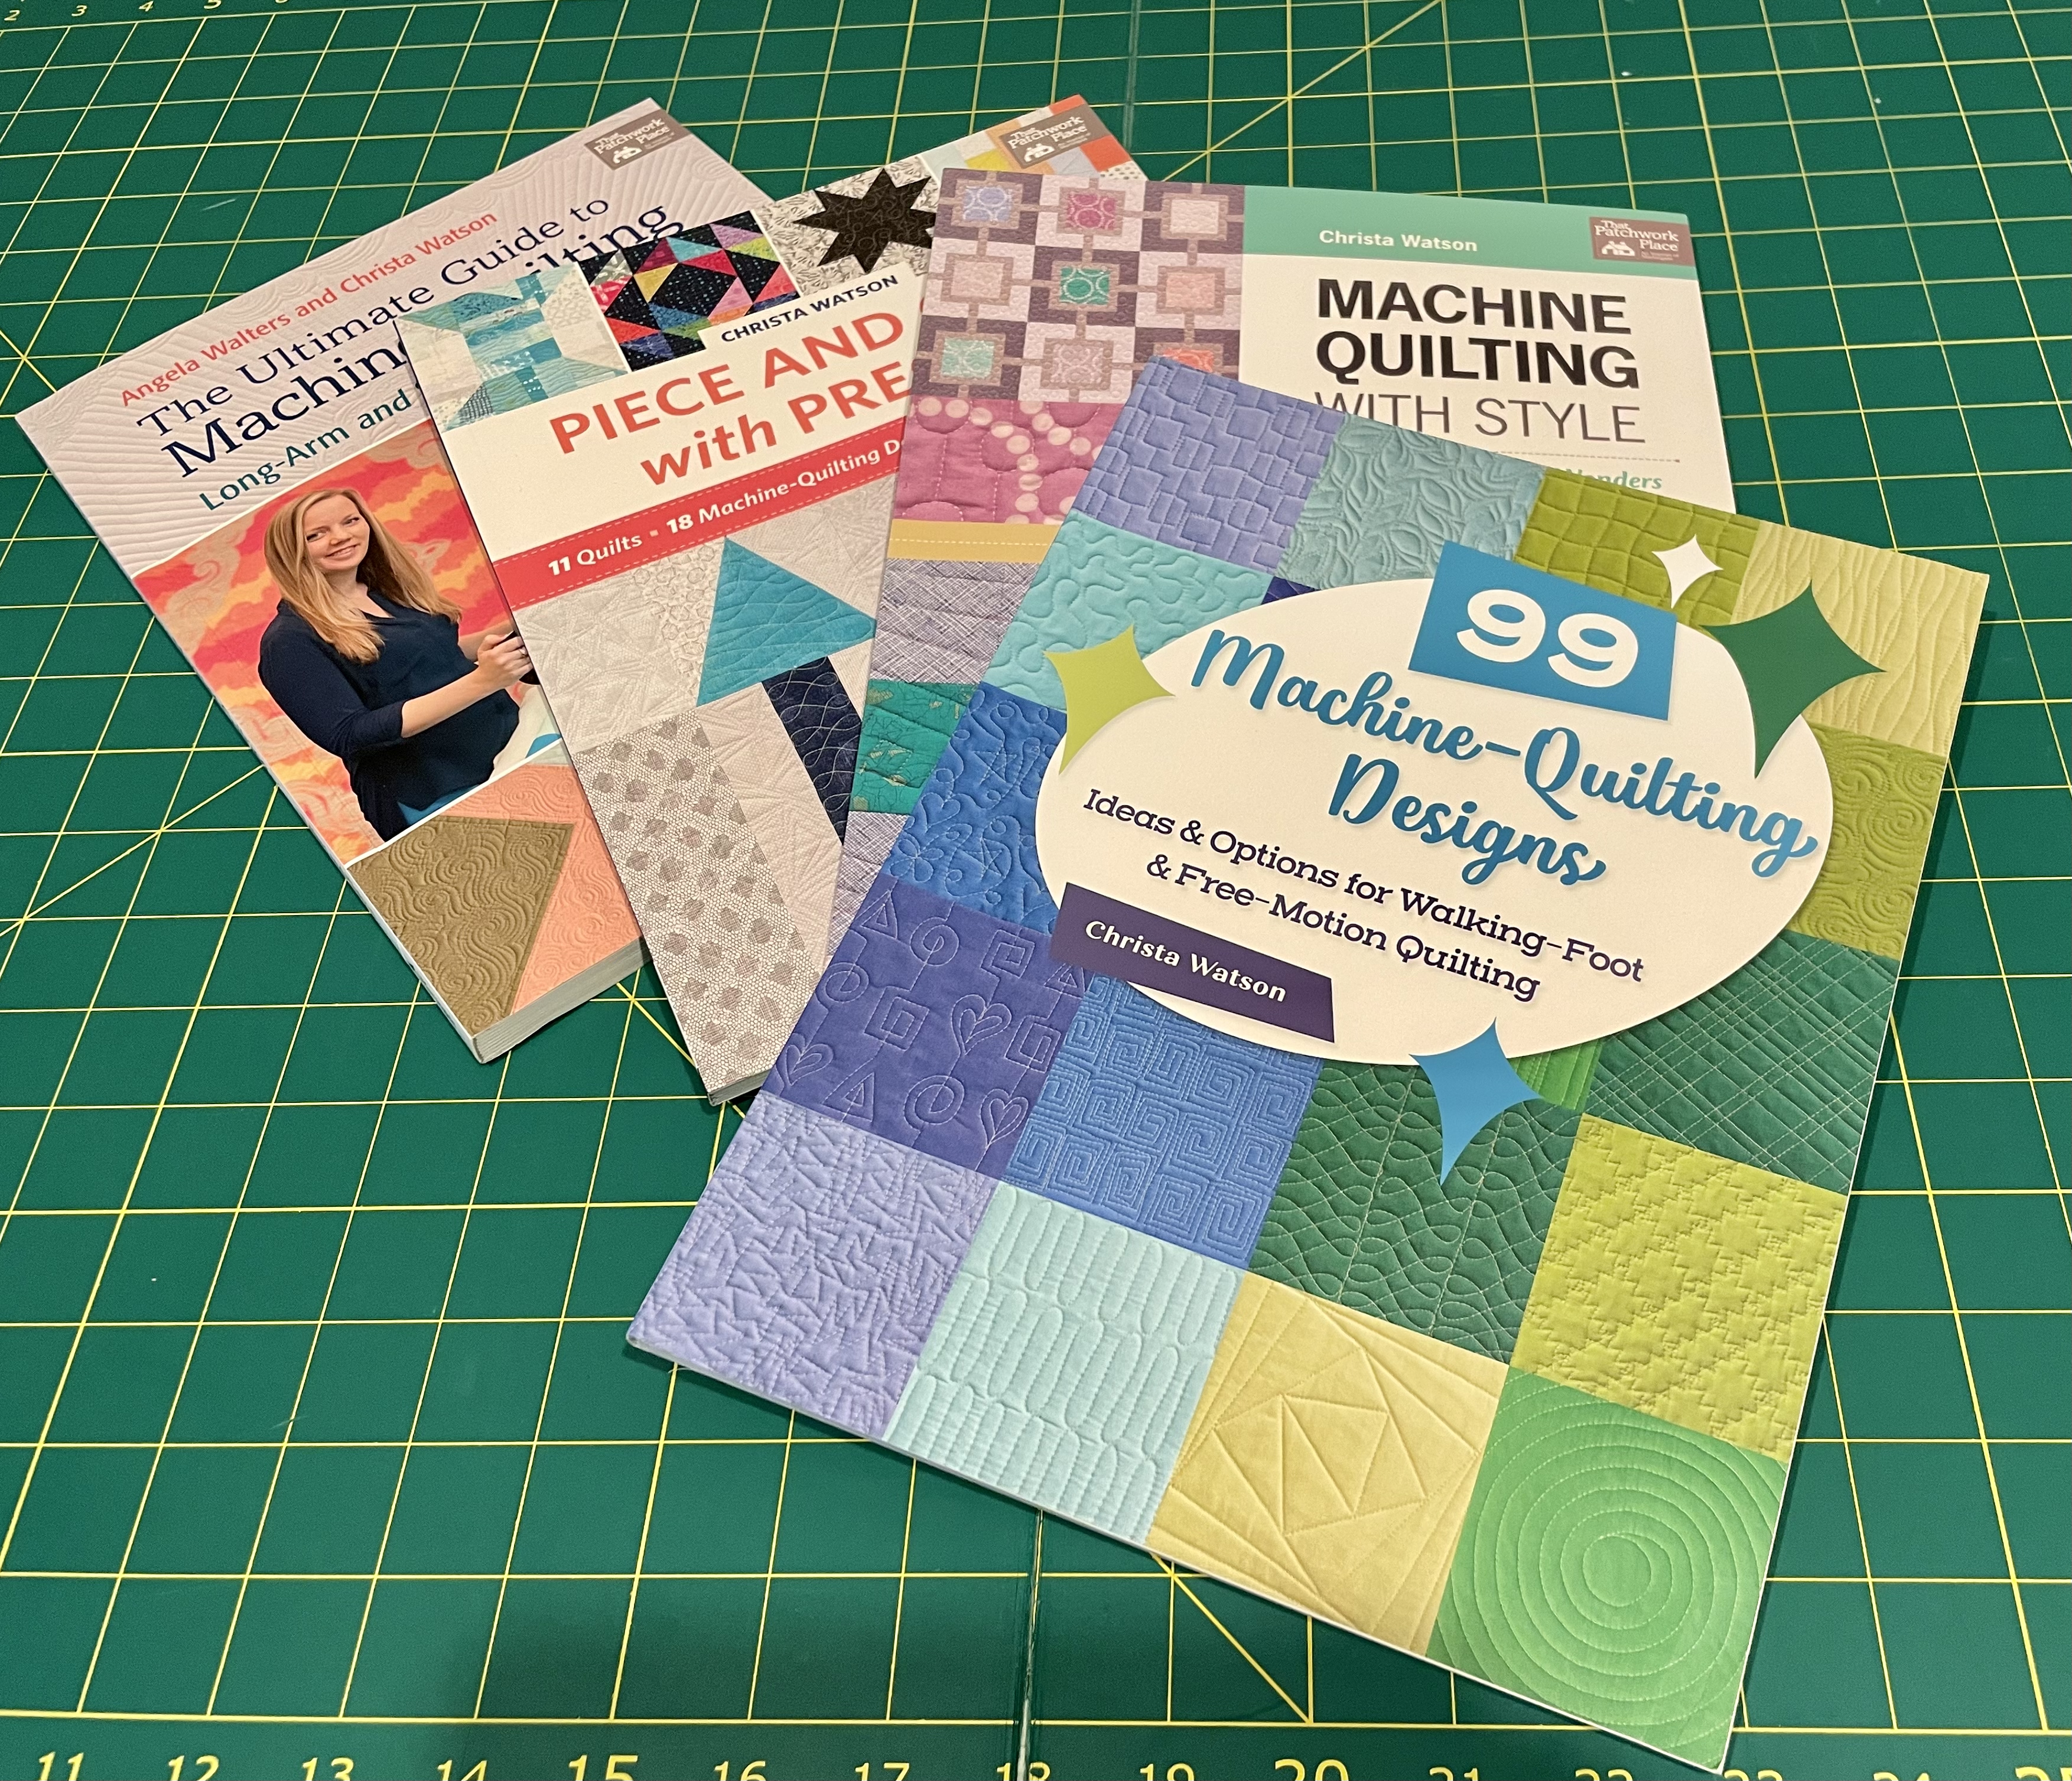
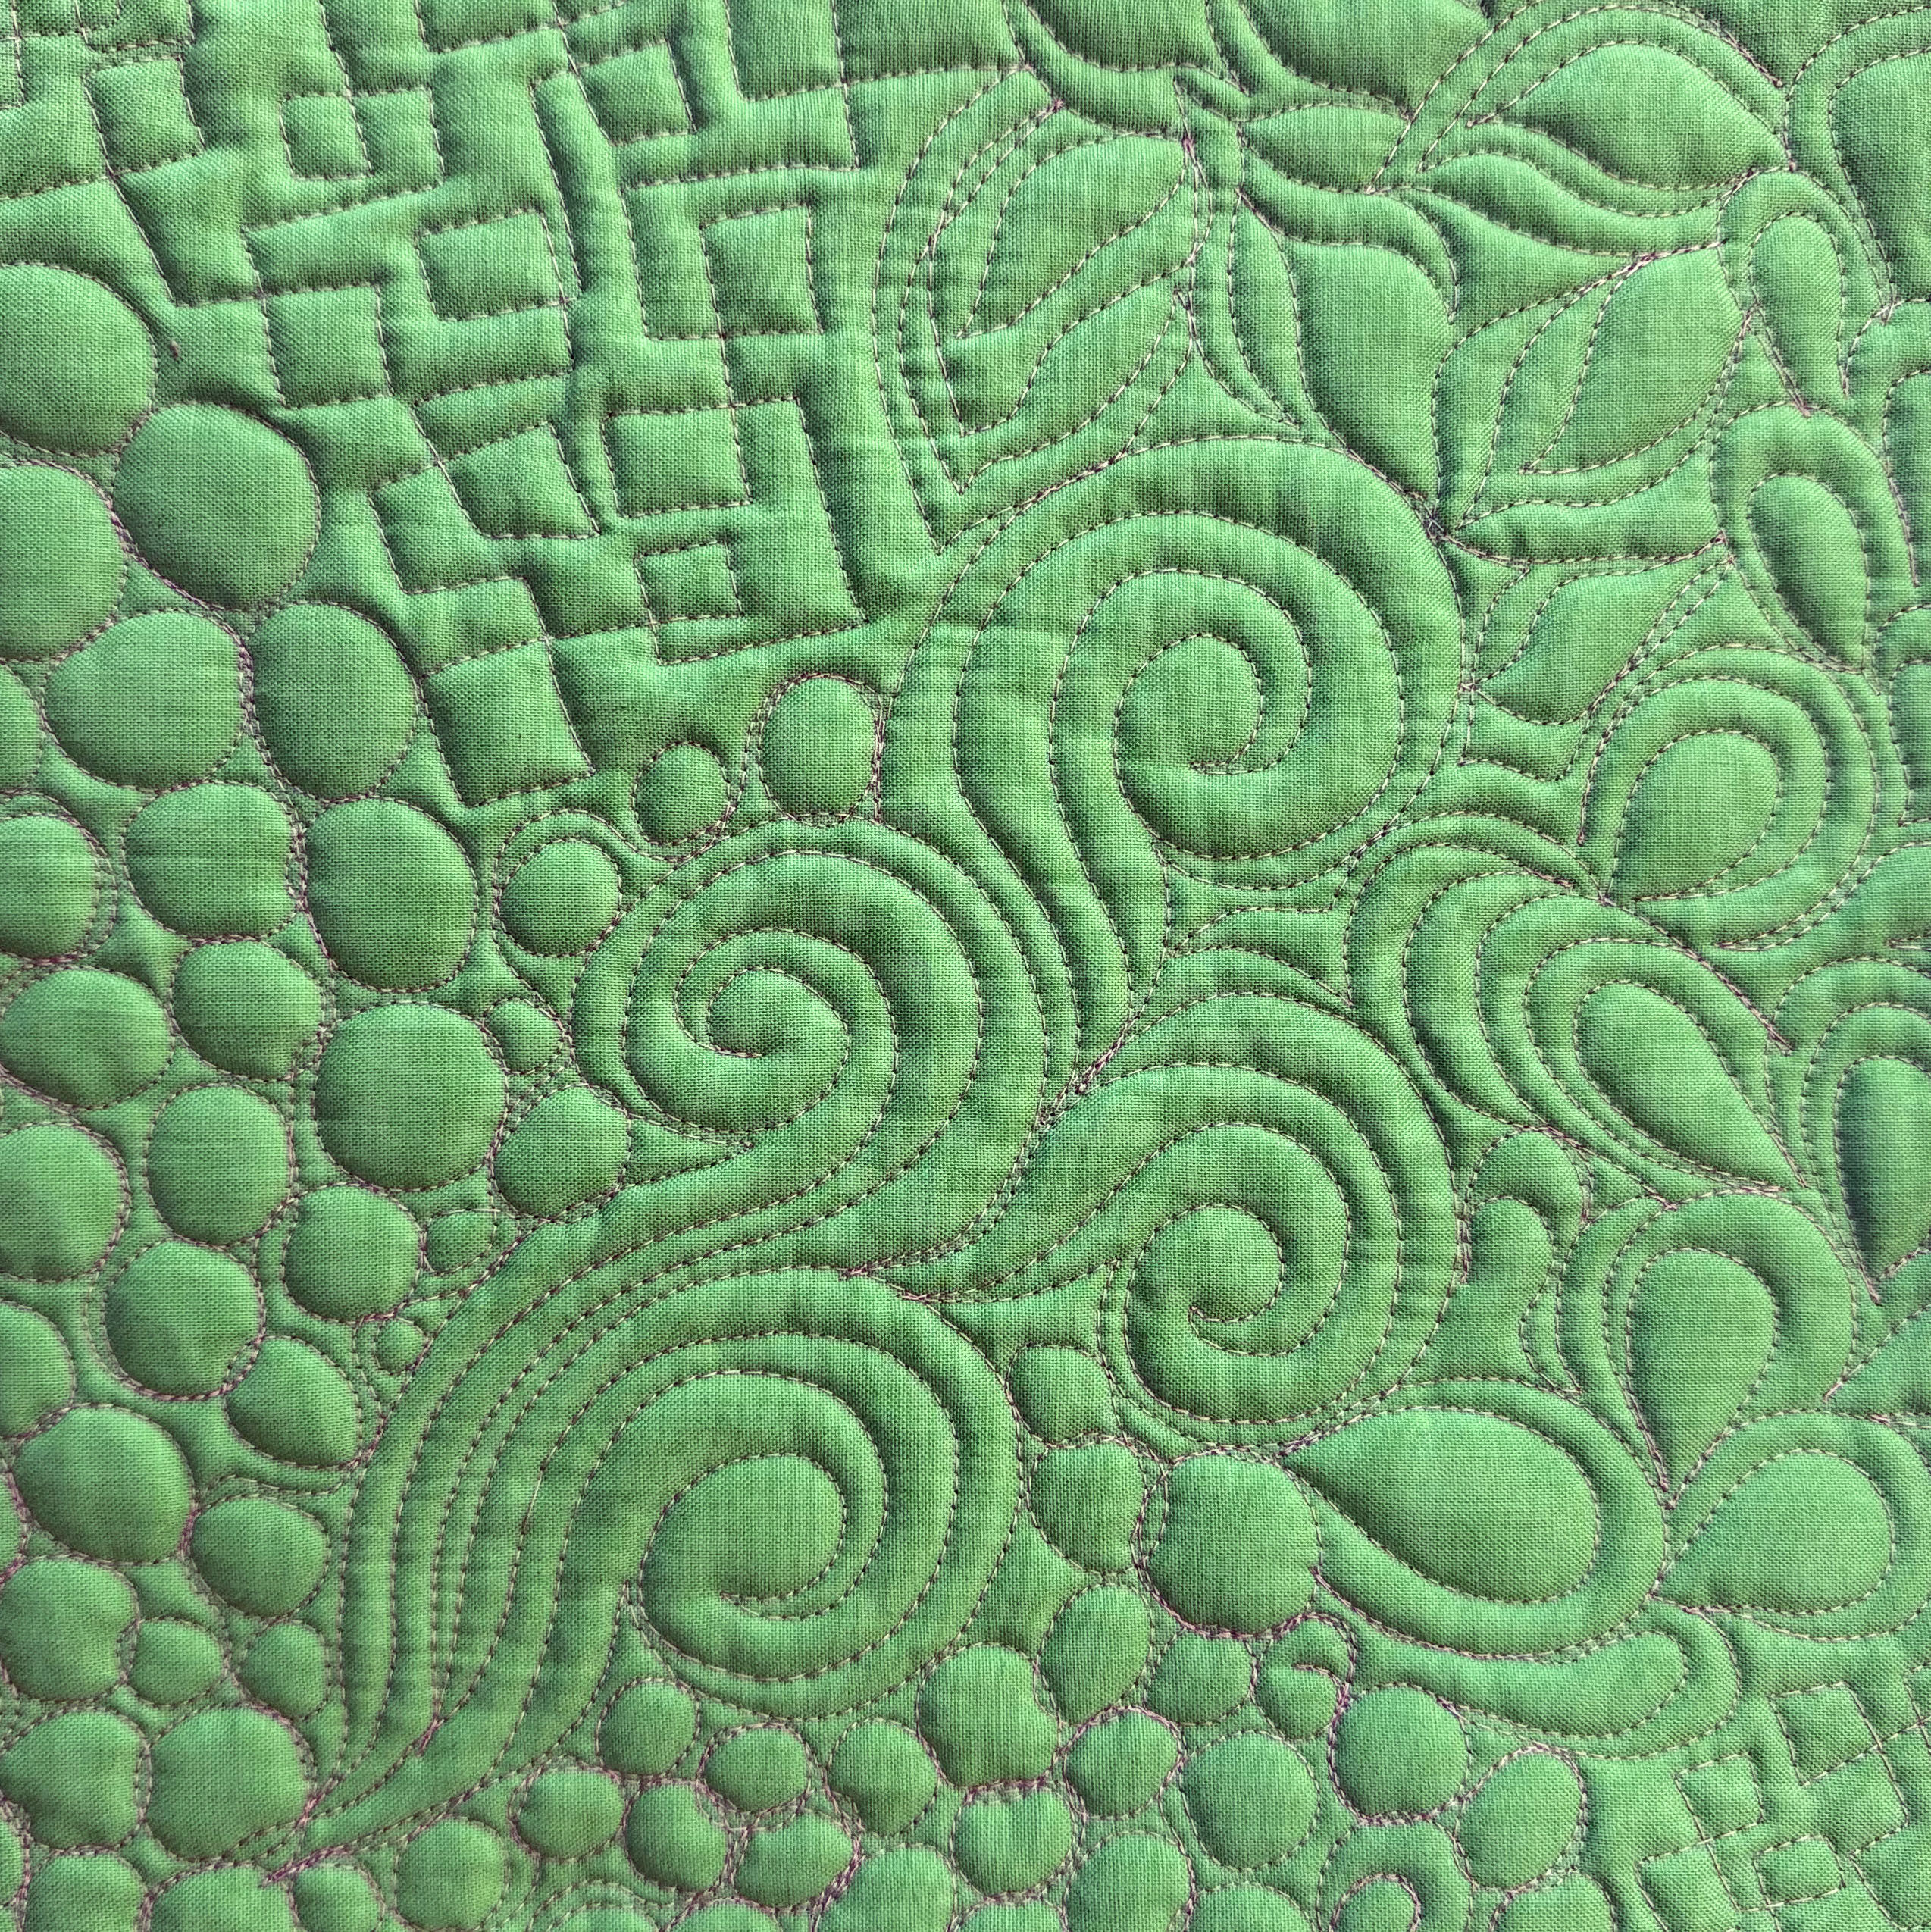
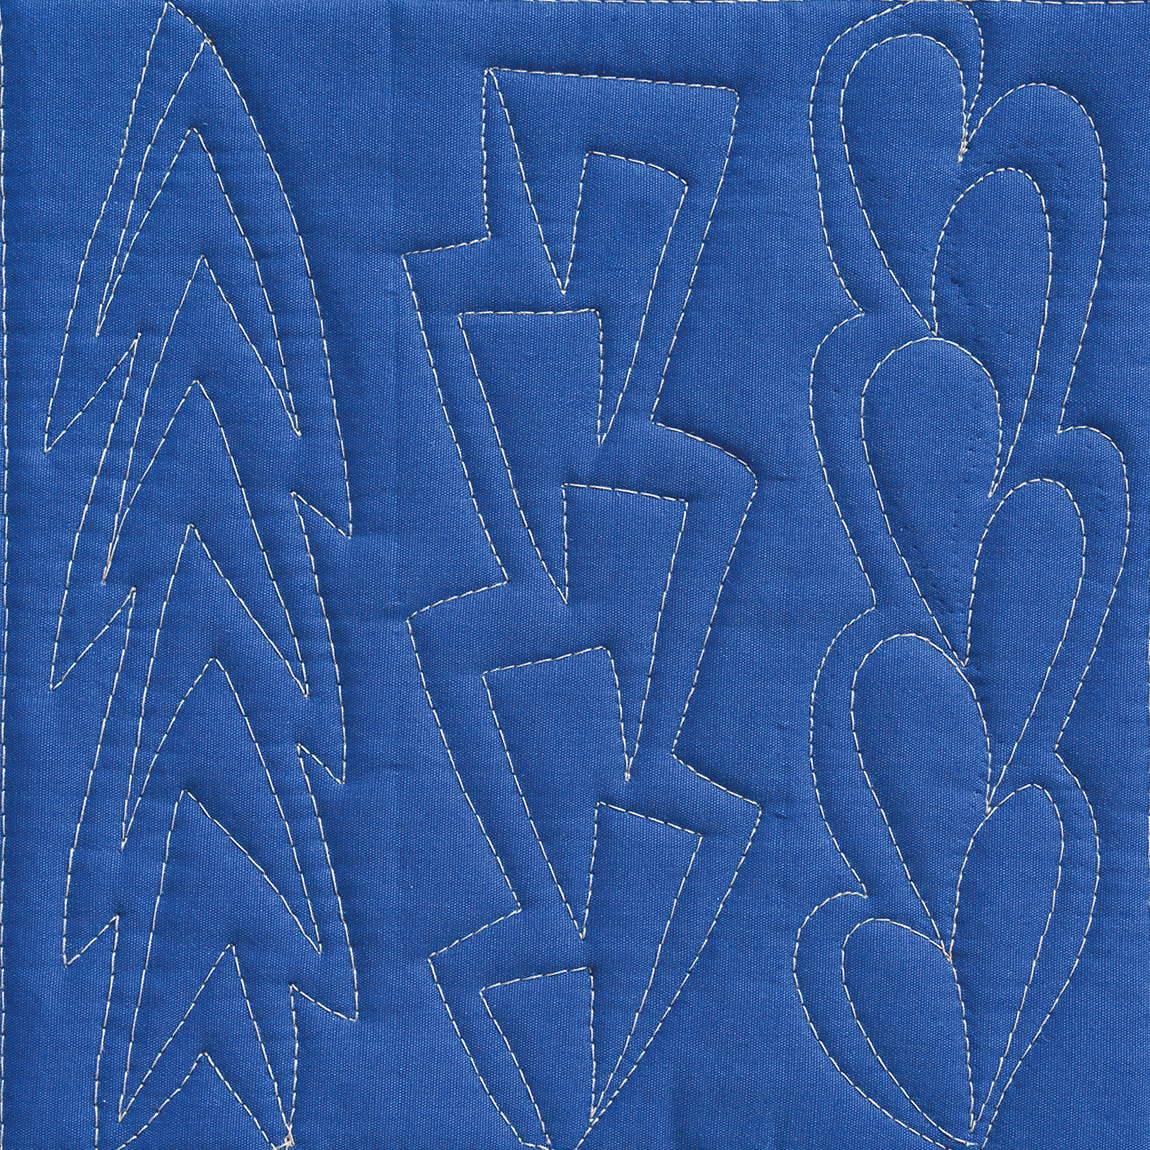
Today I’m playing catchup with 2 new videos from my 99 Machine Quilting Designs series. These are free videos I’m sharing each and every week, from my book of the same name. I like to teach a variety of walking foot AND free motion designs to make the best use of your home sewing machine! First, check out this fun pebbles variation called Cobblestones:
This is a dense design that I would use sparingly, and it looks great as a background fill surrounding other, less dense designs.
Walking Foot Wonders
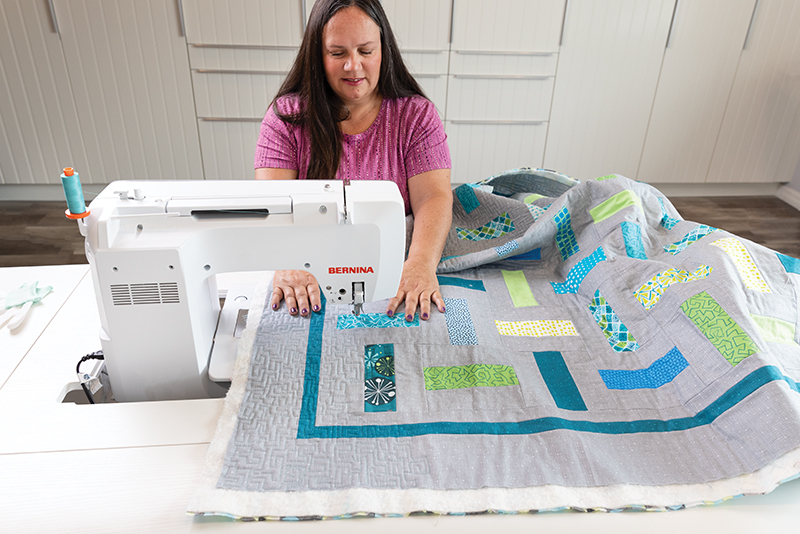
If walking foot quilting is more your thing, be sure to catch Episode 18 where I show how to turn simple straight lines into a stunning grid. You can be precise or random with it, and both variations are fun to do! Watch and learn below:
New Quilt Kits Galore!
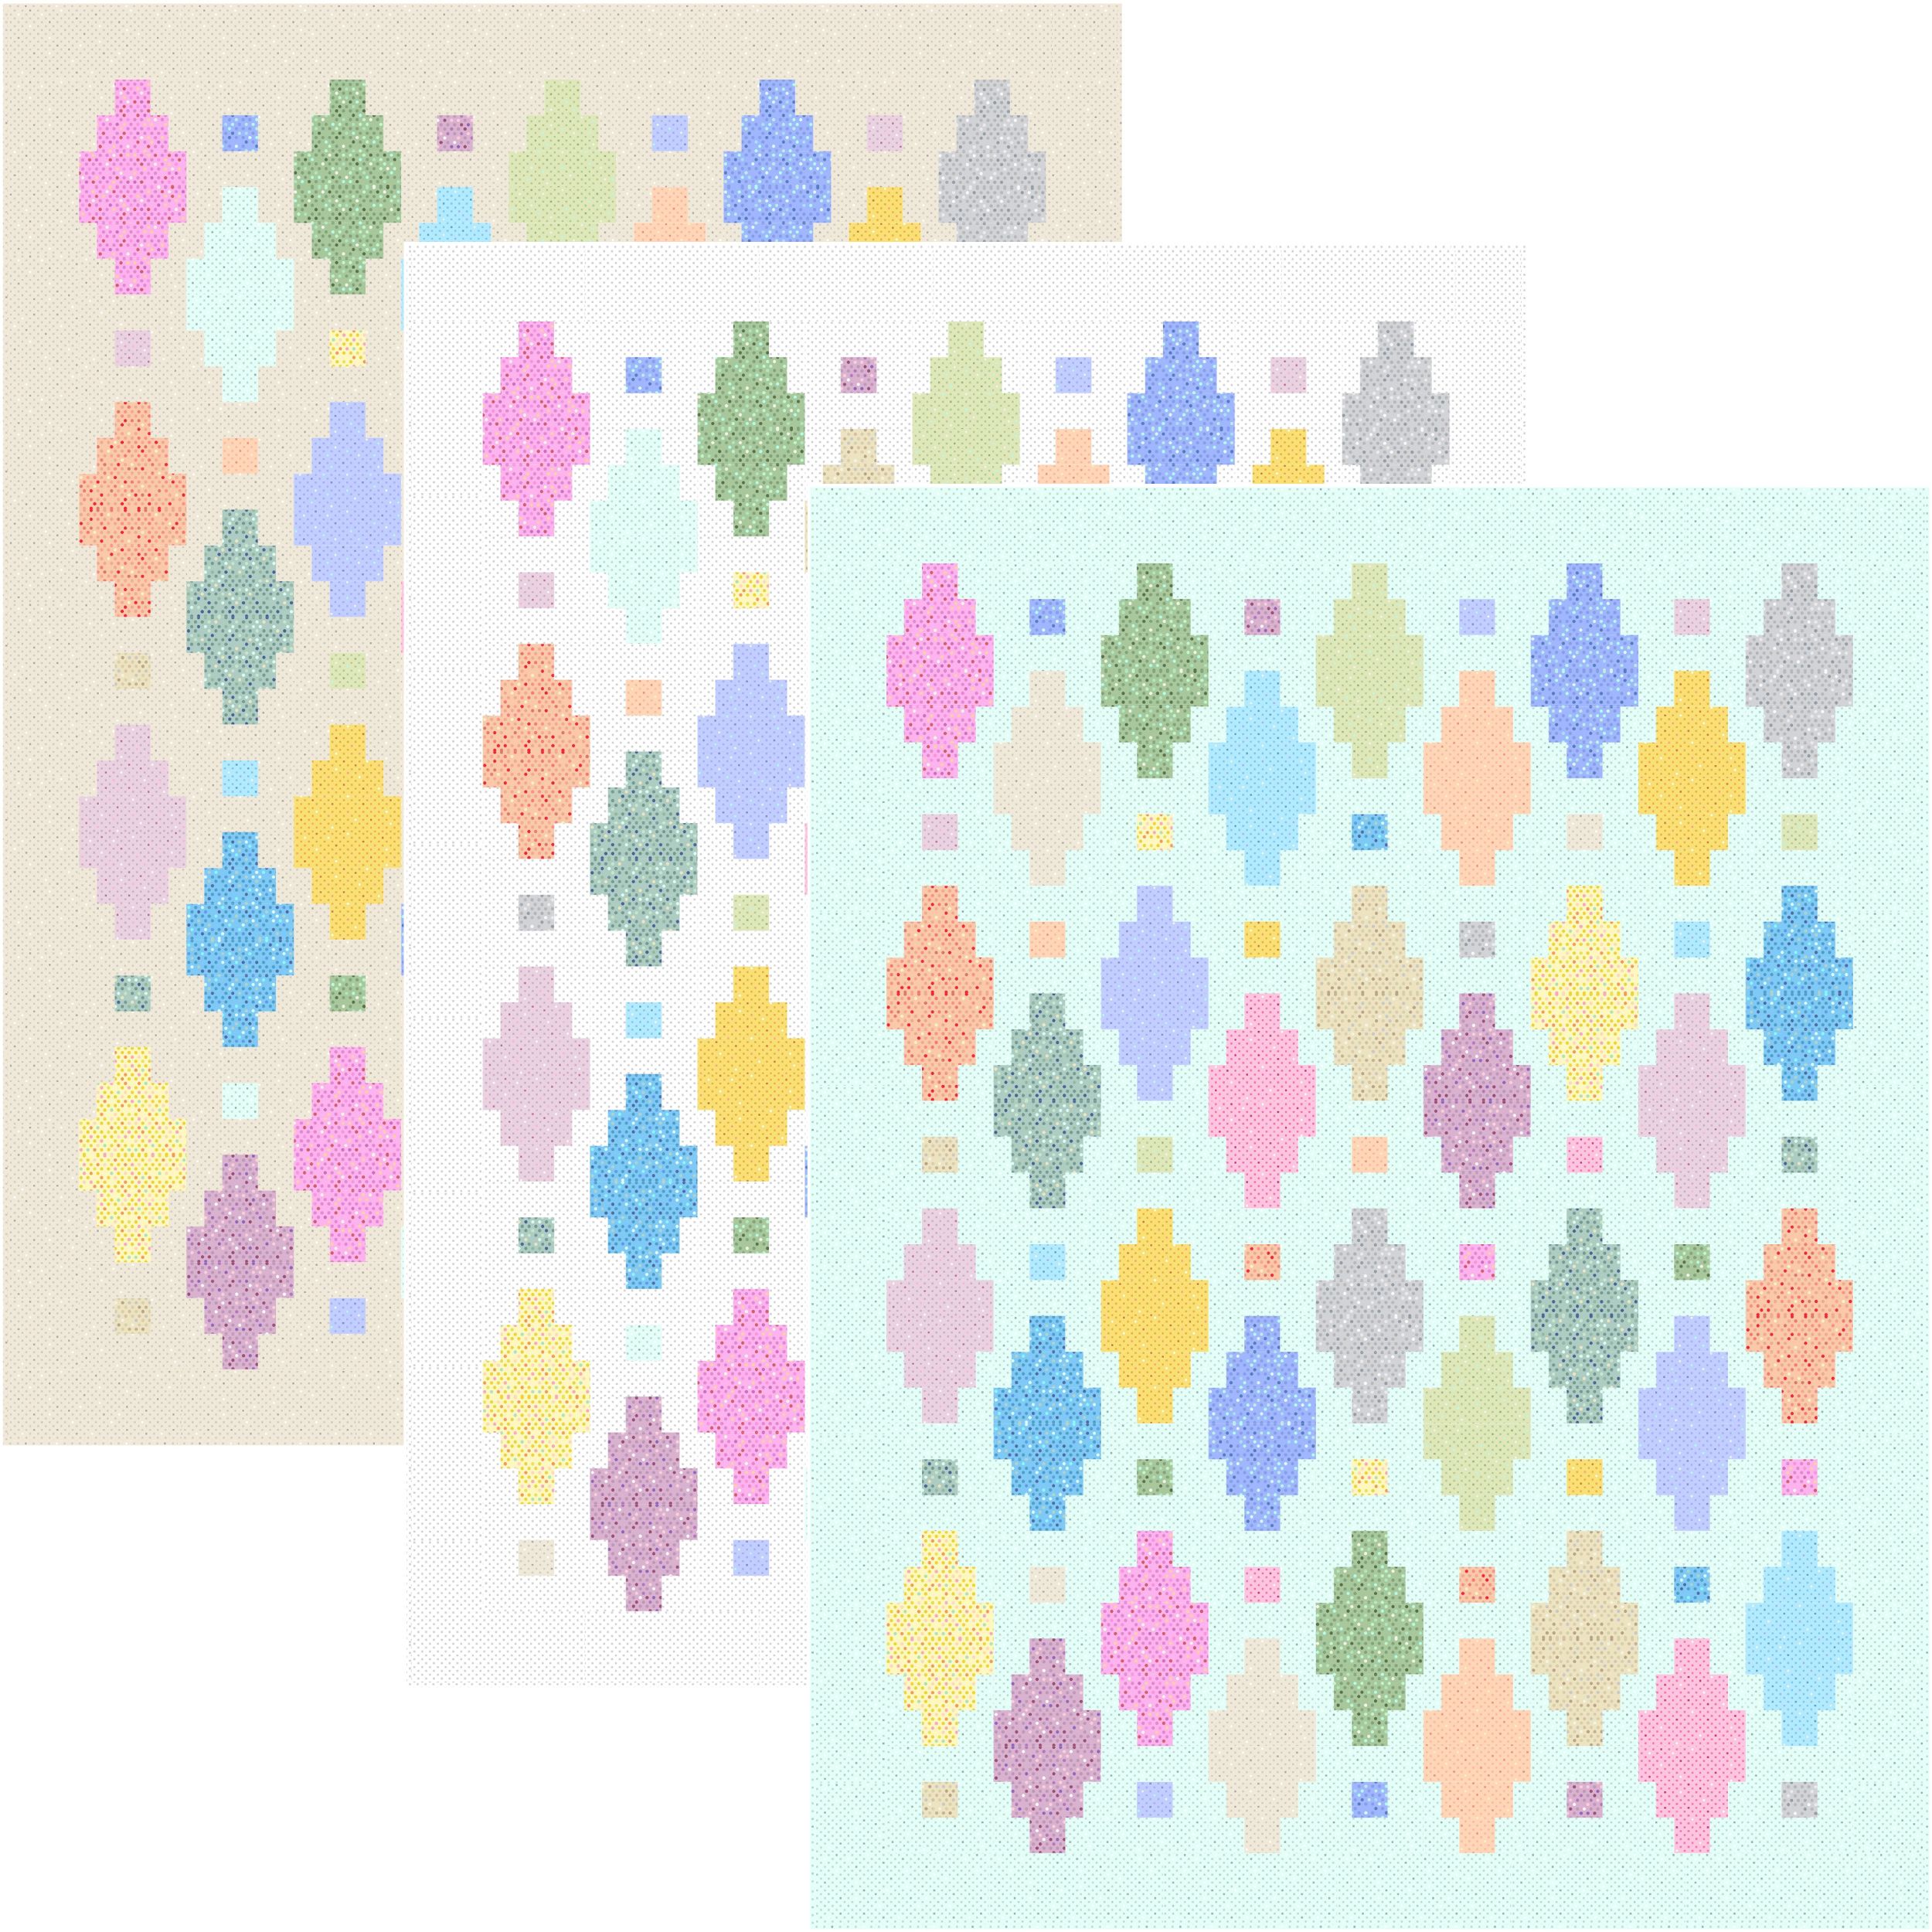
I’ve recently added lots of new quilt kits to my shop, all made from fabrics I’ve designed. You can grab the Color Weave quilt kit featured in the video above as well as many others all made from fabrics I’ve designed.

Click here to see all quilt kits using my fabrics!
Bonus Videos for Your Viewing Pleasure
Here’s a bonus video to go along with my Color Weave quilt:
Click here to grab the Color Weave PDF quilt pattern
If you are a new follower of my machine quilting videos, be sure to watch this bonus video showing how I set up my machine and prepare for domestic machine quilting. It serves as the introduction to my 99 Machine Quilting video series and is like the cliff notes version of my in-person workshops!