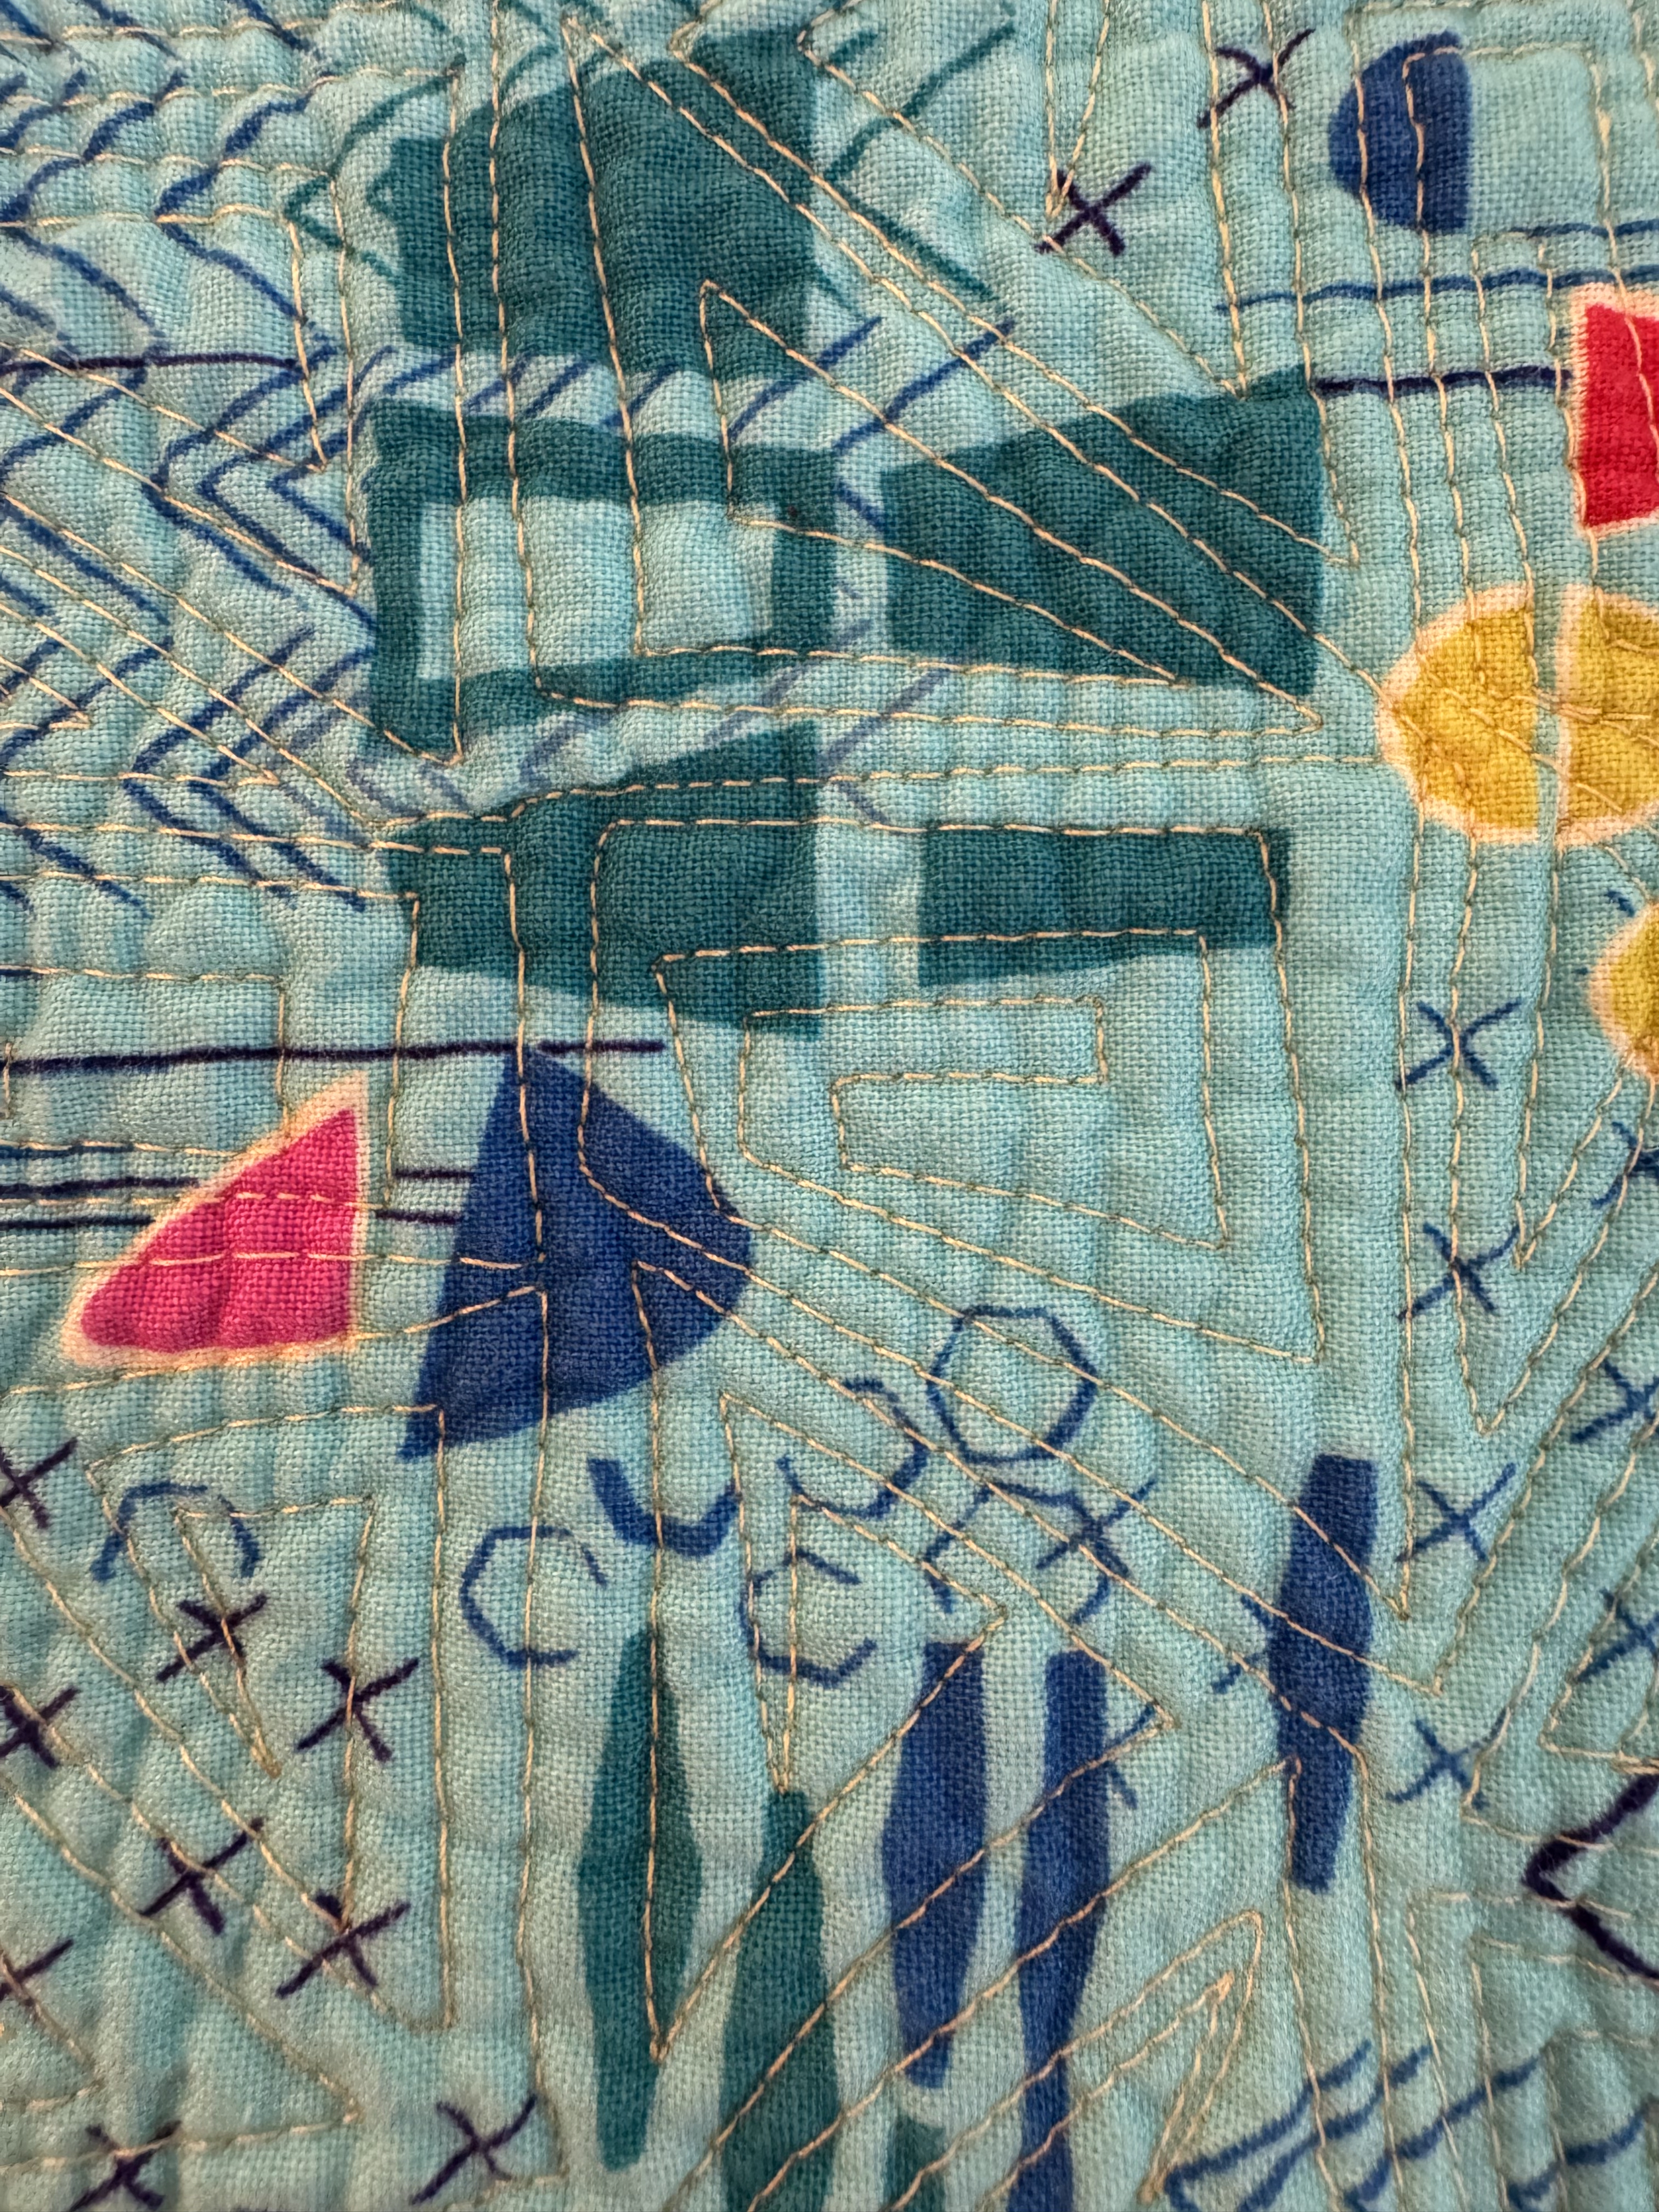
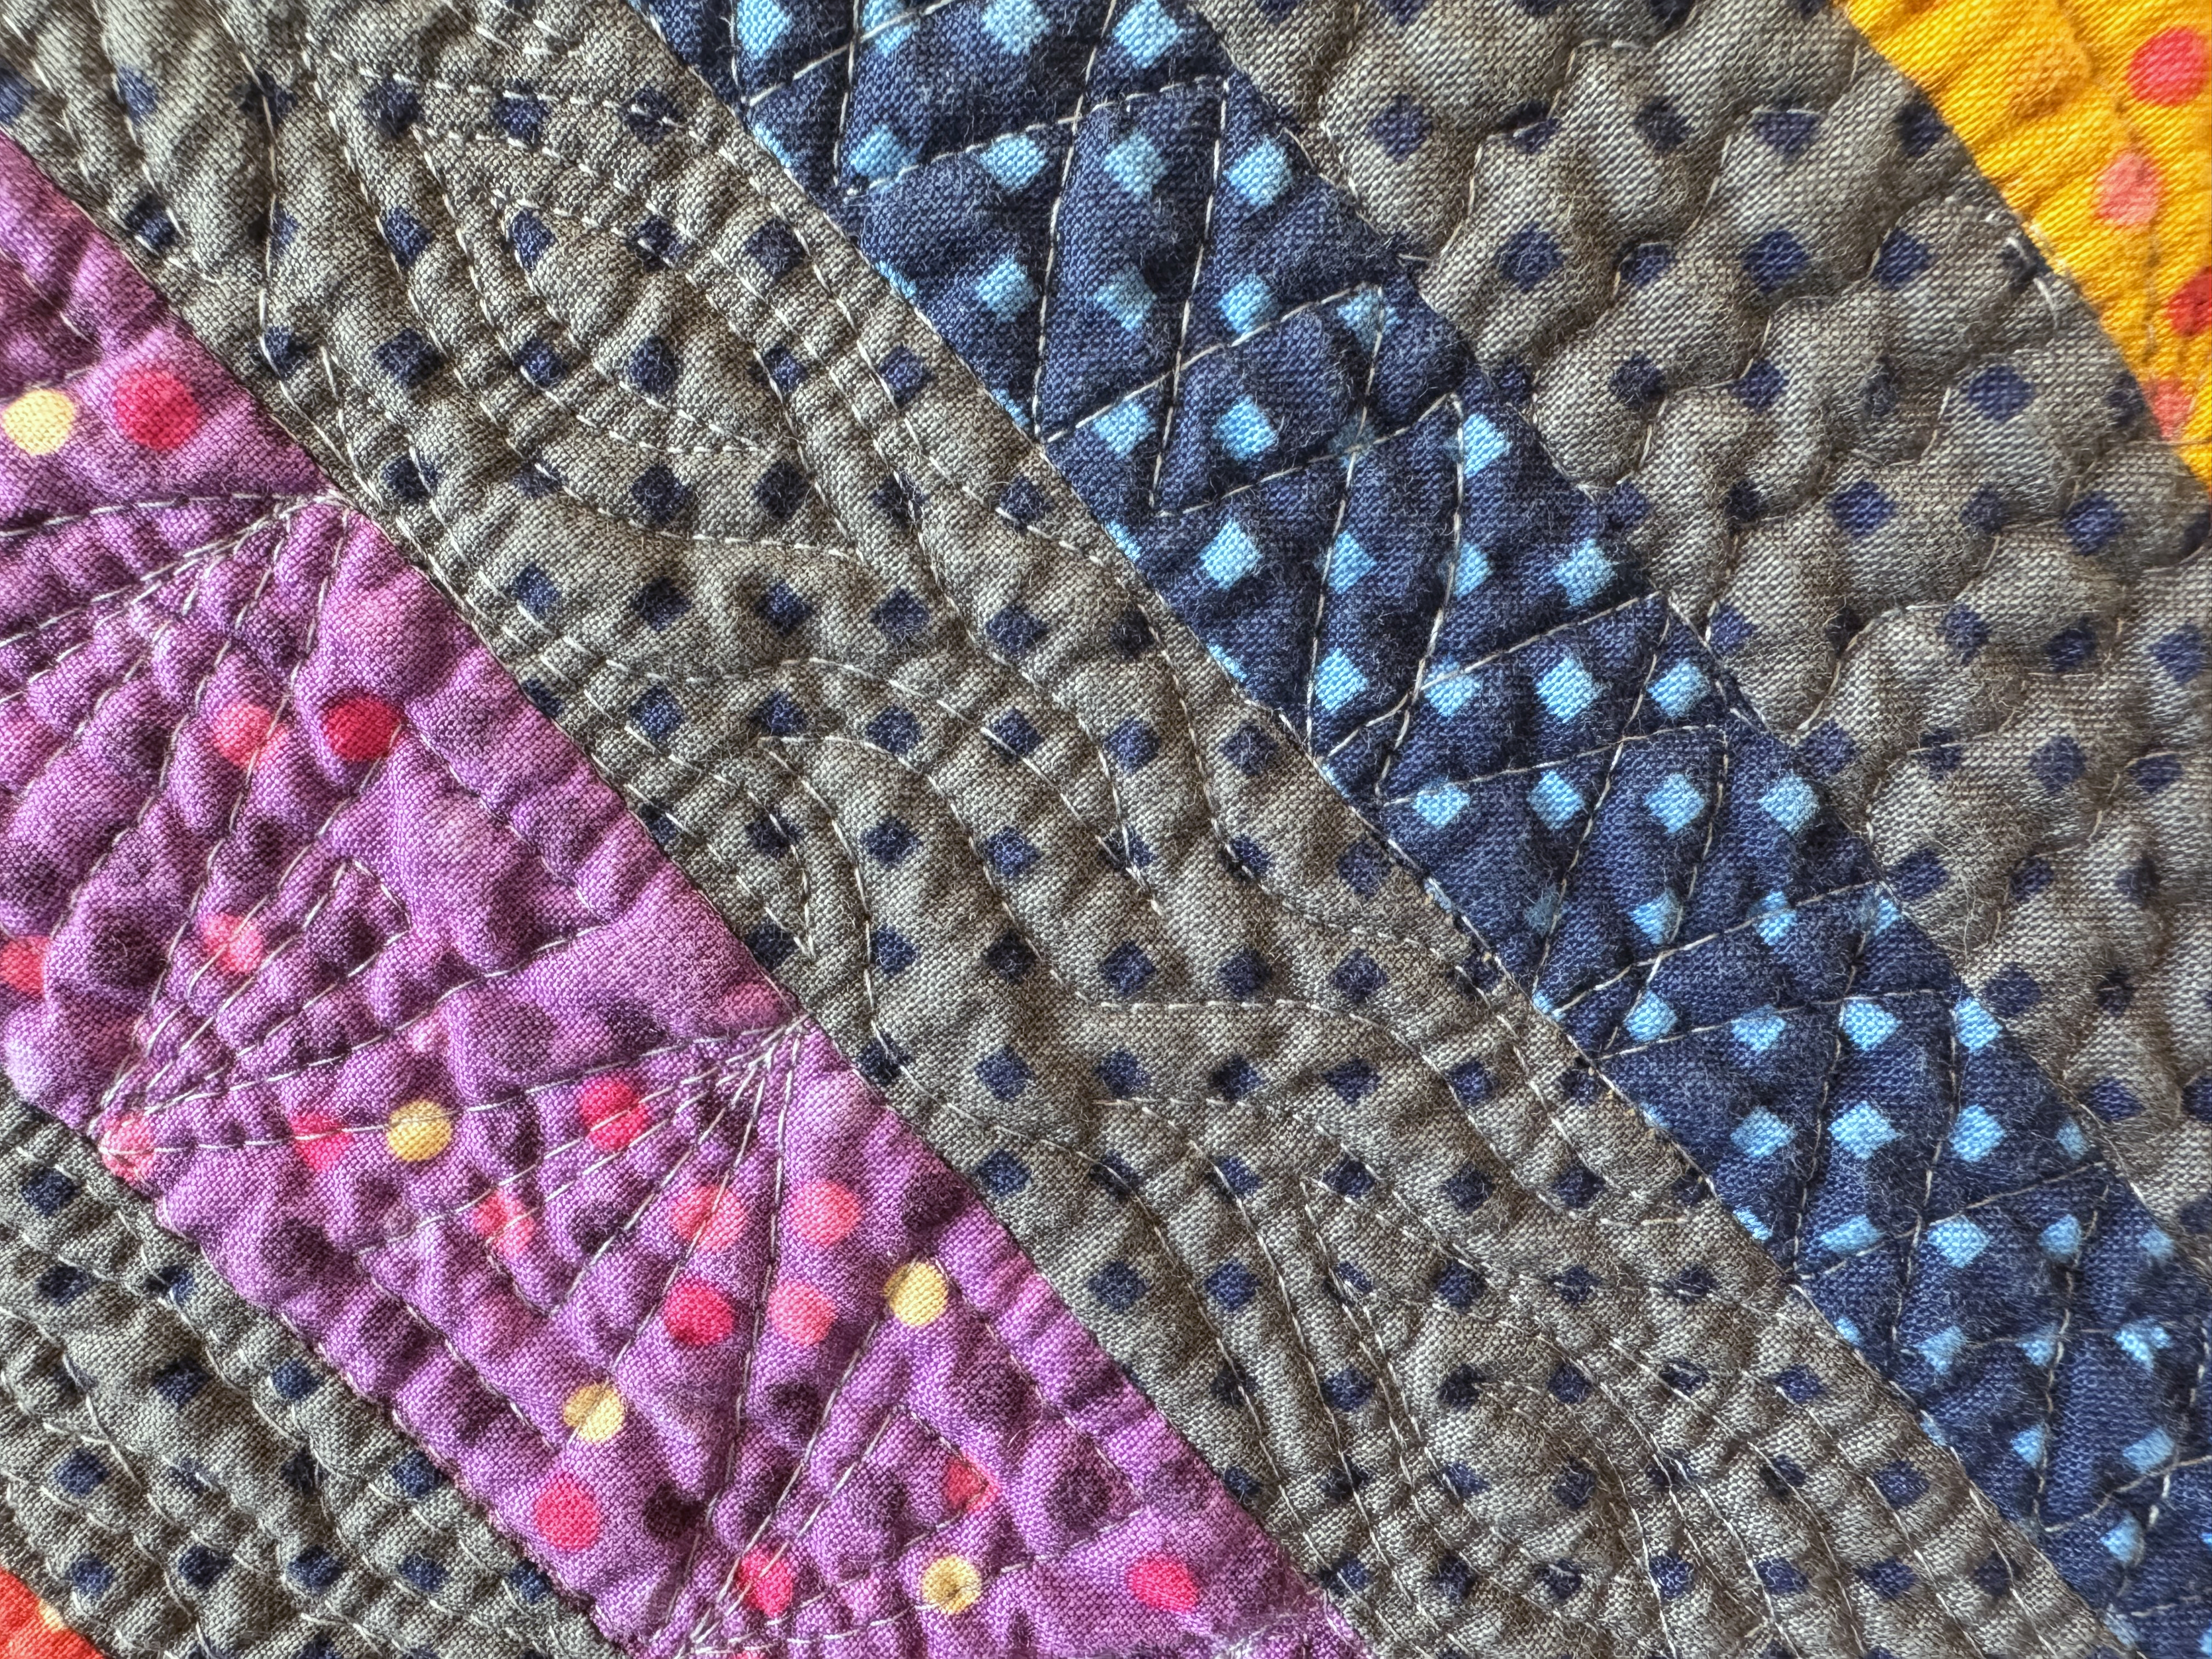
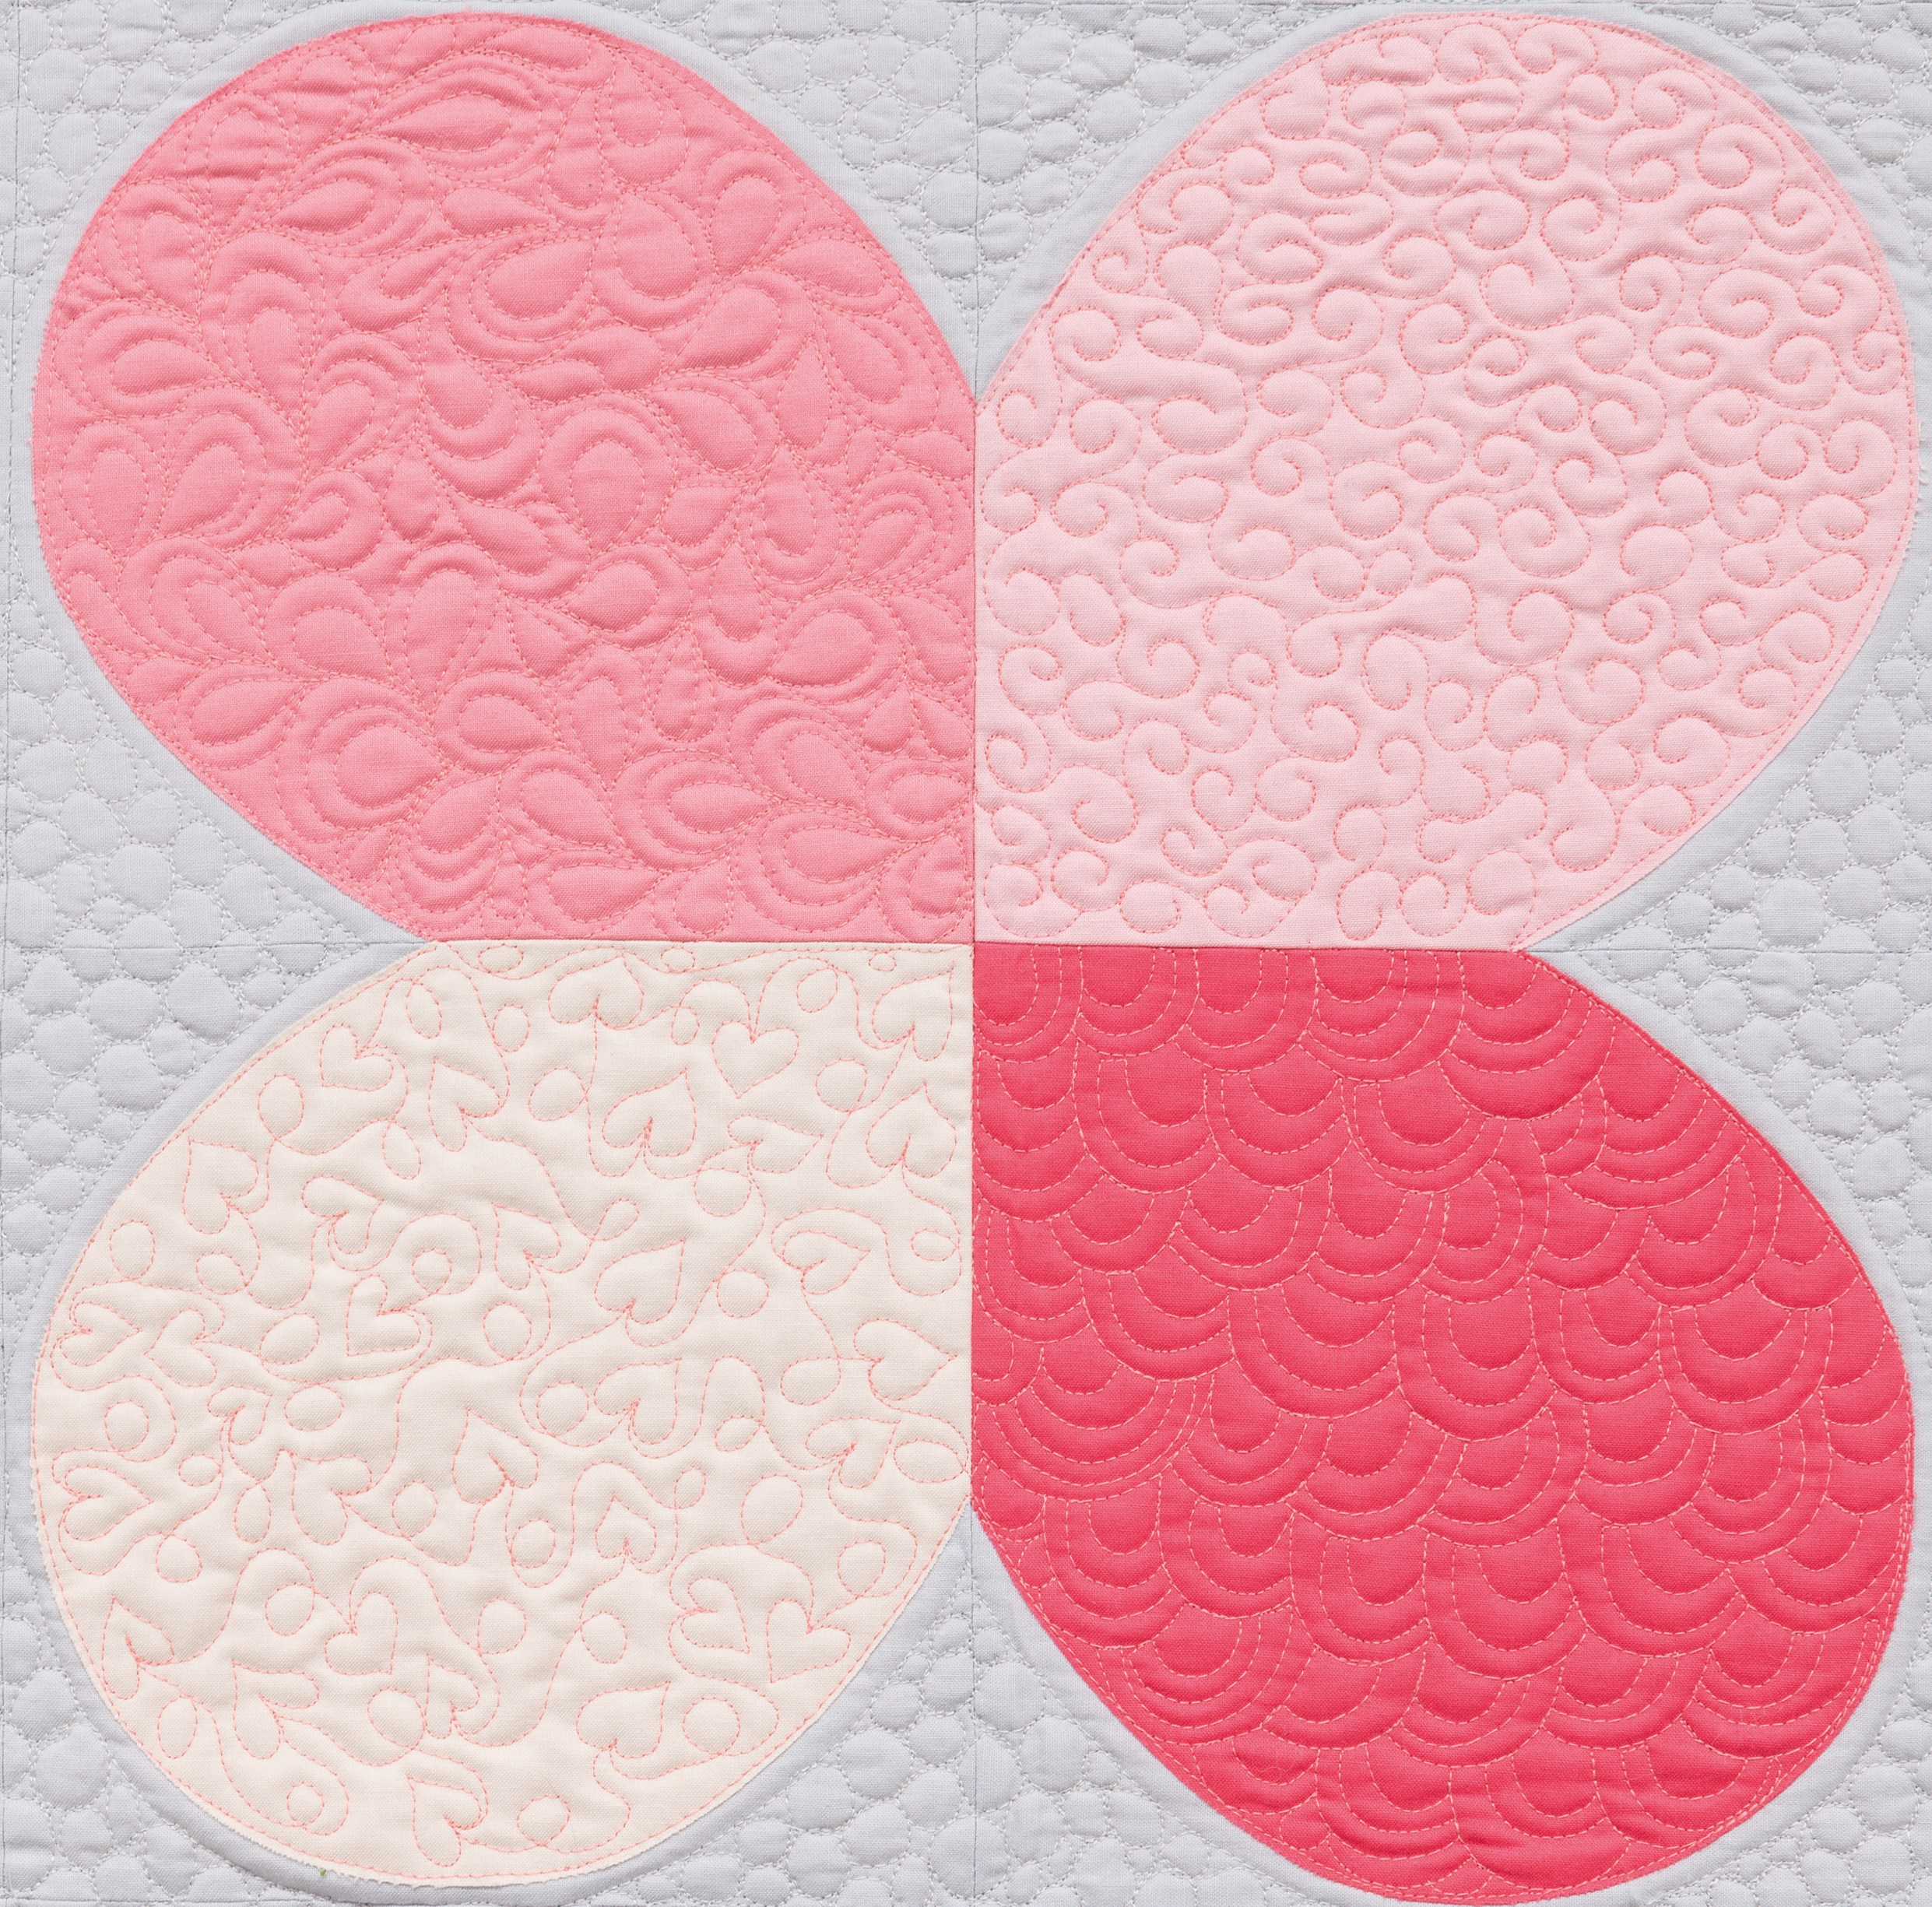
This week’s machine quilting tutorial takes the traditional paisley design and modernizes it by adding filler motifs inside the design! It’s a fun way to change things up. Click the image below to watch on my YouTube channel:
Make This Quilt!
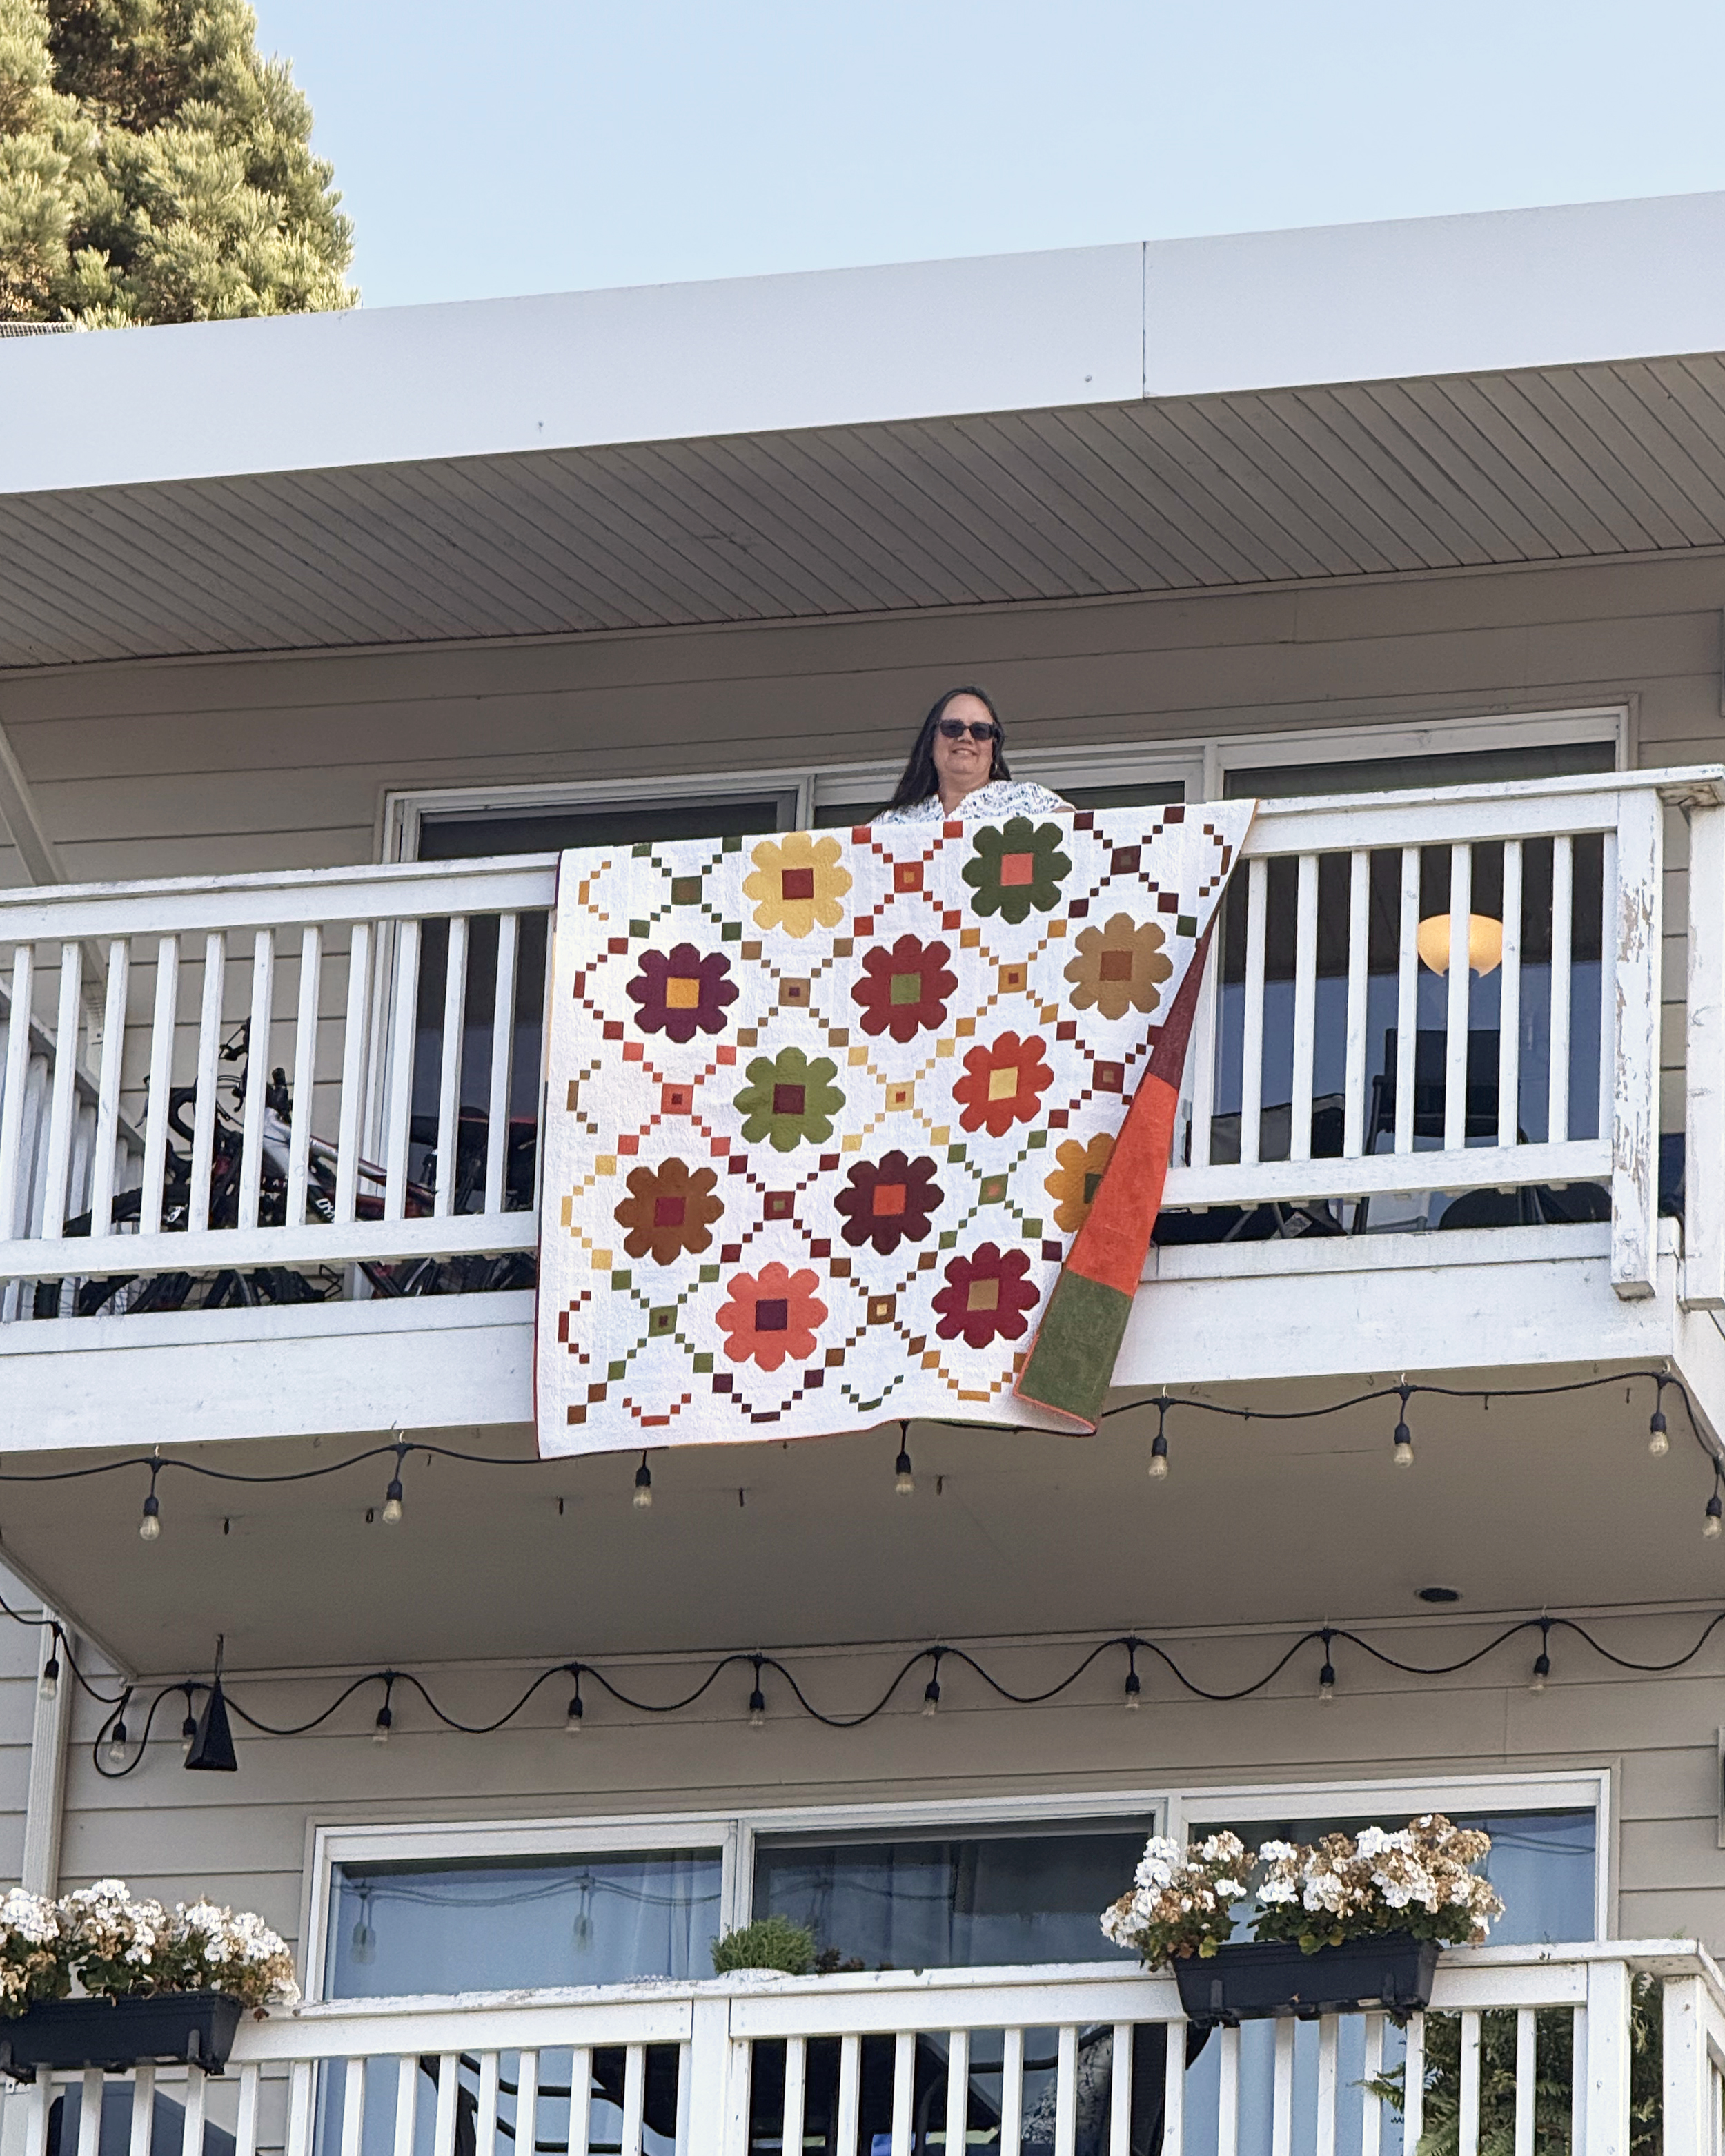
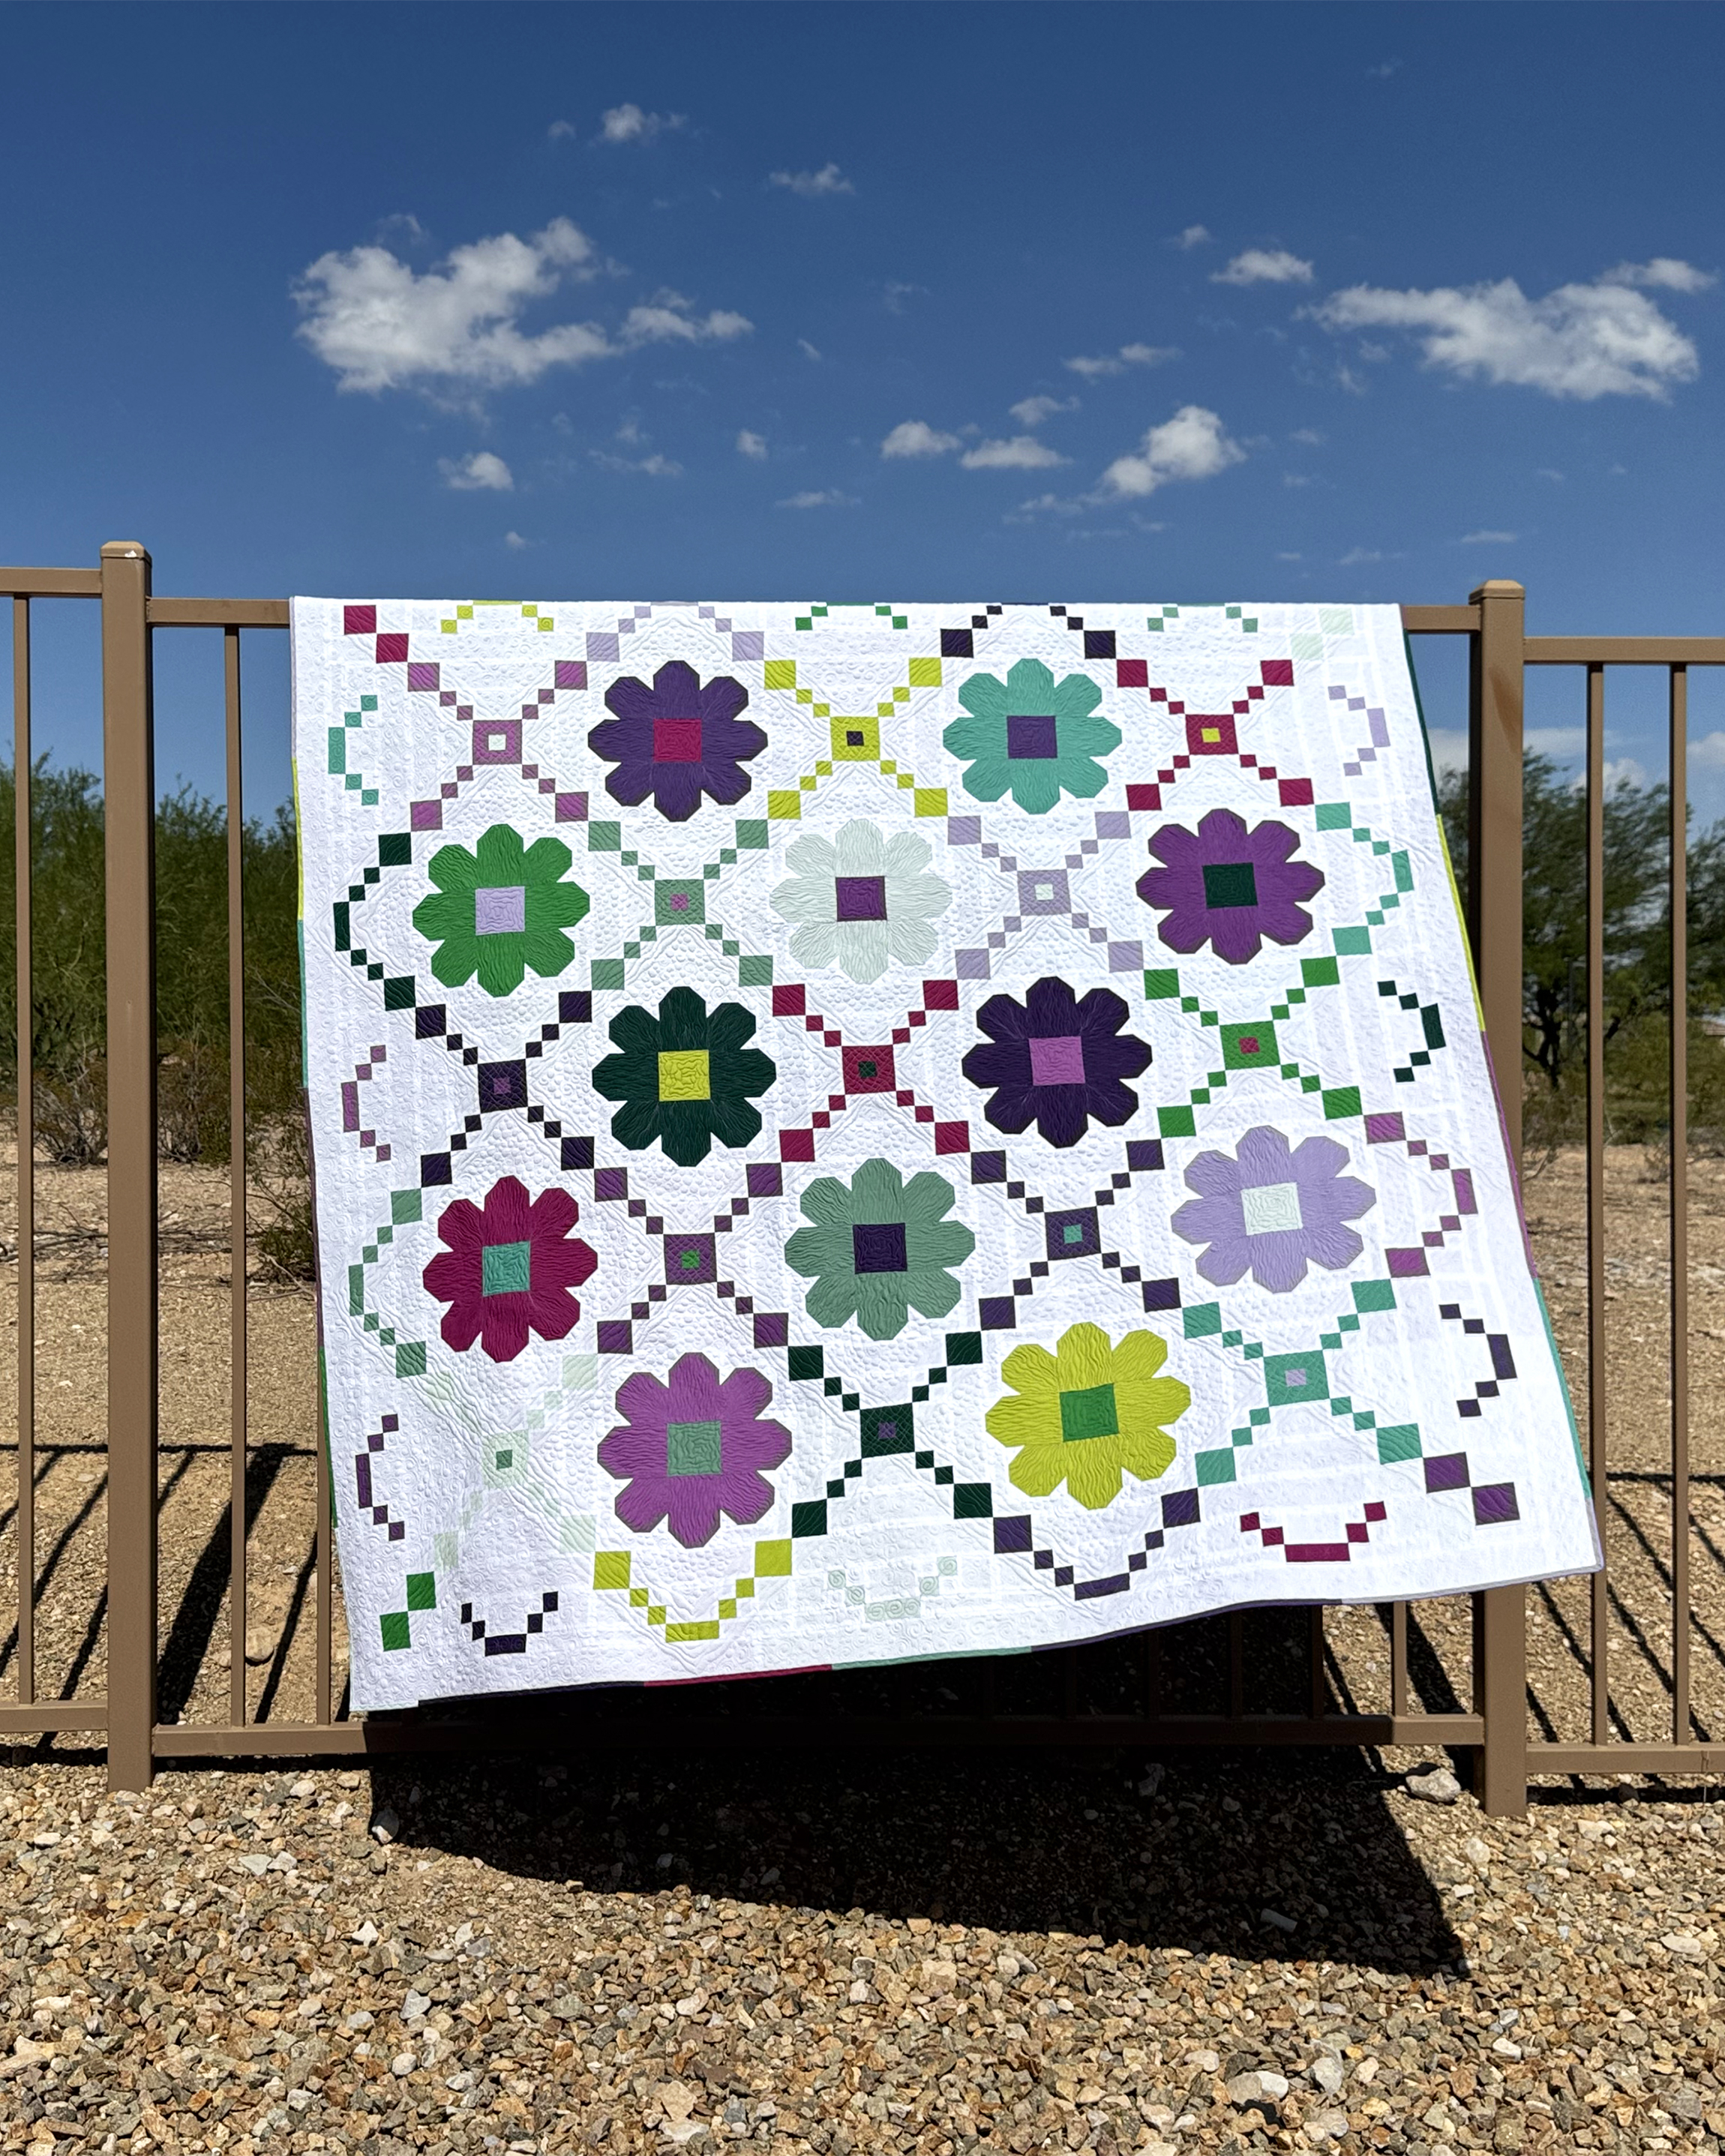
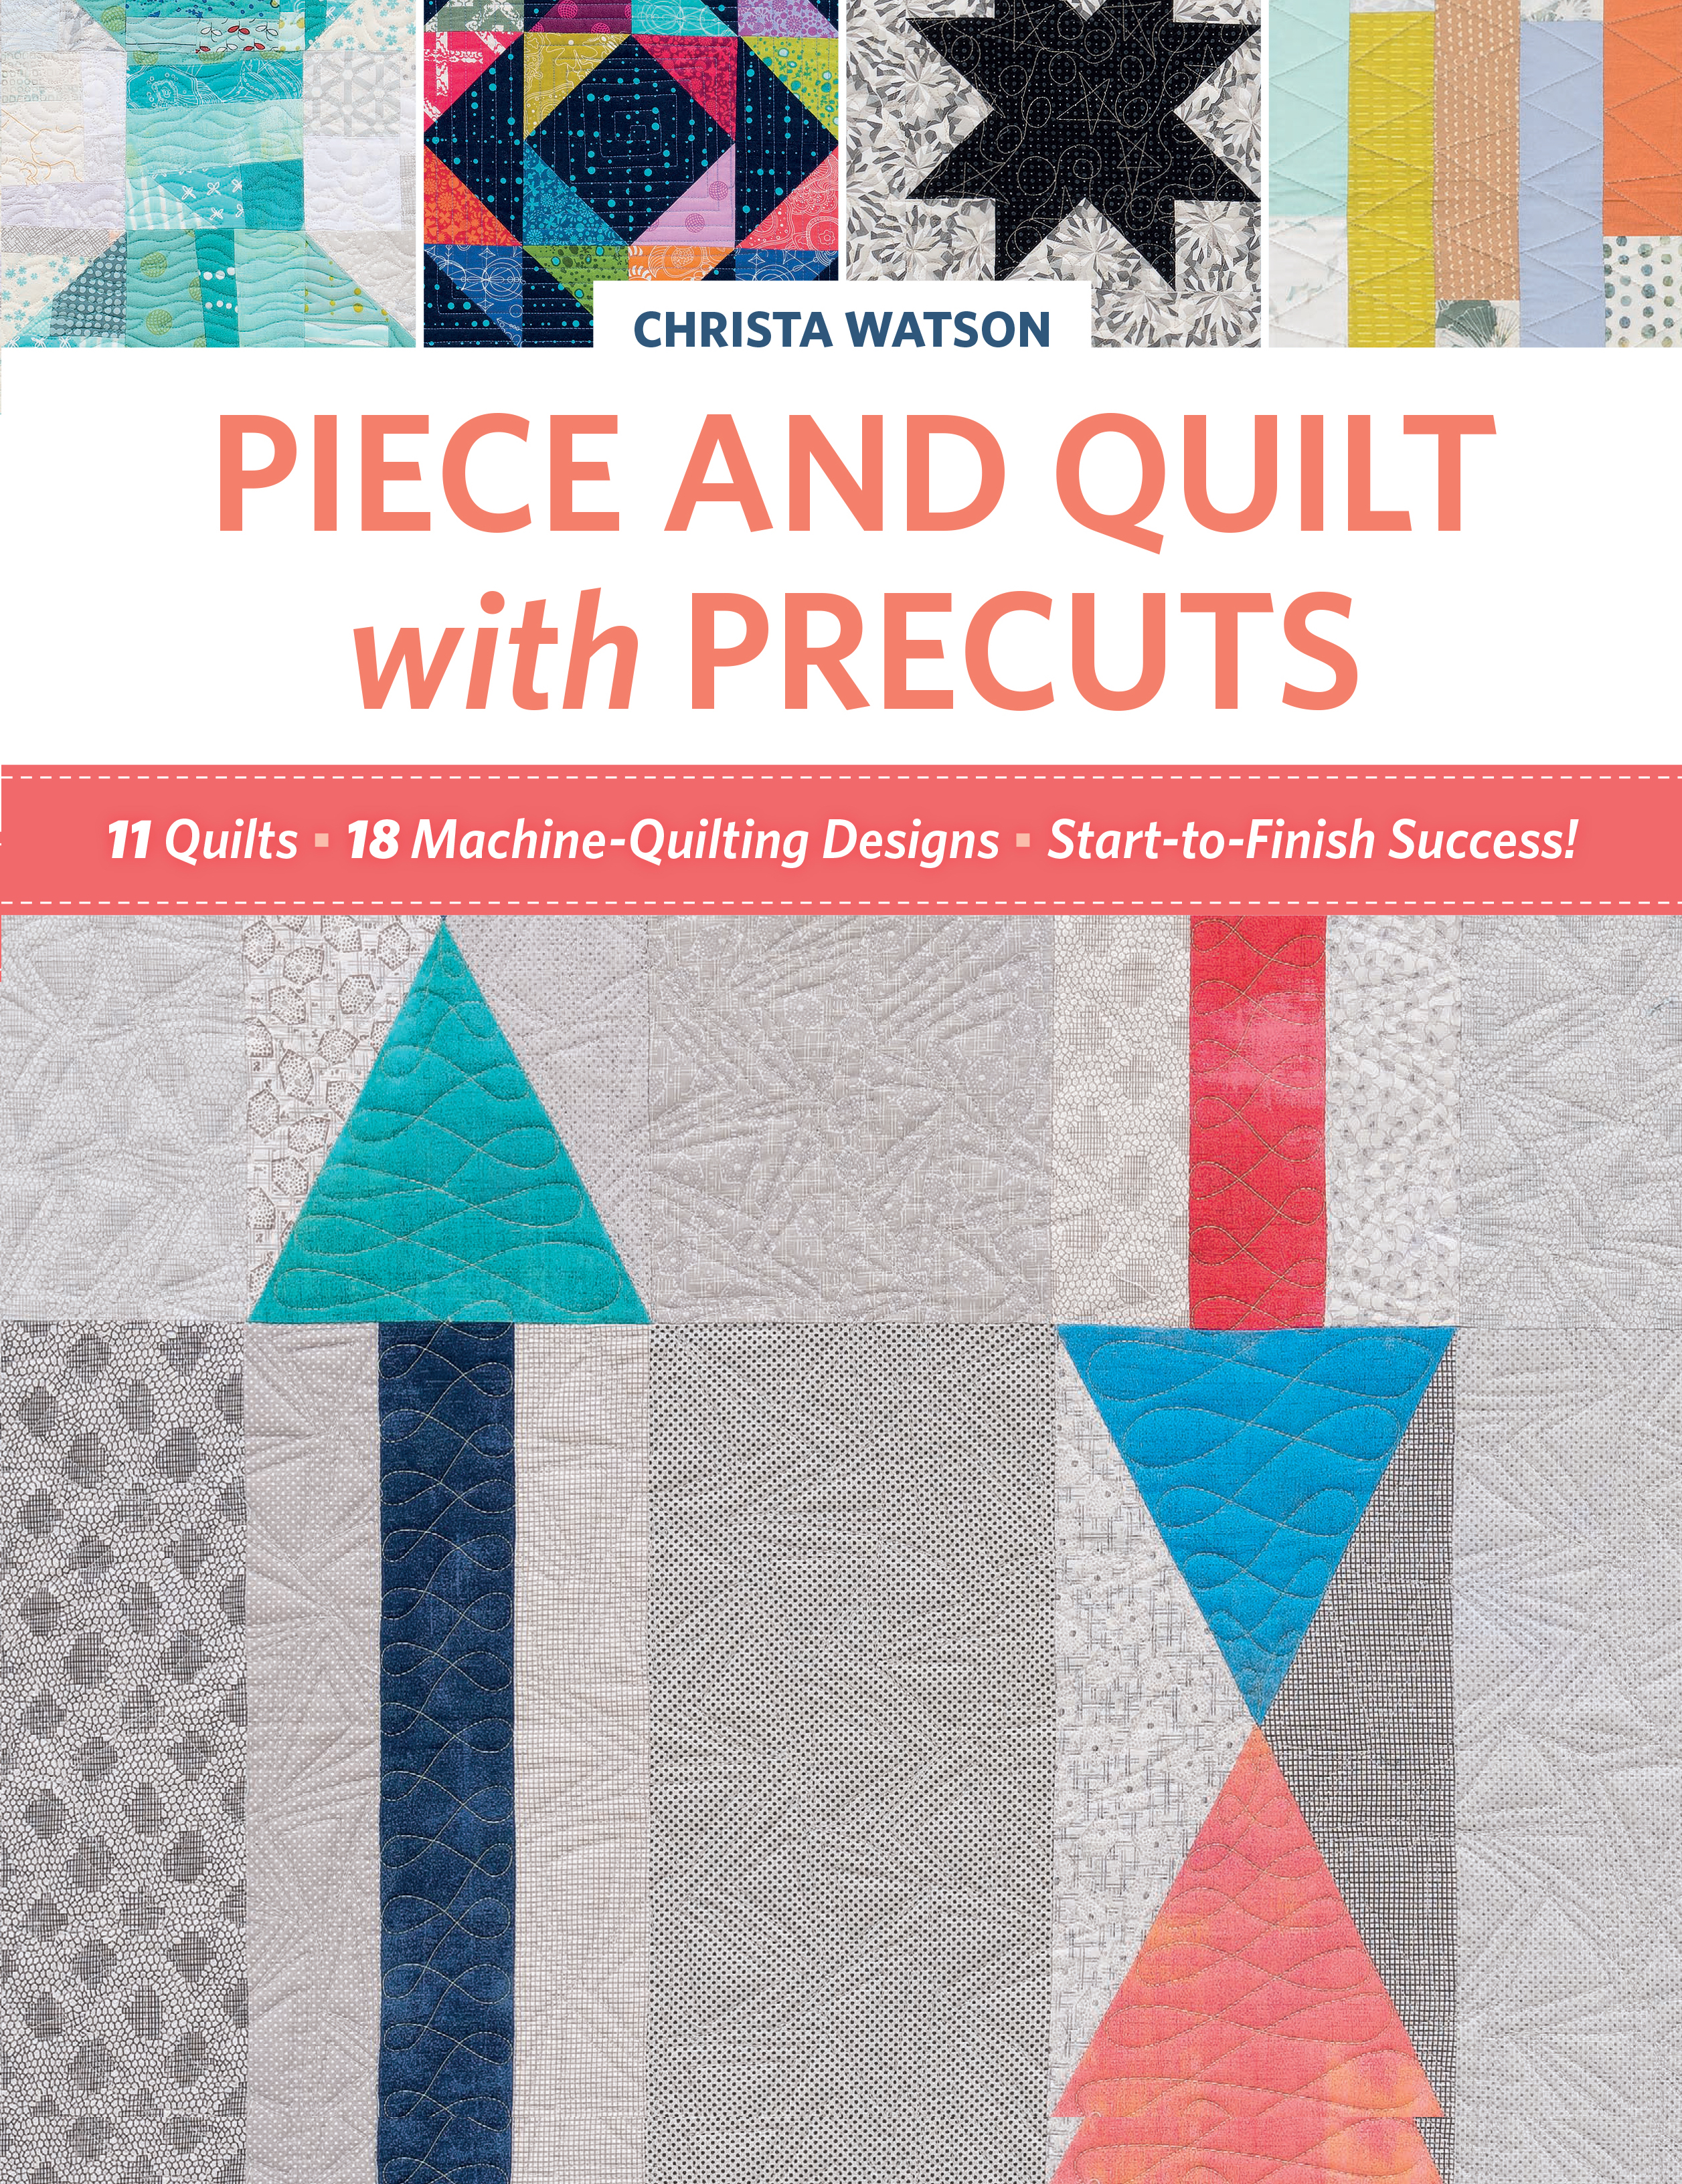
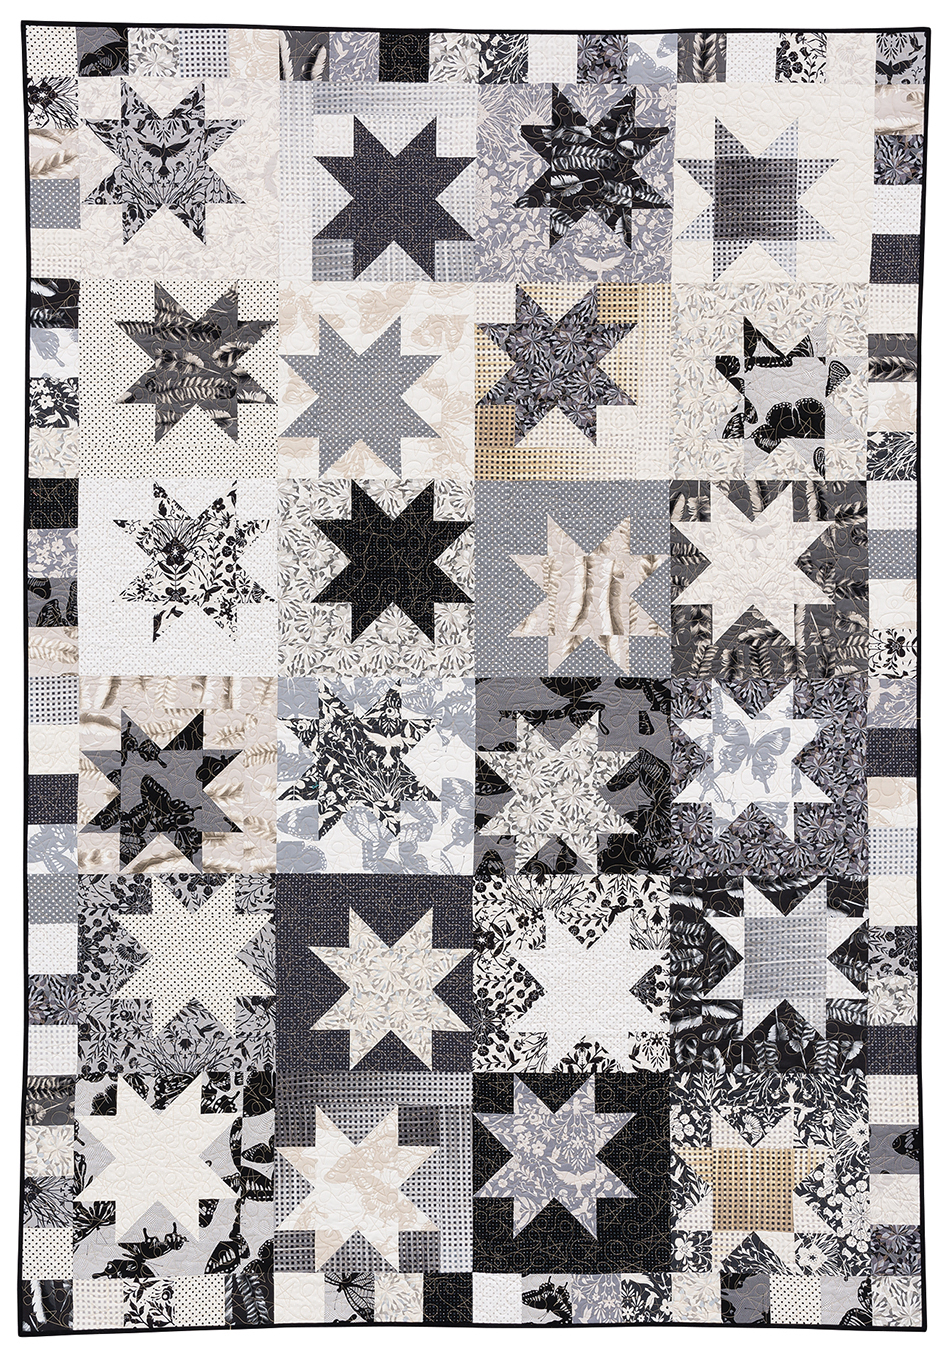
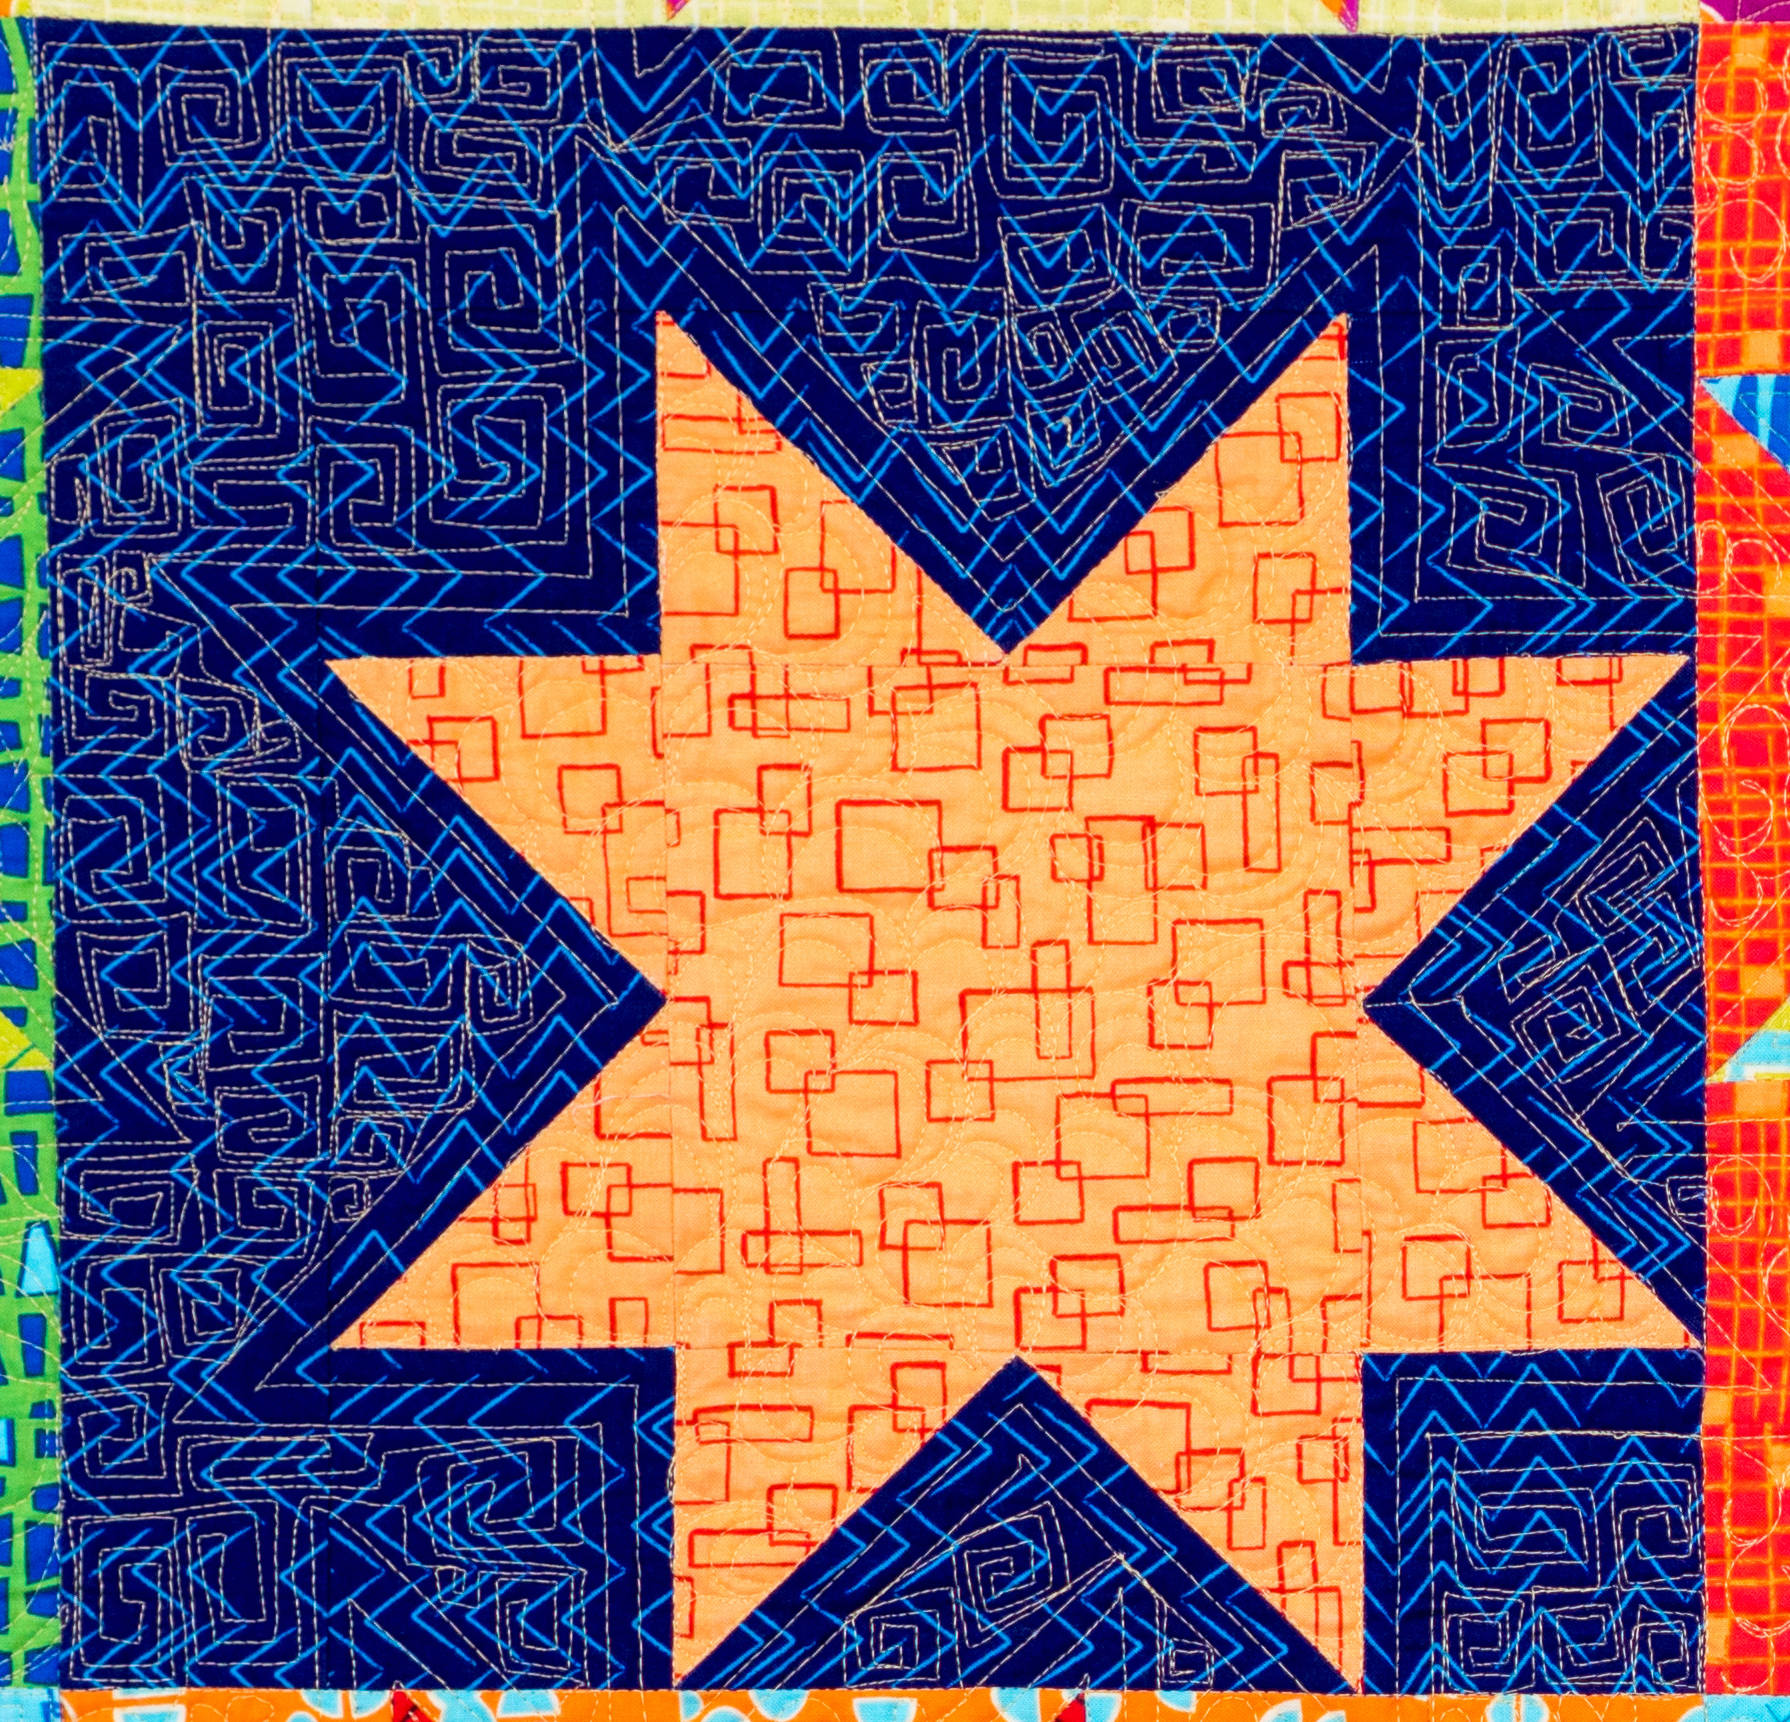
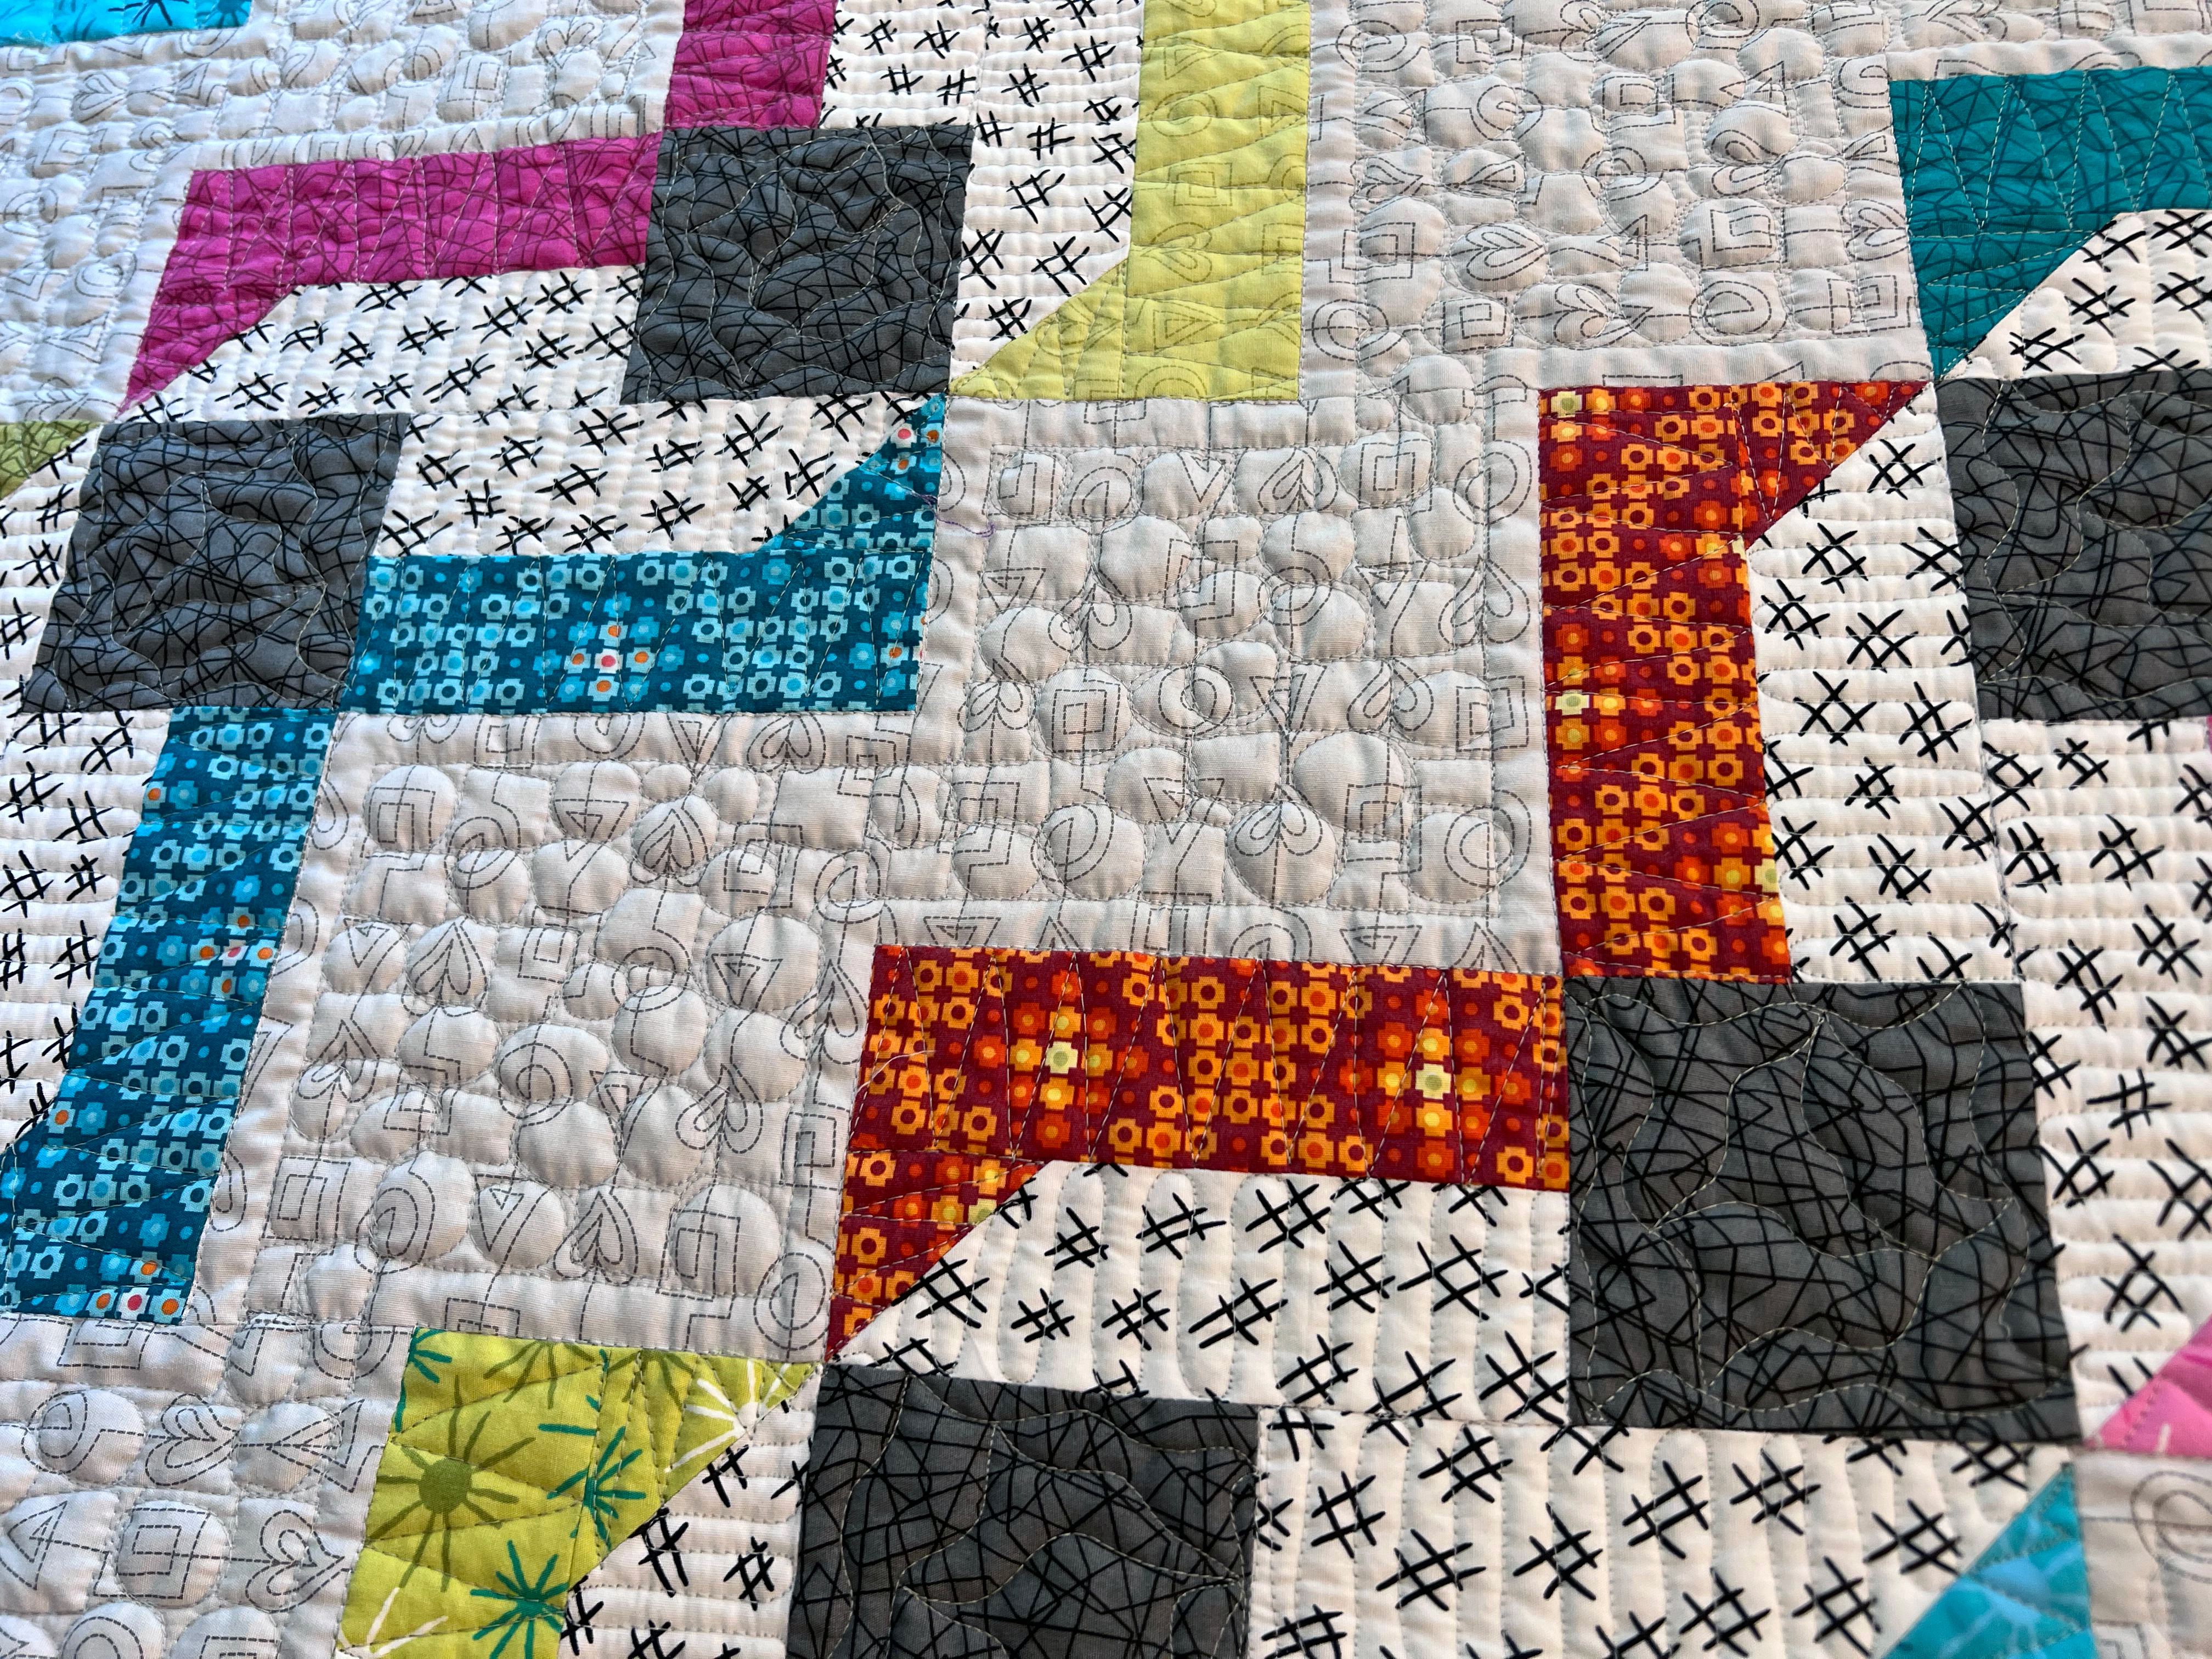
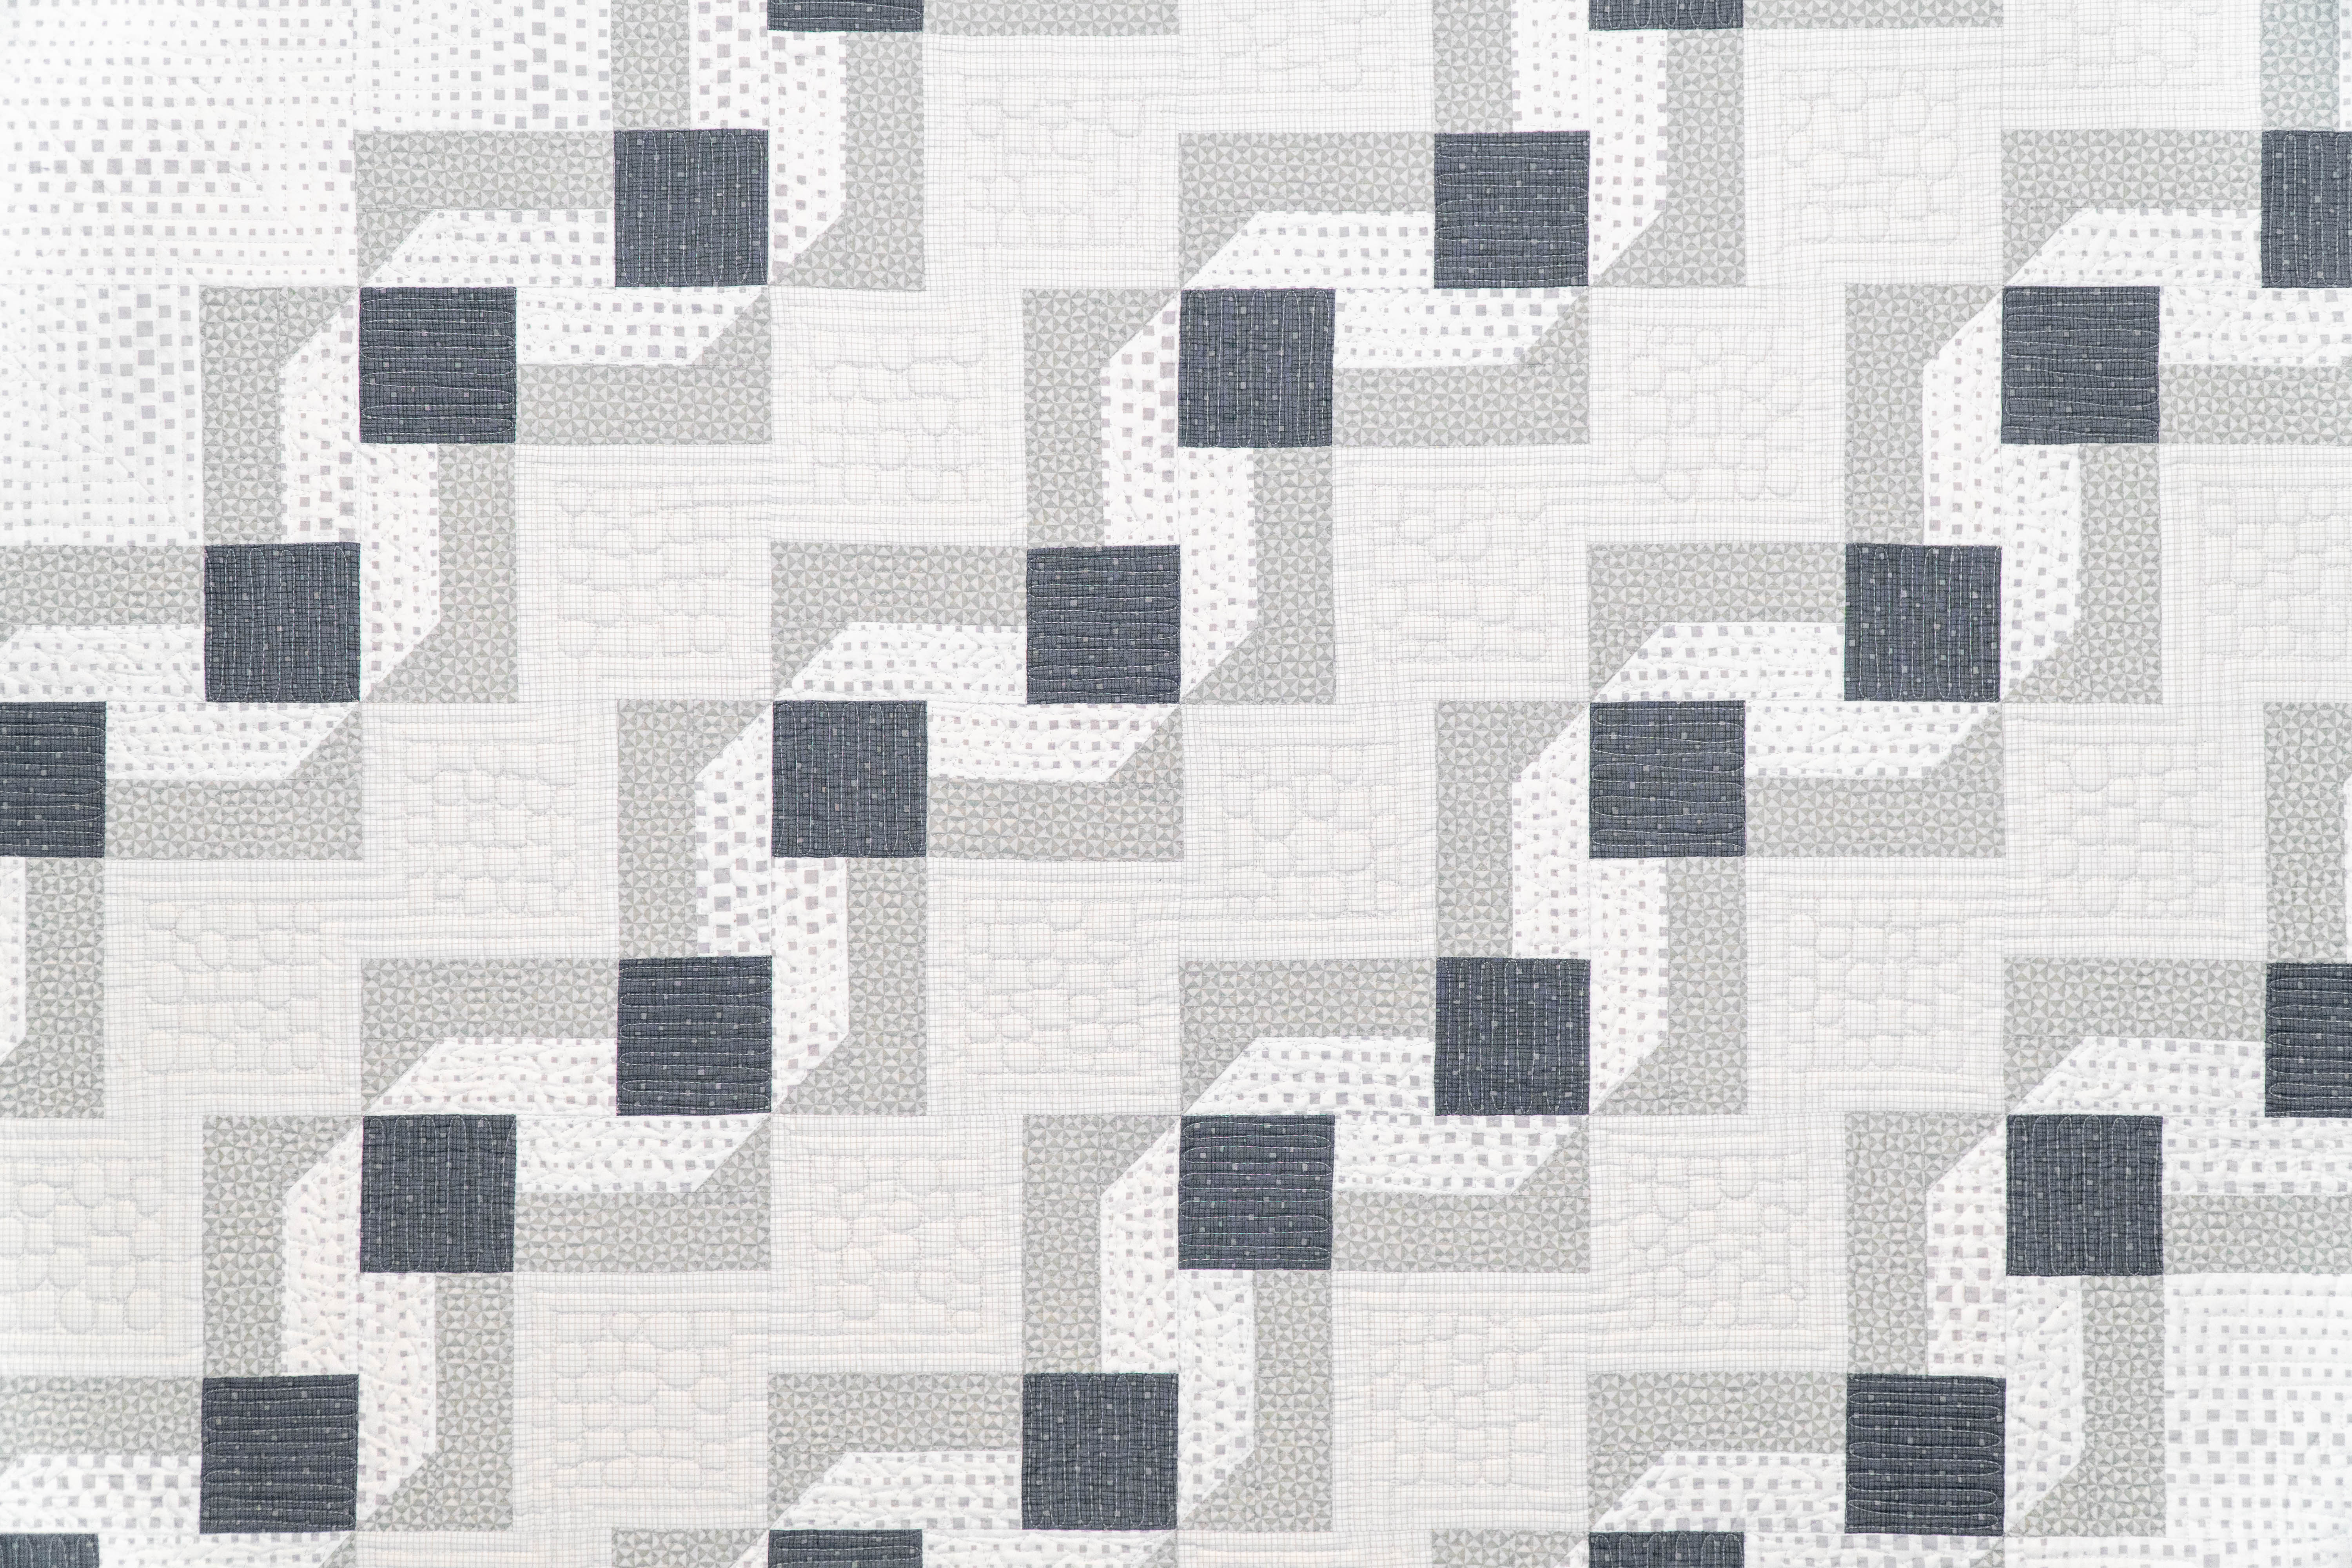
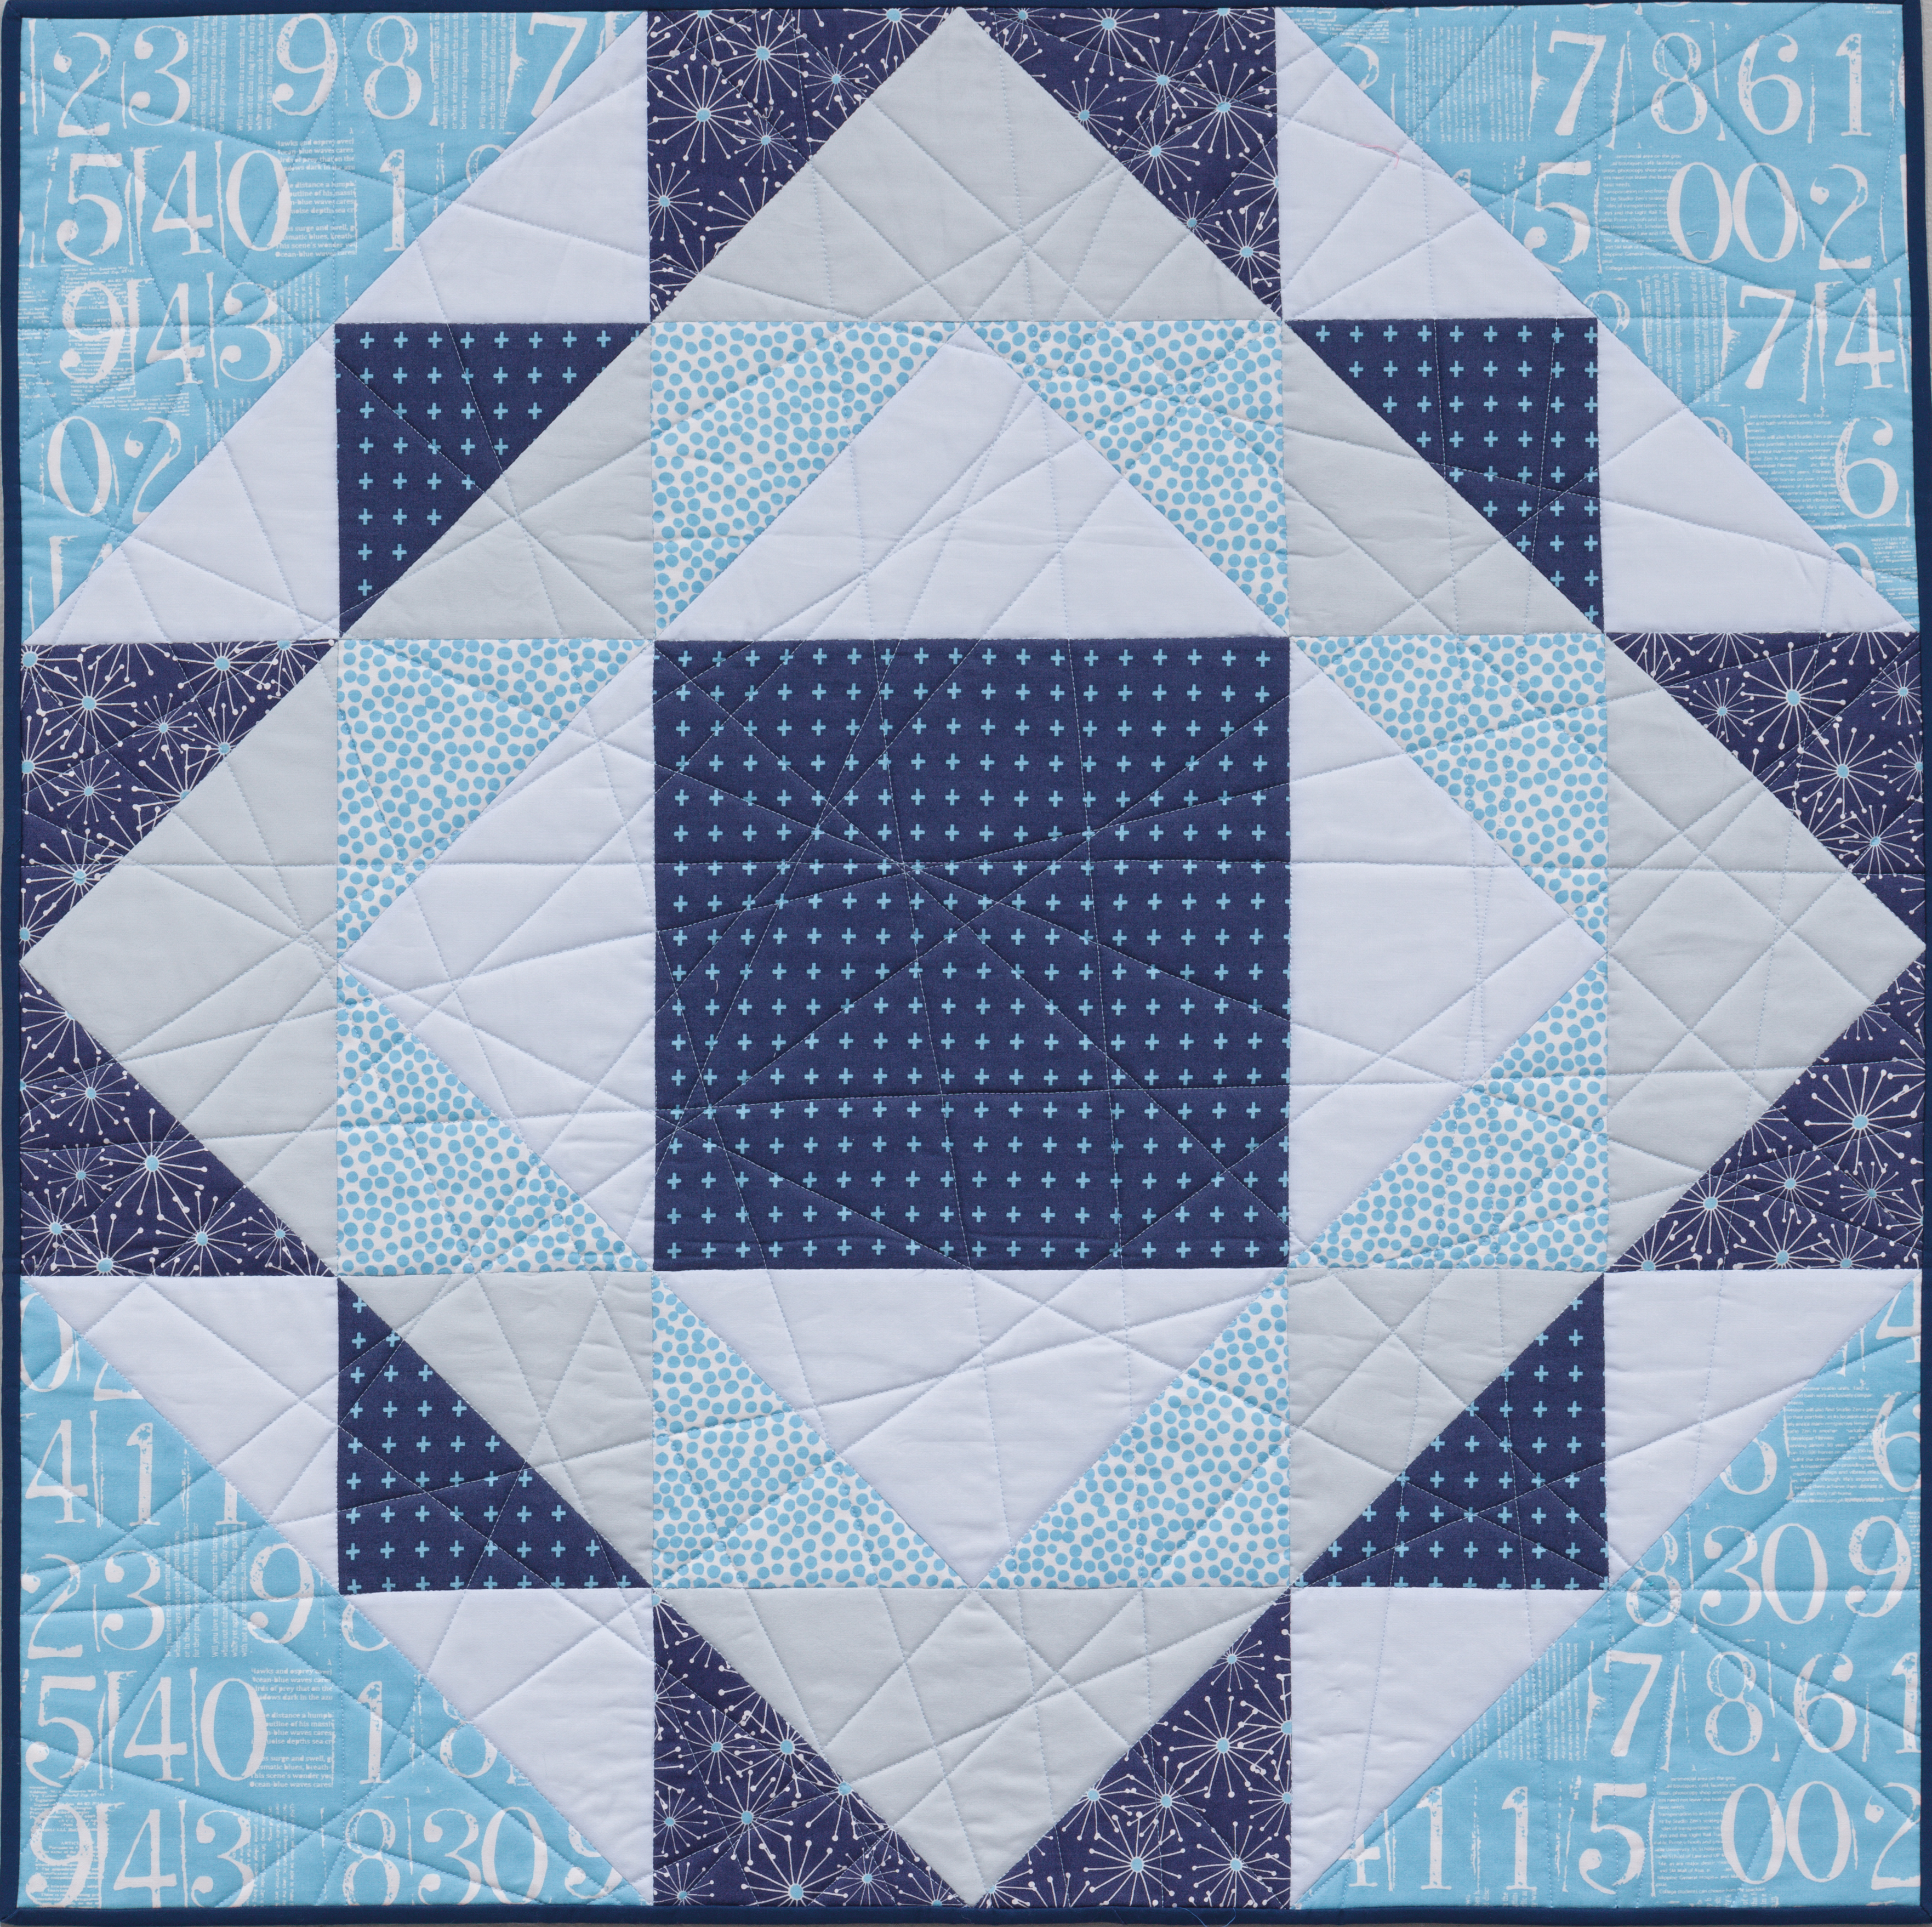
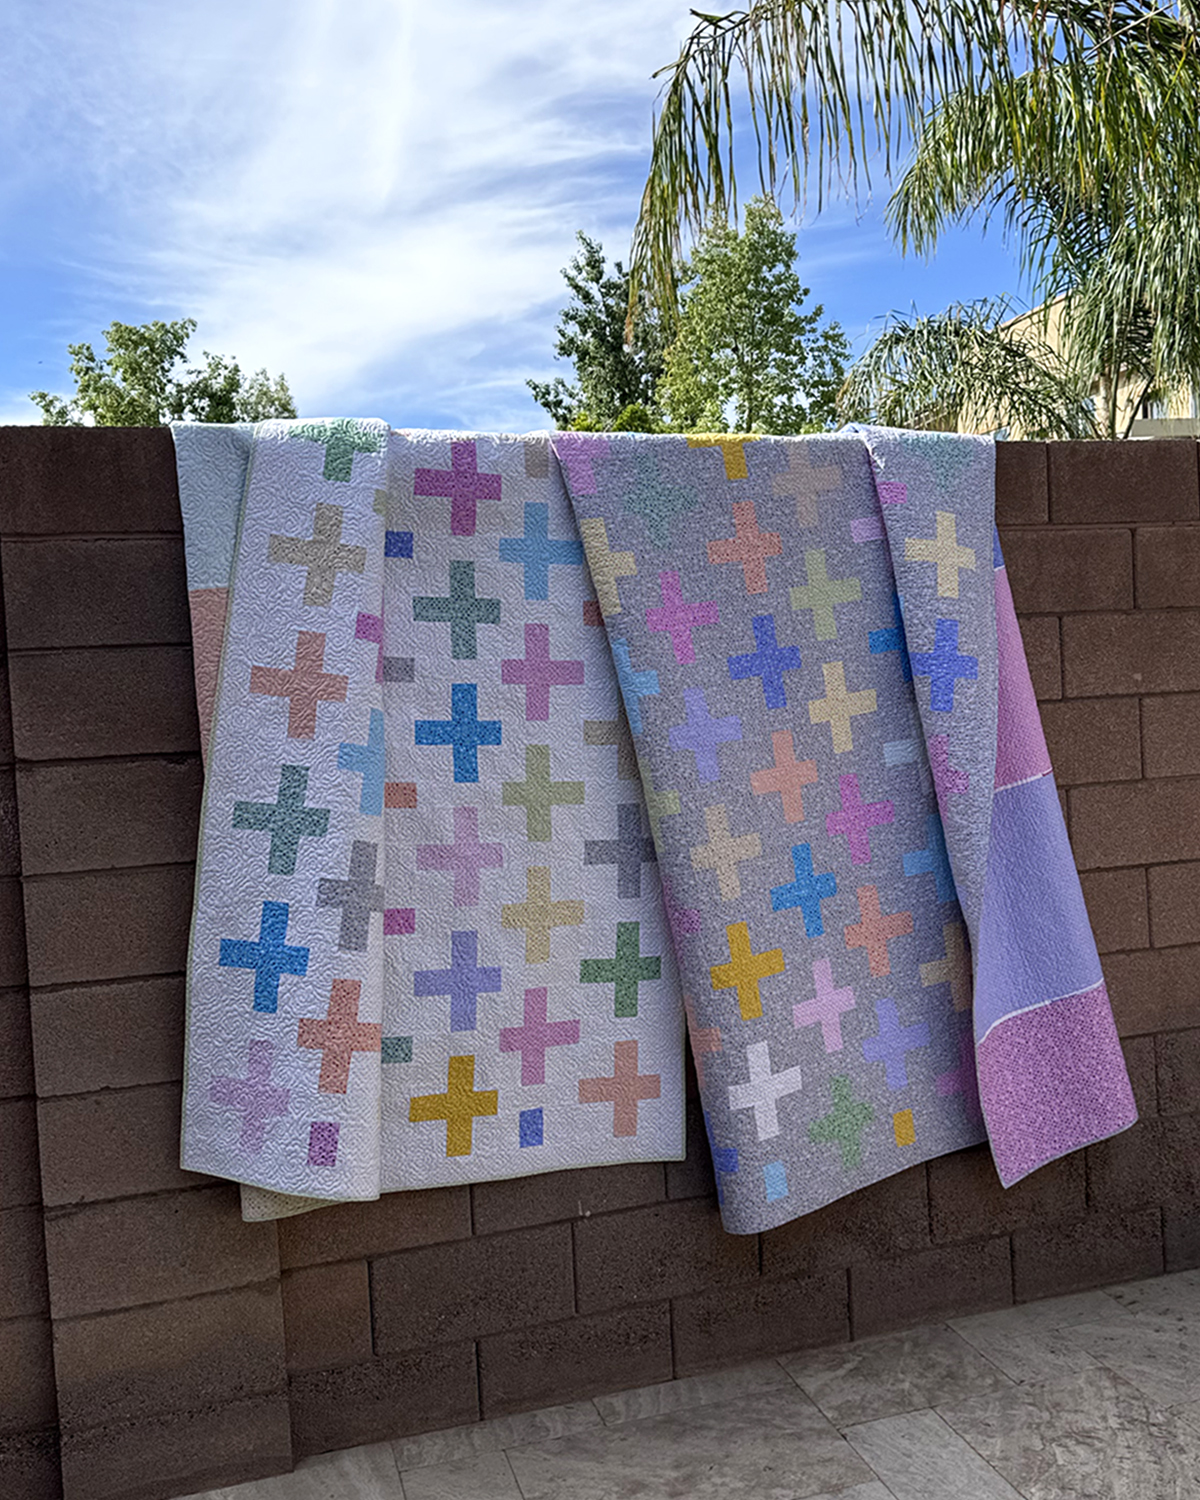
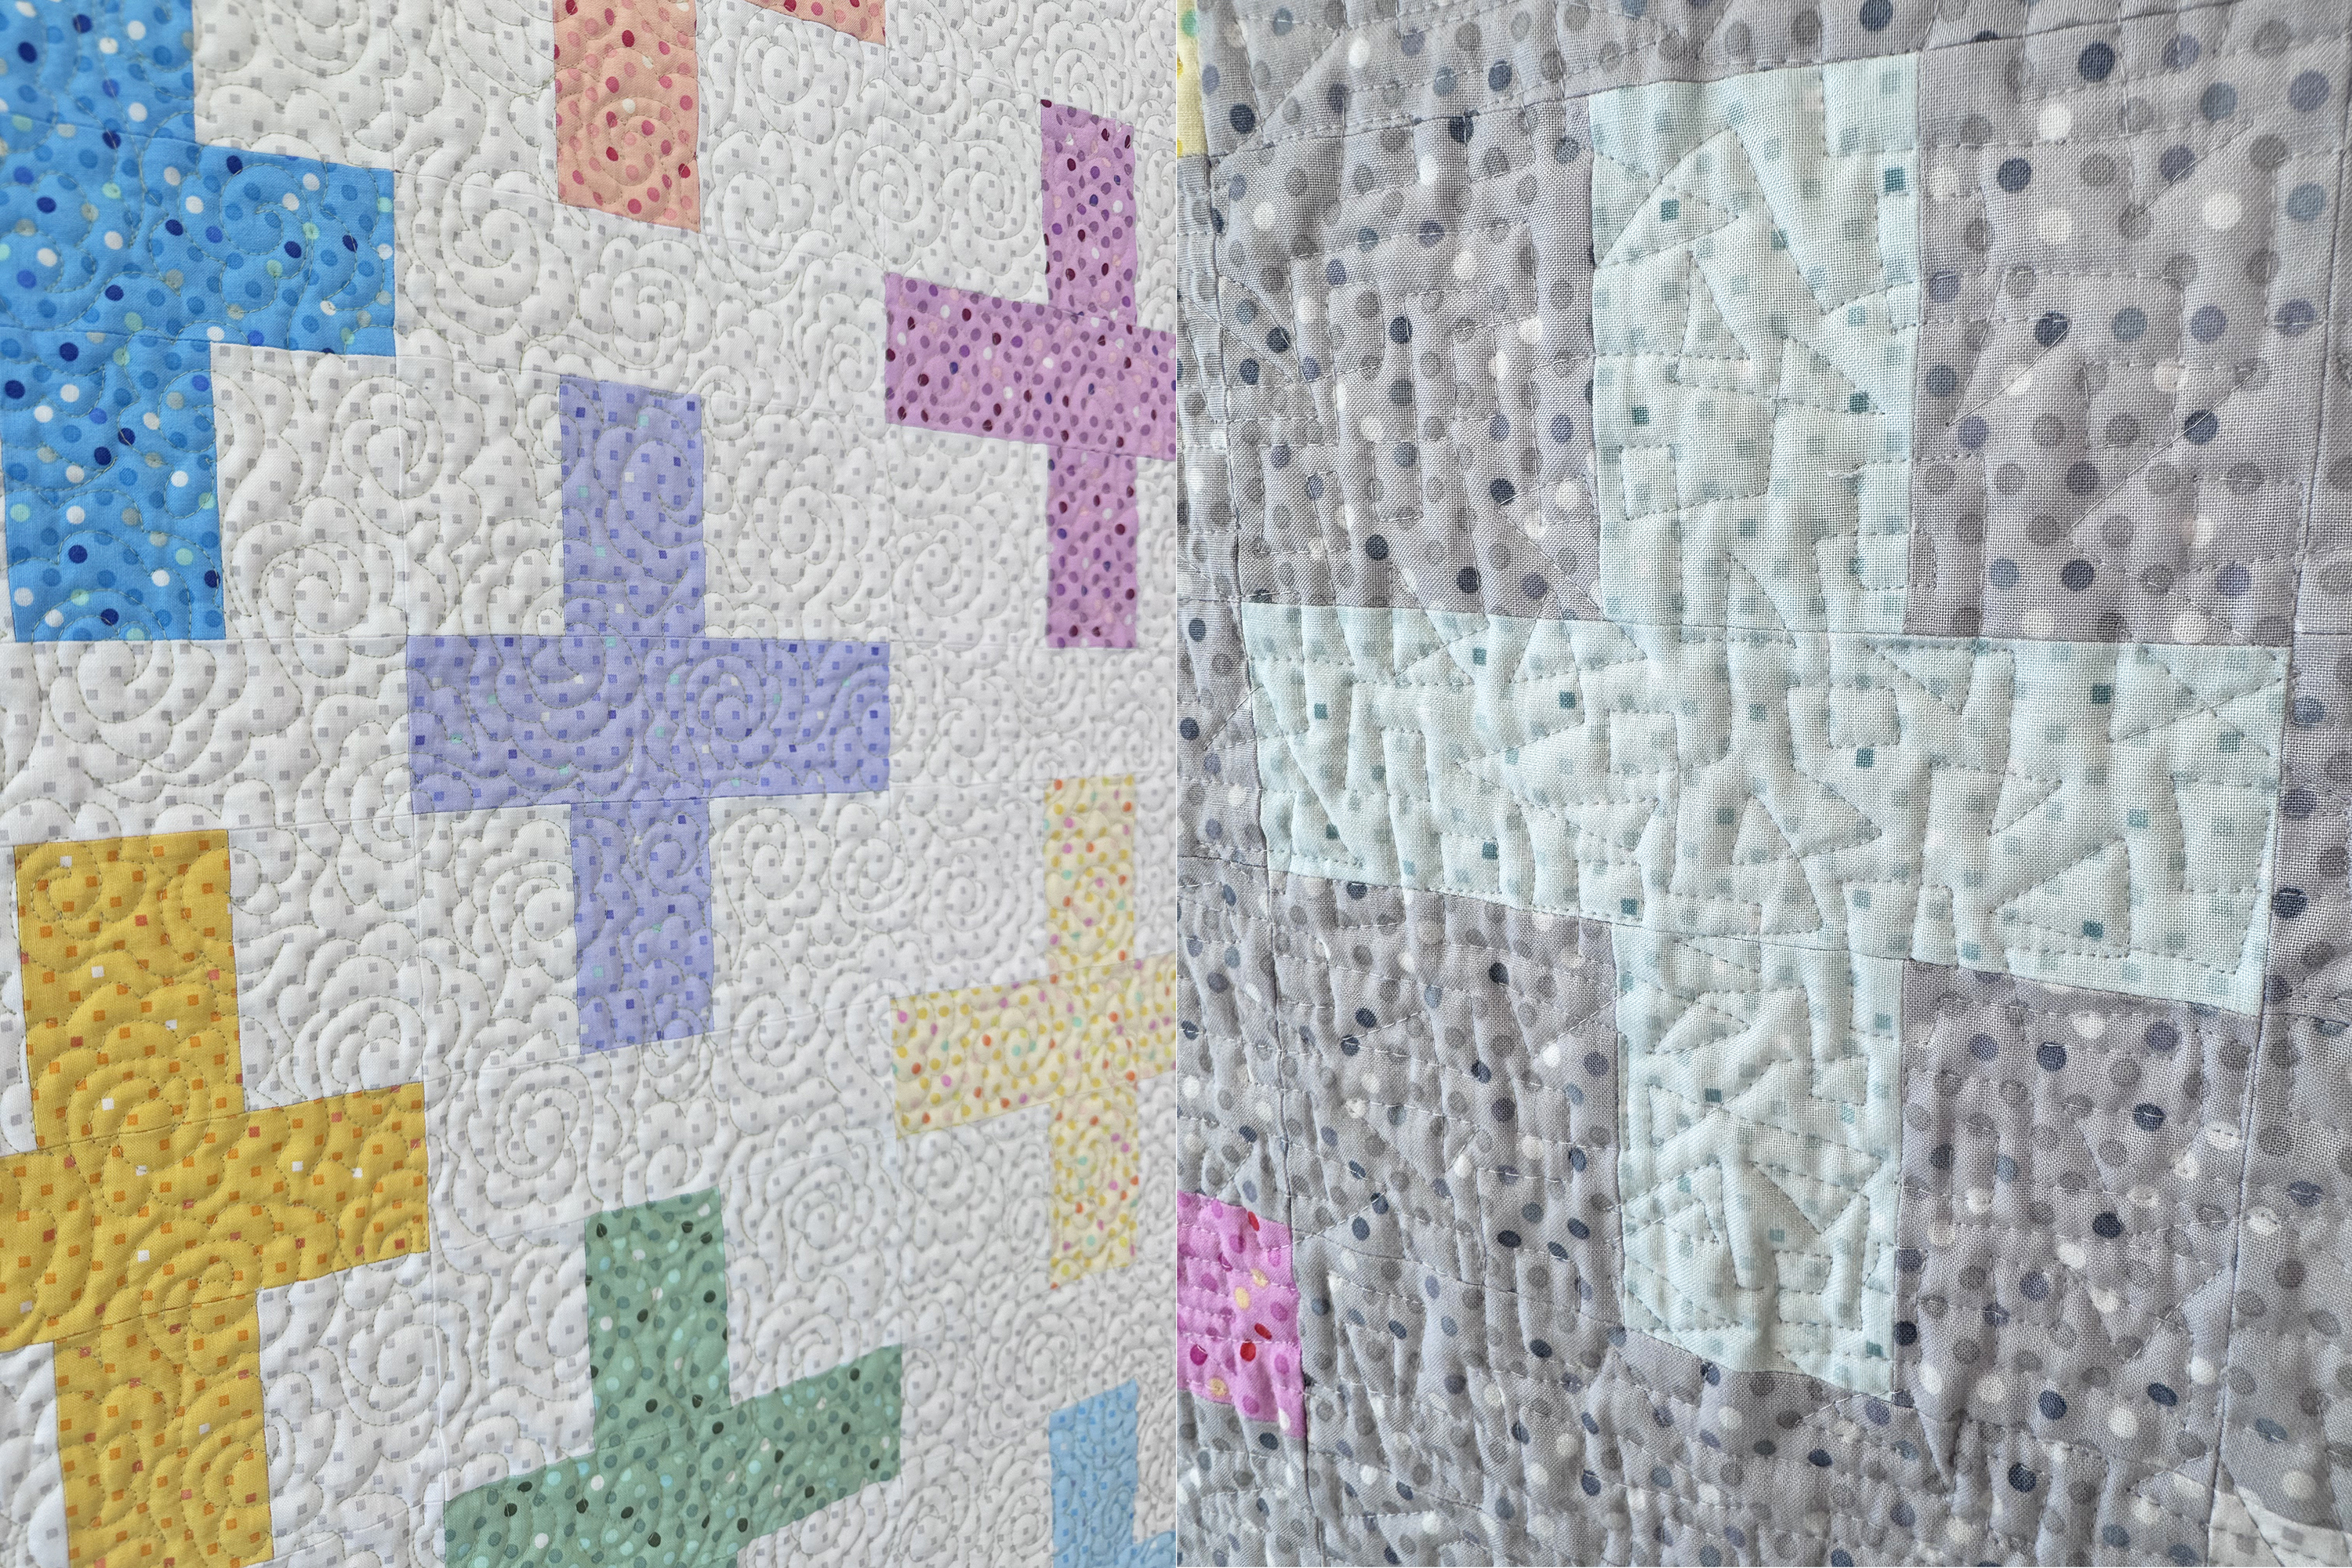
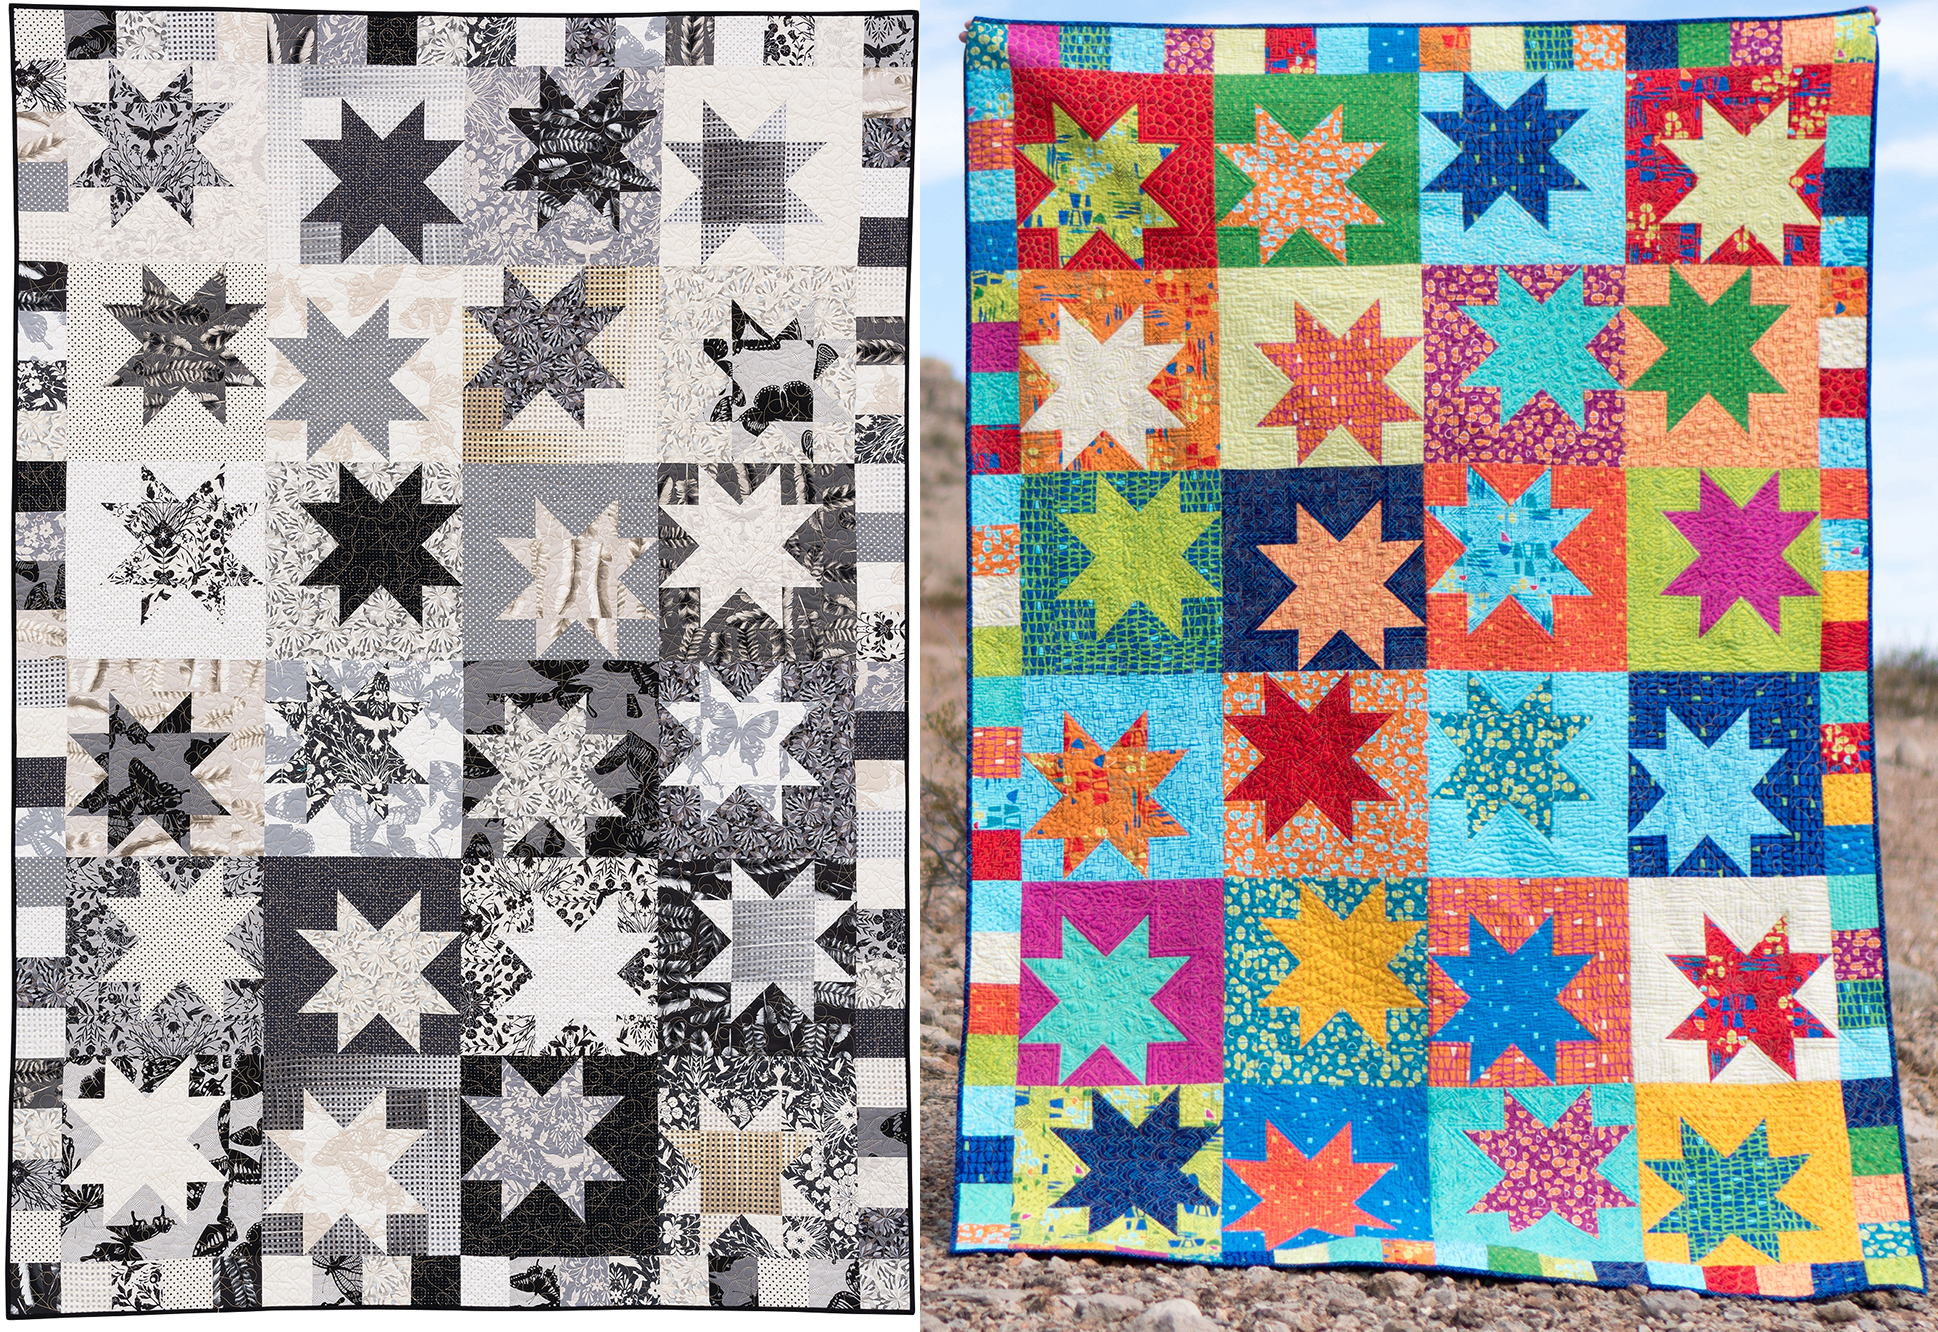
Throughout this series, I’ve loved showing how I quilted these designs on actual, real quilts. The quilt shown in the video behind me is called Star Struck and it’s fun to see how different it looks depending on the fabrics that are chosen. Complete, start to finish instructions for this pattern are included in my book, Piece and Quilt with Precuts!
Click here to download Piece & Quilt with Precuts for the Star Struck quilt pattern.
Catch Up on Past Videos!
I’m almost finished sharing all of the designs from this series. If you’ve missed any of them be sure to check out the complete play list for hours and hours of viewing pleasure!
Click here to view the entire 99 Machine Quilting Designs Playlist