It’s that time of year again when fabric designers are prepping for their new fall/spring releases. I’m excited to announce a followup to my best selling Dazzle Dots fabric line. The new collection is Dazzle Dots 2 which a wonderfully soft complement to the original. I’ll be sharing sneak peeks at Benartex’ Virtual Fabric show next week, and the fabric will hit stores in the spring.
The Virtual Fabric Show is free to watch and will be recorded if you can’t view it live. However, for those who ARE able to watch live, there will be prizes and a chance for some designer Q&A. The entire event will run for 2 afternoons and you can watch it all, or pick and choose your favorite designers. The full schedule is below:
In my quest to explore the concept of geometric abstraction, I felt compelled to take a perfectly interesting quilt top and cut holes in it, then inset some circles.
It’s been very liberating to play with color, line & shape, without the need for my design to represent anything concrete. It’s a risky move for sure, but I just couldn’t move forward until I explored this idea.
Below are a few in progress pics while I was inserting the circles. It’s not a tutorial, but it was more of a journal exercise to write down my thoughts while making this top because it was bold and risky move for moe to even attempt to do something like this, LOL!!
First I started by making a sample circle. This obviously was not going to go in the quilt and I just grabbed some scraps I had lying around to test the technique (ahem… you may see more of these fabrics shown in the circle a bit later this year… just saying!!). I pinned it to the sewn top to see if the scale looked right.
The basic idea is to cut your focus circle 1/2″ larger than your finished size. Then cut a circle into the background that’s 1/2″ smaller than your finished size.
I wanted 12″ finished circles so I drew out 12 1/2″ and 11 1/2″ circles using EQ8 and printed them out on paper, then taped them together. I know there are templates and rulers for this, but since this is all one big experiment I just used the supplies I had on hand.
The hole in the peach background was cut 11 1/2″. The lilac circle was cut 12 1/2″.
By creasing both units you can match up the 4 quadrants and then sew with the background fabric on top. The hardest part is pinning the circle to the background. I used a million pins! There are tons of tutorials on youtube, google, pinterest etc. showing how to insert a circle into a block, using lots of different methods like using freezer paper, glue, etc, but I just went old school with pins.
It’s also super important to heavily press the back and front until it lies flat. With the successful test block complete, I was ready to dive in and start adding circles to my quilt.
I created a bunch of low volume improv units – way more than I needed, but I set aside any leftovers knowing I could probably use them up in some way on the back.
These are actually the wrong side of a bunch of low volume prints from my various collections. I really like the softer effect this gives to the fabric.
I traced out the circle shape onto the pieced background fabric, then very very carefully cut a circle with a super small rotary cutter. I made 3 circles like this with subtle shading. One was all light grays and whites (below), one had the light grays and just a little color (not pictured); the third was all light colors (above).
I pinned the circles roughly in place where I wanted them on the top; but then I needed to trace the smaller 11 1/2″ circle size using a paper template (NOT the 12 1/2″ cut unit), so that I could account for the seam allowances. Now the scary part – cutting holes in the quilt top!
This was a bit scary, but I wanted to take a risk and really explore this idea. The whole time I kept reminding myself it’s just fabric – I can get more!!! I only cut and sewed one hole at a time just in case anything went awry.
Oh no!! There’s a hole in my quilt top, LOL!! By the way there are no tutorials I know of showing how to insert a circle into a whole top, so I just sort of winged it and hoped for the best! I treated the whole top as the background or concave unit and folded it so that the circle was folded in half both ways, first horizontally and then vertically.
I used pins to mark the midpoints of the circle in 4 places. I’ll do the same for the inset circle so that I can match up the pins and they act as my registration marks for proper placement.
Can you see my crease lines? I’ll match up the background pins to circle pins.
Then it was just a matter of subdividing each quadrant evenly and adding more pins to distribute the bulk. I actually looked into the idea of using a freezer paper method as the circle template and sewing on the paper, but it looked way too complicated.
Even though this method used a ton of pins, it made more sense to my brain. Basically I’m sewing wrong sides together and matching up a concave (background) curve with a convex (inset circle) curve. The actual sewing just uses a straight stitch, sewing in a line, but very slowly.
Dealing with the bulk doesn’t bother me because I’m so used to moving a large quilt when I’m domestic machine quilting. It gave me similar happy vibes like that. 🙂
I wasn’t sure about this after I put in one circle, although I was pleased that the technique worked. But by the time I added the 2nd circle I knew it was going to be ok. So if at first you aren’t sure – just keep going!! More than anything I wanted to try out a technique that’s been on my bucket list for years (perhaps decades).
When adding the inset circles I didn’t overthink it. I let the orientation of the circles be random and I’m really pleased with how it turned out.
Thinking ahead to basting and quilting, I’m planning to use a Hobbs Silk batting to quilt it. I like the drape and texture this adds to the quilt. I took a picture of the finished top with the batting I plan to use so I don’t forget!
I have big plans to use up all the leftovers on the back, so stay tuned for the next step! The nice thing about sewing without a deadline is that I can make this quilt on my own time frame. Let me know what you think about my experiment so far. I’m loving inset circles and will definitely do them more in the future!
I’ve been sitting on a feeling for awhile that I need to change up a little bit of what I’ve been doing. I will still be doing all the fun things: designing, writing, traveling & teaching, but I’m starting to make space to work on some more “experimental” ideas.
A current “What If?” Idea in progress…
A few years ago I started getting an itch to explore new concepts and ideas in my quilting work. As a full time professional quilter, that can cause somewhat of a conflict because most everything I currently make is for commercial consumption. Meaning that I have to sell what I make or design in order to pay the bills. It’s a fun job for sure, but it often times leaves little space for trying out new ideas that may not be financially viable. It’s the old adage, that “if you find something that works, don’t fix what isn’t broken!”
A couple of times this has pulled me into a direction I’d rather not go in and I have to course correct. I can also be slow to change because I’m not a boat rocker. All this is to say I’ve finally decided to prioritize the “what if?” ideas.
I like where this is going, although I’m not quite sure what to name it yet….
The biggest issue I’ve had to navigate is how to actually carve out the time in my already busy schedule to make this happen. And without any external deadlines, the exploratory concepts keep getting pushed to the side because I can do them at “any time,” right?? So to actually make time and space for what I want to do, I’ve decided to make 2 tweaks in my routine.
First of all, I’m going to post less on social media. My accounts aren’t going away, but rather than being a slave to the algorithms, I’ll post what I want, when I want! There may be periods of time when things are more quiet, and other times where I may want to share a boat load of new ideas! Along the way I may even write longer blog post like this one.
This has been fun to work on for a few minutes each day, and I’m already getting ideas on how to machine quilt it while I piece.
The second thing I’m doing is actually getting back to what first got me noticed in the quilting industry in the first place: participating in quilt shows again. I do love sharing my work publicly, and I don’t enter my quilts to win ribbons (although it’s a nice bonus when they do)!
However, having that external deadline of finishing something for a show really motivates me to explore, experiment and push the boundaries a little bit. I’ve come to accept that fact that it’s hard for me to make a quilt “just because.” For me, each quilt needs to serve a purpose. So I’ve given myself permission to use those external deadlines as a catalyst to keep me sewing, exploring and just playing. It feels very refreshing to make what I want to make and share what I want to share!
I’m at a pause point with this design, so now I’m thinking through what comes next….
So… I’ll continue to document my process of both my commercial work and my experimental work. I’ll continue to share both my successes and lessons learned along the way. But it will be more random and less scheduled.
Have YOU ever had an a-ha moment, or a strong feeling when you know it’s time to pivot? Let’s definitely continue this conversation in the comments, and I’m sending hugs to everyone who’s continuing to support me on this journey!!
I have a little secret to share. I’m currently working on a followup to my popular Dazzle Dots fabric collection. But in the meantime, while I can’t share what’s new, I can revisit some of my earlier fabric collections, just in case you missed them the first time around!
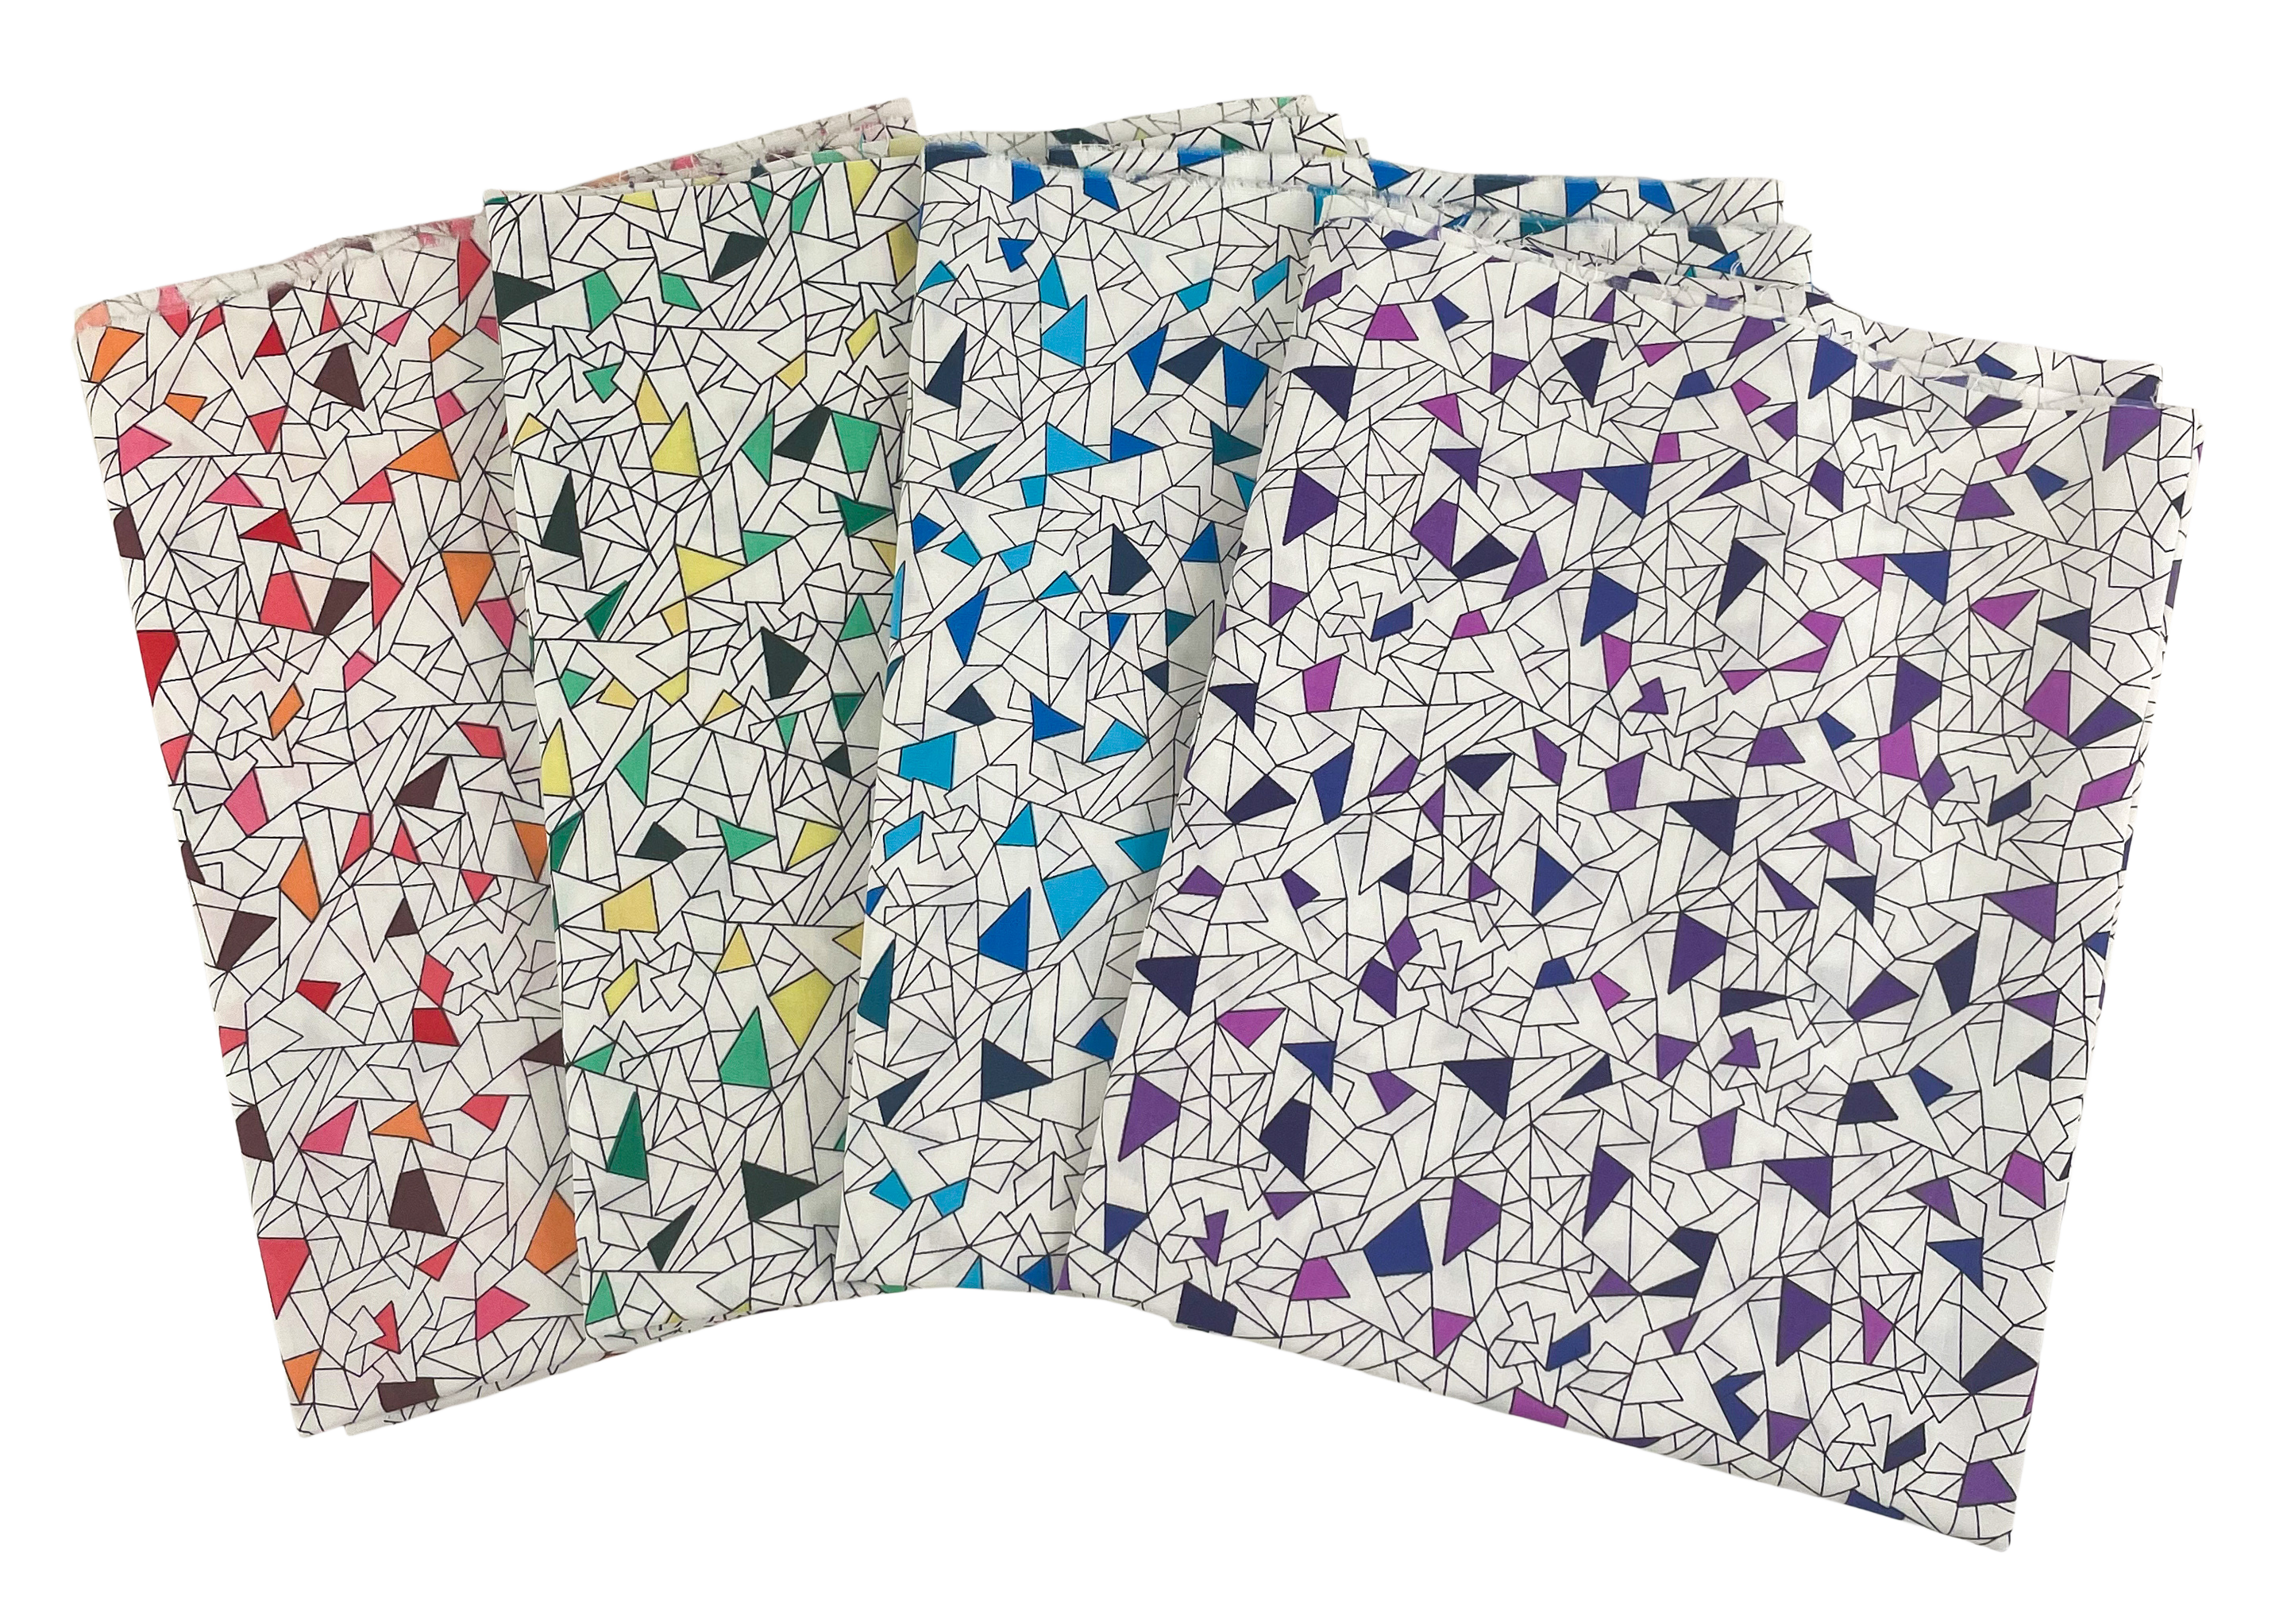
I designed this grouping to add to my stash of black & white prints, but then threw in a few bright colors and fun backgrounds. In fact, the four prints shown below – called “Crackle” are my absolute favorites from the group.
You can use the front side shown below for a “low volume” background with a pop of color. Or turn them over and use the back side of the print to tone it down a bit. These are such high quality that they look great on either side!!
The other quilt I made from this grouping is called Blooming Wallflowers, a quilt that I’ve made in several different collections. This time around I made a scrappy version and I recorded a longer video sharing cutting tips and tricks, too!
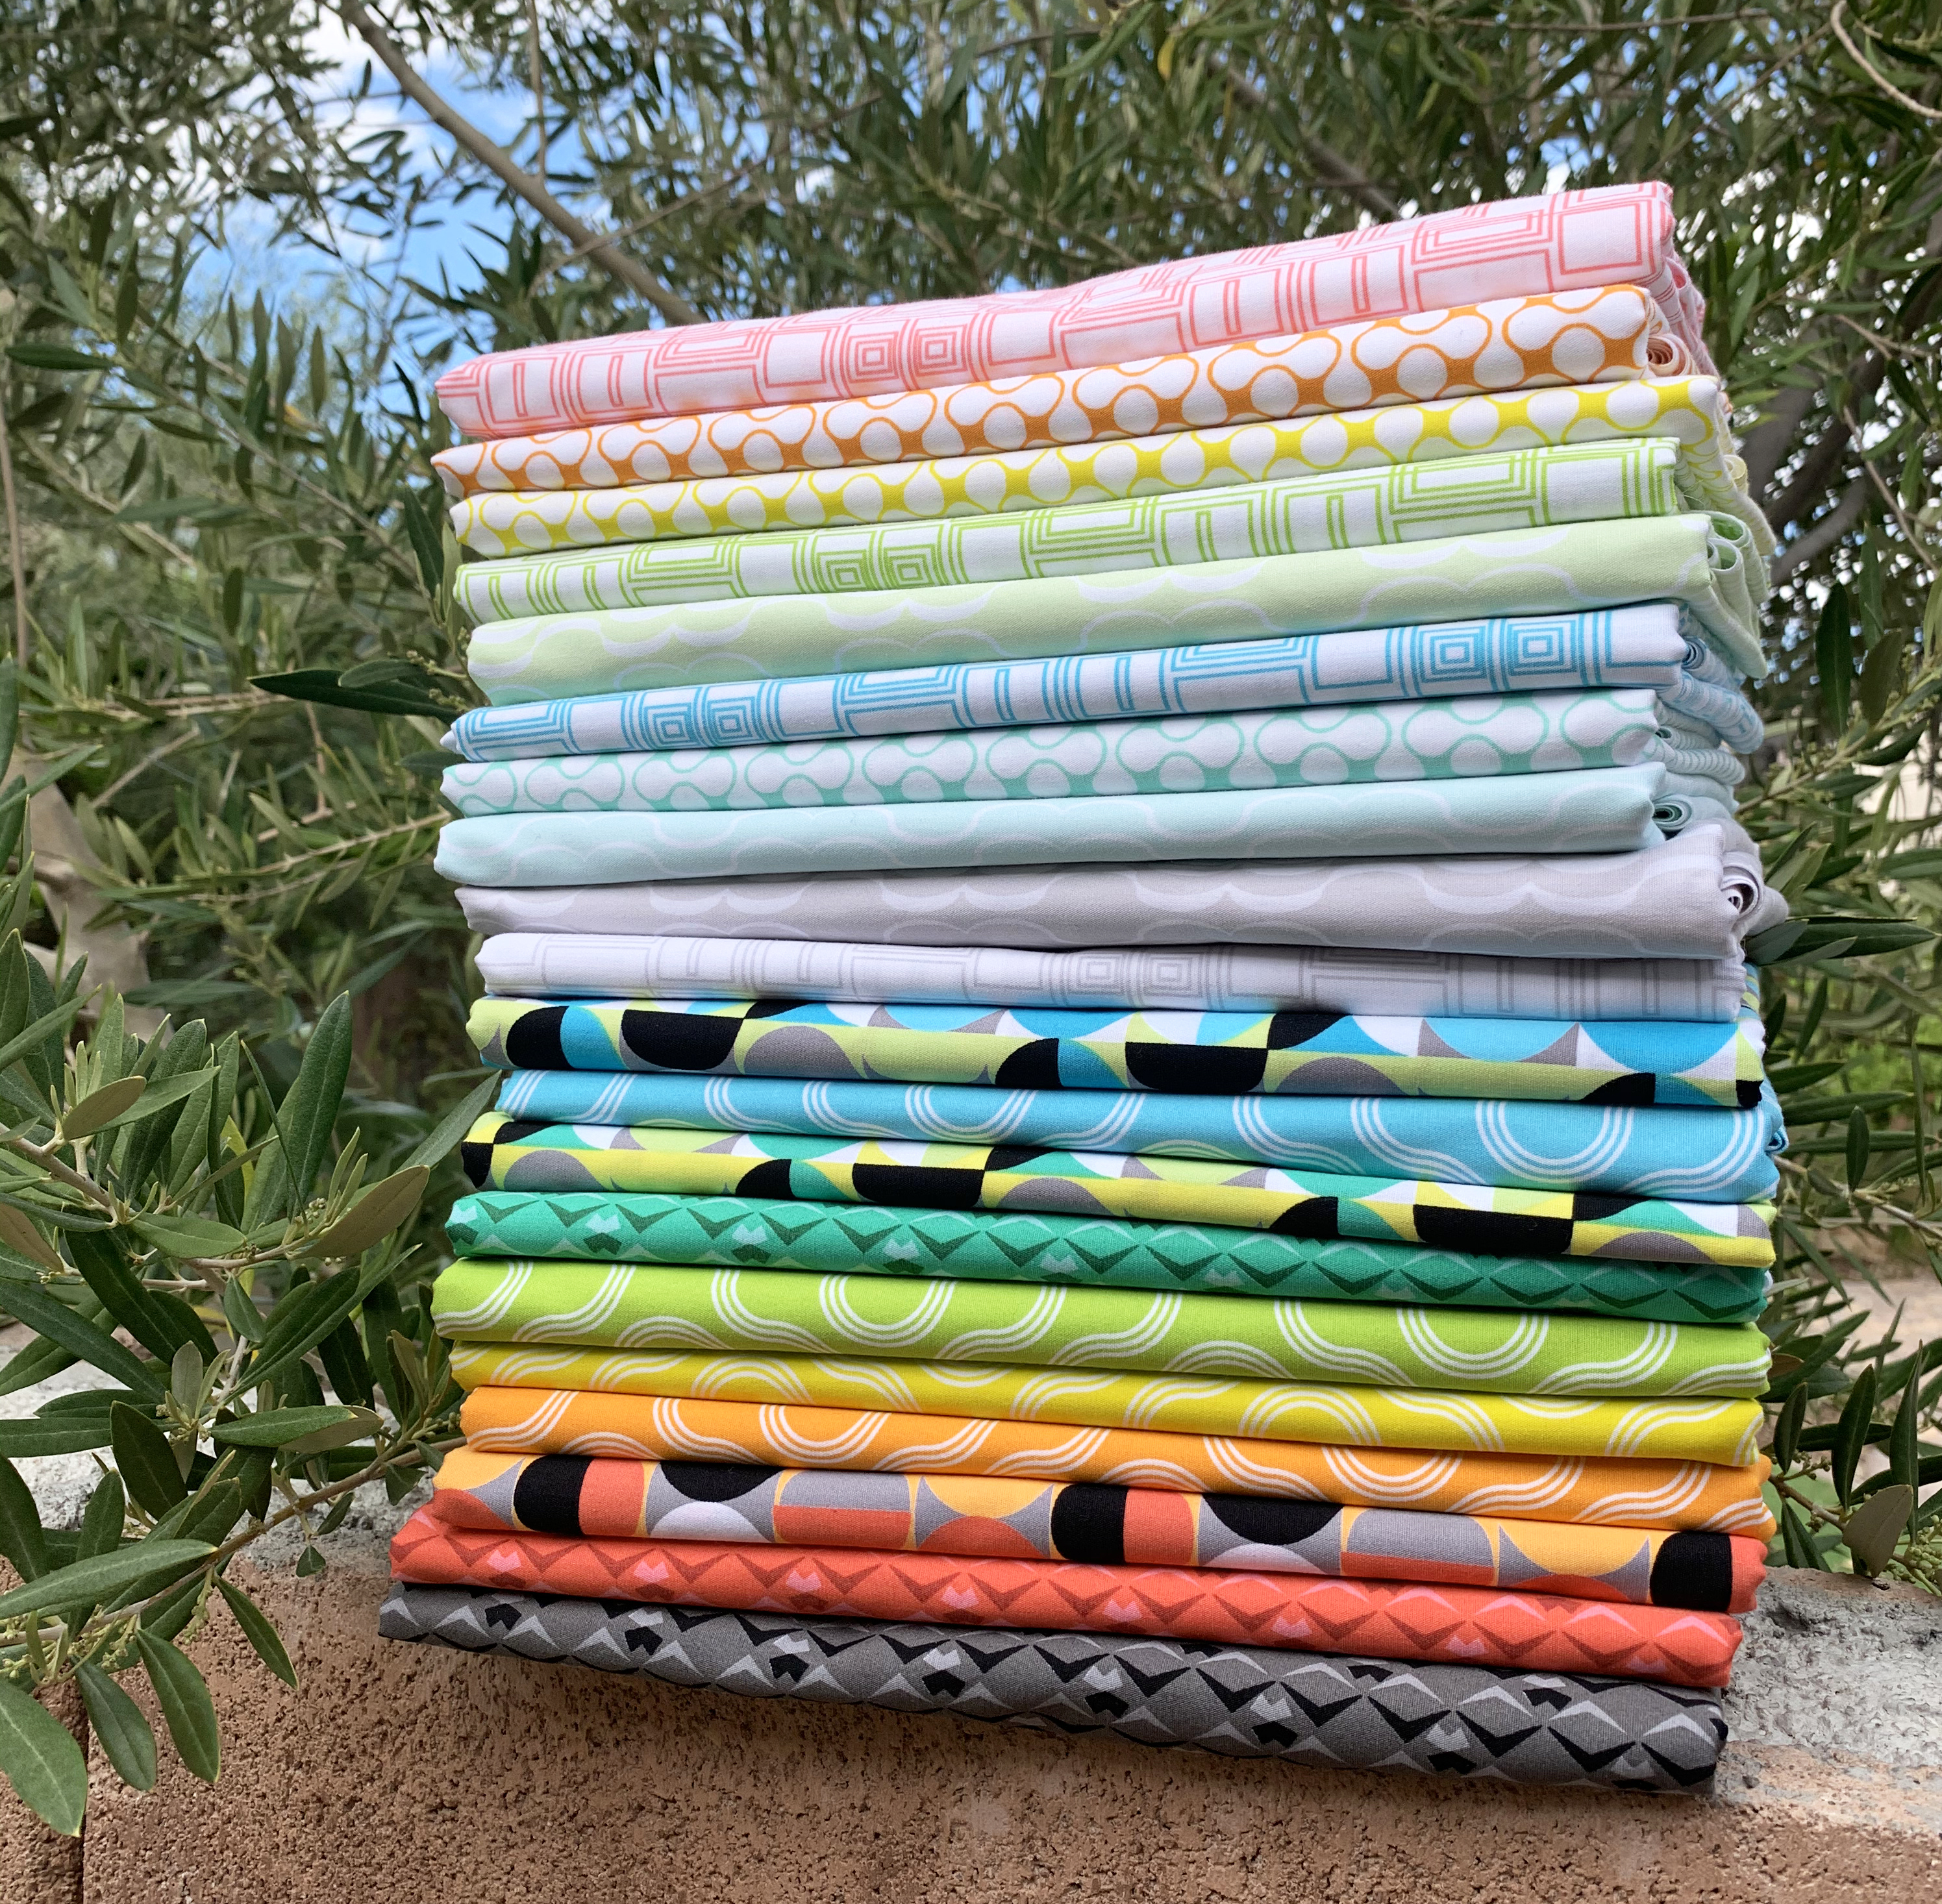
Stitchy is my fabric collection from Benartex that features 5 different geometric prints in 5 different colorways ranging from light to dark. I usually like to keep my fabric lines to about 20-25 prints so they don’t break the bank and that’s been working really great so far.
I went with a “sewing & sharing” theme on this collection with fun names like Hashtags, Stitches, Sunny Day, Crossweave, and Threaded Lines. While supplies last, you can grab half yard bundles of any of the five colorways shown below: pink, orange, lime, turquoise and grey.
Stitchy fabrics are also available individually by the yard, or you can grab a fat quarter bundle of the entire group. Which colorway is *your* favorite??
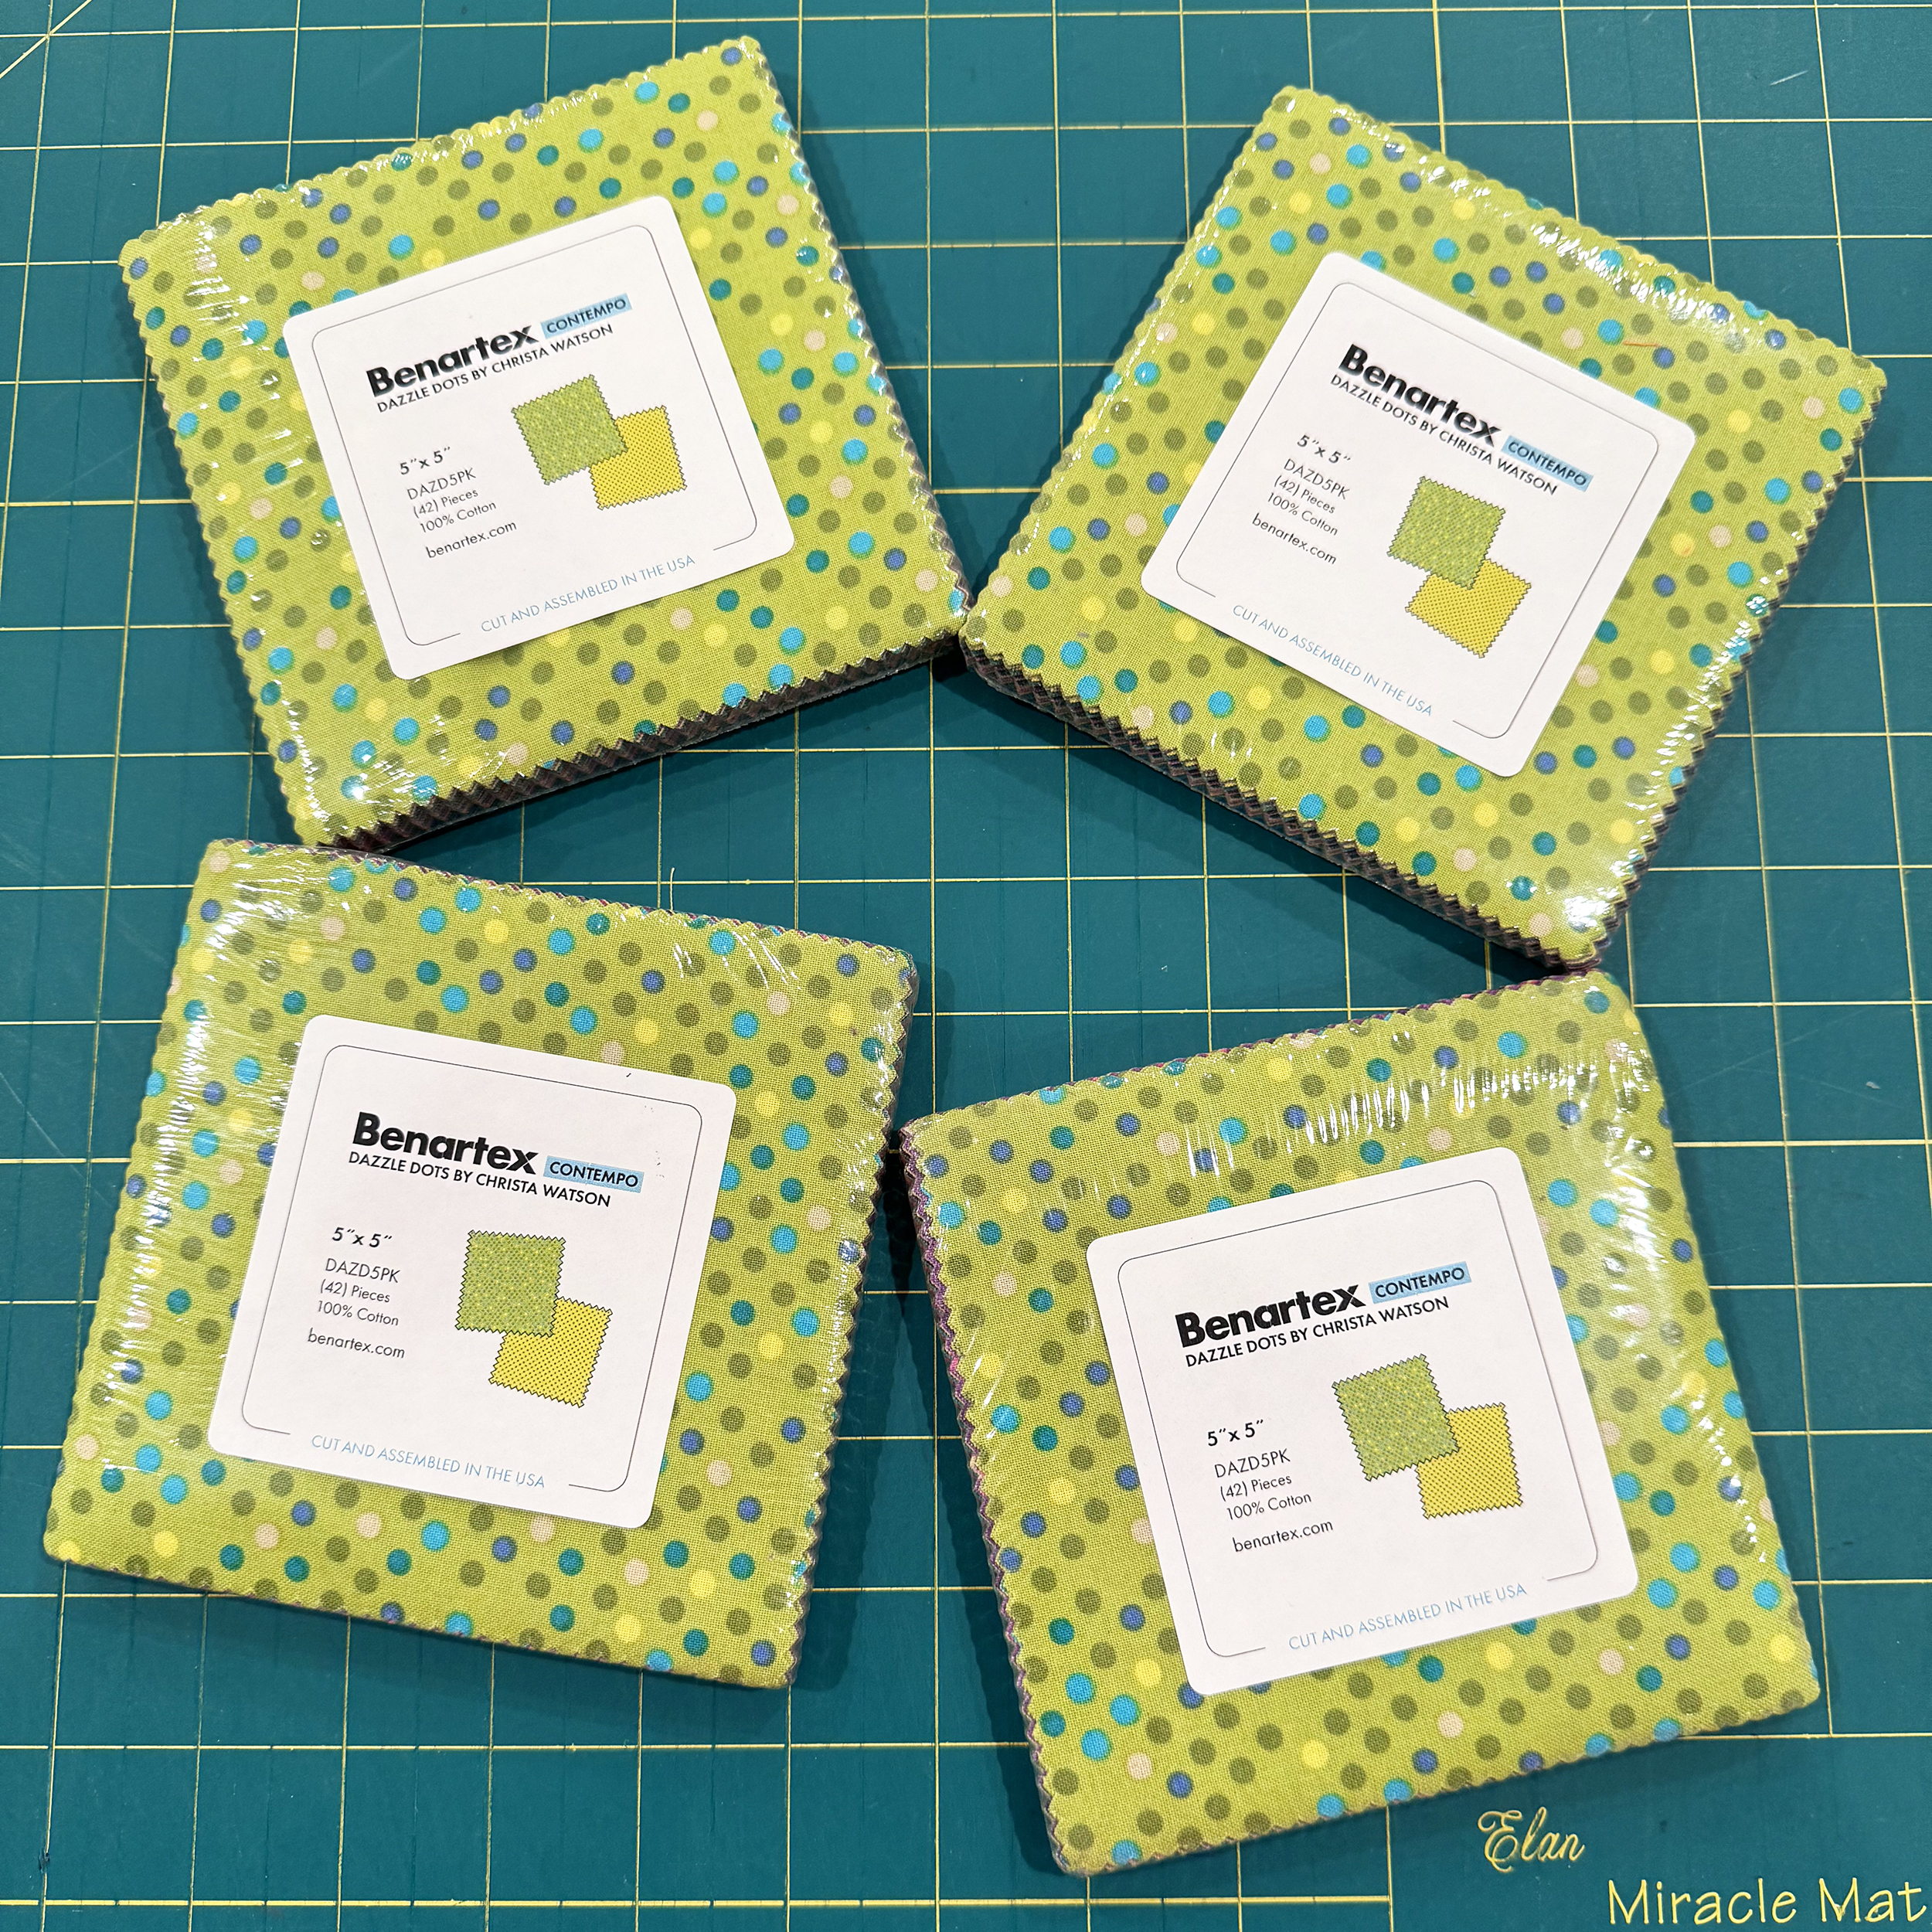
Have you added some of this bright colorful fabric to your stash yet? Dazzle Dots is my 9th collection so far with Benartex and it’s been the most popular one yet, which is super exciting! I guess folks love the rainbow colors and simple polka dot prints. Fawning over my fabric is like telling me my kids are cute – so I just eat it up!!
Dazzle Dots Yardage, Bundles and Kits
The exciting news is that Dazzle Dots is now on it’s 2nd printing and is ready to ship! Many of the colors, such as the neutrals and the navy blues sold out so fast it was hard to get ahold of them after the first print run sold out. I always order several of my bolts of fabric from the manufacturer but it was fun to see the demand for these.
So in case you missed them the first time around (or need more – that’s totall ok!) you can once again get any of the 22 prints by the yard. Or stock up on your favorite bundles such as fat quarters of the full line, or 1/2 yard bundles by colorway.
And in case you missed it, I’ve created 7 different videos showing the 8 quilts I’ve made (so far) from Dazzle Dots. I made a play list of all of them on my YouTube channel. Click the icon or image to get started watching. (Depending on your browser you might NOT see a preview image, but it will play once you click on it.)
They videos will play continuously one right after the other, in order.
Sharing is Caring!
If you’ve made projects from Dazzle Dots, I’d love to see them. You can tag me on social media using #dazzledotsfabric and you can also share what you are doing (and get feedback if you’d like) on my ChristaQuilts Facebook Group.
Did you check out last week’s tutorial where I showed how to quilt simple wavy lines with your walking foot? Well, guess what?? In this week’s video I’m taking that concept one step further and turning those wavy lines into a Wavy Grid. Click play below to watch, then scroll down for bonus goodies that will help you whip up a quick and easy quilt in no time!!
Easy Peasy Terrace Tiles Quilt Pattern
I designed and wrote Terrace Tiles to be the easiest quilt pattern I offer. It’s made from fat quarters and you can literally whip it up in a weekend by following the pattern + bonus tips I shared in my video above.
Optional Terrace Tiles Quilt Kits – While Supplies Last
The Citrus and Jewel versions of the quilts shown above are made from my Dazzle Dots fabric collection from Benartex. I’m thrilled that it has been my best selling line so far and so pleased that other quilters love these rich, yummy colors as much as I do! For a limited time I’m offering kits in both colorways and will replenish these as long as the fabrics are available.
I’m very excited about QuiltCon Together, the annual event presented by The Modern Quilt Guild. So far, I’ve been to every show and I’ve had a quilt in every show, too. Even though this year’s event is virtual, I still wouldn’t miss it. Here’s where you can find me – and my quilts – online from February 18-22, 2021.
My Walking foot quilting class is completely sold out. However, as of this writing I still have room in my Carefree Free-Motion Quilting workshop. These classes are the next best thing to being live in person. They’ve been pre-recorded and you’ll have access to them the entire length of the show. That means you can view them on your schedule and then pause to do the “homework” given in each class.
There’s an “enhanced” option meaning that students have the option of meeting with me live online in a small group setting to get additional help on anything they need from in class.
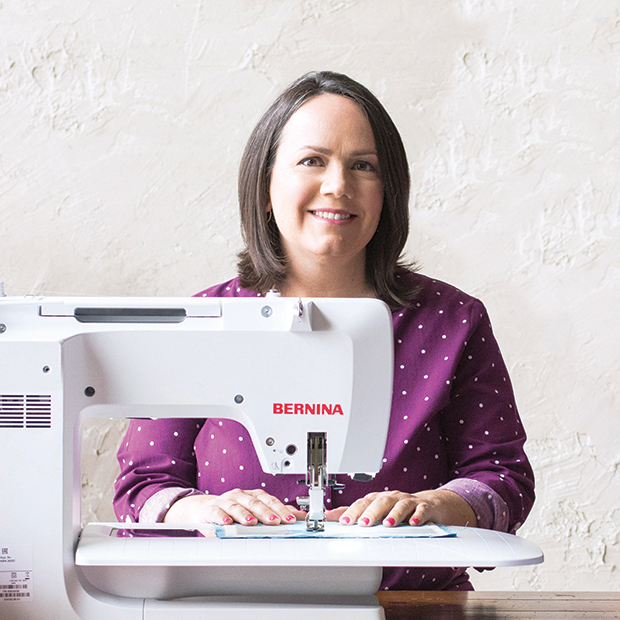
I’m kicking off the event first thing on Thursday morning, February, 18th at 10:30 AM Central time with a live presentation sponsored by BERNINA. It will be about 30 minutes of me chatting about my favorite machine feet for quilting. Following that, I’ll stick around for about an hour to chat with everyone and answer any questions you may have. Best of all, this event is FREE for all QuiltCon attendees. So be sure to pop over to the vitrual BERNINA booth that morning and join the fun!!
Join me and industry experts Riane Menardi Morrison, Sandra Johnson and Tia Curtis as we chat about all things machine quilting. This will be another live event that you can register for separately, or as part of an all access lecture pass.
I’m excited to be presenting my ever popular lecture “How Do I Quilt It” at QuiltCon Together. It will be shown on Sunday, February 21 at 5 PM Central Time. It also includes a Q&A live chat so that you can better understand the material presented. Through the magic of technology I’ll also be answering your questions live during the pre-recorded presentation.
My Quilts In the Show
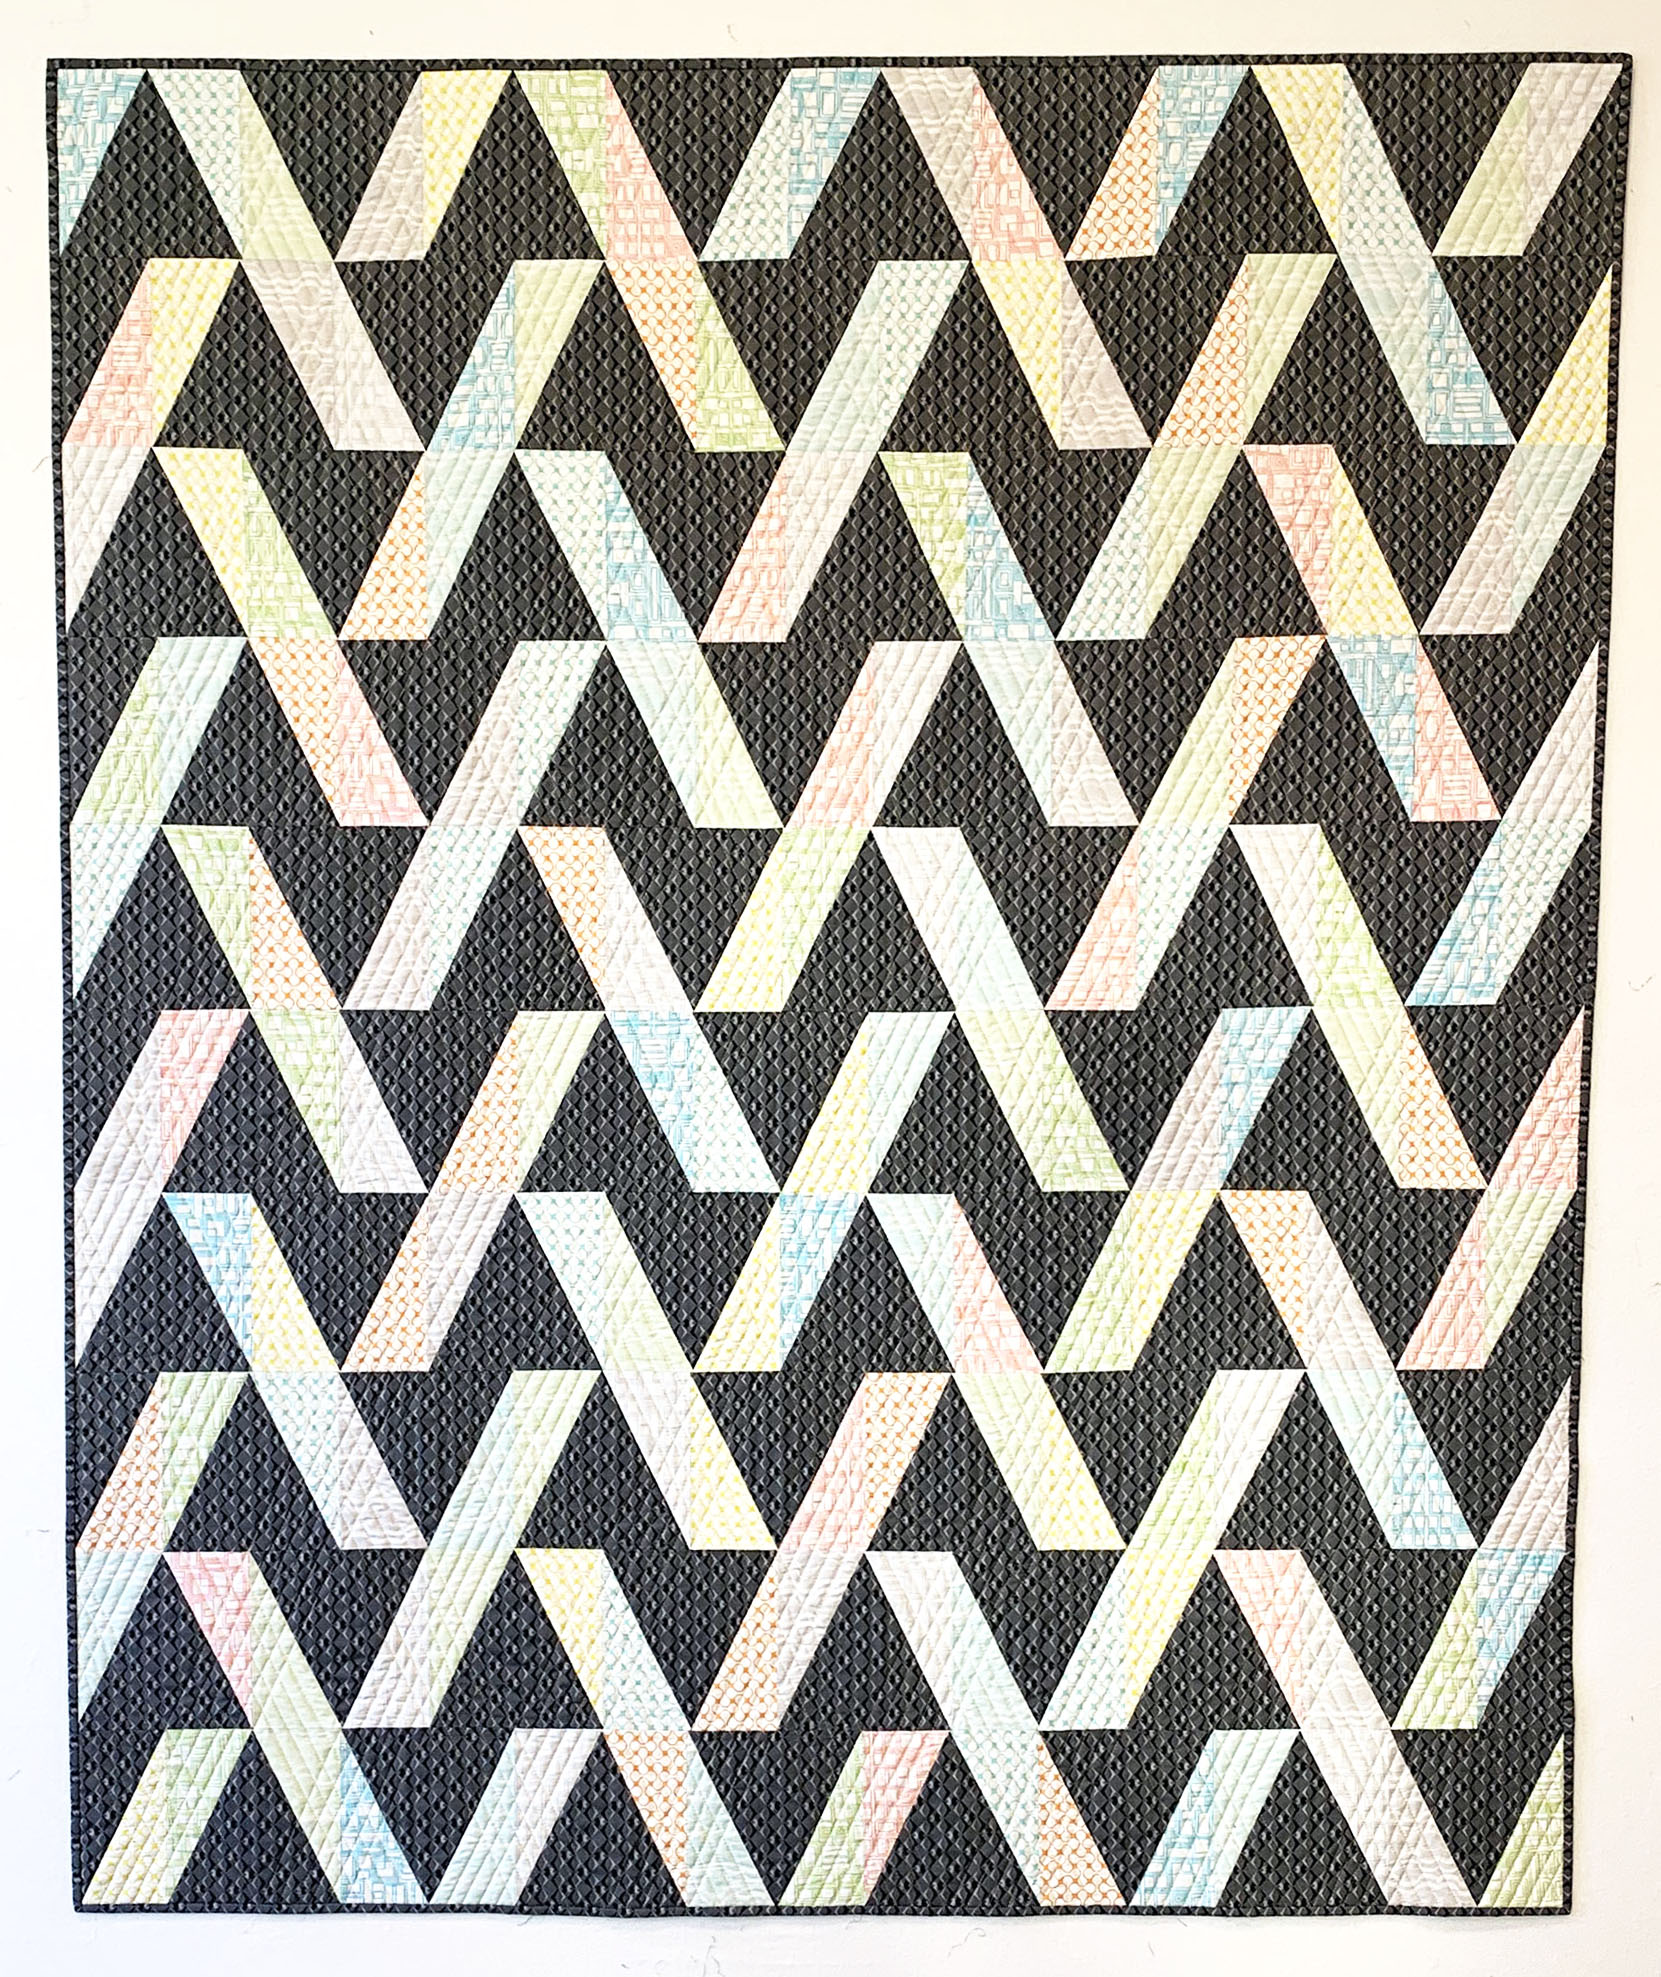
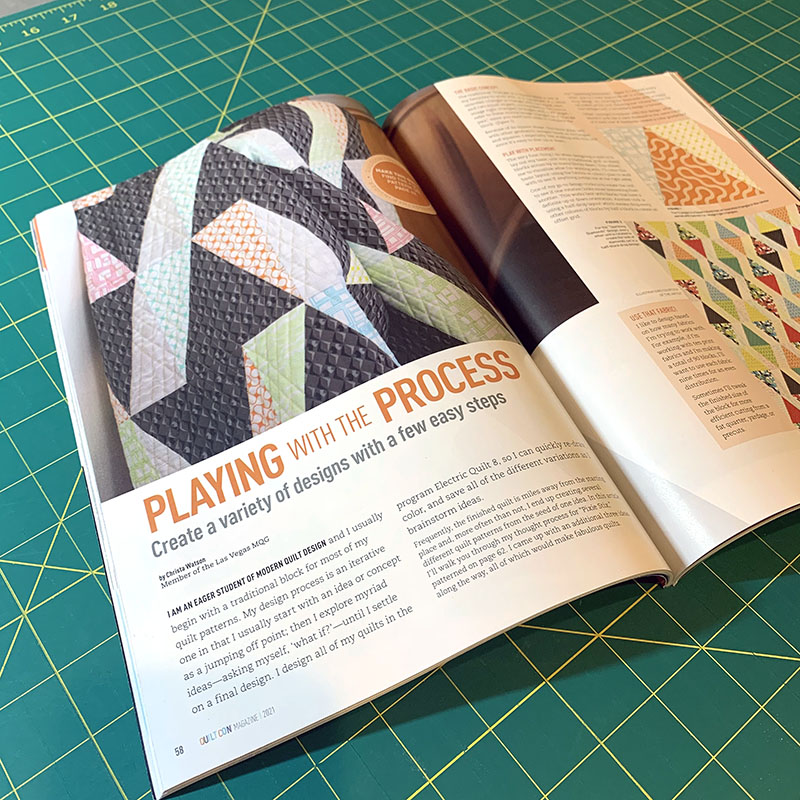
I’m thrilled to have 2 quilts in the virtual show this year. The first one is a brand new design called “Pixie Stix” that in included in this year’s version of QuiltCon Magazine.
It was fun to design and make this quilt and there’s a bonus article in the magazine all about my design process and different versions I came up with until I settled on the final layout.
My other quilt in the show is called “Interlinked” which was patterned in Make Modern Magazine isue #34 last year. This is one of those “try, try again” situations. I actually submitted it to QuiltCon last year and it didn’t get in. But this year it did – so you just never know how things will turn out!
I’m currently in the process of updating the Interlinked pattern with more information and hope to release the PDF version along with some kits, soon. So be on the lookout for that in a few weeks!
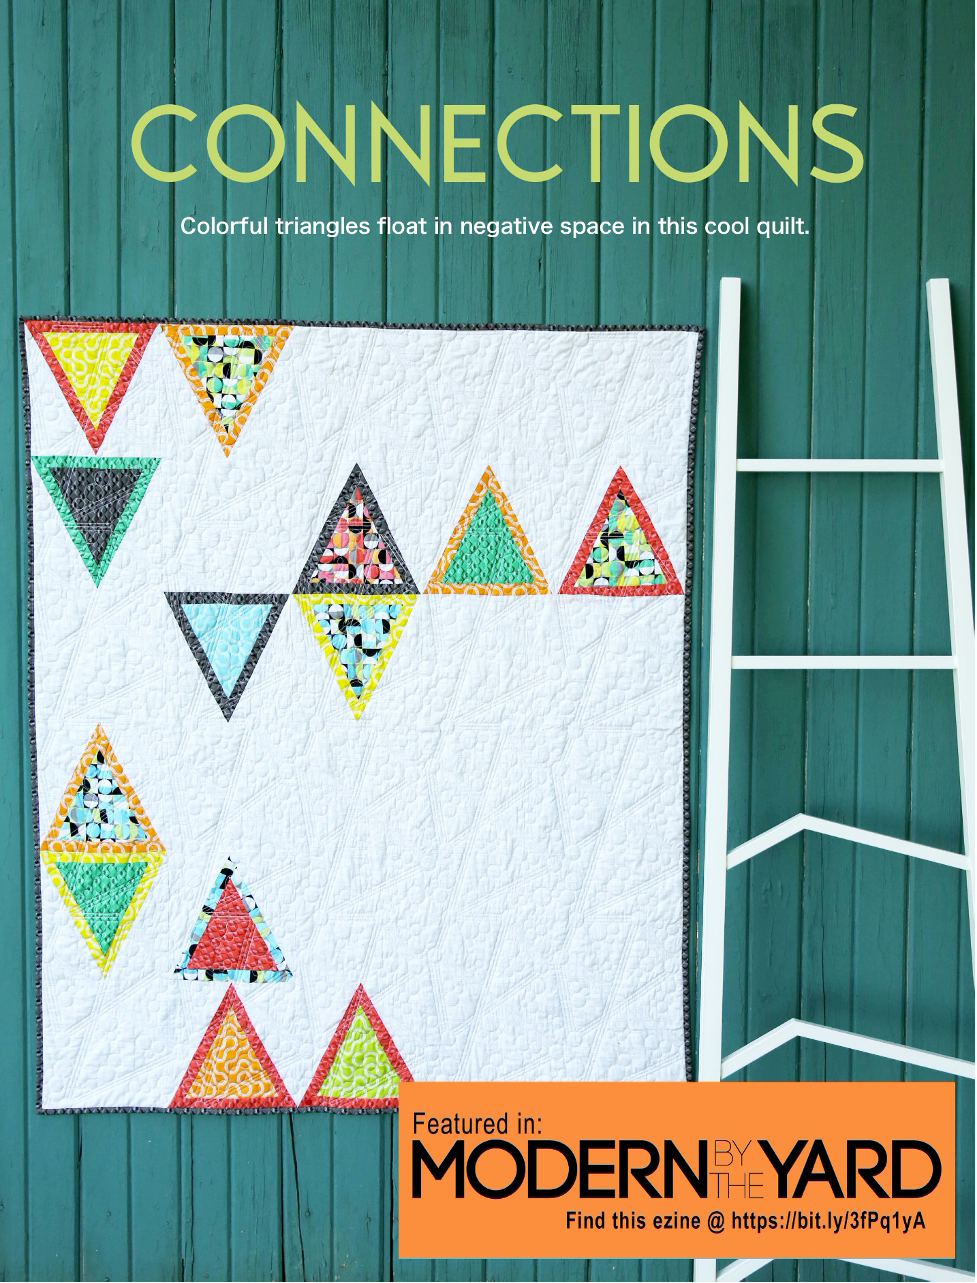
One of the things that I love about working with Benartex on fabric design is that they produce a fantastic free digital magazine called Modern by the Yard. In each issue, they share inspiring projects that you can make from their fabrics. So each time I have a new line that comes out, one of my amazing designer friends creates a fabulous pattern for you for free!!
Here is what Charisma has to say about her latest project:
“I am a big fan of Christa’s fabrics. I have made a few projects with her collections. They are fun, colorful and diverse. I actually designed Connections years ago before I was a professional designer.
I have learned that sometimes you have to wait for the designs to speak and decide when they should be released and where. I have always been a fan of quilts with negative space. This quilt decided that it was time and she is shining in all her glory.
If you’d like to check out some of my other patterns you can visit my shop here:Charismas Corner on Etsy
Thanks so much for letting me share! I can’t wait to design with Christa’s next line of fabric. We make a great team.”
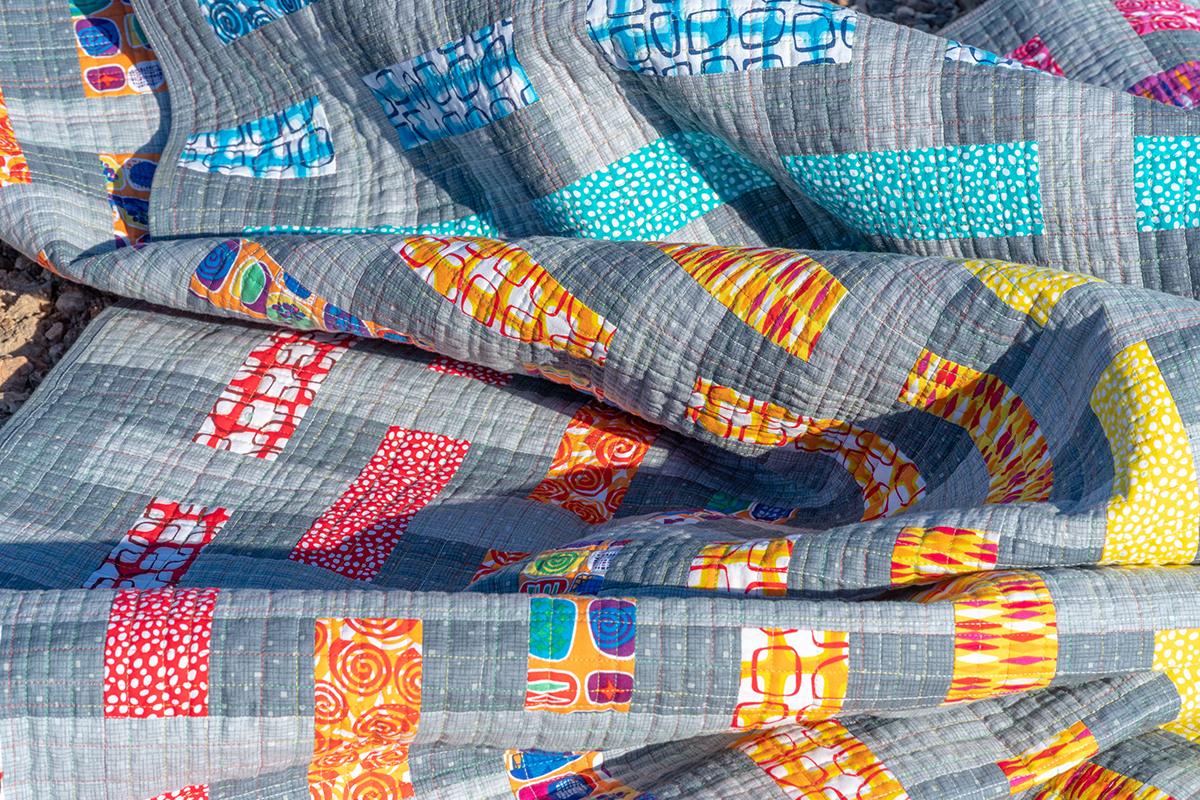
I know it’s been a minute since I posted but I have lots of exciting behind-the-scenes stuff happening right now. But I had to come up for air to let you know the fabulous news that my Confetti Crosshatch fabrics are now back in stock.
These are my most popular prints of all time and you can see why – because they are the PERFECT grays that go with just about anything!!
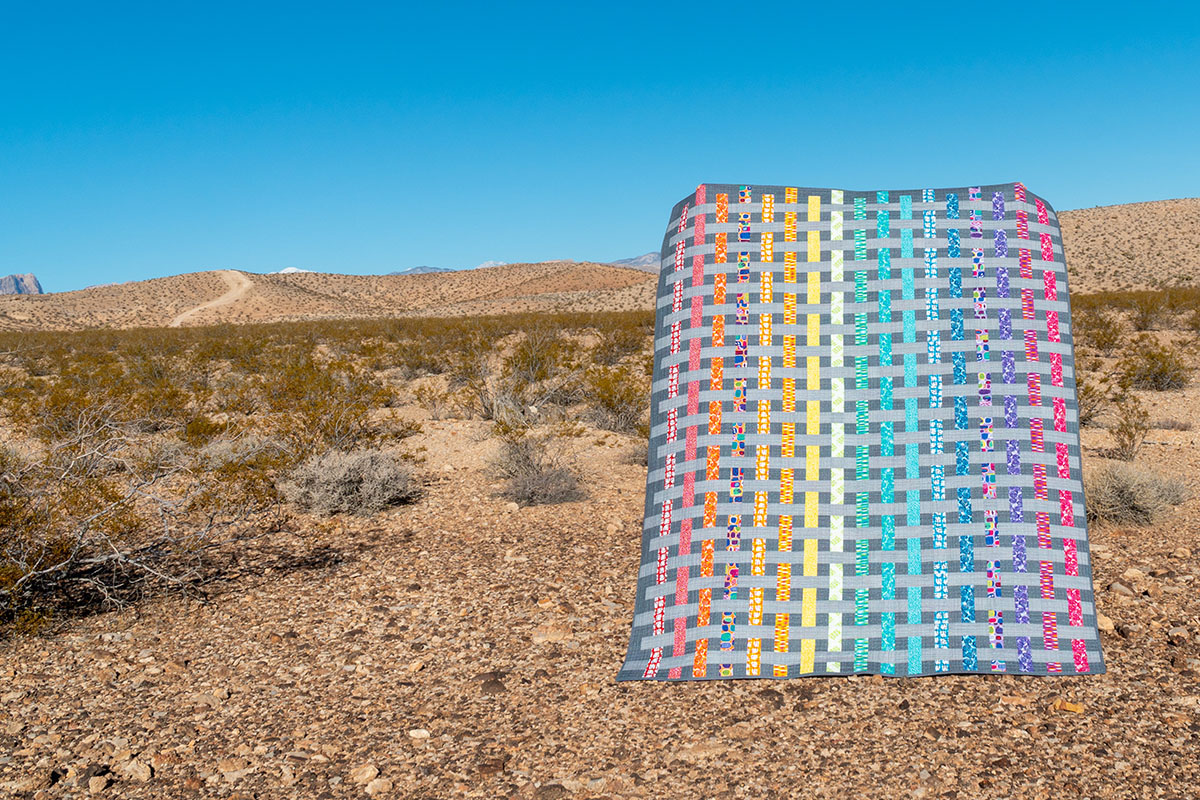
And there’s even more great news to share – my Color Weave quilt kit is now back in stock, too. This has been my best selling kit and pattern EVER!! I’m not sure if it’s the rainbow effect that folks love, or the magic of the piecing, but it’s one of my favorites, too!!
In case you missed it the first time around, you can learn how to make this quilt from start to finish by checking out my step-by-step Color Weave Quilt Along. The quilt along itself is free – all you need is a copy of the Color Weave quilt pattern to follow along.