Dancing Stars Quilt Along Week 3 – Making the Star Blocks

We’ve gathered our fabrics and cut everything out, so this week we finally get to sew those pretty star blocks together. This is the part I love – seeing all the different fabric combinations turn into actual stars!
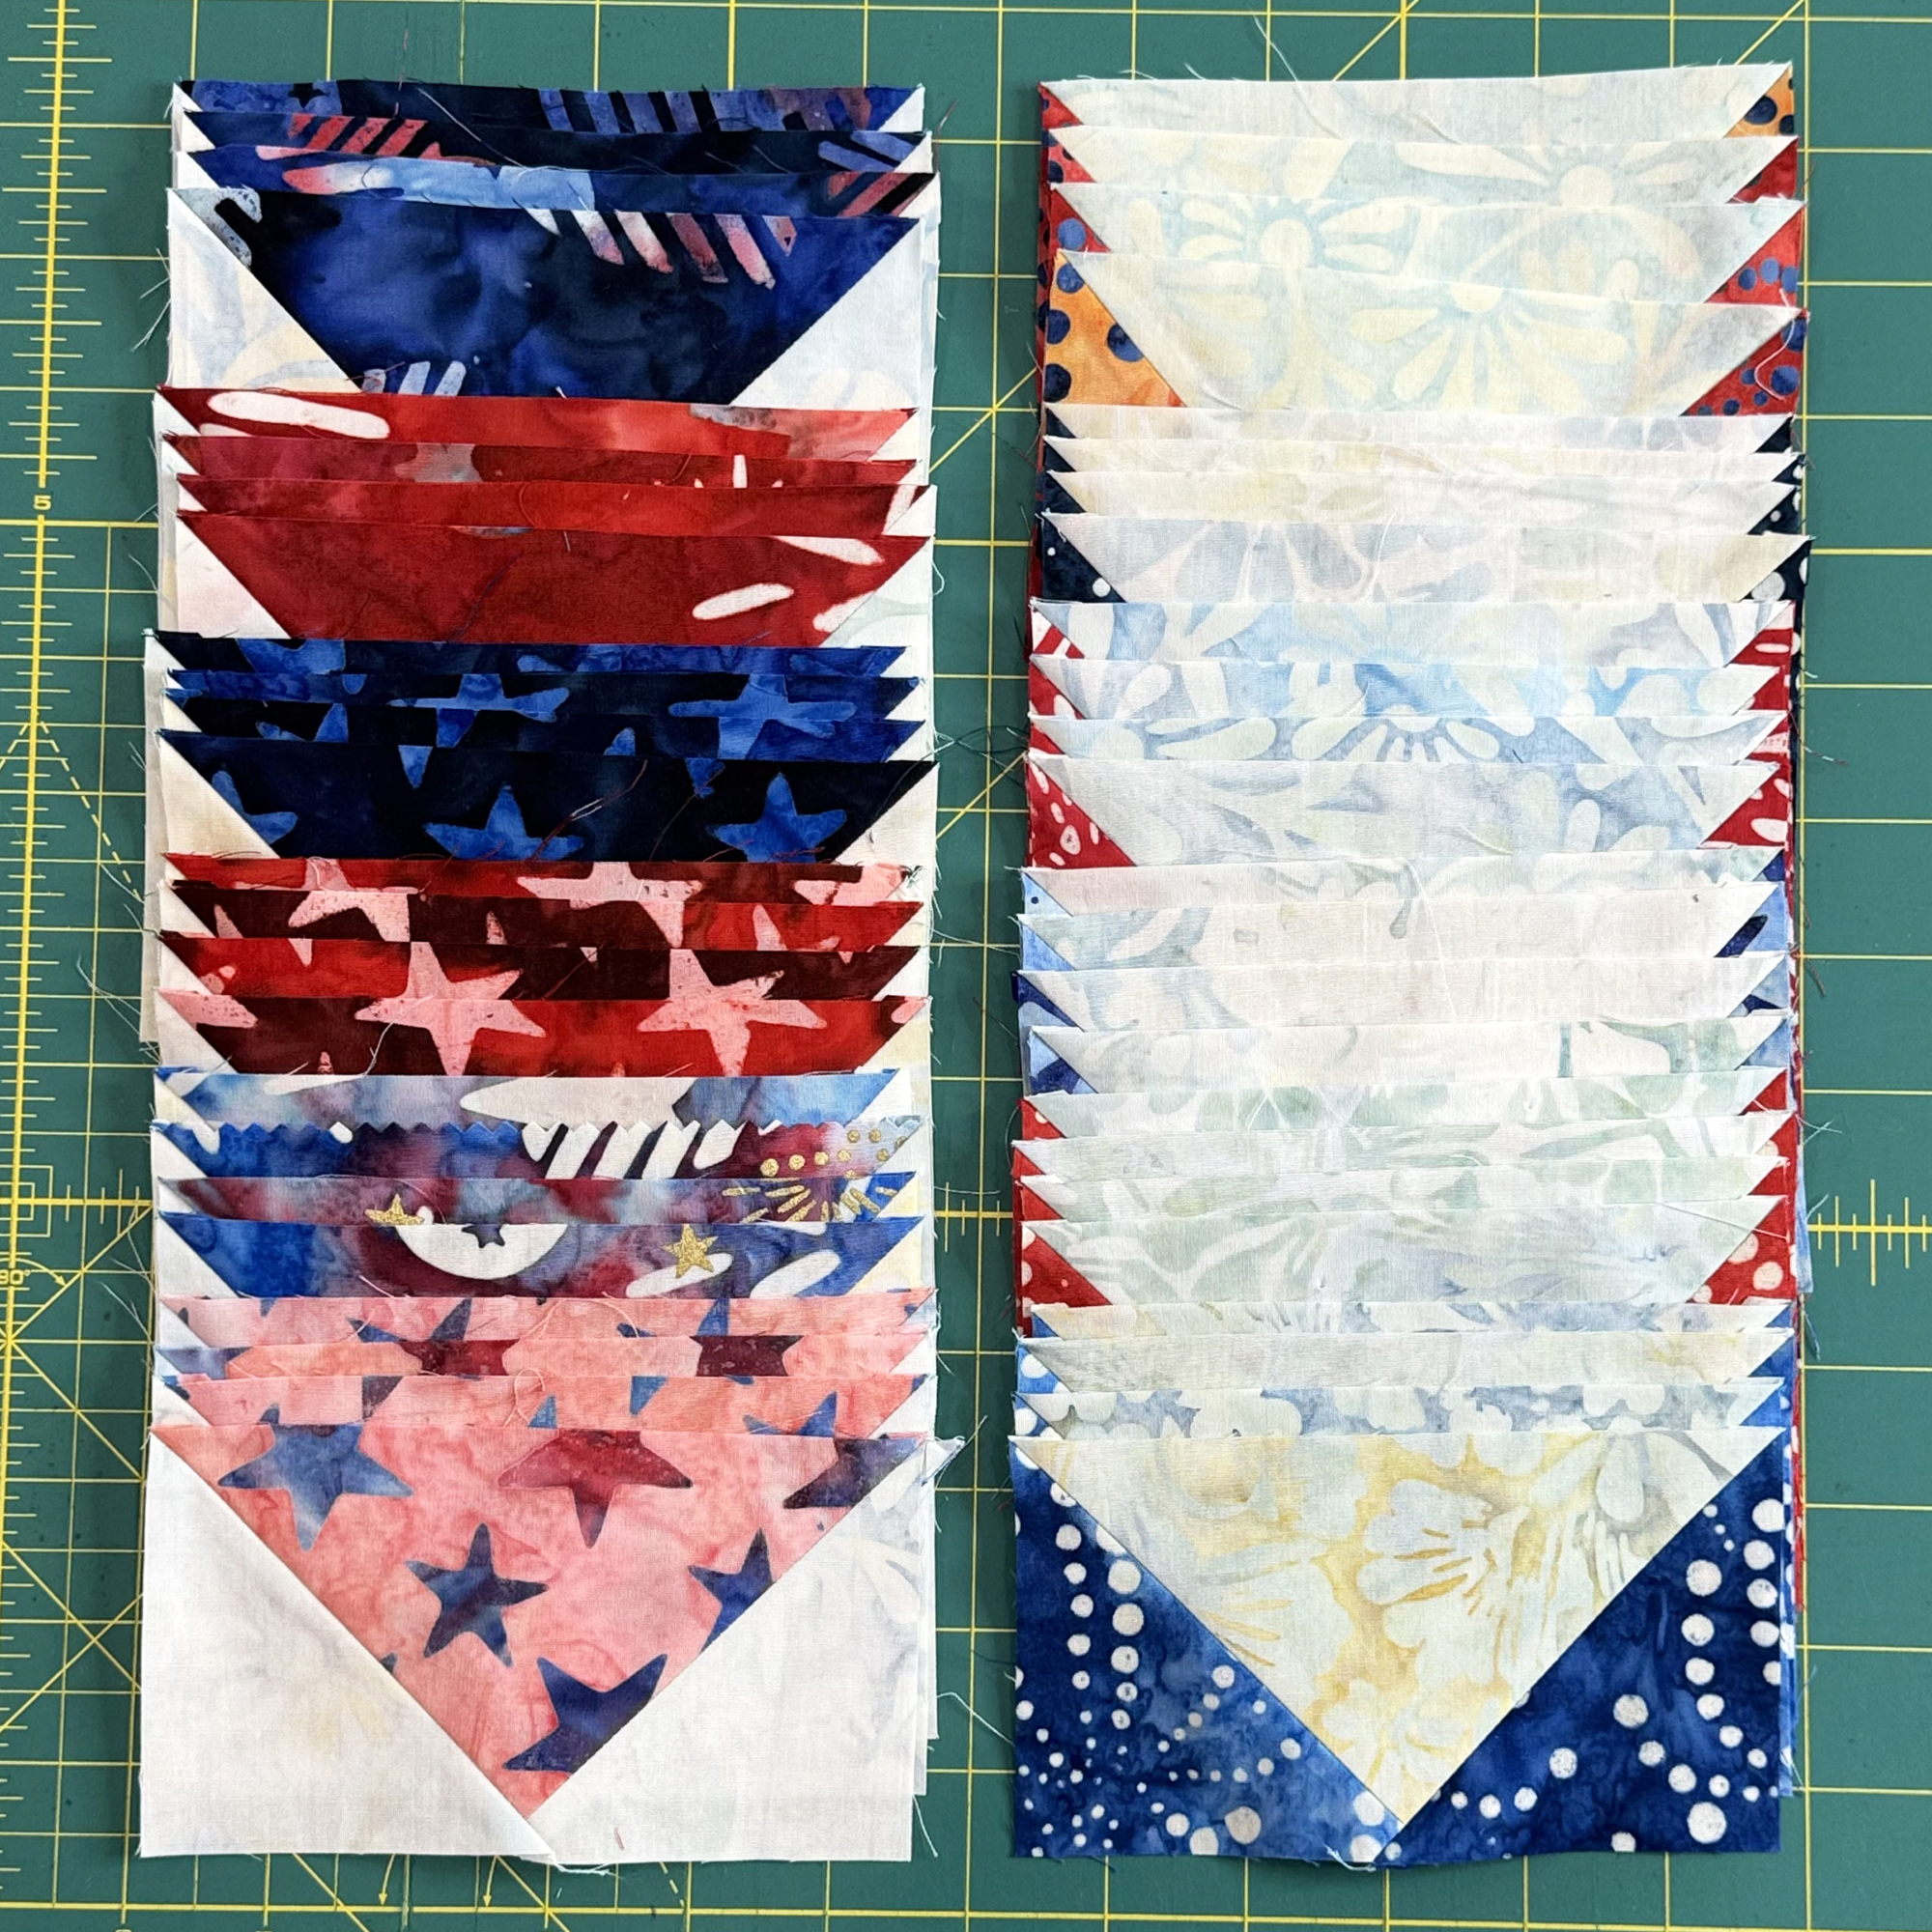
If you are still cutting, no worries. You can work at your own pace and jump into the sewing whenever you are ready. Keep your Dancing Stars pattern handy and follow the block assembly steps there. Today I’m sharing a peek at how both of my versions came together.

Sewing My Americana Version with Riley Blake Batiks

I started with my red, white and blue batiks from Riley Blake Designs. Last week I had all of my light and dark fabrics separated into stacks. Now I could start pairing them up and watching the star points take shape. Before sewing a star together, I like to lay out the pieces so I can see the whole thing at once. Half of the stars will be light with darker backgrounds and the other half will be the reverse with darker stars and lighter background fabrics.
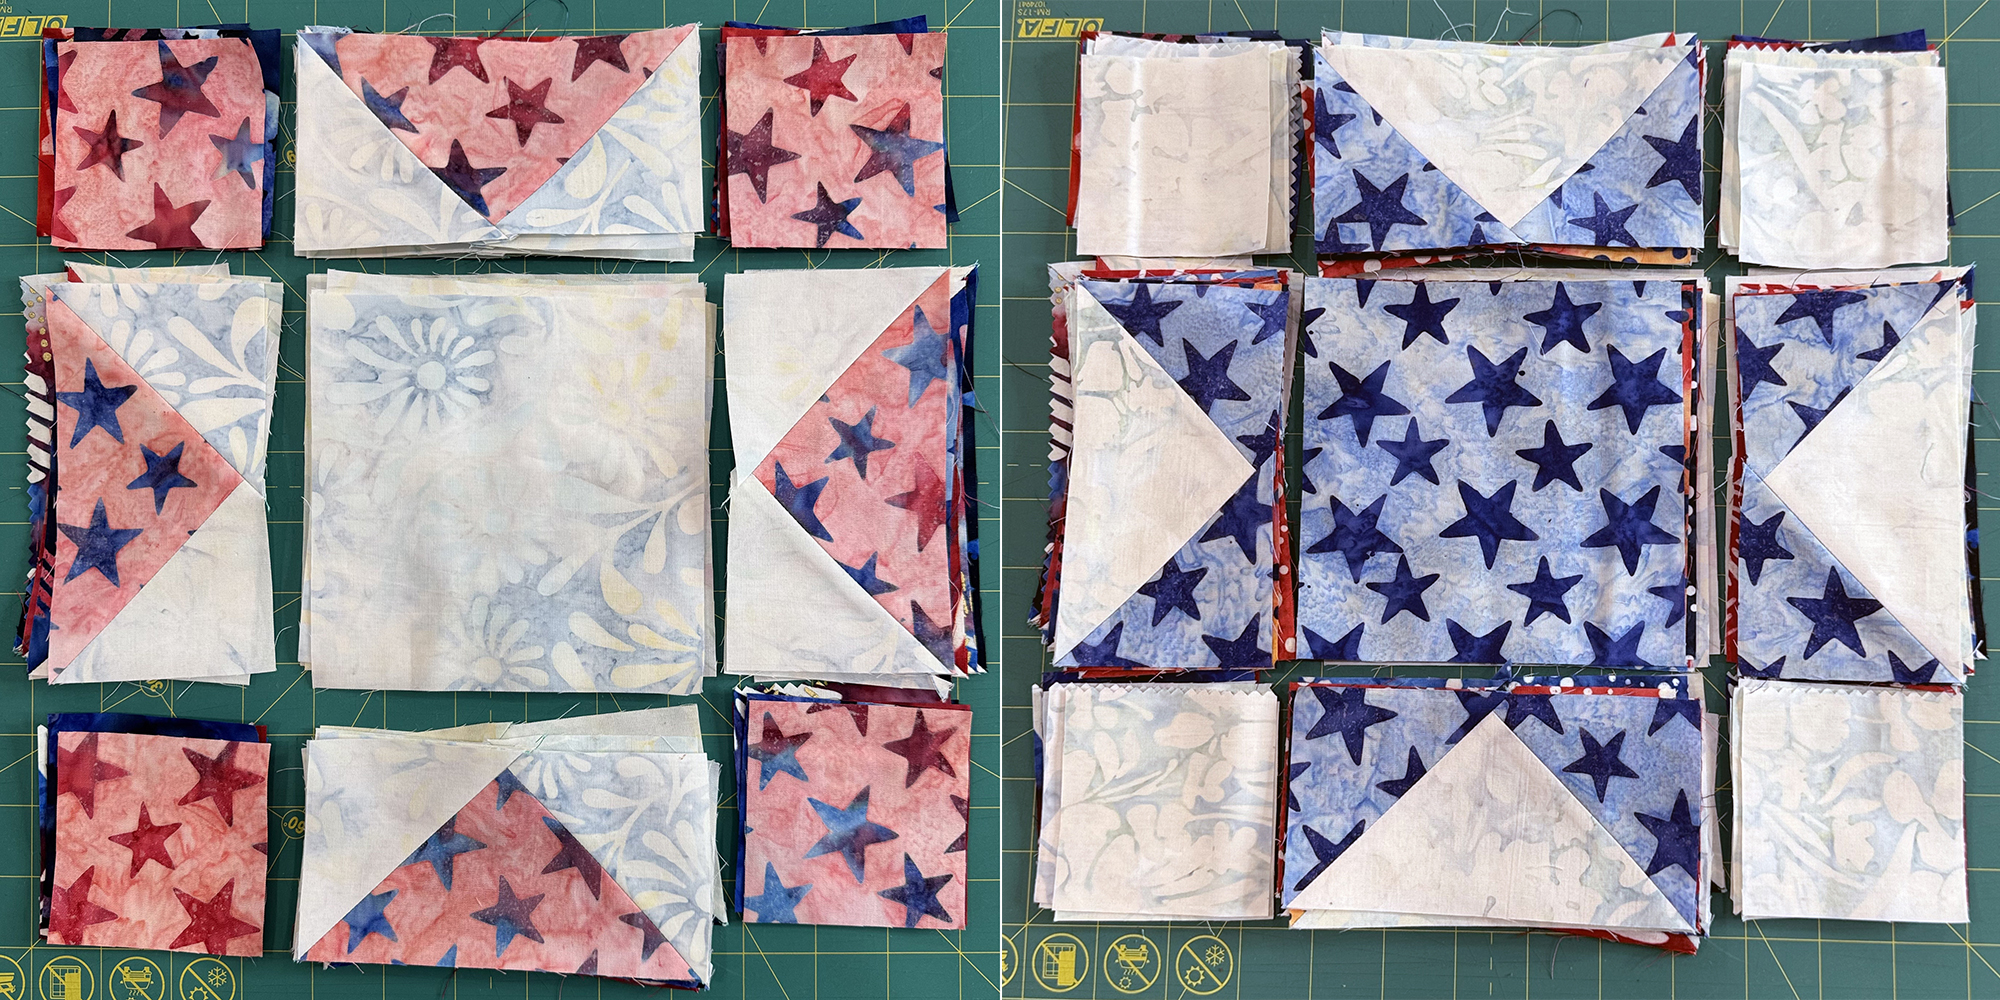
I like to assembly-line sew and press so that I can whip these out very quickly. I prefer to sew with a short stitch length (2.0 or less) and press all of my seams open so they lay nice and flat. But go ahead and use whatever cutting, piecing and pressing methods you prefer!
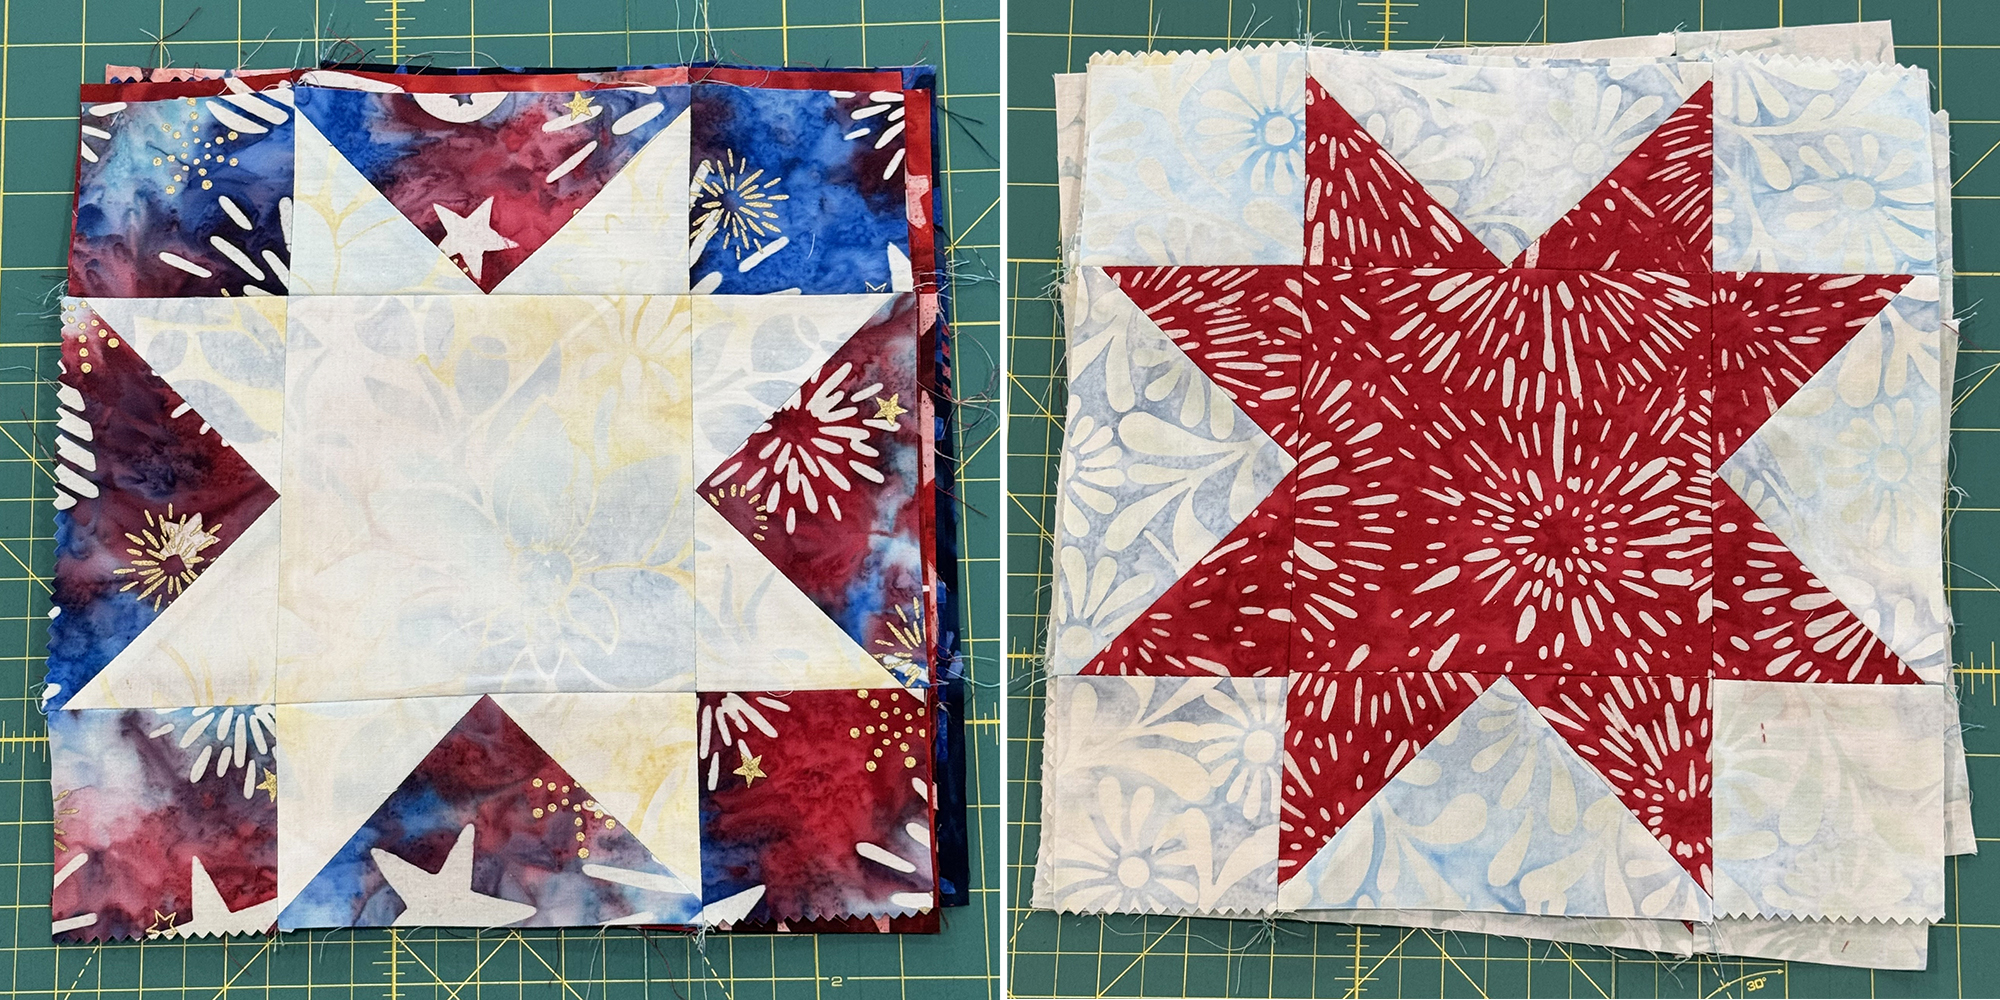
Bonus tip: you may wish to wait and add the extra pieces around the stars until you lay them all out on your design wall. You may decide to place your colors randomly, or do a light/dark/light pattern. And you can rotate the stars in any direction to make them spin once the other pieces have been sewn around the edge.

My Black, White & Grey Confetti Cotton Solids Version

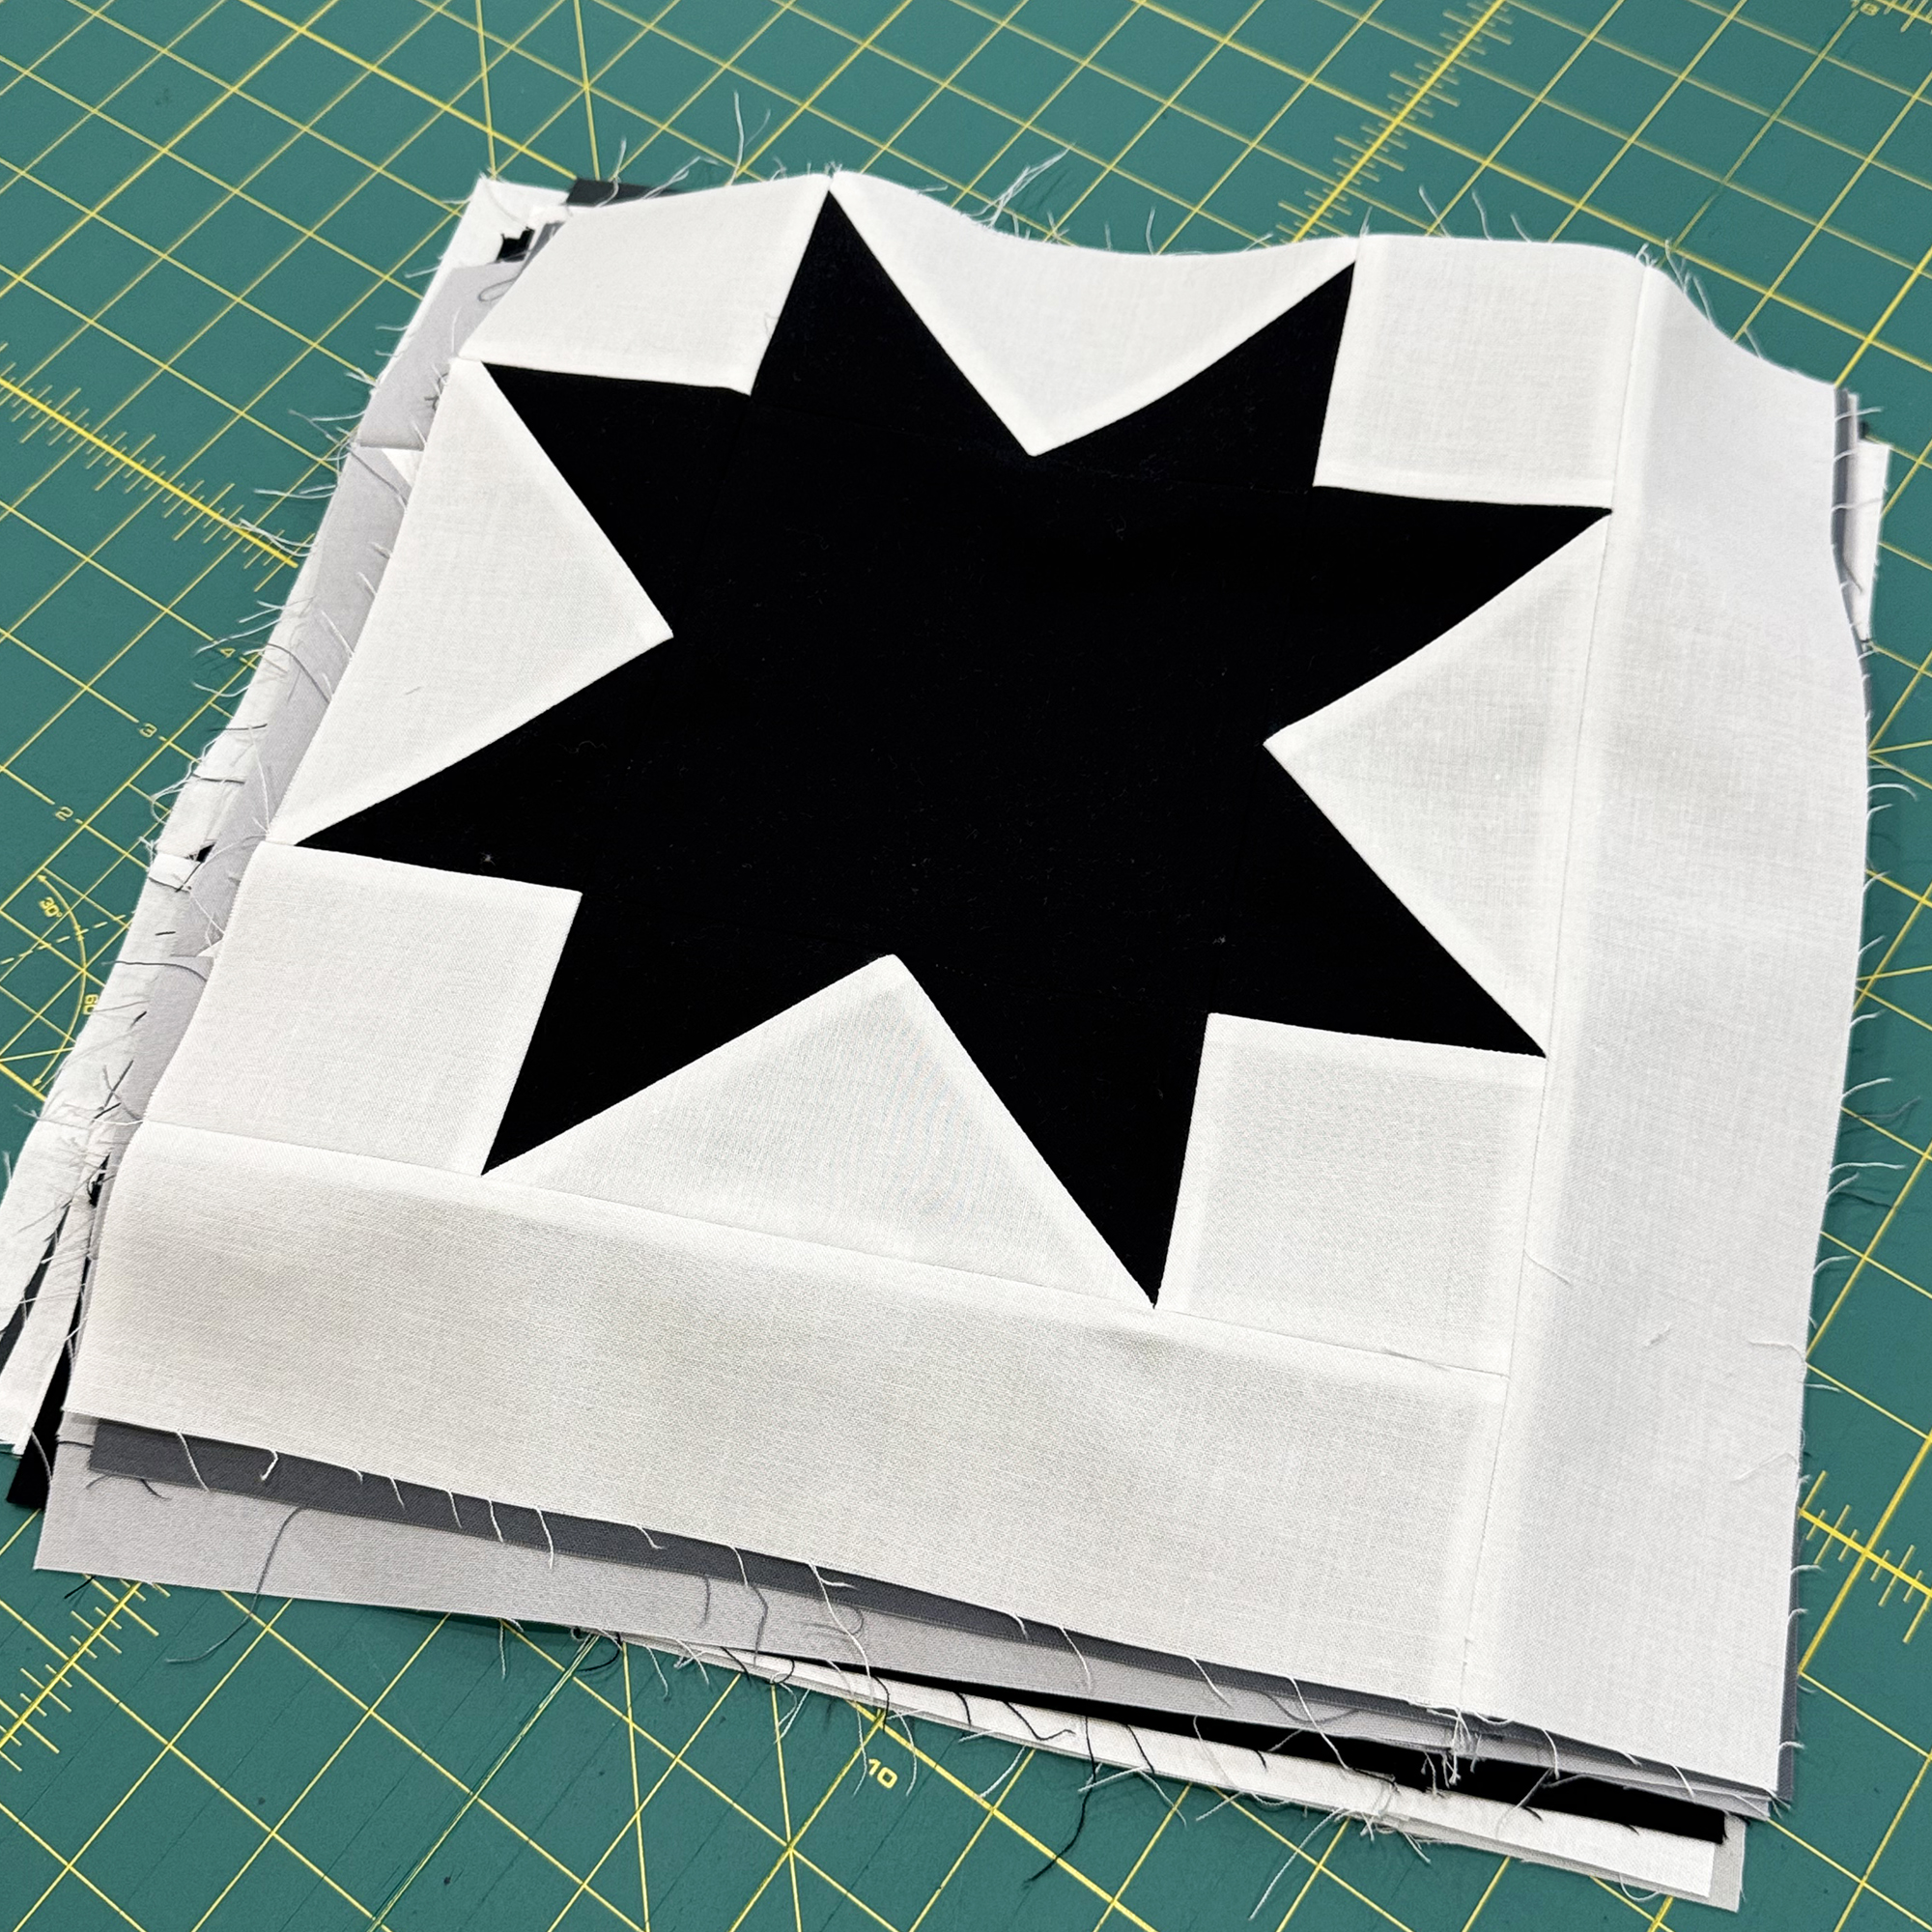
I also made a second version with black, white and grey Confetti Cotton Solids from Riley Blake Designs. With these fabrics, the contrast is even more obvious, and you can really see the shape of each star as the pieces come together. I preplanned the exact color placement for this version so I know exactly where I want to sew each of the side units to make the stars “dance.”
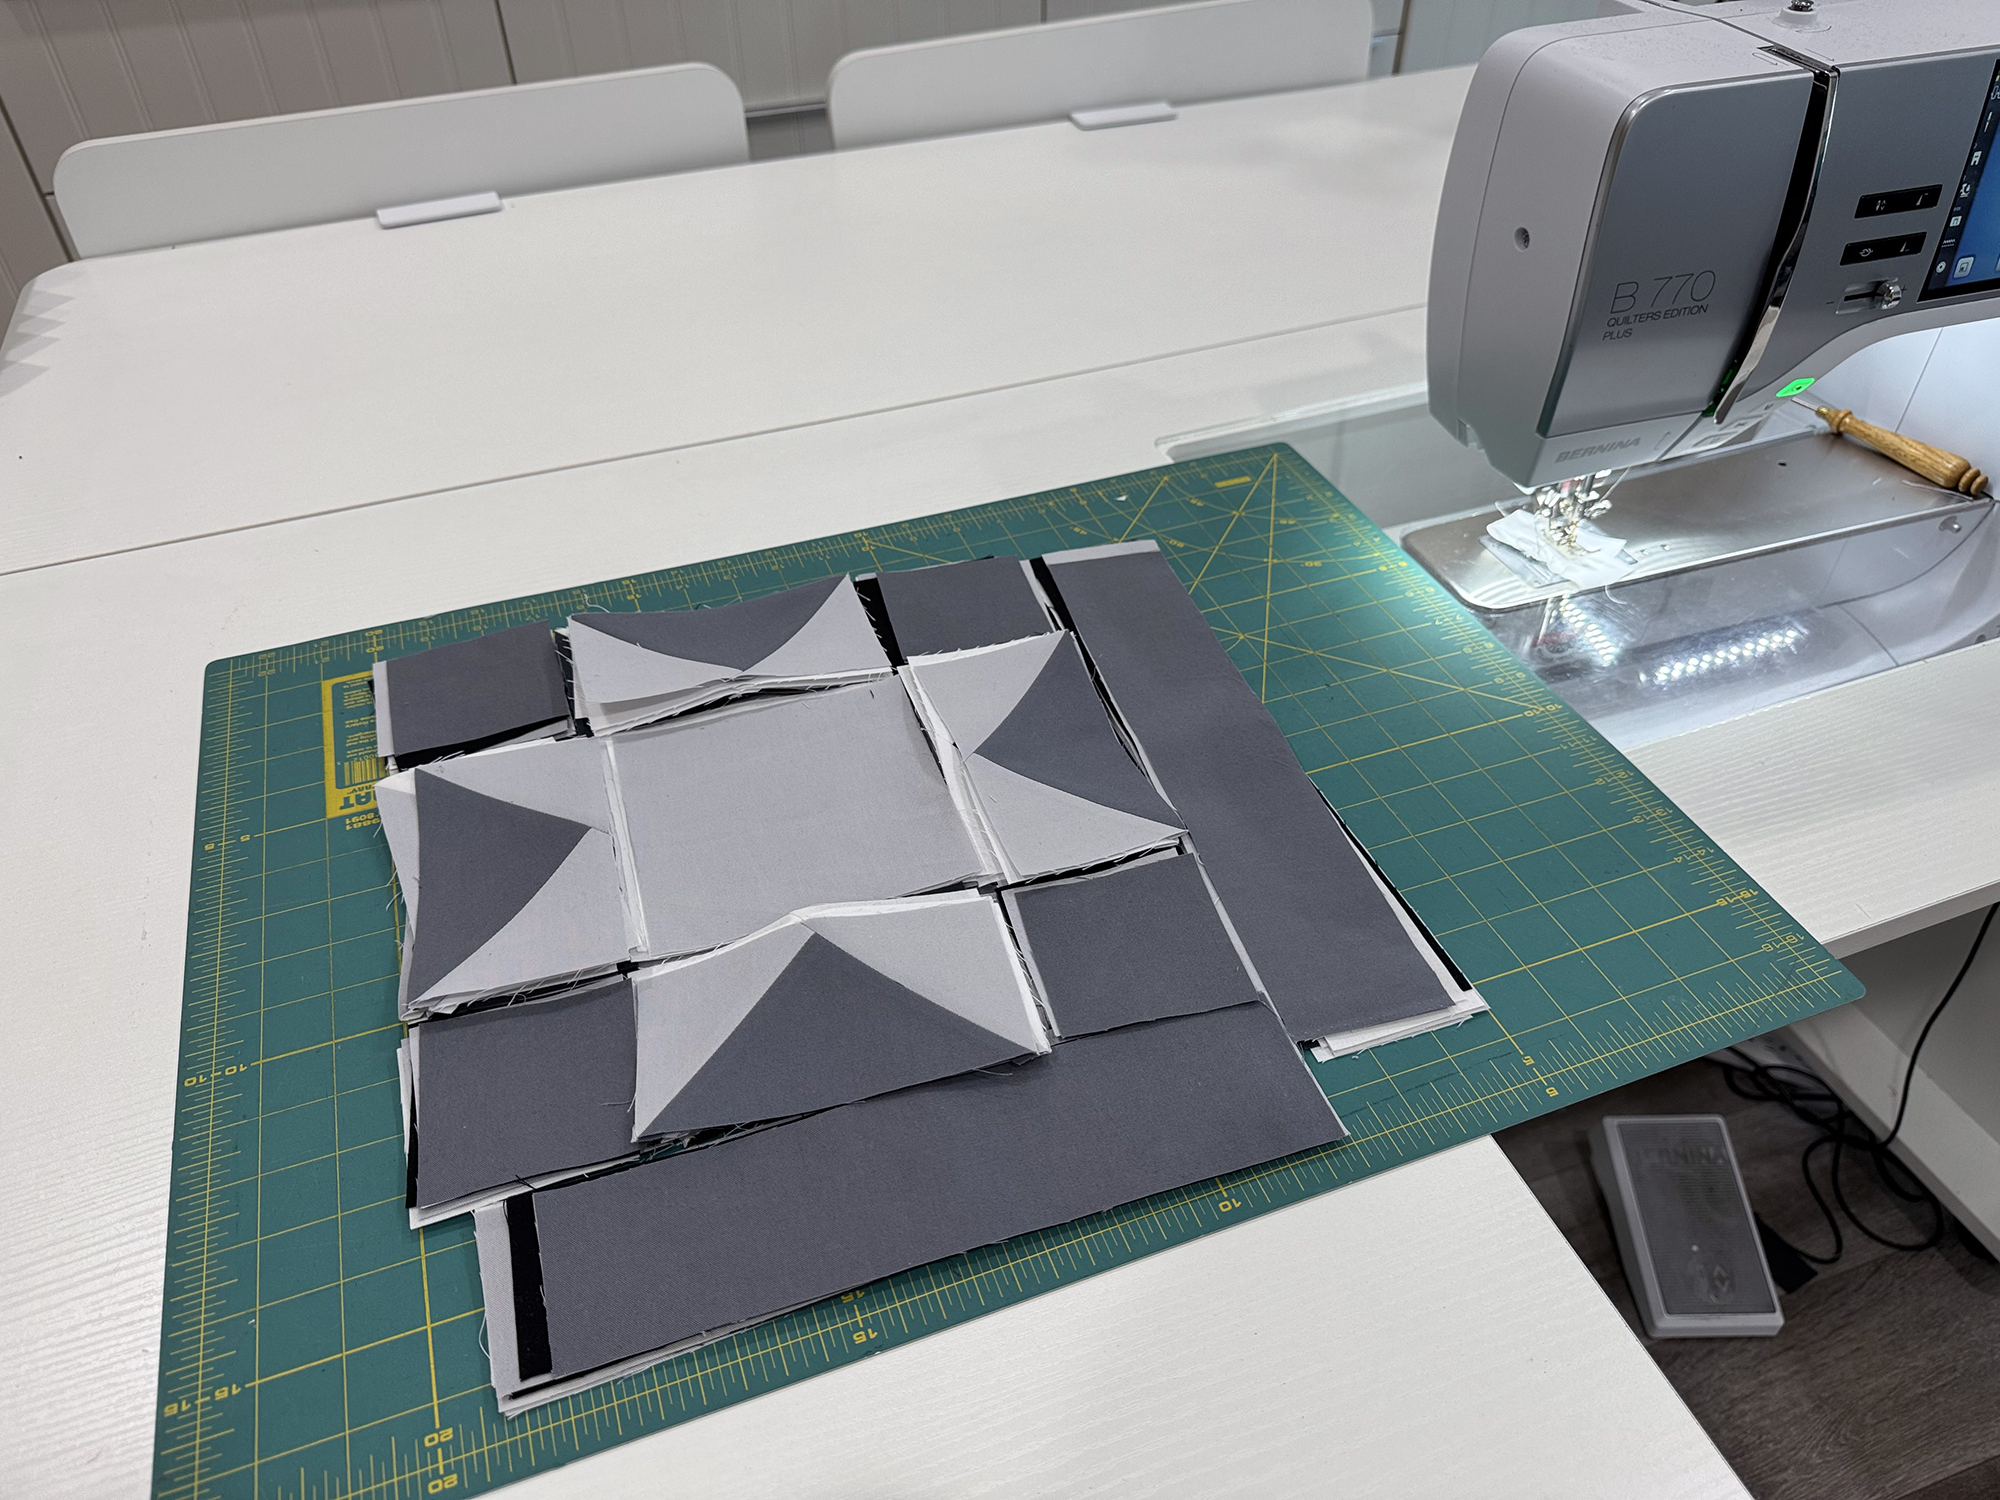
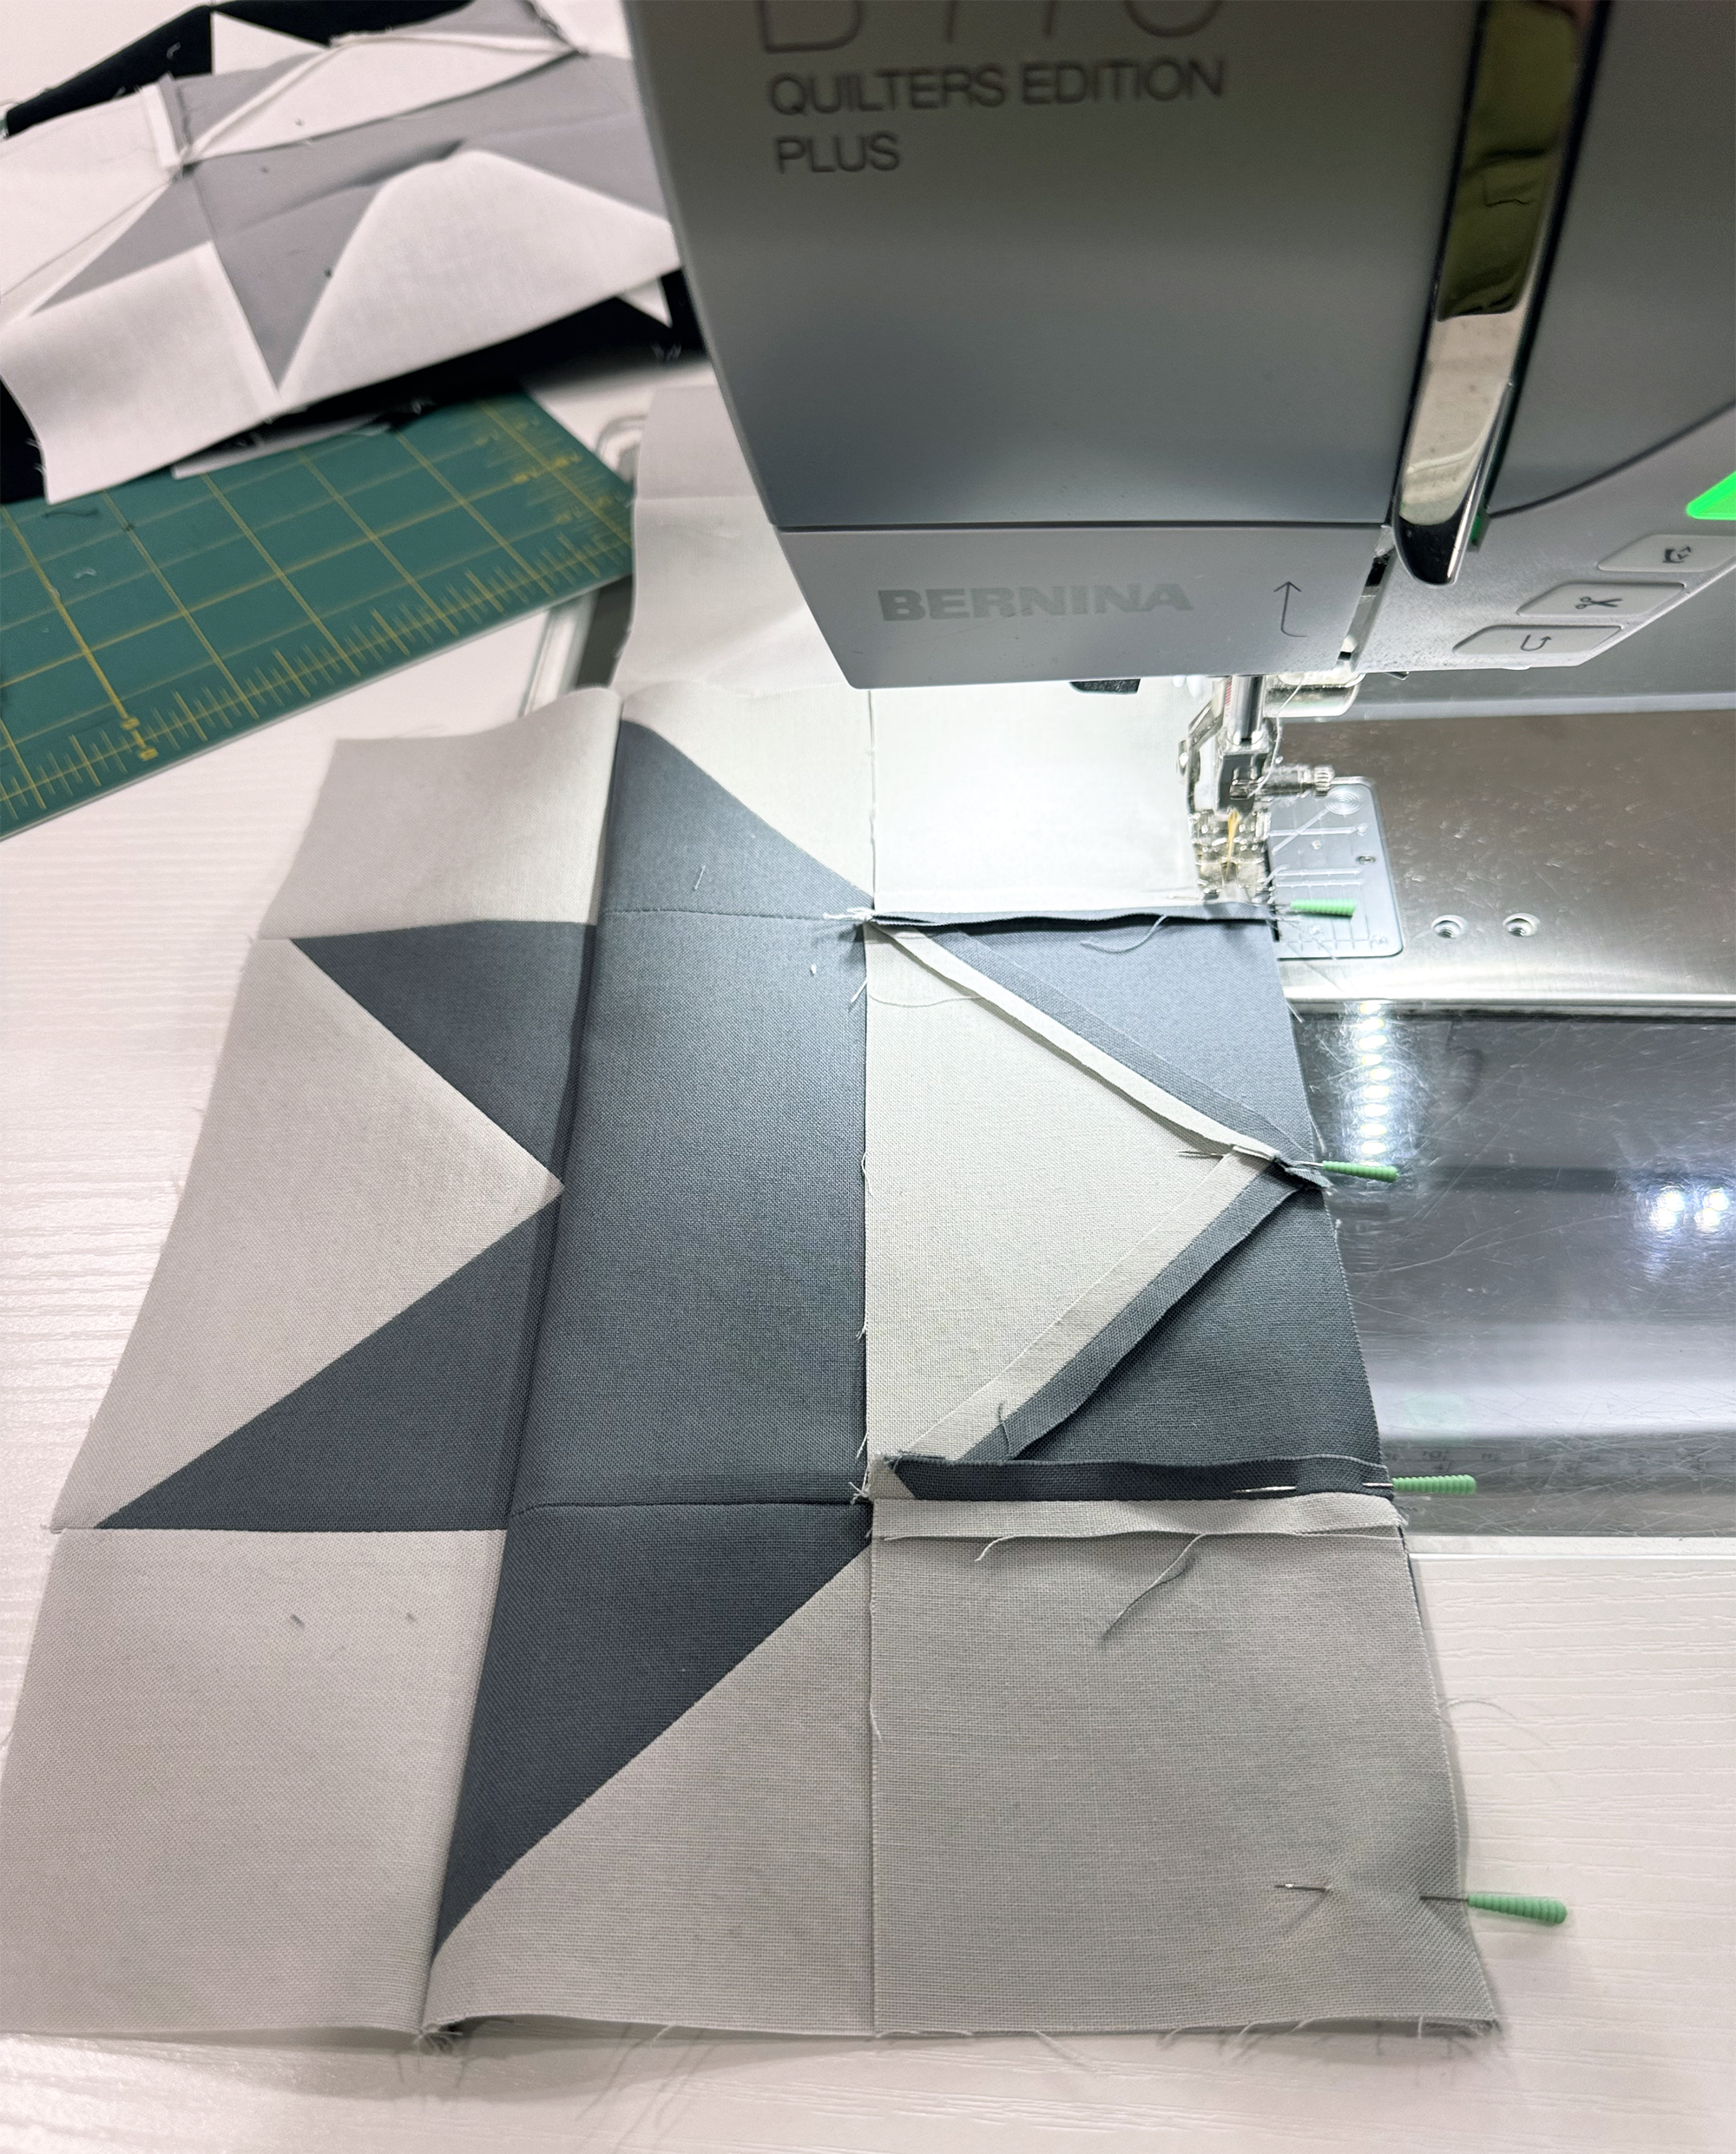
I like to keep the pieces for the next block laid out beside my machine. It gives me a quick visual check of the fabric placement, especially when I’m switching between different shades of grey. I also pin generously so that I can get perfectly matched points.
Now my blocks are finished and reasy to assemble into the quilt top for next week!
Share Your Star Blocks!

How are your stars coming along? Whether you’ve finished just one block or you’ve already made a whole stack, I’d love to see your progress. It’s always fun to see how the same pattern looks in everyone’s different fabrics!

Tag me on Instagram at @christaquilts, or click here to share your progress in my Christa Quilts Group on Facebook so I can cheer you on!

Next week we’ll arrange the blocks and complete our quilt tops. Get ready to see those Dancing Stars come together! If you are new to this quilt along, grab a copy of the quilt pattern in your favorite format below and join the fun!!
99 Machine Quilting Designs Episode 50 – Filled Paisley

This week’s machine quilting tutorial takes the traditional paisley design and modernizes it by adding filler motifs inside the design! It’s a fun way to change things up. Click the image below to watch on my YouTube channel:

Make This Quilt!

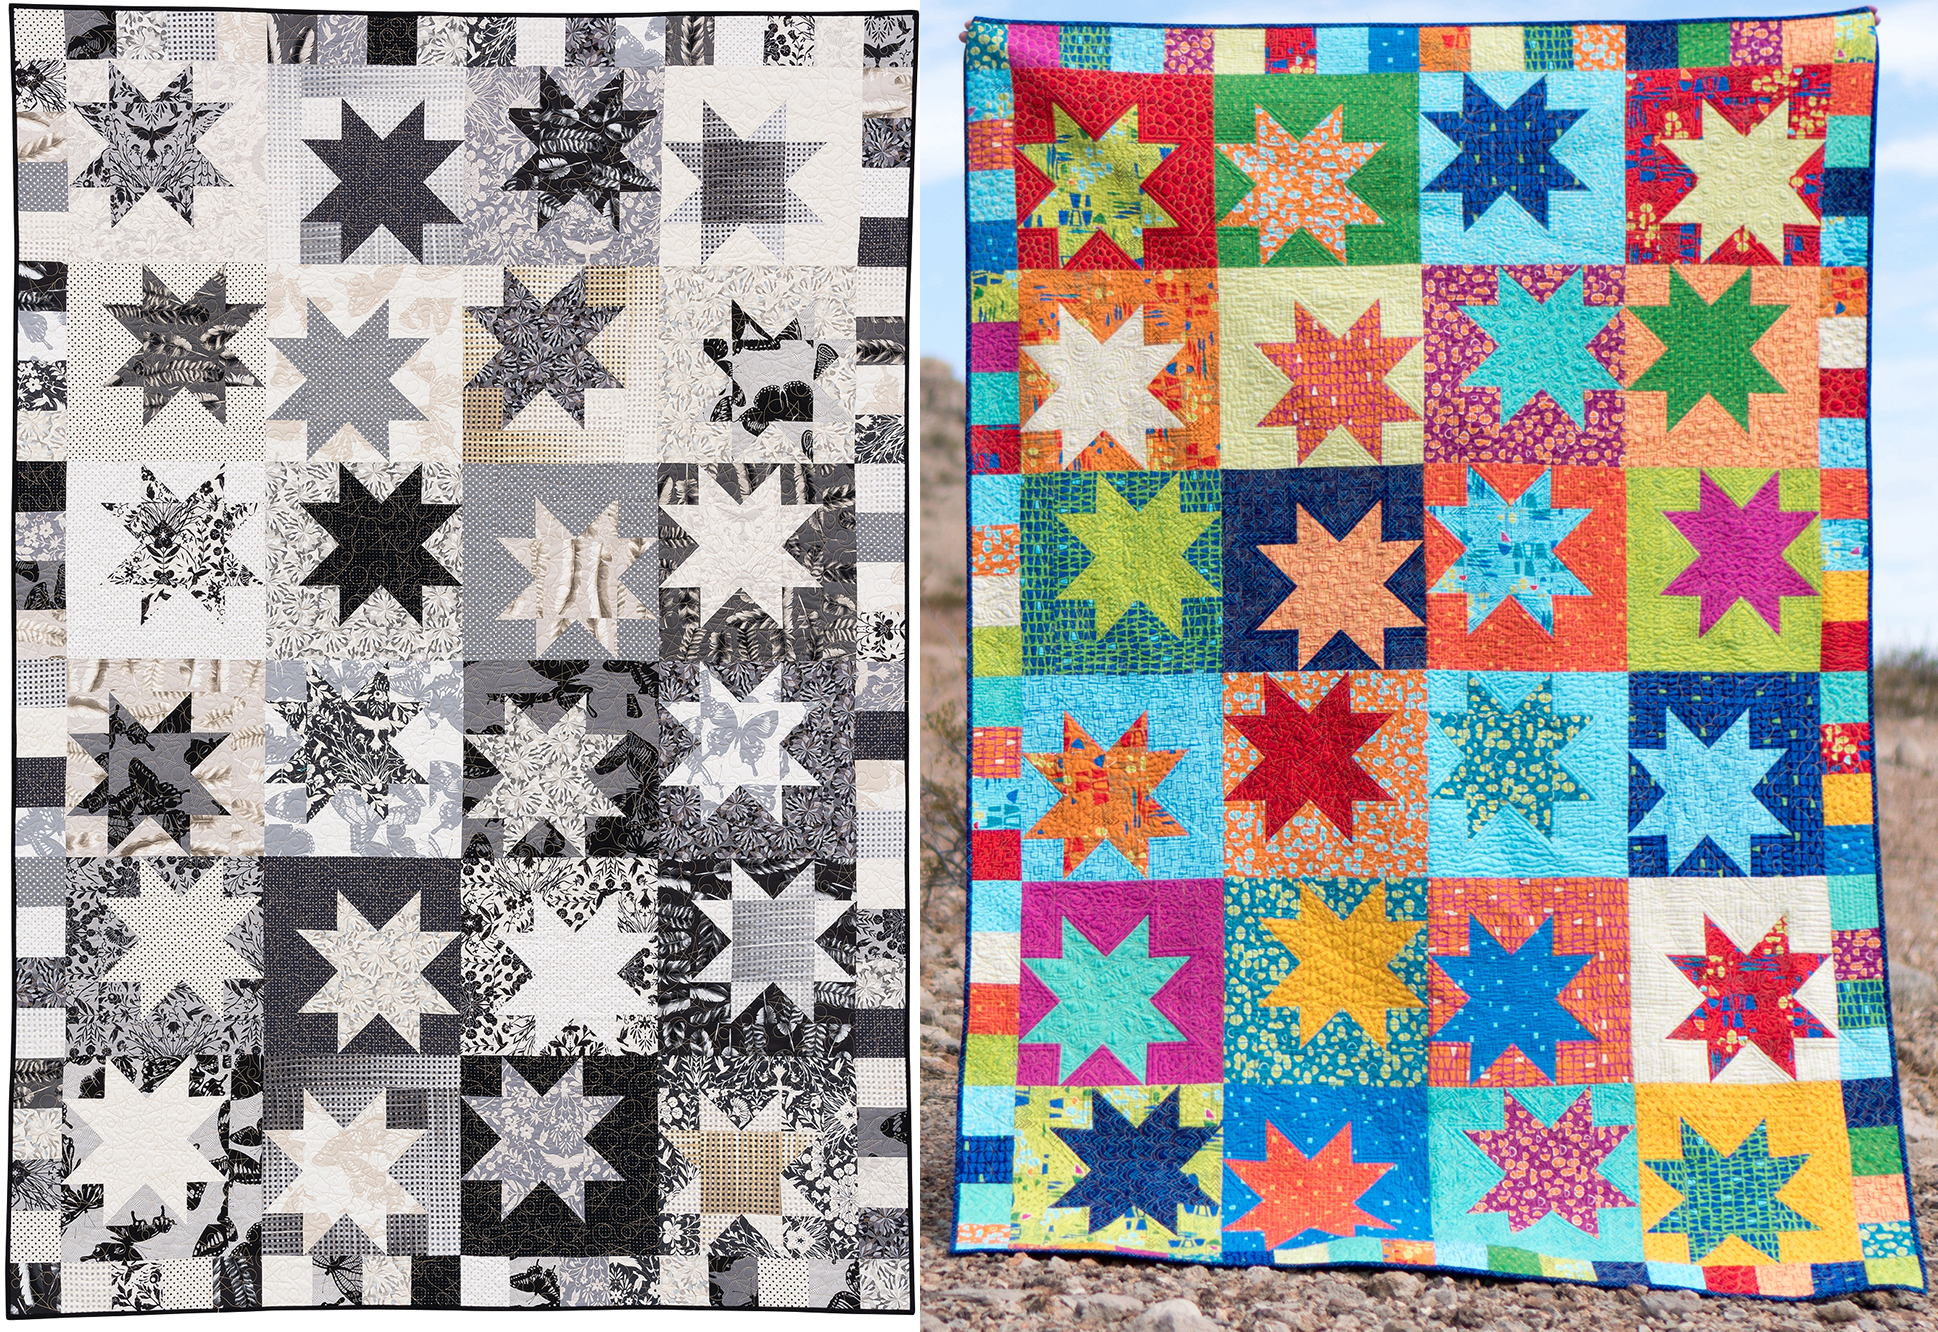
Throughout this series, I’ve loved showing how I quilted these designs on actual, real quilts. The quilt shown in the video behind me is called Star Struck and it’s fun to see how different it looks depending on the fabrics that are chosen. Complete, start to finish instructions for this pattern are included in my book, Piece and Quilt with Precuts!

Click here to download Piece & Quilt with Precuts for the Star Struck quilt pattern.

Catch Up on Past Videos!

I’m almost finished sharing all of the designs from this series. If you’ve missed any of them be sure to check out the complete play list for hours and hours of viewing pleasure!

Click here to view the entire 99 Machine Quilting Designs Playlist

Walking Foot Quilting with Decorative Stitches – Machine Quilting Tutorial #39

99 Designs Episode 39 – Decorative Stitches

Did you know that any walking foot design can be quilted with decorative stitches? It’s a great way to add incredible texture to your quilts! Check out my latest free video tutorial below and give it a try! 

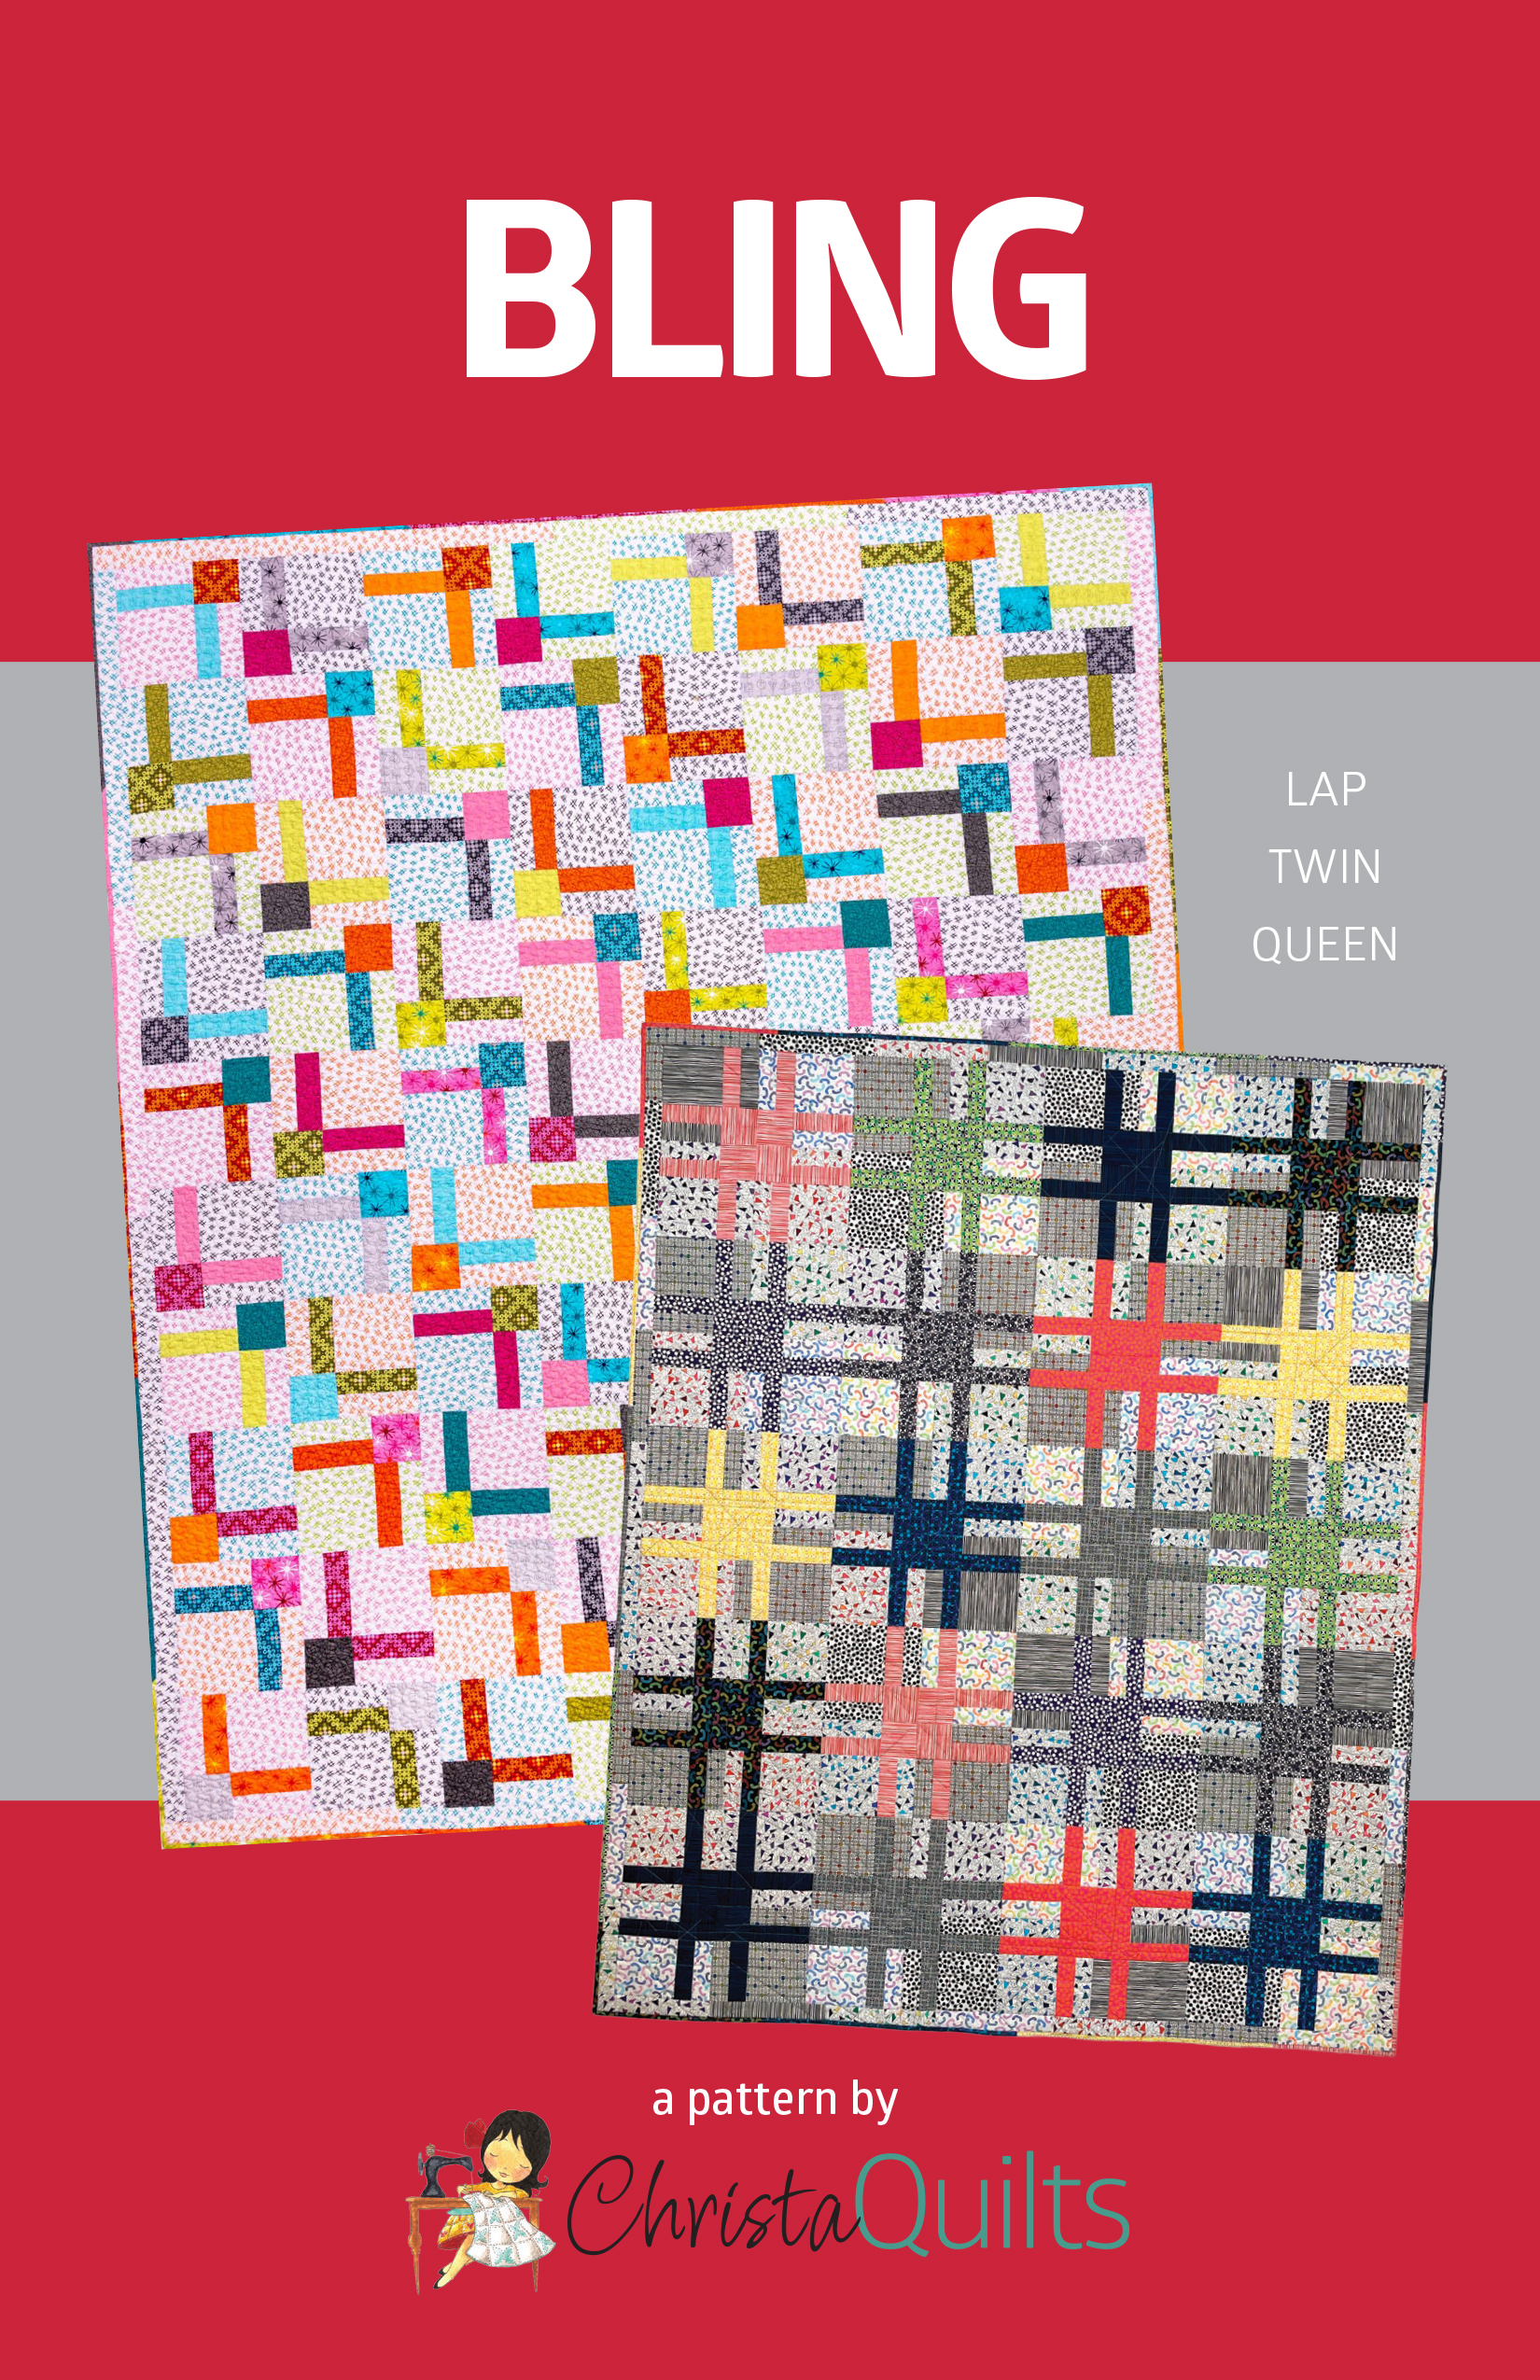
After practicing on smaller samples, it’s time to try these designs on real quilts! Below are two bonus videos to watch for free. First, try out those decorative stitches I’ve shown above on my Bling quilt made from Stitchy fabrics:

While supplies last, you can grab the kit to make Bling from either my Stitchy fabrics as shown in the first and second videos above, or Dazzle Dots, shown in the bonus video below.

Click here to grab the Bling Quilt Kit, While Supplies last
Click here to grab the Bling Quilt Pattern

Here’s another bonus video, showing how I quilted Bling using other walking foot quilting designs I’ve shared in previous tutorials. And don’t forget to checkout my playlist showing how I quilted these designs on real, full sized quilts!

Click here to see all “How I Quilted It” video tutorials. They are free to watch as many times as you want!

Quilt Along Poll – Which Quilt Do You Want to Make?

It’s been awhile since I’ve hosted a quilt along, but I’m home for the rest of the summer before travel picks up again in the fall. So August is the perfect time for me to guide you through the process of making an entire quilt from start to finish. However, there’s only 1 problem – I need to know which quilt you’d like to make! Here are two choices up for consideration:

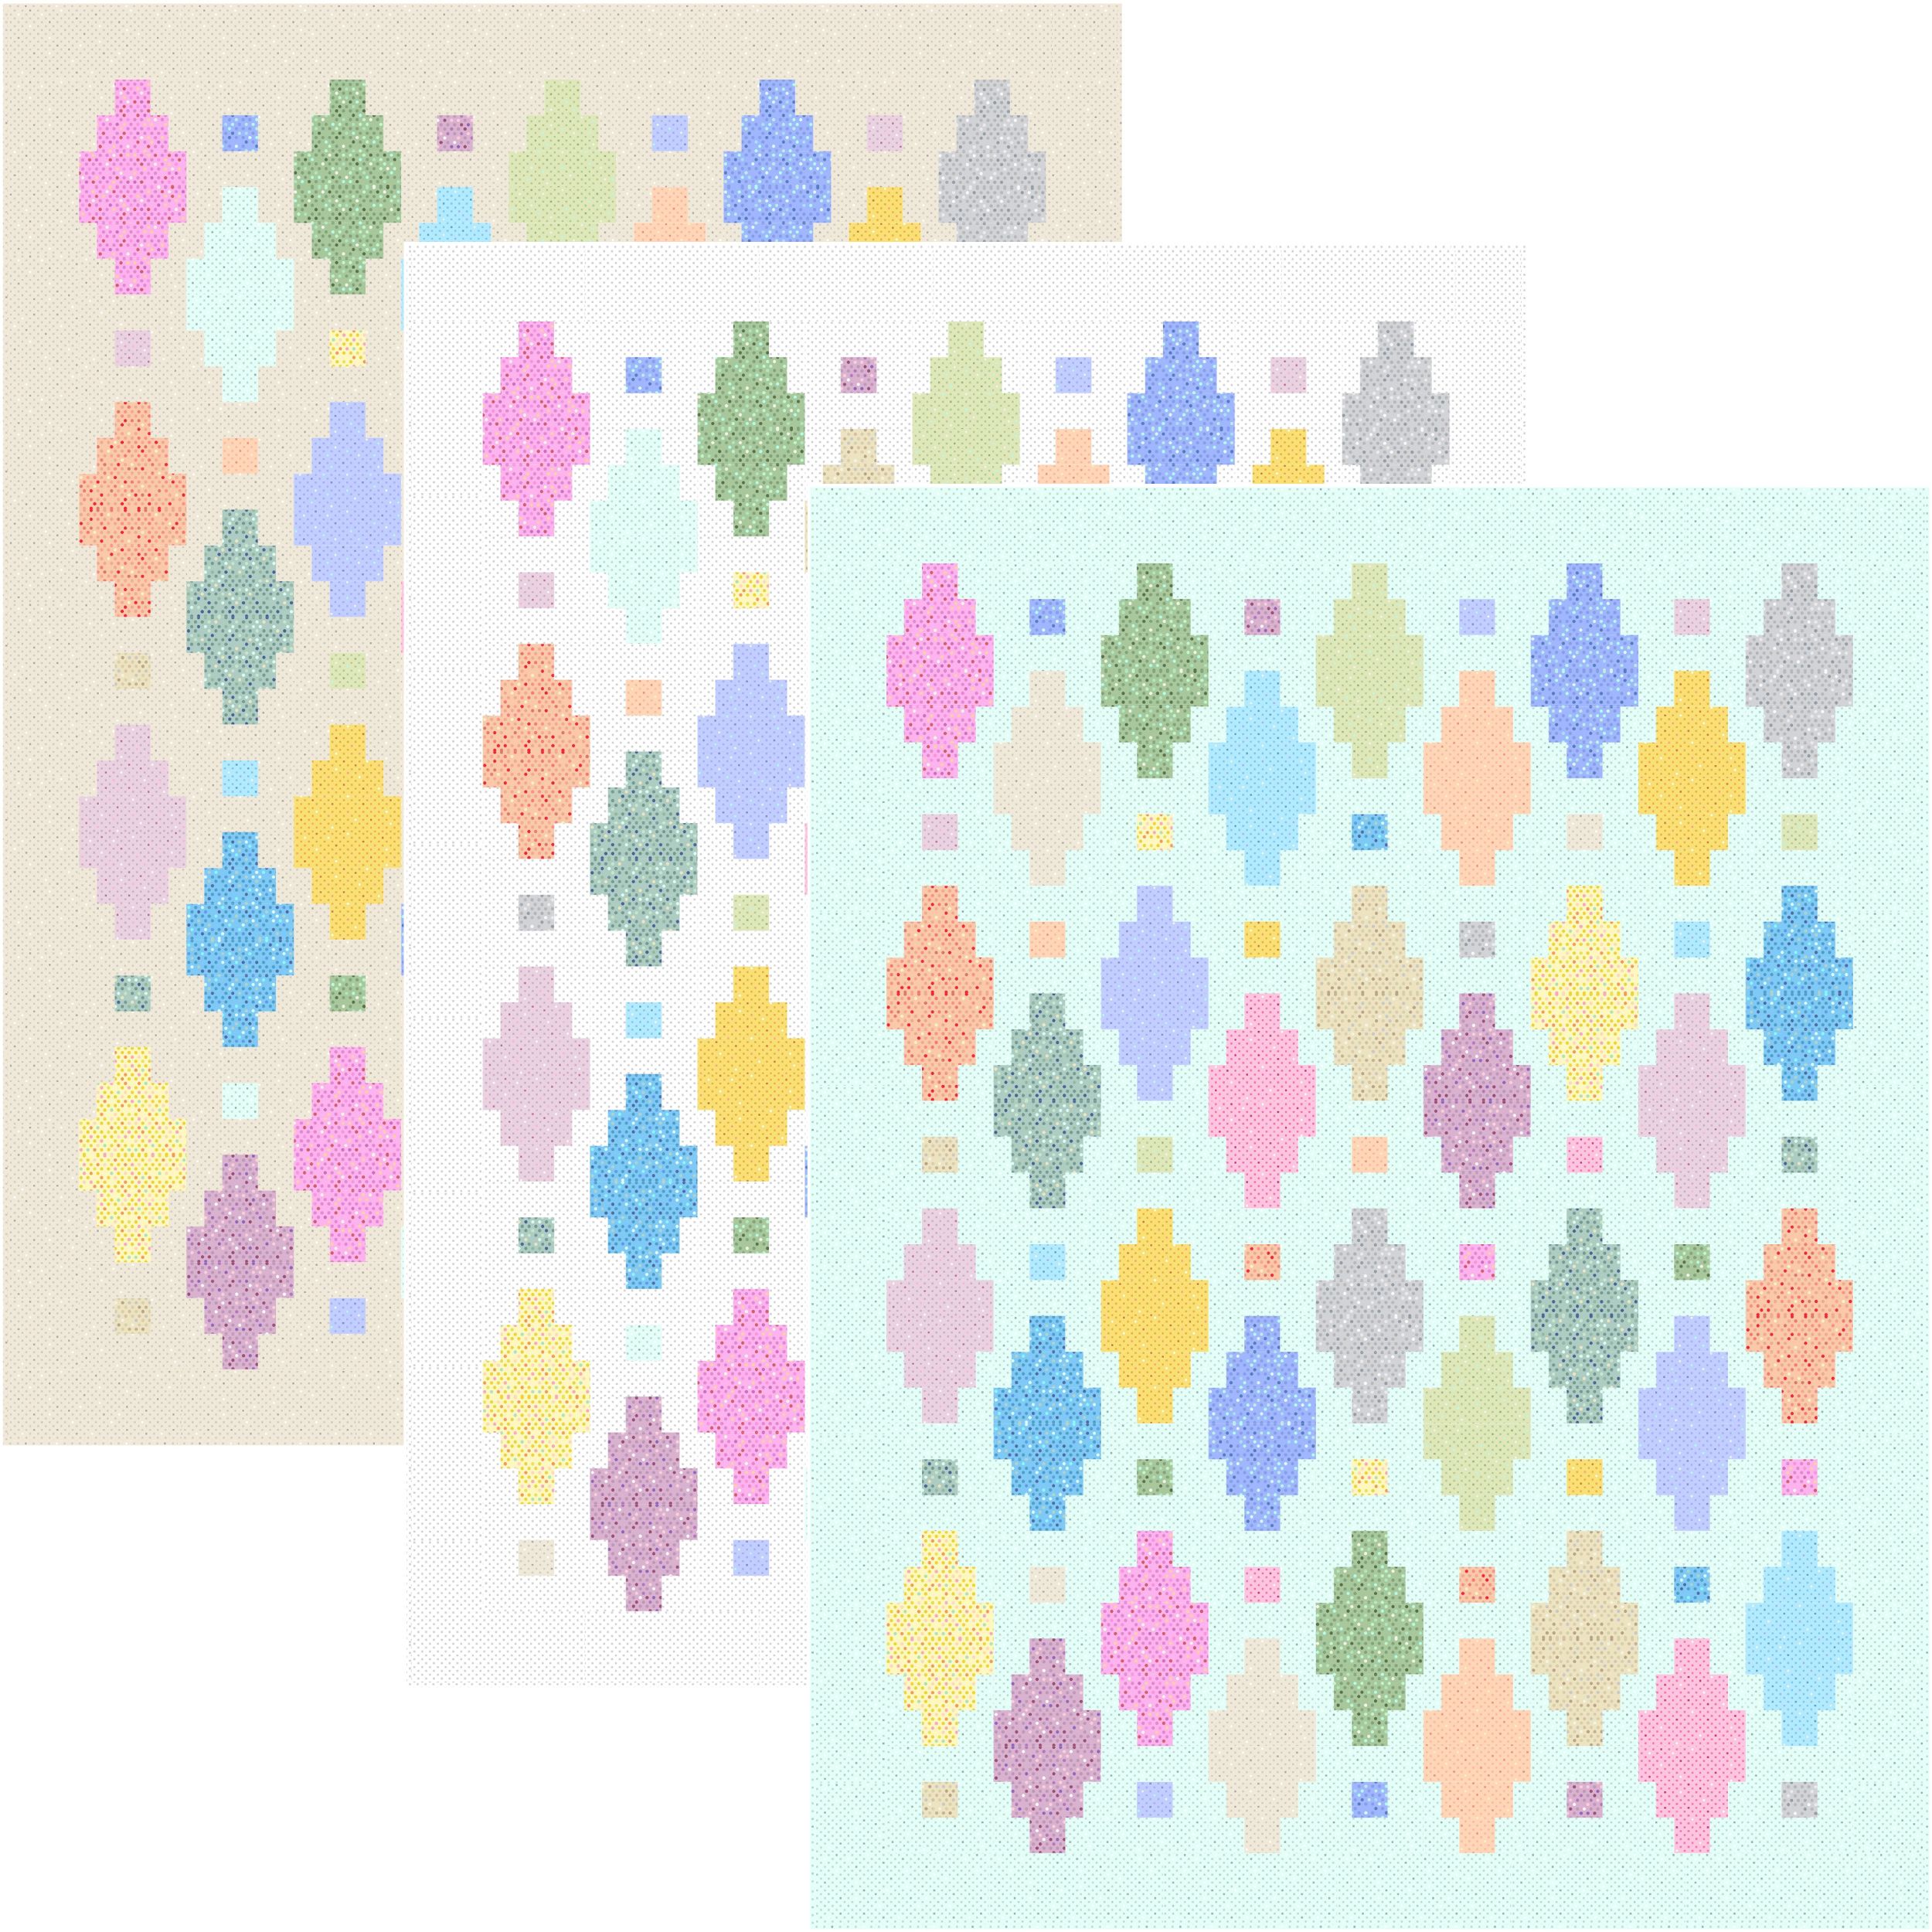
Click here to get my Beaded Lanterns free PDF pattern download

Choice #1 – Beaded Lanterns QAL

Beaded Lanterns is one of my free patterns, and it’s designed using my latest fabric collection, Dazzle Dots 2. I designed it with several background options, and kits are available for all 3 versions. However, I will make my version with the icy blue background because that one really speaks to me.

Click here to get the optional Beaded Lanterns Quilt Kit in 3 Color Options

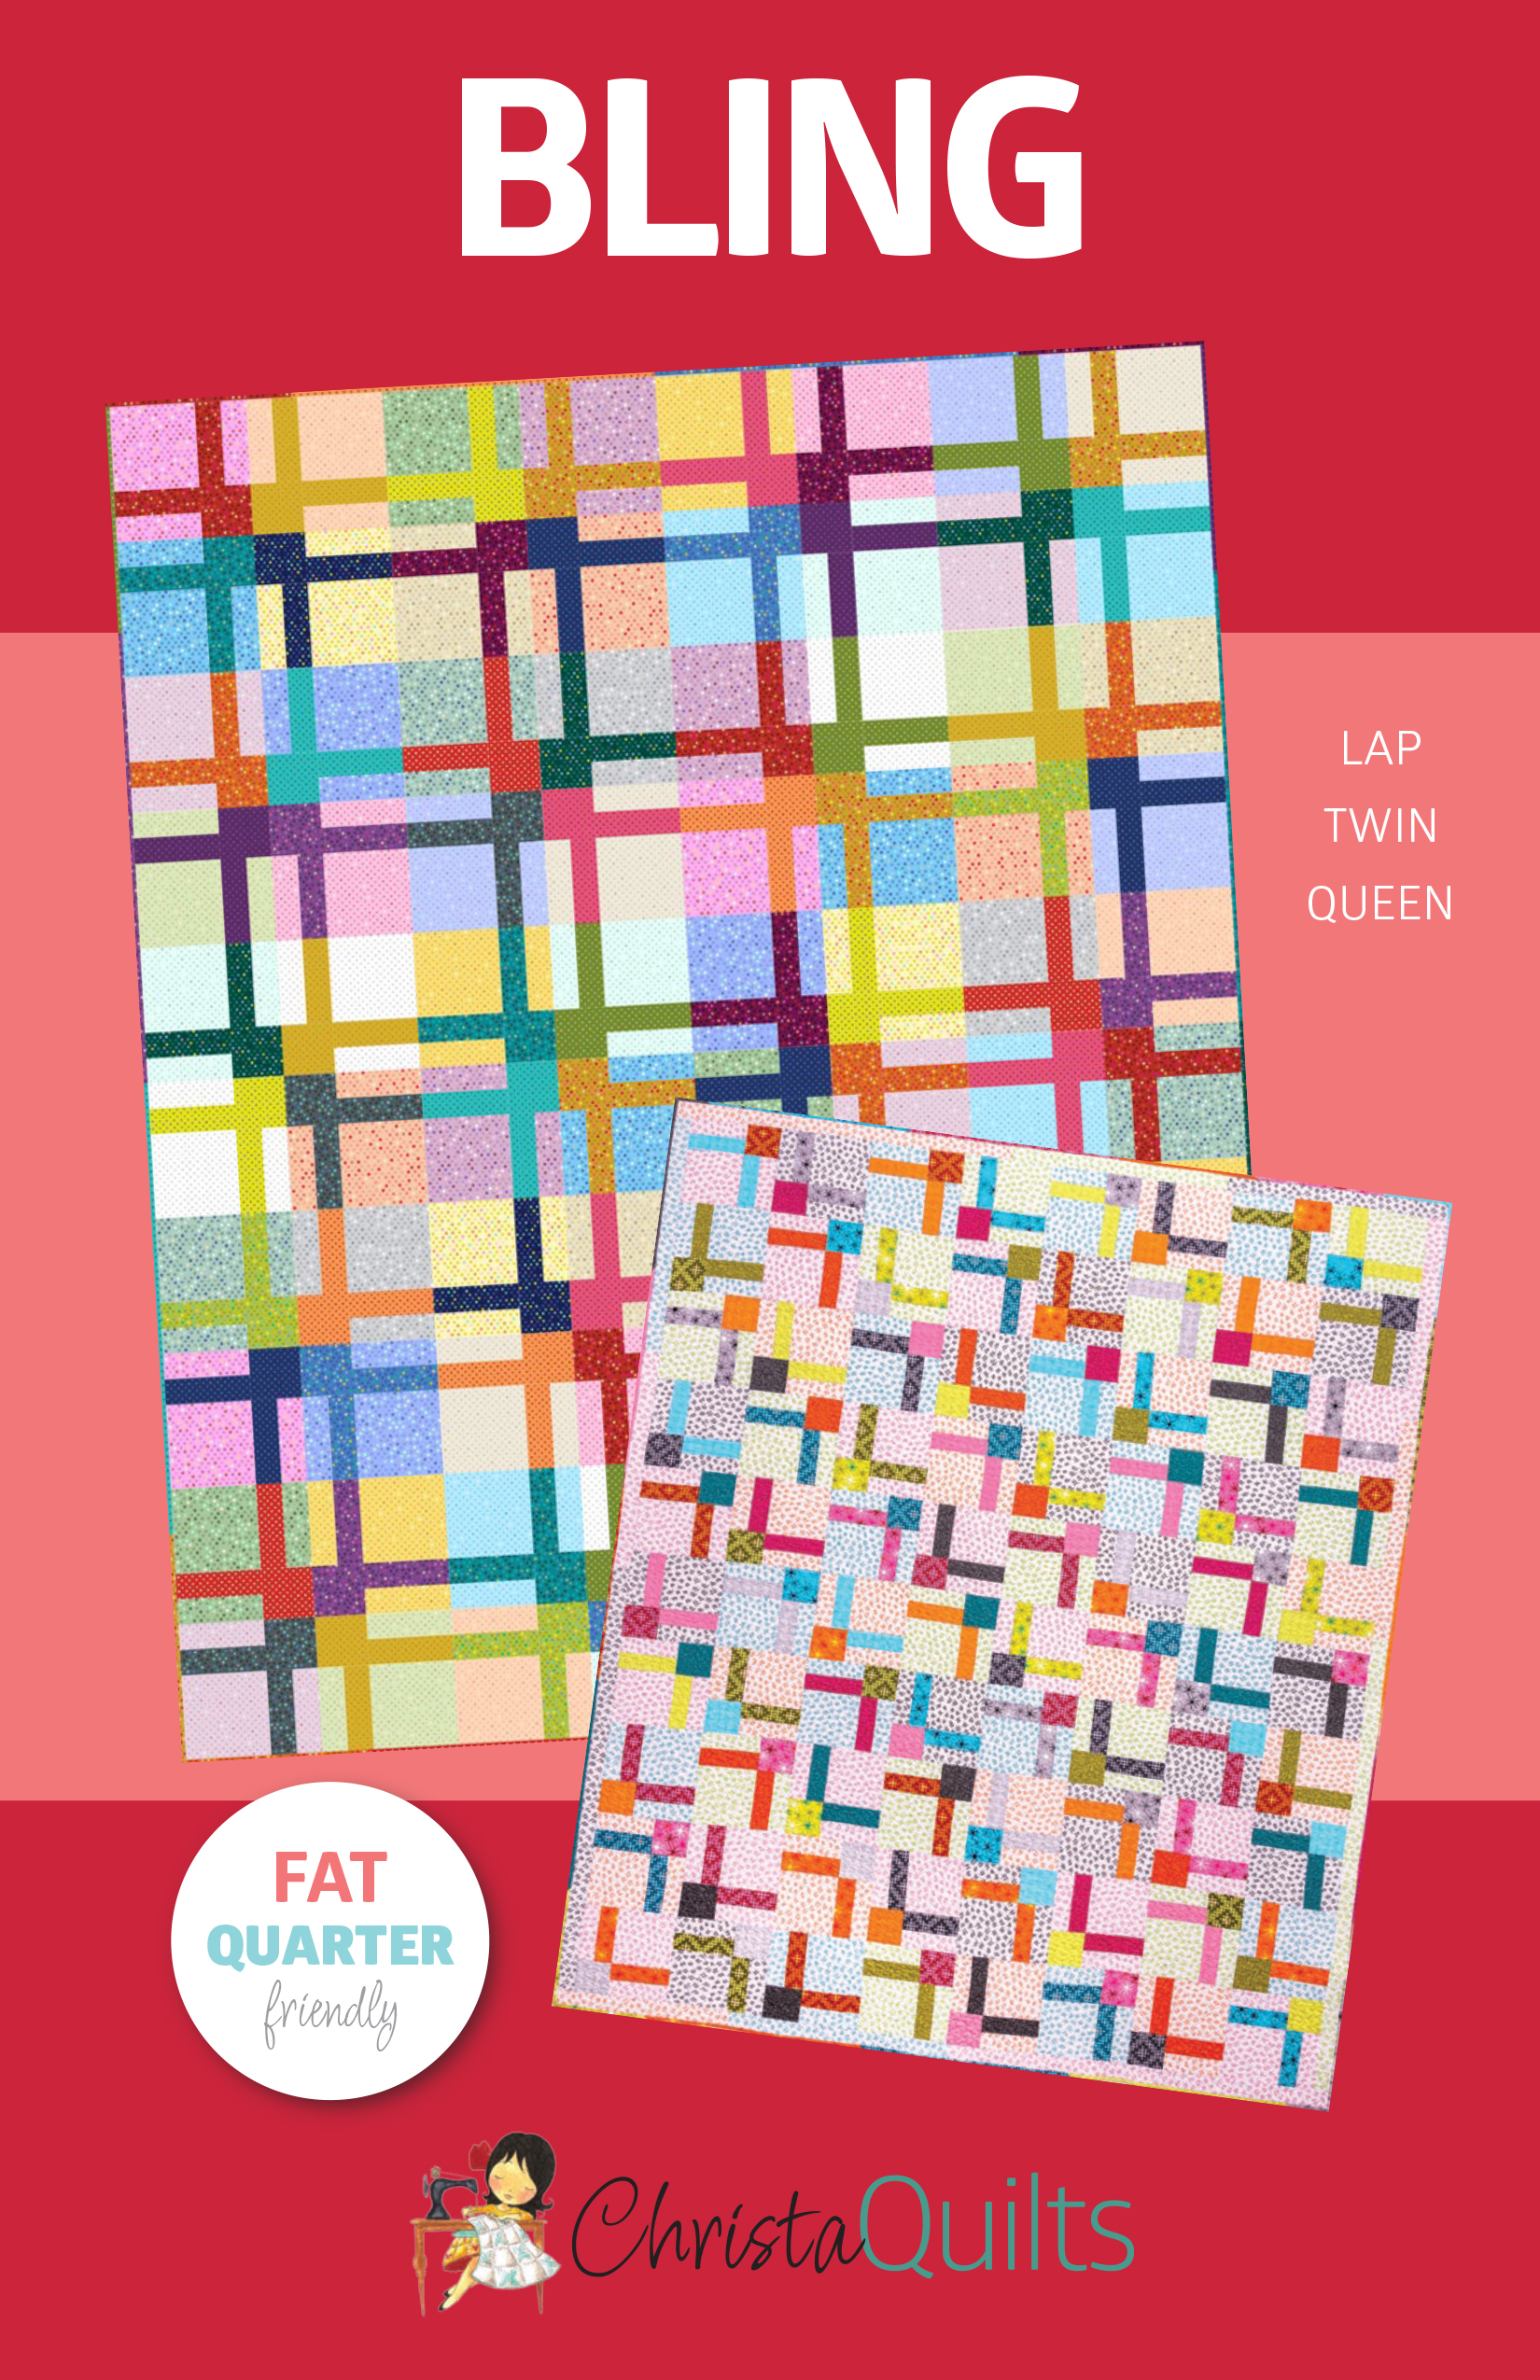
Choice #2 – Bling QAL

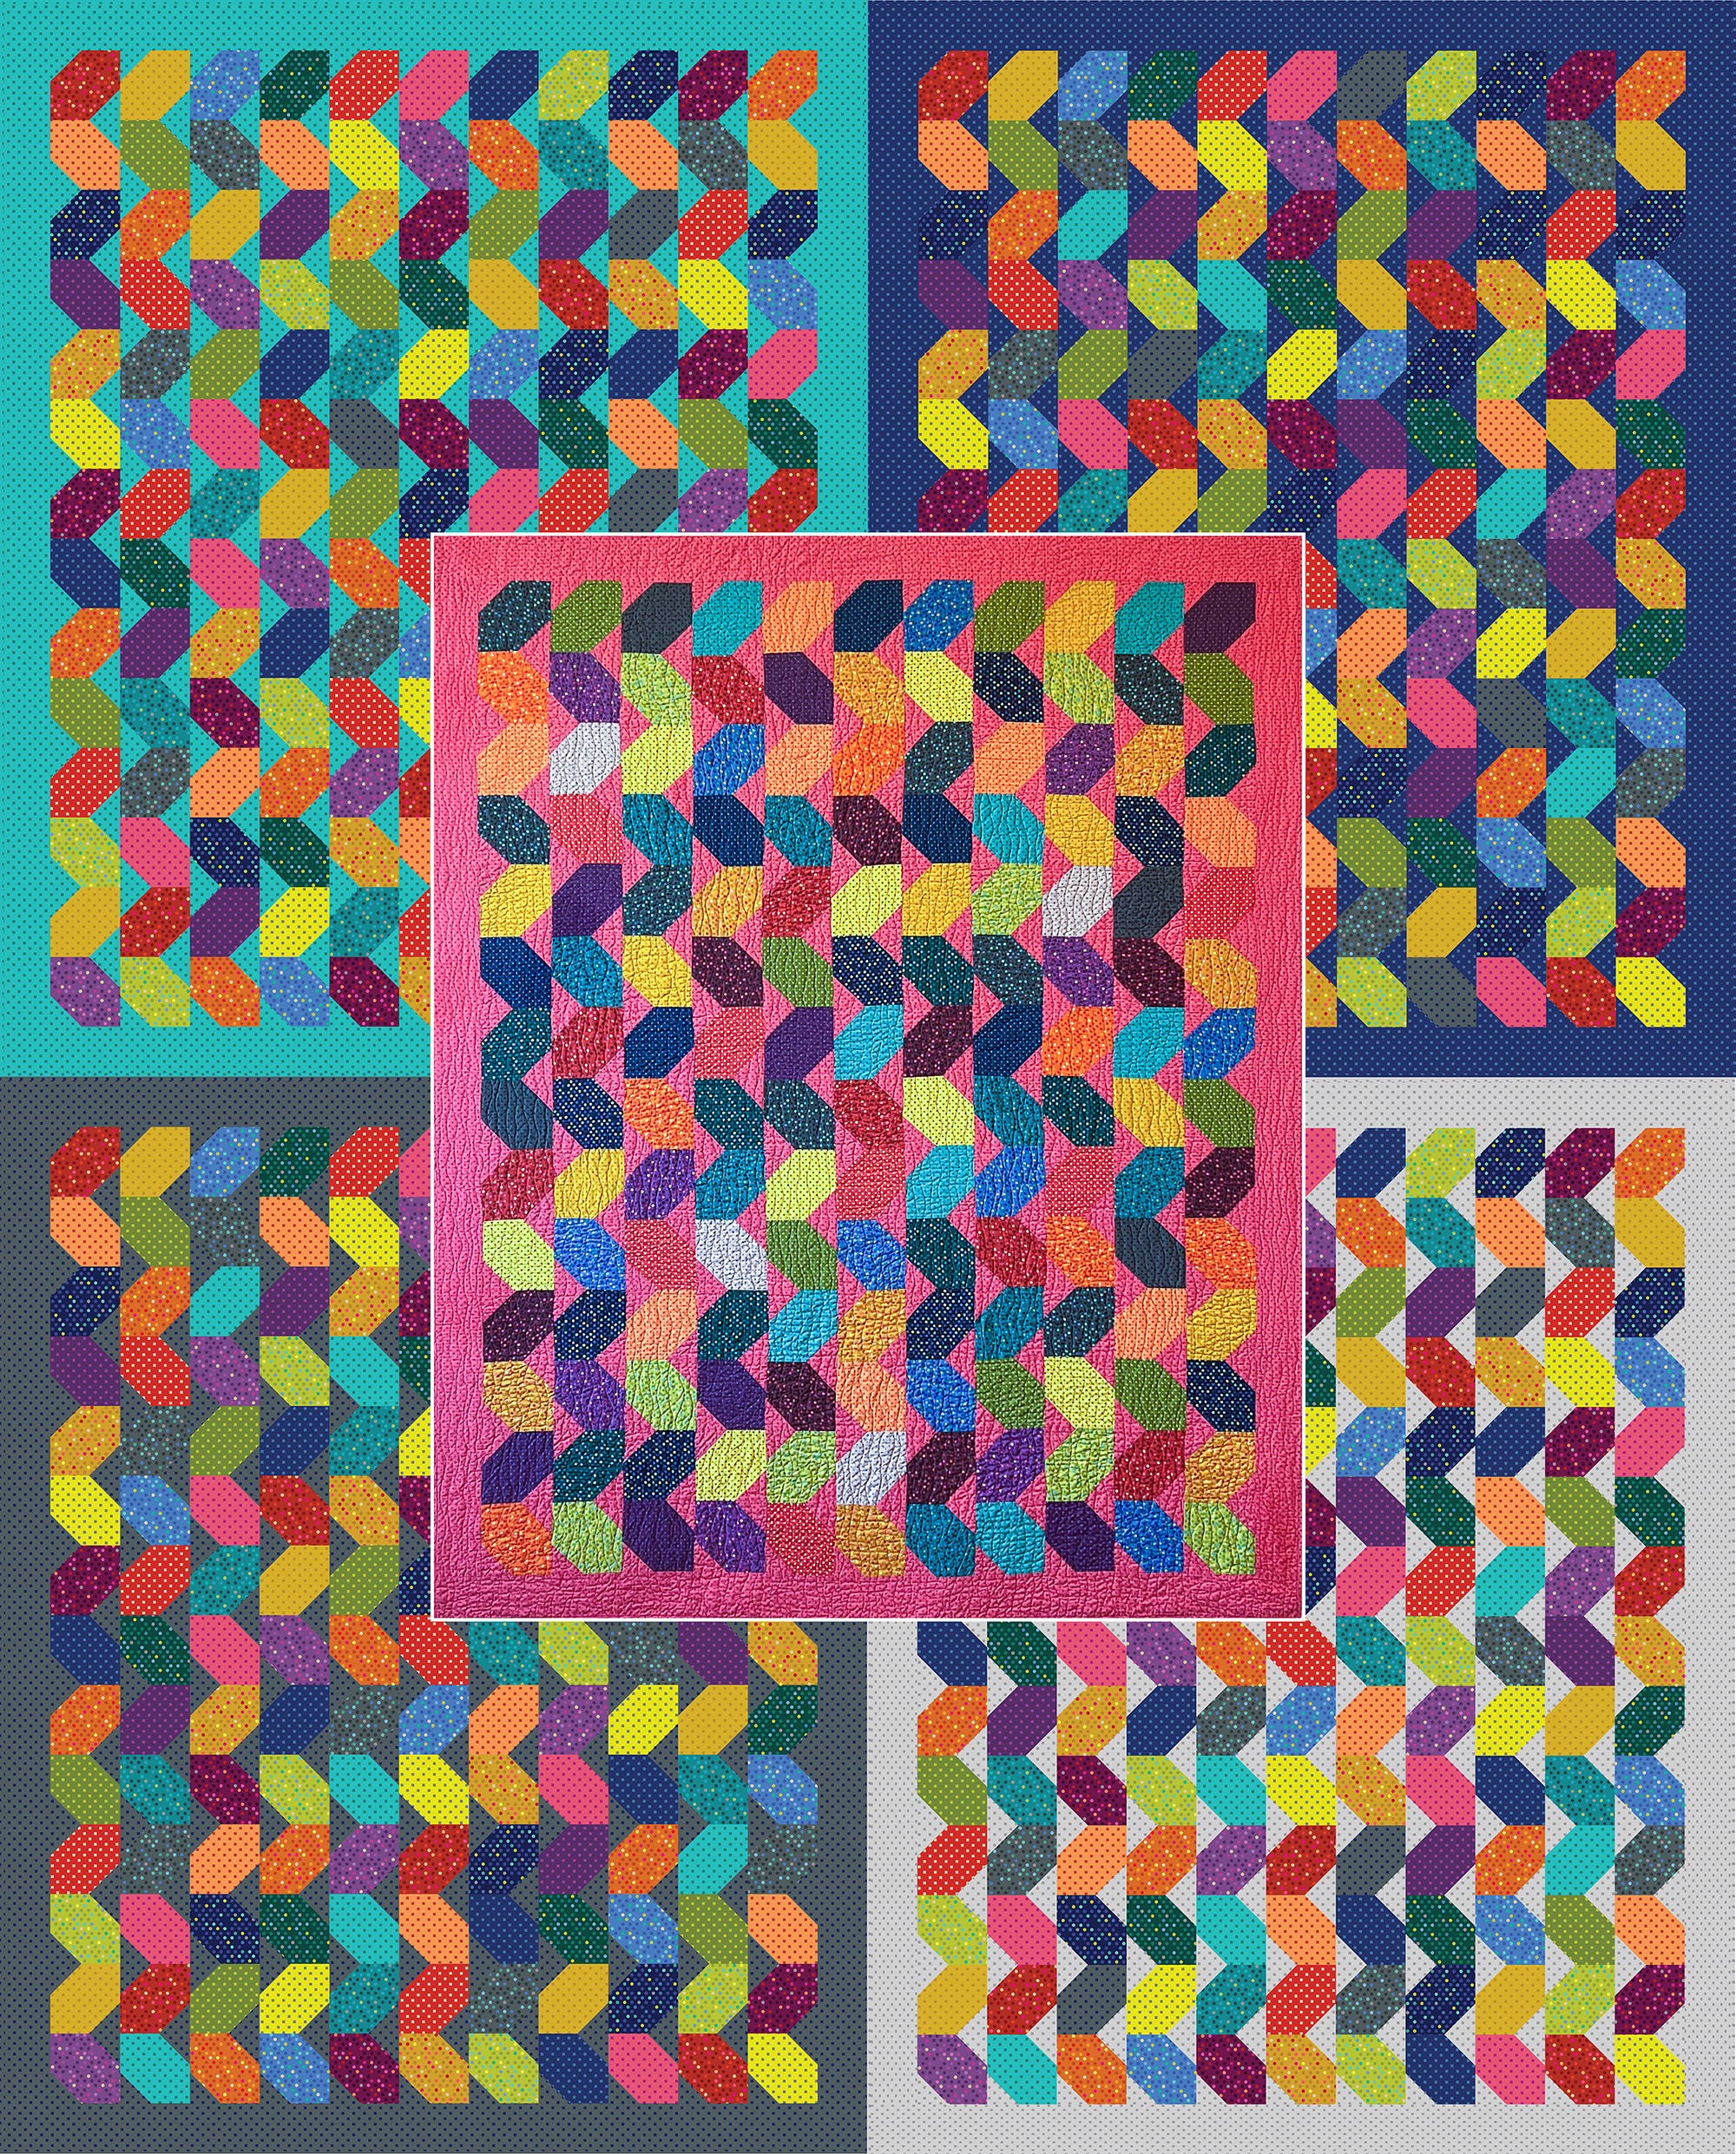
I’ve made this quilt several times over the years with different fabric collections I’ve designed. However, my latest iteration combines both my Dazzle Dots 1 and 2 fabrics for a colorful scrappy look! You can get the Bling quilt pattern as a stand alone option; or if you get the optional Bling kit, it comes with the pattern included.

Bling quilt pattern designed by Christa Watson
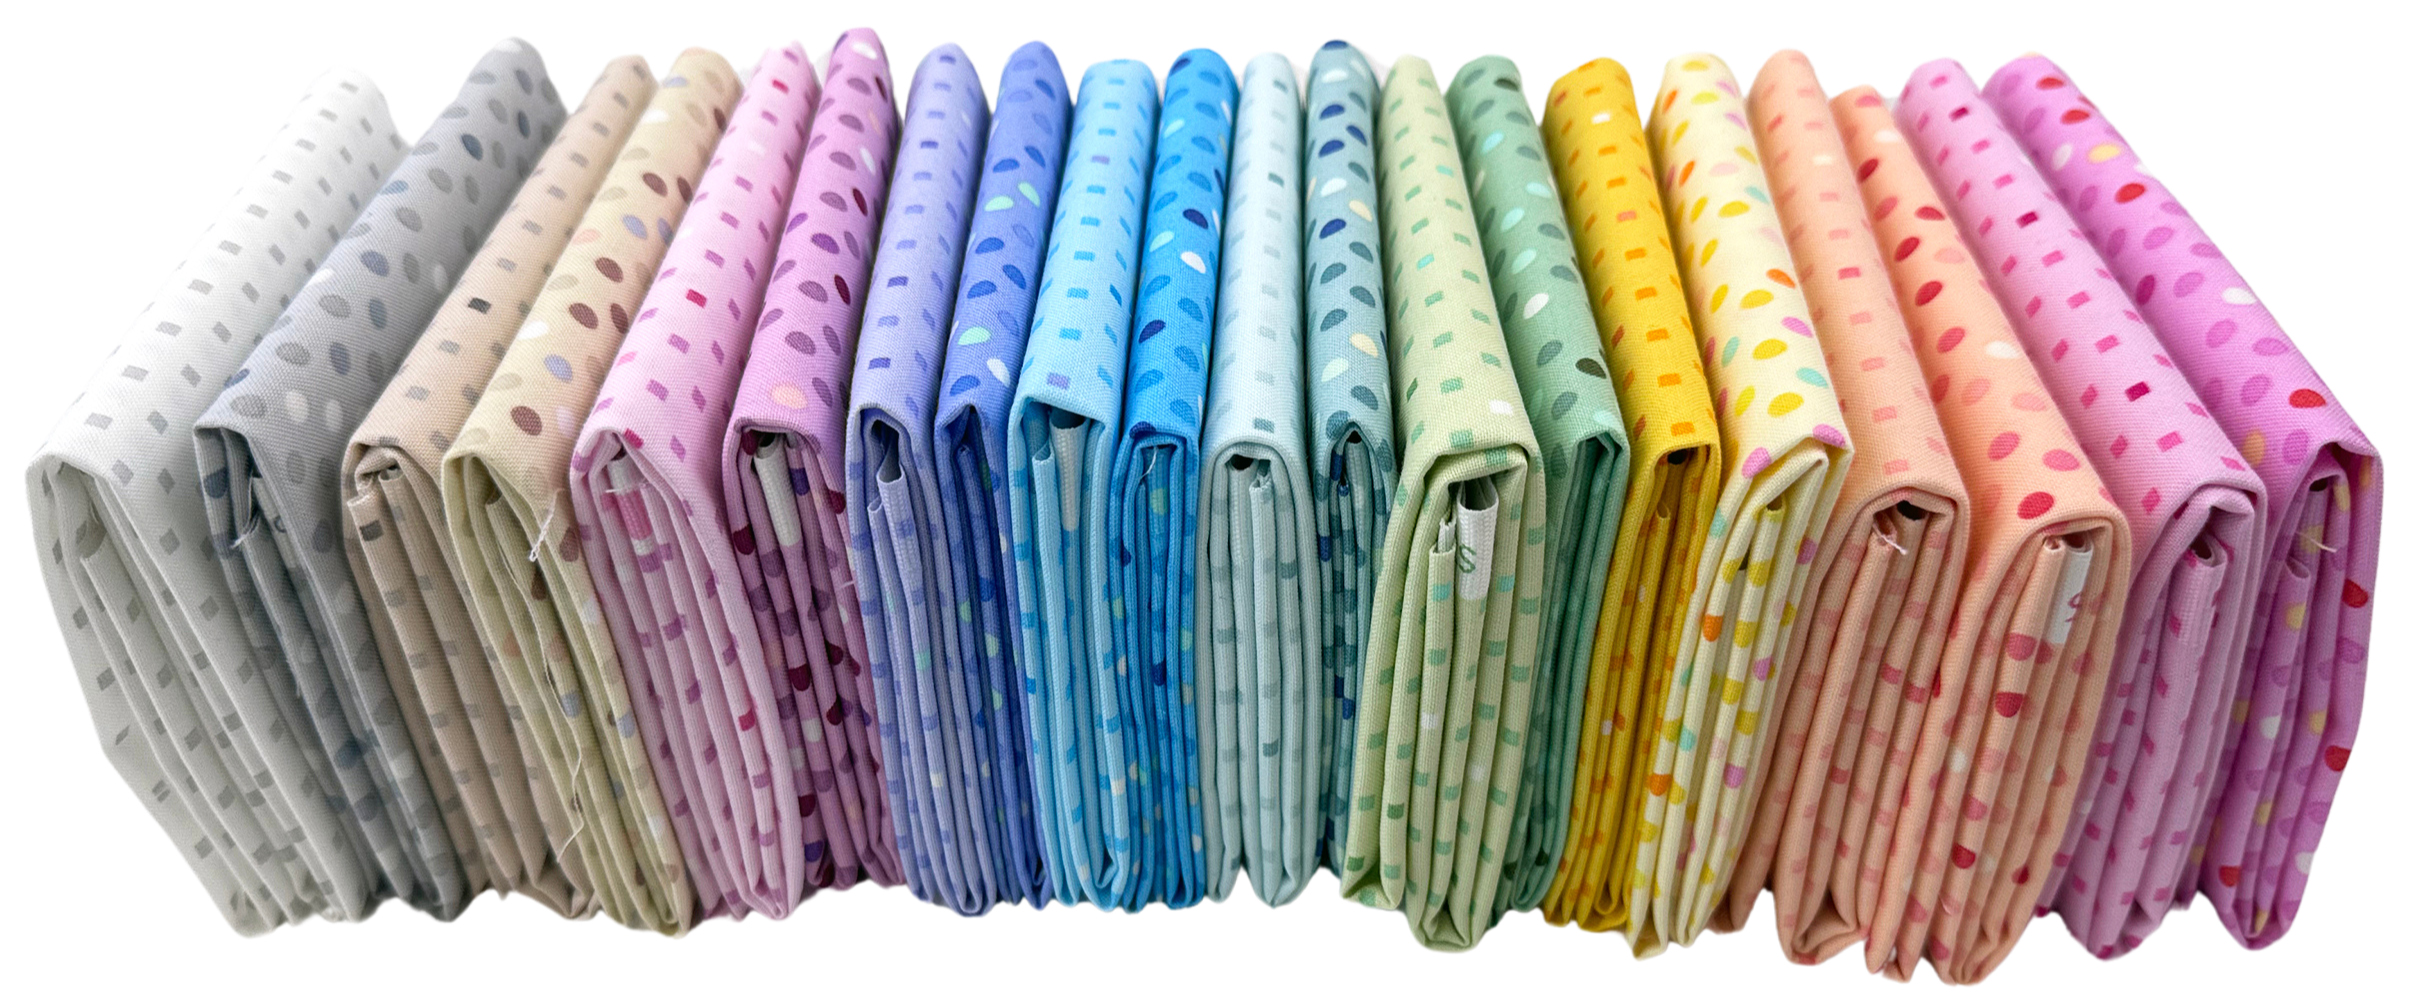
Dazzle Dots by Christa Watson

Please do me a favor and leave me a comment letting me know which quilt you would rather make: Beaded Lanterns or Bling. The quilt with the most votes wins, and I’ll announce the results along with the quilt along schedule at the beginning of July.

Then we will kick things off during the last week of July/beginning of August. So – who’s in??

Free-Motion Quilting Boxes, Triangles, and Flower Spirals on Surplus Strips Quilt

Want to see how I actually apply my quilting designs to a “real” quilt? Check out this week’s bonus video, tutorial, where I show you how I quilt two different designs on two different versions on the same quilt:

Get the Surplus Strips Quilt Kit!

Interested in making these quilts yourself? You can grab quilt kits with either the light or dark background. This quilt is made from my Dazzle Dots 2 fabric, which is also available in my online shop in both precuts and yardage.

Click Here for My Surplus Strips Quilt Kit

Already have fabric? Click here to purchase the pattern for Surplus Strips! A PDF version is also available!

And just in case you’d like to make something completely different from Dazzle Dots 2, here’s a little eye candy for you. The soft pastels are perfect for a spring-time quilt!

Dazzle Dots 2 fabric

99 Designs Video Episode 10 – Quilting Loops and Stuff

This week for 99 Machine Quilting Designs I’m showing how to free-motion quilt several loop variations. They are one of my go-to designs! Click below to watch:

These 3 designs all come from my book 99 Machine Quilting Designs. You can grab the instant PDF download of this book from my Etsy shop and follow along with each video that I’m sharing all year long!

99 machine quilting designs

Click here to grab your PDF Copy of 99 Machine Quilting Designs

Bonus Video: Quilting Loops on a Real Quilt!

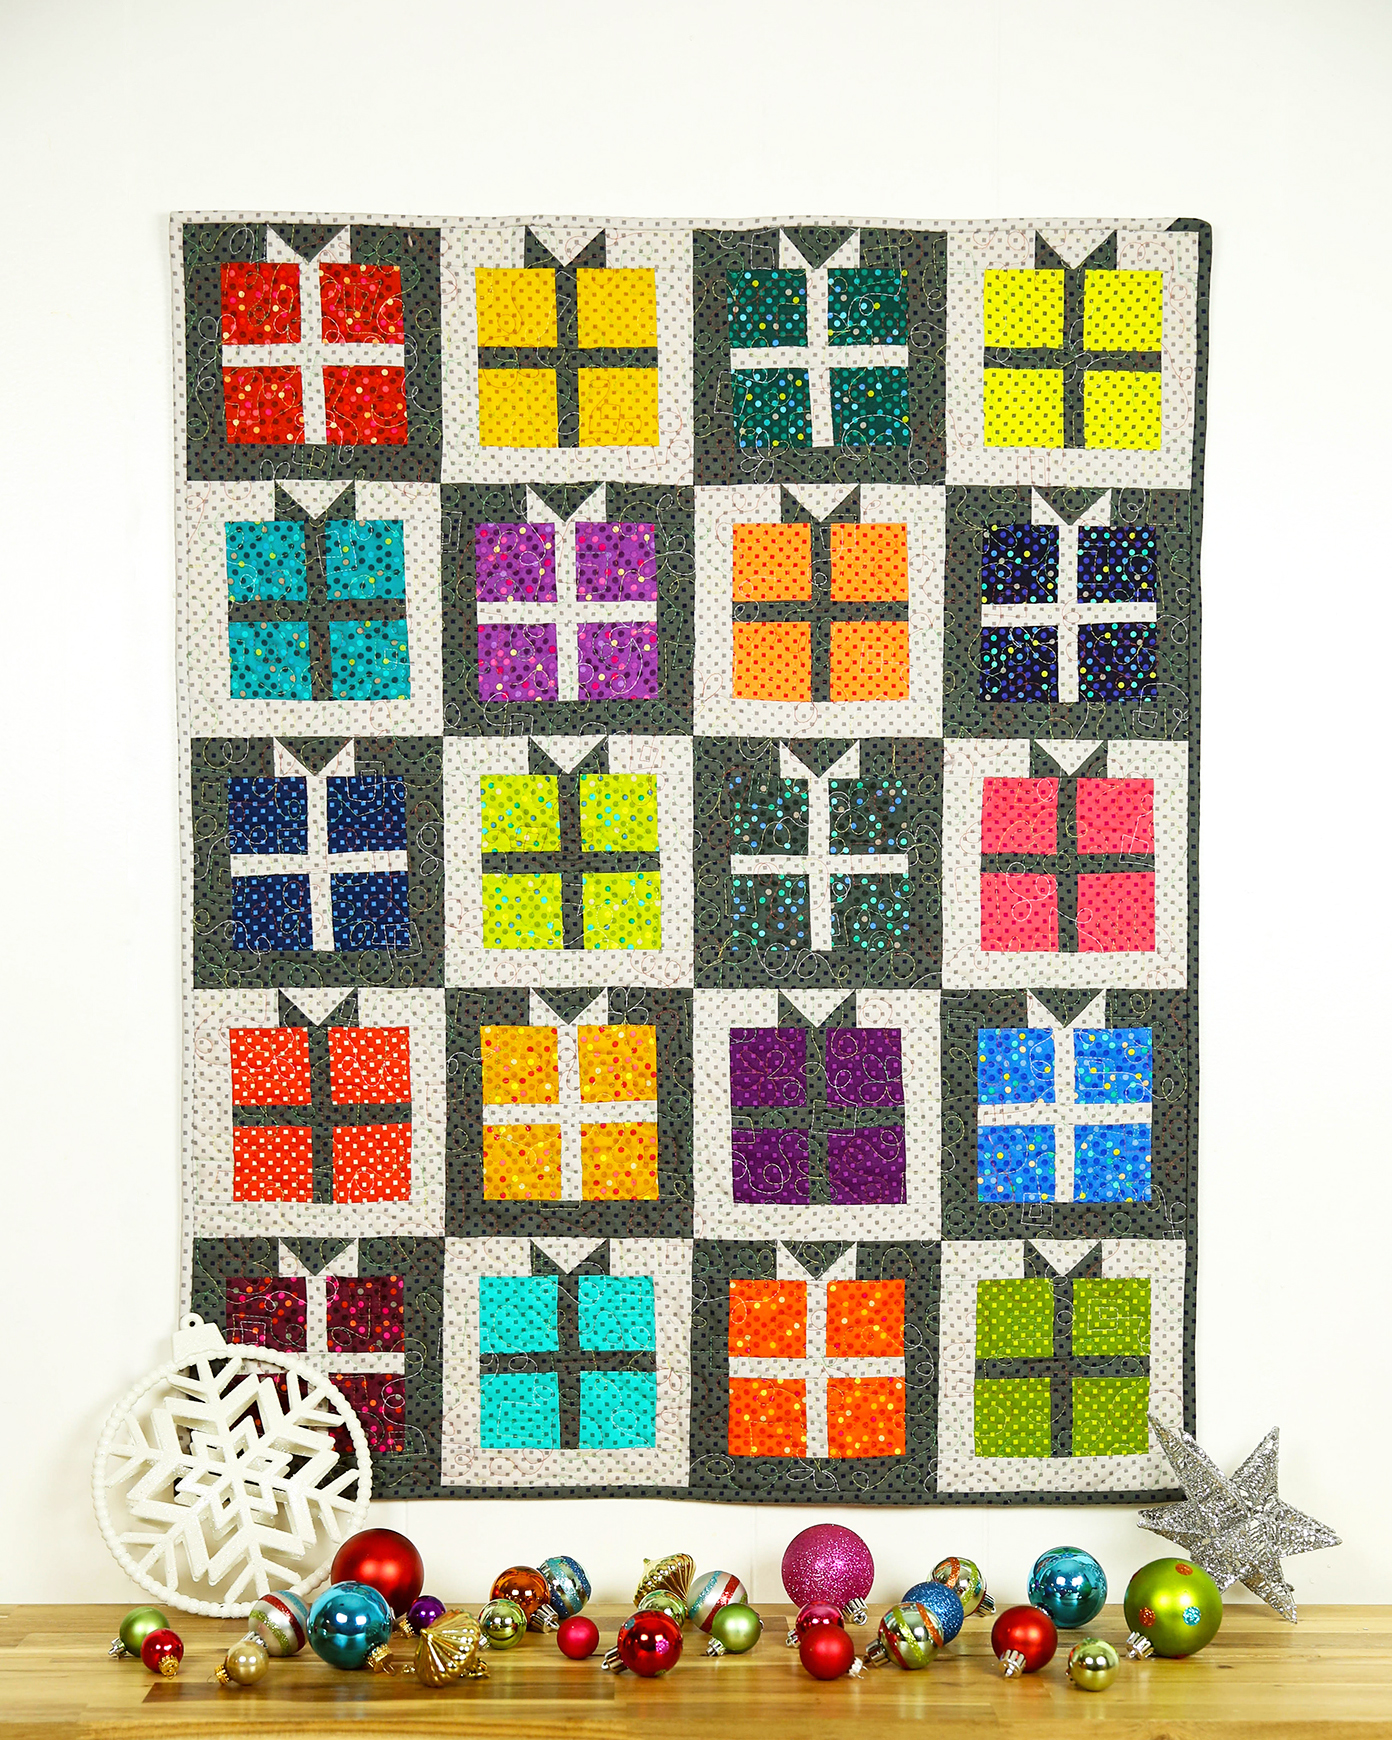
After watching my video tutorials each week, I’m sure you’ll want to apply what you’ve learned on a real quilt. I’ve taken the basic loops I shared in this week’s tutorial and have modified it to include another design I recently shared – boxes – to create a fun and festive design that I quilted on my Fancy Gifts quilt!

As of this writing, I have only a couple of Fancy Gifts quilt kits left – made from my colorful Dazzle Dots fabric collection.

Click here to see all of my quilt kits made from my fabrics.

Let me know if you end up quilting loops, or loops & stuff on your next quilt. It’s one of the most customizable and forgiving designs you can stitch!

99 Designs Video Episode 7 – Shattered Lines

How are you enjoying my year of machine quilting videos so far? Are you finding time to practice? I have another fun set of Walking Foot quilting designs for you to try – Shattered Lines and Wavy Shattered Lines. Take a look below:

Bonus Video – Quilting Shattered Lines on Bling

If you’d like to see how I quilted shattered lines on a “real” quilt, take a look at my bonus video below. I’m demonstrating on one of the versions of my Bling quilt pattern.

Get the Bling Quilt Pattern

I love including quilting suggestions in all of my individual quilt patterns. You’ll never see the words “quilt as desired” from me, LOL!! Bling was such a fun quilt that I made it twice. Isn’t it fun to see how different fabrics, layout and quilting can affect the look of a quilt? Grab the pattern and get started making this quilt today!

99 Designs Video Episode 6 – FMQ Triangle Texture

This week for 99 Machine Quilting Designs we are learning to quilt Triangle Texture, a design that’s great for modern OR traditional quilts! Watch below and let me know what you think!

Get the Surplus Strips Quilt Pattern or Kit
I recently combined 2 motifs – boxes and triangles on the gray version of my Surplus Strips quilt! You can now grab the kit to make this quilt with the gray or white background, or grab the pattern and choose your own colors. It’s fun to make and fun to quilt! 

Suplus Strips Quilt Pattern

If you’d like to choose your own adventure, grab the Surplus Strips quilt pattern and then rummage through your stash for the perfect colors to make it your own. It’s the perfect design for using up leftover (surplus) precut strips!!

Below are 2 versions I made a few years ago and it looks great no matter what!

Surplus Strips quilts made from Fandangle by Christa Watson

99 Designs Video Episode 1 – How to Machine Quilt Wavy Lines

Wavy lines are literally one of the easiest designs you can quilt on your domestic machine. In fact, it’s my go-to motif when I’m in a hurry. For this week’s machine quilting tutorial, I’m sharing 2 fun variations to try. Grab a practice sample, and try this one out below:

That short and sweet video will get you started. Once you’ve finished your practice sample, I have 3 – Yes 3!! more videos you can watch, all showing how to quilt wavy lines on different full sized quilts. If you’d like to make a similar quilt, be sure to grab the patterns and supplies from my shop, or change things up and truly make it your own!

How to Quilt Wavy Lines on Churn Dash Slide

This is the quilt on the wall behind me in the video above. Click the links and image below and you can easily make this quilt from start to finish:

How to Quilt Wavy Lines on Streamers

This is my newest free pattern, and you may already have it in your stash. If not, click the links below to snag it along with an optional kit in your choice of colors:

Watch the free companion video by clicking play below:

But Wait… There’s More!

If you aren’t quite yet tired of quilting wavy lines, try it on this fun jelly roll quilt called Puzzle Box. You know the drill, click below for bonus goodies to go along with the video tutorial:

Get the Free Puzzle Box quilt pattern here
Grab the Optional Puzzle Box Quilt Kit here
Click here to View all Good Vibes fabric used in this quilt

By the way, there’s absolutely nothing wrong with finding a machine quilting design you love and quilting it on All.The.Quilts!!

In fact, when I first learned to Stipple, that’s all I did for a few years. Speaking of which, Stipple will be next week’s machine quilting video tutorial, so stay tuned!! Be sure to subscribe to my YouTube channel so you don’t miss a thing!

Color Weave Quilt Along is Coming!!

My Color Weave Quilt along kicks off Monday, Sept 16th and I’m doing something a little a little different this time around. I’ll be sharing everything via email rather than here on my blog. Lately I’ve been rethinking my social media strategy and looking at numbers. Because I get higher engagement via my direct newsletter, this will be an experiment to see if that format works best for a quilt along. Keep reading below to see how you can join in the fun….

Click here and download any of my free patterns to join my email list!

Now, not to confuse things, but this is my blog post you are reading right now. You may get this delivered to you via email if you’ve signed up for that. But that’s a totally different system than my regular, weekly email newsletter. So if you aren’t sure if you are on that list, you can sign up here. This link will take you to my free patterns page which automatically signs you up for my emails. Got it??

Everyone already on my email list will automatically get the Quilt Along emails, and the best thing about it is that it’s free and you don’t even have to make the quilt! I will share tips and tricks for making the entire quilt from start to finish, including basting, machine quilting AND binding. These are techniques that will apply to any quilt you make. I really love empowering others to actually finish their quilts and reduce their UFO piles!

So to recap, click here to grab any of my FREE patterns and join my email list. That will give you free access to the entire Color Weave quilt along. Now if you DO want to make the quilt, pick up a copy of my Color Weave quilt pattern in either PDF or print.

Click here to get the Color Weave quilt kit – made from Dazzle Dots.

And while supplies last, I’ve put together kits made from precut strips of my Dazzle Dots fabric line. This includes the beautiful rainbow colors as well as both the light and dark grey strips. This is everything you’ll need for the quilt top – including the binding.

So – who’s excited for this one??? I know I am!!!