Today’s soap box was inspired by an earlier post from my friend Lee at Freshly Pieced. She very eloquently wrote a thought provoking essay entitled, “Are Blogs Dead?” referring to the idea that in some circles, Instagram my be supplanting blogs as quilters’ social media of choice.
Fortunately, her conclusion was that no, blogs are note dead – they are just different!
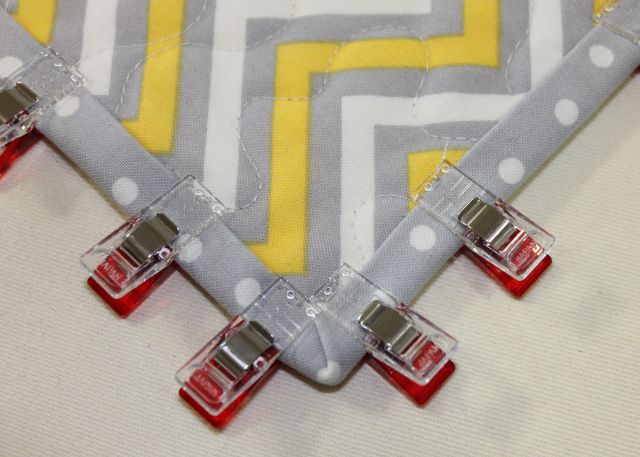 It’s been fun to use my blog to share tips, tricks and tutorials, like how to bind a quilt.
This got me to thinking about social media and why I am so attracted to it. I think it really is about the community and the content. I view my blog as my “Home Base” or my place to “be.” It’s where others can come find me, and see what I’m up to. It won’t change locations or format (unless WordPress does something very drastically different which I highly doubt). My blog is very reliable and I can choose to write as little or a much as I like.
I can be myself here, share the occasional peek into my personal life, and people can choose to read or not at their leisure. It’s also a place where I can store many of my ideas and thoughts as I quilt, along with tons of free content I’m happy to share. (You should see my WIP posts that have not been posted yet – they go on for pages and pages, LOL!!)

I don’t mind sharing both my personal and professional life on my blog.
However, Lee did bring up a good point which I hadn’t thought of before. Blogs are becoming more of a one way content generator and less of a vehicle for two-way communication. I know from my stats that I get a lot of traffic and people reading my blog, even if they don’t comment as much as they read. Heck I do the same thing – I follow over 100 blogs on a regular basis but I read far more than I comment.
So that’s where other social media like facebook, instagram or flickr come in. I think people, including myself, like the instant gratification that a quick comment or “like” can generate.
For me personally, I just can’t get into facebook, and flickr has become really user unfriendly lately – but I love checking instagram on a daily basis (@christaquilts). It’s quick and easy to pop in for a few minutes to see what beautiful things others are making, and it’s fun to leave a quick message or get instant feedback on what I’m working on. I also think of it as a way to share real-time snaphsots of daily life, which I can then turn into a cohesive “story” later on my blog.
 I love to share “snippets” of my life on instagram, – or the “in-between” posts.
So I agree with Lee – blogs are definitely not dead, but their use is evolving. Because I’m the type of person that likes to have everything neatly organized in it’s own little box, I love the idea of referencing blogs mainly for content, and using instagram for my daily dose of quilty socialization.
How about you – what are your favorite ways to utilize social media?