In this week’s episode of 99 Machine Quilting Designs, we’re bringing back swirls with a modified, or “squished” spiral that resembles a woodgrain texture. Refer back to episode 25 for how to quilt a basic swirl design. This might be a helpful refresher, since squished spirals is basically just a variation on this design. It’s a great way to add realistic texture to your quilt, so check out the video below if you want to learn more:
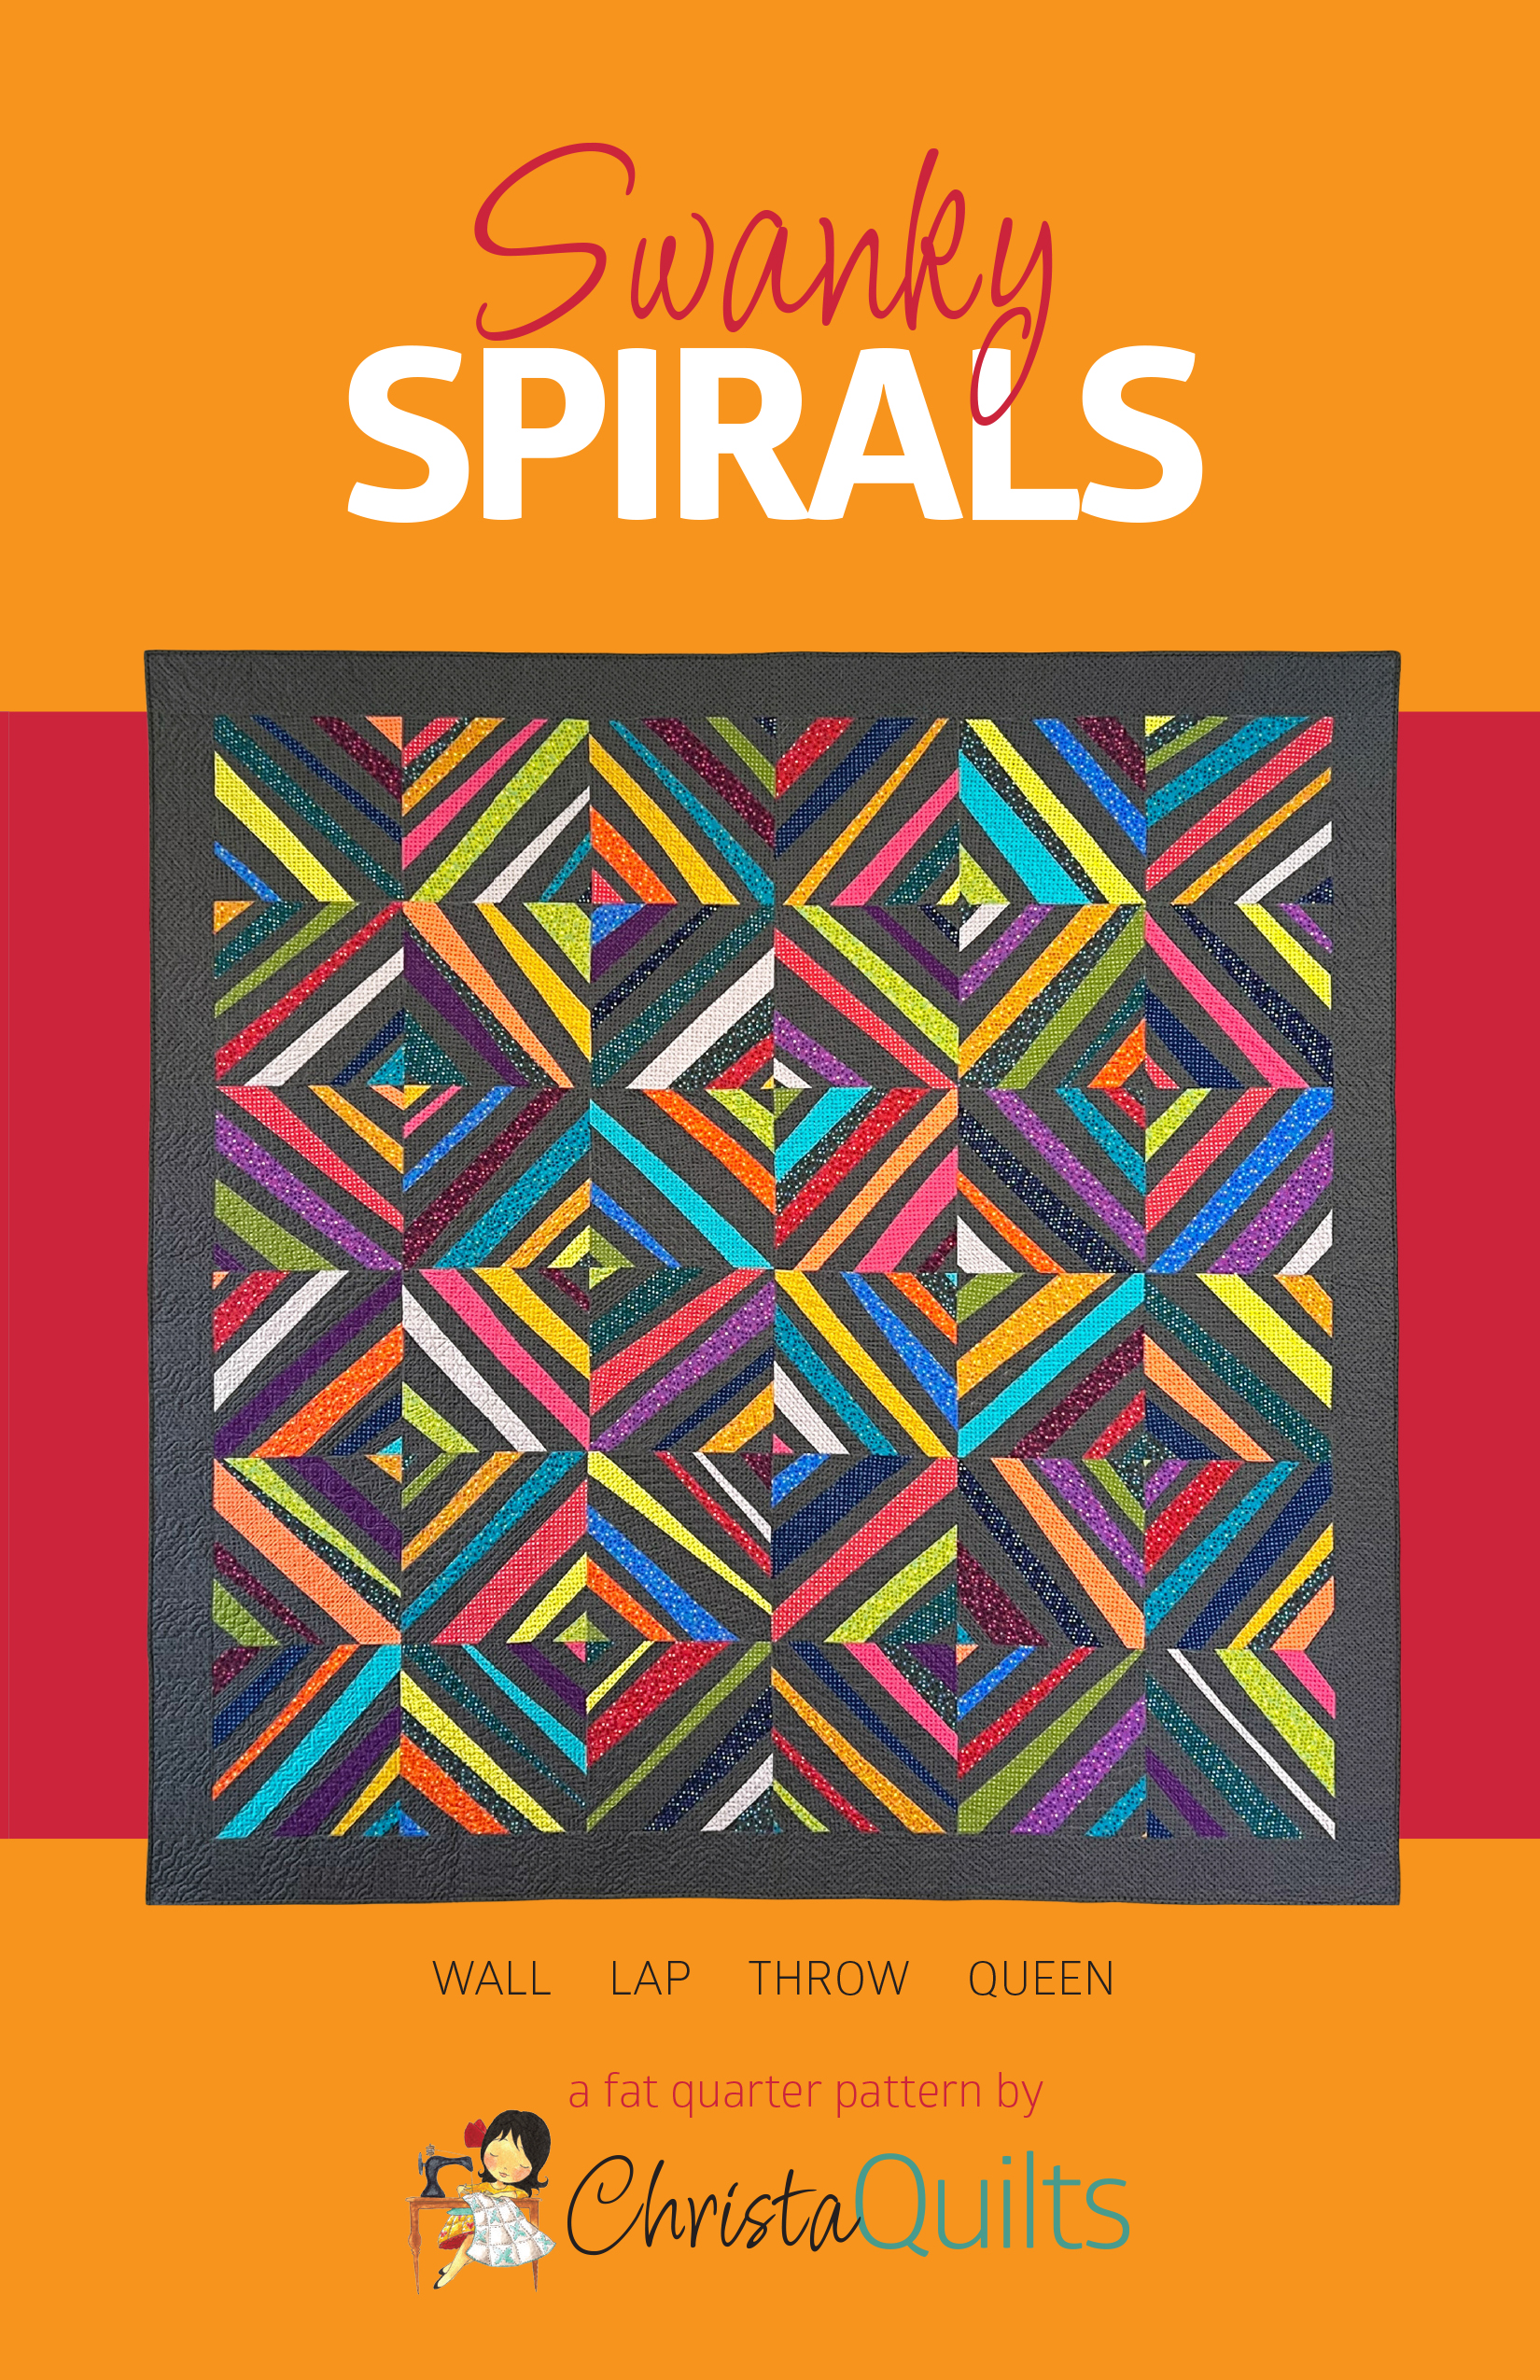
Get the Swanky Spirals Quilt Pattern
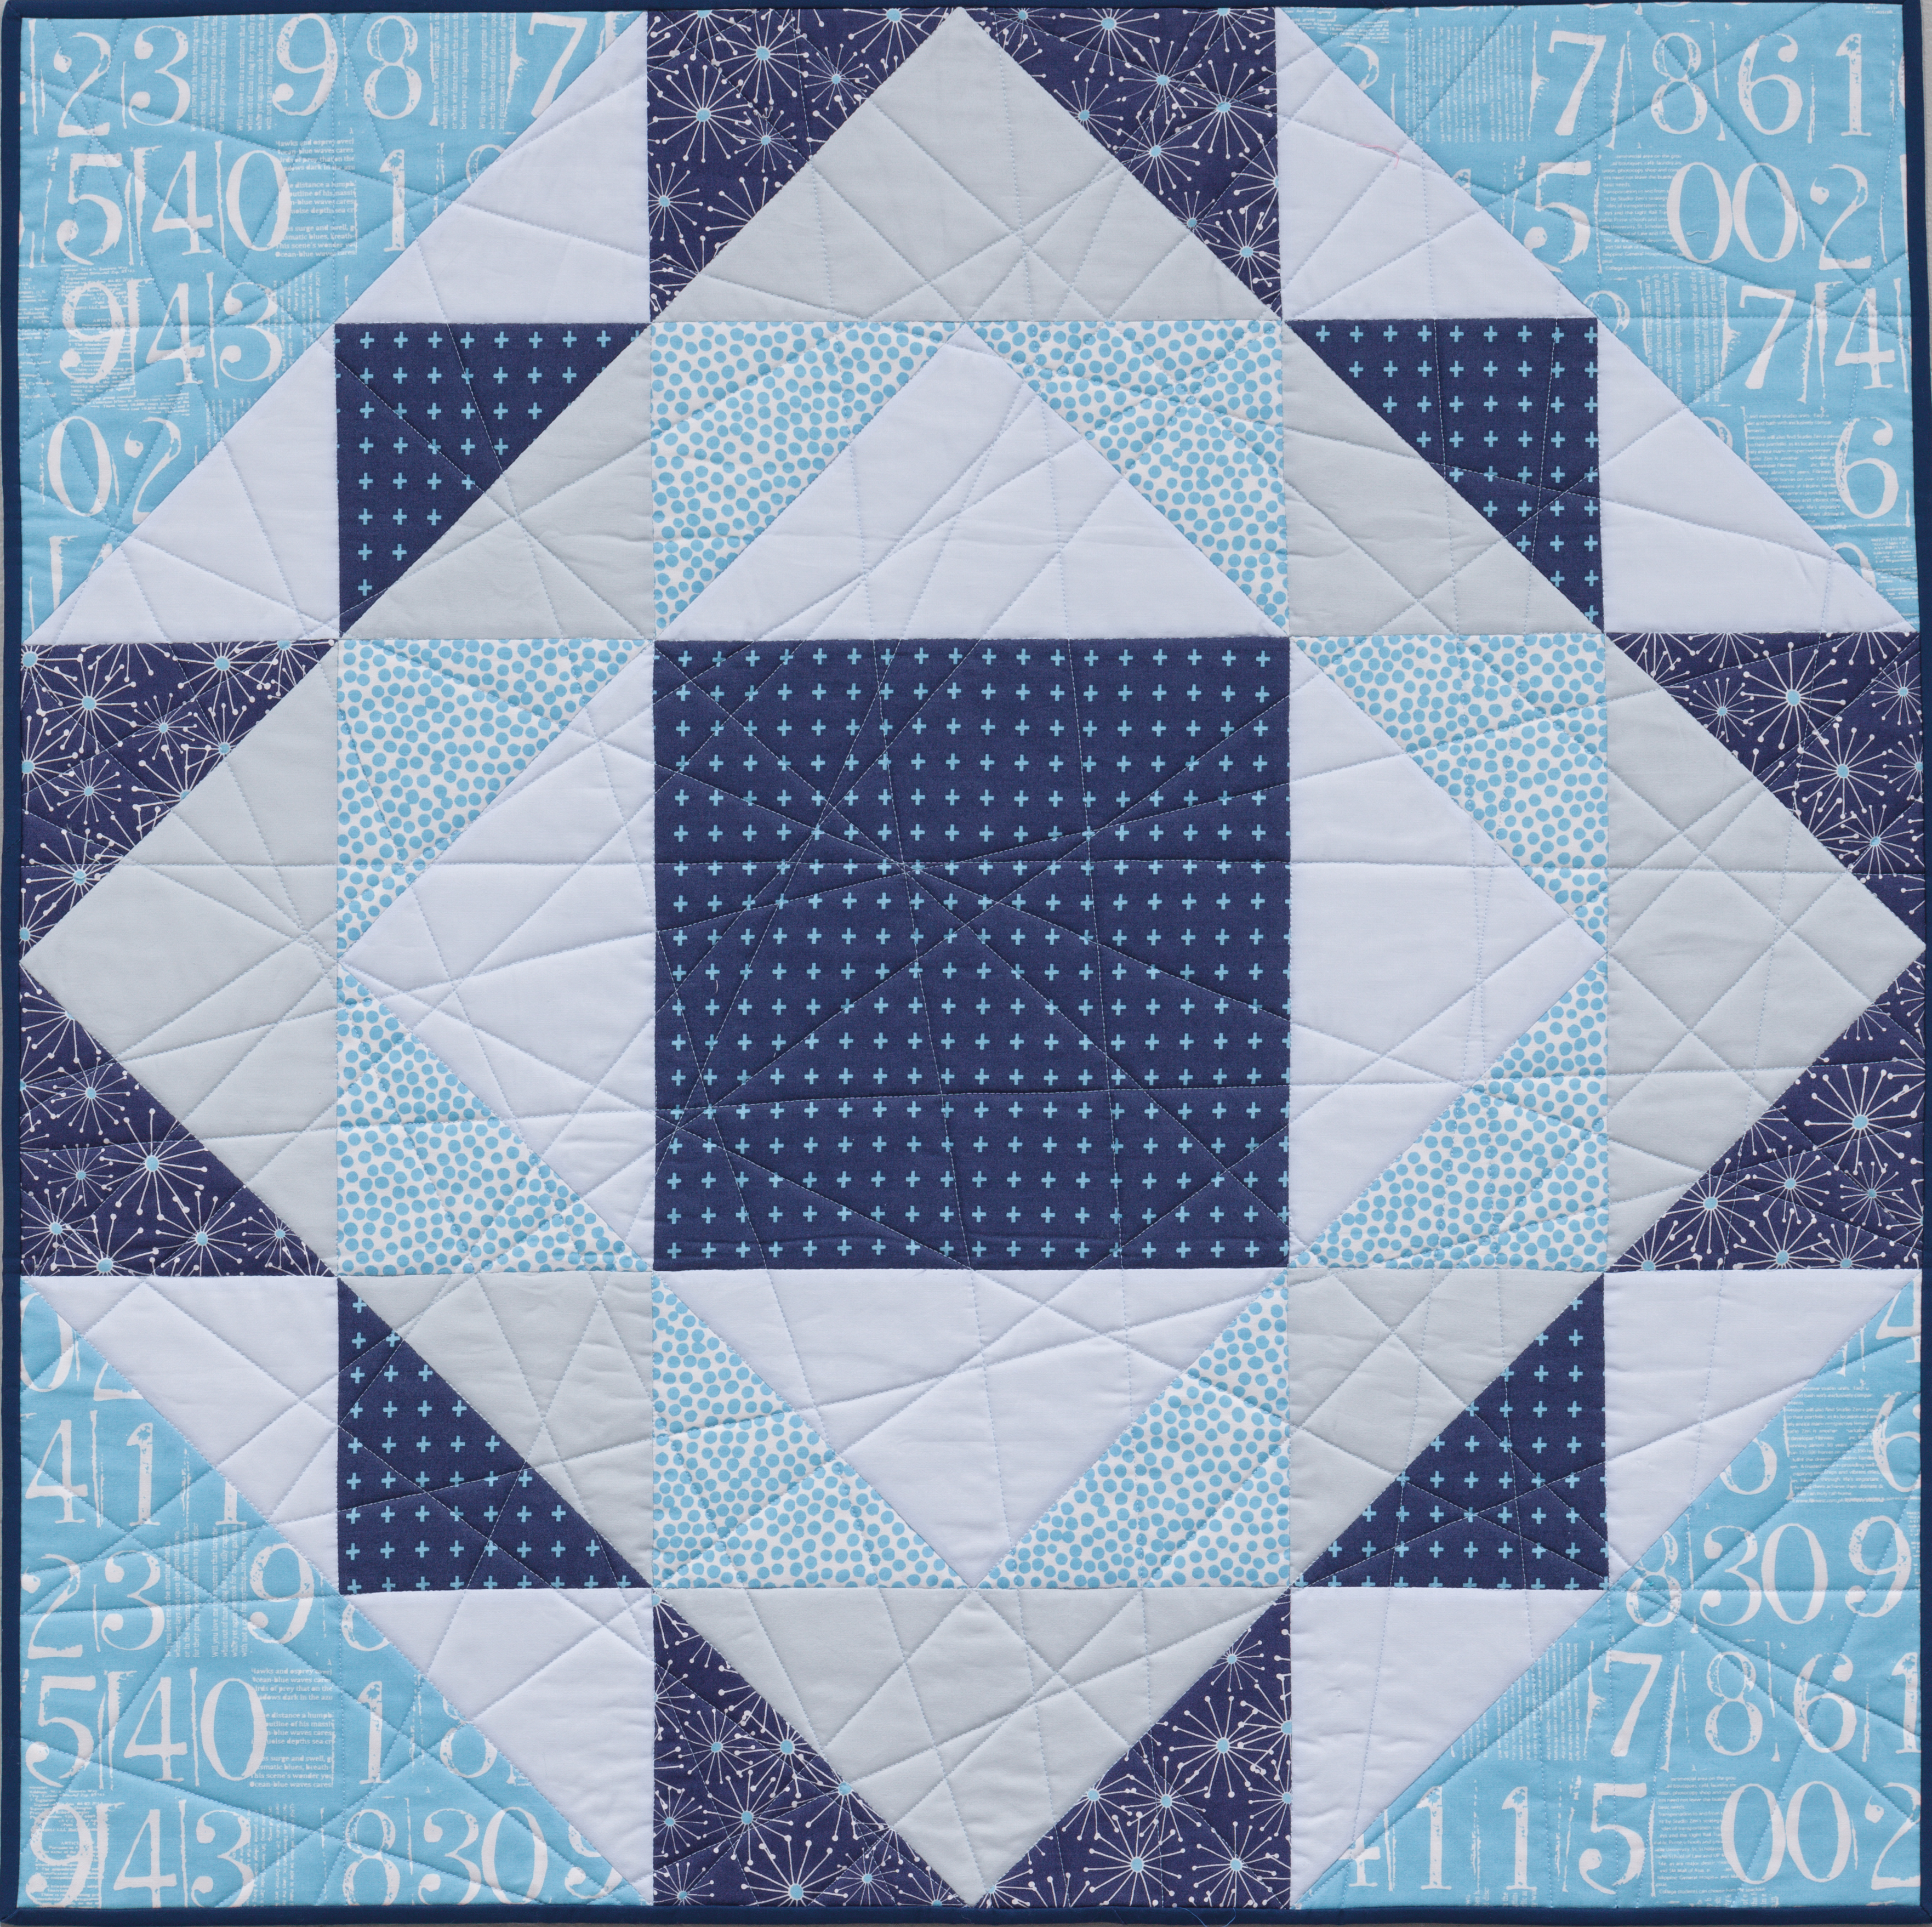
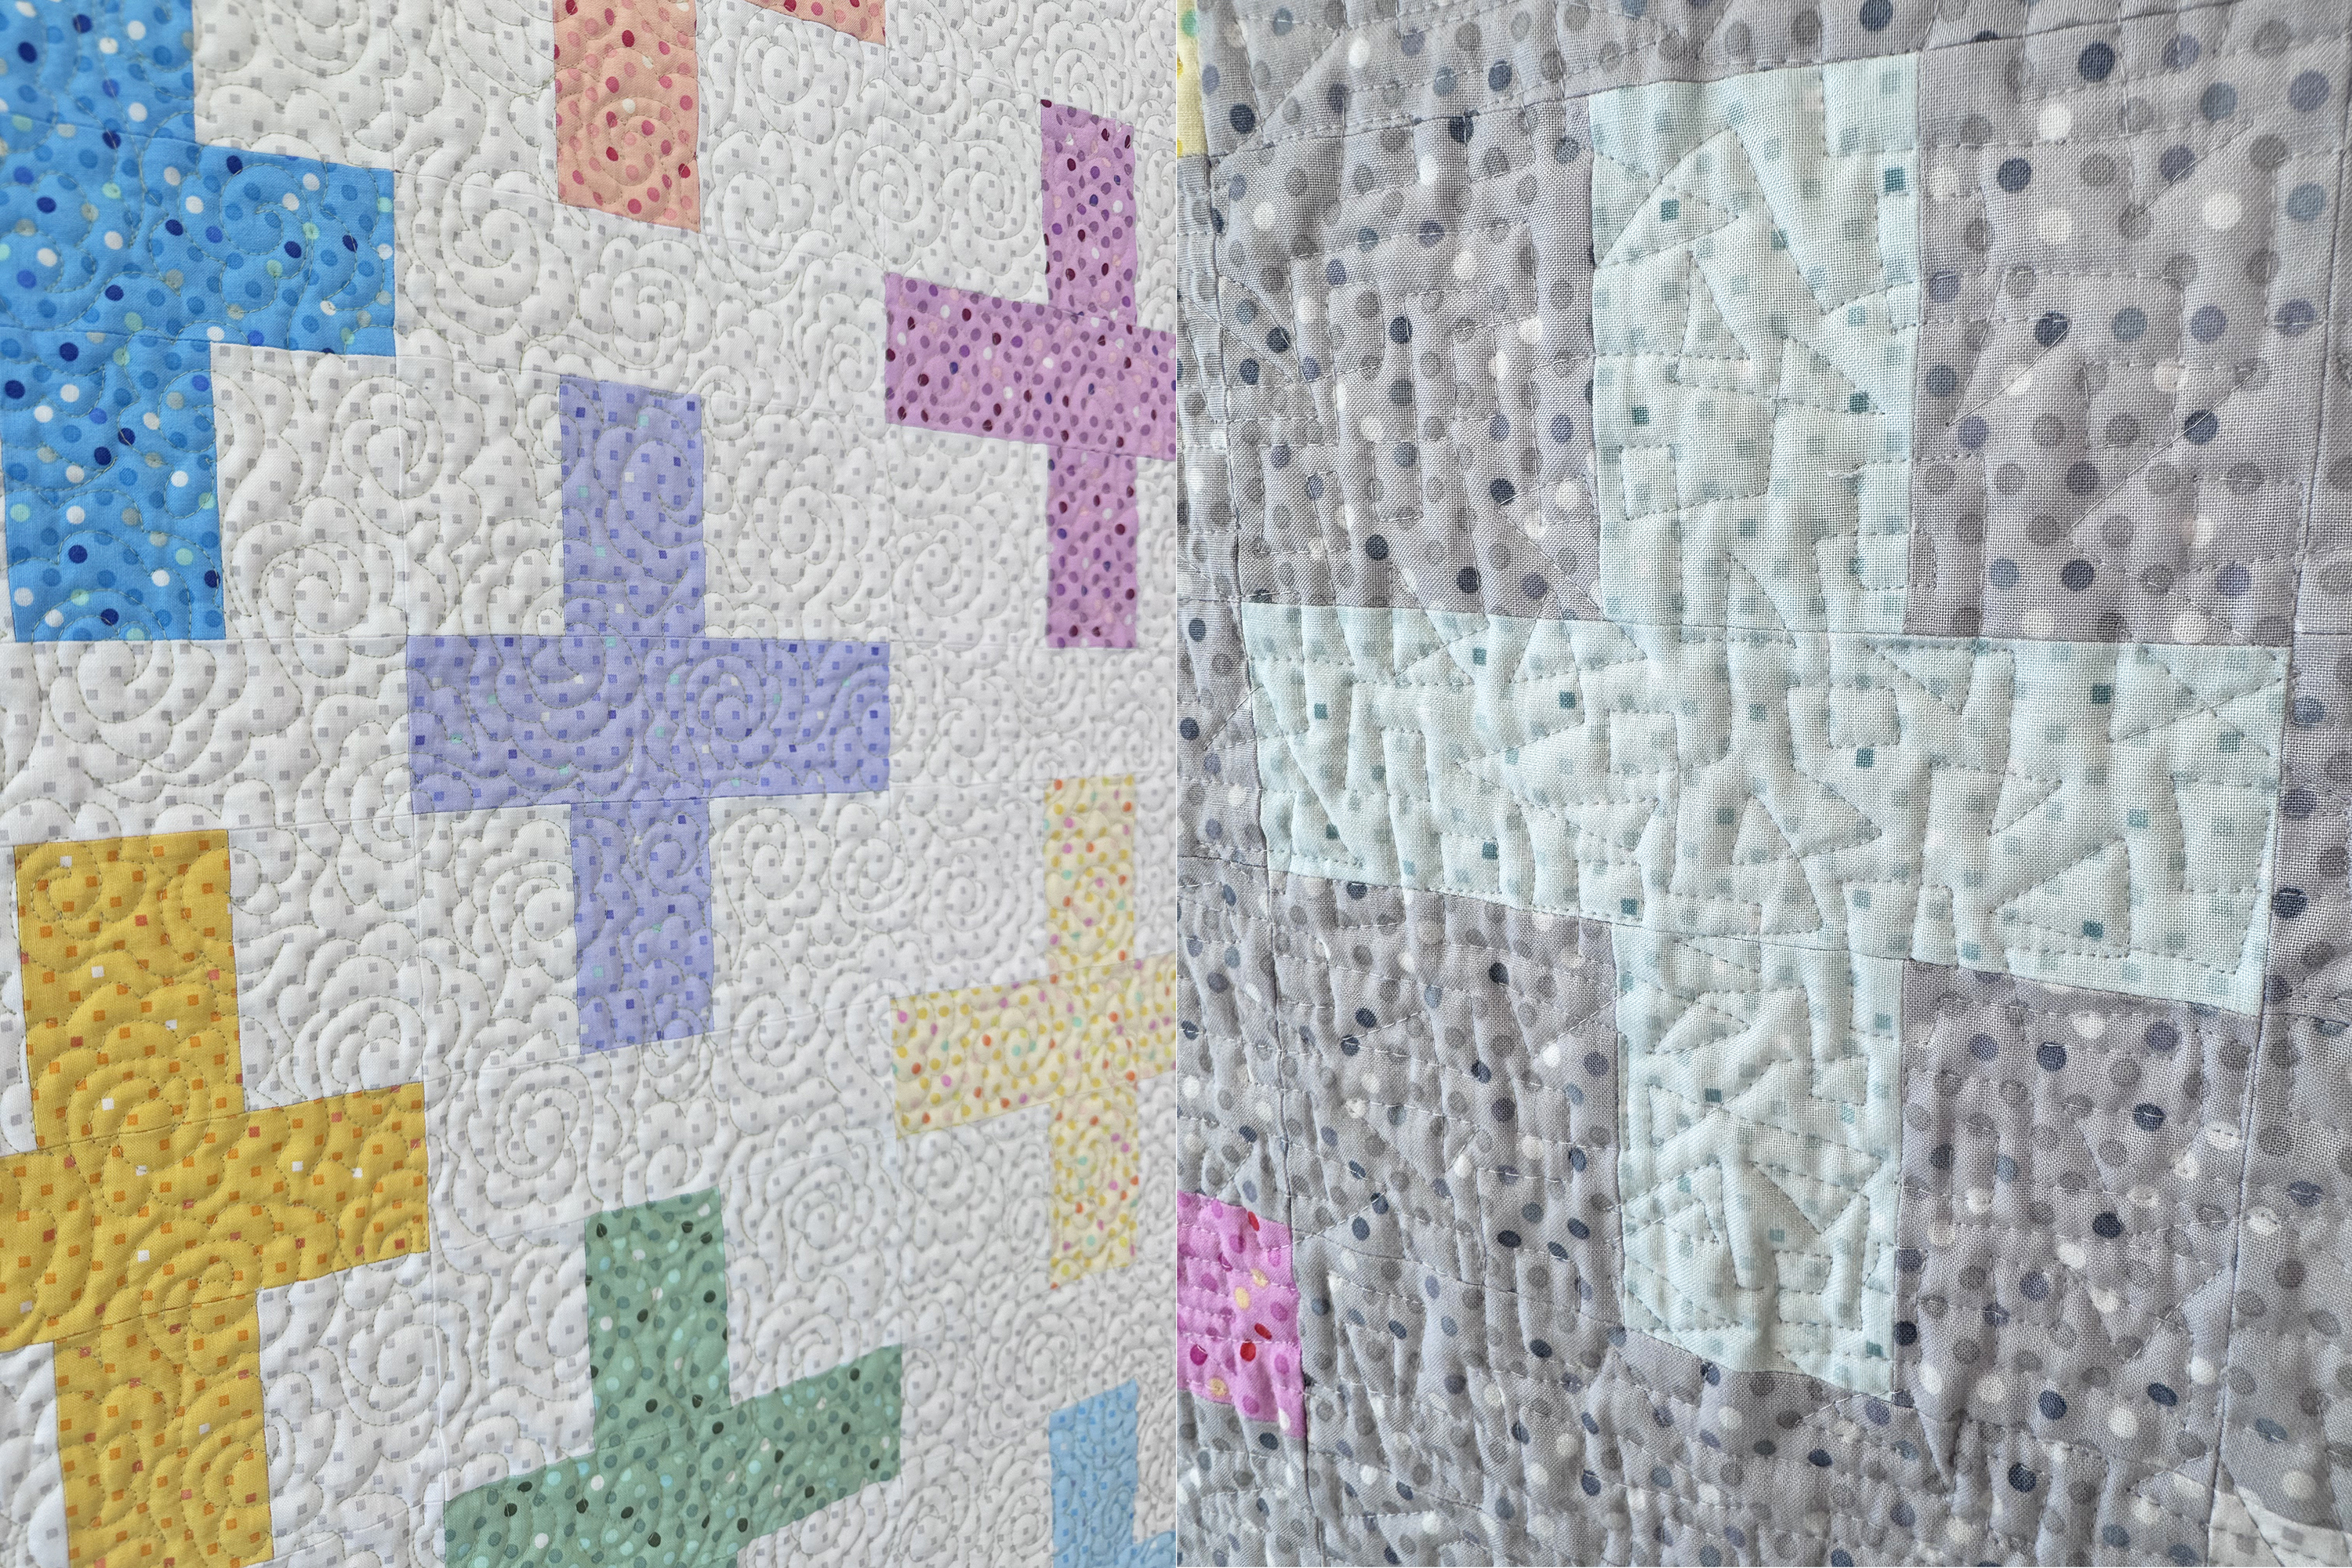
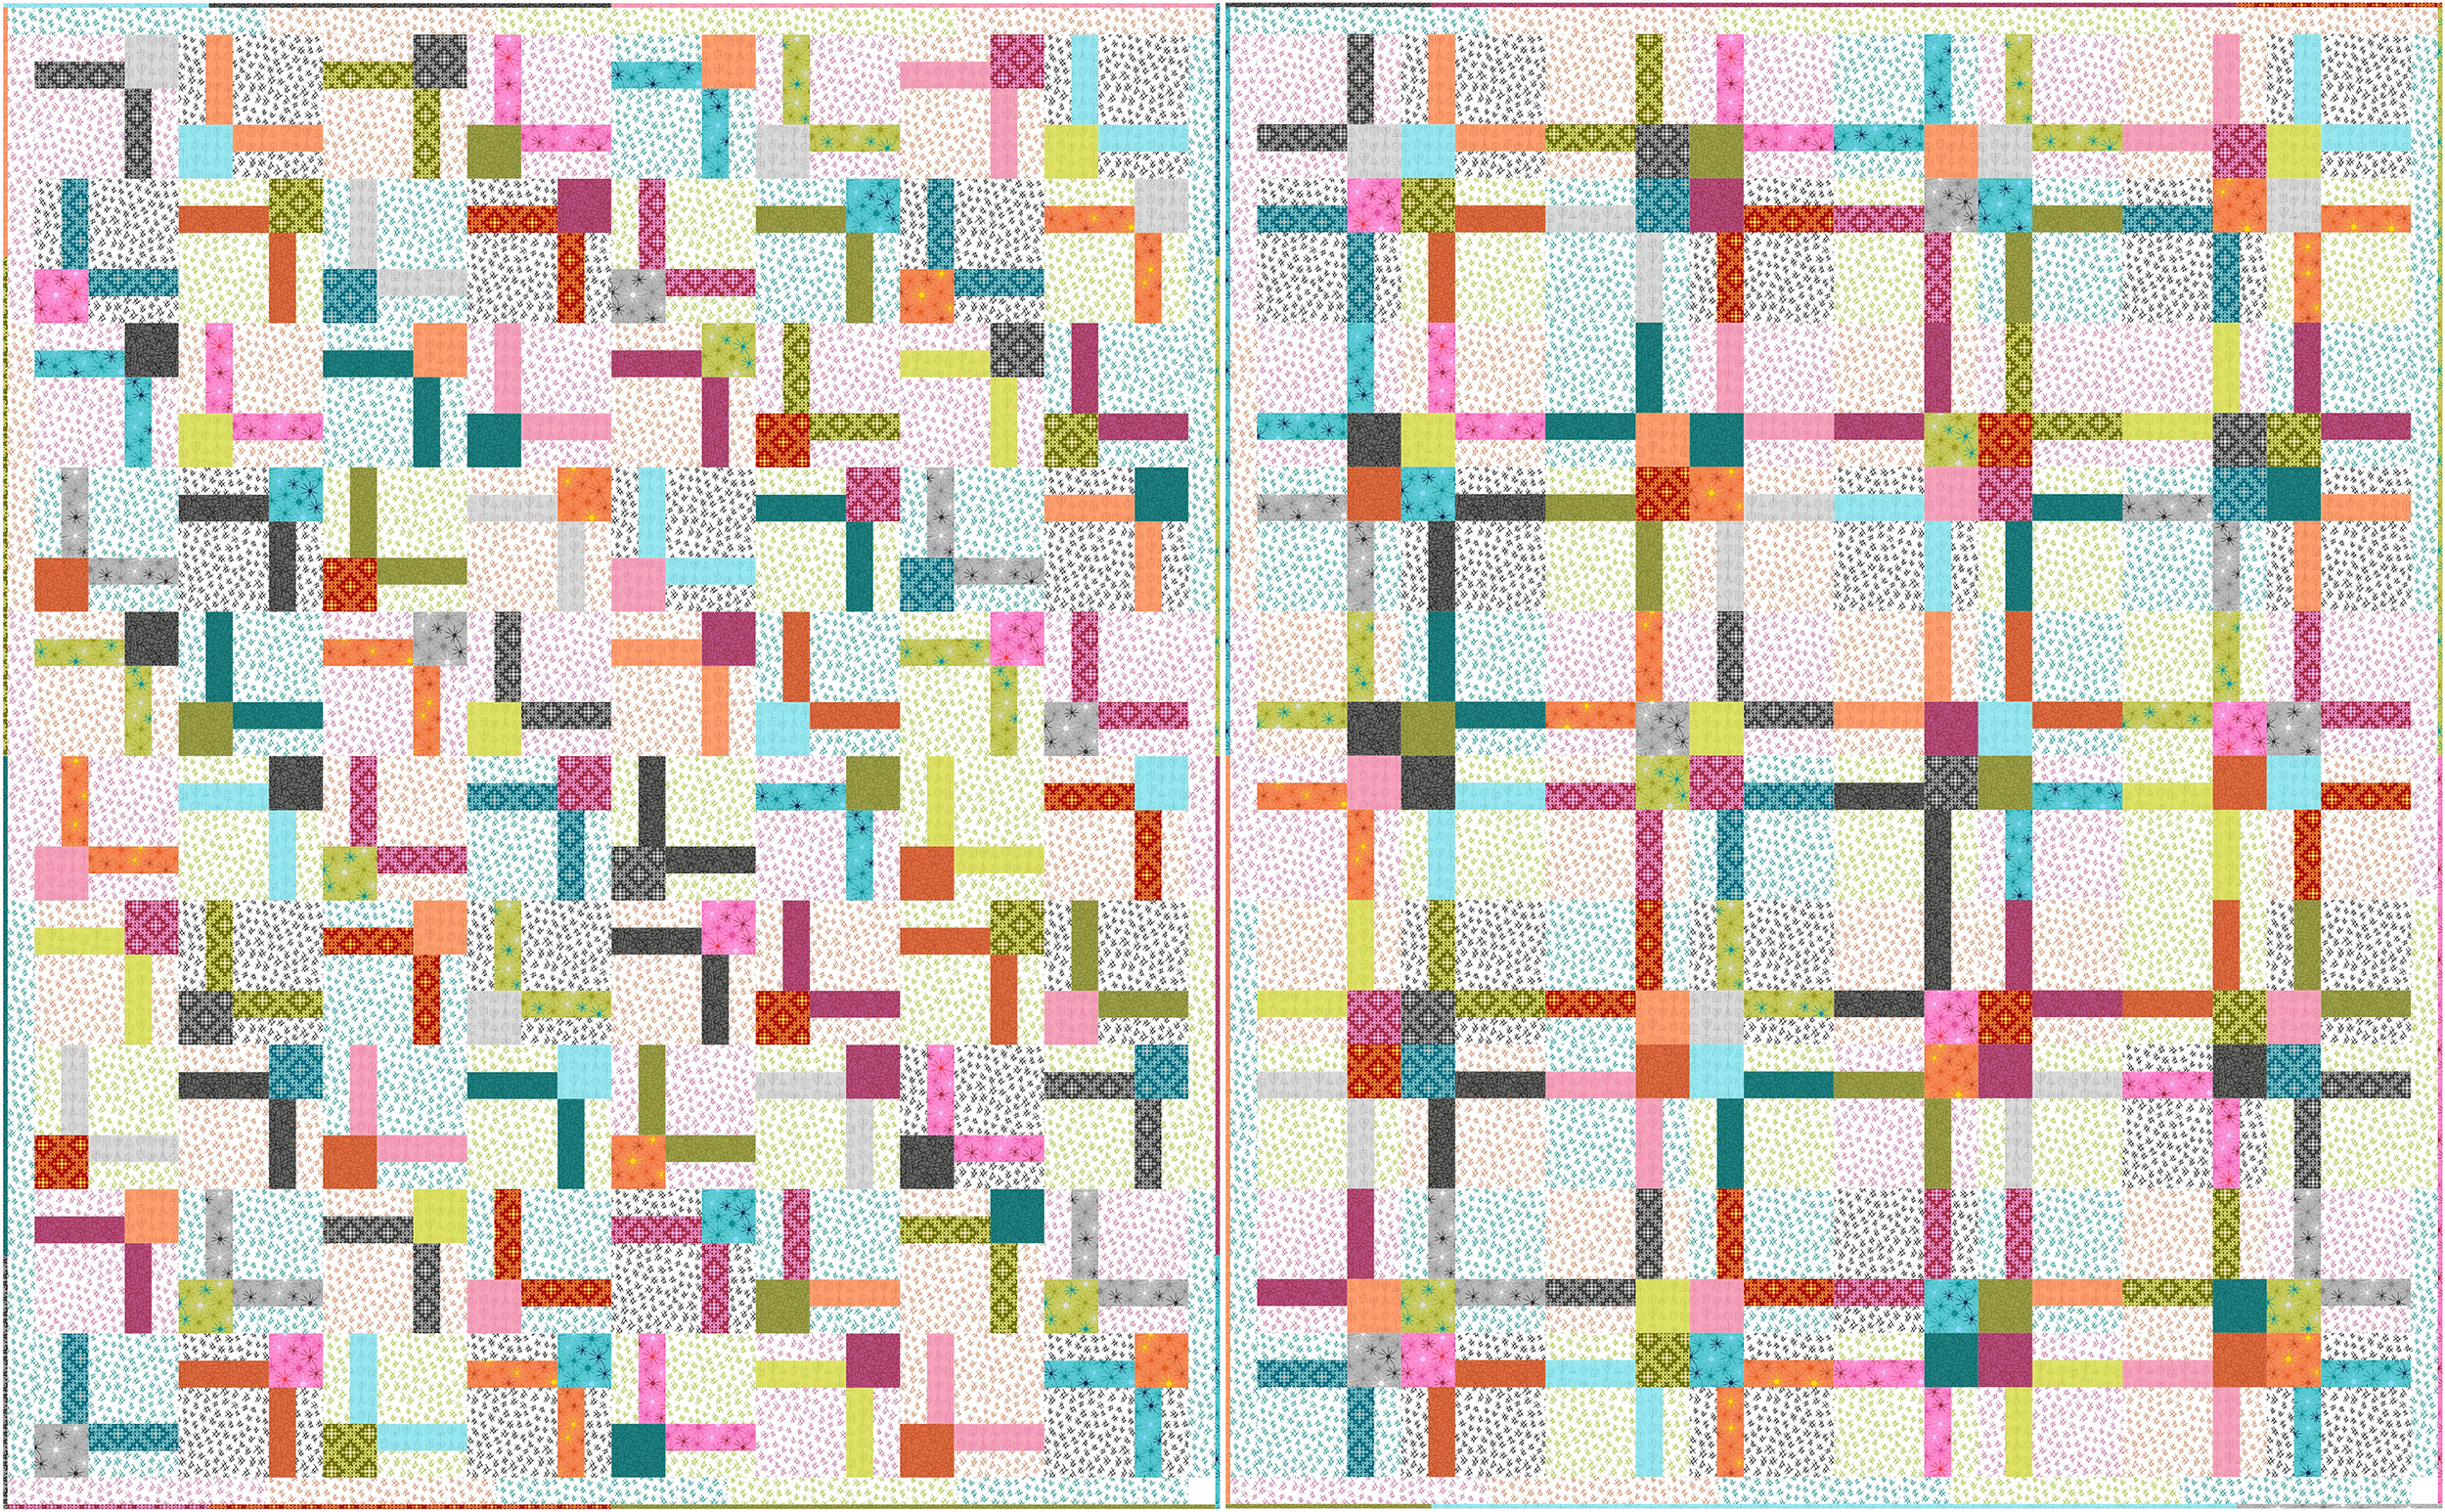
This week’s featured quilt is a fun, modern improv quilt called Swanky Spirals. I use this quilt as a design “sampler,” as I’ve quilted every design from 99 Designs on it! As you can see, it’s a versatile pattern that can be quilted with virtually any design you can think of!
Click Here to Grab the Swanky Spirals Quilt Pattern PDF
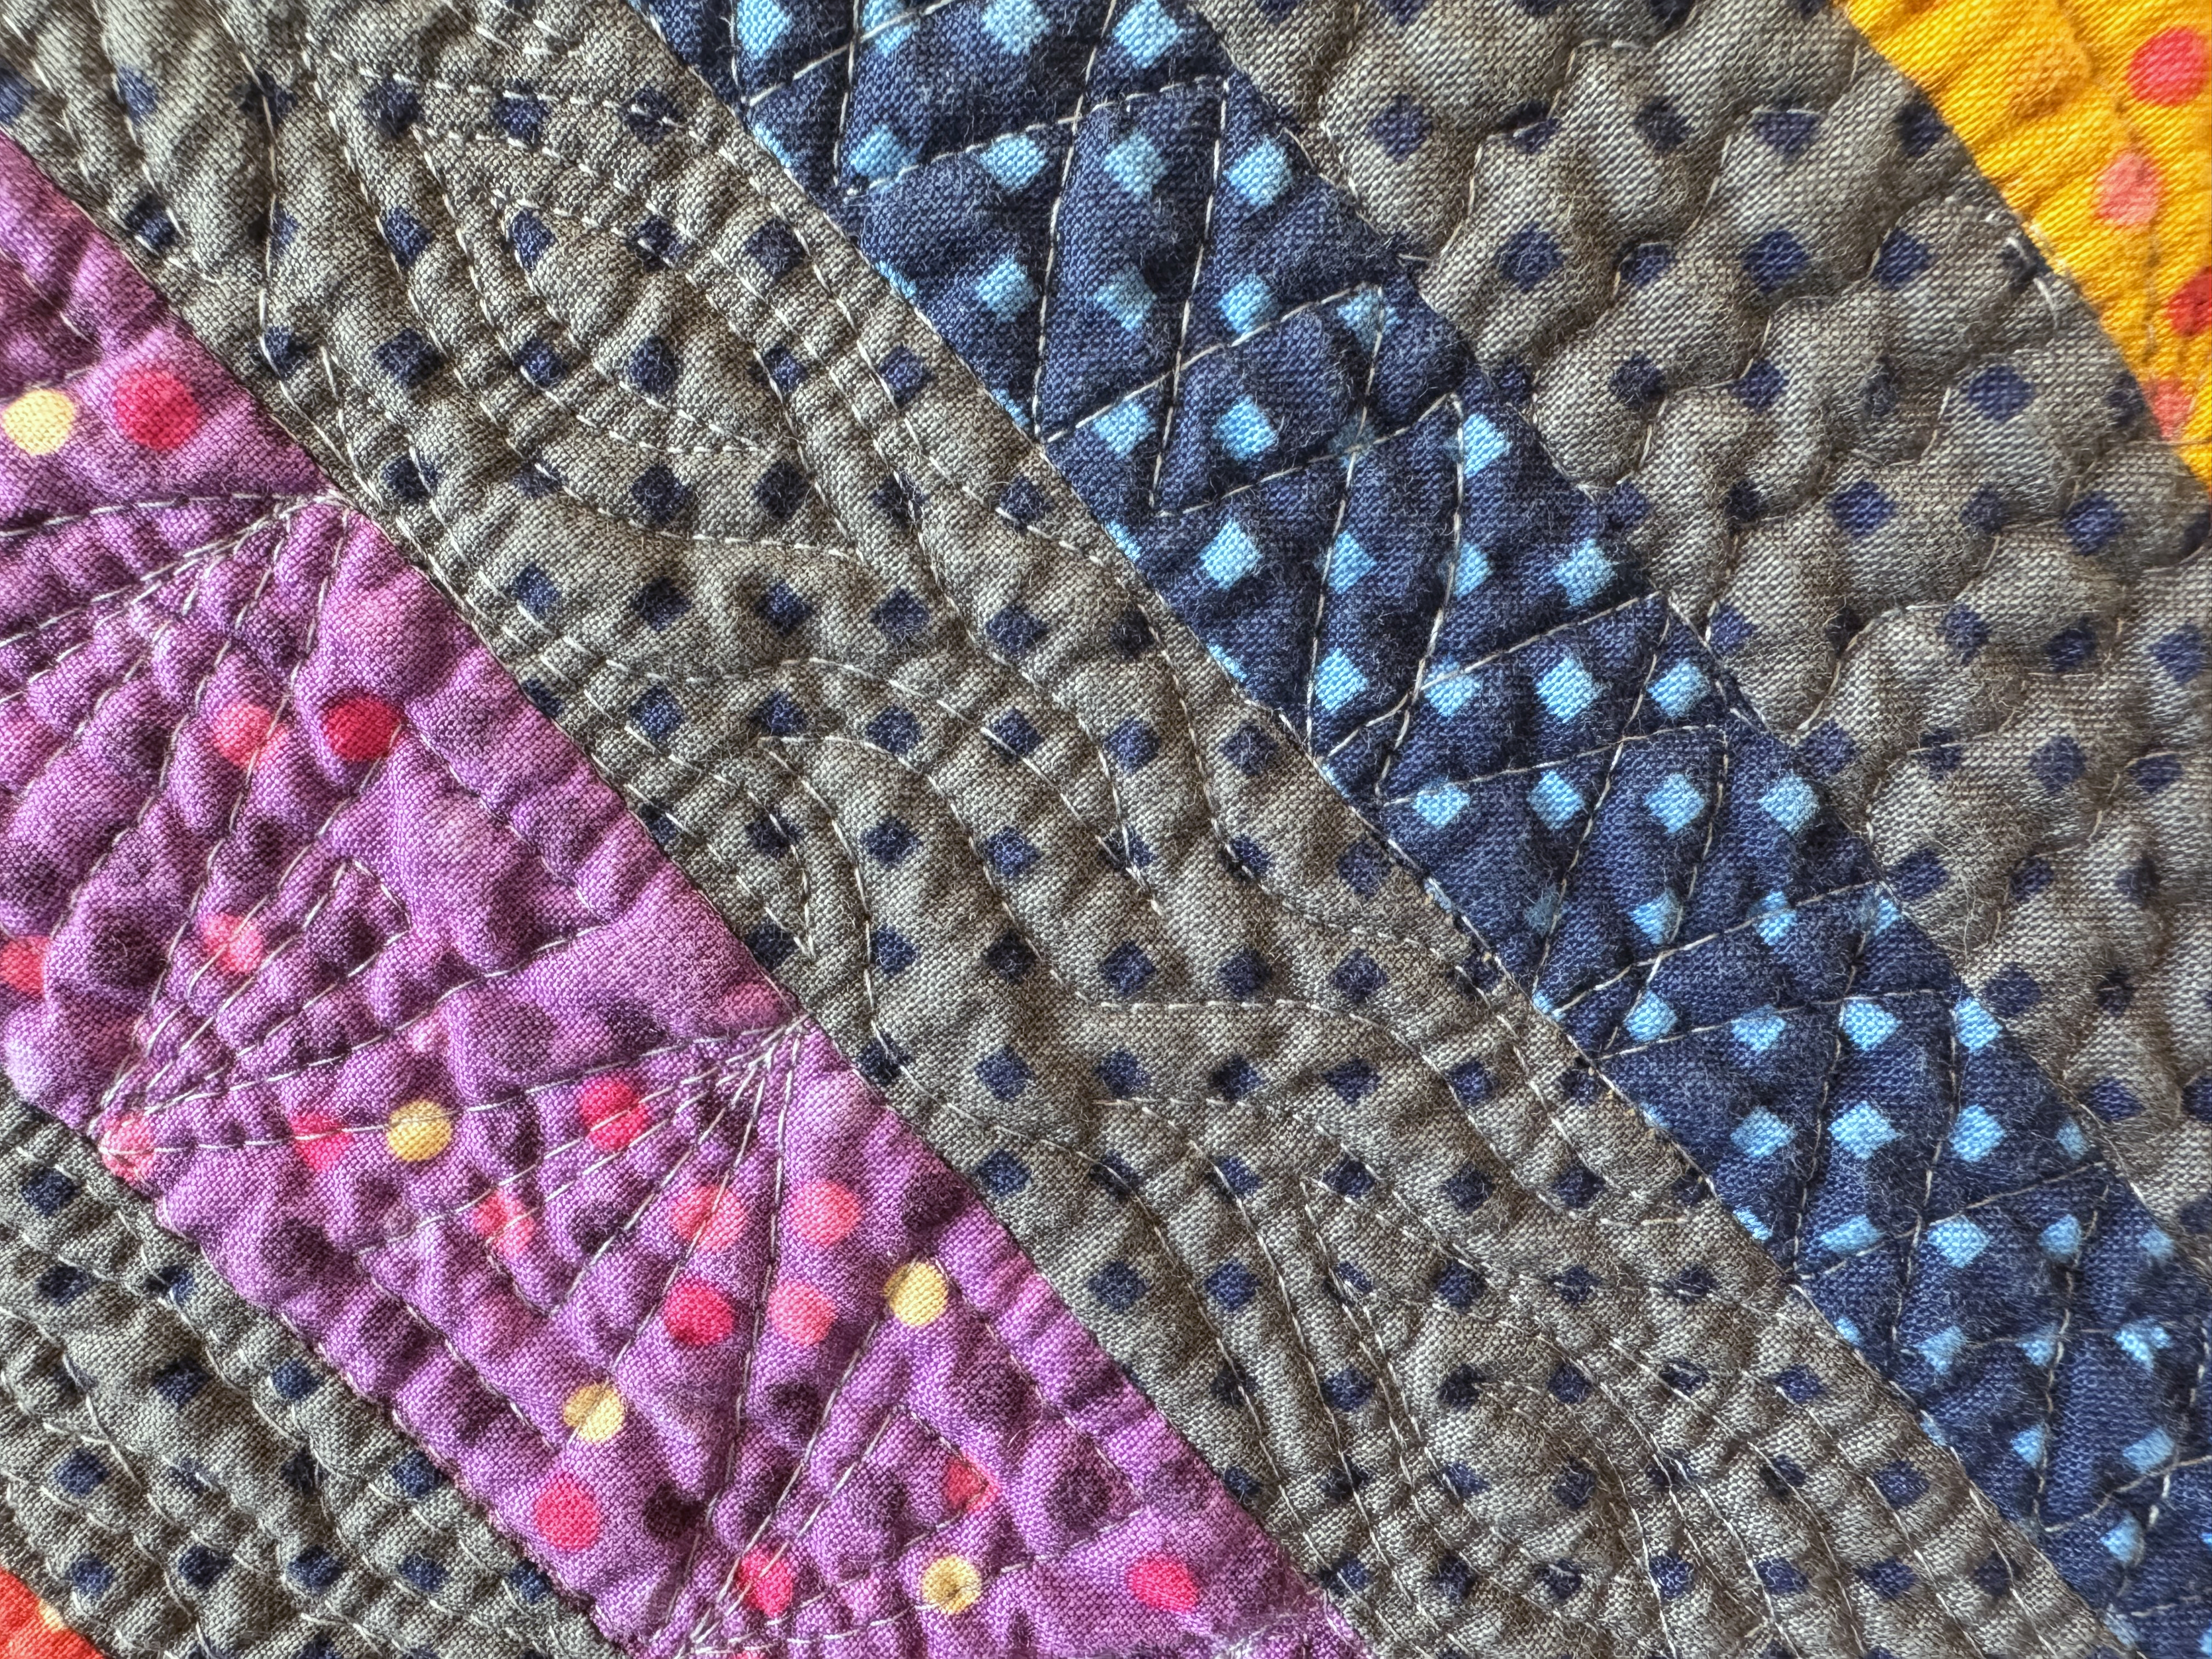
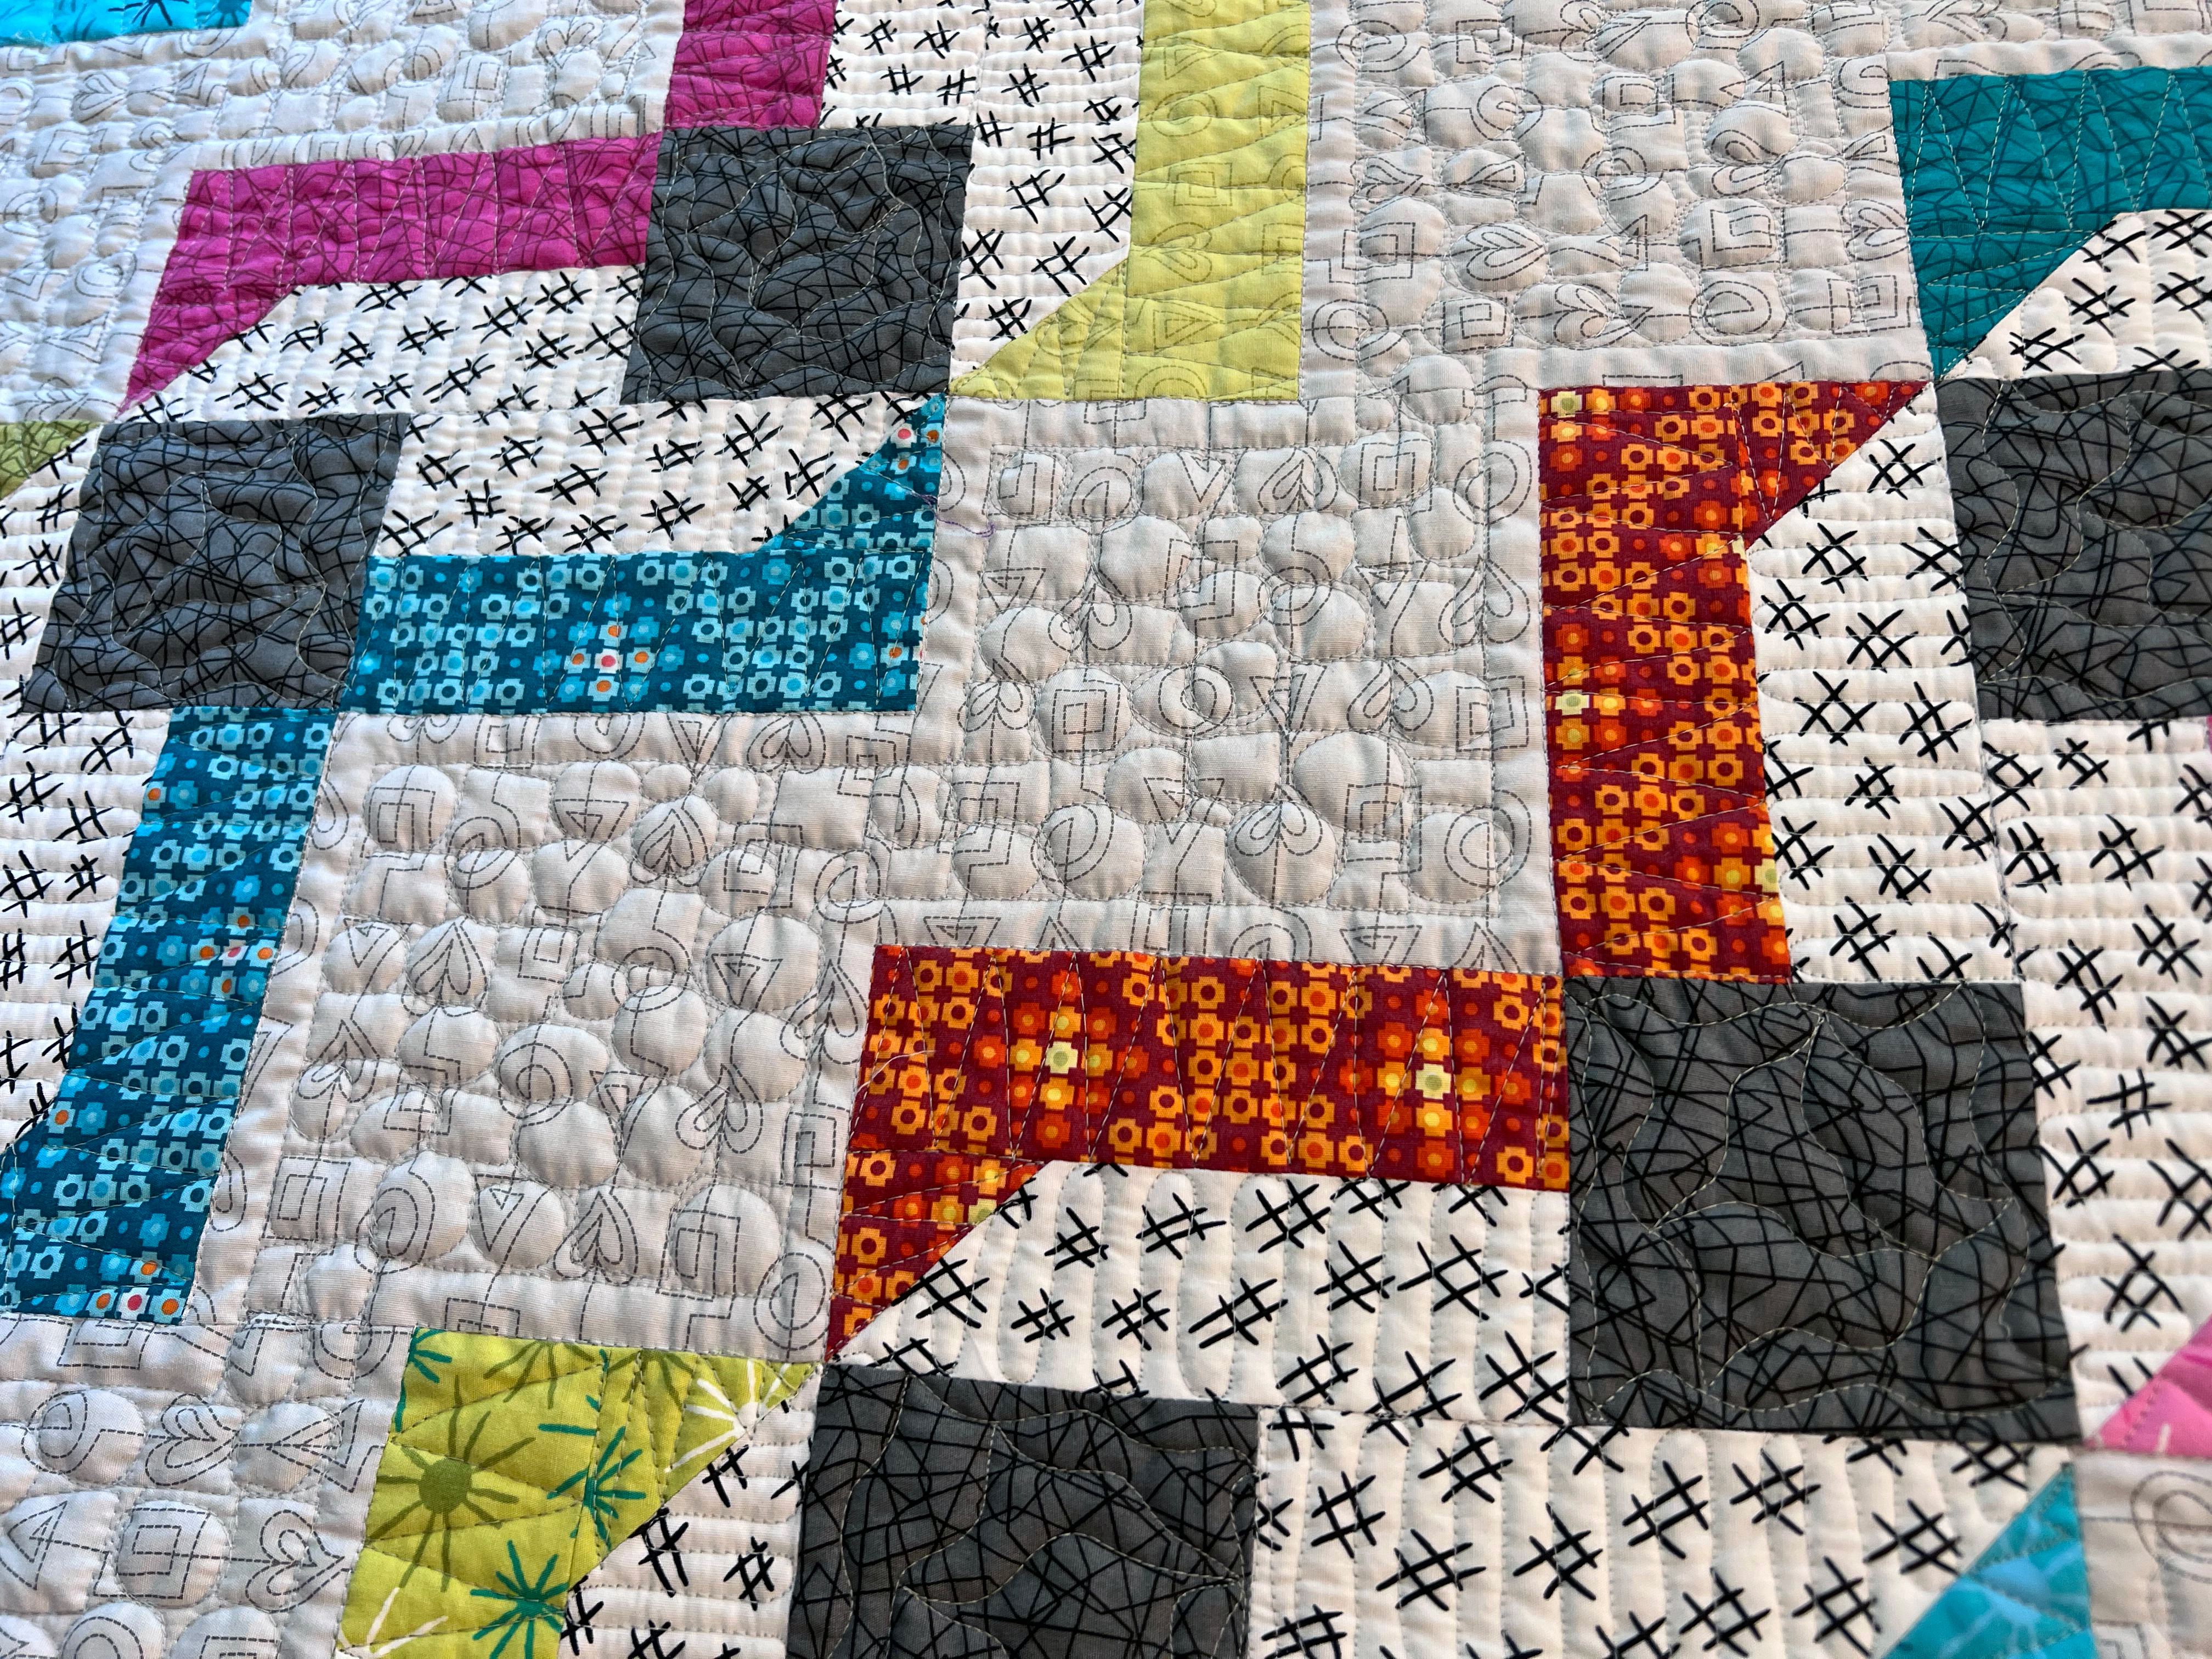
In this detail closeup, you can see where I quilted Squished Spirals. Since I’m using gray thread on gray fabric, the quilting blends right in.
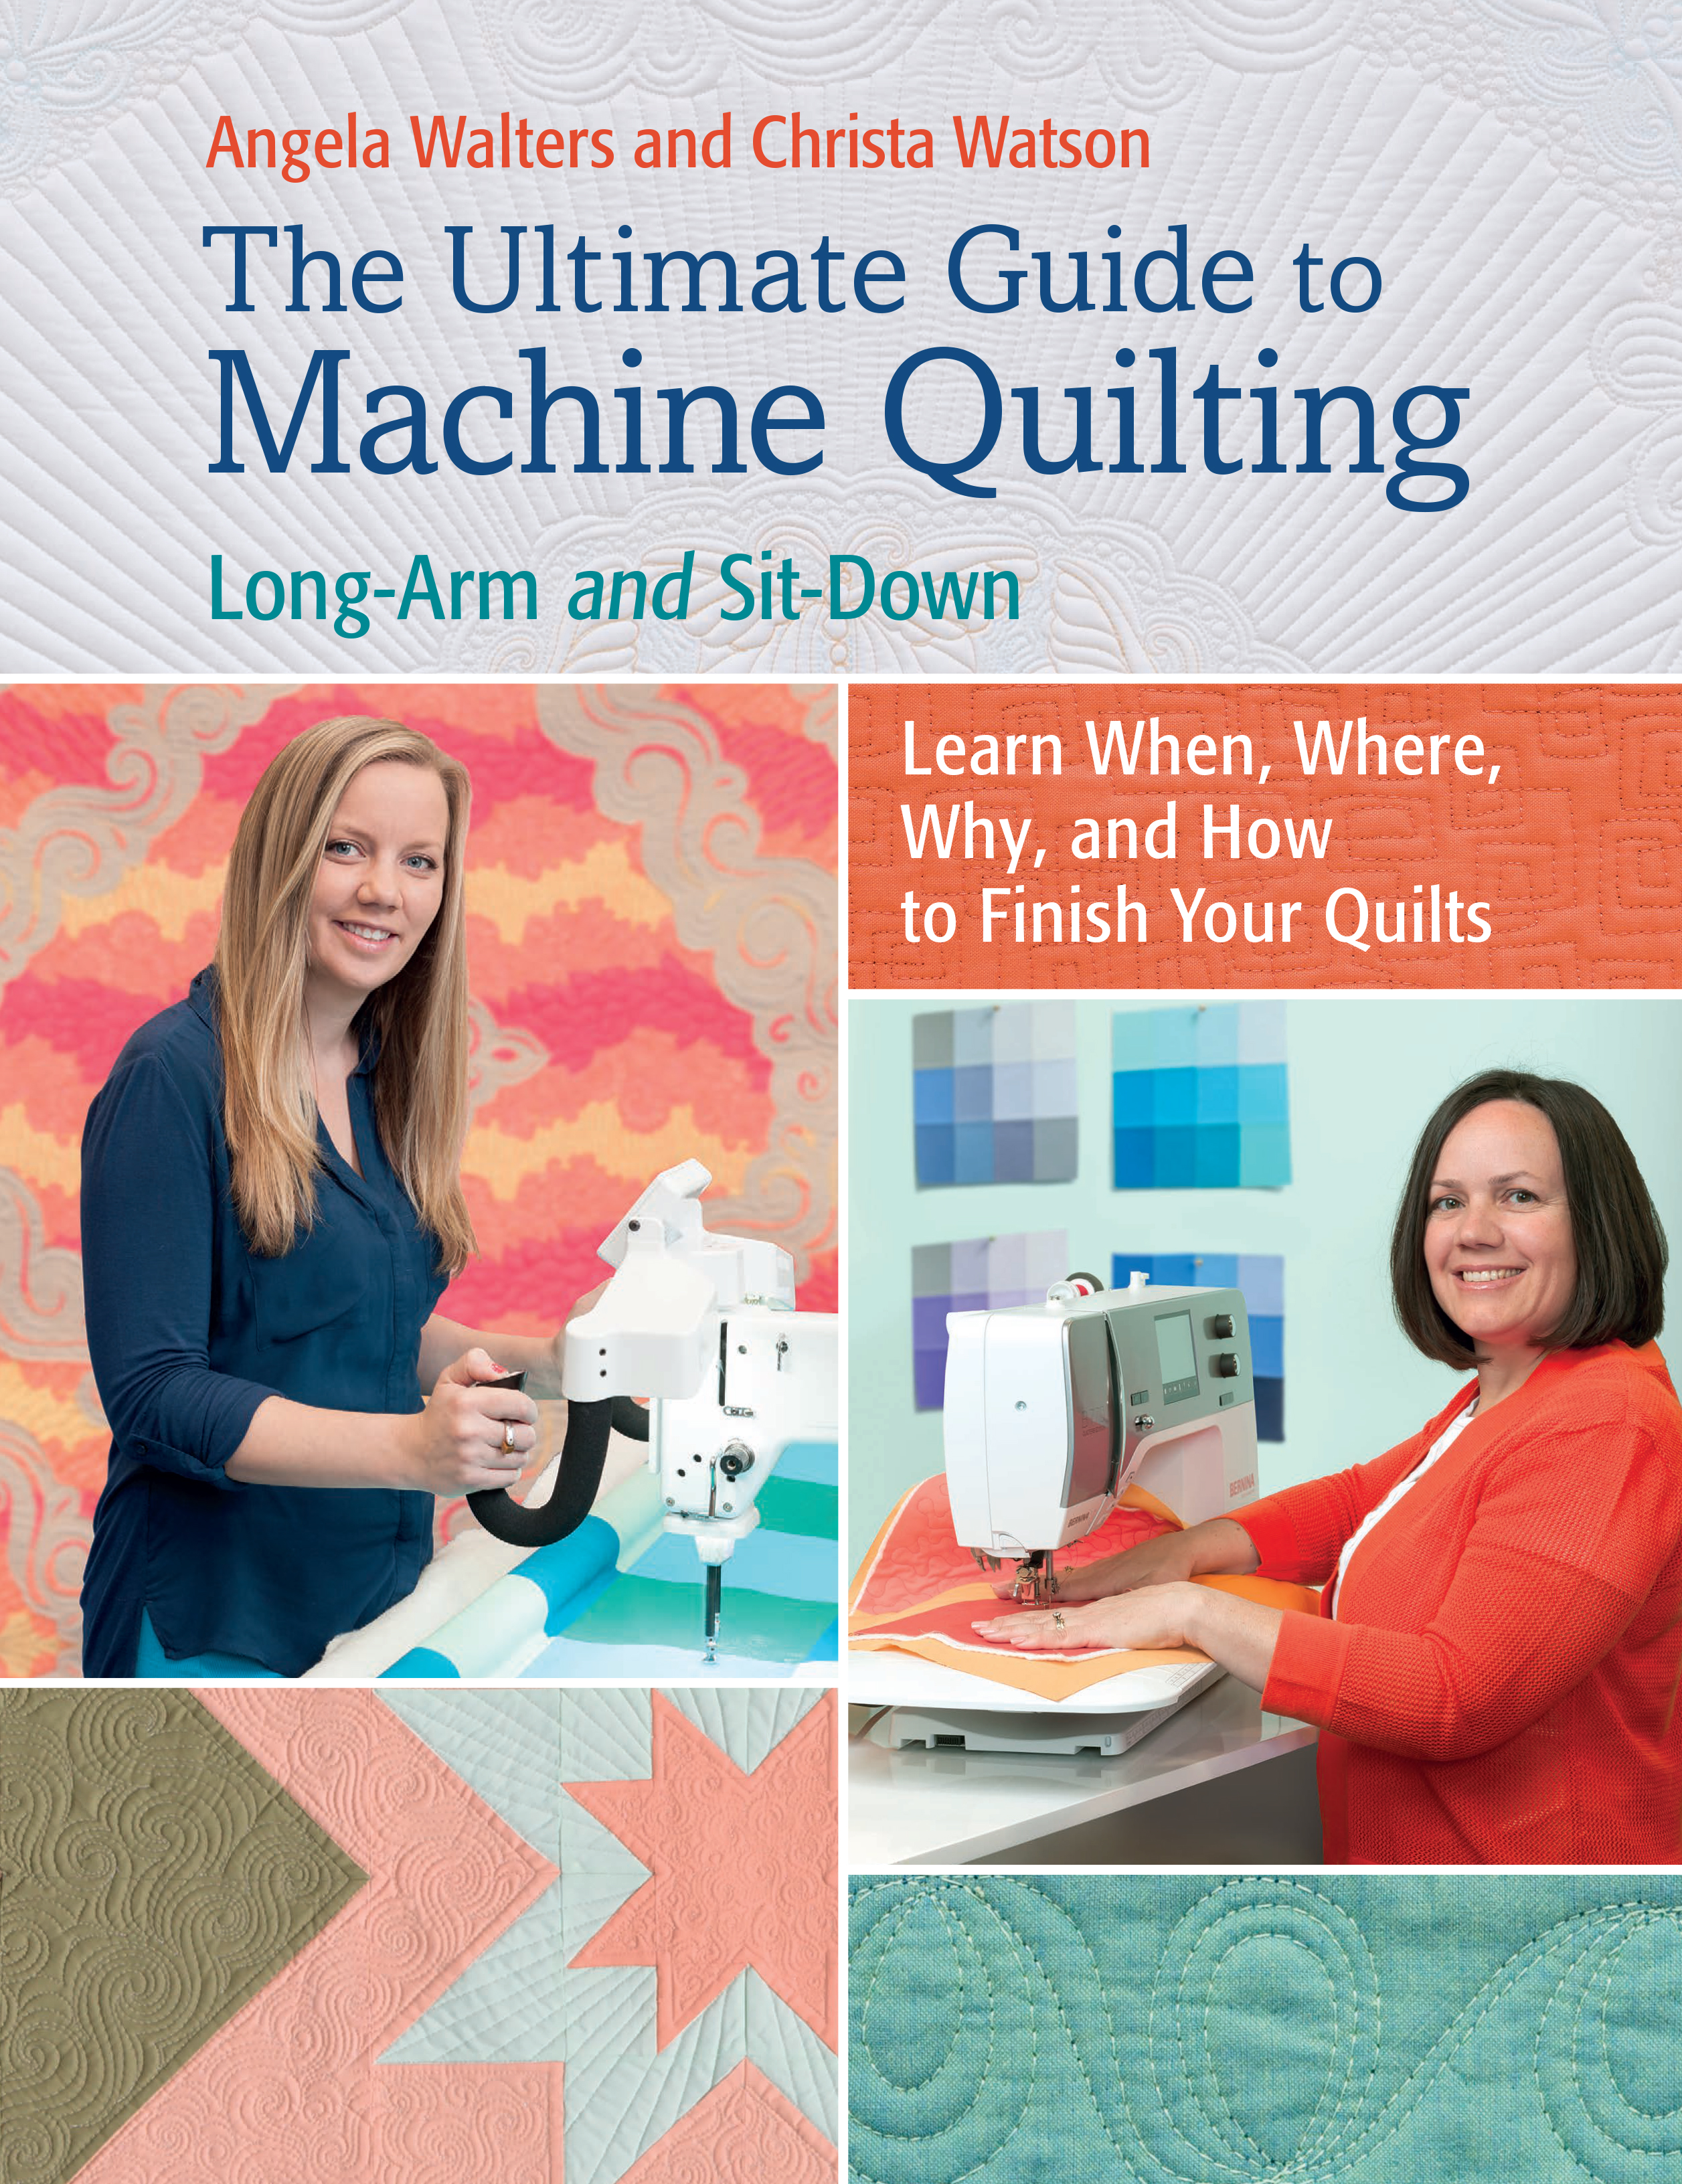
The Ultimate Guide to Machine Quilting
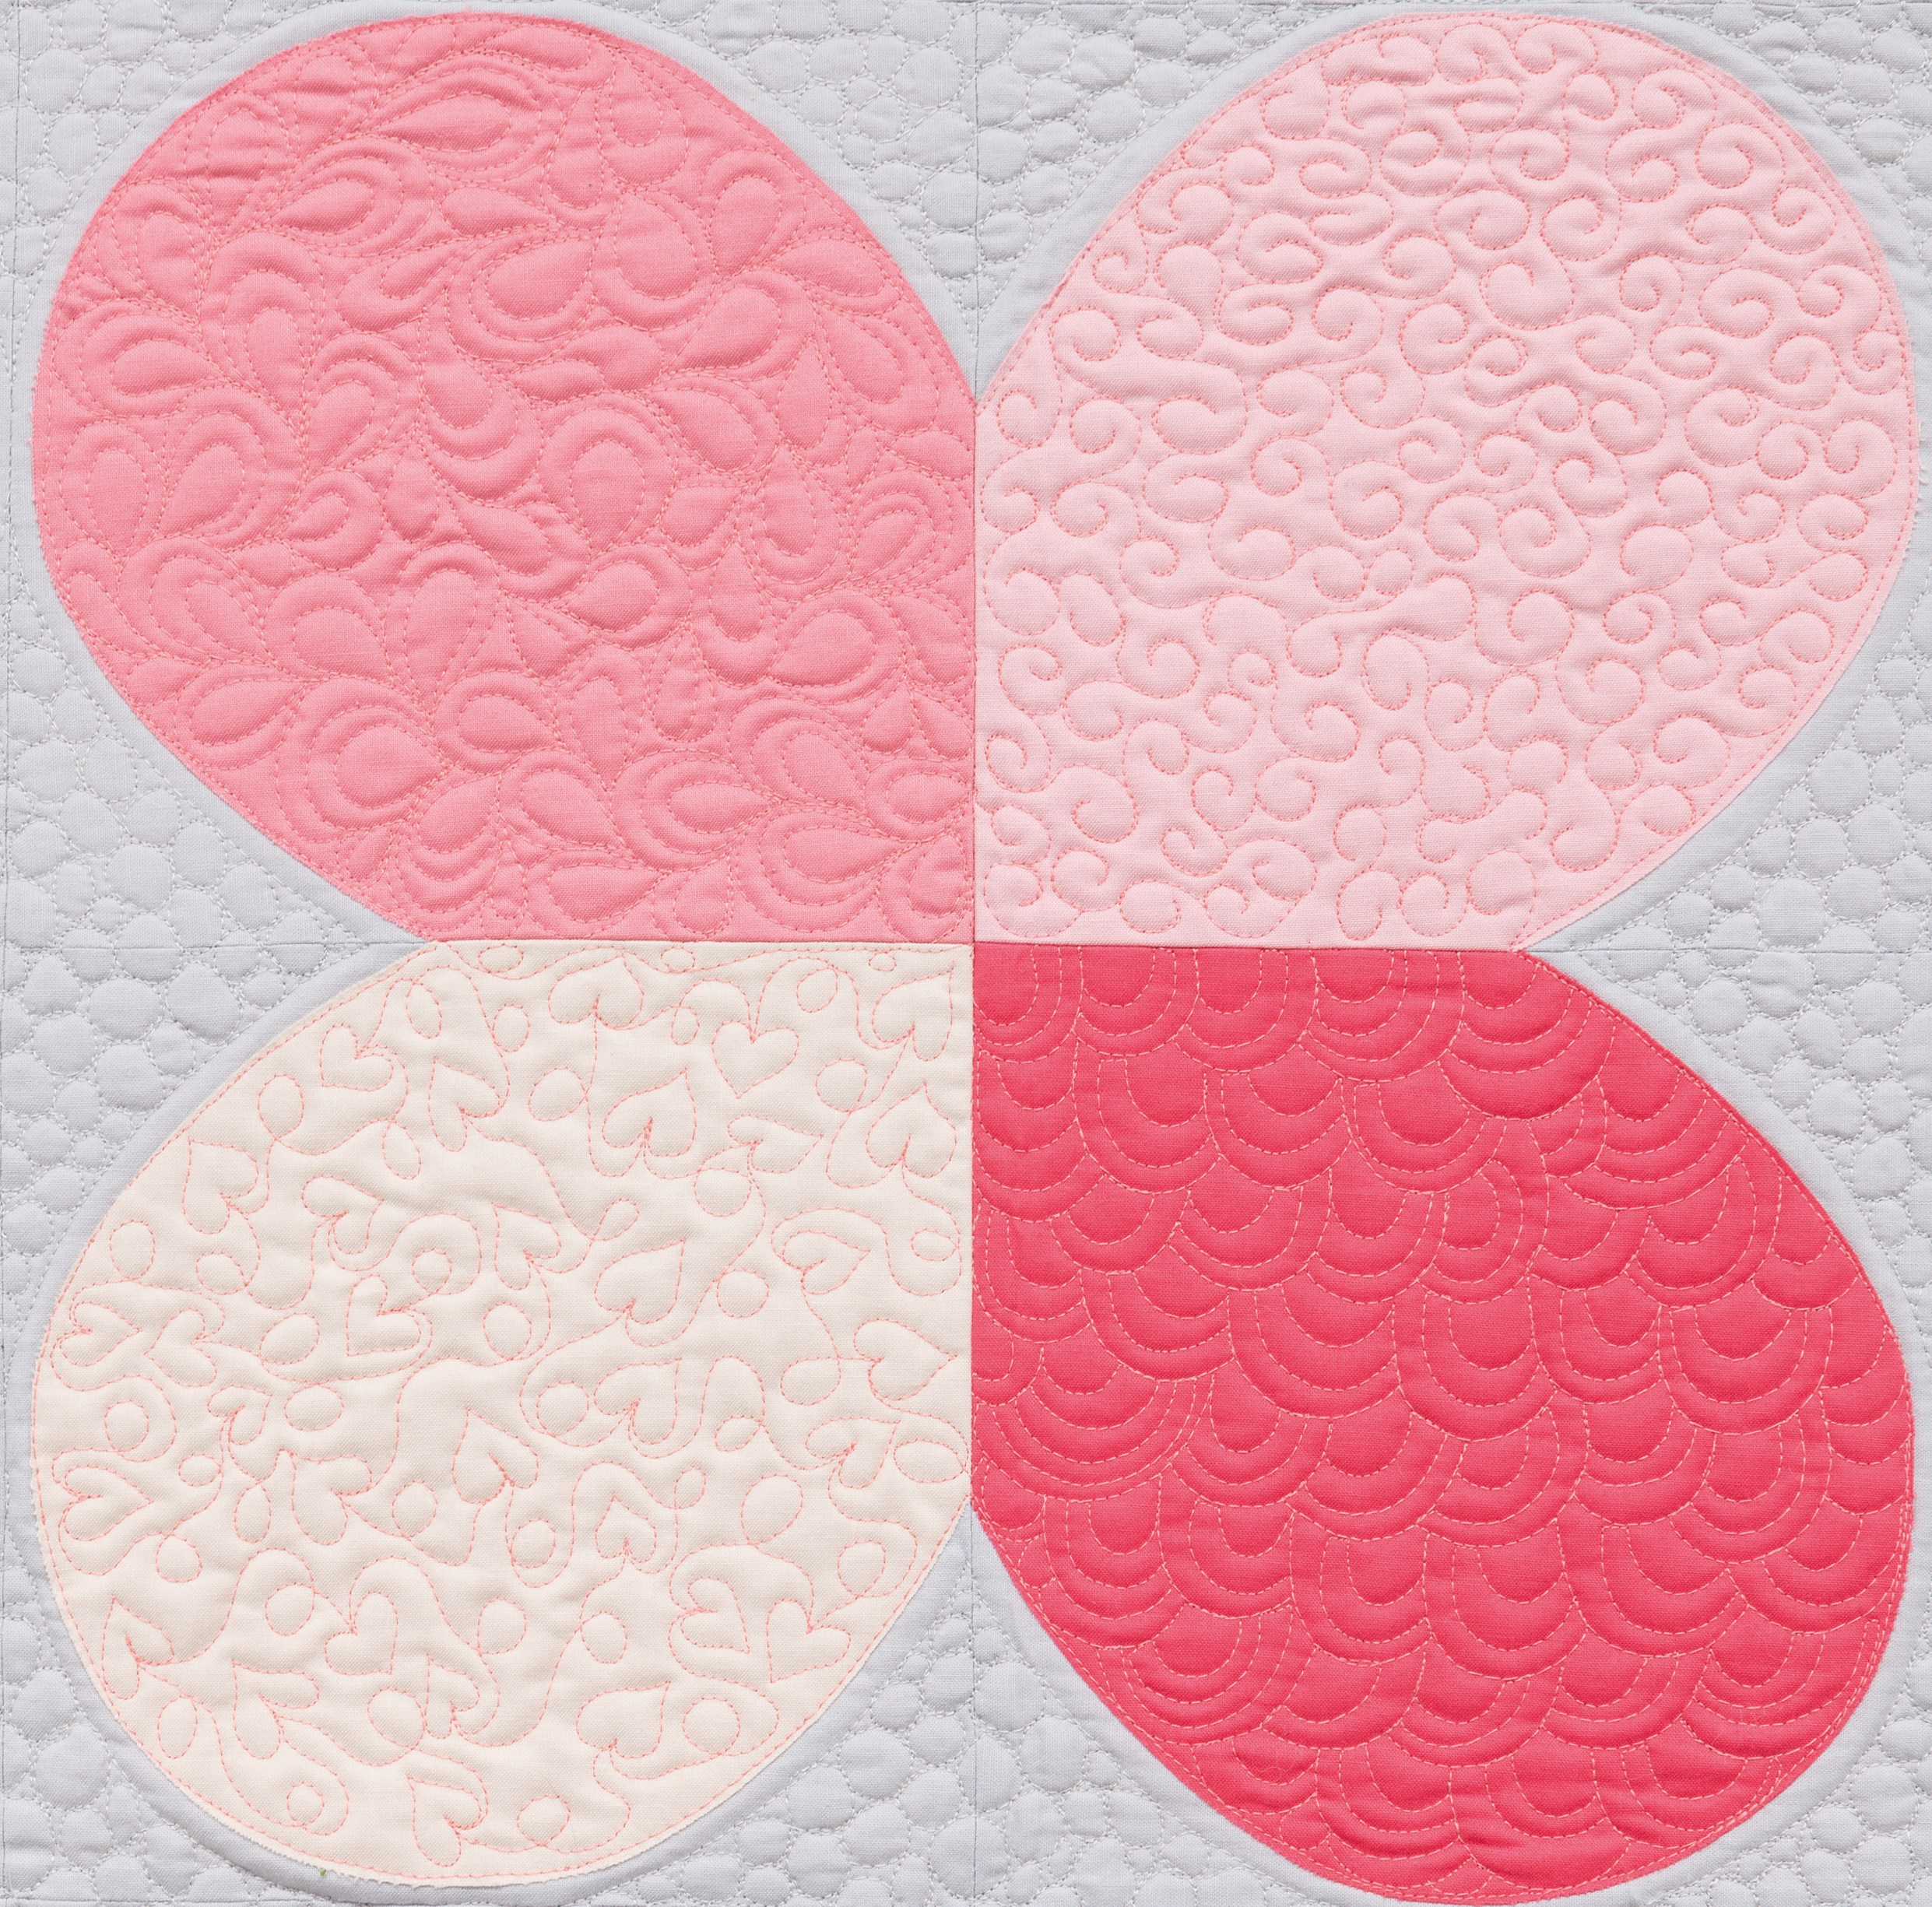
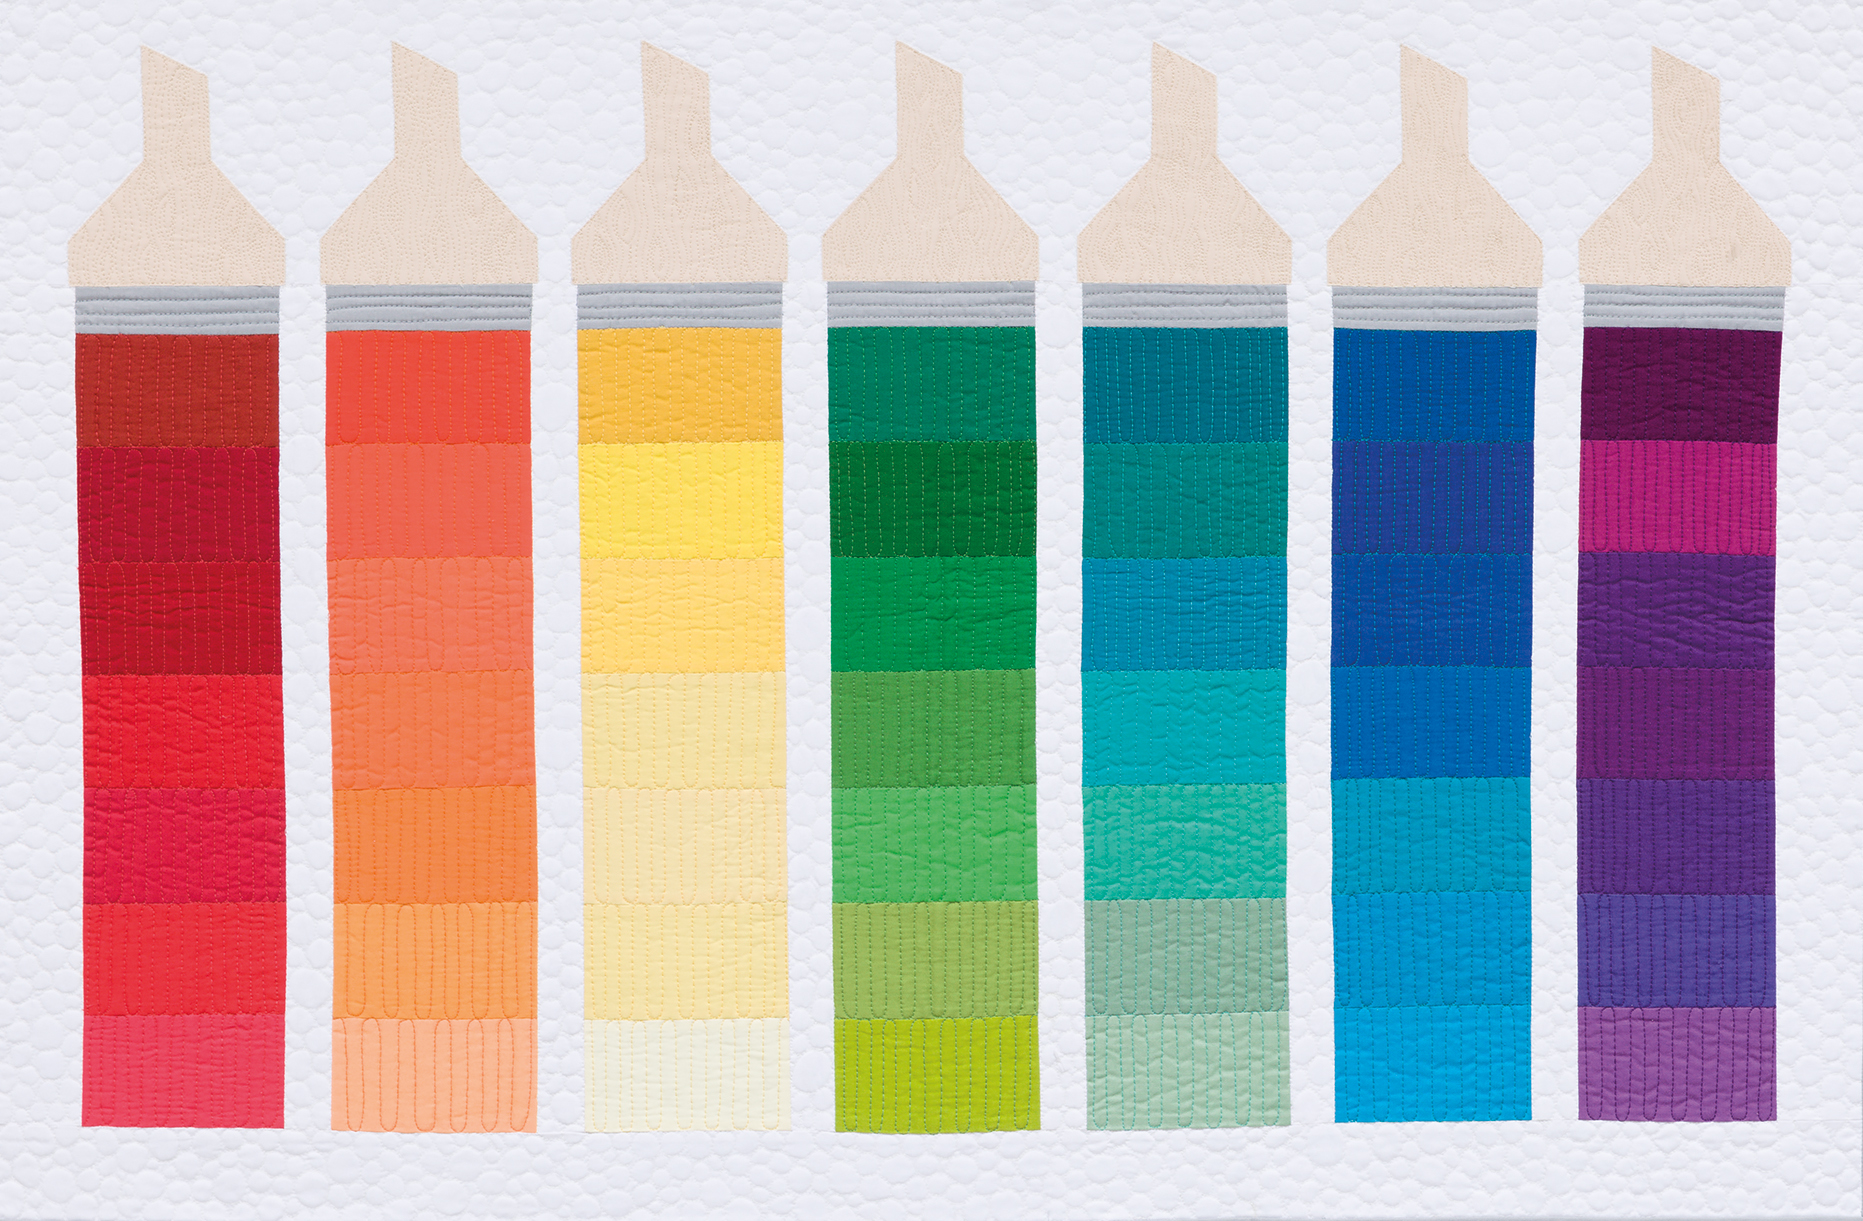
Another quilt I’ve done a woodgrain texture on is called Choosing Colors. This quilt comes from one of my books, The Ultimate Guide to Machine Quilting. If you want to pick up the PDF version of this book, check out the link below
Click Here to Grab the PDF of The Ultimate Guide to Machine Quilting
Bonus Video – Free Motion Quilting Swanky Spirals
Want to learn more about how to quilt Swanky Spirals? I’ve included an in-depth tutorial on how I quilted it. This video also includes a bunch of tips and tricks for this particular pattern, so if you want to try making Swanky Spirals I highly recommend you check out this video to get yourself started.
P.S – Let me know what you think!
I always love getting feedback from my viewers. If you have any questions about the 99 Design series, leave a comment on any of my videos, I’ll be sure to answer!