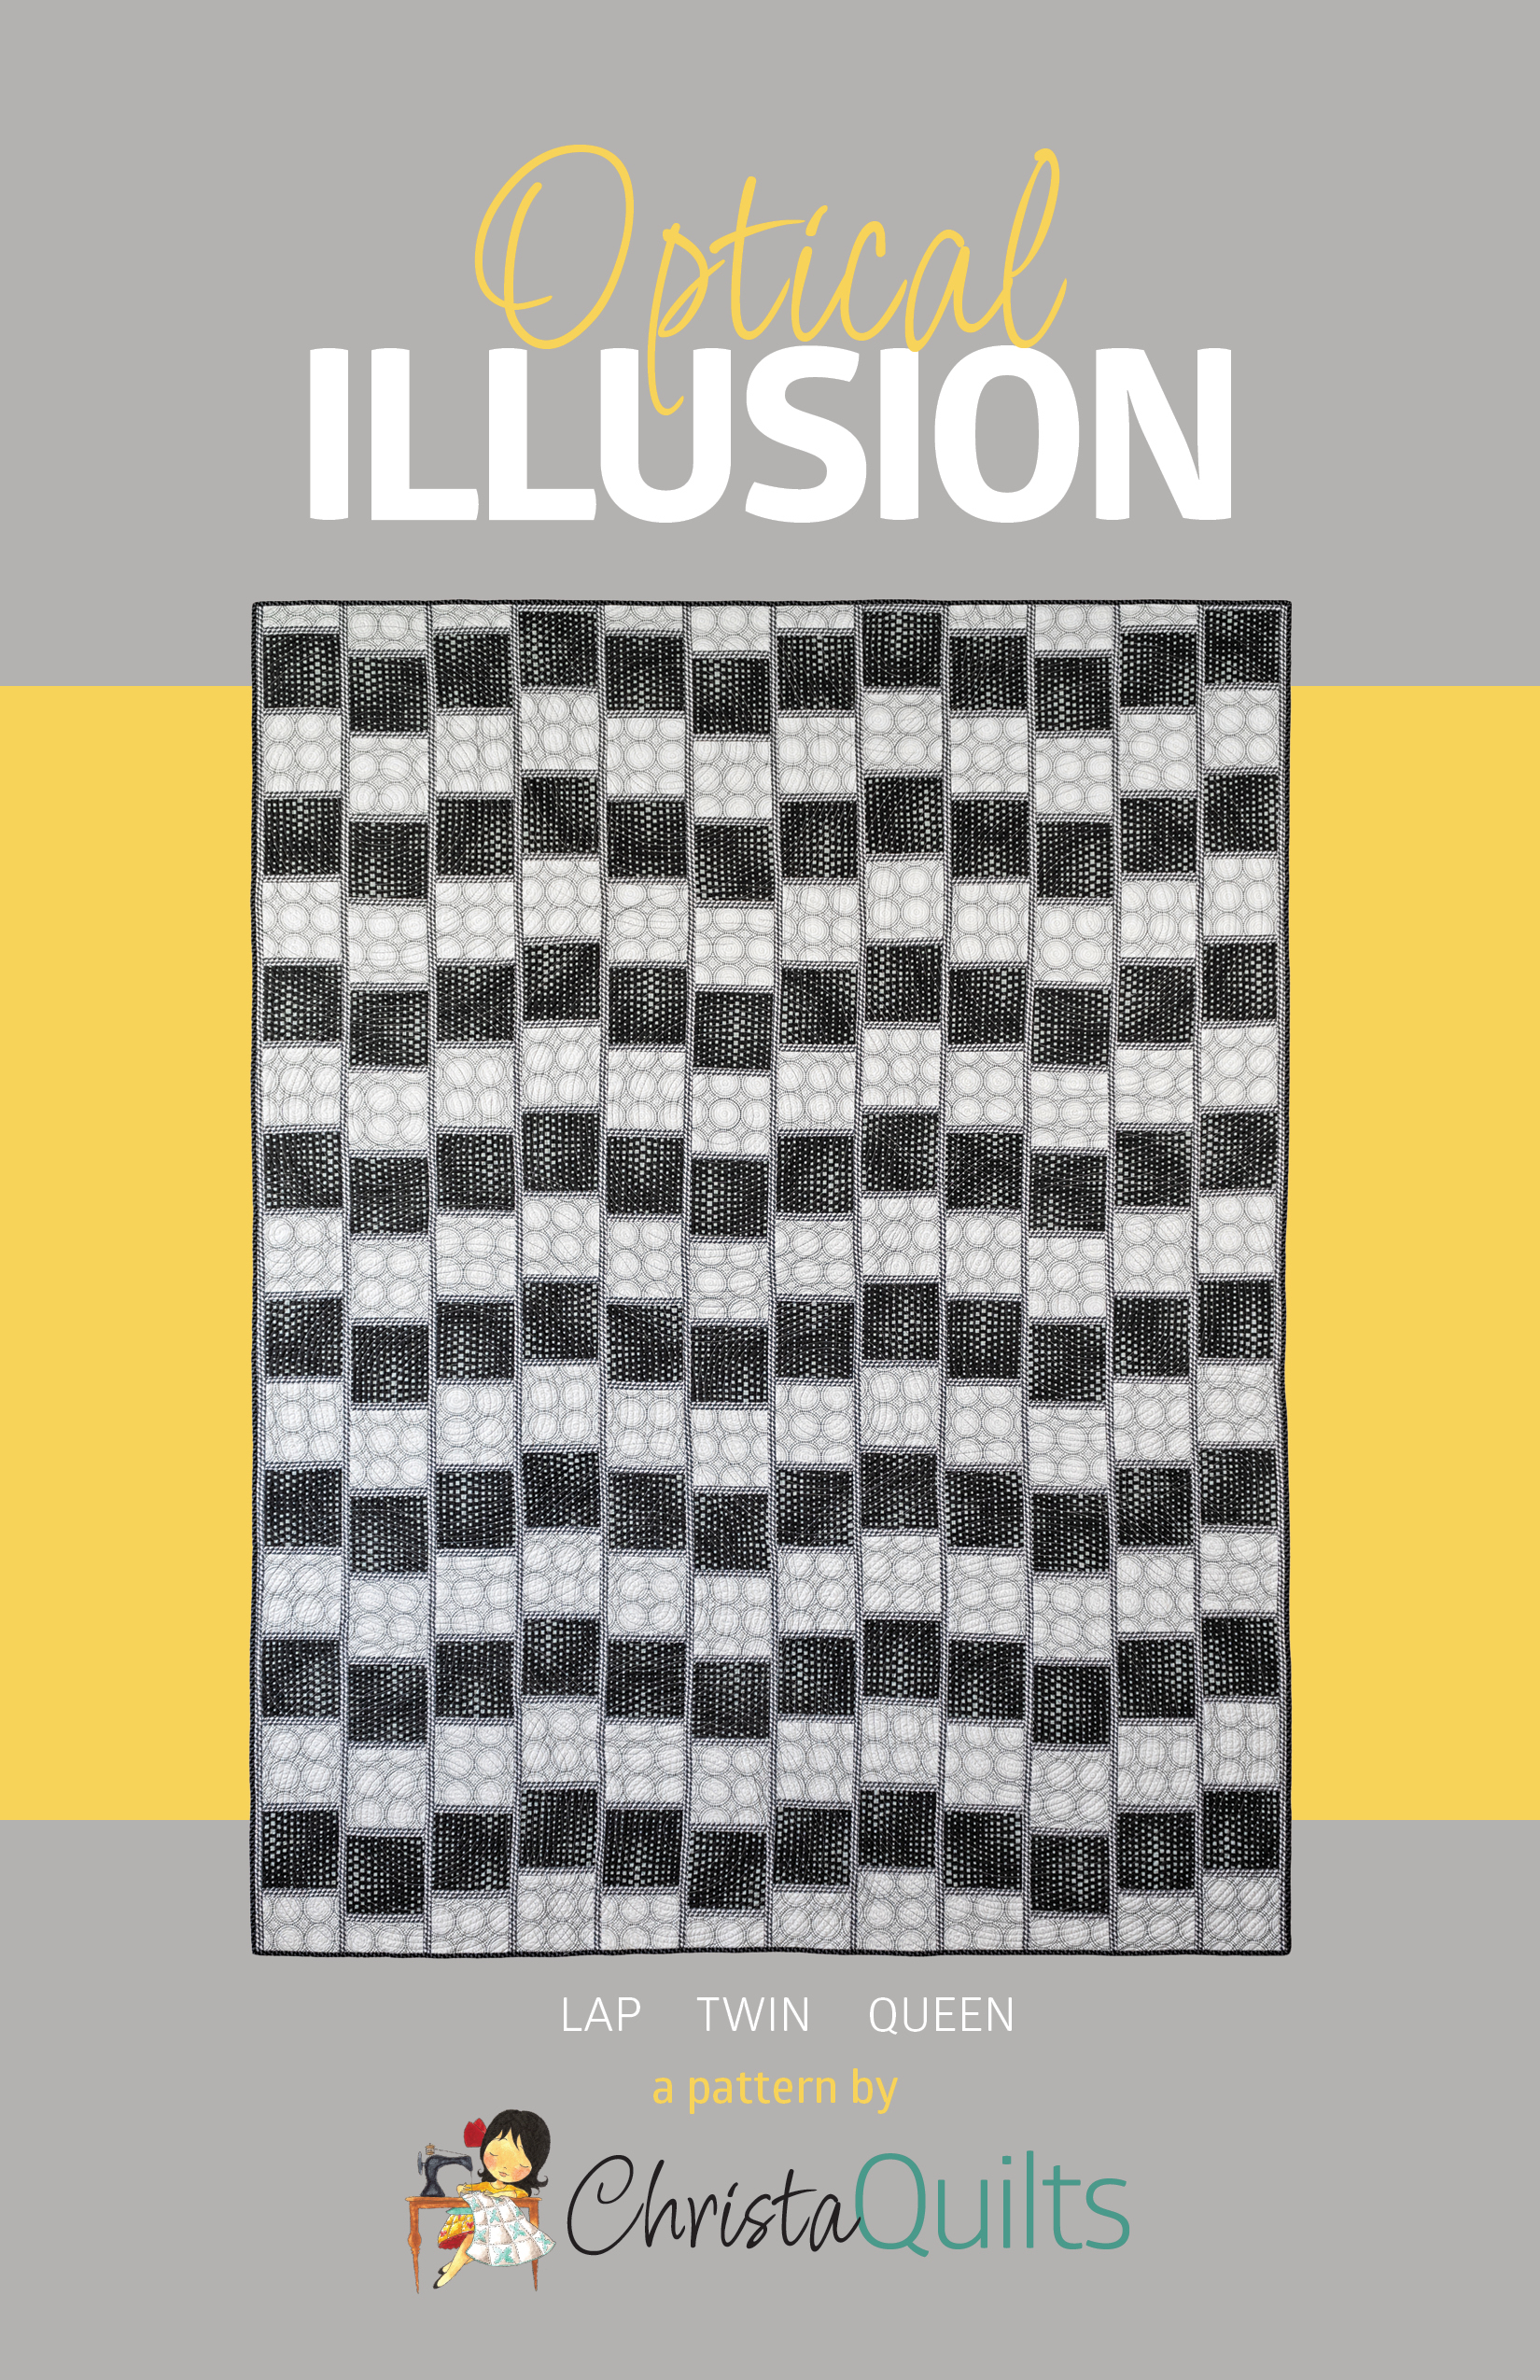
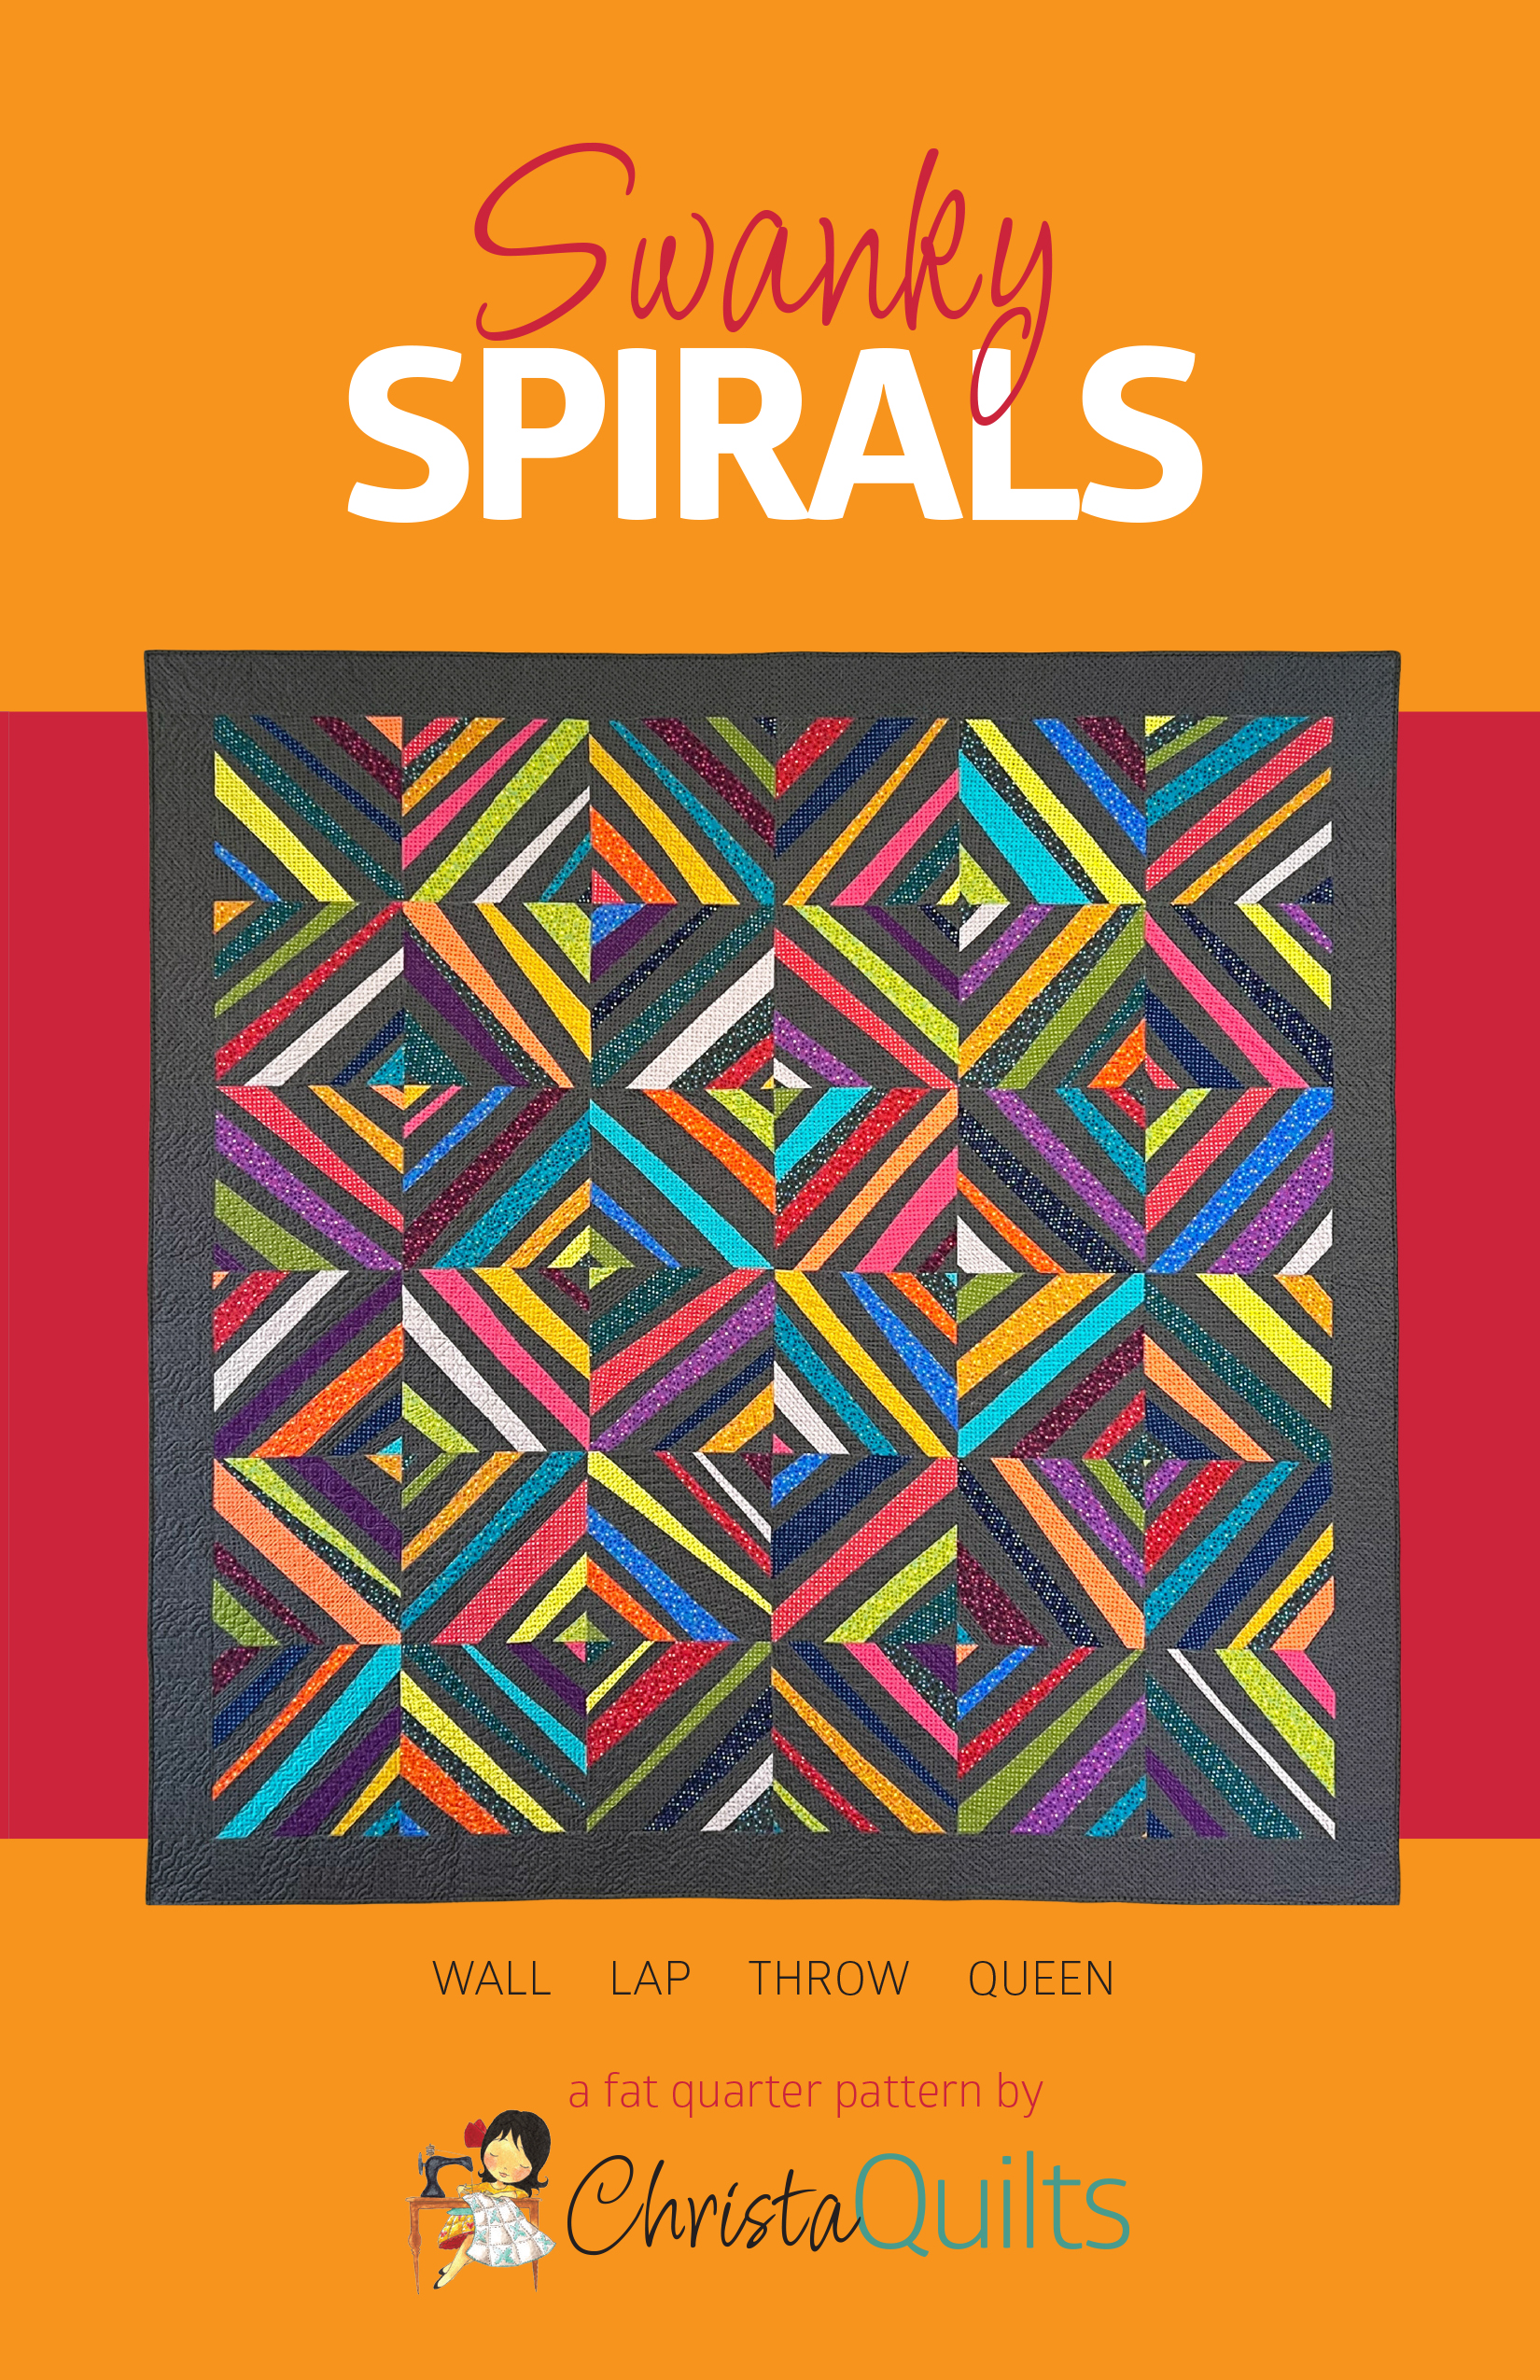
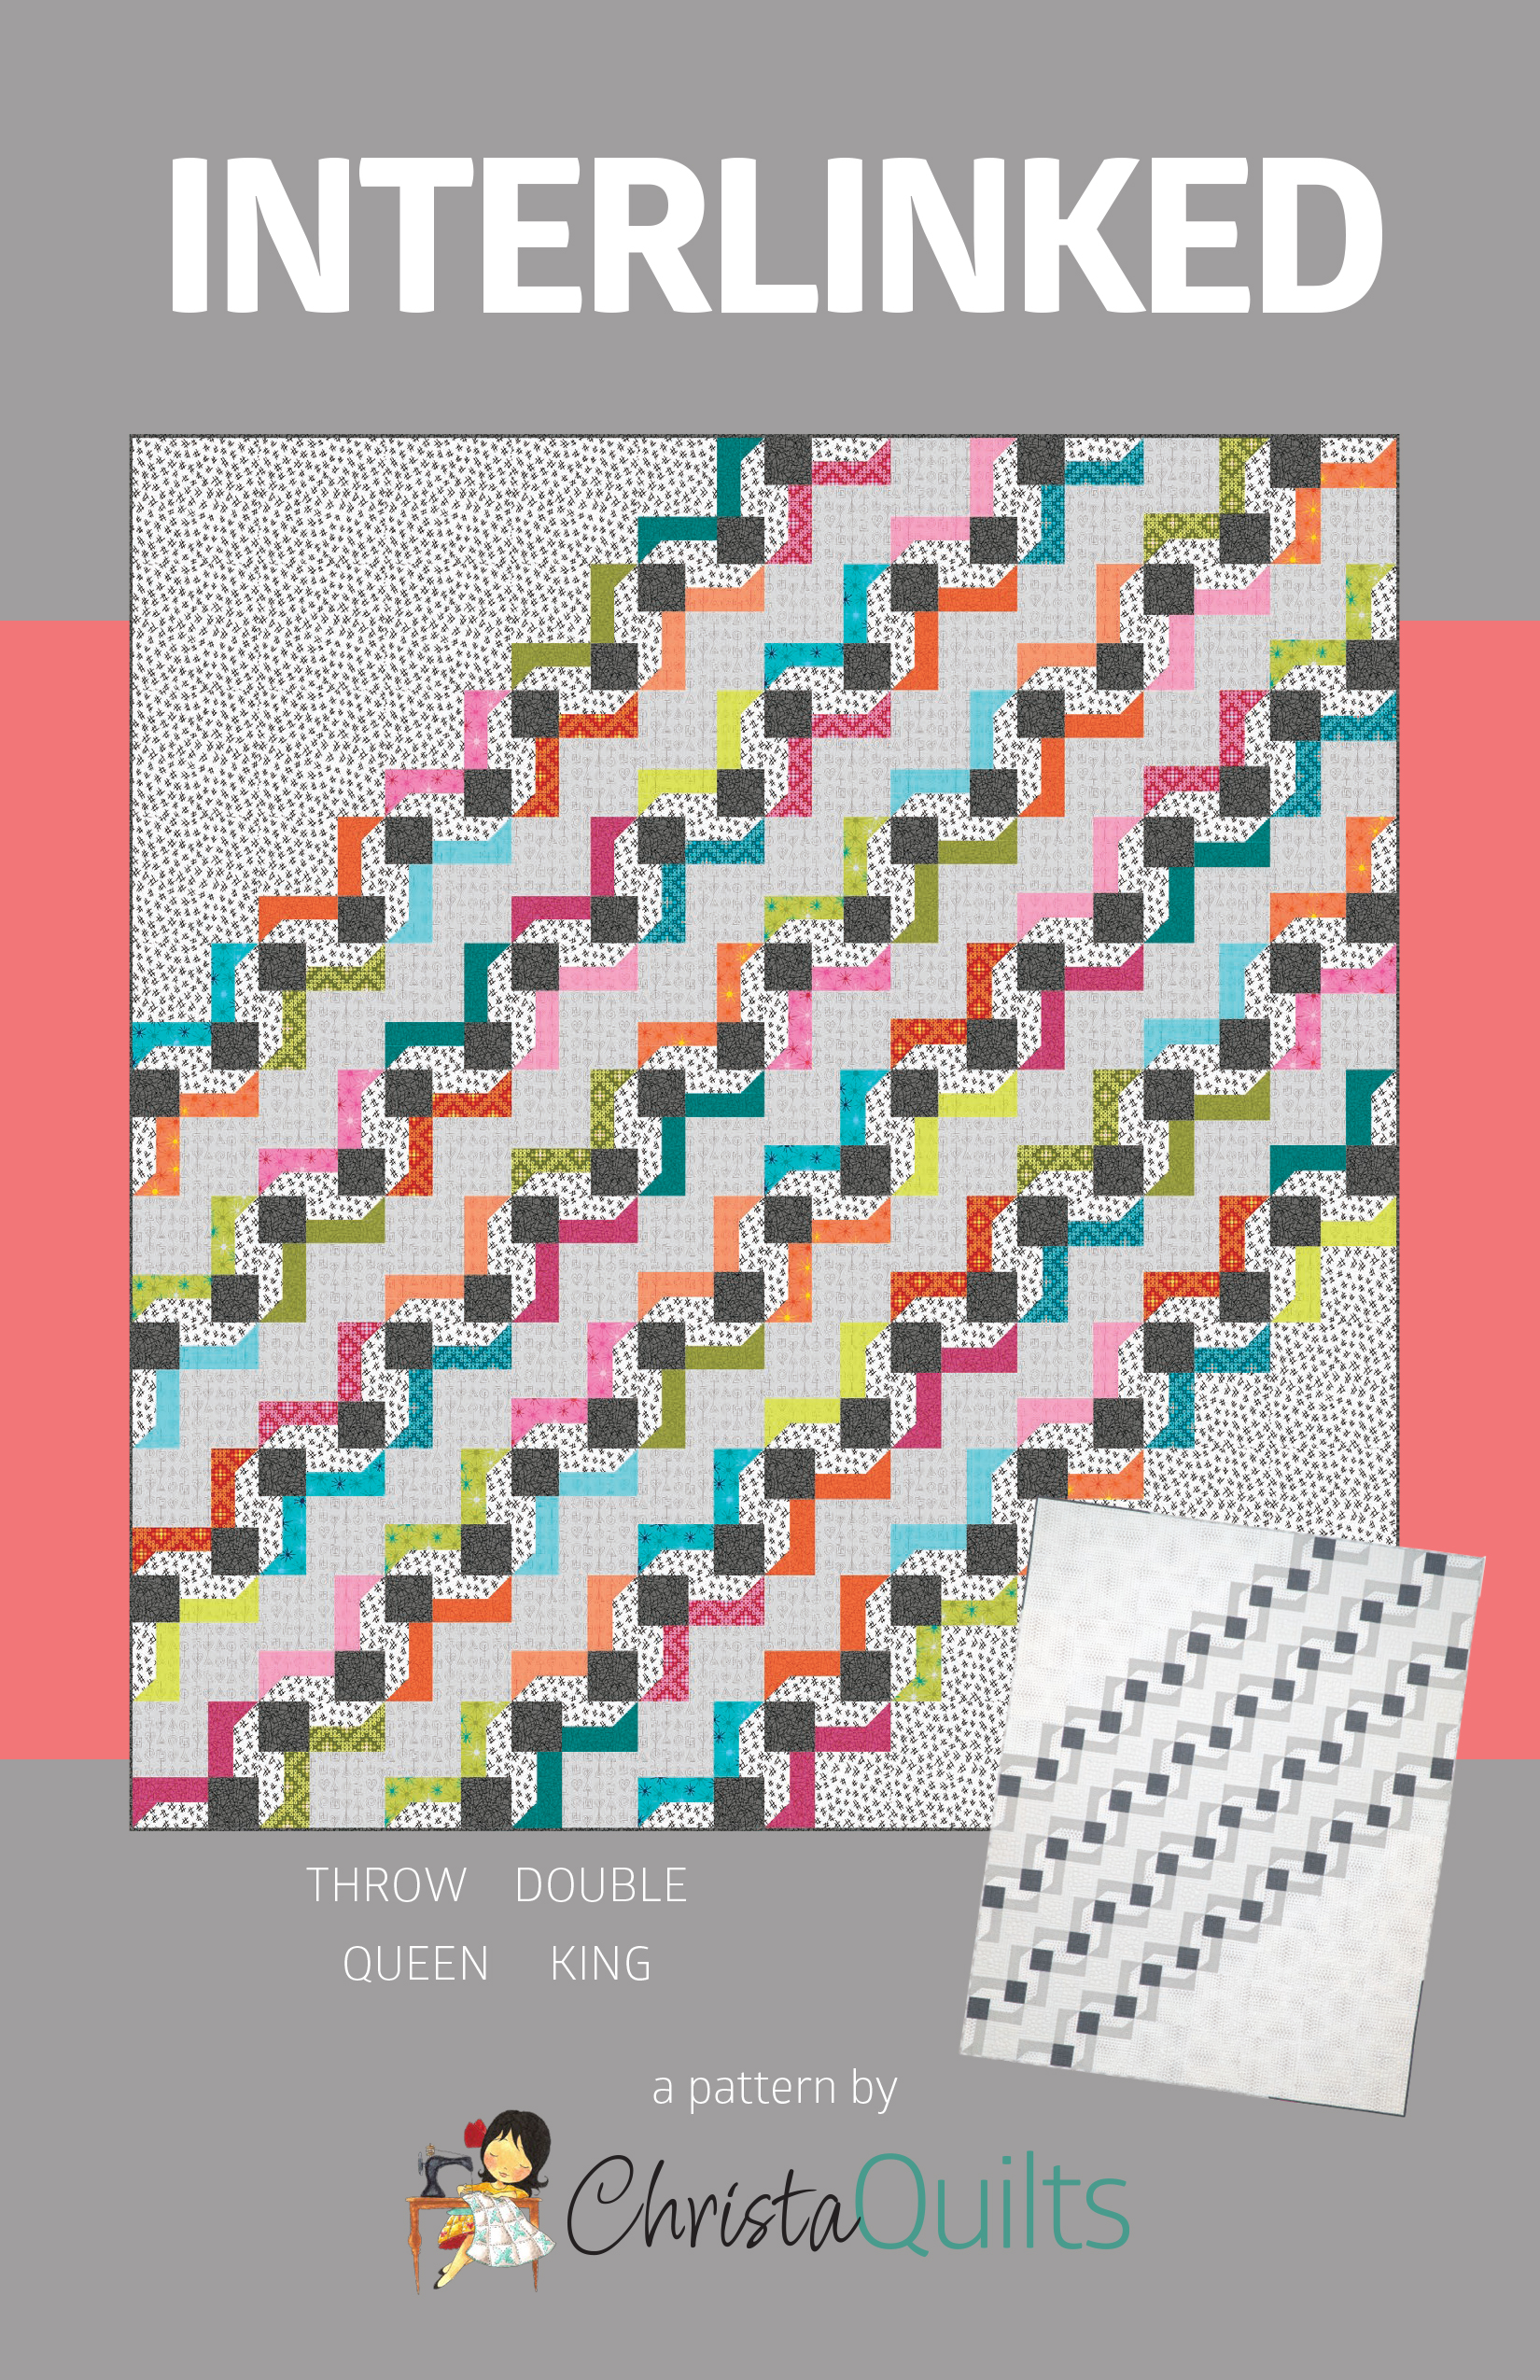
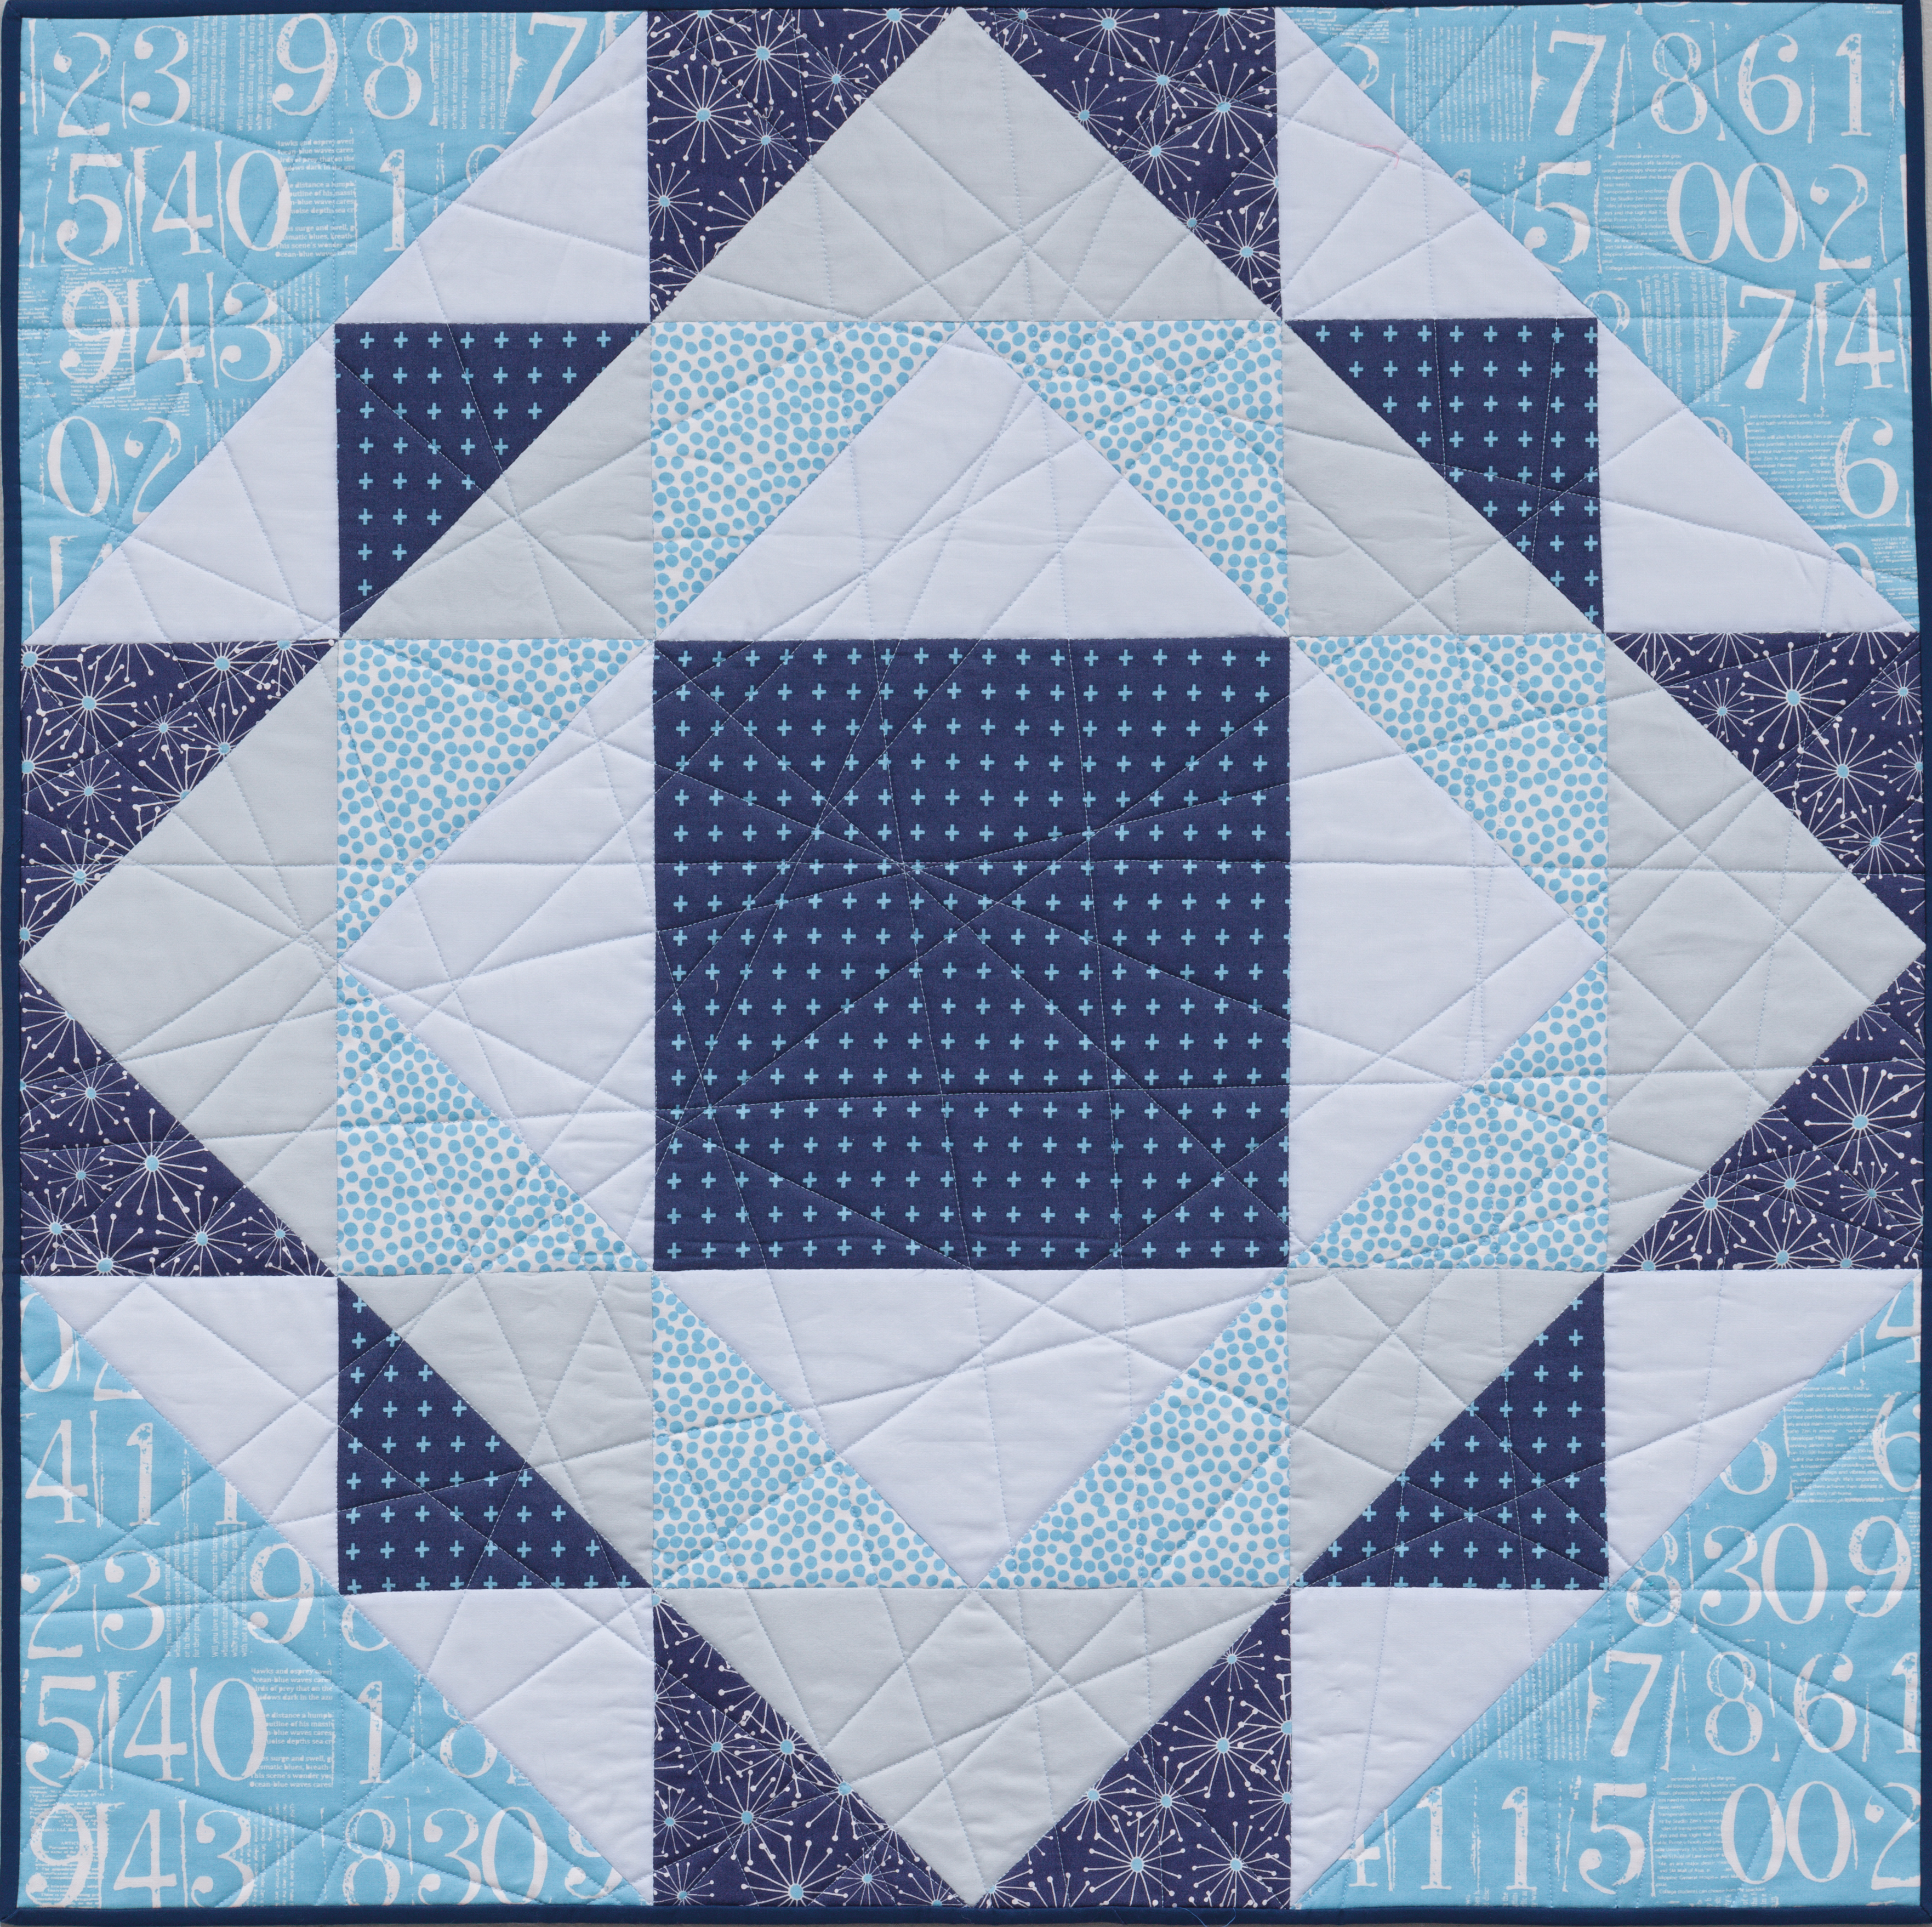
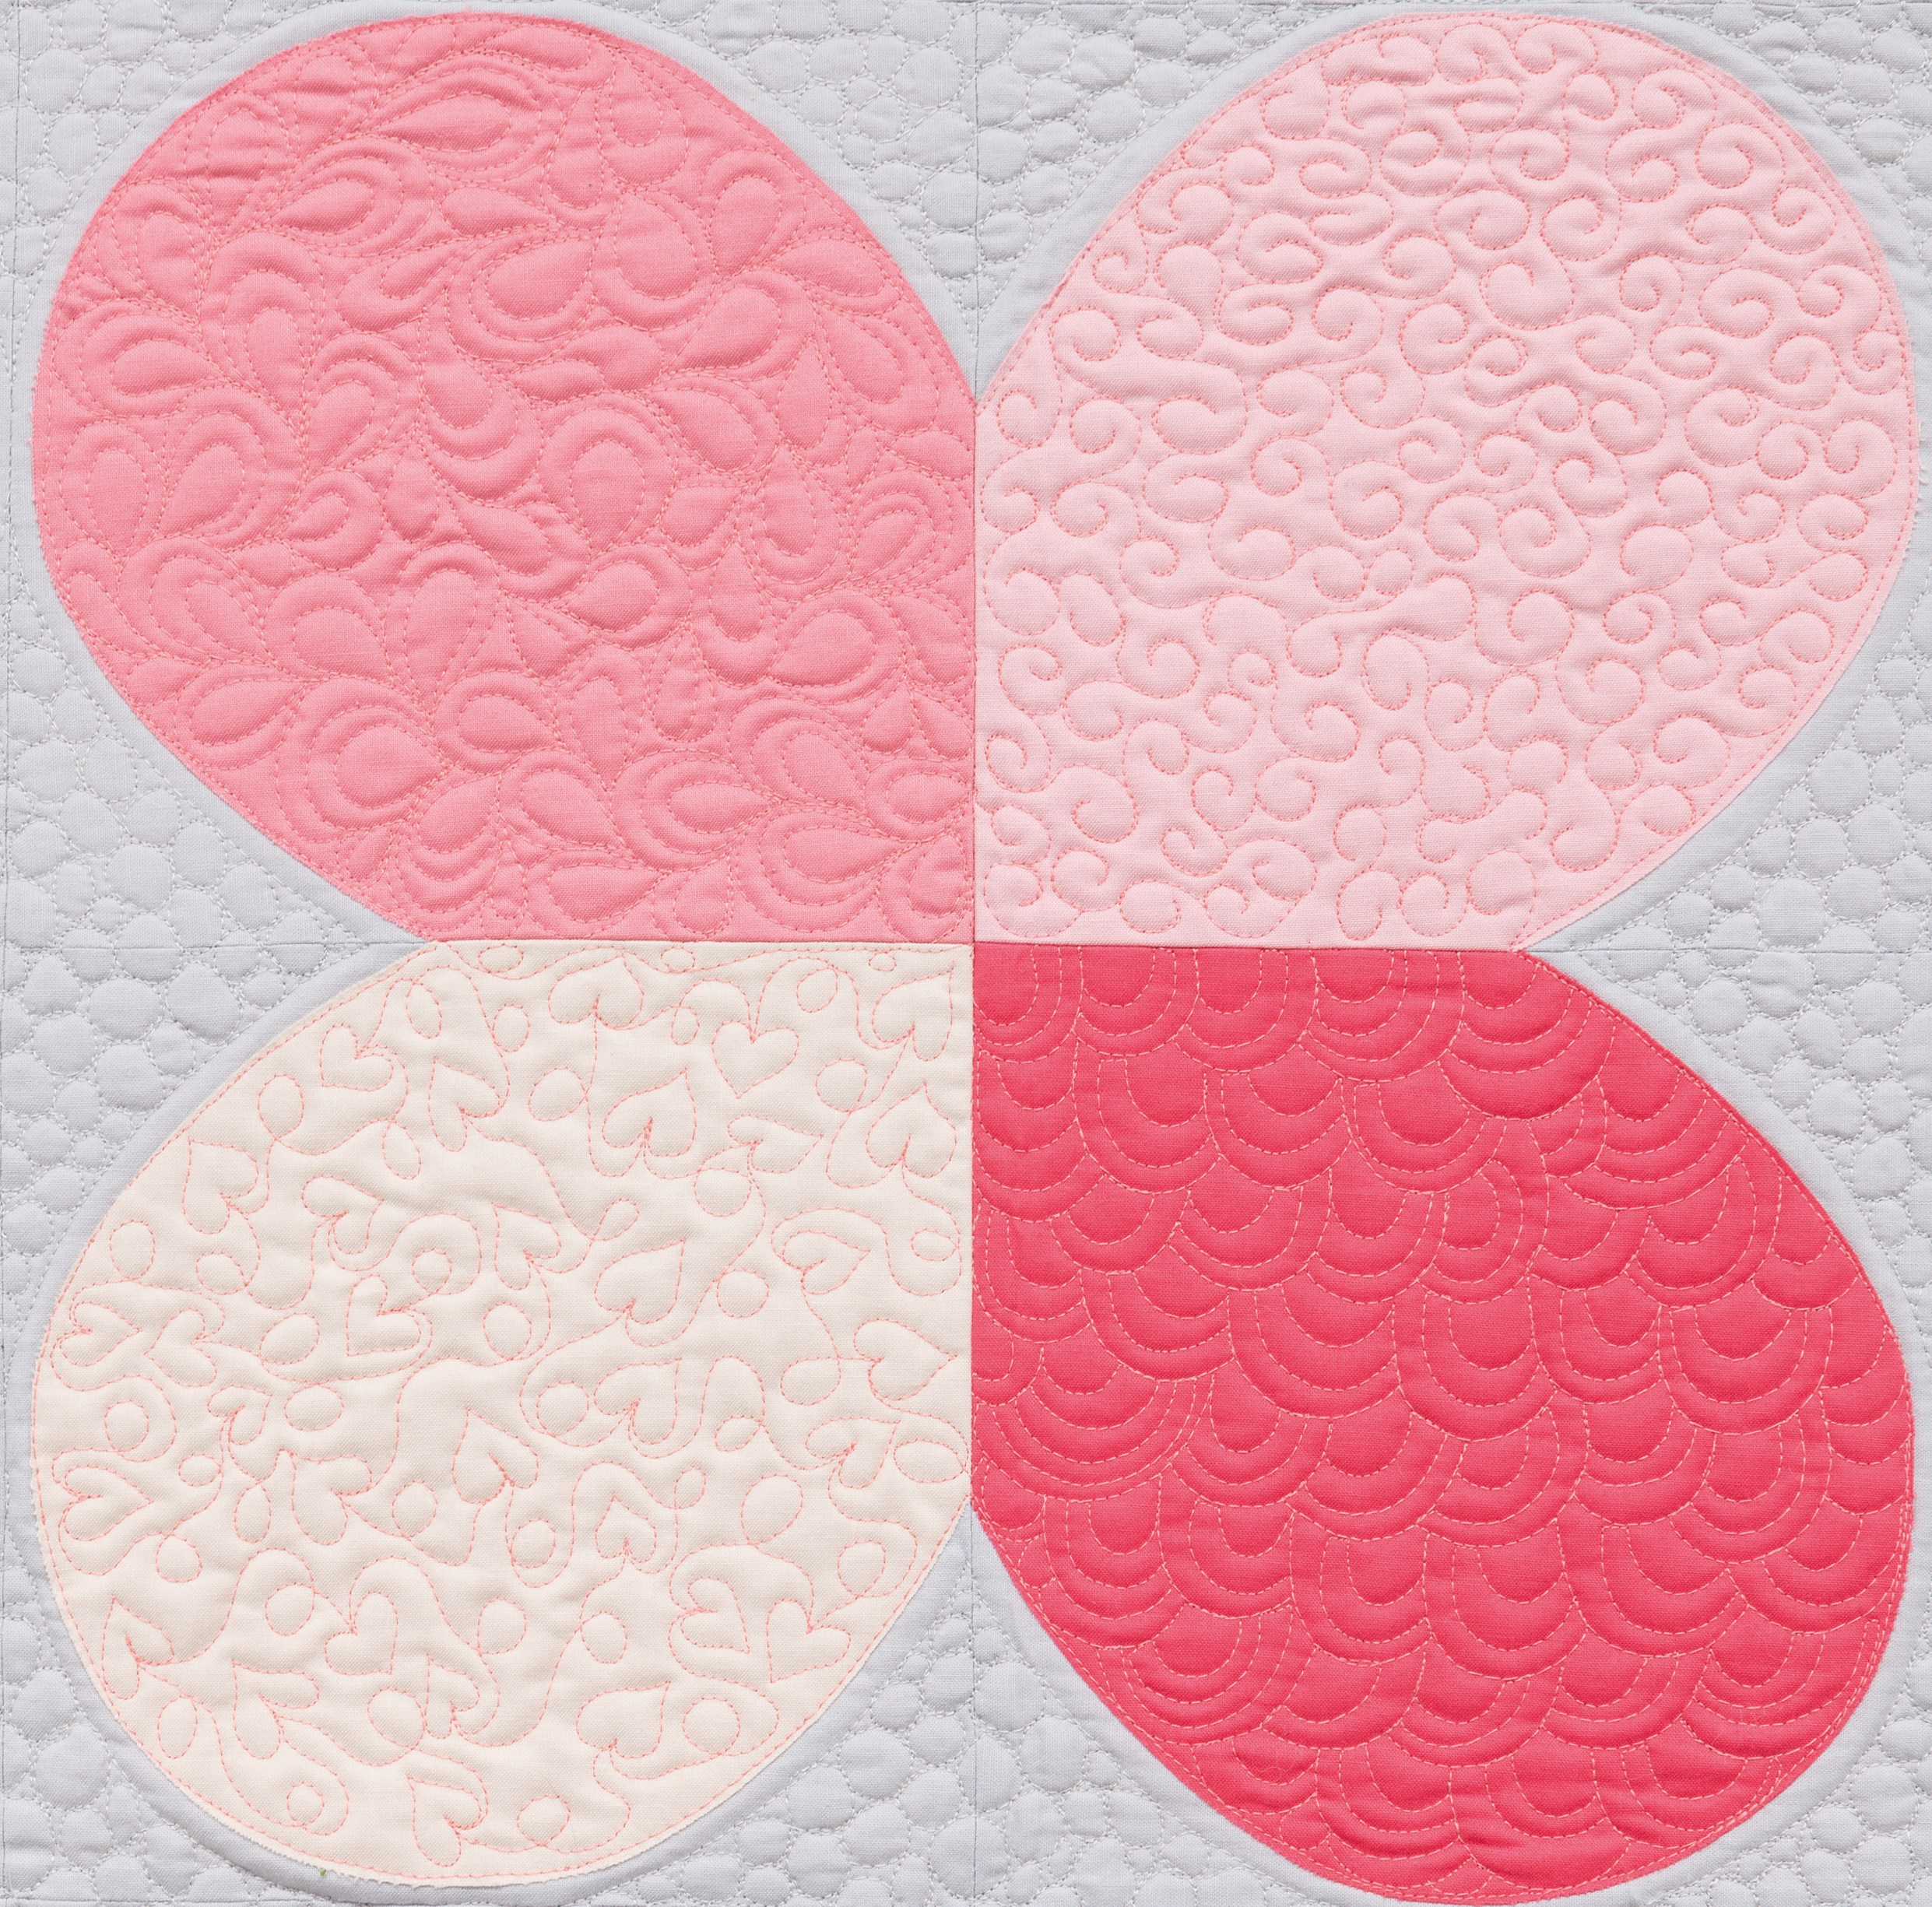
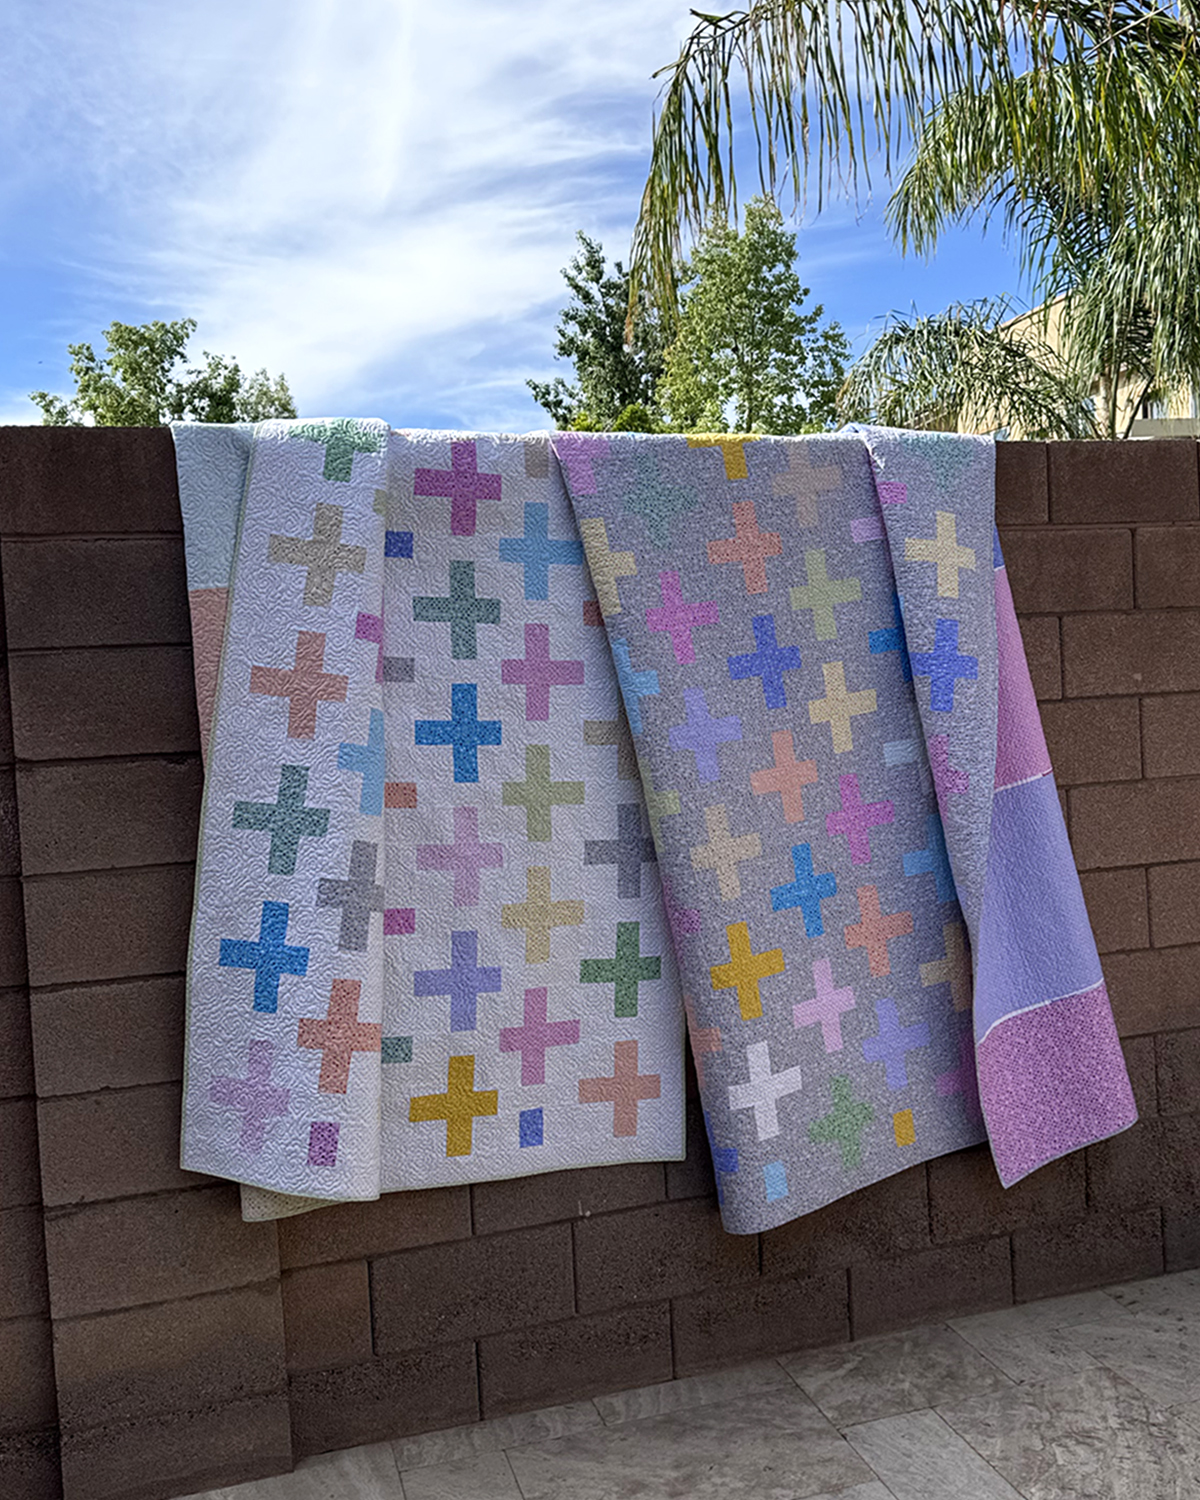
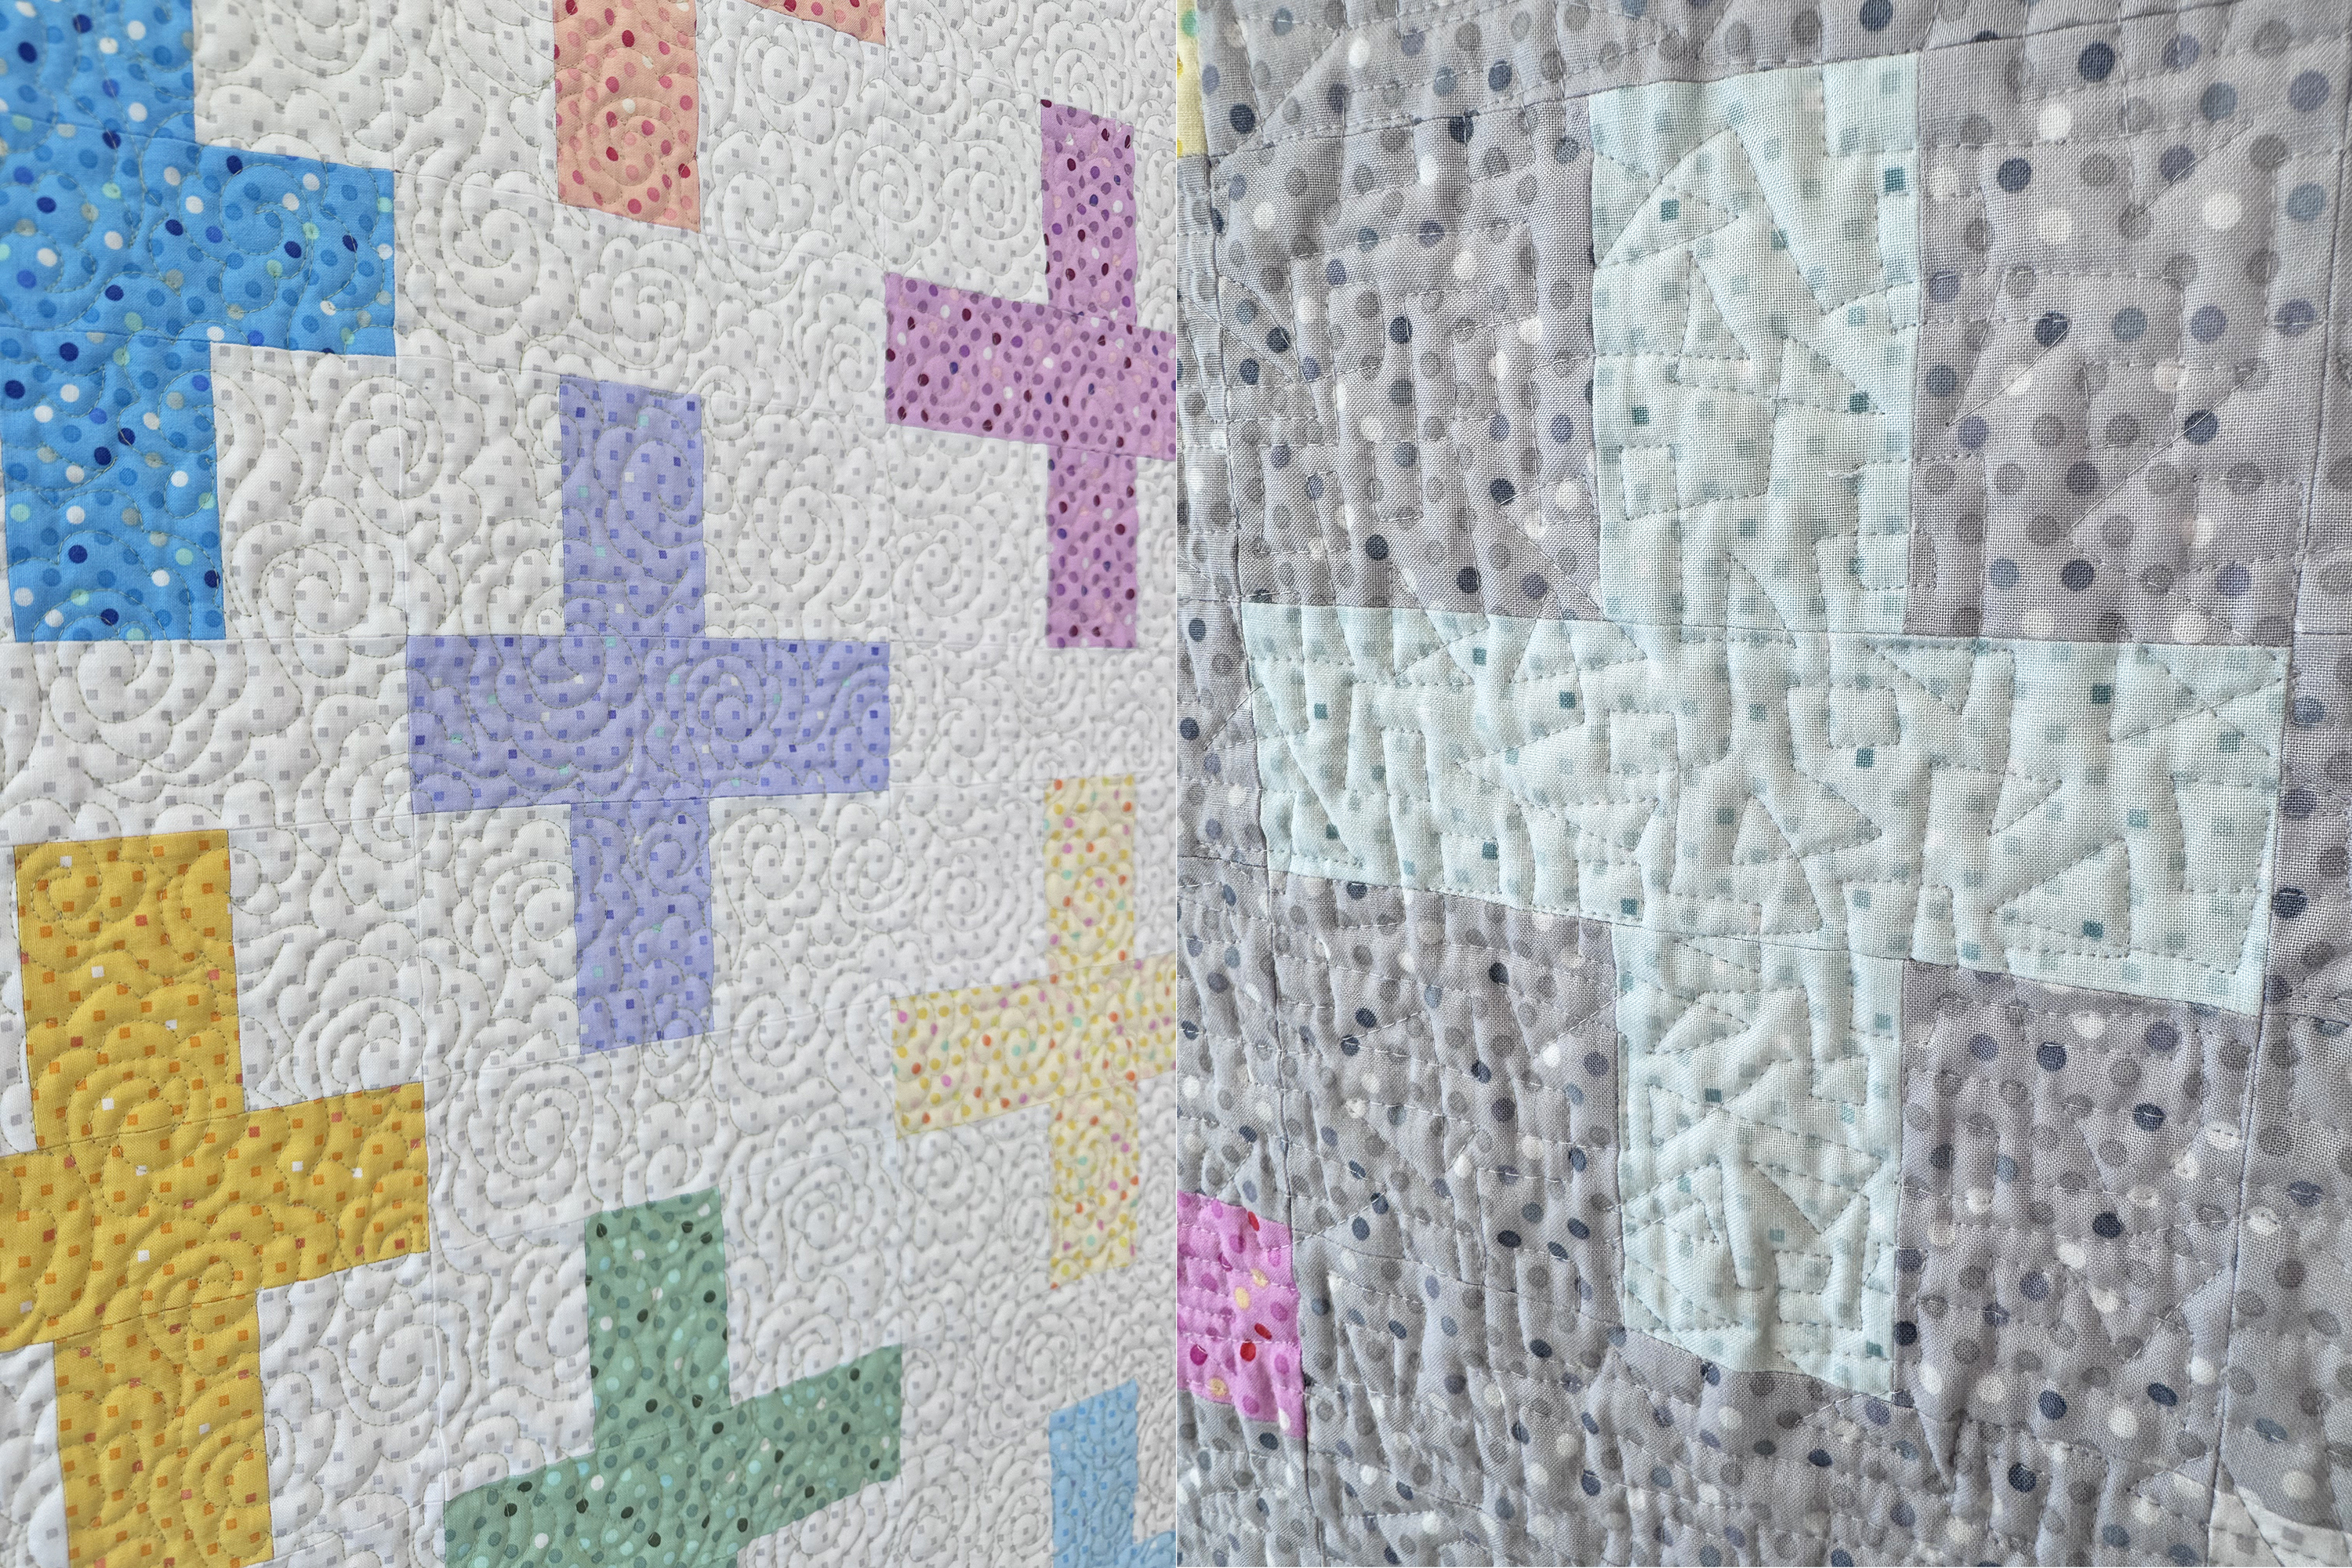
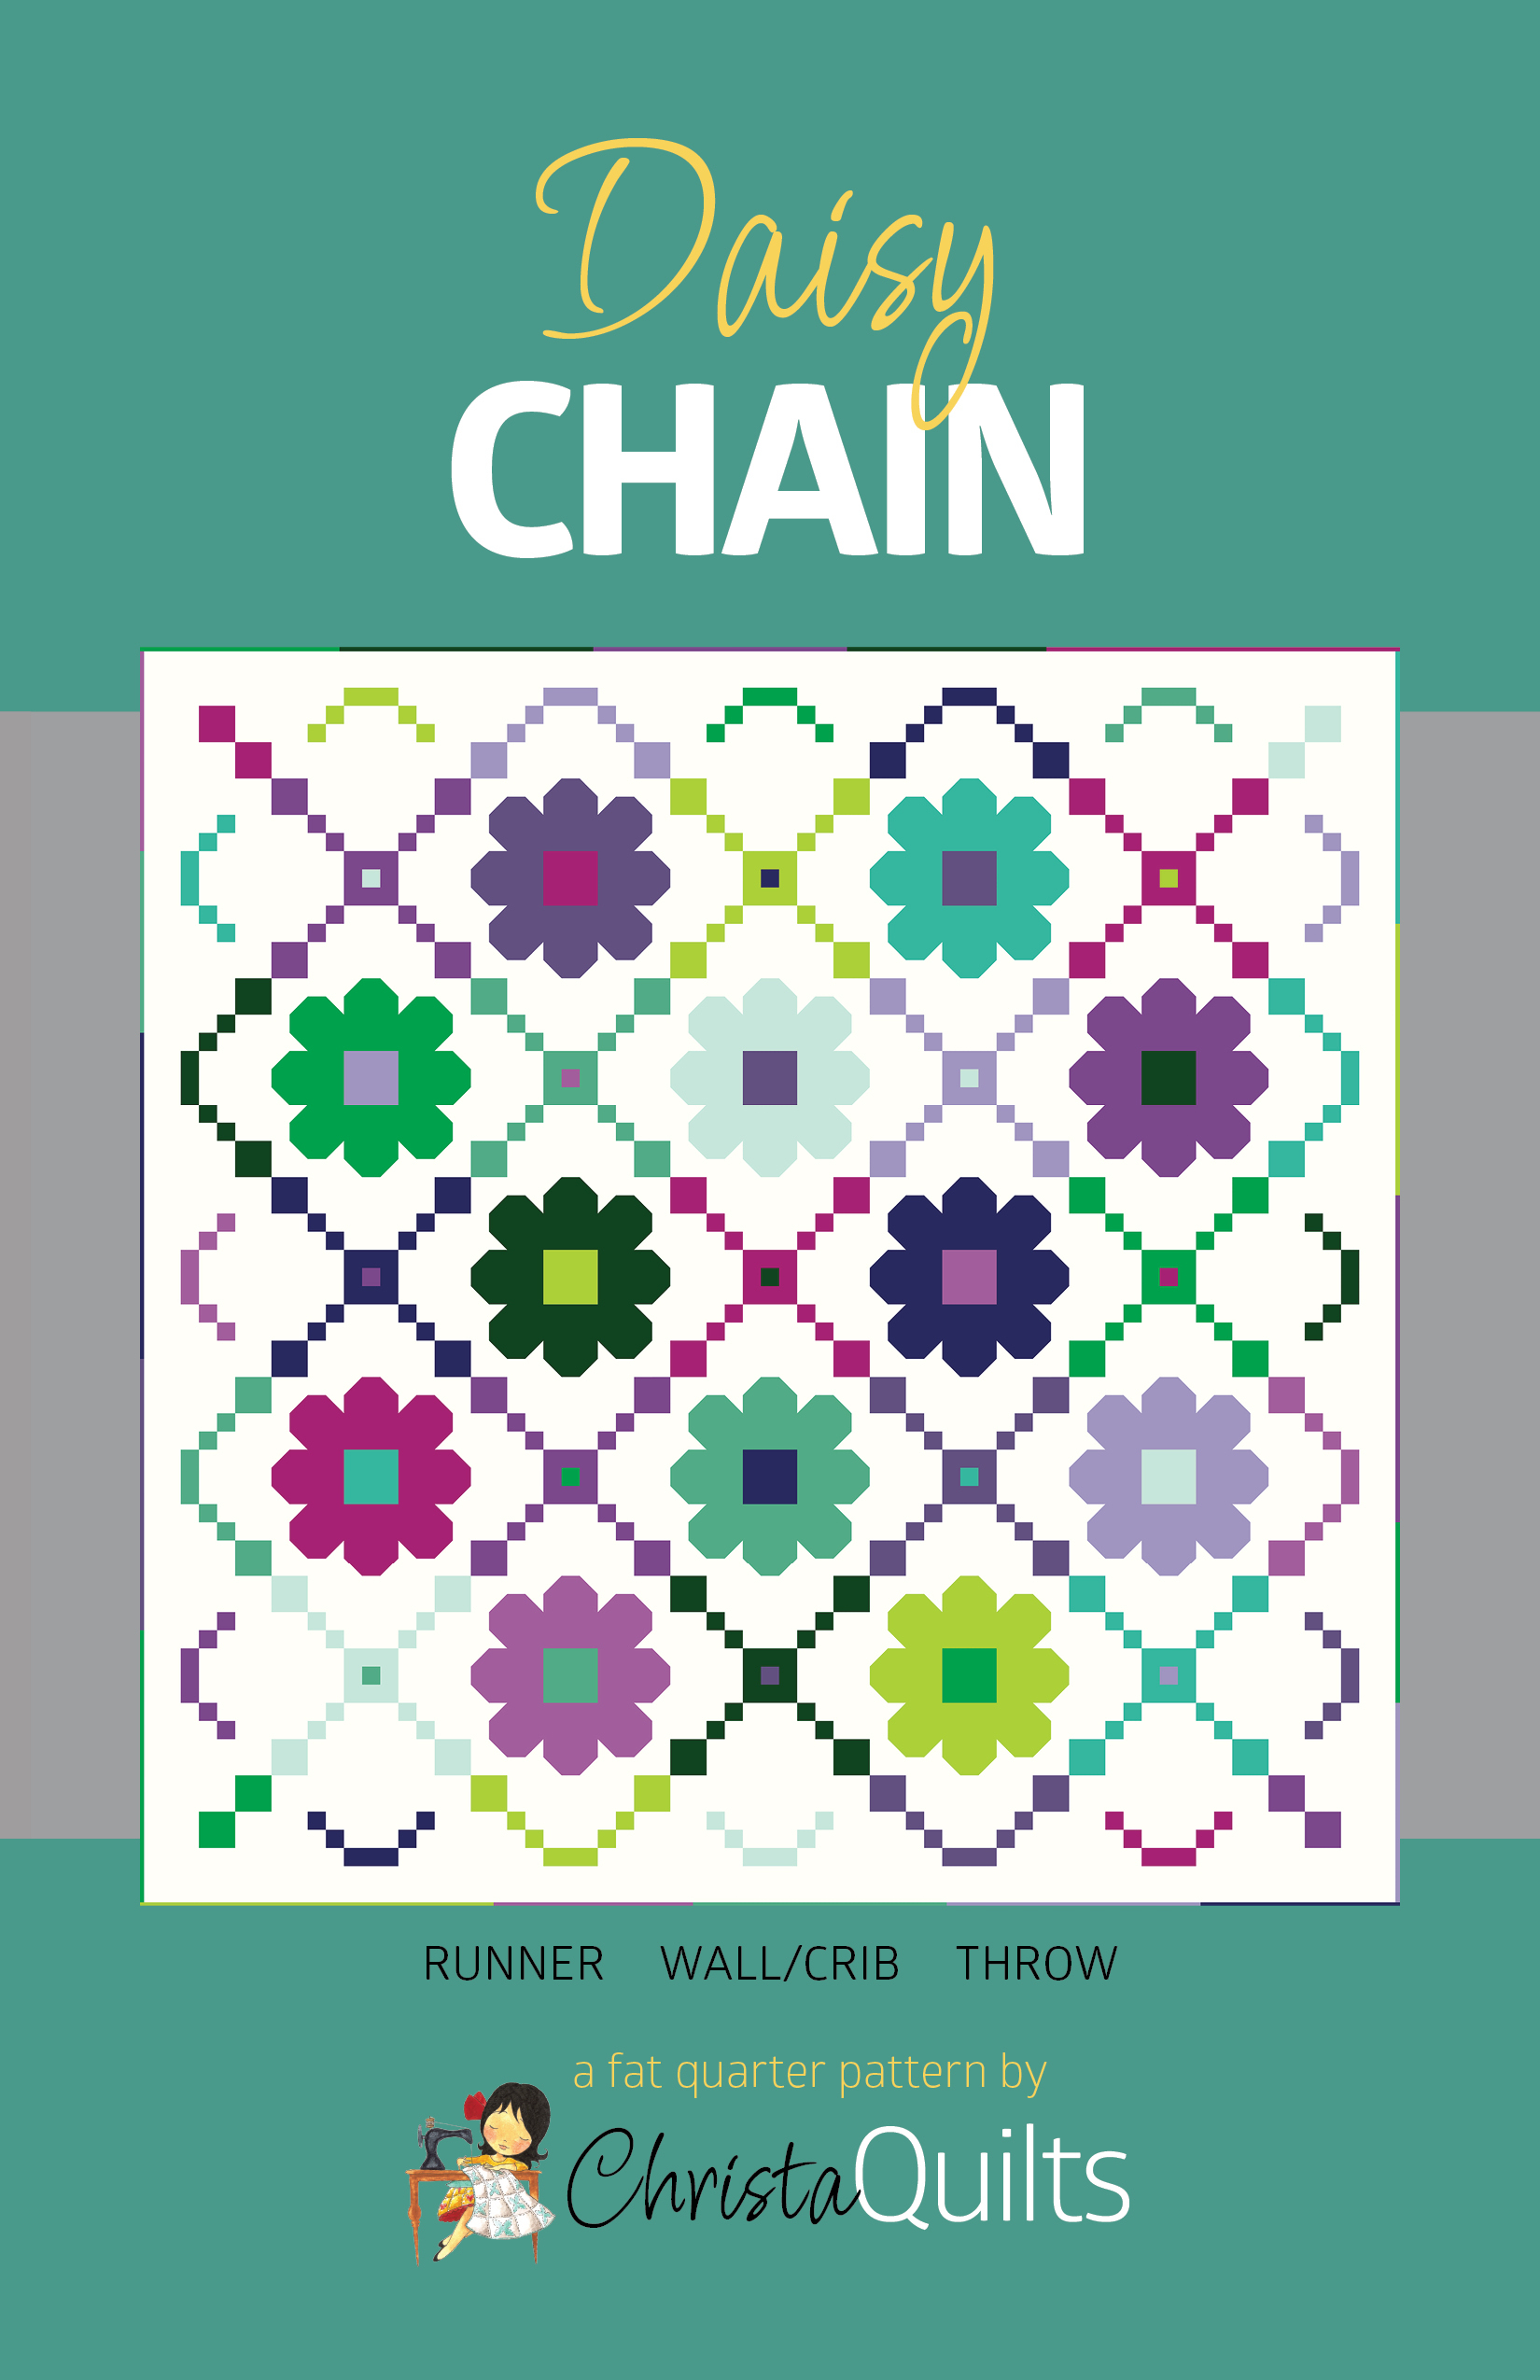
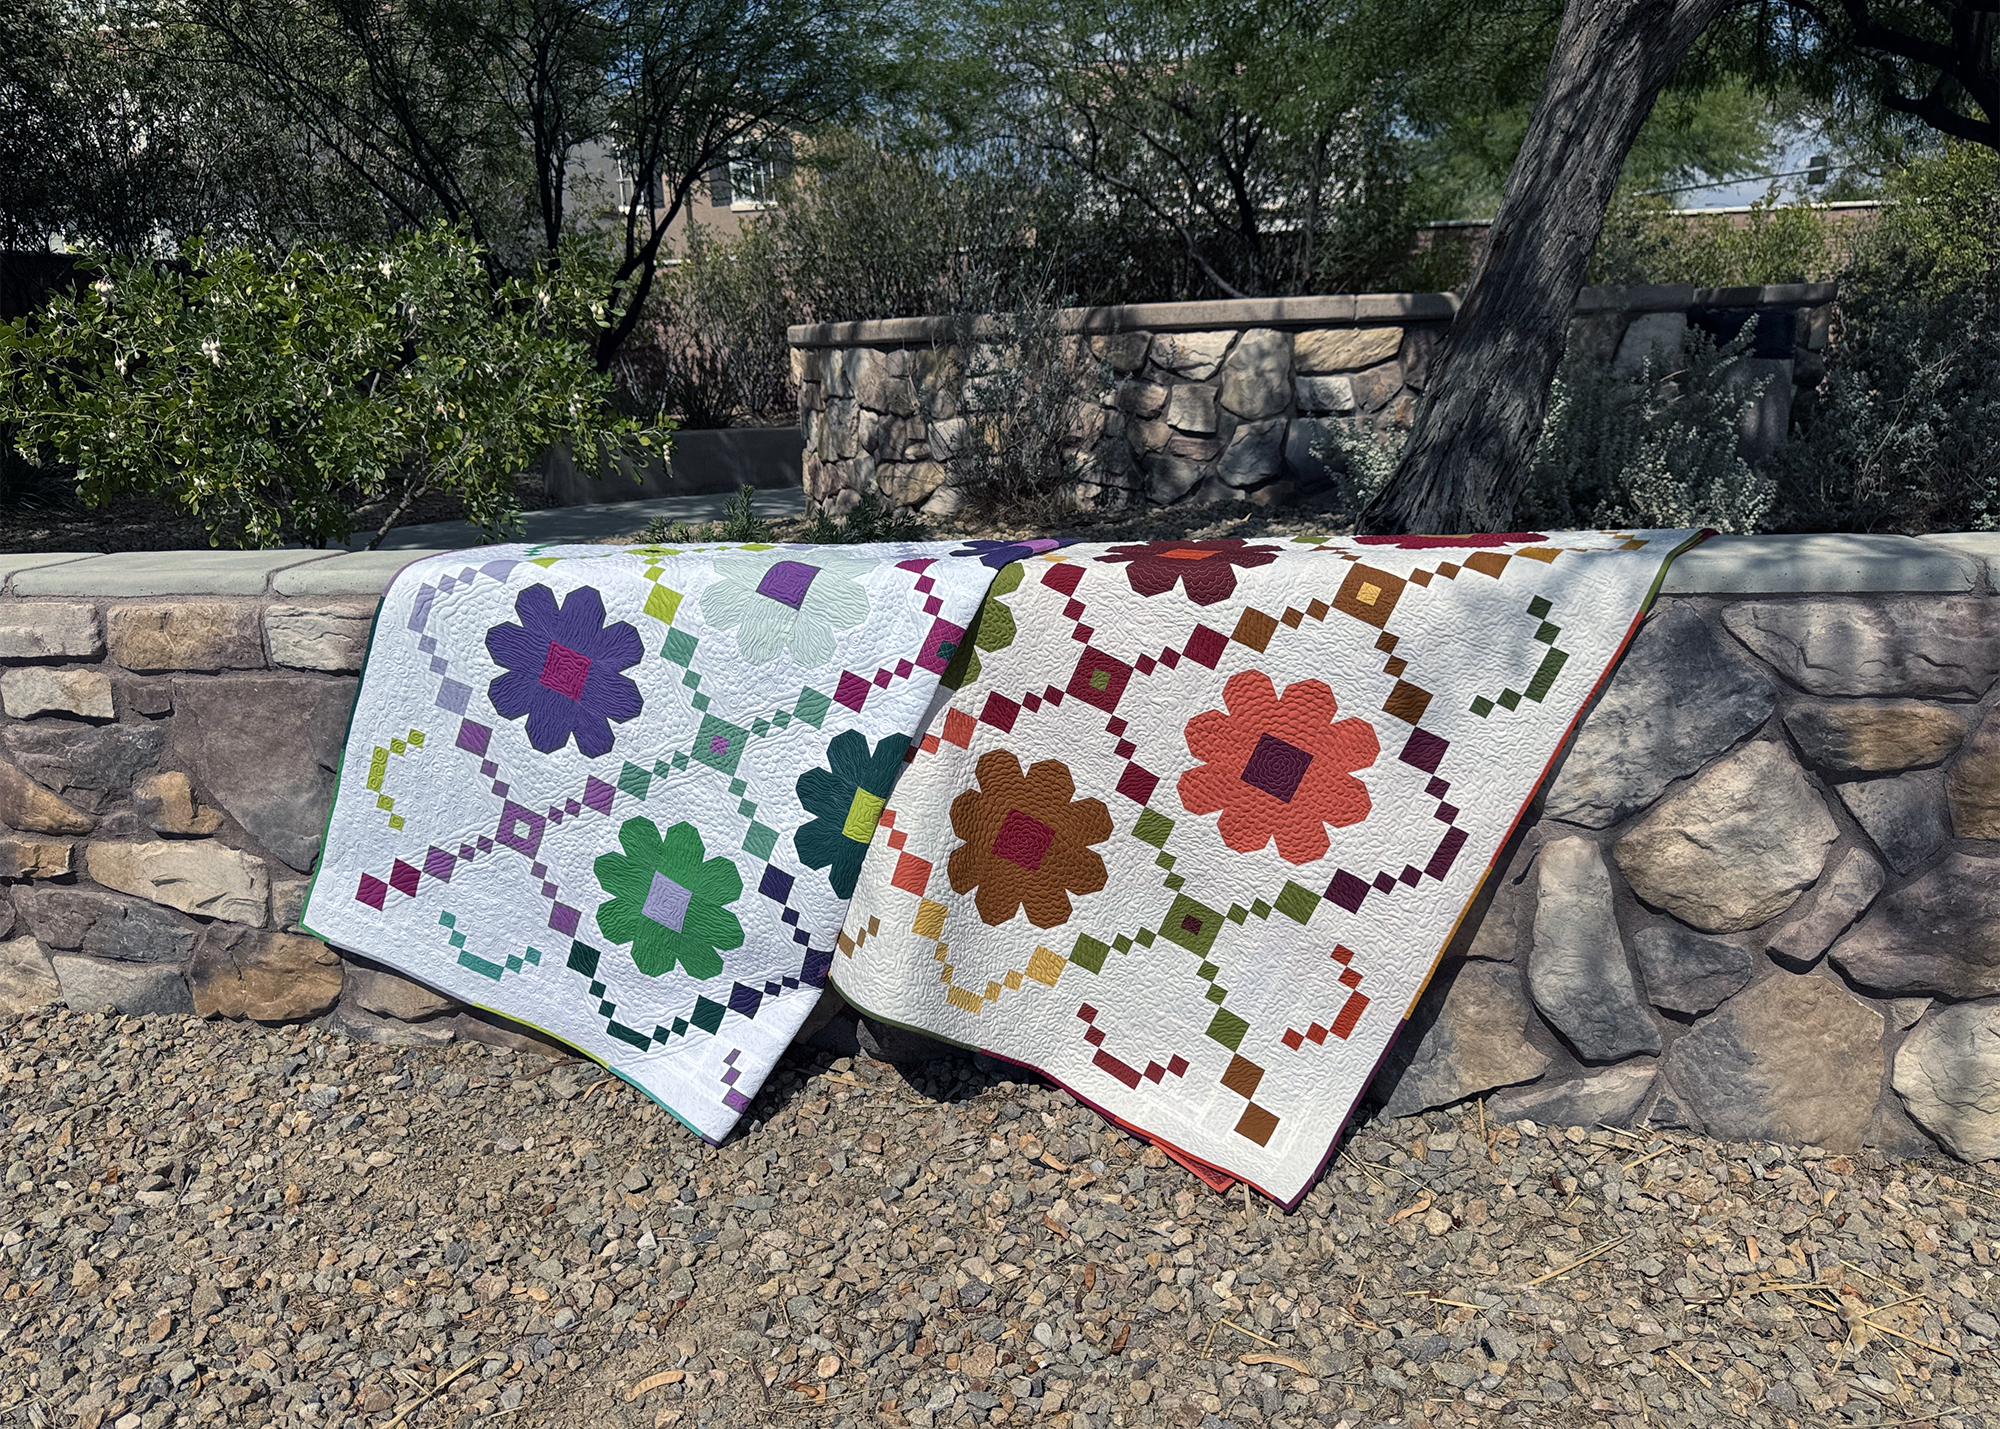
Let’s kick off the new year right with a new pattern and Quilt Along! Check out Daisy Chain, a super fun pieced pattern shown in 2 colorways, with multiple sizes.
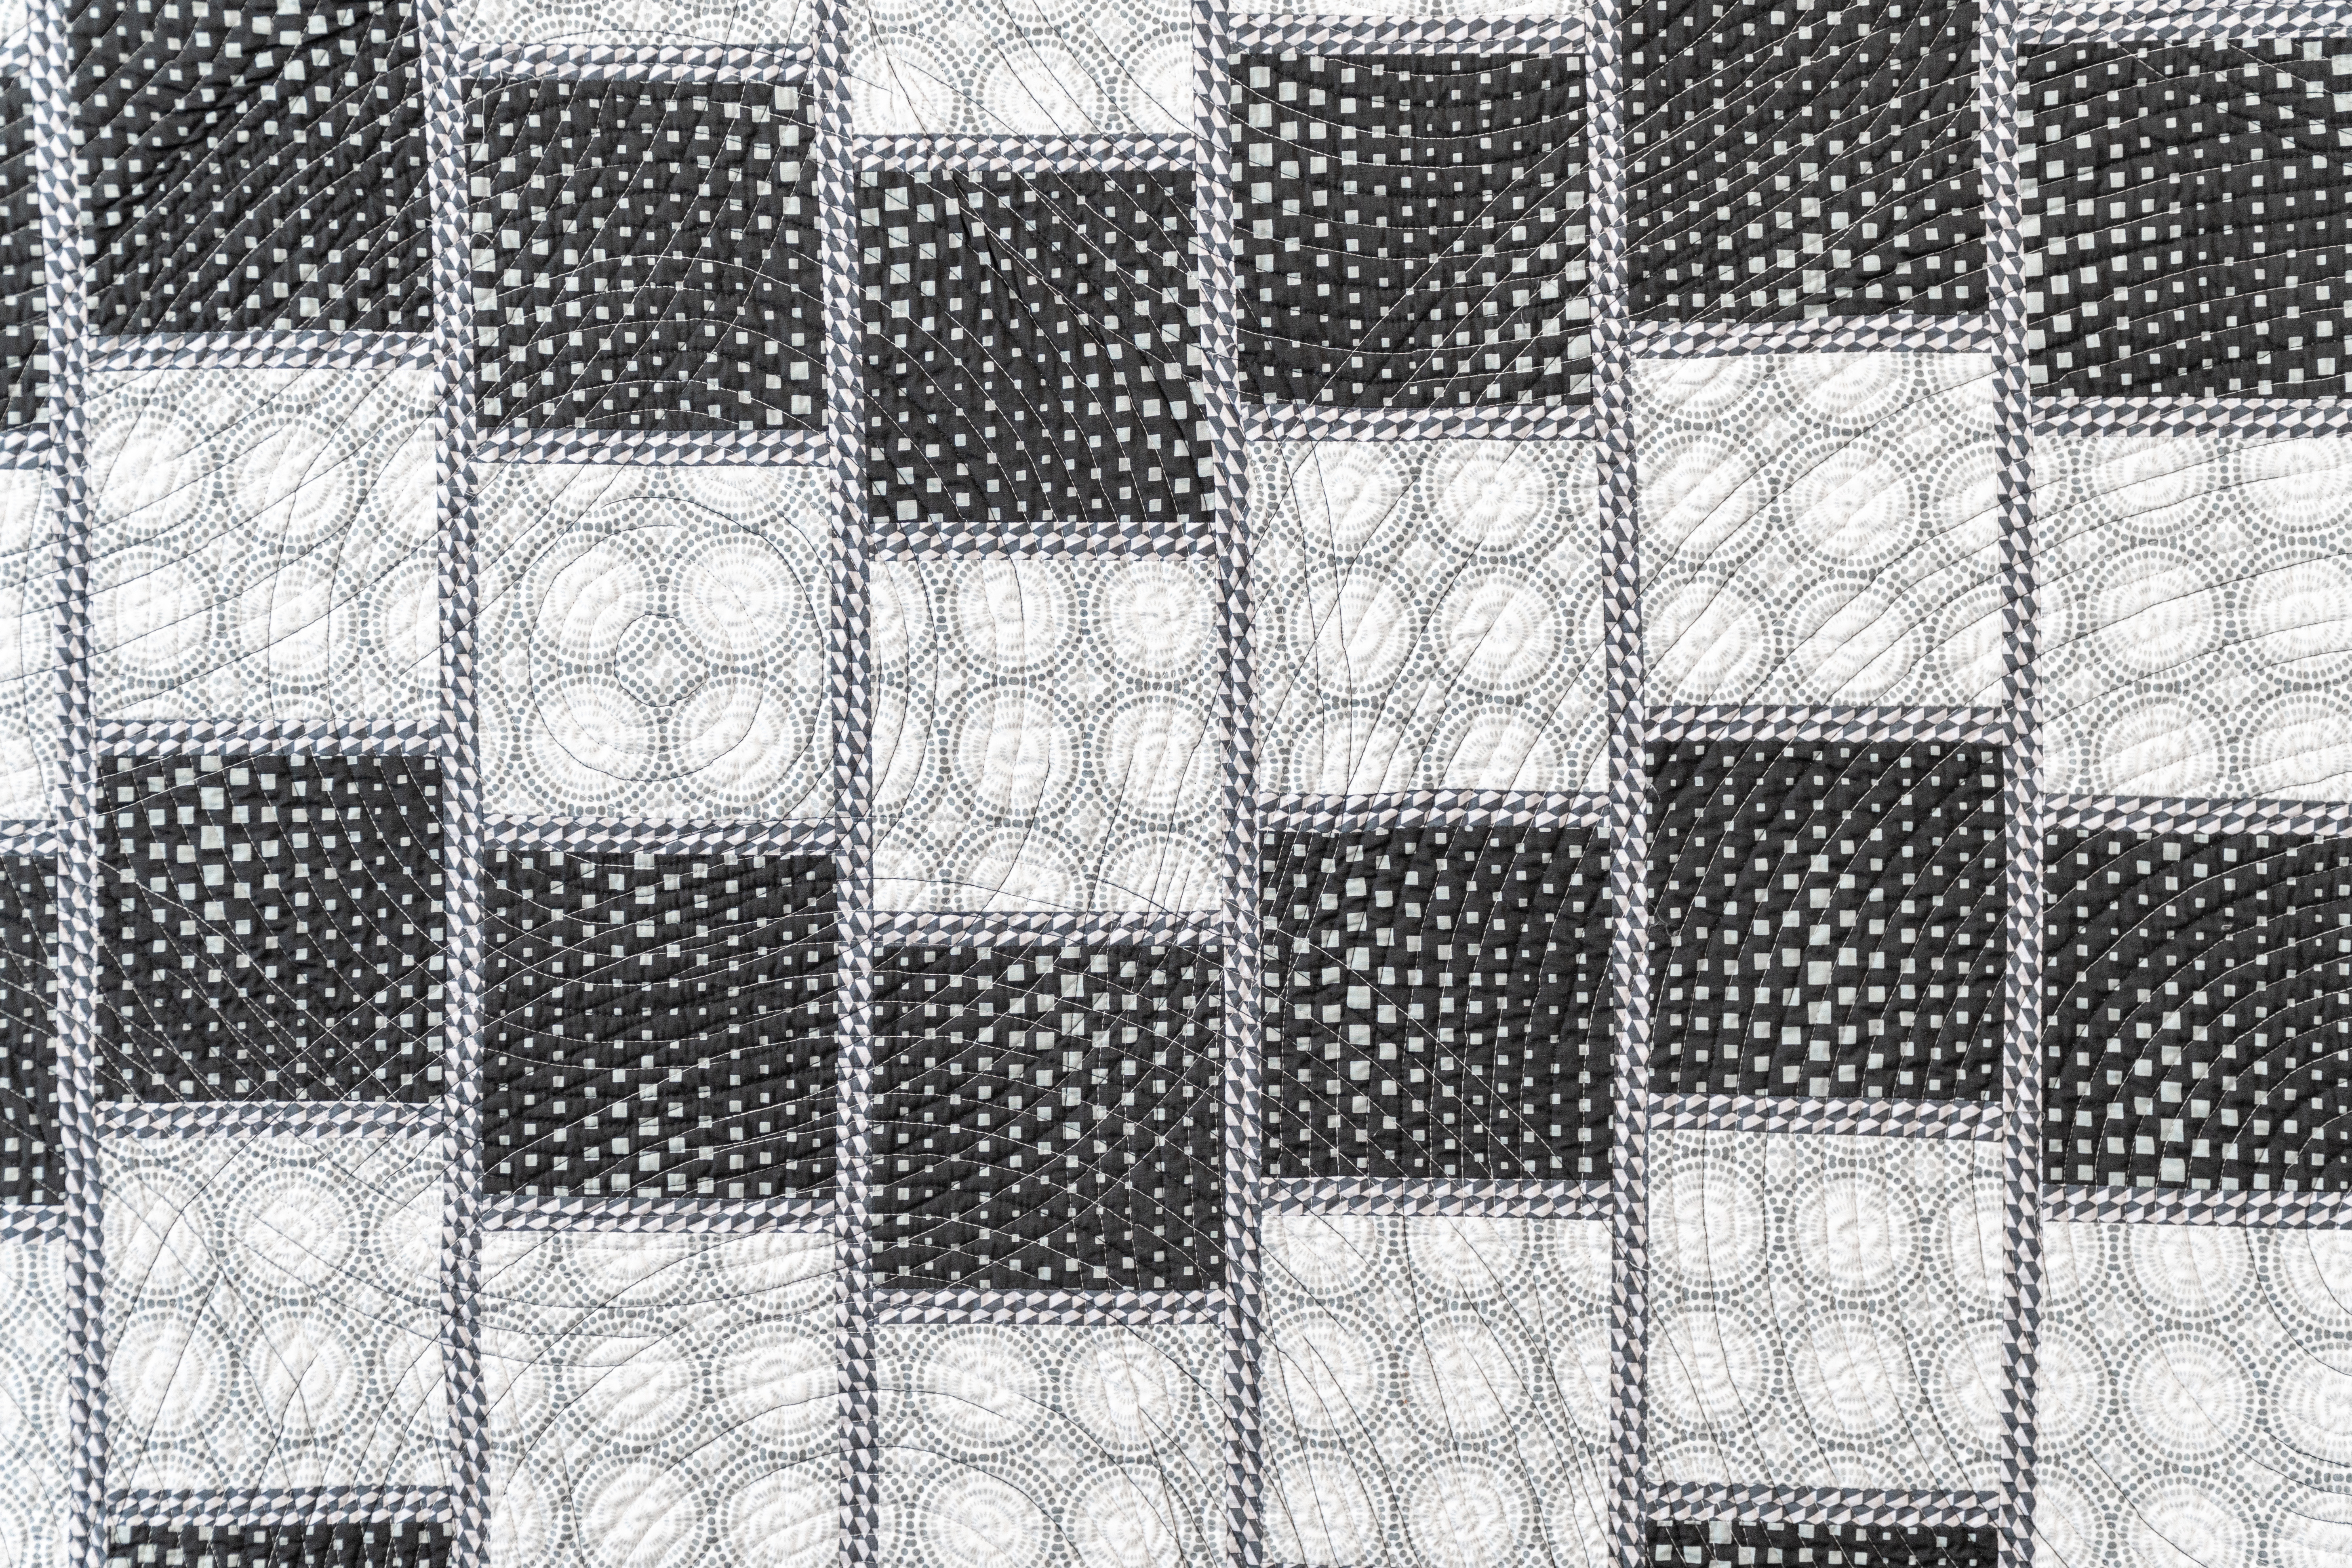
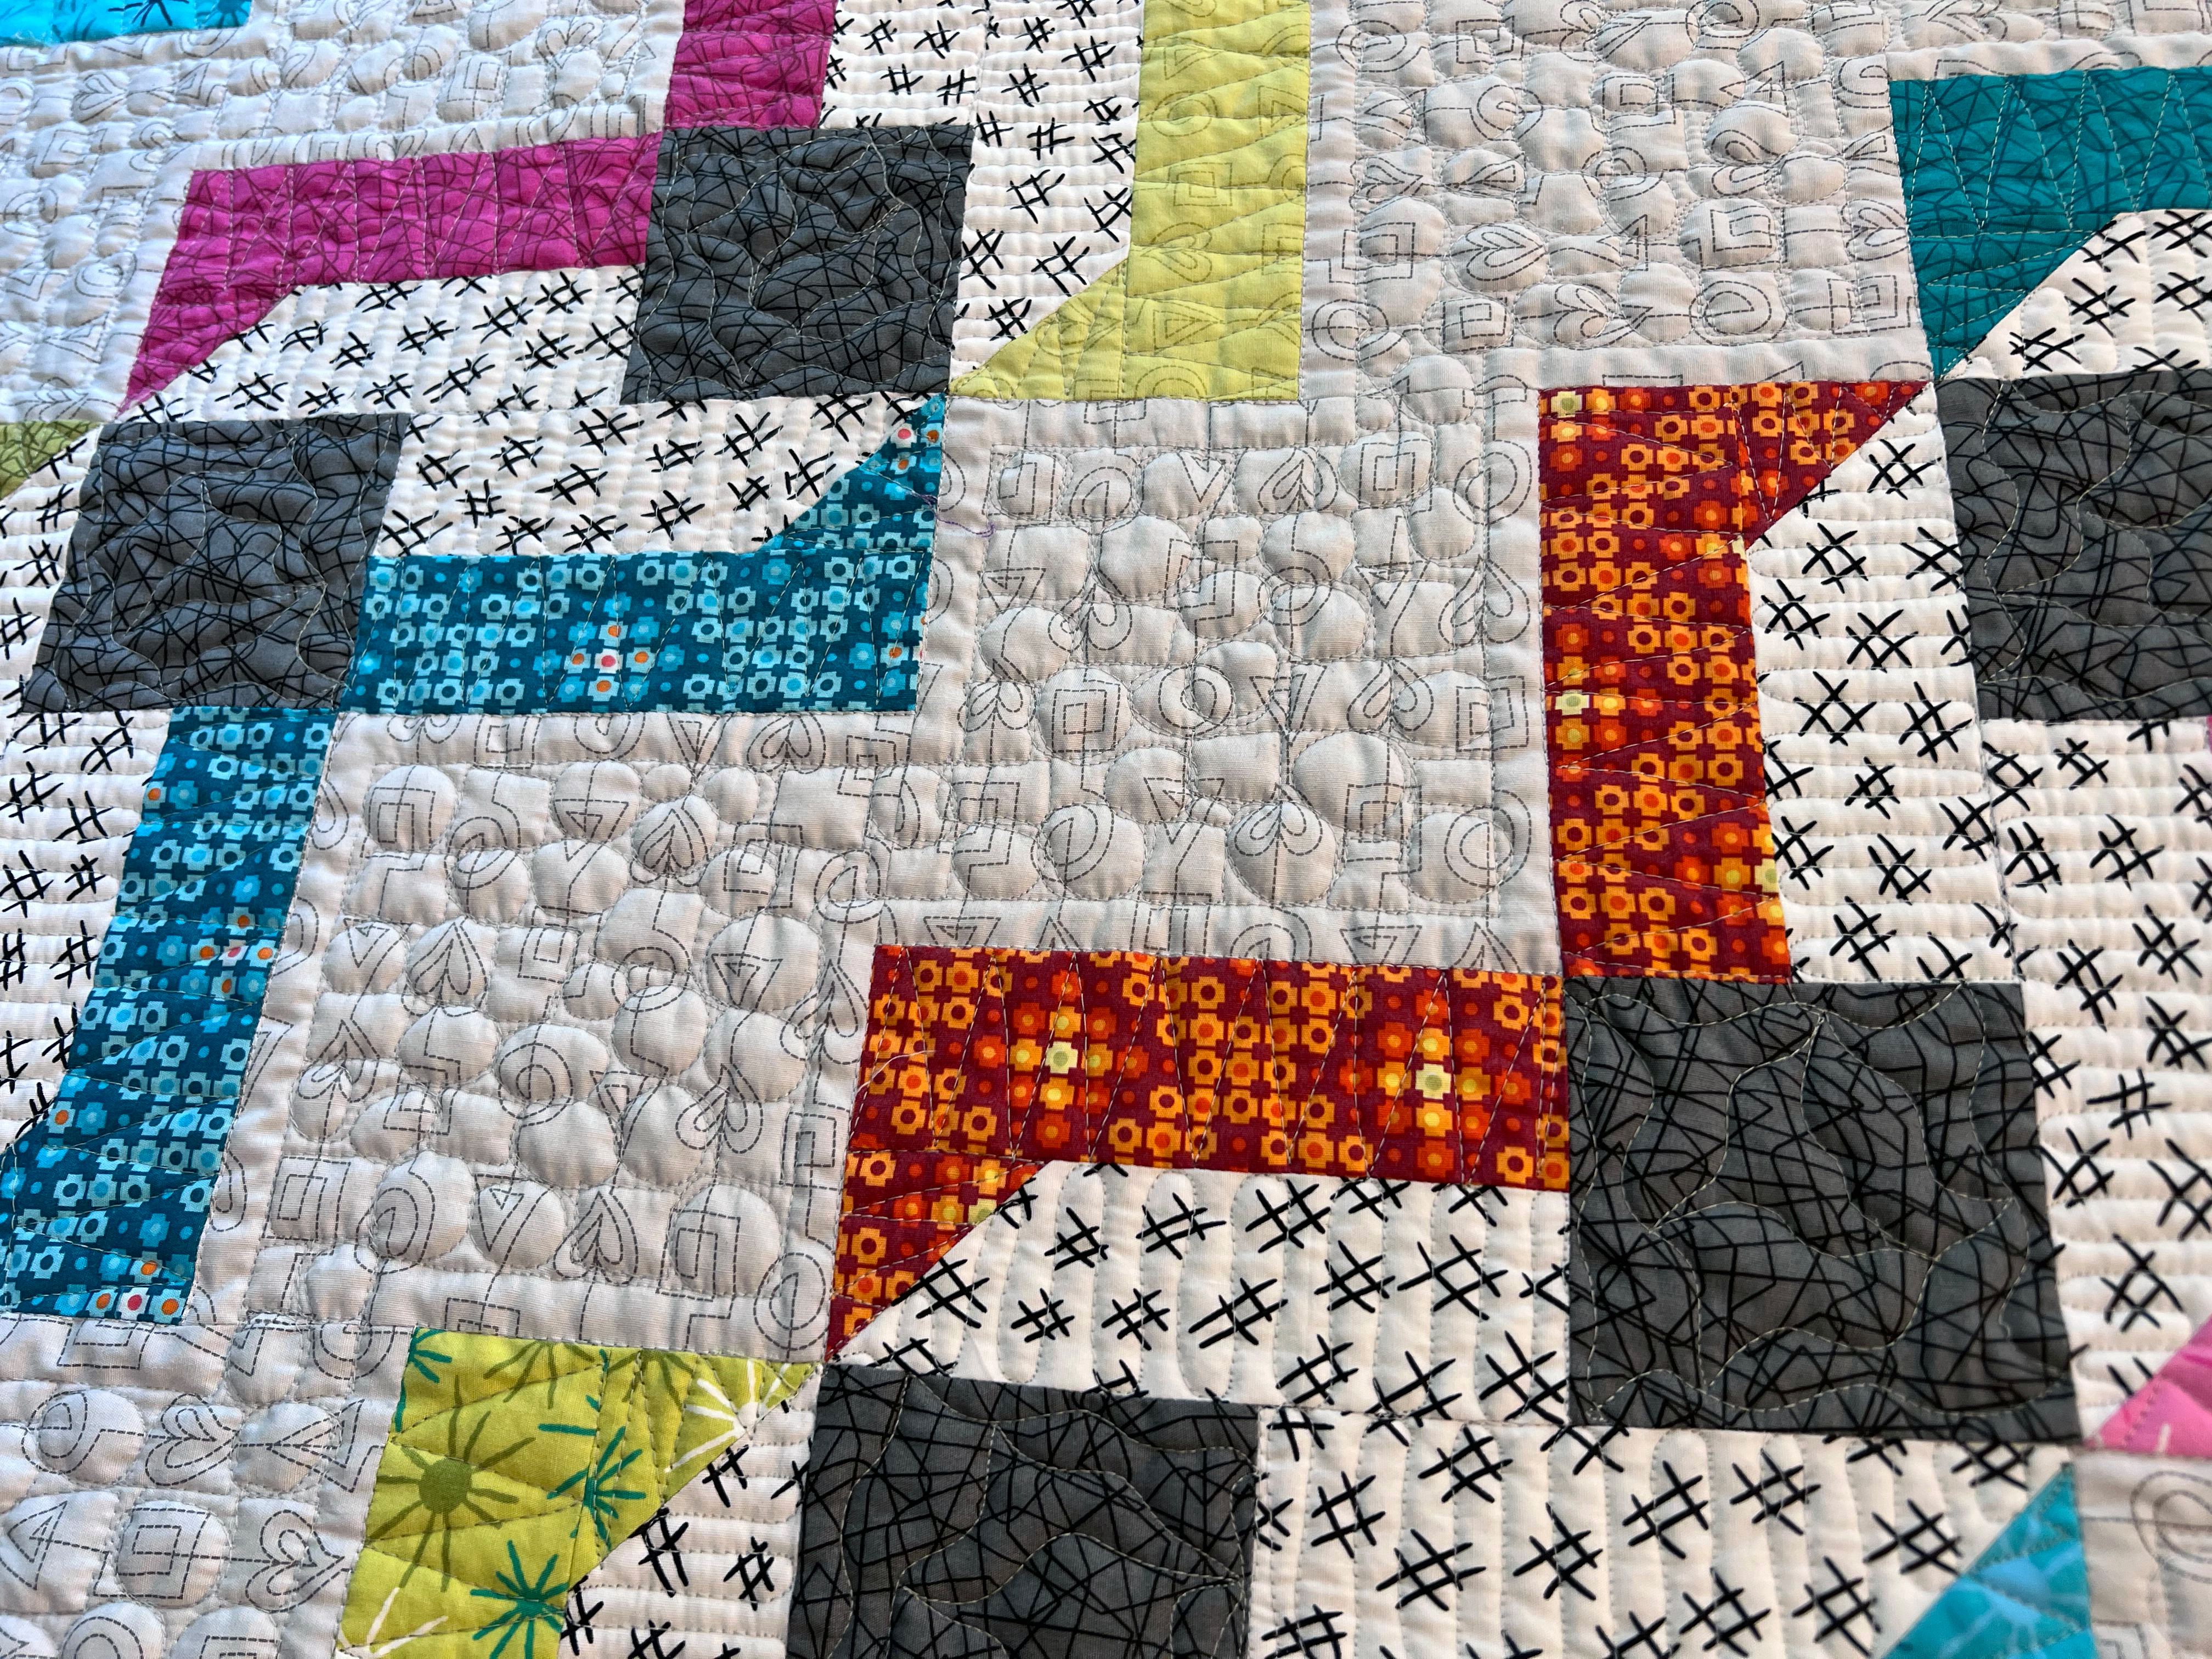
It’s been awhile since I’ve made a quilt completely from solids, and I chose to work with Riley Blake Confetti Cotton solids for both colorways. It really shows off the quilting and I’m thrilled with how they turned out.
I thought it would be fun to host a quilt along to make this quilt completely from start to finish. The quilt along will kick off right here on my blog, beginning February 27, 2026 so save the date if you’d like to join in. The quilt along is free – all you need is a copy of the quilt pattern.
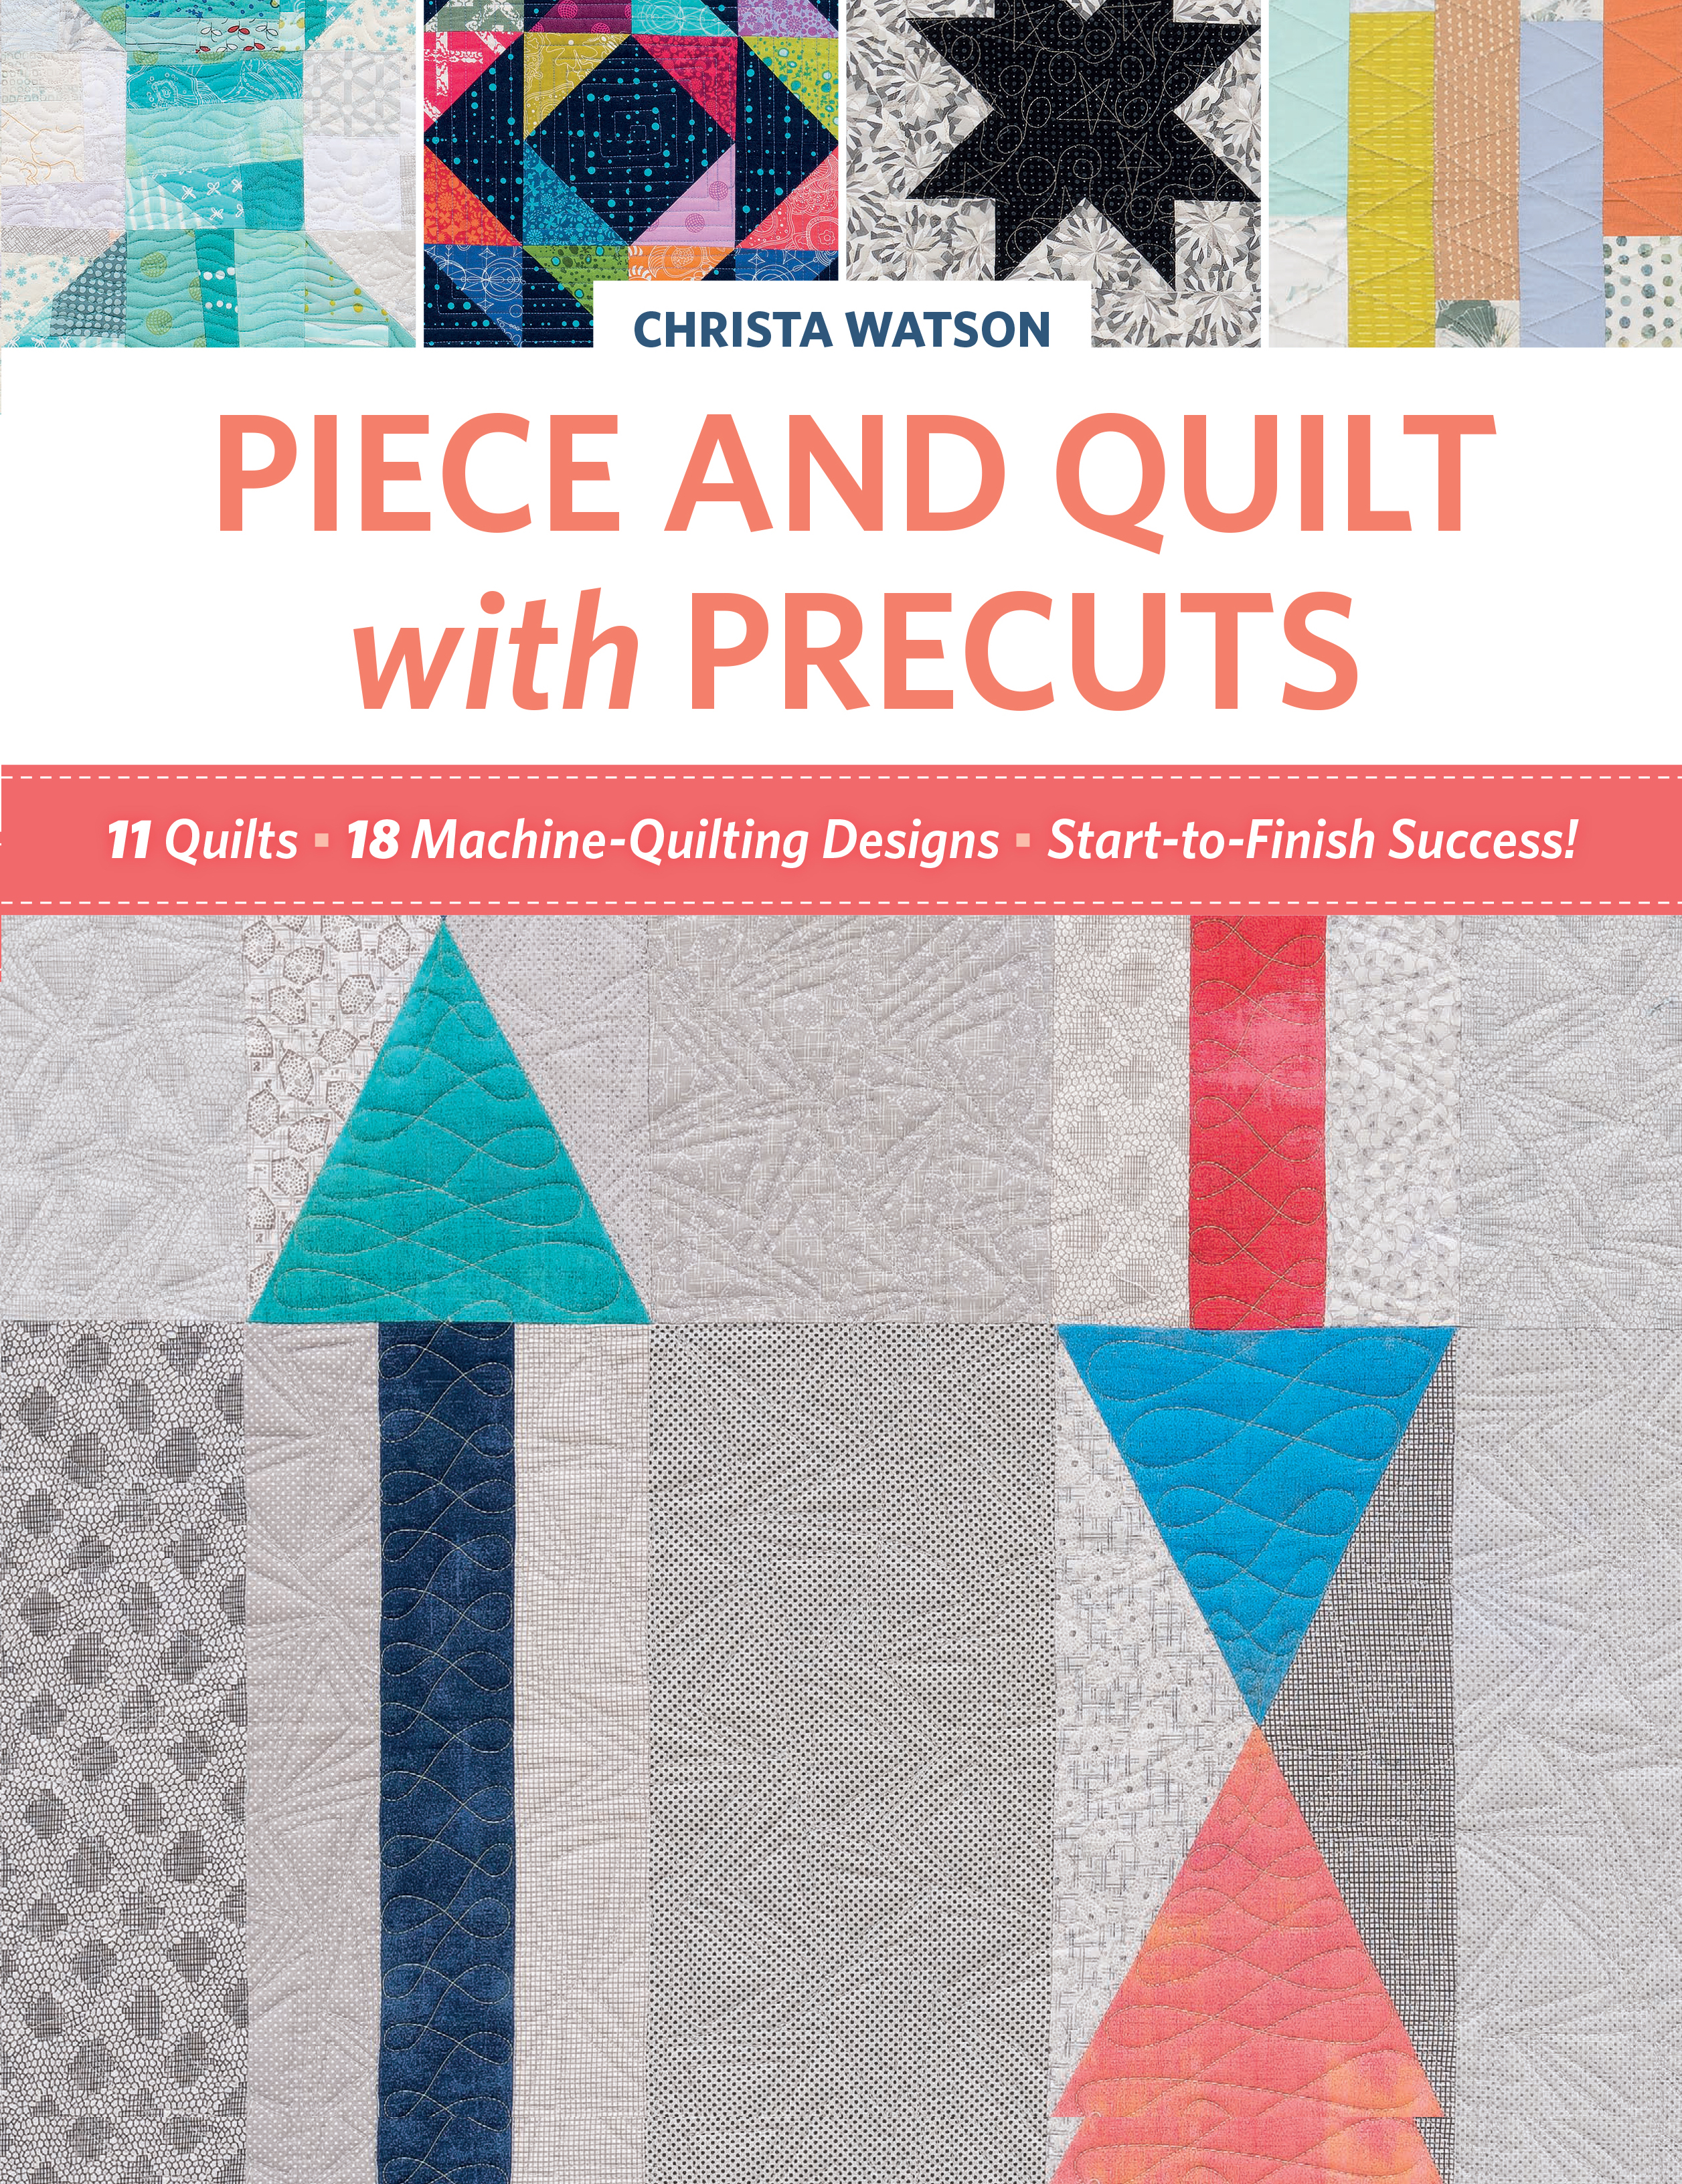
- Click here to get the Daisy Chain Quilt Pattern – Digital PDF Download
- Click here to get the Daisy Chain Quilt Pattern – Printed Hardcopy
Pre-sales of this pattern to quilt shops have been the best I’ve ever seen, so you can always ask for it at your local quilt shop, and any shop owners out there can purchase it wholesale directly through Riley Blake.
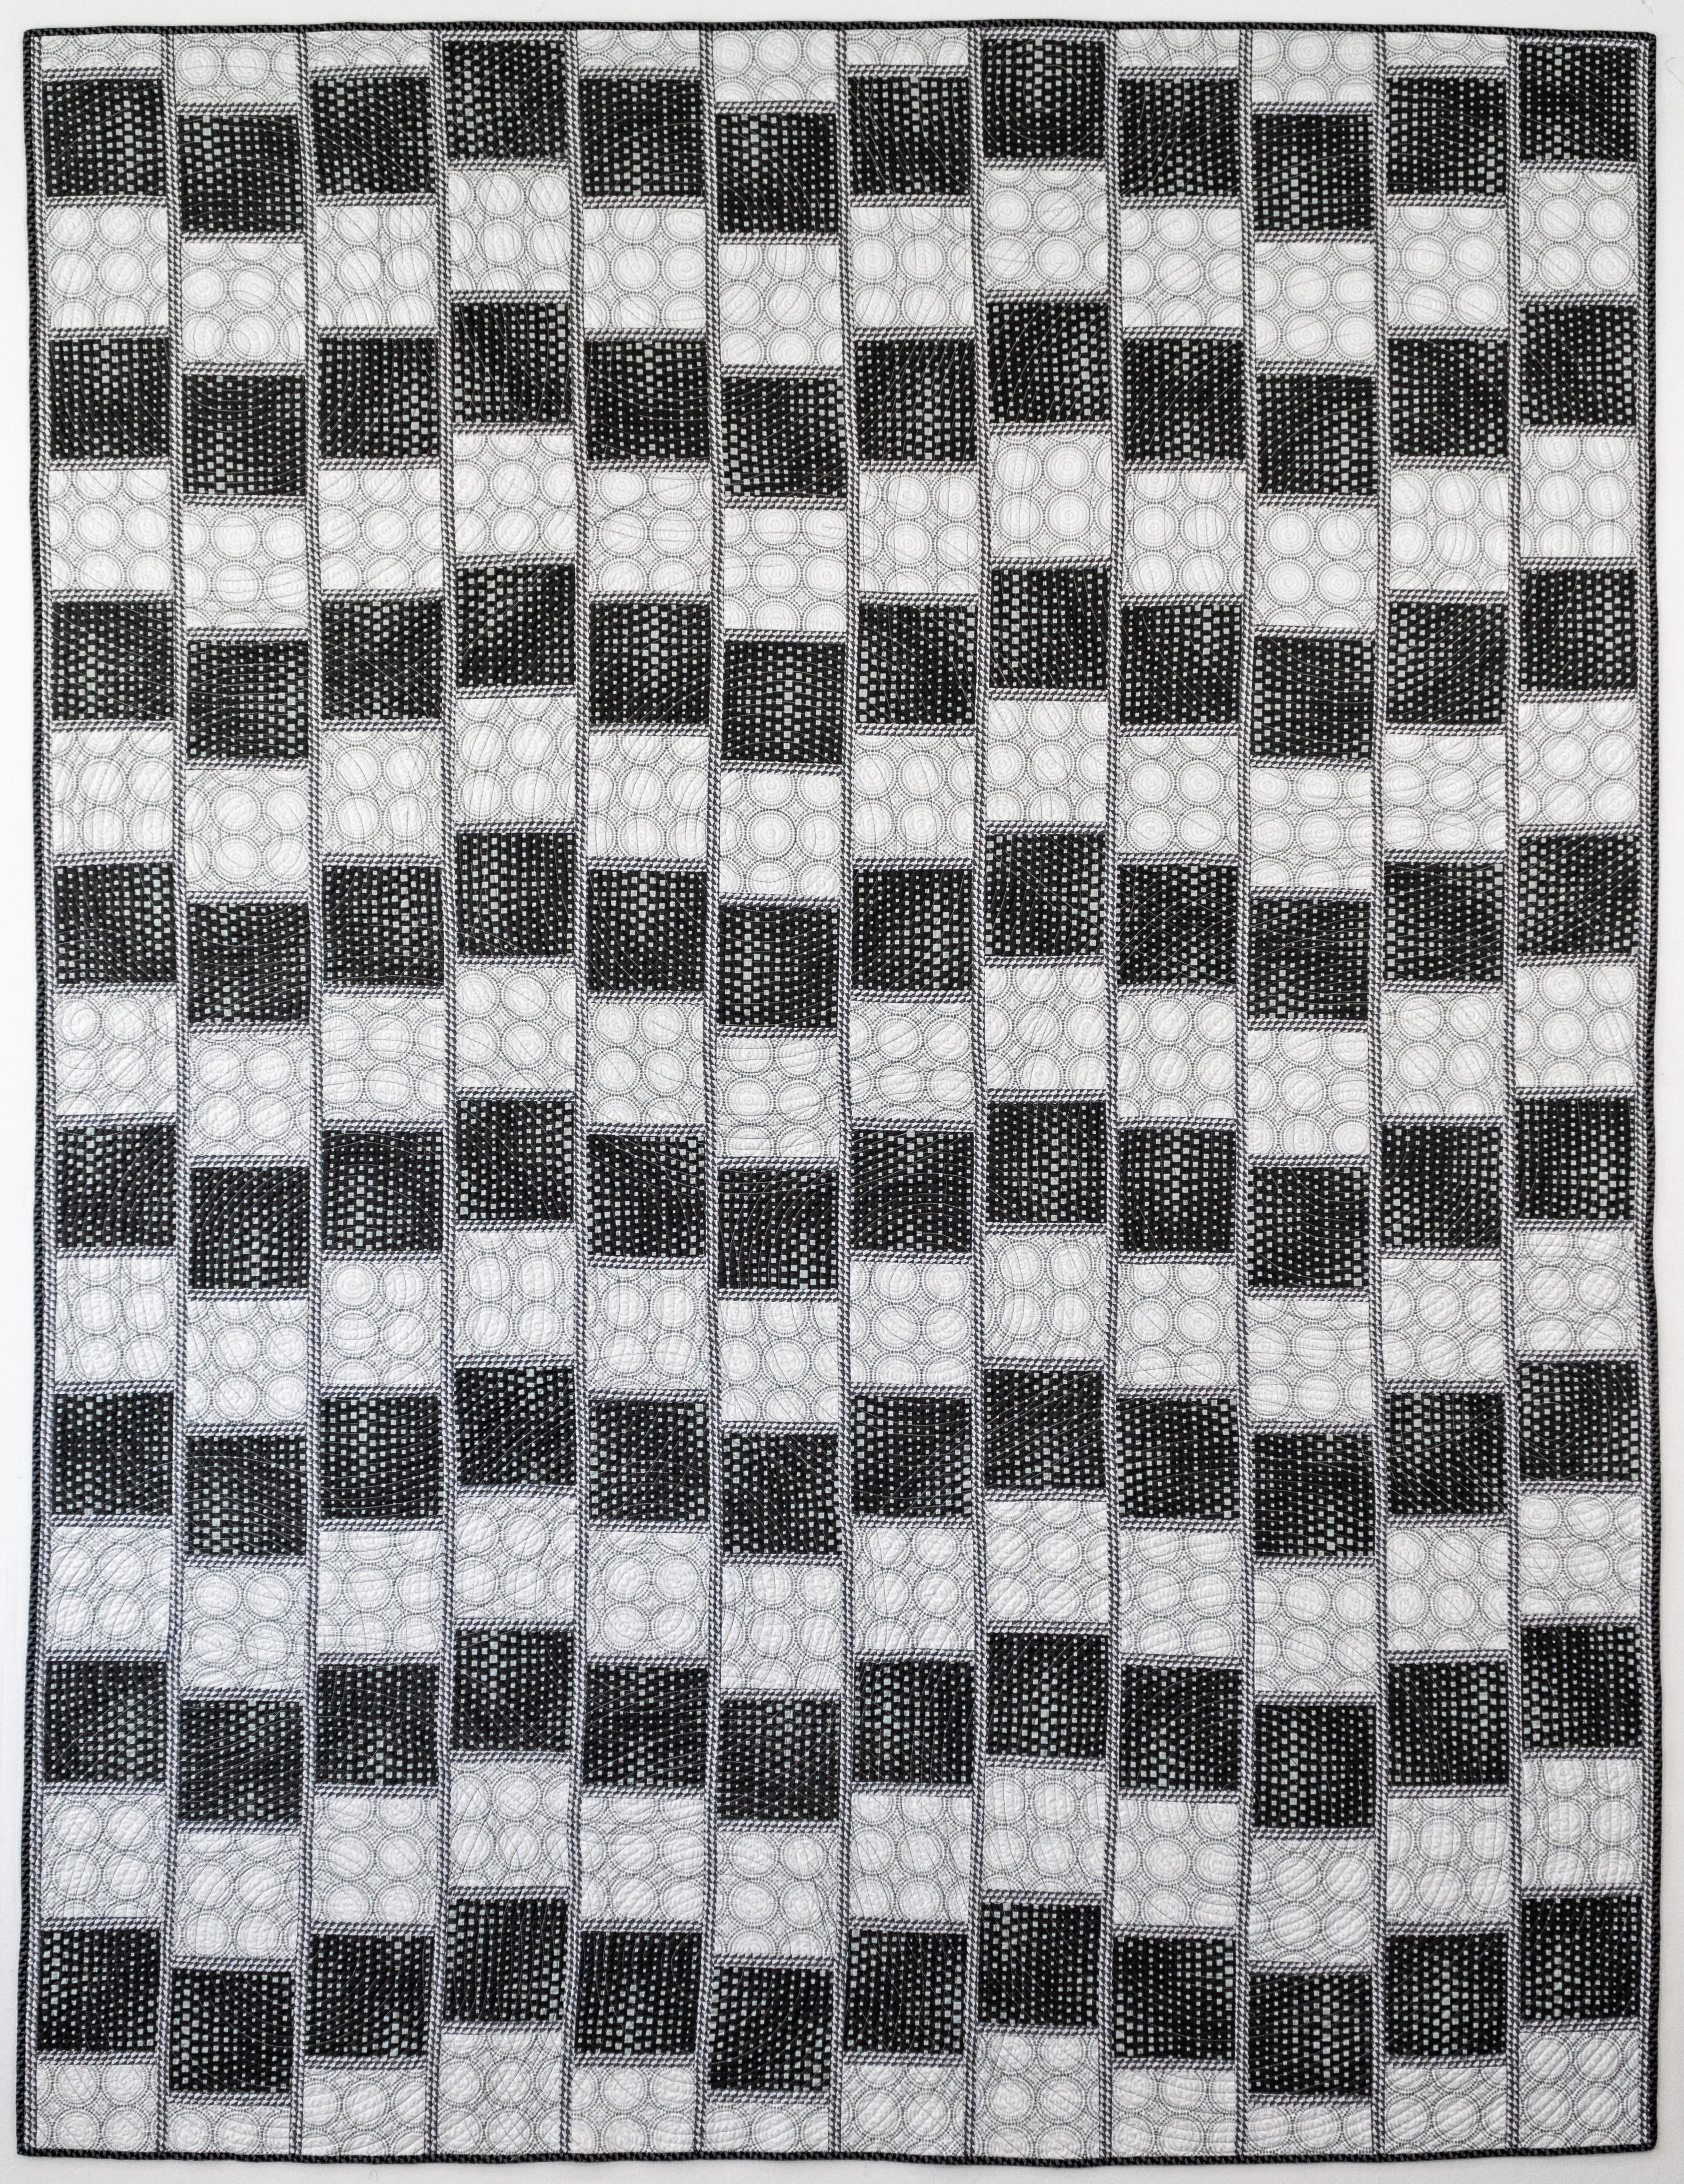
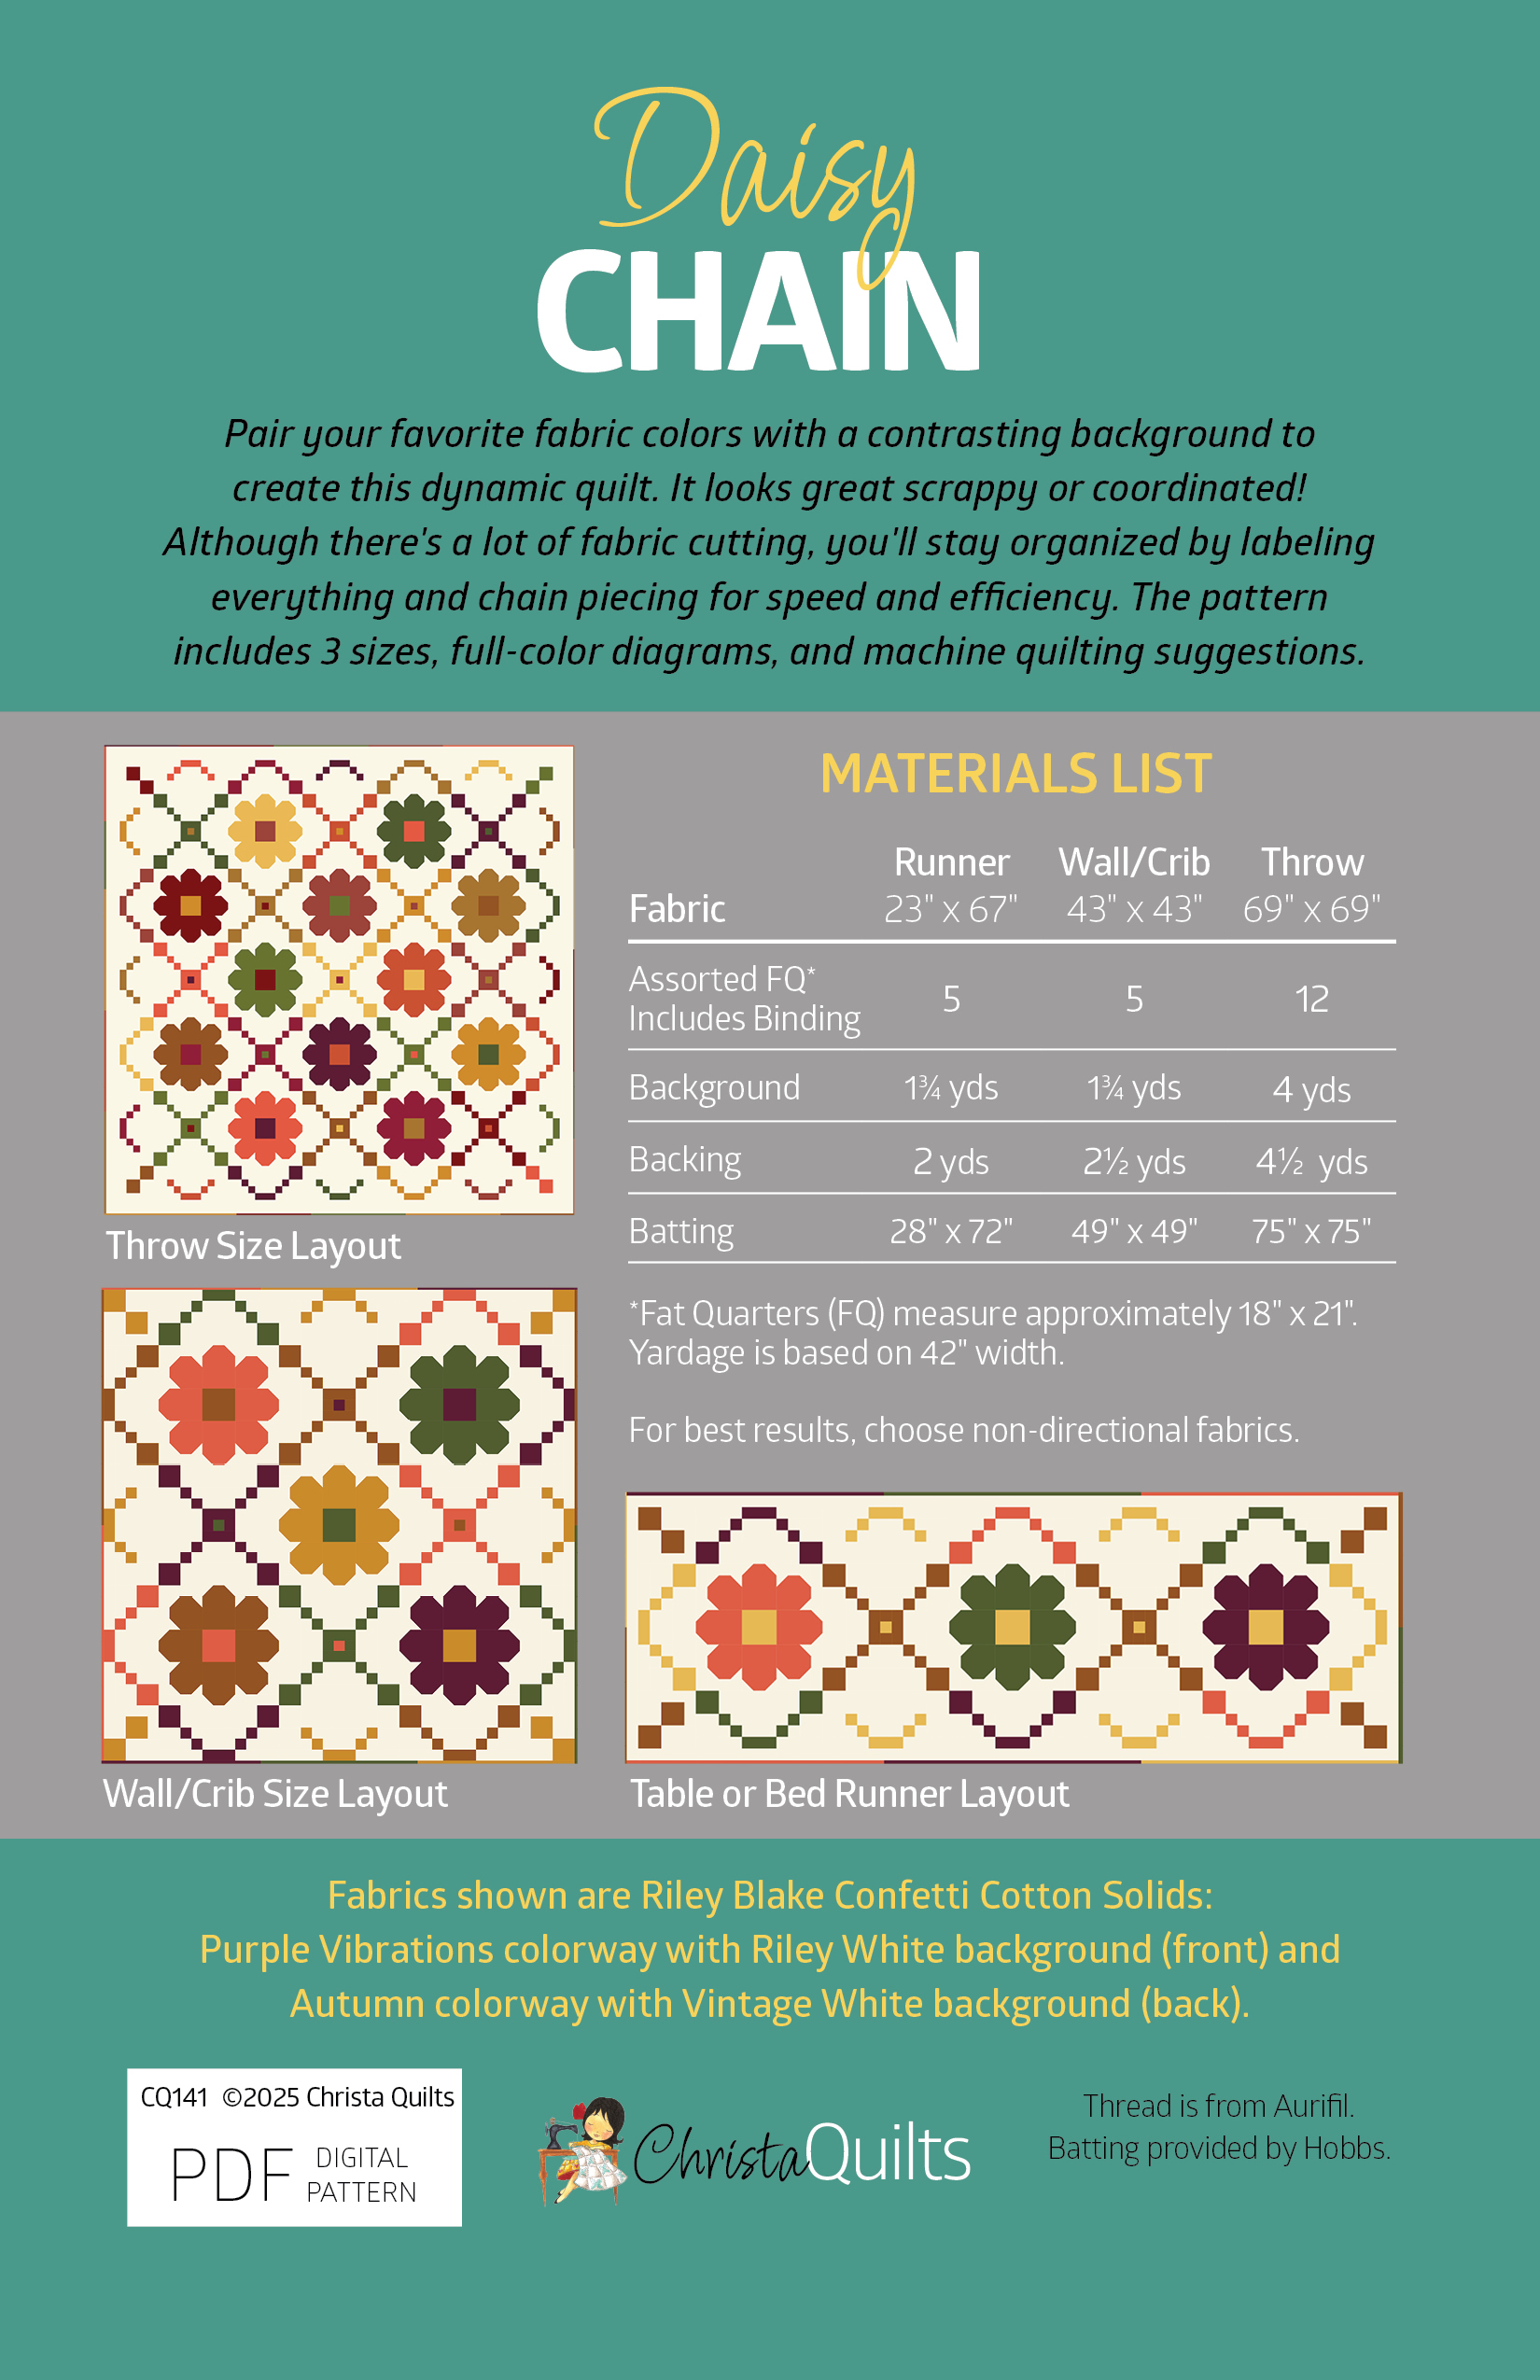
Stay tuned for next week where I’ll share a break down of the quilt along schedule, along with a supply list to make this quilt. For now here’s a sneak peek of the back cover, showing the different sizes and alternate colorways.
If you’d like get notified when the quilt along begins, be sure to sign up for email notifications (in the sidebar of this blog post) so you don’t miss a thing! You can also join my ChristaQuilts group on Facebook to share pics of your quilt in progress and to ask questions at any time. I can’t wait to tell you more, so stay tuned!!