I’m back with more fun free motion designs for you to try! Whenever I teach in person, I emphasize the importance of sketching out your design, quilting it on a practice sample, then making a quilting plan to quilt an entire quilt. Watch my latest tutorial below, and then give it a go!
Quilt These Designs on Surplus Strips!
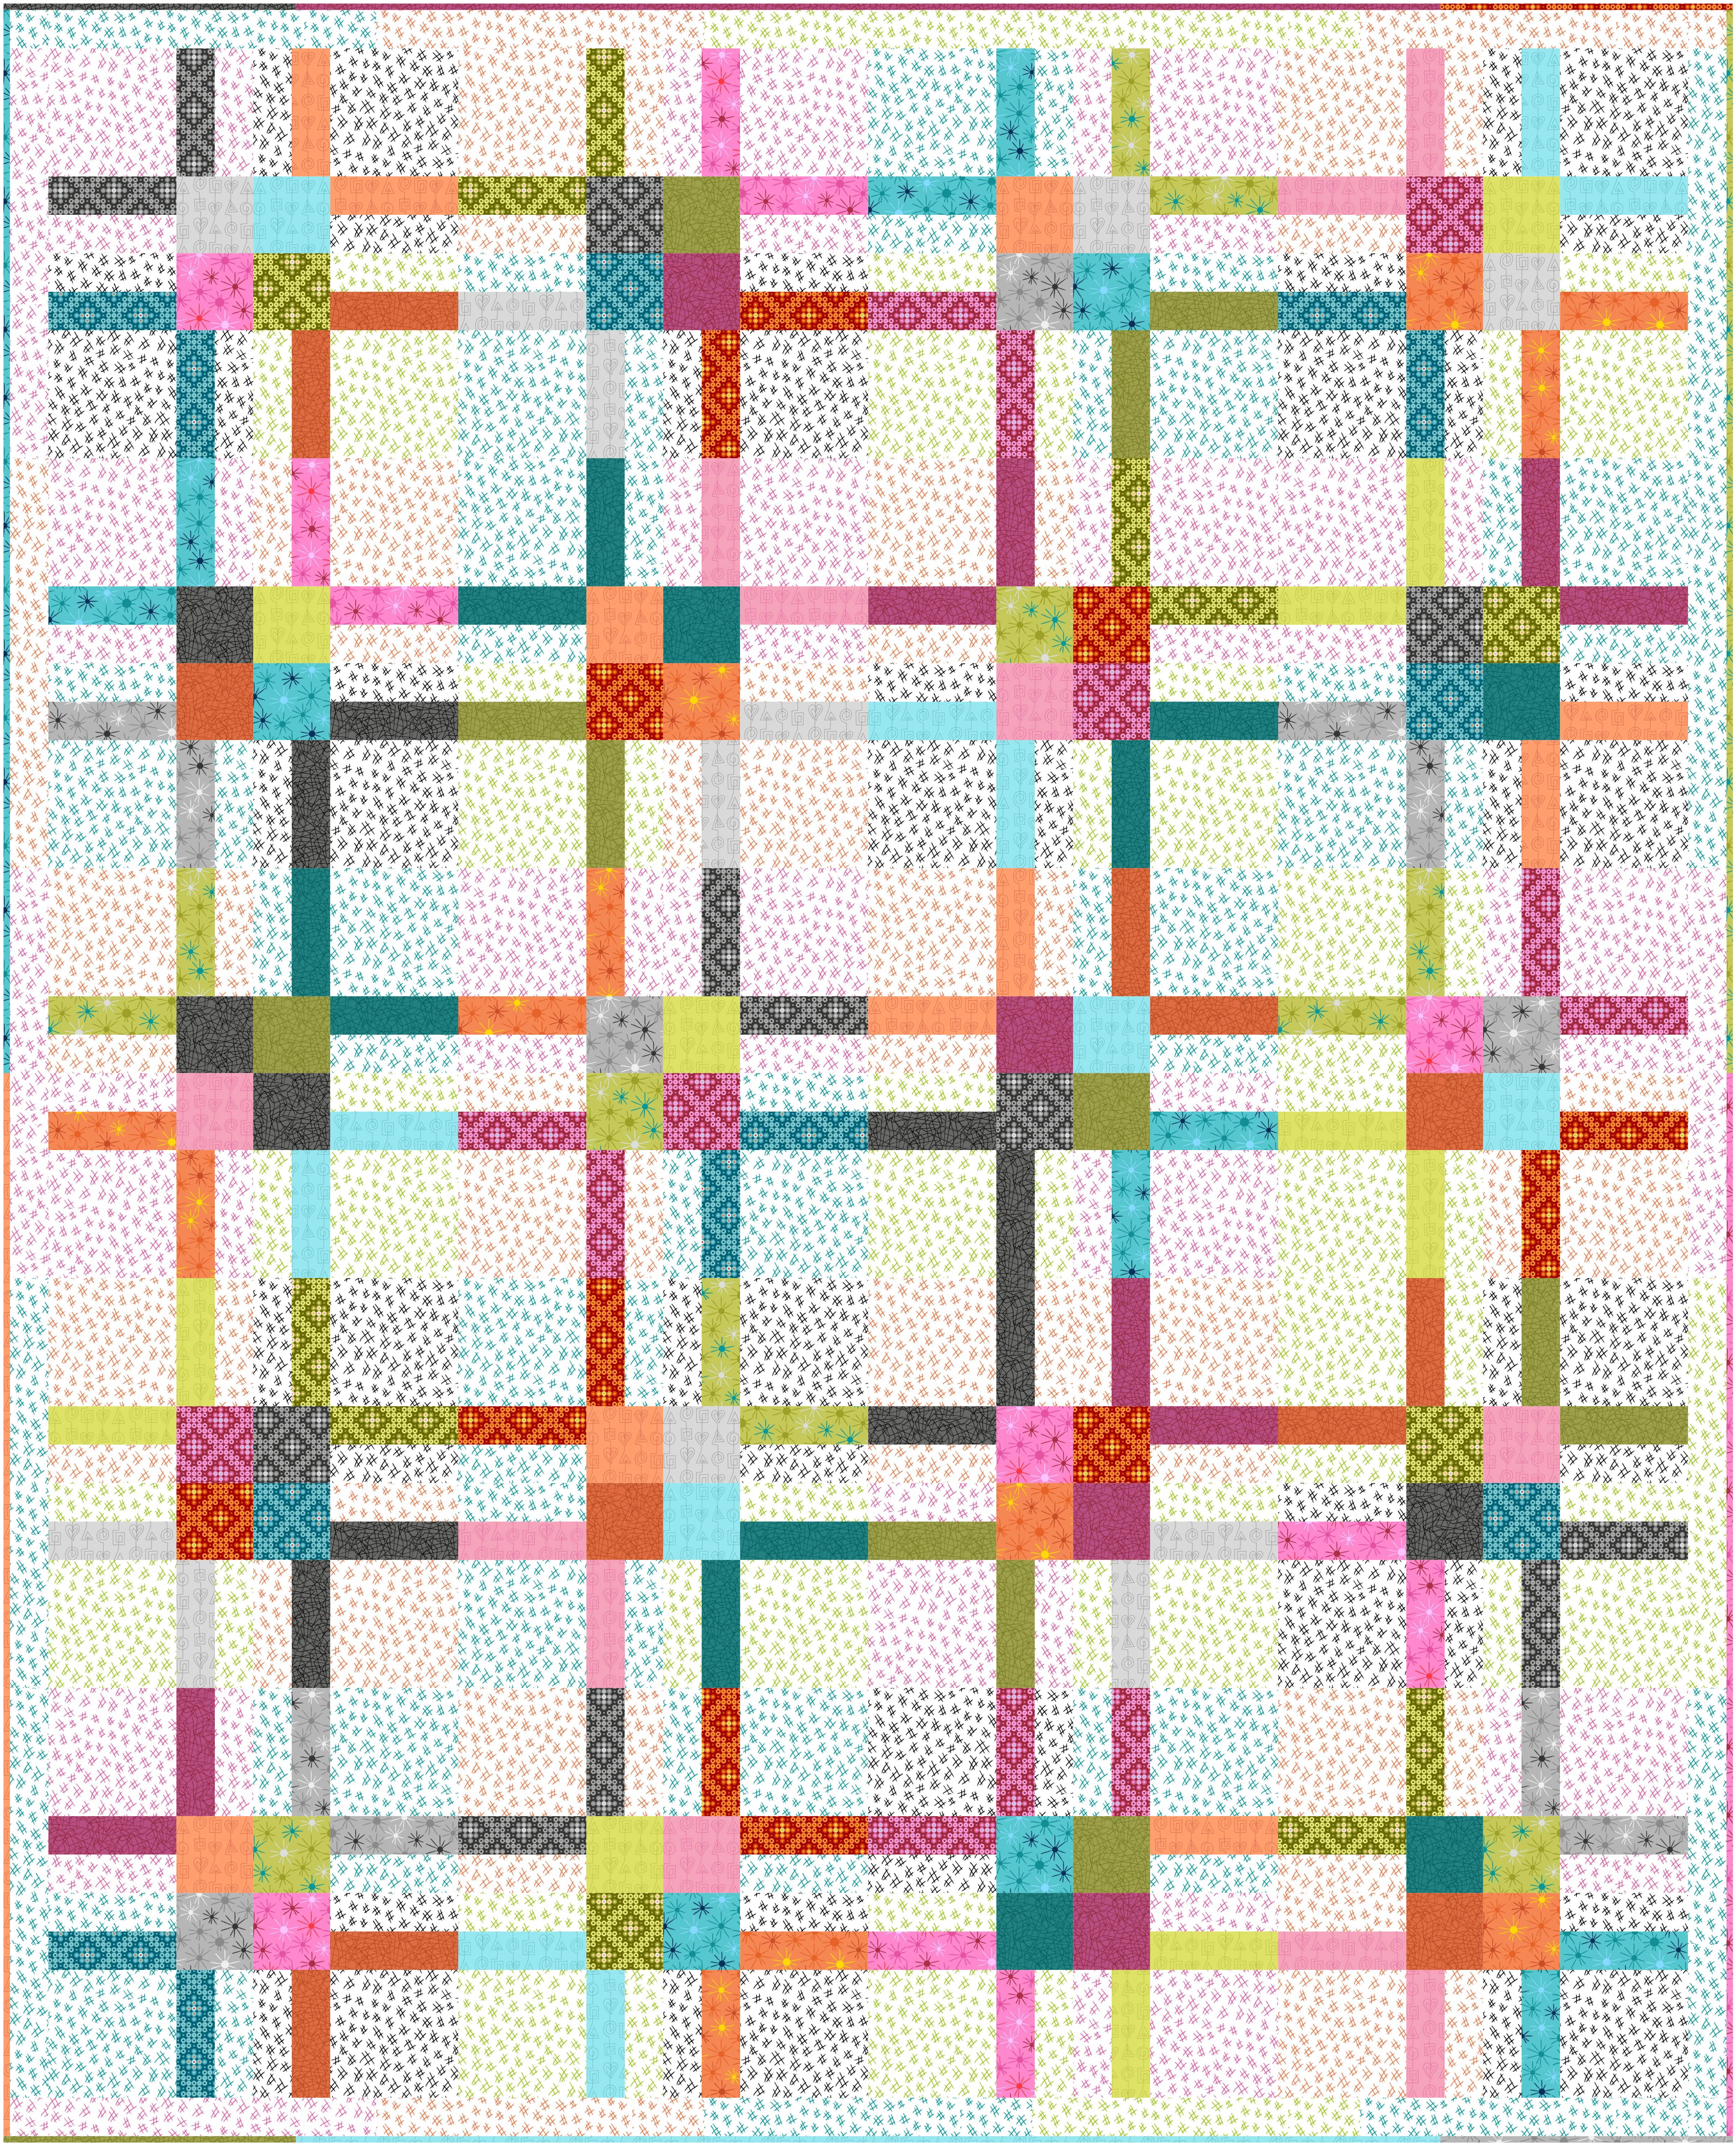
Now, I invite you to try quilting these designs on a real, full sized quilt. I Stitched out the Spiral flowers on the soft, pastel version of Surplus Strips, and a secondary design on the gray version. While supplies last, you can grab the kit to make either of these quilts. They are made from precut strips + background, so you can whip up the quilt top in no time!
The fastest way to finish a quilt is to assembly line all of the steps. That means I like to cut out all of the pieces first, then sew as much as I can until I need to stop and press. I test out of all of my patterns by following my own directions while making the quilt, and I tend to make my quilts several times so you can rest assured the instructions will be correct.
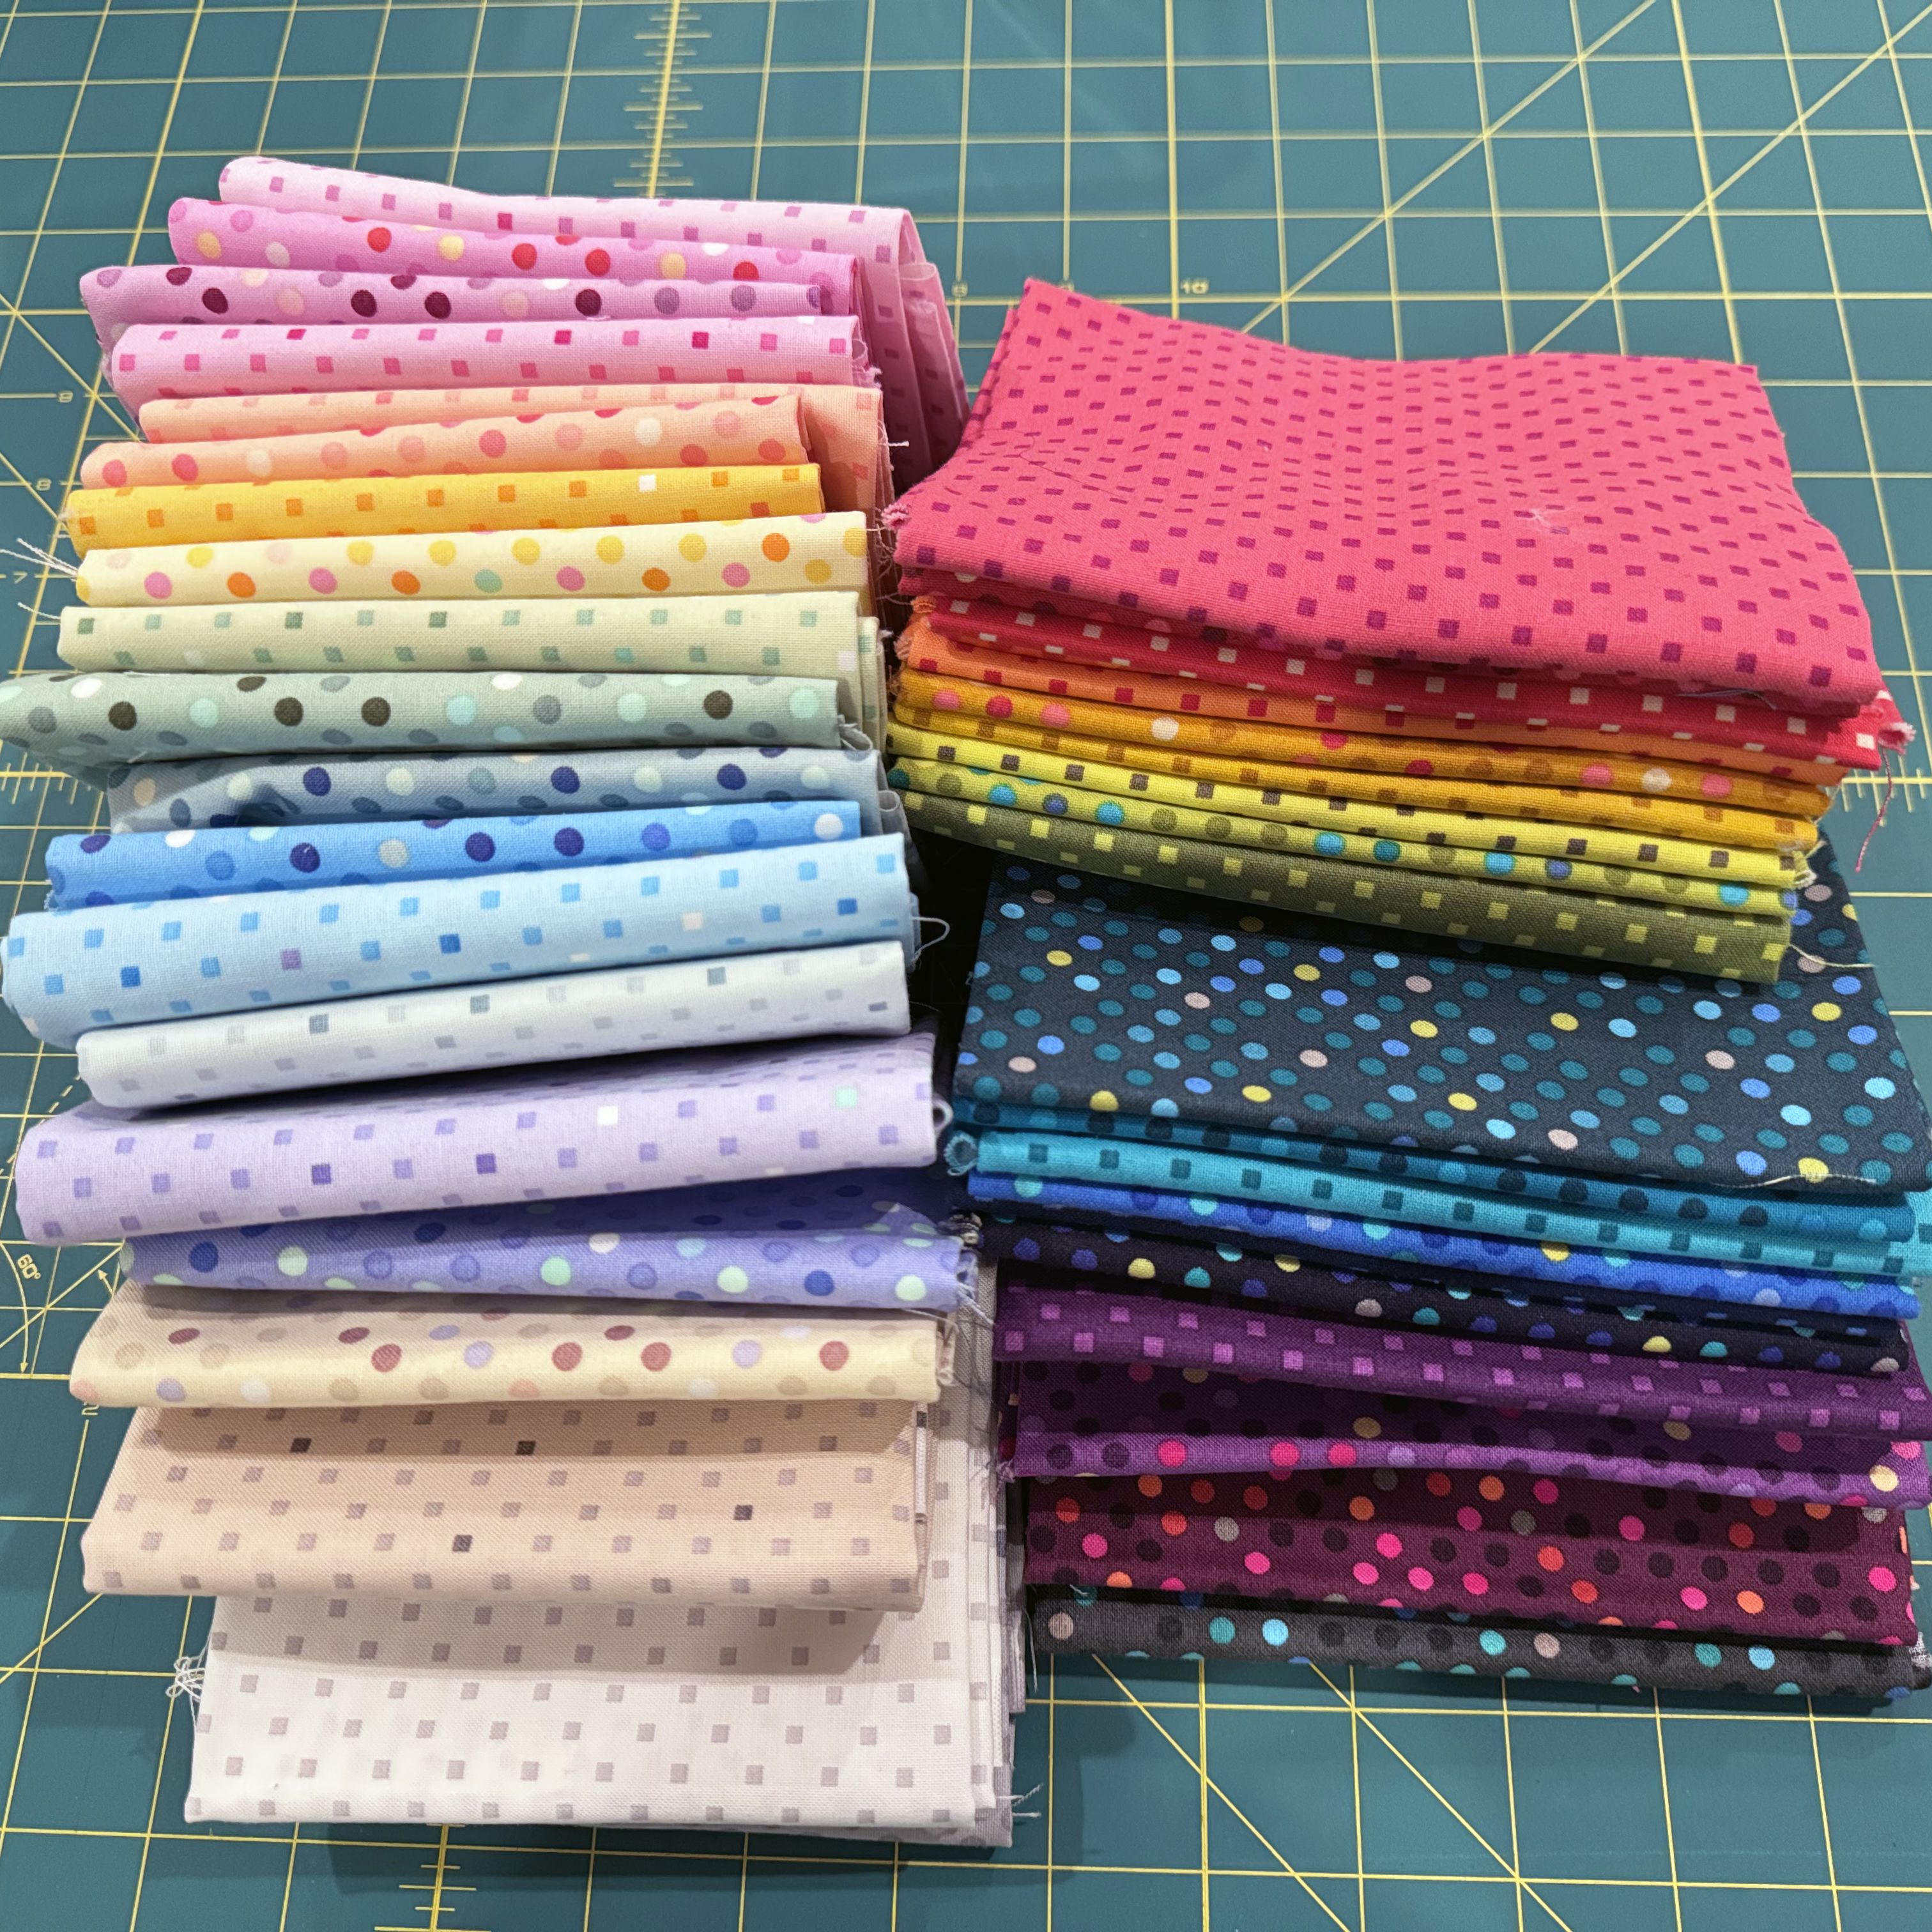
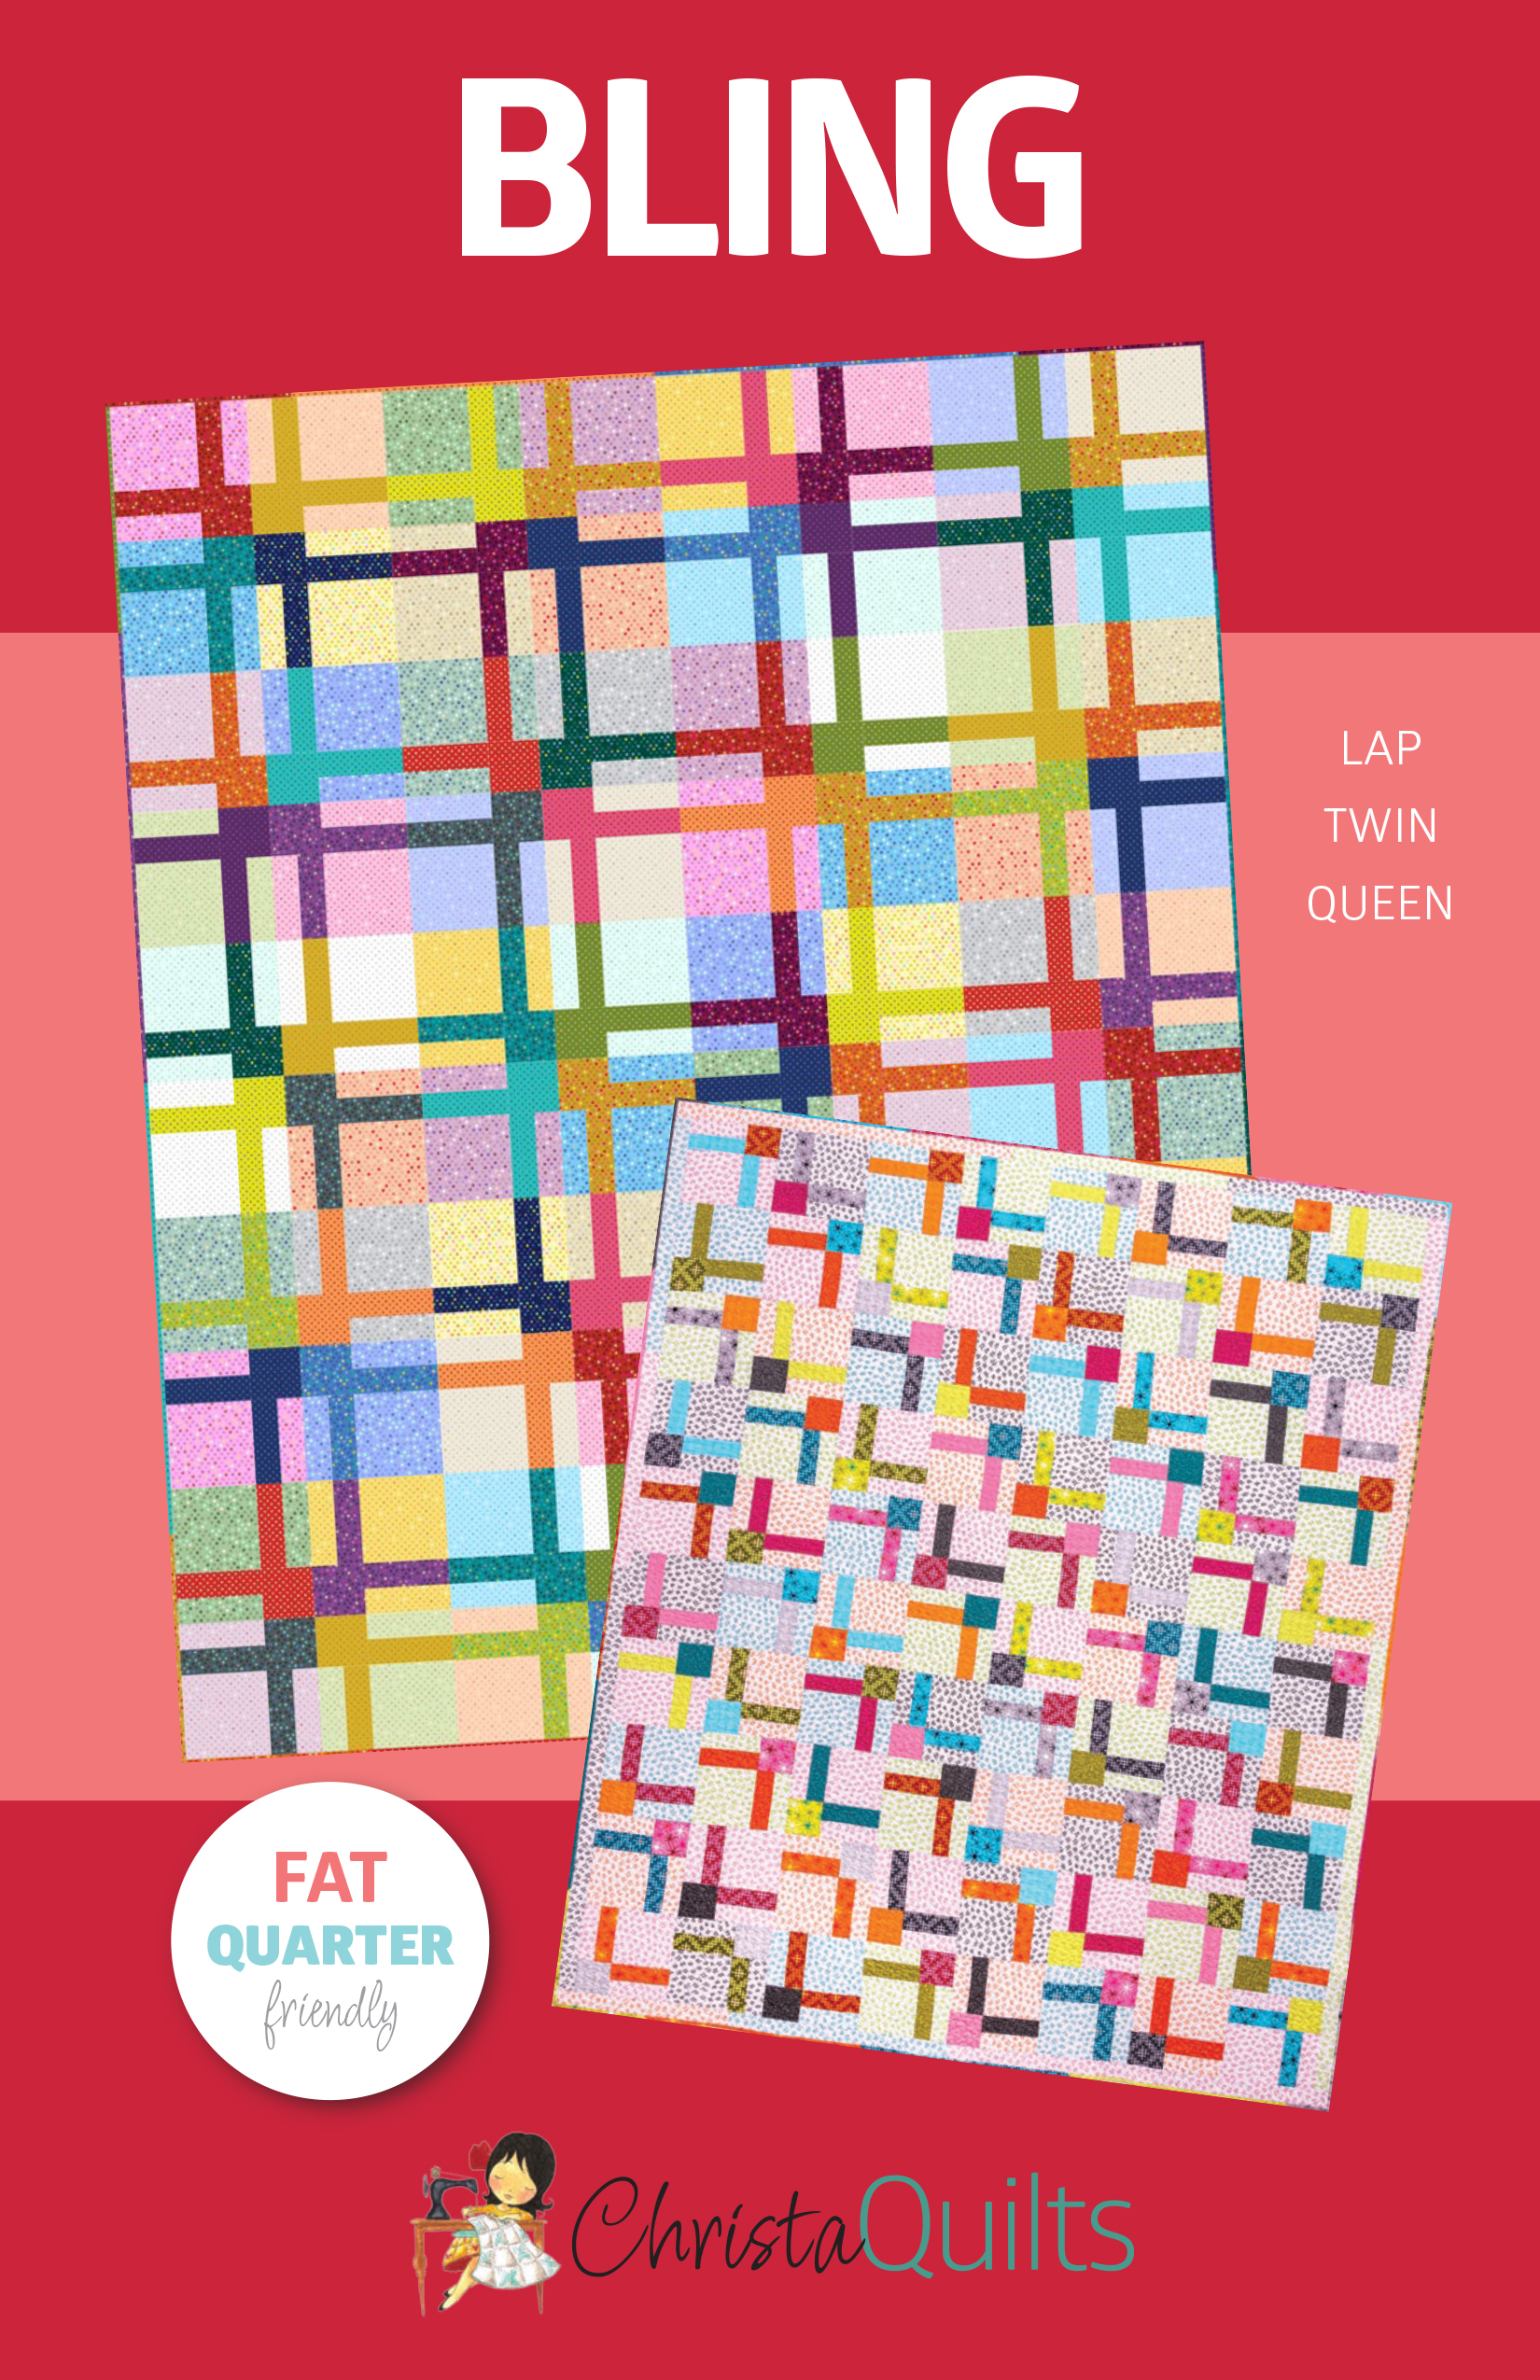
So this week it’s time to dive in and cut into your luscious fabrics to make *your* version of Bling! Depending on which fabrics you’ve chosen, you can use fat quarters, half yards, or even scraps! I’m making my version from Dazzle Dots 1 & 2 Fat Quarters.
The darker, more saturated prints will be for the main block design, while the lighter, pastel prints will be for my backgrounds. I took out the light and dark grey from the original Dazzle Dots since I only need 20 fabrics (not 22).
If you’d like to make this quilt exactly as I’m showing here, you can grab the Bling Quilt Kit, while supplies last. I also have a few made up in my Stitchy fabrics, too! This is my 5th time making Bling (see the other color ways below). If you can’t already tell, I really like making this quilt!
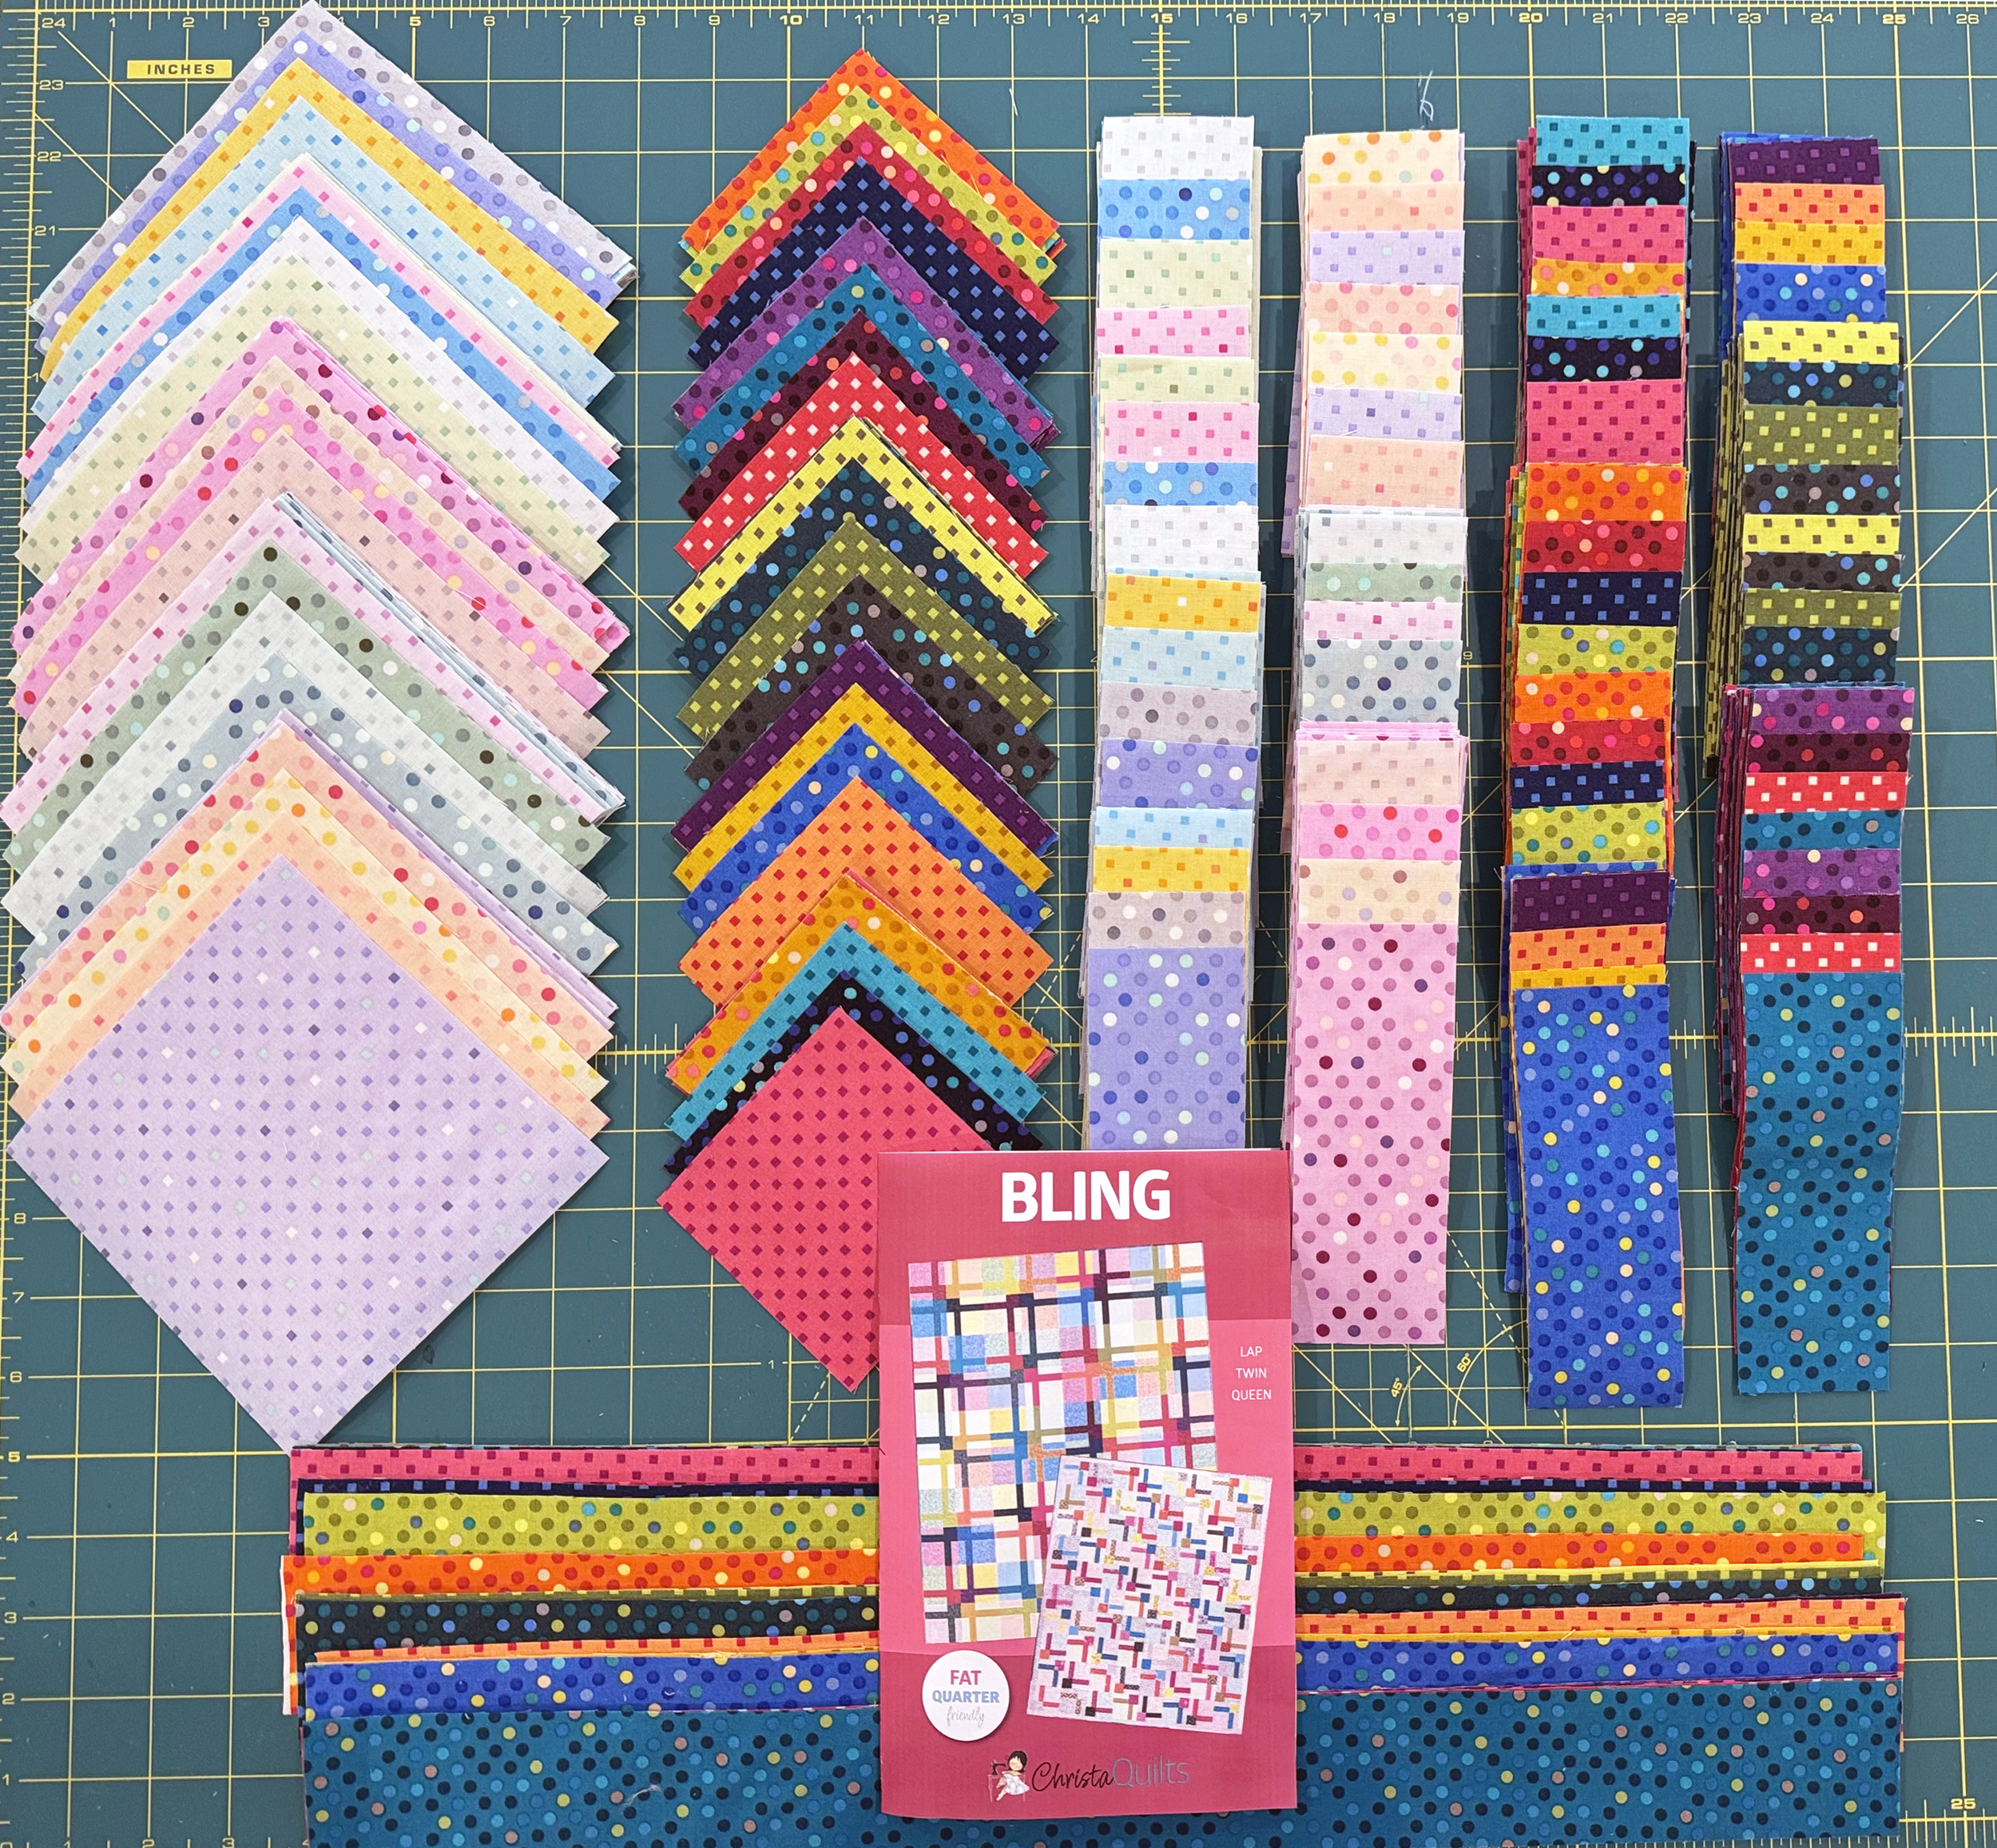
Follow the pattern instructions on page 2 to cut out all of your units. For faster cutting, I like to cut my fabrics into strips, then subcut them into the unit sizes listed in the pattern. I’ll usually stack 4 layers of fabric to make this go faster. So that’s either 4 fat quarters stacked on top, or if I’m cutting double folded yardage, it’s usually 2 fabrics at a time.
Because I’m cutting 4 at a time, there may be some leftovers at the end, but I’ll just set those aside for something else, or piece them into the backing. If you are cutting your units from fat quarters like I did, you’ll have some of each fat quarter left over. I’ll include those on the back, too!
I will also cut the binding out ahead of time and in this case it will be scrappy, too! Bling includes an optional scrappy border, but I’m not adding that in this version like I have in previous versions. For some reason, I really like how the blocks go all the way to the edges this time.
I love getting a shot of all my pieces, cut, organized and ready to sew!! If you want to get a leg up on next week’s piecing, you can lay out all of your units in order right next to your sewing machine.
I prefer to cut out all of my pieces to the correct size ahead of time, and then sew them together, rather than strip piecing. So it may seem like a lot of cutting at the beginning. But once the pieces are stacked and ready to sew, they go together super fast!!
For this week’s episode of 99 Machine Quilting Designs learn my basic free-motion swirl motif, then see how I can easily change it up to create several different variations. Click play below to watch:
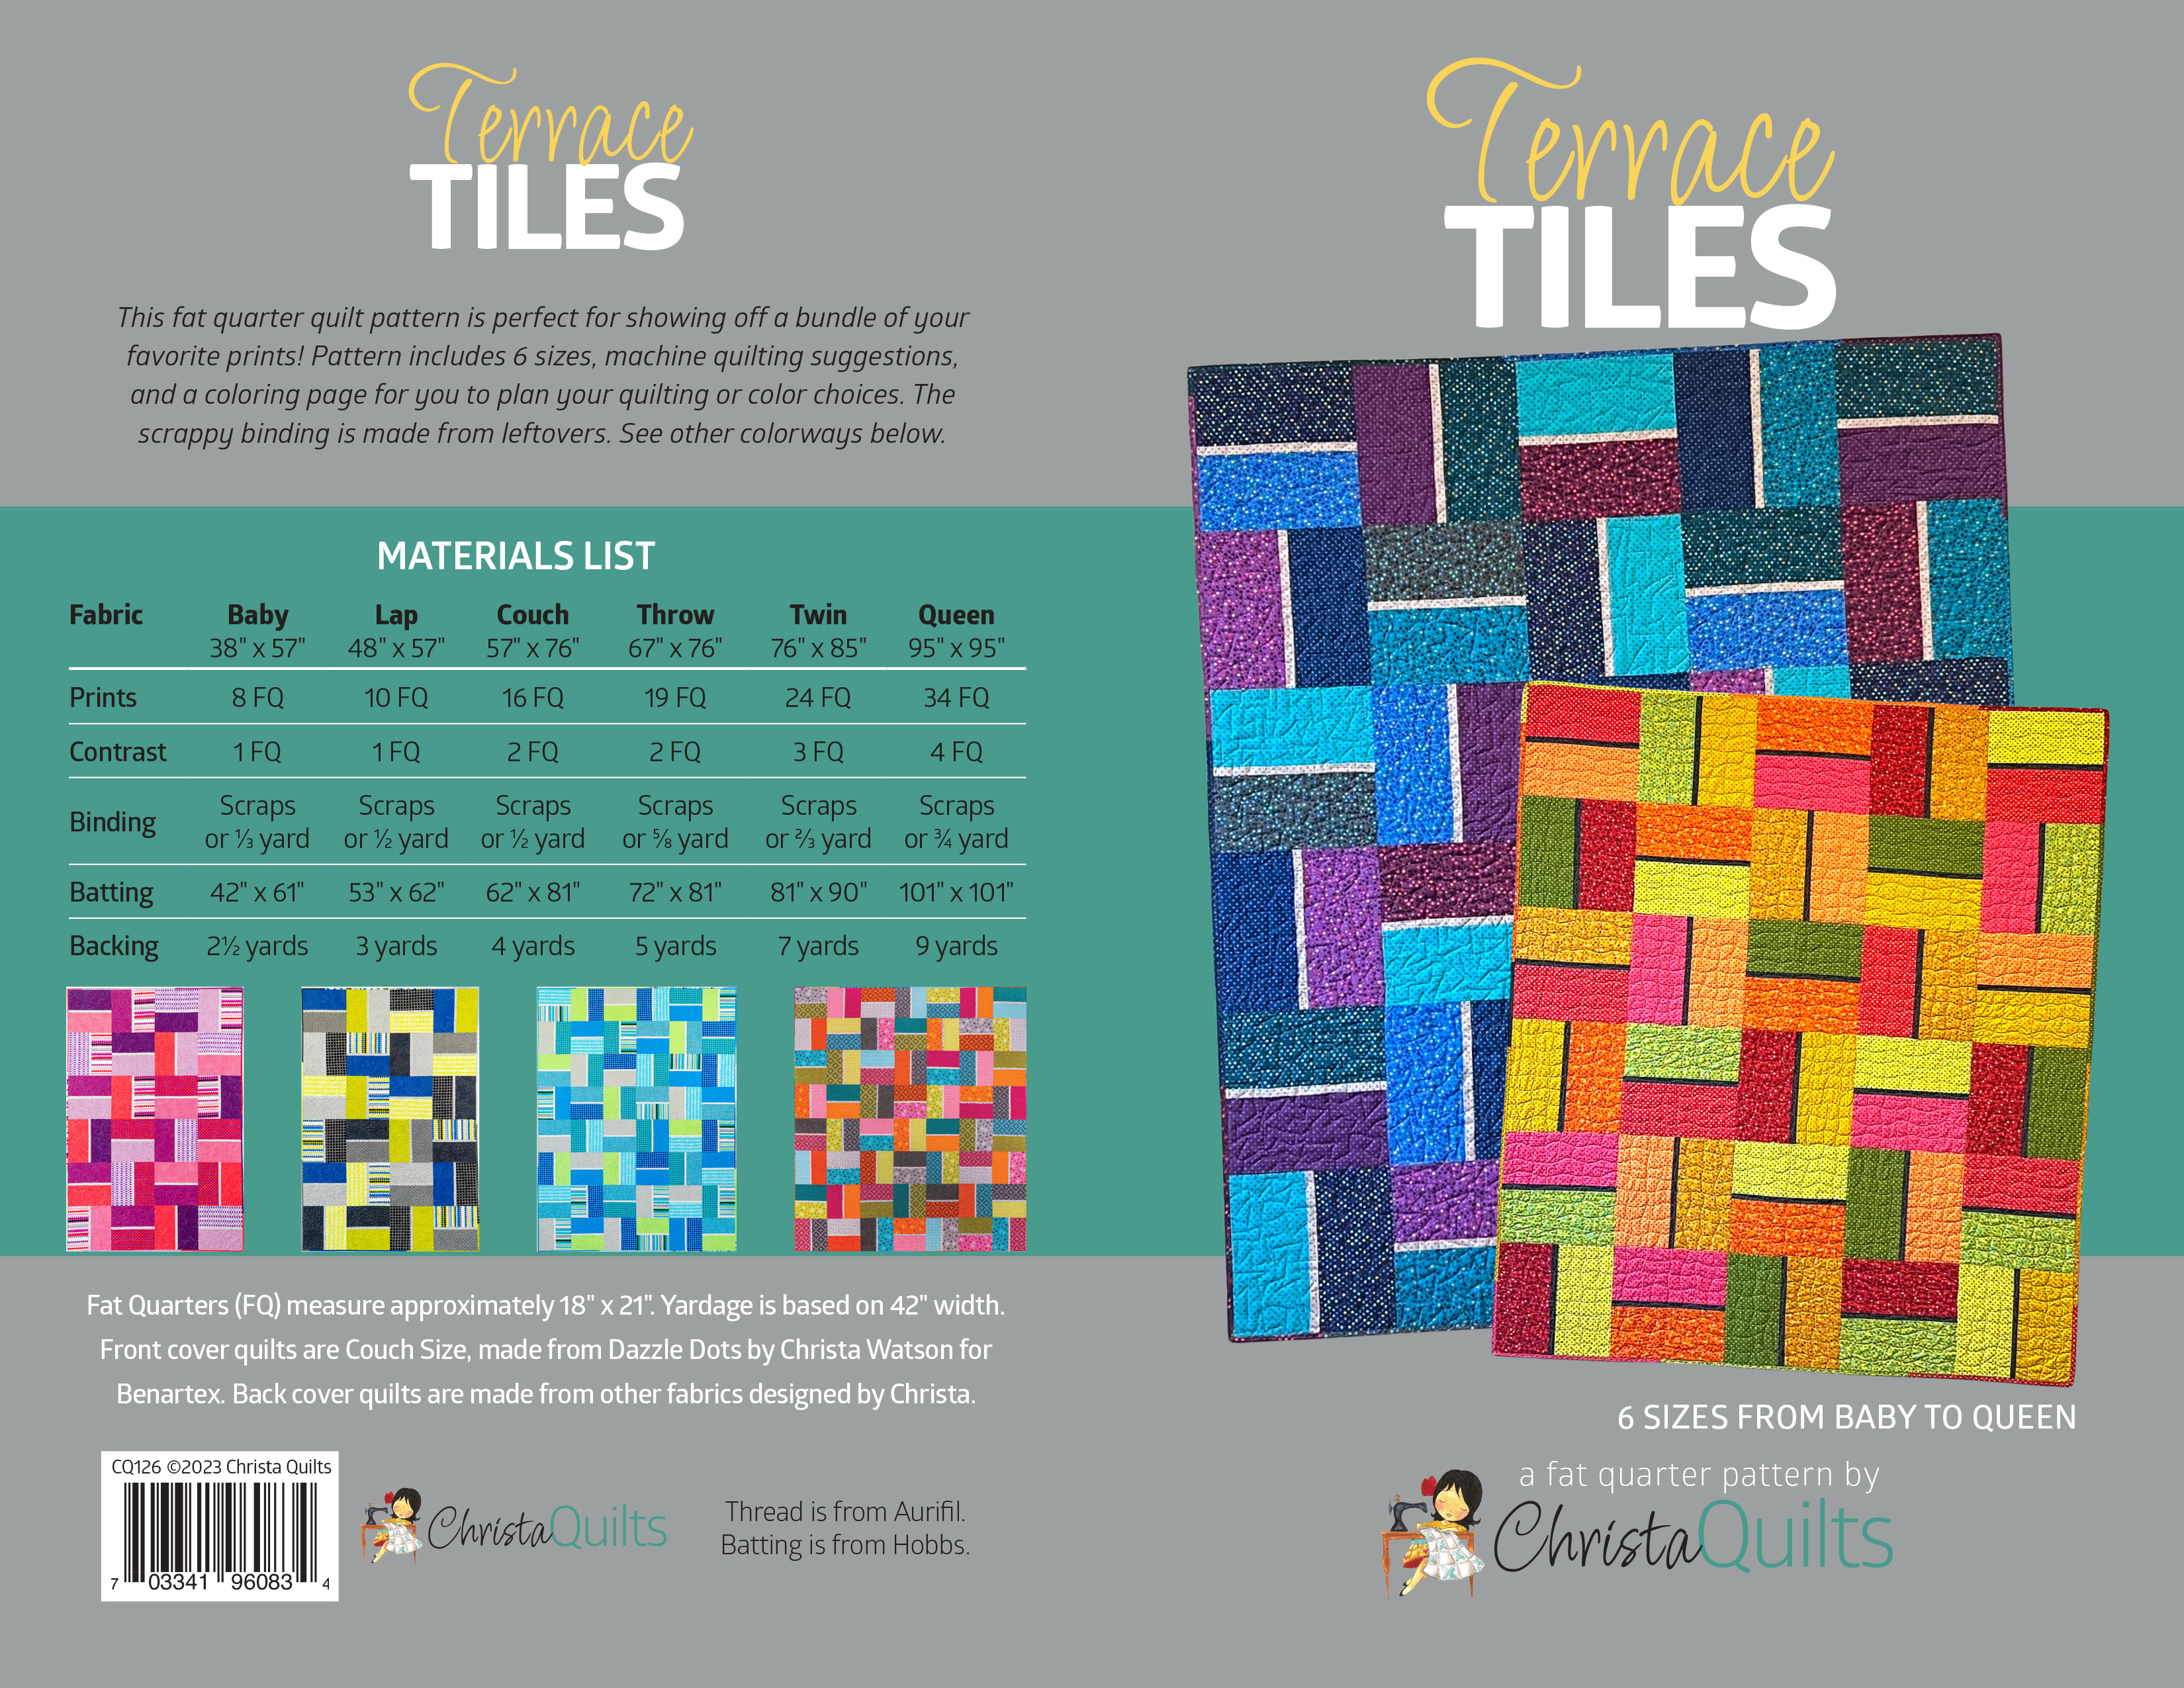
With every episode I like to include bonus tips and tricks for quilting these designs on a real, full sized quilt. And I like to share a different quilt for my backdrop each time. This week I’m talking about Terrace Tiles which is literally one of the fastest and easiest quilts you can make. In fact, I love it so much I’ve made it 6 different times, each with a different quilting plan, LOL!
Grab the Terrace Tiles quilt pattern (if you don’t already own it). And then watch this bonus video below, showing how I quilted 3 of them. I always say the best way to practice is to quilt an entire quilt with one motif; you’l be an expert at that design by the time you finish the quilt!
How are you doing with each of the designs? If you practice quilting about 10-15 minutes a day, you’ll see an improvement in no time! Be sure to share your practice samples over in my Christa Quilts Group on Facebook, and ask any questions you have!
Who’s excited to join me for the Bling quilt along which begins next week? All you need is a copy of the Bling quilt pattern to follow along, and each week’s assignment will be posted right here on the blog. But just remember, you can totally quilt along at your own pace!
Which colorway do you prefer? The Bling quilt pattern itself comes in multiple sizes and you can choose to include the floater border as shown in my Stitchy version above, or leave it off like I did with the Dazzle Dots variation
As you gather your supplies, I’d love to see which fabrics *you* choose! You can post pics of your fabric pull over in my Christa Quilts Group on Facebook, or feel free to email me directly: christa@christaquilts.com. You can also tag me on social media @christaquilts or use #blingquilt on instagram. I’m excited to cheer you on every step of the way!
For this week’s episode of 99 Machine Quilting Designs I’m showing how to use your walking foot or dual fee to quilt two spiral spiral variations: continuous Round Spirals and Overlapping Spirals. Watch the full video on my YouTube channel below:
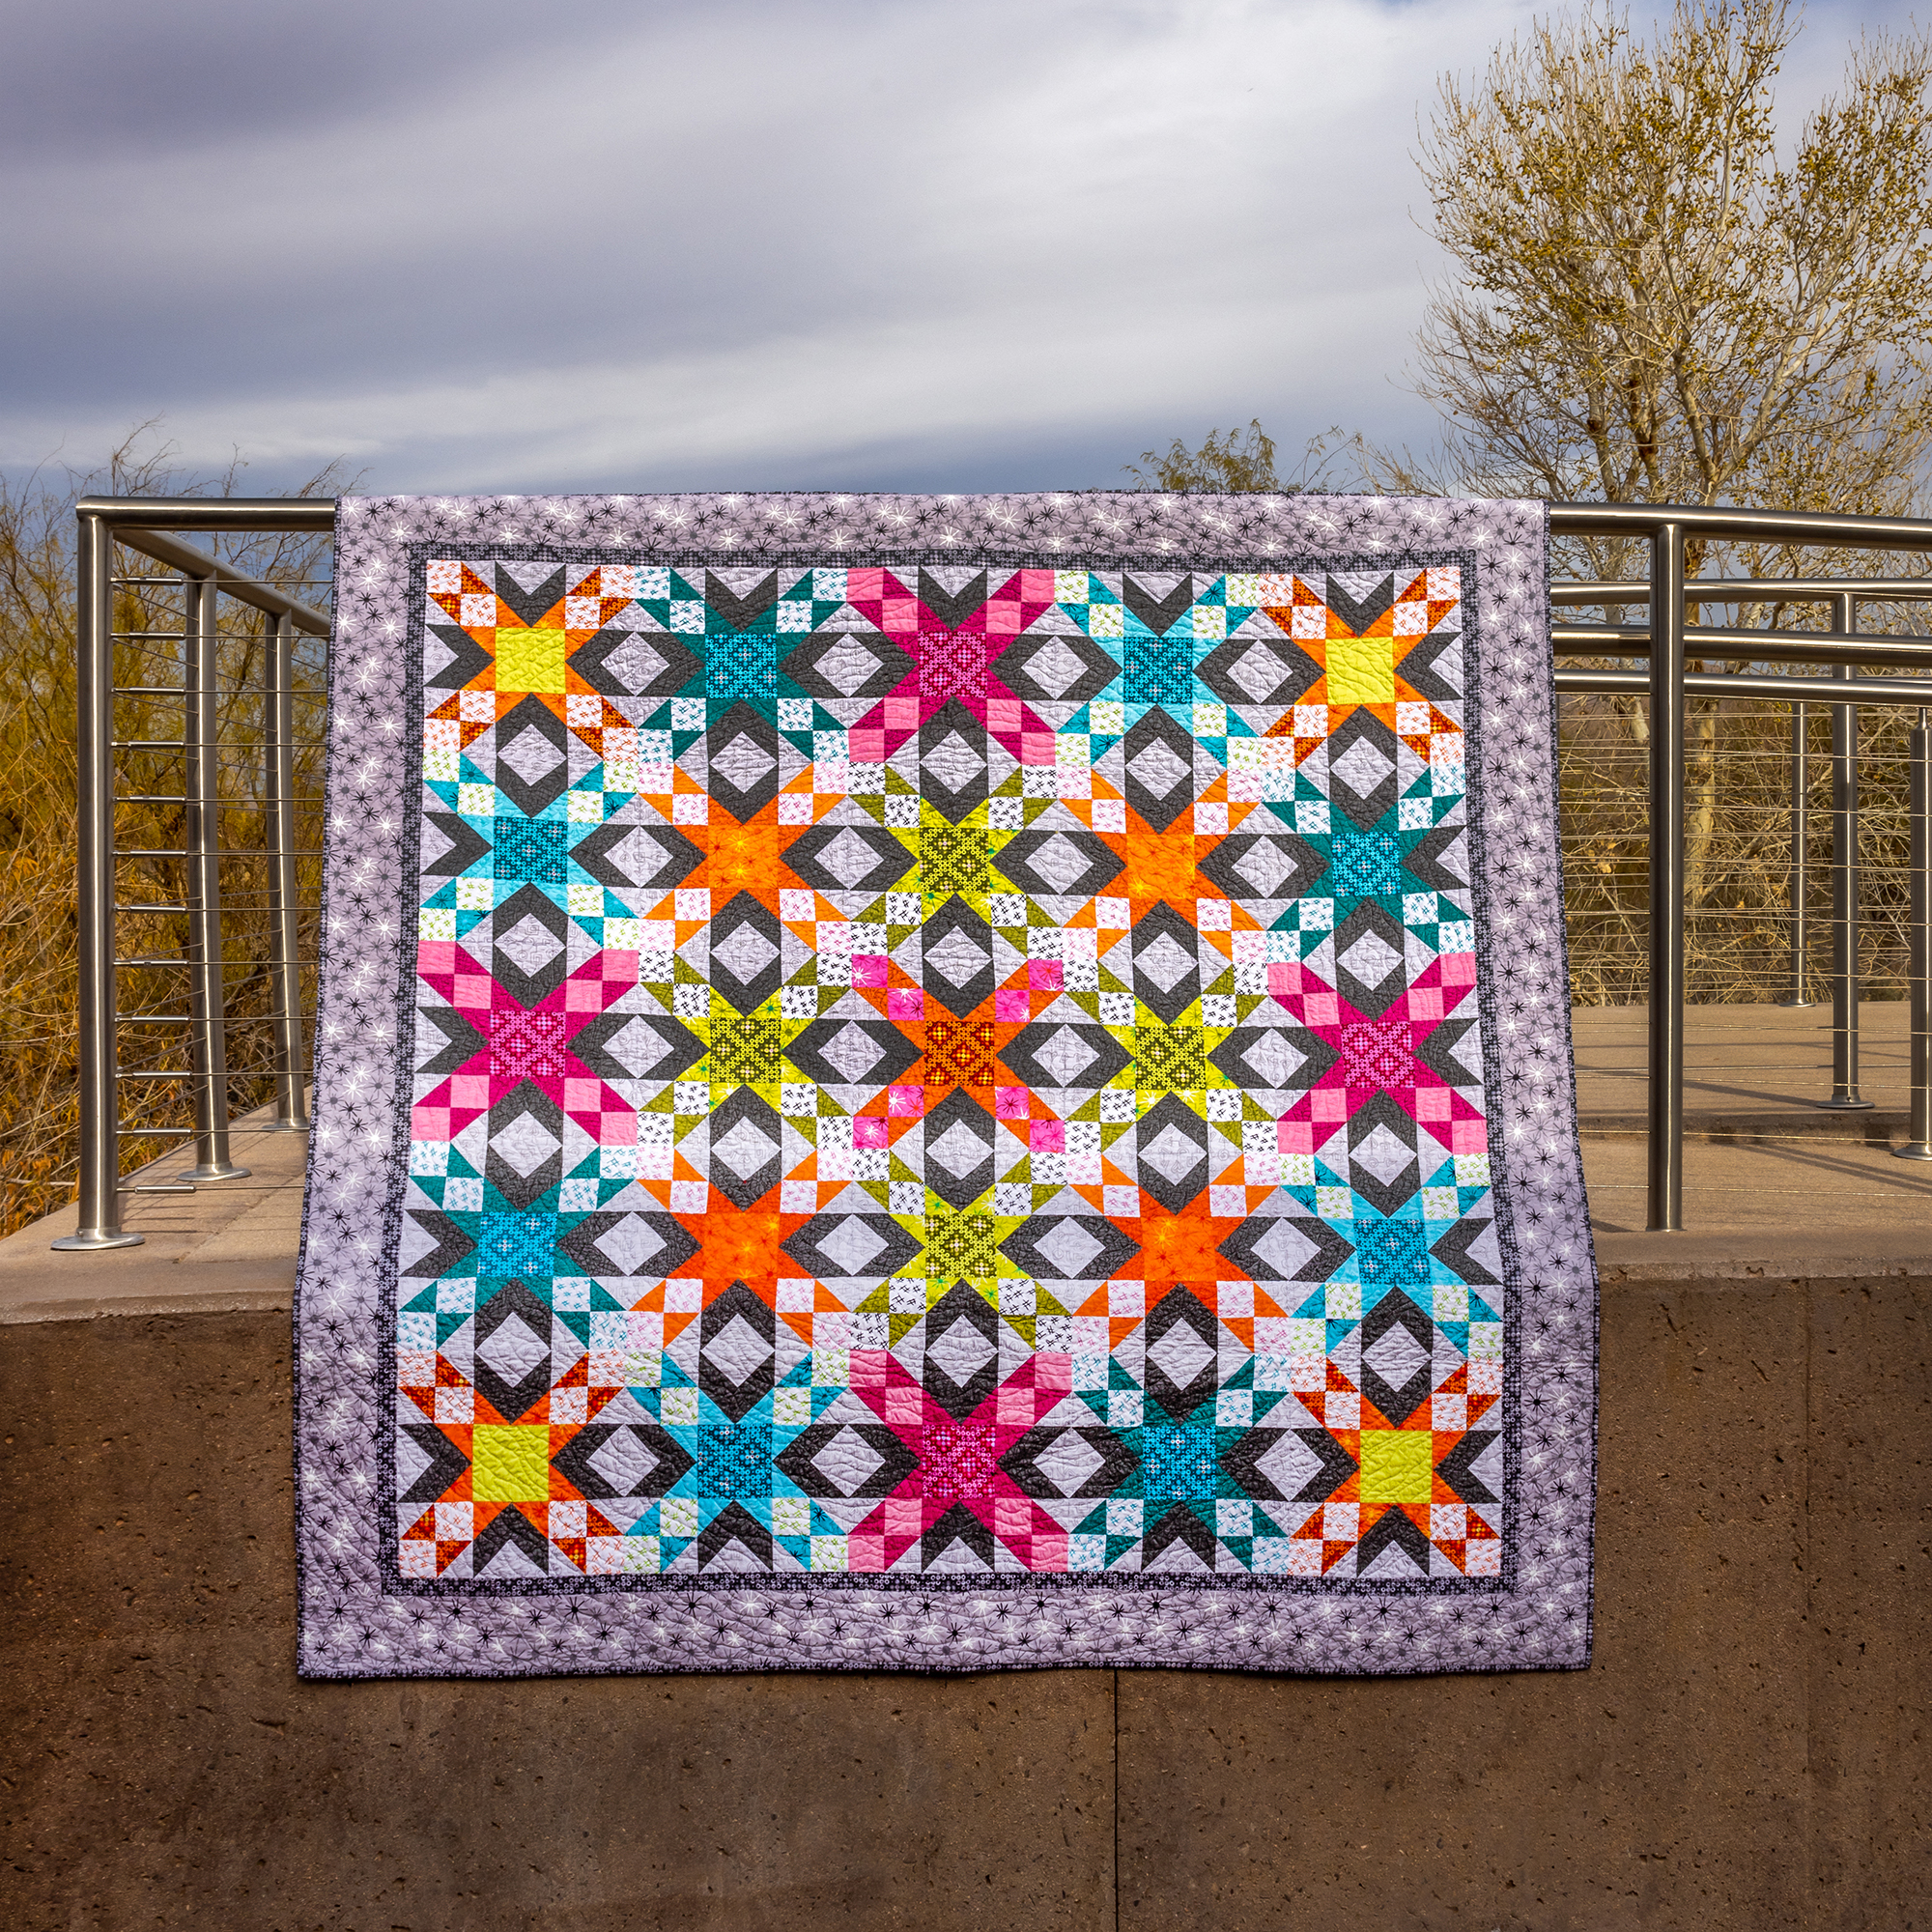
Get the Kits!
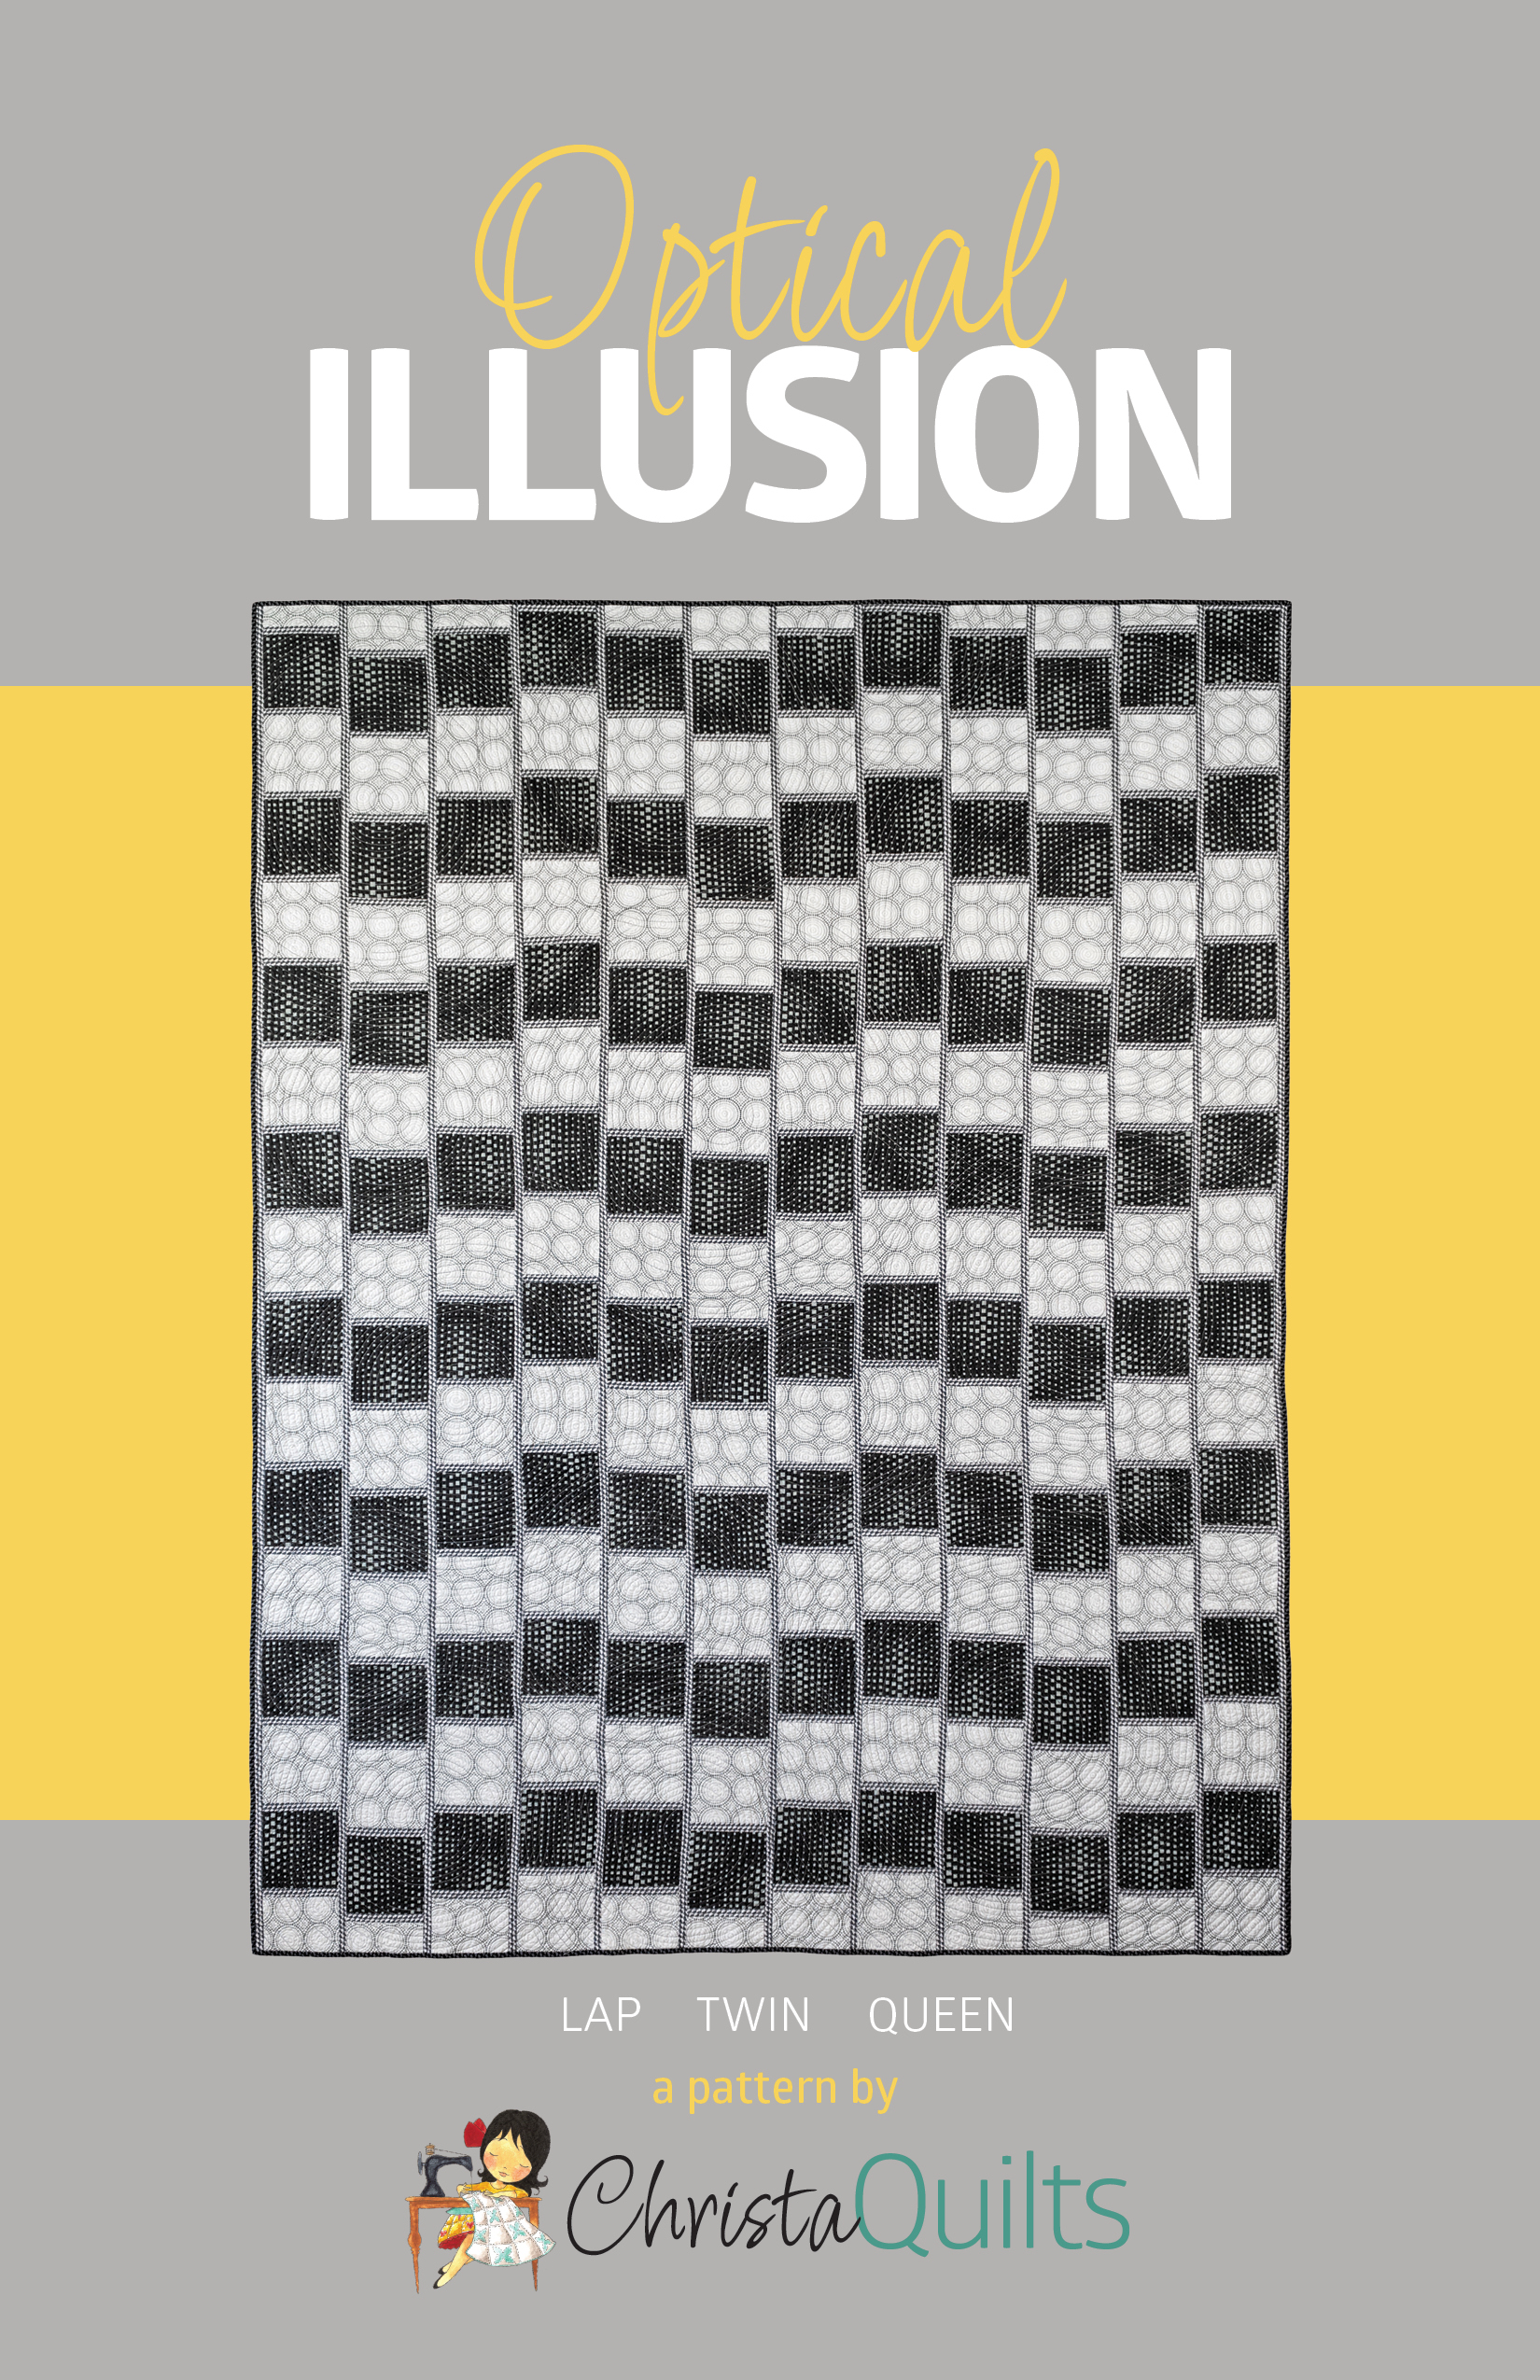
While supplies last, I still have Sparkling Stars kits made from Stitchy and Optical Illusion kits in black and white. I quilted wavy spirals on Sparkling Stars and Overlapping Spirals on Optical Illusion. I think this was the perfect design for both of these quilts! You’ll use the same technique that I show you in the video above, but you’ll just keep turning the quilt round and round until it’s done.
Although I enjoy offering kits as a convenience, it’s also very easy to grab my quilt patterns and then select your own fabrics in similar colors. My Optical Illusion pattern is such a crowd pleaser and it looks great in any fabrics. The secret is choosing light, medium, and dark fabrics to create contrast which forms the illusion.
I asked followers amongst all of my social media channels if they wanted to create Bling or Beaded Lanterns for our next Quilt Along, and the majority voted for Bling, but not by much. So guess what?? I’m actually going to make both!! We will kick off with Bling then follow up with Beaded Lanterns after. See below for details and QAL schedule….
Bling Quilt Along Schedule Begins July 17!
Week 1 July 17 – Cutting
Week 2 July 24 – Making the Blocks
Week 3 July 31 – Quilt Top Assembly
Week 4 Aug 7 – Catch up & Basting
Week 5 Aug 14 – Quilting and Finishing
Each week I will guide you through each step of making the quilt. I will be making the Dazzle Dots version shown above with the scrappy Hashtags layout. All you need is a copy of the quilt pattern, or the optional kit to follow along. There are so many different ways to lay out this fat quarter friendly quilt!
Each week of the quilt along, I will be sharing tips and tricks right here on my blog and will include a bonus video during the quilting and finishing week. Just remember, you can work at your own pace, and the quilt along will stay up indefinitely so you can refer to it again and again, any time you wish!
Beaded Lanterns Quilt Along Starts Aug 28!
Beaded Lanterns will follow a similar format and will begin about a week after we finish up Bling. So you can make either quilt, both quilts, or neither – it’s totally up to you. I’ll follow up with a reminder once it gets closer, but as long as you read my blog updates, you’ll be all set!
When practicing your free-motion quilting, I recommend trying a variety of curvy and geometric designs. You may decide you like one style over another! In this week’s episode of 99 Machine Quilting Designs you can practice both techniques when you stitch up Ribbon Loops or Harlequin! Click play below to watch:
Bonus Video – Quilting Ticker Tape
My Ticker Tape quilt shown behind me in the video, is quilted using single ribbon loops. I love making the same quilt multiple times to try out different fabric combinations and quilting plans. Check out my bonus video below, showing I quilted Ticker Tape using 2 different quilting plans:
Get the Ticker Tape Quilt Kit!
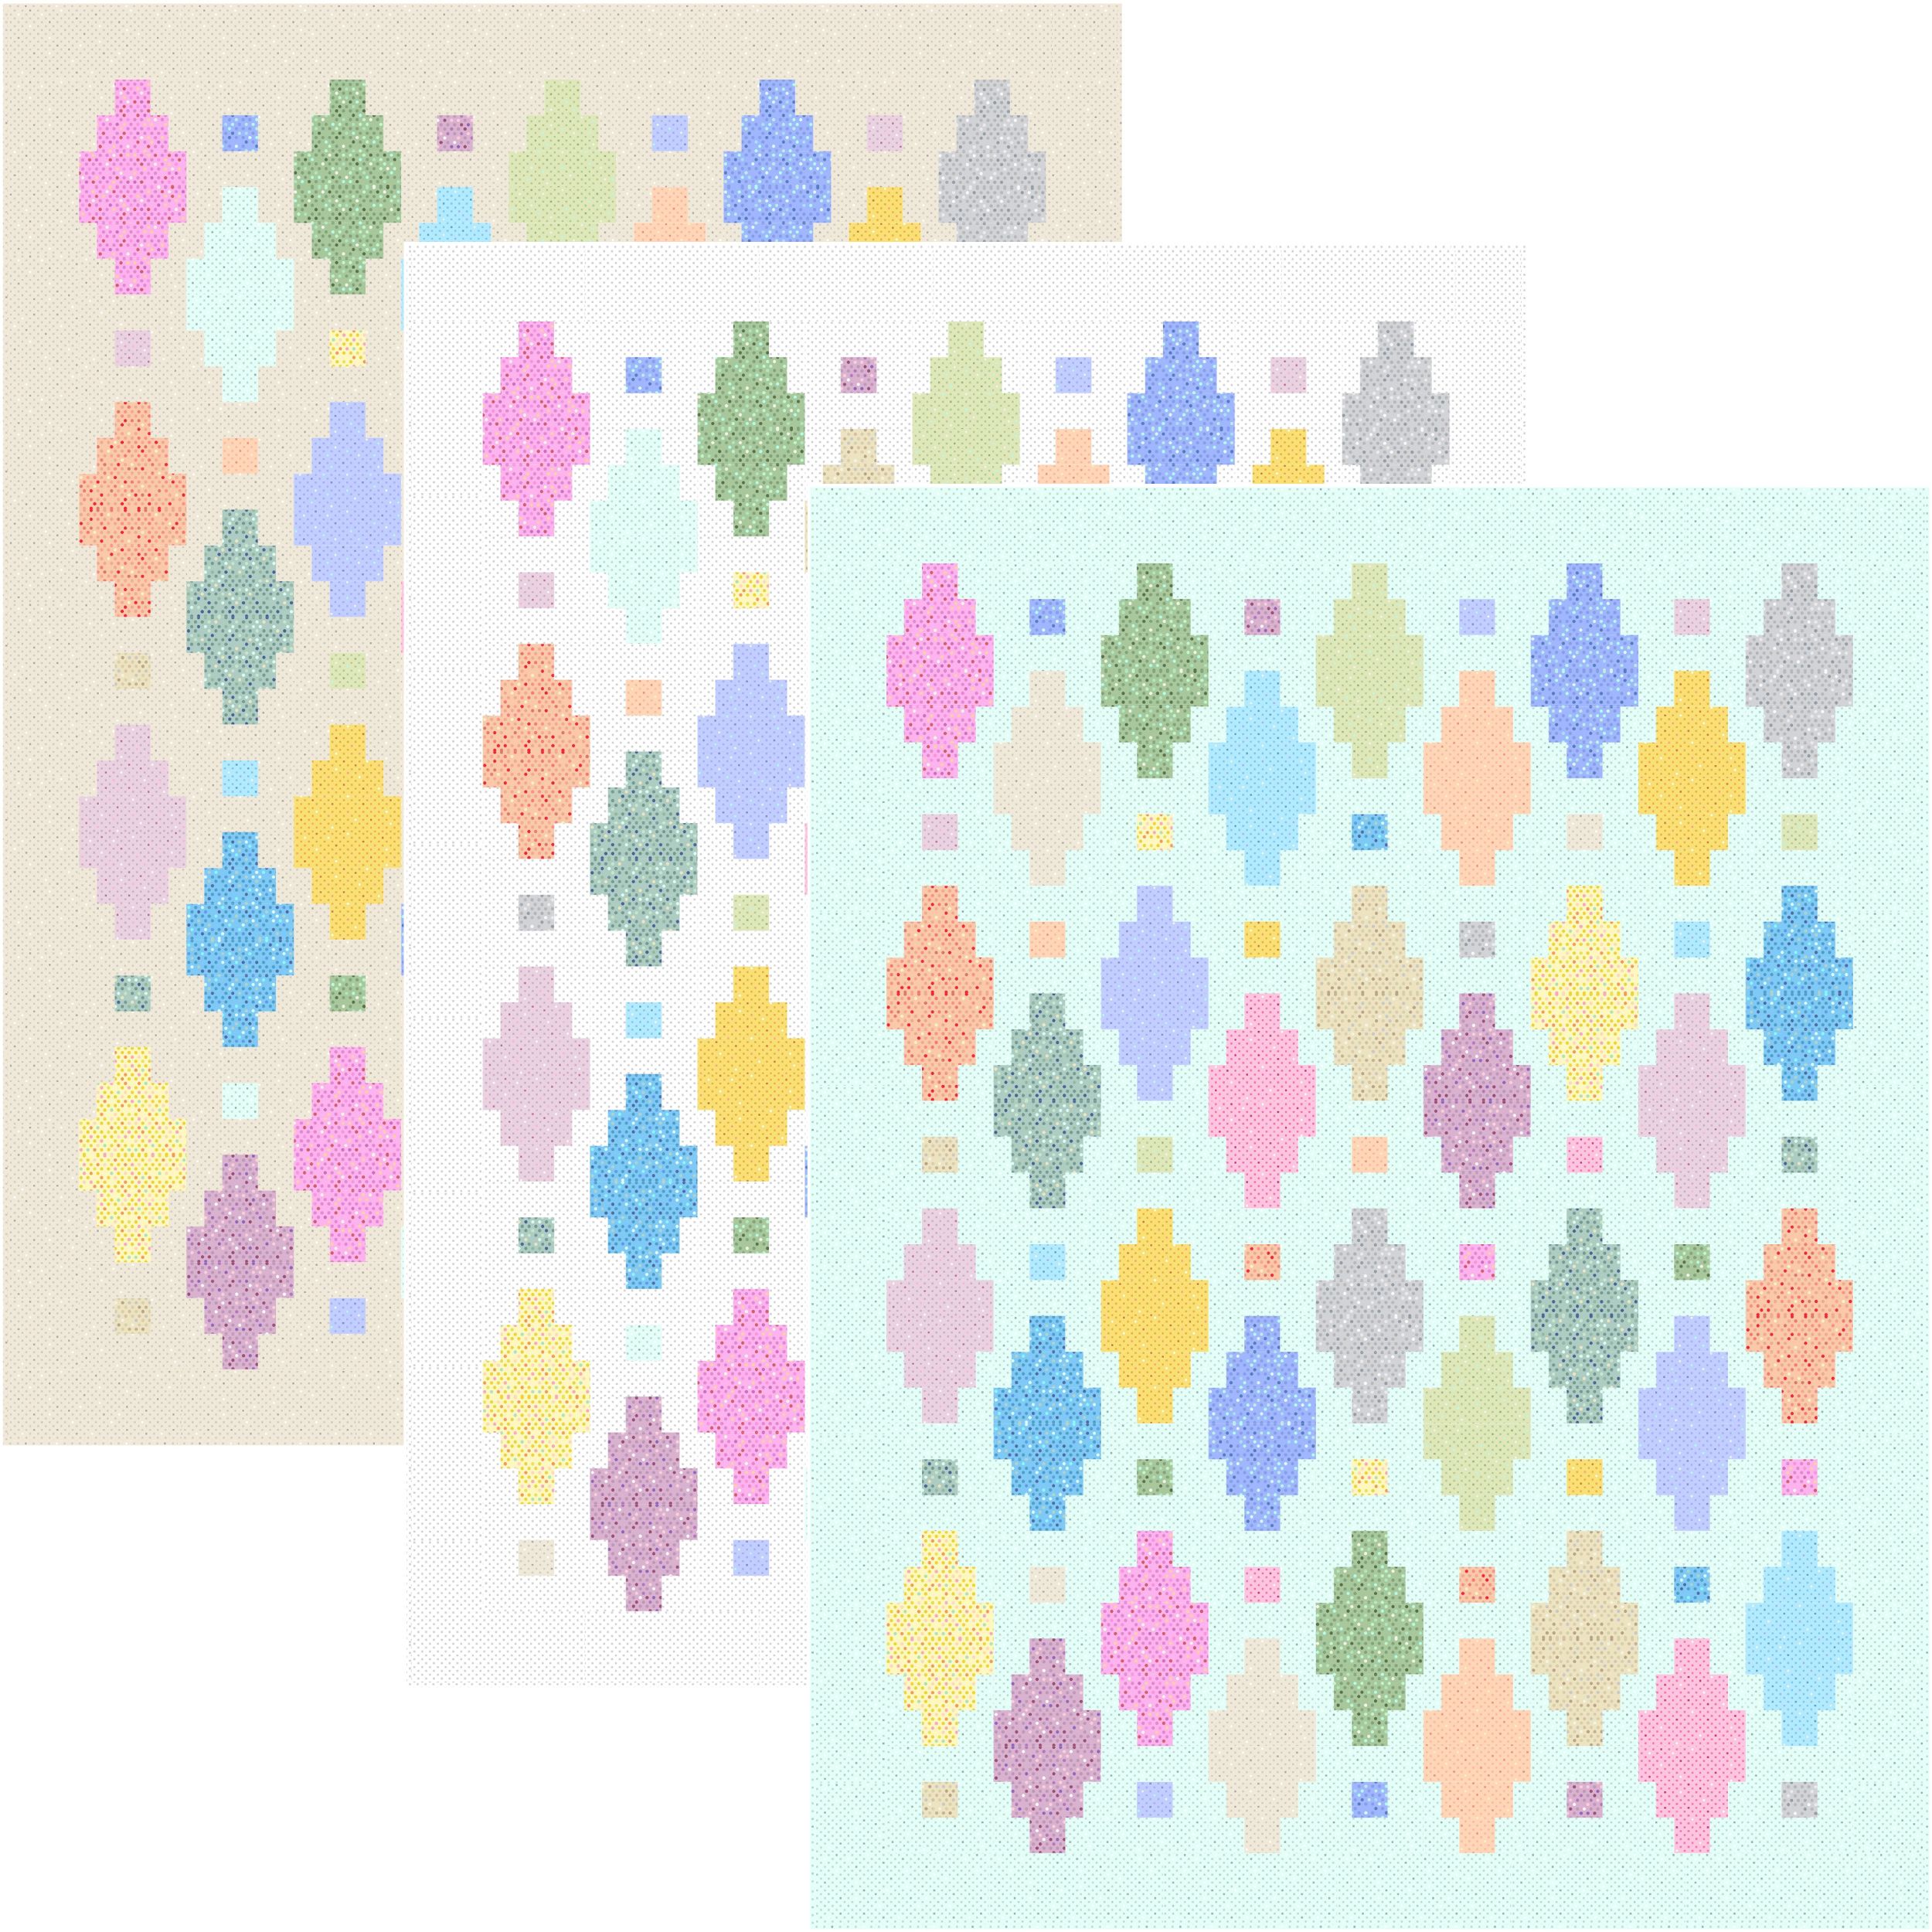
If you’d like to take your quilting practice to the next level, grab my Ticker Tape kit while supplies last. It comes in 4 different colorways, all made from my Dazzle Dots fabrics.
Which color way is *your* favorite??
YouTube Play Lists
Let me know how you are liking this video series, and if you have any special requests of designs I haven’t covered yet. You can watch the entire machine quilting designs series as much as you like, and also check out my other playlist showing how I quilted these designs on real, full sized quilts!
Are you keeping up withy my 99 Machine Quilting Designs Series? If so, what are some of your favorite designs so far? I have another fun one for you to try this week. Click the image below to watch me quilt a fun, whimsical design called “Clouds.”
Practice quilting this design (and many more) on my Swanky Spirals quilt pattern!
If you’d like more ideas for making and quilting this quilt, check out my bonus video below. It’s part of my “How I Quilted It” video series where I show how to quilt real, full sized quilts on a domestic machine. Happy watching!!
It’s been awhile since I’ve hosted a quilt along, but I’m home for the rest of the summer before travel picks up again in the fall. So August is the perfect time for me to guide you through the process of making an entire quilt from start to finish. However, there’s only 1 problem – I need to know which quilt you’d like to make! Here are two choices up for consideration:
I’ve made this quilt several times over the years with different fabric collections I’ve designed. However, my latest iteration combines both my Dazzle Dots 1 and 2 fabrics for a colorful scrappy look! You can get the Bling quilt pattern as a stand alone option; or if you get the optional Bling kit, it comes with the pattern included.
Please do me a favor and leave me a comment letting me know which quilt you would rather make: Beaded Lanterns or Bling. The quilt with the most votes wins, and I’ll announce the results along with the quilt along schedule at the beginning of July.
Then we will kick things off during the last week of July/beginning of August. So – who’s in??
I’m super excited to be heading to Lancaster, PA for the American Quilters Society show this fall to teach a full load of machine quilting workshops. I’ve taught for AQS before, but this will be my fist time visiting this location. I will also be one of the quilt judges which makes the event even extra special!
I will be teaching the following workshops as listed below. Machines will be generously provided by BERNINA for all workshops, and they will be based on my best-selling machine quilting books.
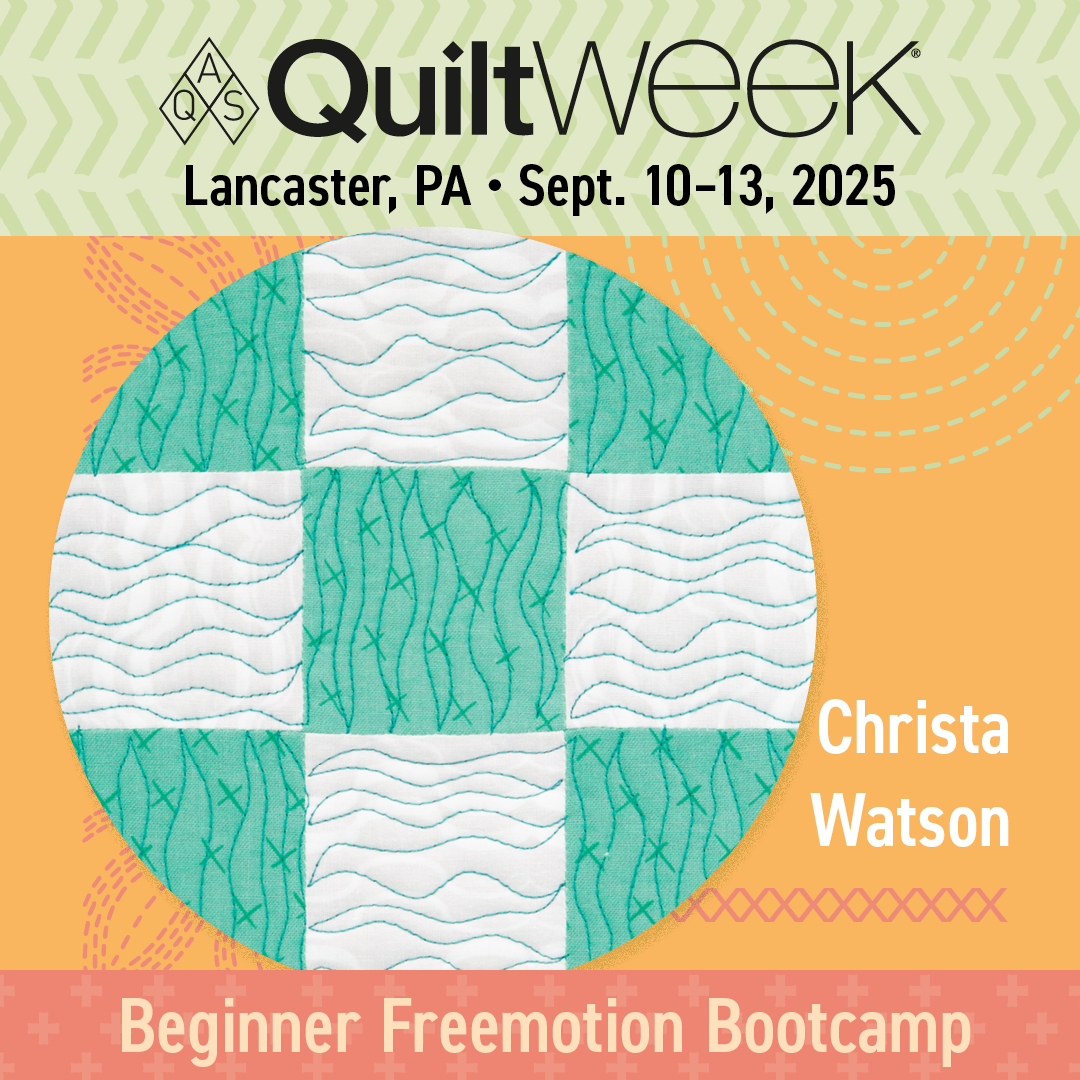
Wednesday, 9/10, 8:30 am – 4:00 pm or Friday, 9/12, 8:30 am – 4:00 pm
Embrace perfectly imperfect quilting! That means little to no marking, and a whole lot of gorgeous texture. Ease into freemotion quilting with asymmetrical textures that are fast and fun to quilt. We’ll explore a wide range of motifs that will look good on any quilt from modern to traditional. You’ll leave the workshop armed with the confidence that, yes, you can quilt your own quilts. Students should be comfortable with a sewing machine and will practice on their own pre-basted fabric and batting samples. Students will also learn best practices for successful free-motion quilting.
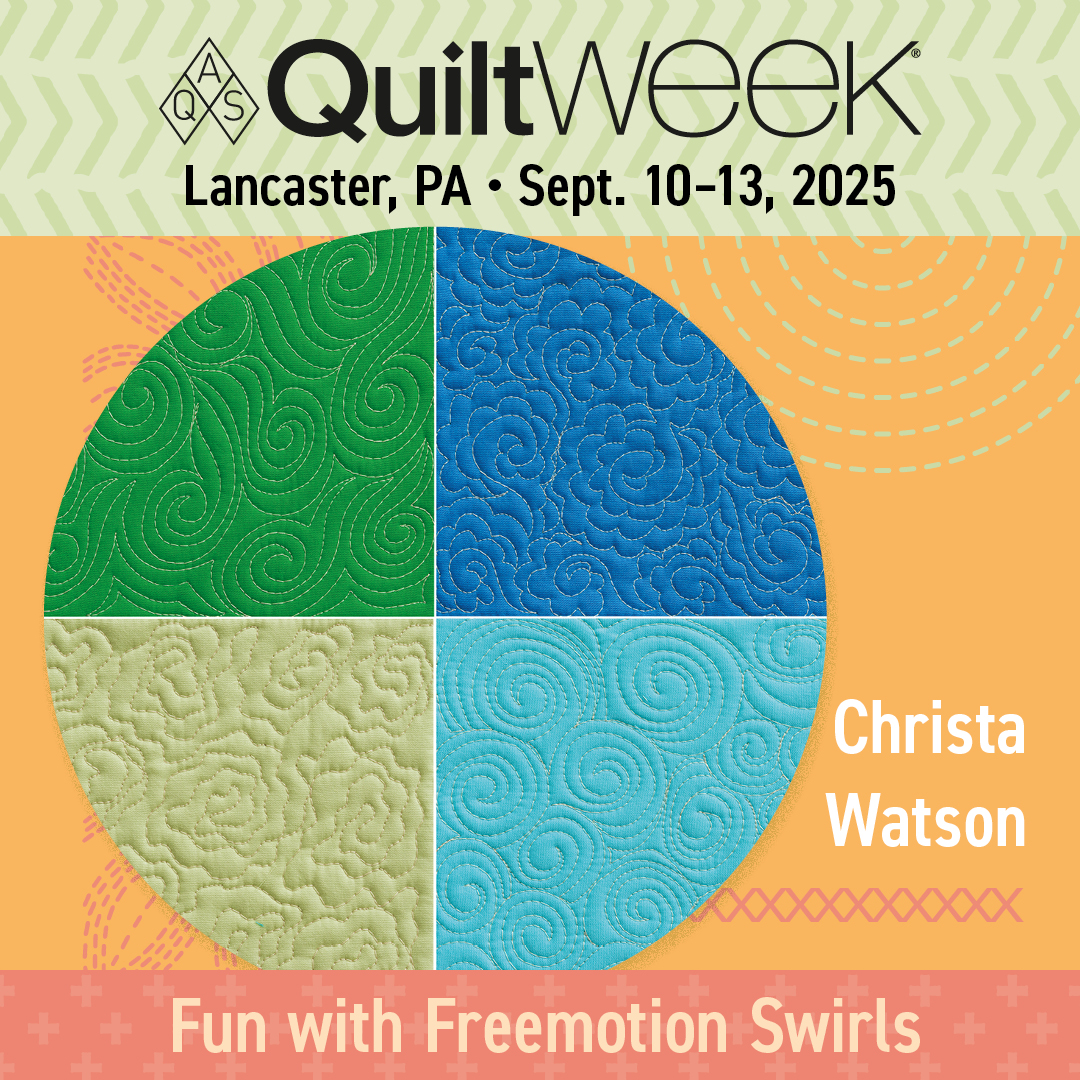
Just like penmanship, everyone has their own unique machine quilting style. In this workshop, you will learn how to form the basic swirl shape, then branch off in many different directions as you discover your own signature swirl! Ideas to explore include the wonky swirl, the flower swirl, the elongated swirl, the packed swirl, and many more. Combine swirls with other favorite motifs for even more possibilities! Students should be comfortable with basic machine quilting techniques.
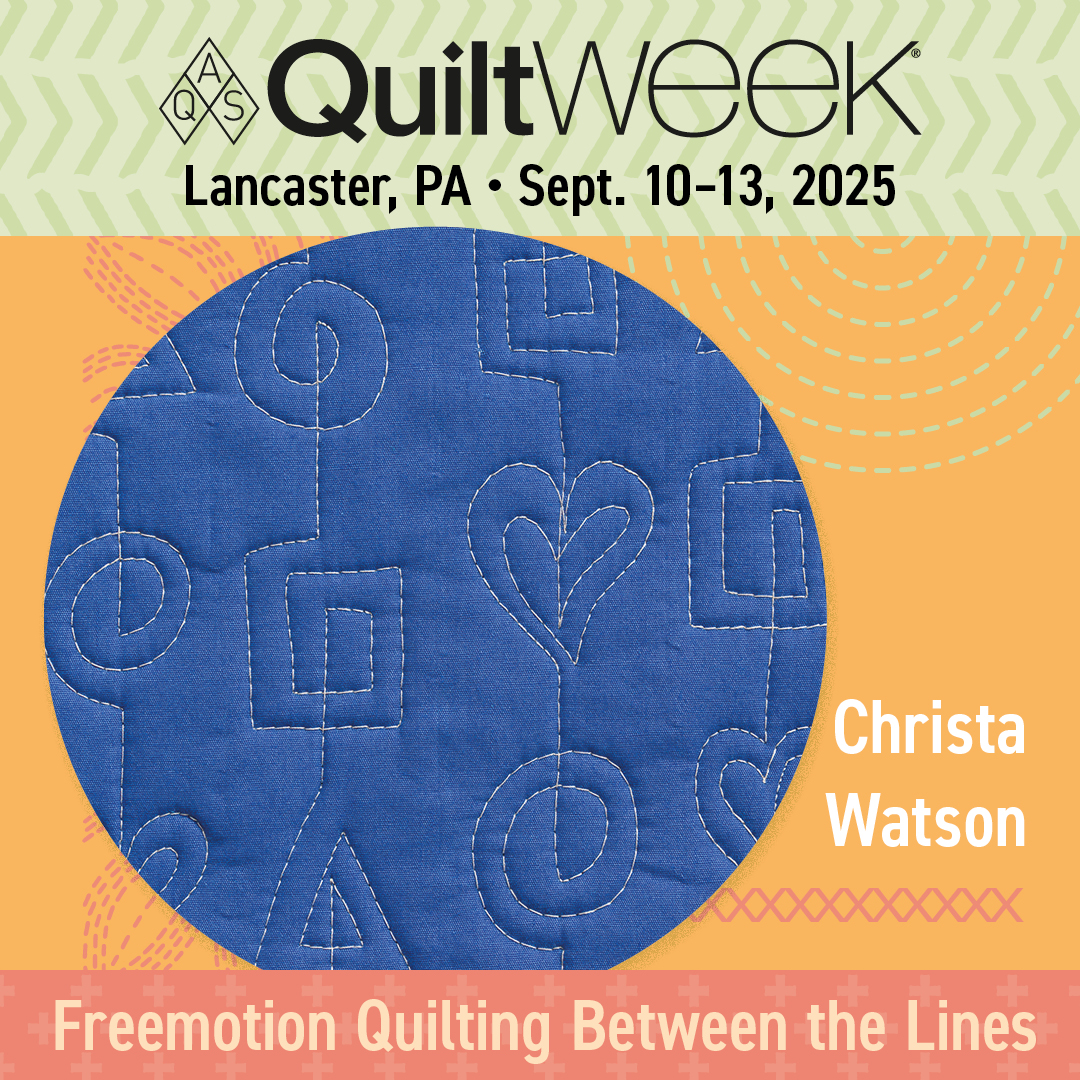
In this workshop, you will learn how to turn basic shapes into linear freemotion quilting designs. Using the seam lines on your quilt as a guide, learn how to divide and conquer your quilting while you stitch interesting motifs that are a great alternative to straight line quilting. These can be quilted as allover designs across the surface of your quilt, or scaled down to fit a specific shape in your quilt. Students should be comfortable with basic machine quilting techniques.
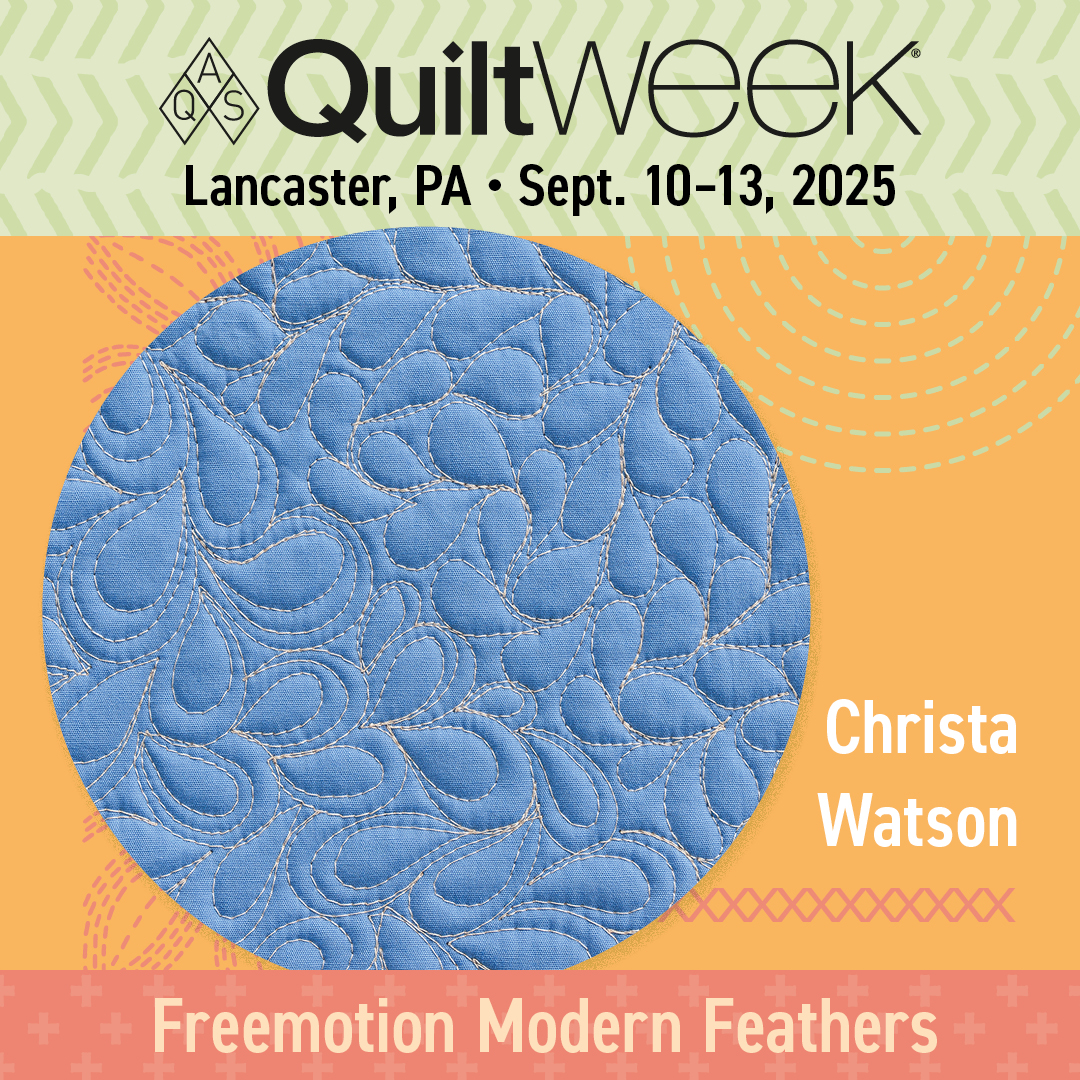
Can feathers really be “modern?” In this workshop, the answer is a resounding, “yes!” Students will learn basic feather plume shapes, then build upon those shapes to create entirely new designs. They’ll explore a variety of options such as echo feathers, swirl feathers, broken feathers, and many more! Each student will discover their unique feather style and learn how to apply what they’ve stitched to an actual quilt. Adventurous quilters may choose to customize their swirls by adding pebbles or other flourishes to their designs. Note: Students should be comfortable with basic freemotion quilting.