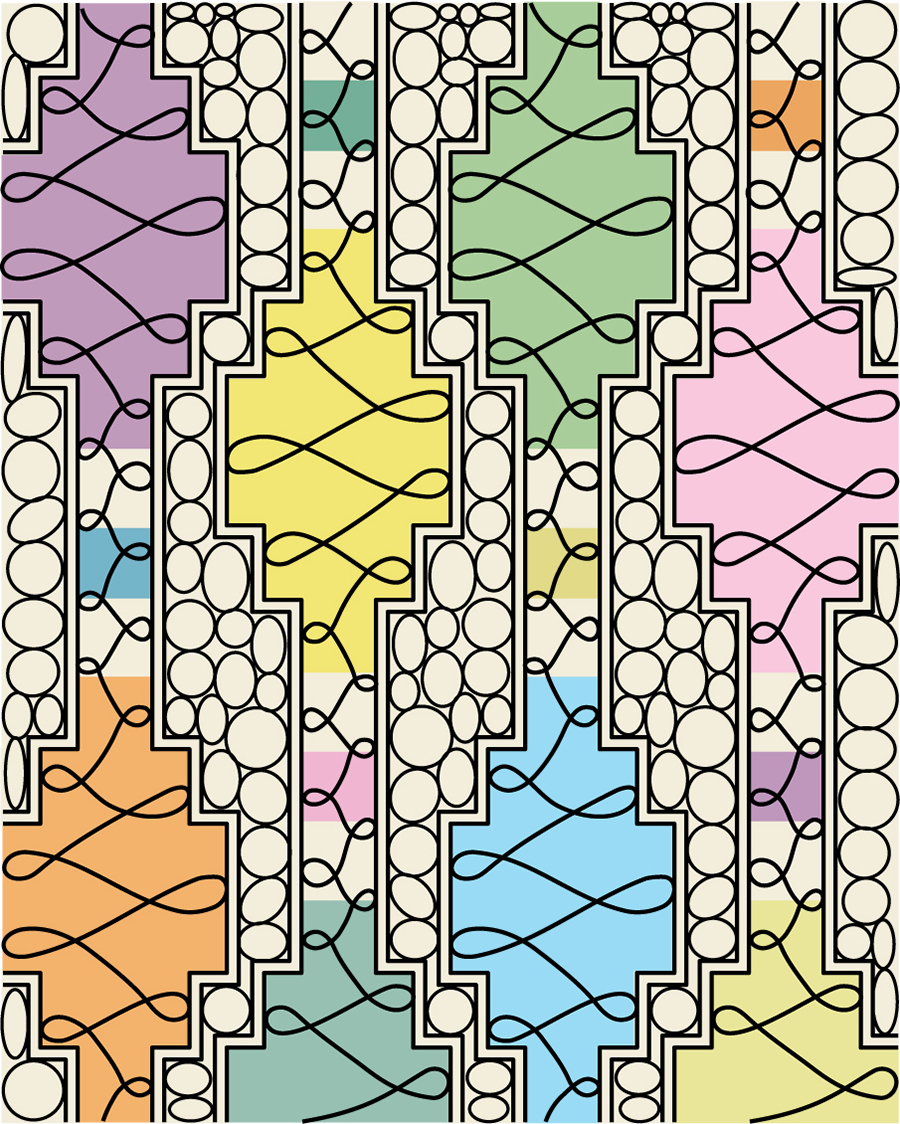
Have you been watching my free series of domestic machine quilting videos? New episodes drop each week and you can watch them anytime, on your own schedule for FREE! This week I have 2 for you to catch up on. First of all, learn how to quilt fun free-motion wavy lines. They are fast and easy to stitch! Check it out below:
If you want to take your quilting up a notch, stitch this design in both directions and it becomes an interesting, organic wavy grid! You can stitch this as an edge to edge design, or in smaller areas of your quilt wherever you want to add texture. Watch and learn below:
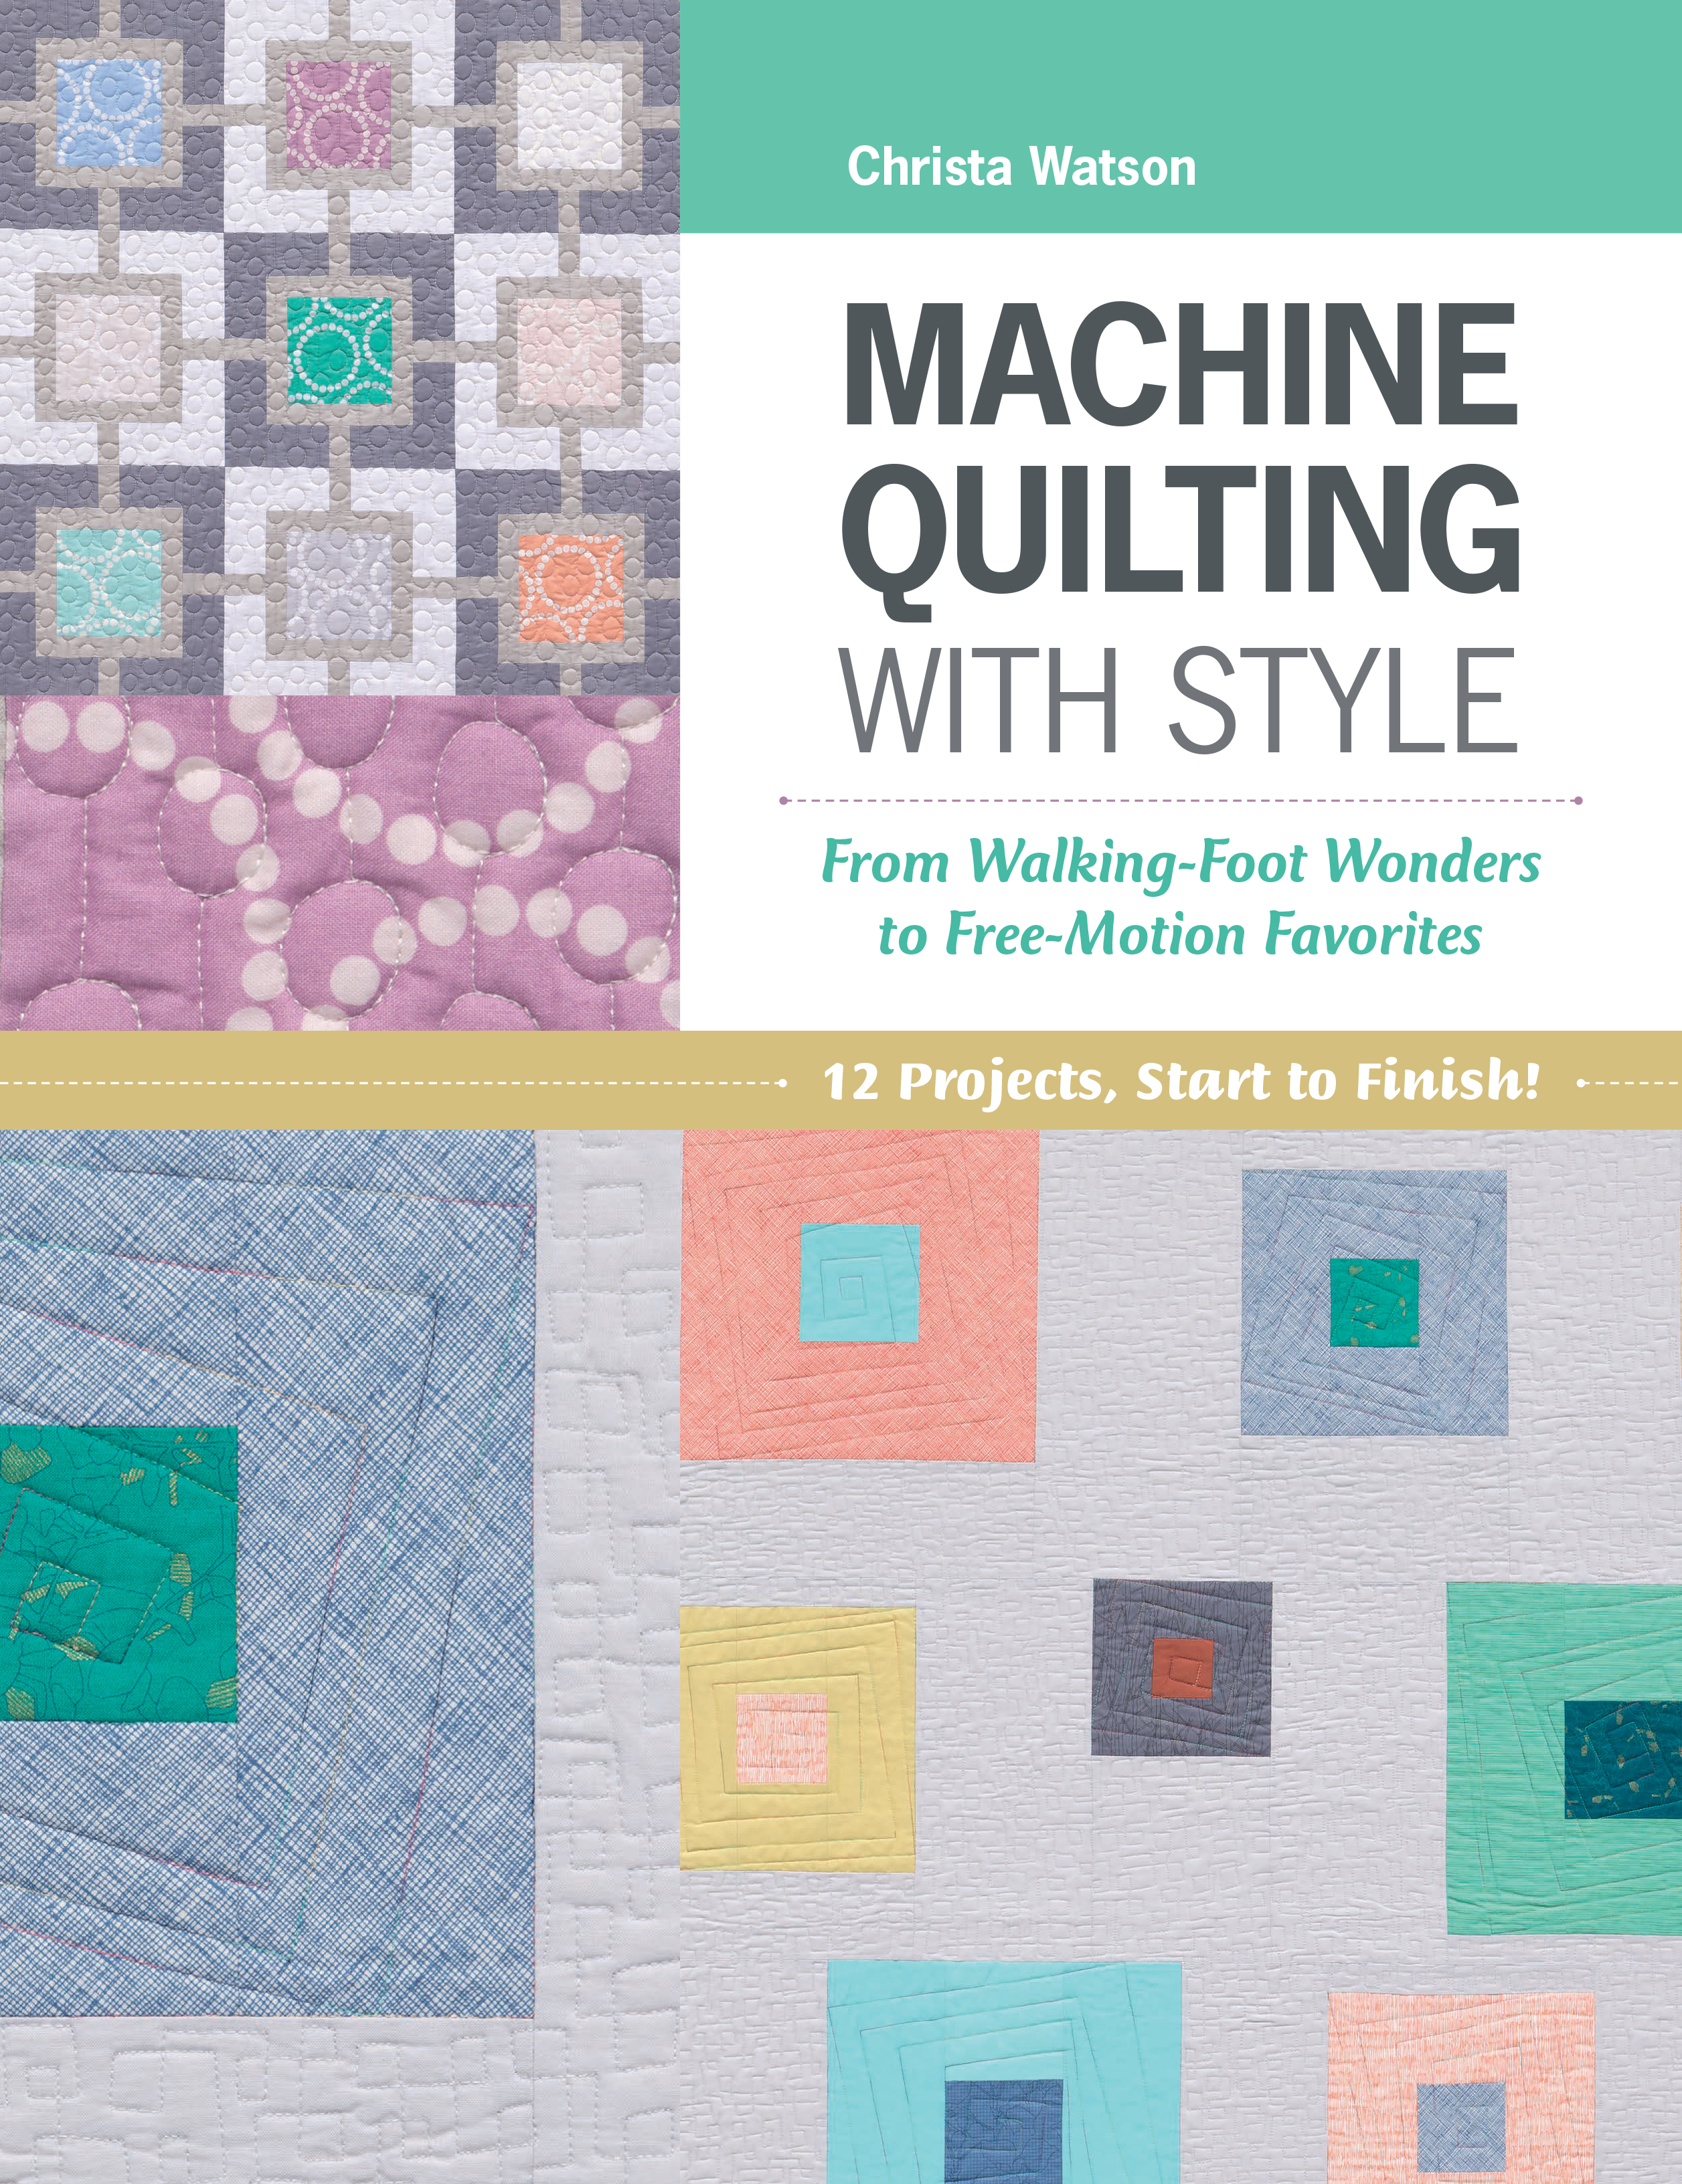
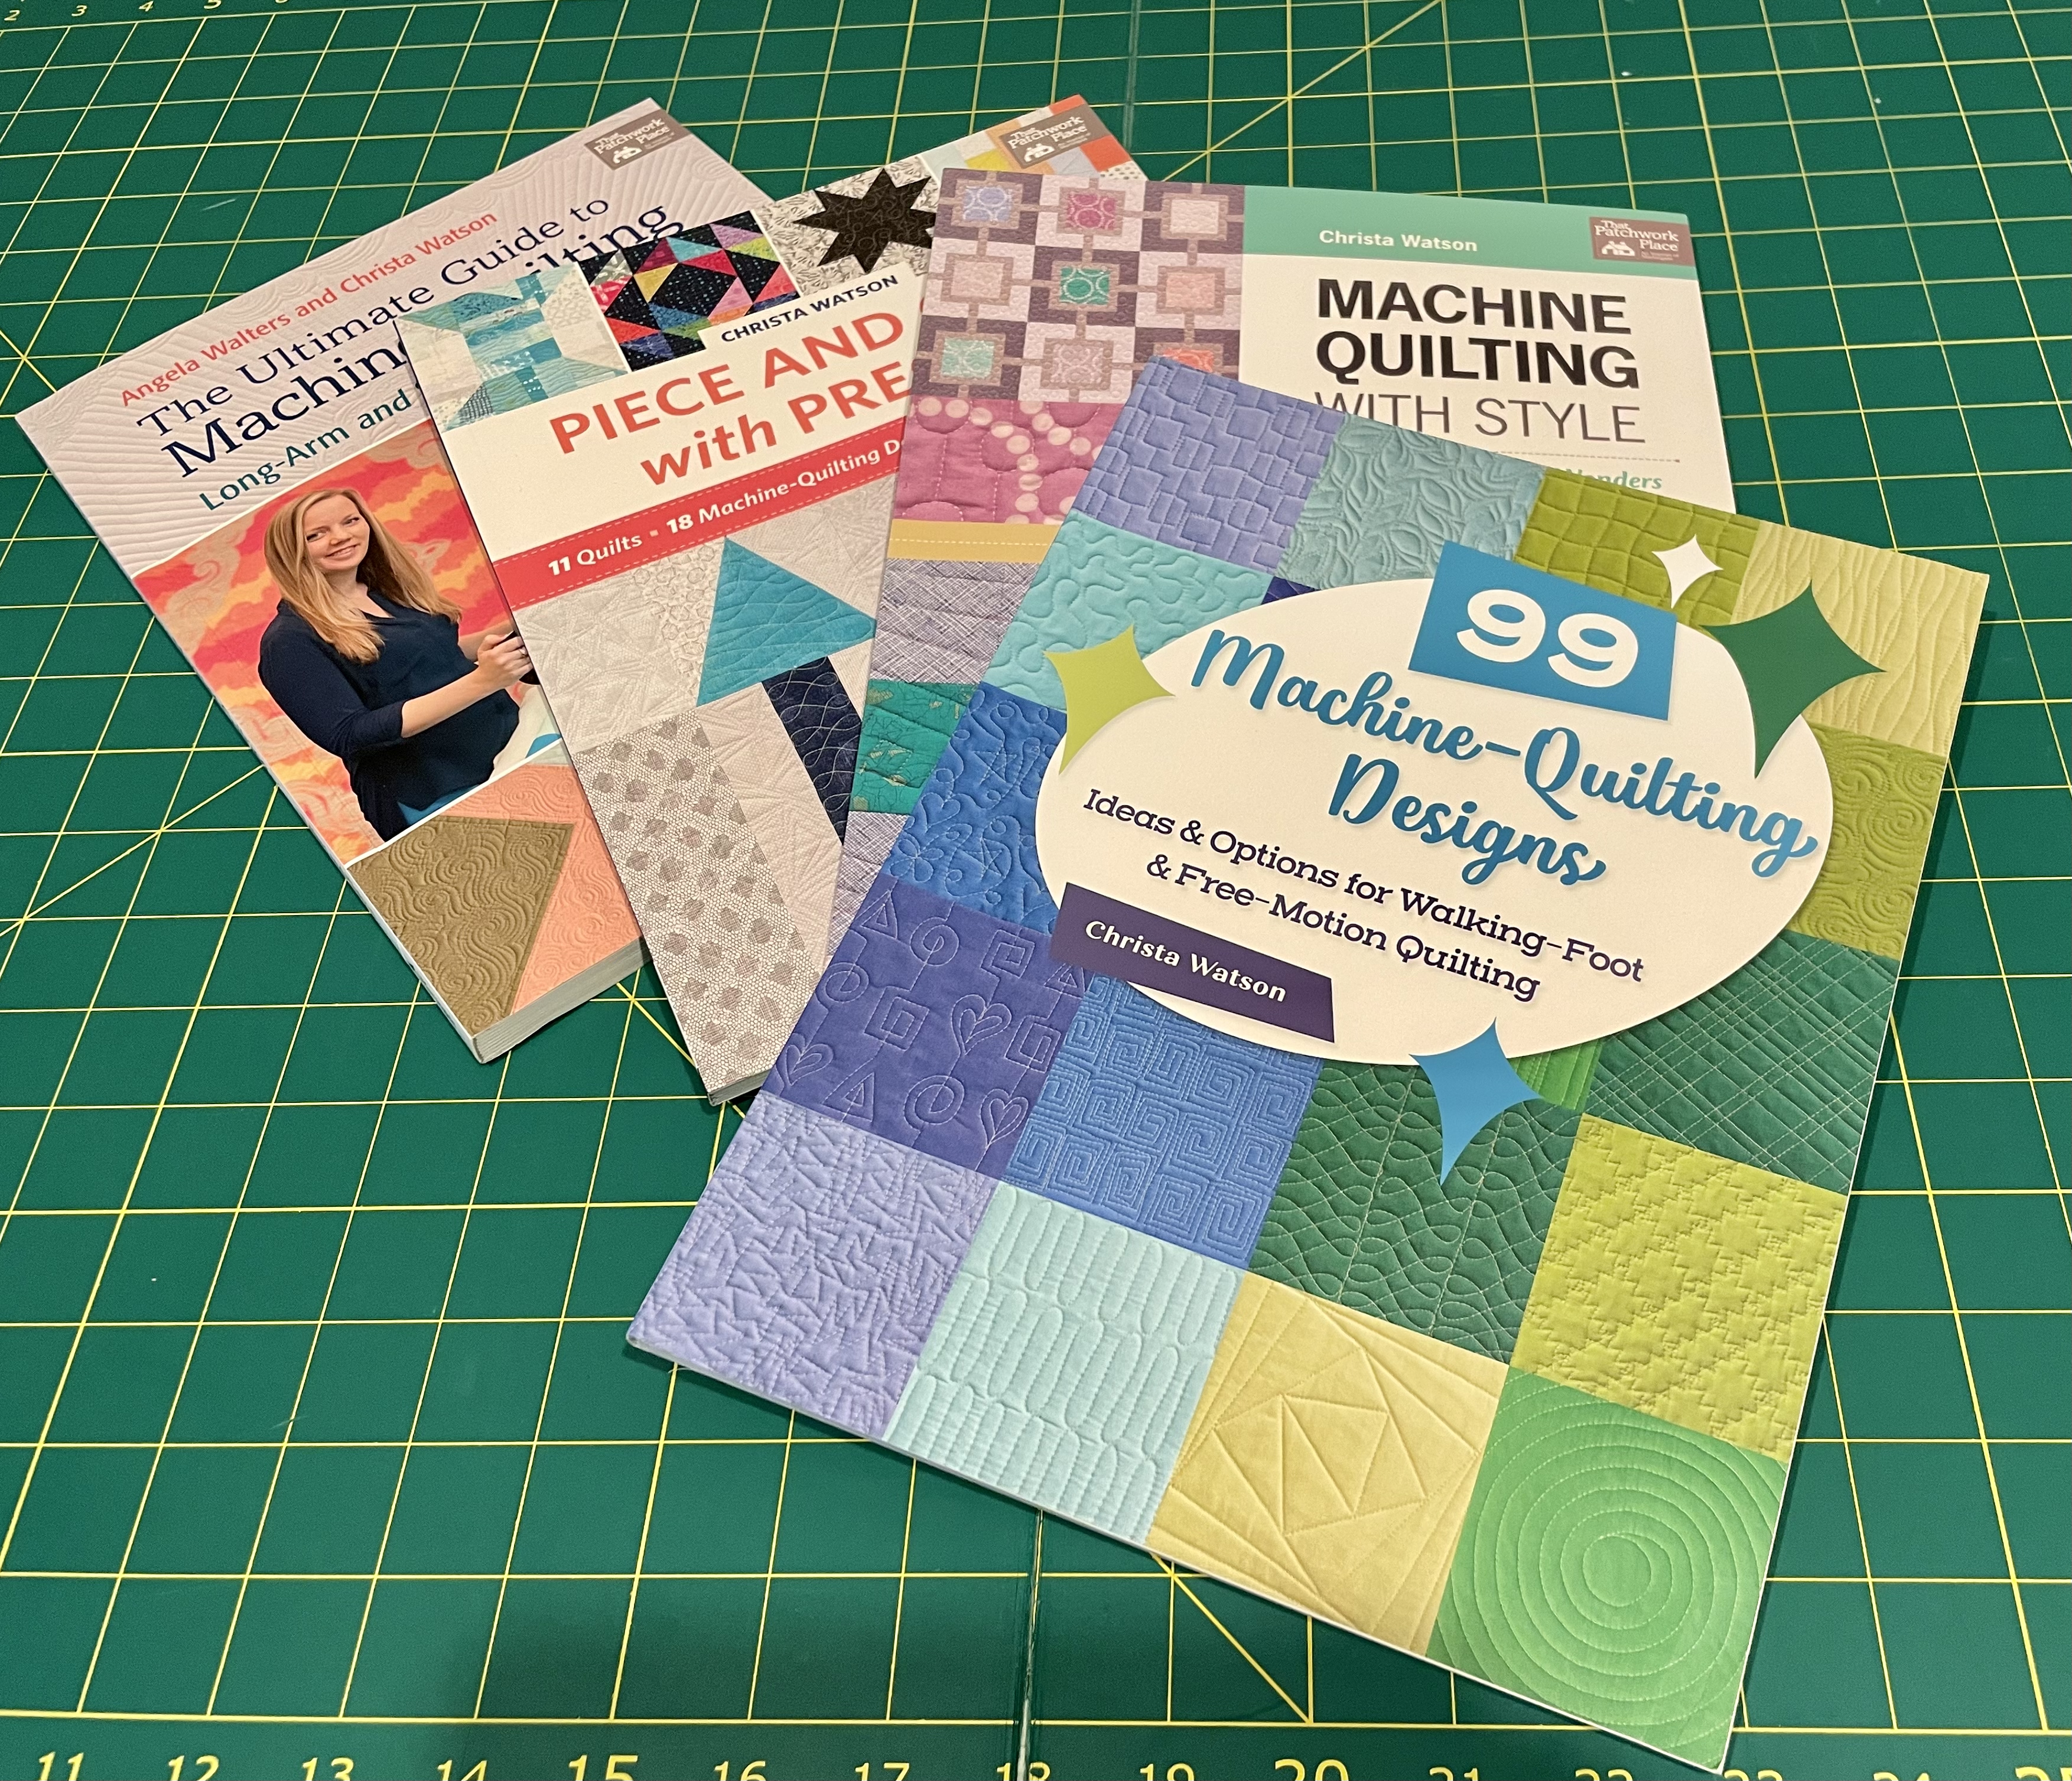
Grab My Book and Follow Along!
All of these designs can be found in my Book, 99 Machine Quilting Designs. The digital download includes images of each design, diagrams and step by step instructions showing how to quilt each design.
Click here to get 99 Machine Quilting Designs as a Digital Download.

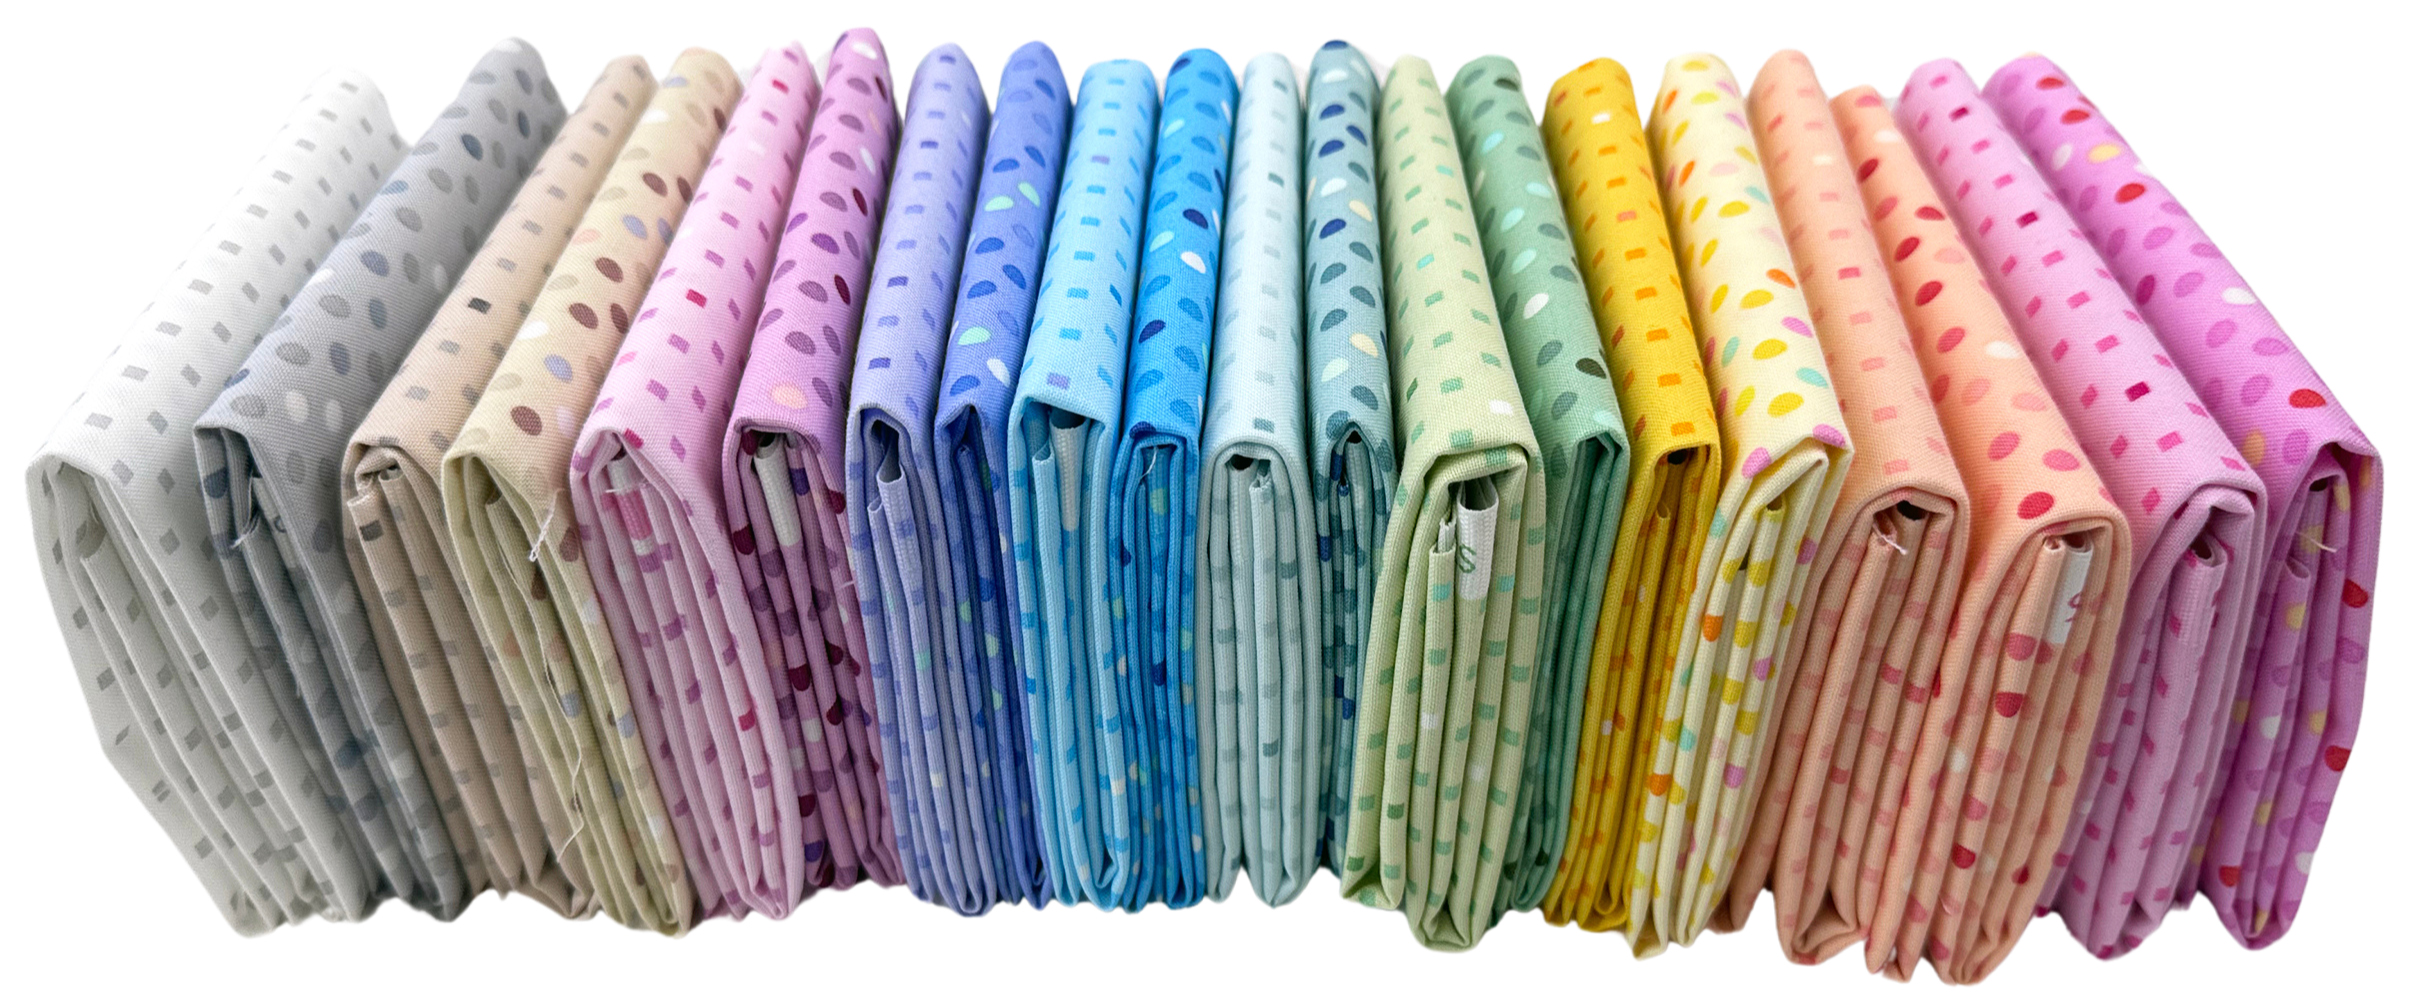
Grab Some Scrap Fabric to Make Practice Sandwiches!
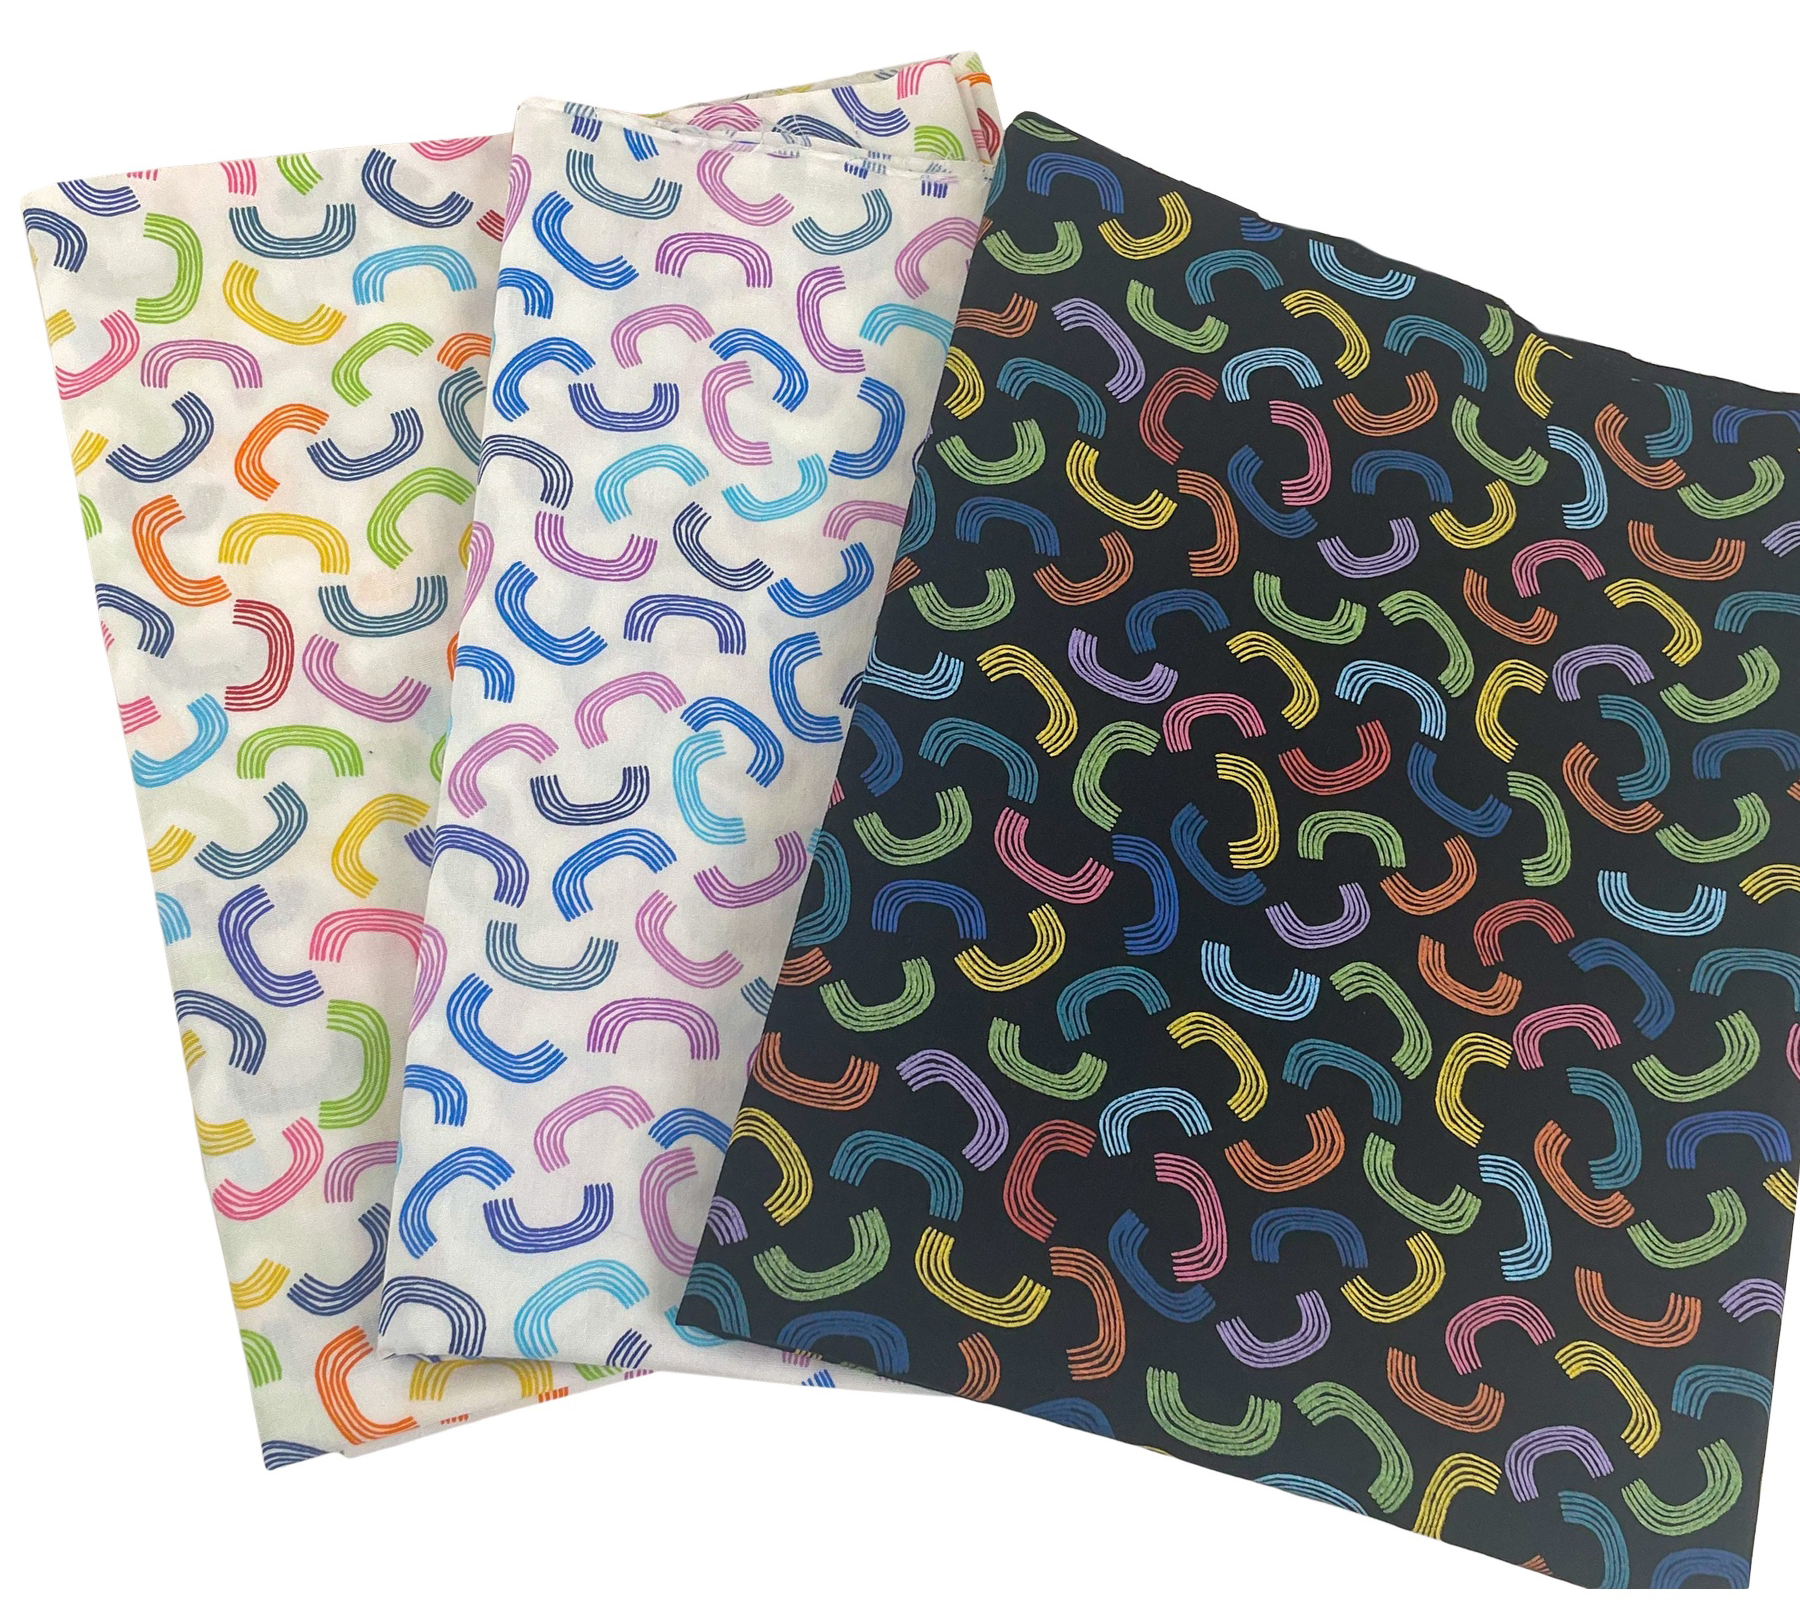
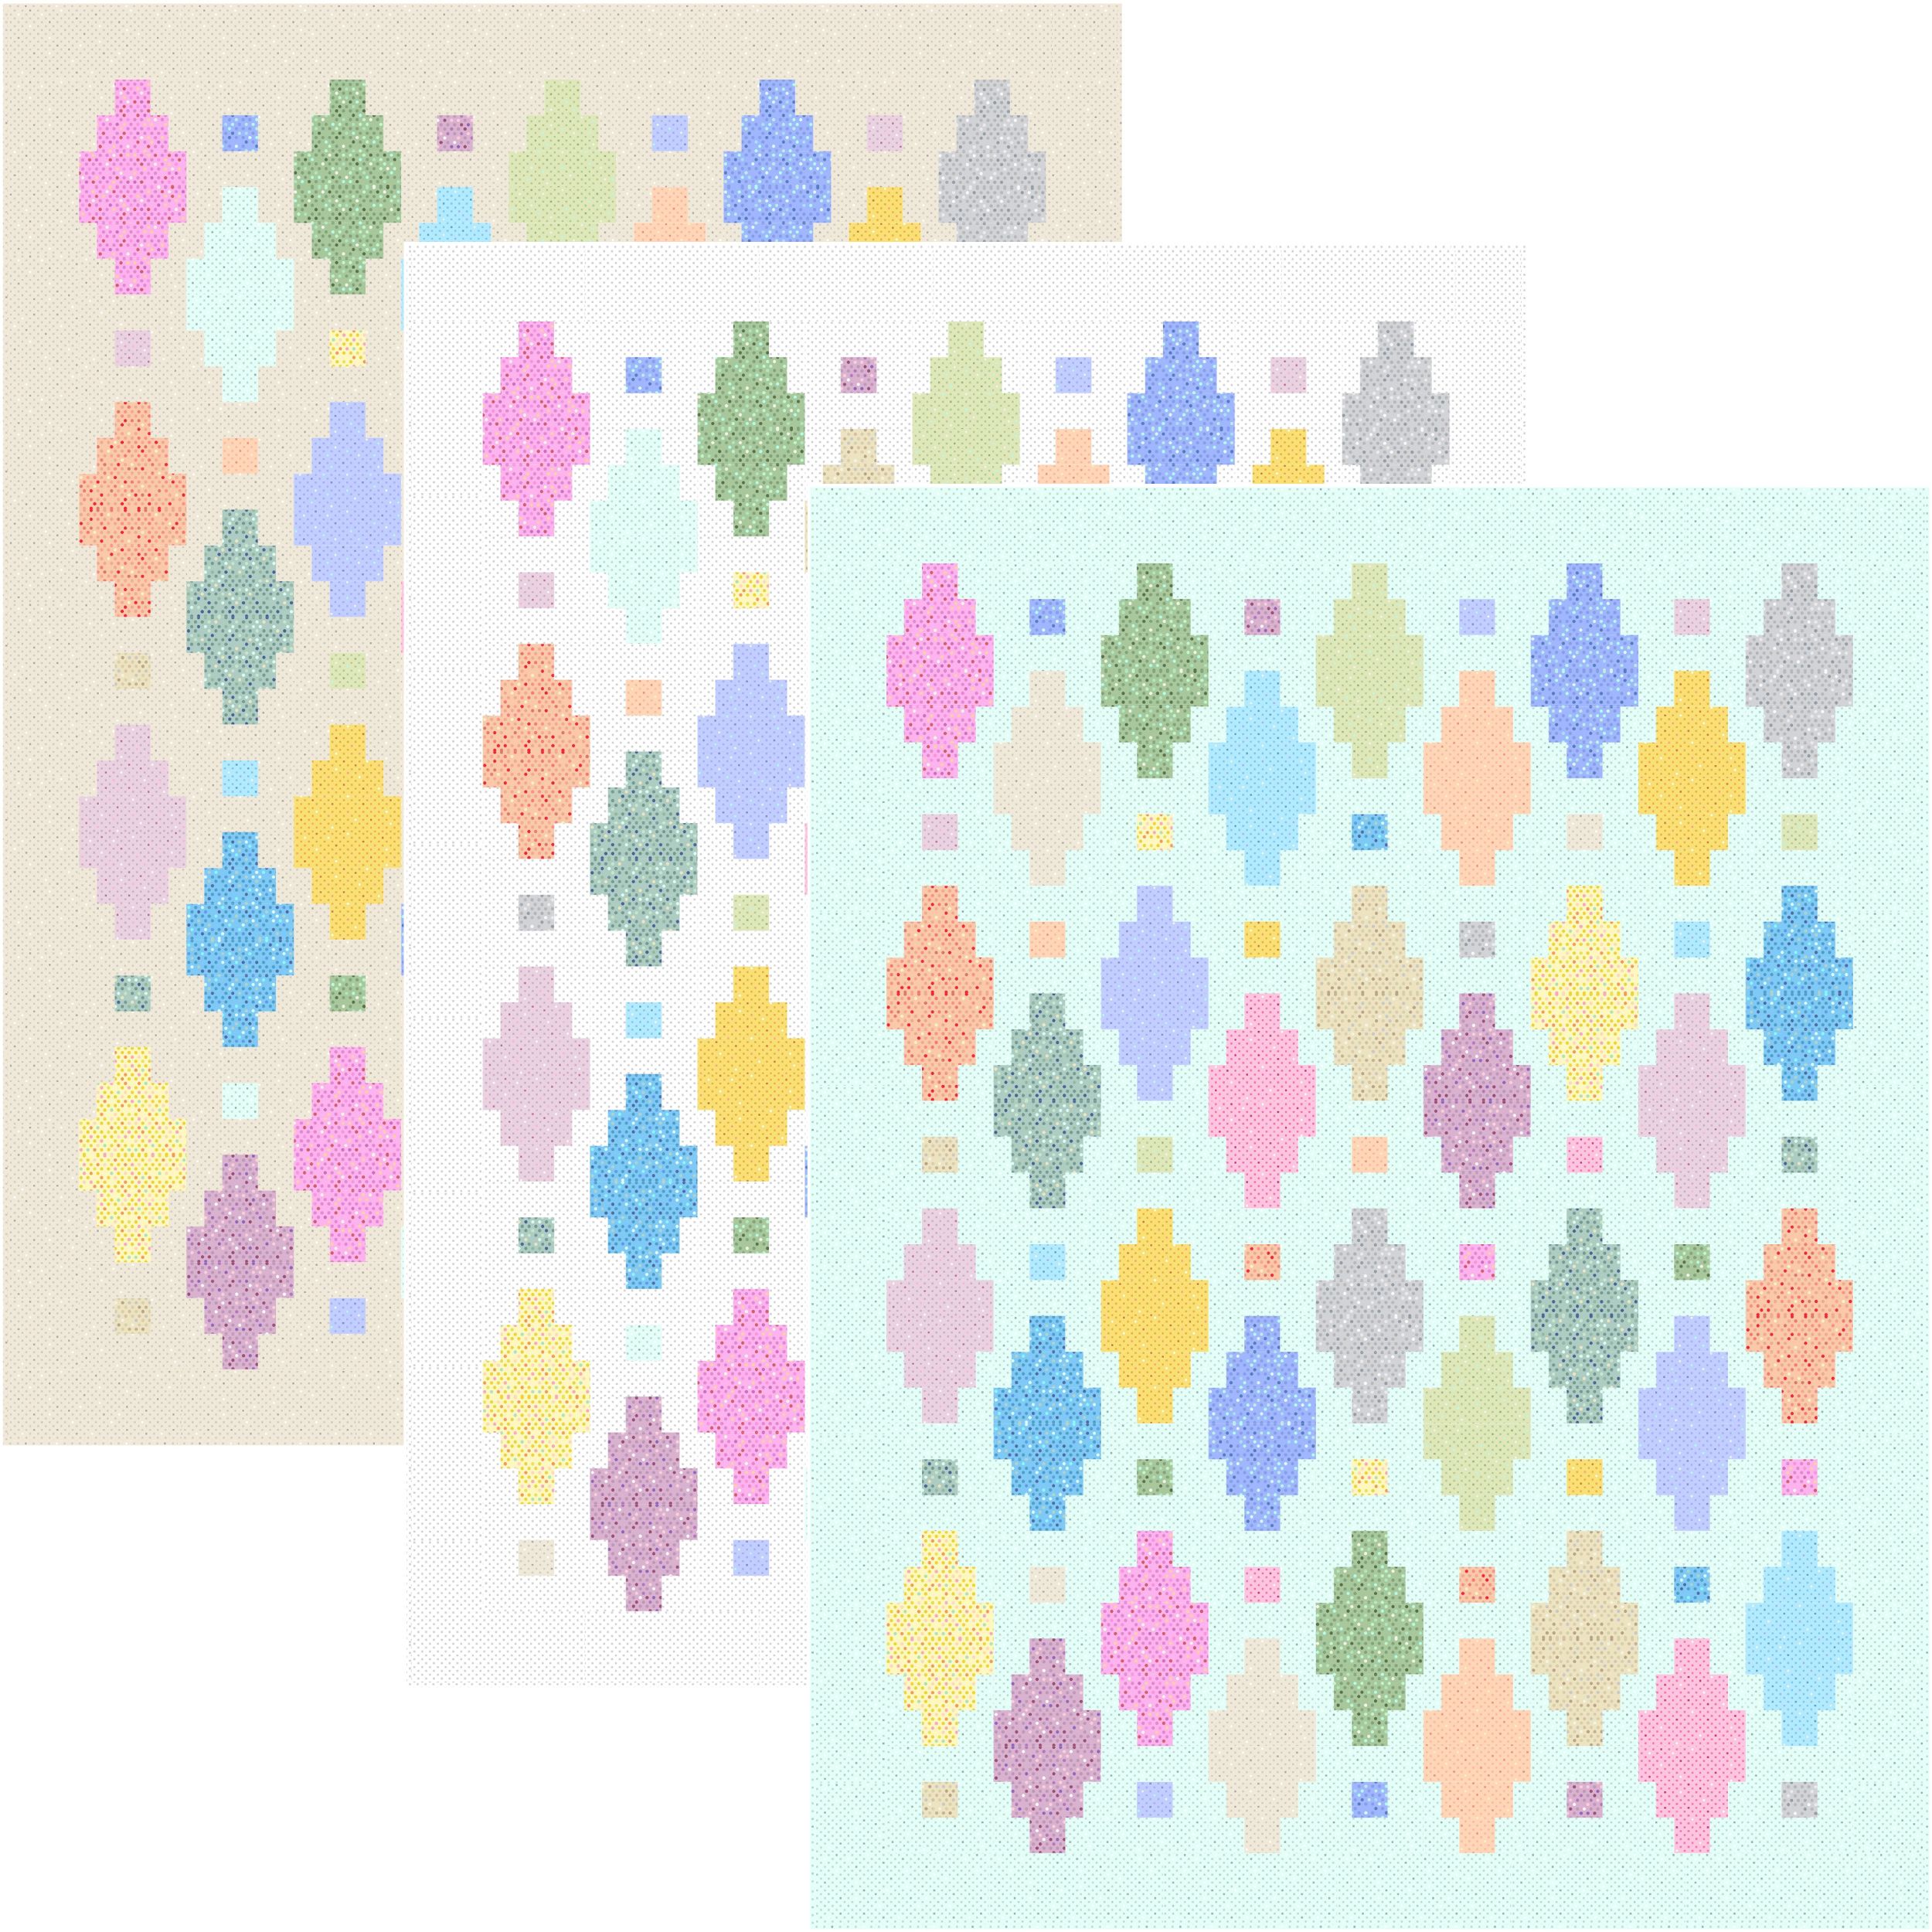
As a fabric designer, I love coming out with fun new fabric collections for you to play with. However, to keep things fresh, I’m clearing out the old to make way for the new! Be sure to check out my current clearance section to grab a great deal on yardage and bundles. These are great to use for quilting practice!!
Click here to shop my fabric clearance sale.