I’m pleased to announce that I’ll be teaching at Quilt Festival in Houston, TX this fall! This will be the third time I’ve taught at Festival, so I’m really excited to be returning again this year!
Click here for the full catalog and registration info.
Class Registration begins in June. Classes usually fill up fairly quickly, so I’m going to share the schedule of which classes I’ll be teaching and when, so you can be ready once registration opens:
Sketch It, Then Quilt It
Tuesday, October 7: 2-5 PM
Learn how to create a quilting plan for your quilt! This hands-on workshop will allow students to create their own original designs using printed images of their quilts as well as how to create specific plans for a variety of different quilts.

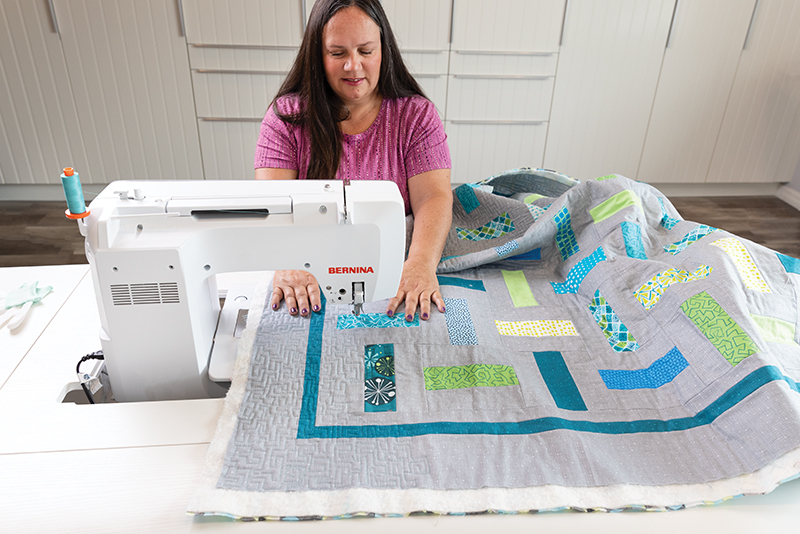
Walking Foot Bootcamp
Wednesday, October 8th: 9AM-5PM
In this full day session, students will learn how to quilt a variety of walking foot quilting designs on their domestic sewing machine. I’ll also go over how you would apply these designs to actual, full sized quilts. Whether you are a beginner or want to learn a few extra tips and tricks, this is the class for you!

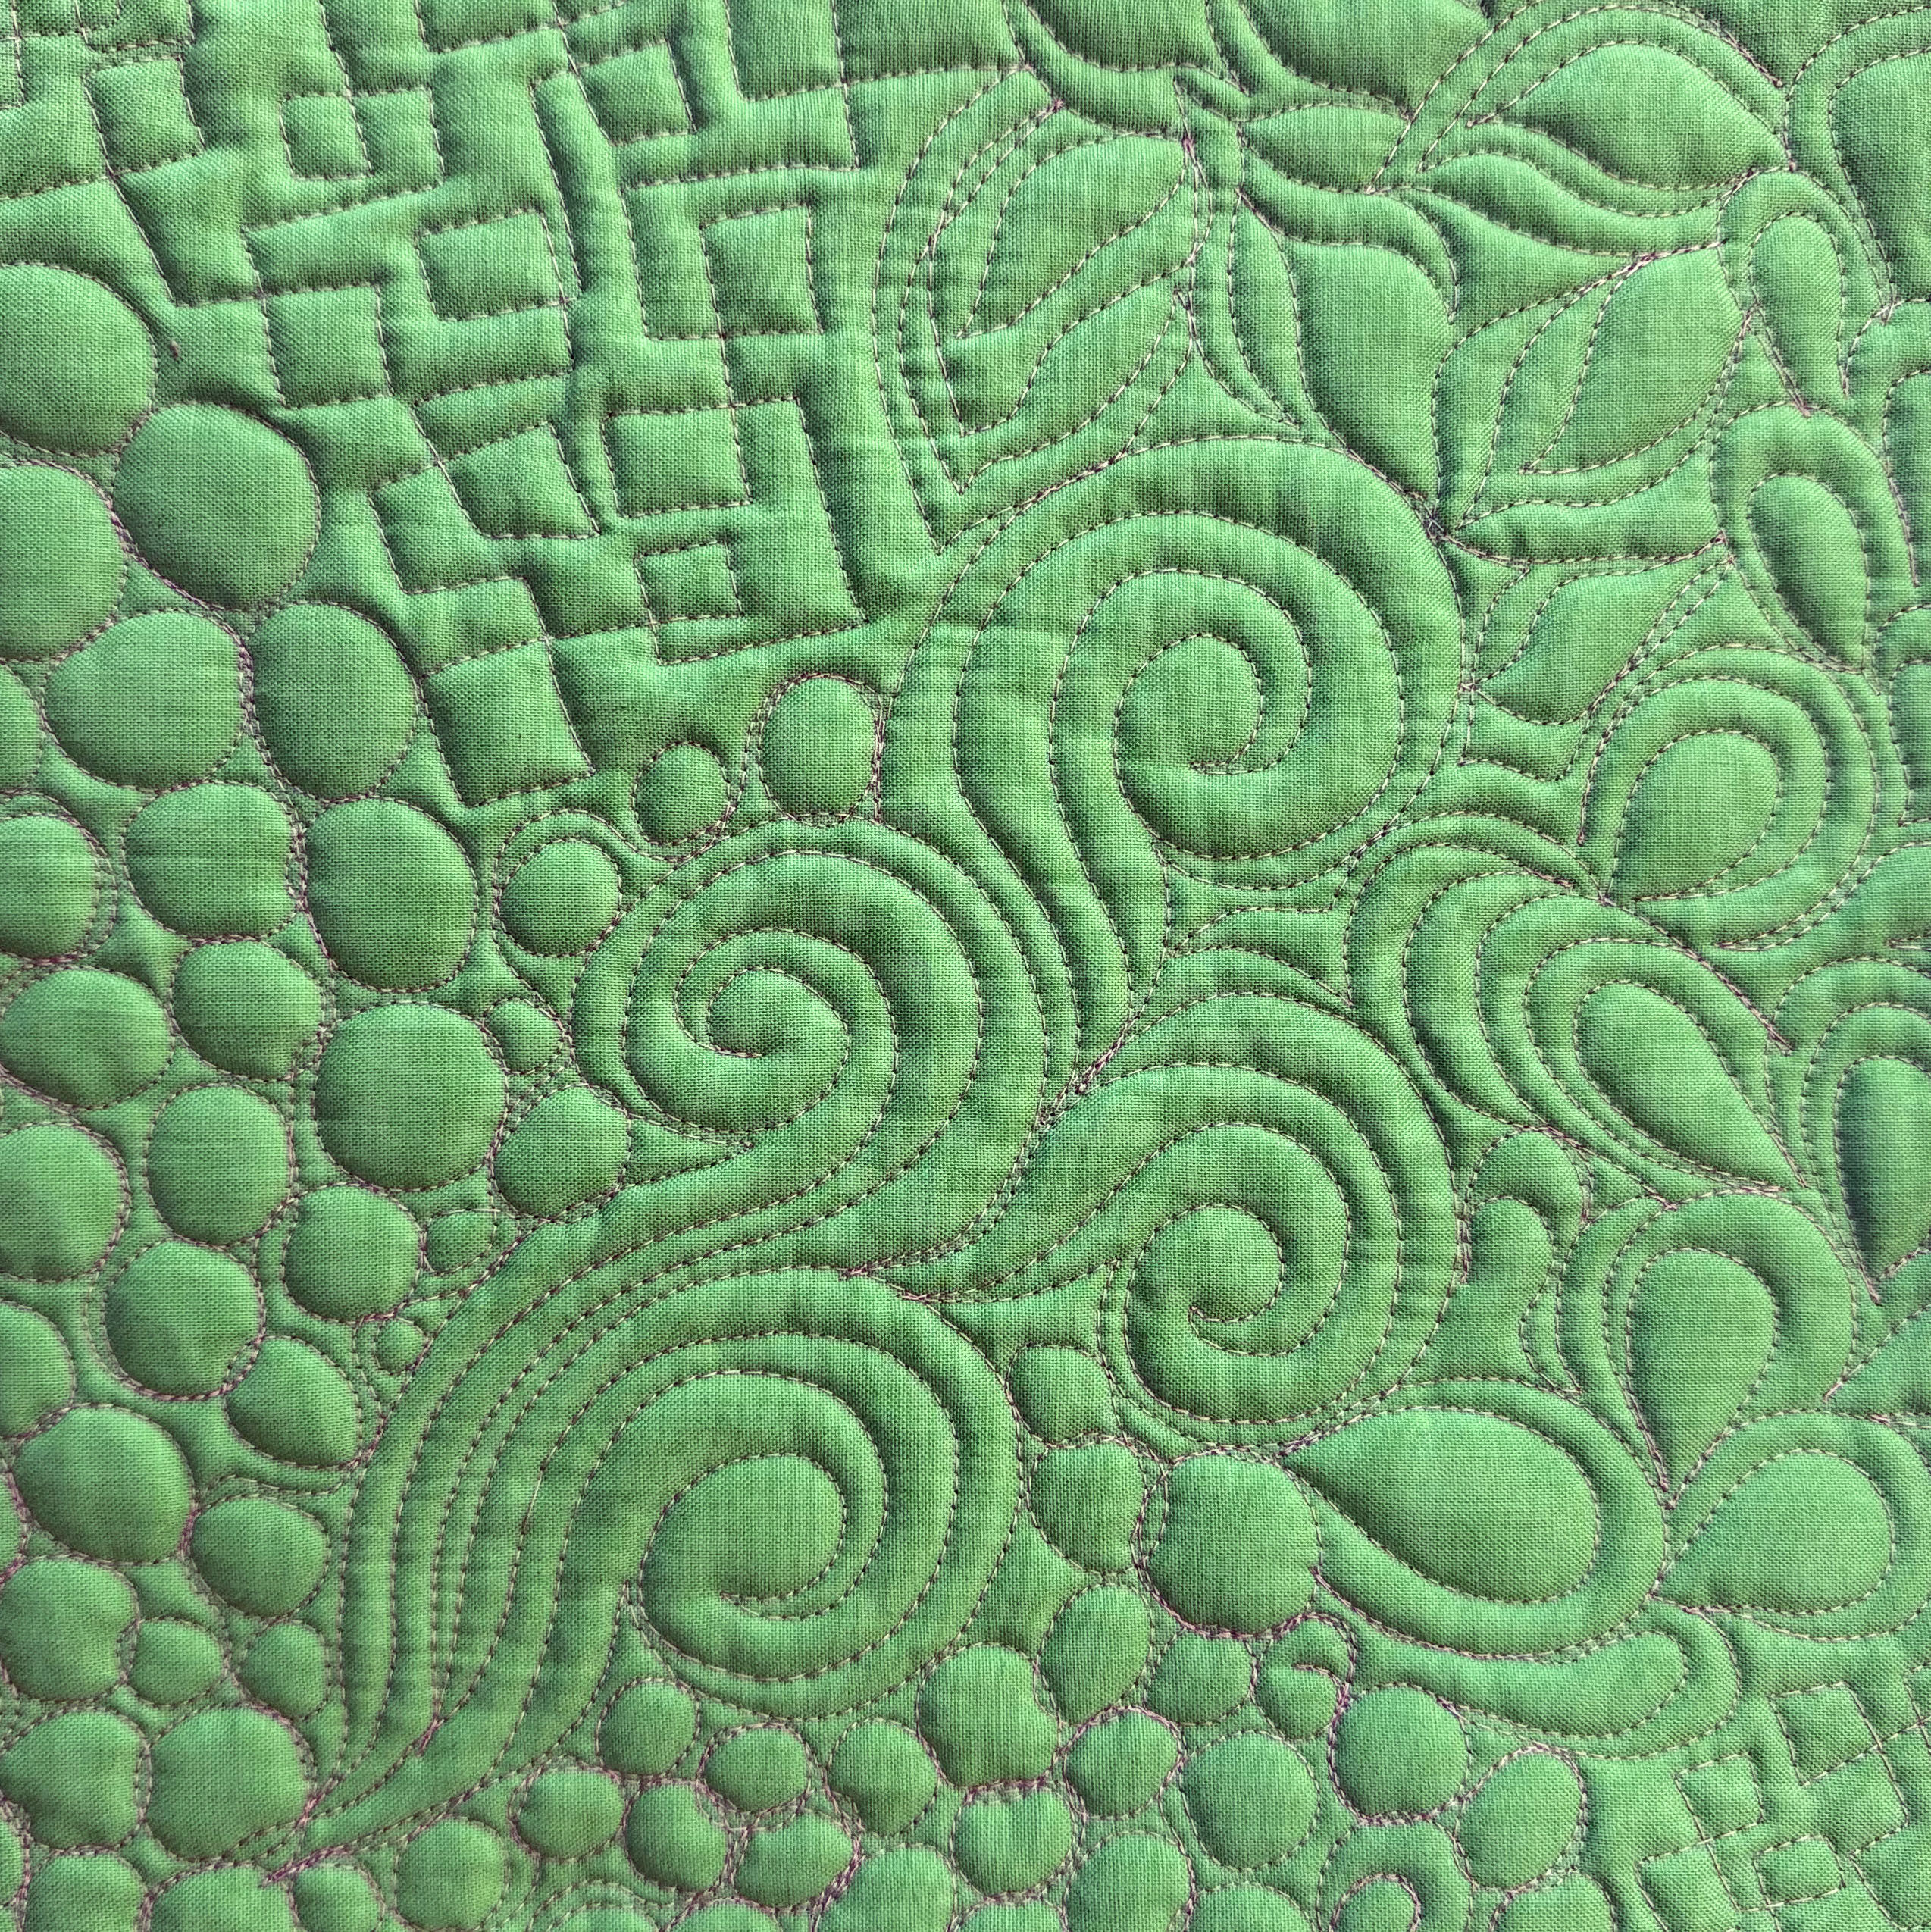
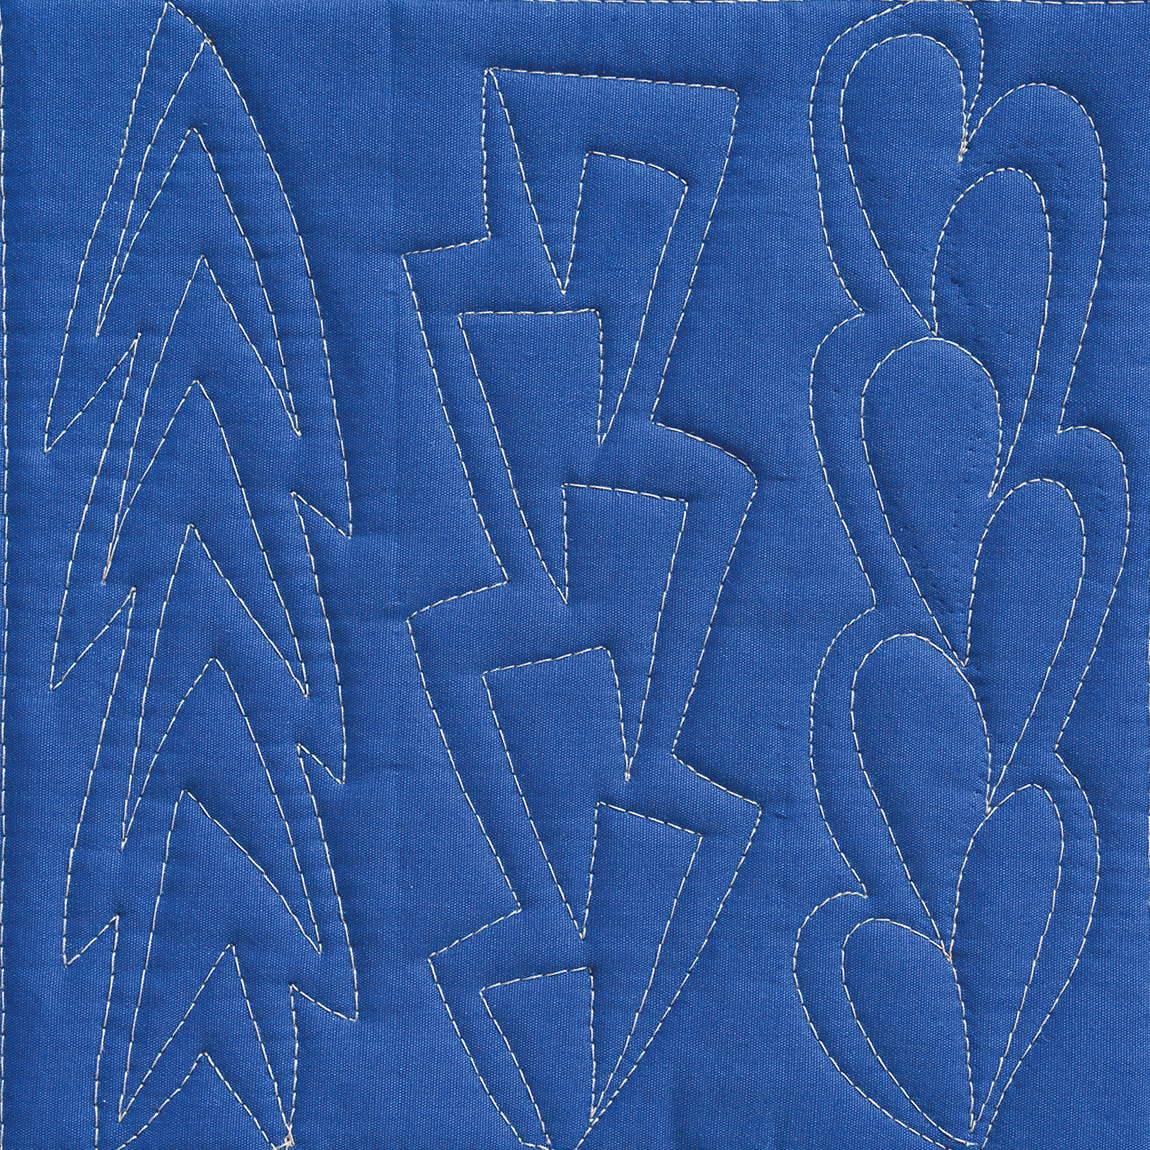
Improv Free Motion Quilting
Thursday, October 9: 9-Noon
This jam-packed class will teach how to combine and design two or more filler motifs into something entirely new. Students will practice drawing the designs on paper, then apply what they’ve learned to sample swatches or orphan blocks.

Modern Machine Quilting Lecture
Thursday October 9: 12:45-1:45 PM
This informative lecture demonstrates how the modern aesthetic applies to the machine quilting process. Learn how negative space, minimalism, graphic geometry, improvisation and other hallmarks of the modern aesthetic can be incorporated into your machine quilting work.
Free Motion Bootcamp
Friday, October 10: 9AM-5PM
In this full day class, learn the basics of free-motion quilting! We’ll explore a wide range of motifs that will look good on any quilt from modern to traditional. You’ll leave class armed with the confidence that yes, you can quilt your own quilts!

Modern Free Motion Feathers
Saturday, October 11: 9AM-12PM
This is a brand new class that I’m so excited to debut at Festival! Students will learn basic feather plume shapes, then build upon those shapes to create entirely new designs. They’ll explore a variety of options such as echo feathers, swirl feathers, “broken” feathers, and many more!

Perfectly Imperfect Free-Motion Swirls
Saturday, October 11: 2-5PM
In this class, students will learn how to form the basic swirl shape, then branch off in many different directions as they discover their own signature swirl! Ideas to explore include the wonky swirl, the flower swirl, the elongated swirl, the packed swirl, and many more.

I sure hope I’ll be able to see you at the show. If you can’t catch me in Houston, here’s a link to my traveling and teaching schedule! I love traveling and teaching all over the world and would love to come to a location near you!