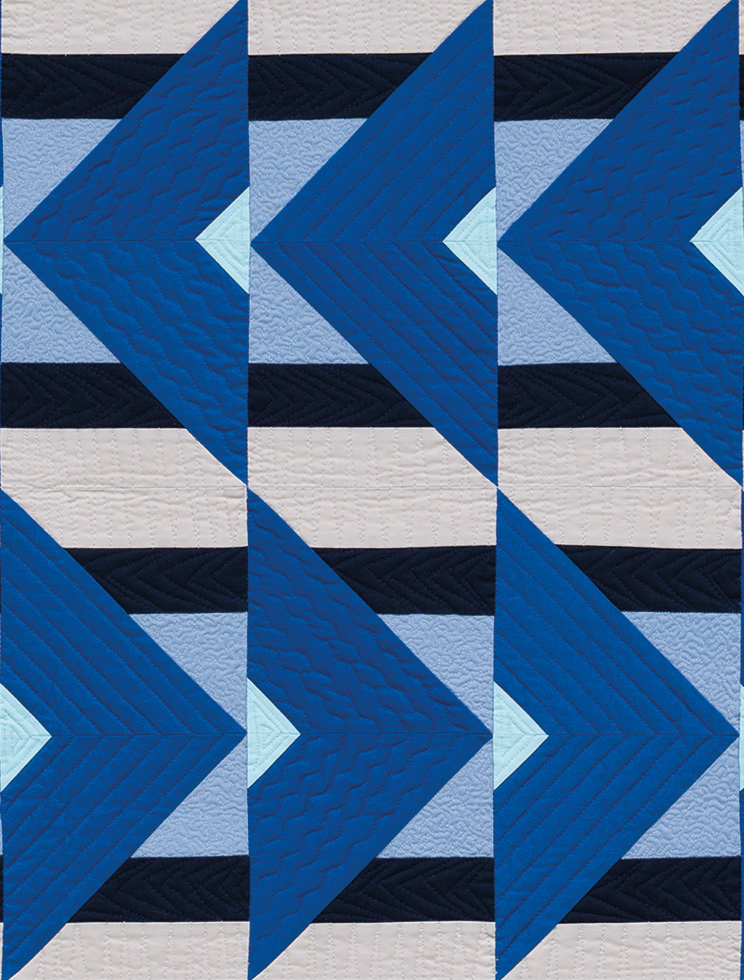
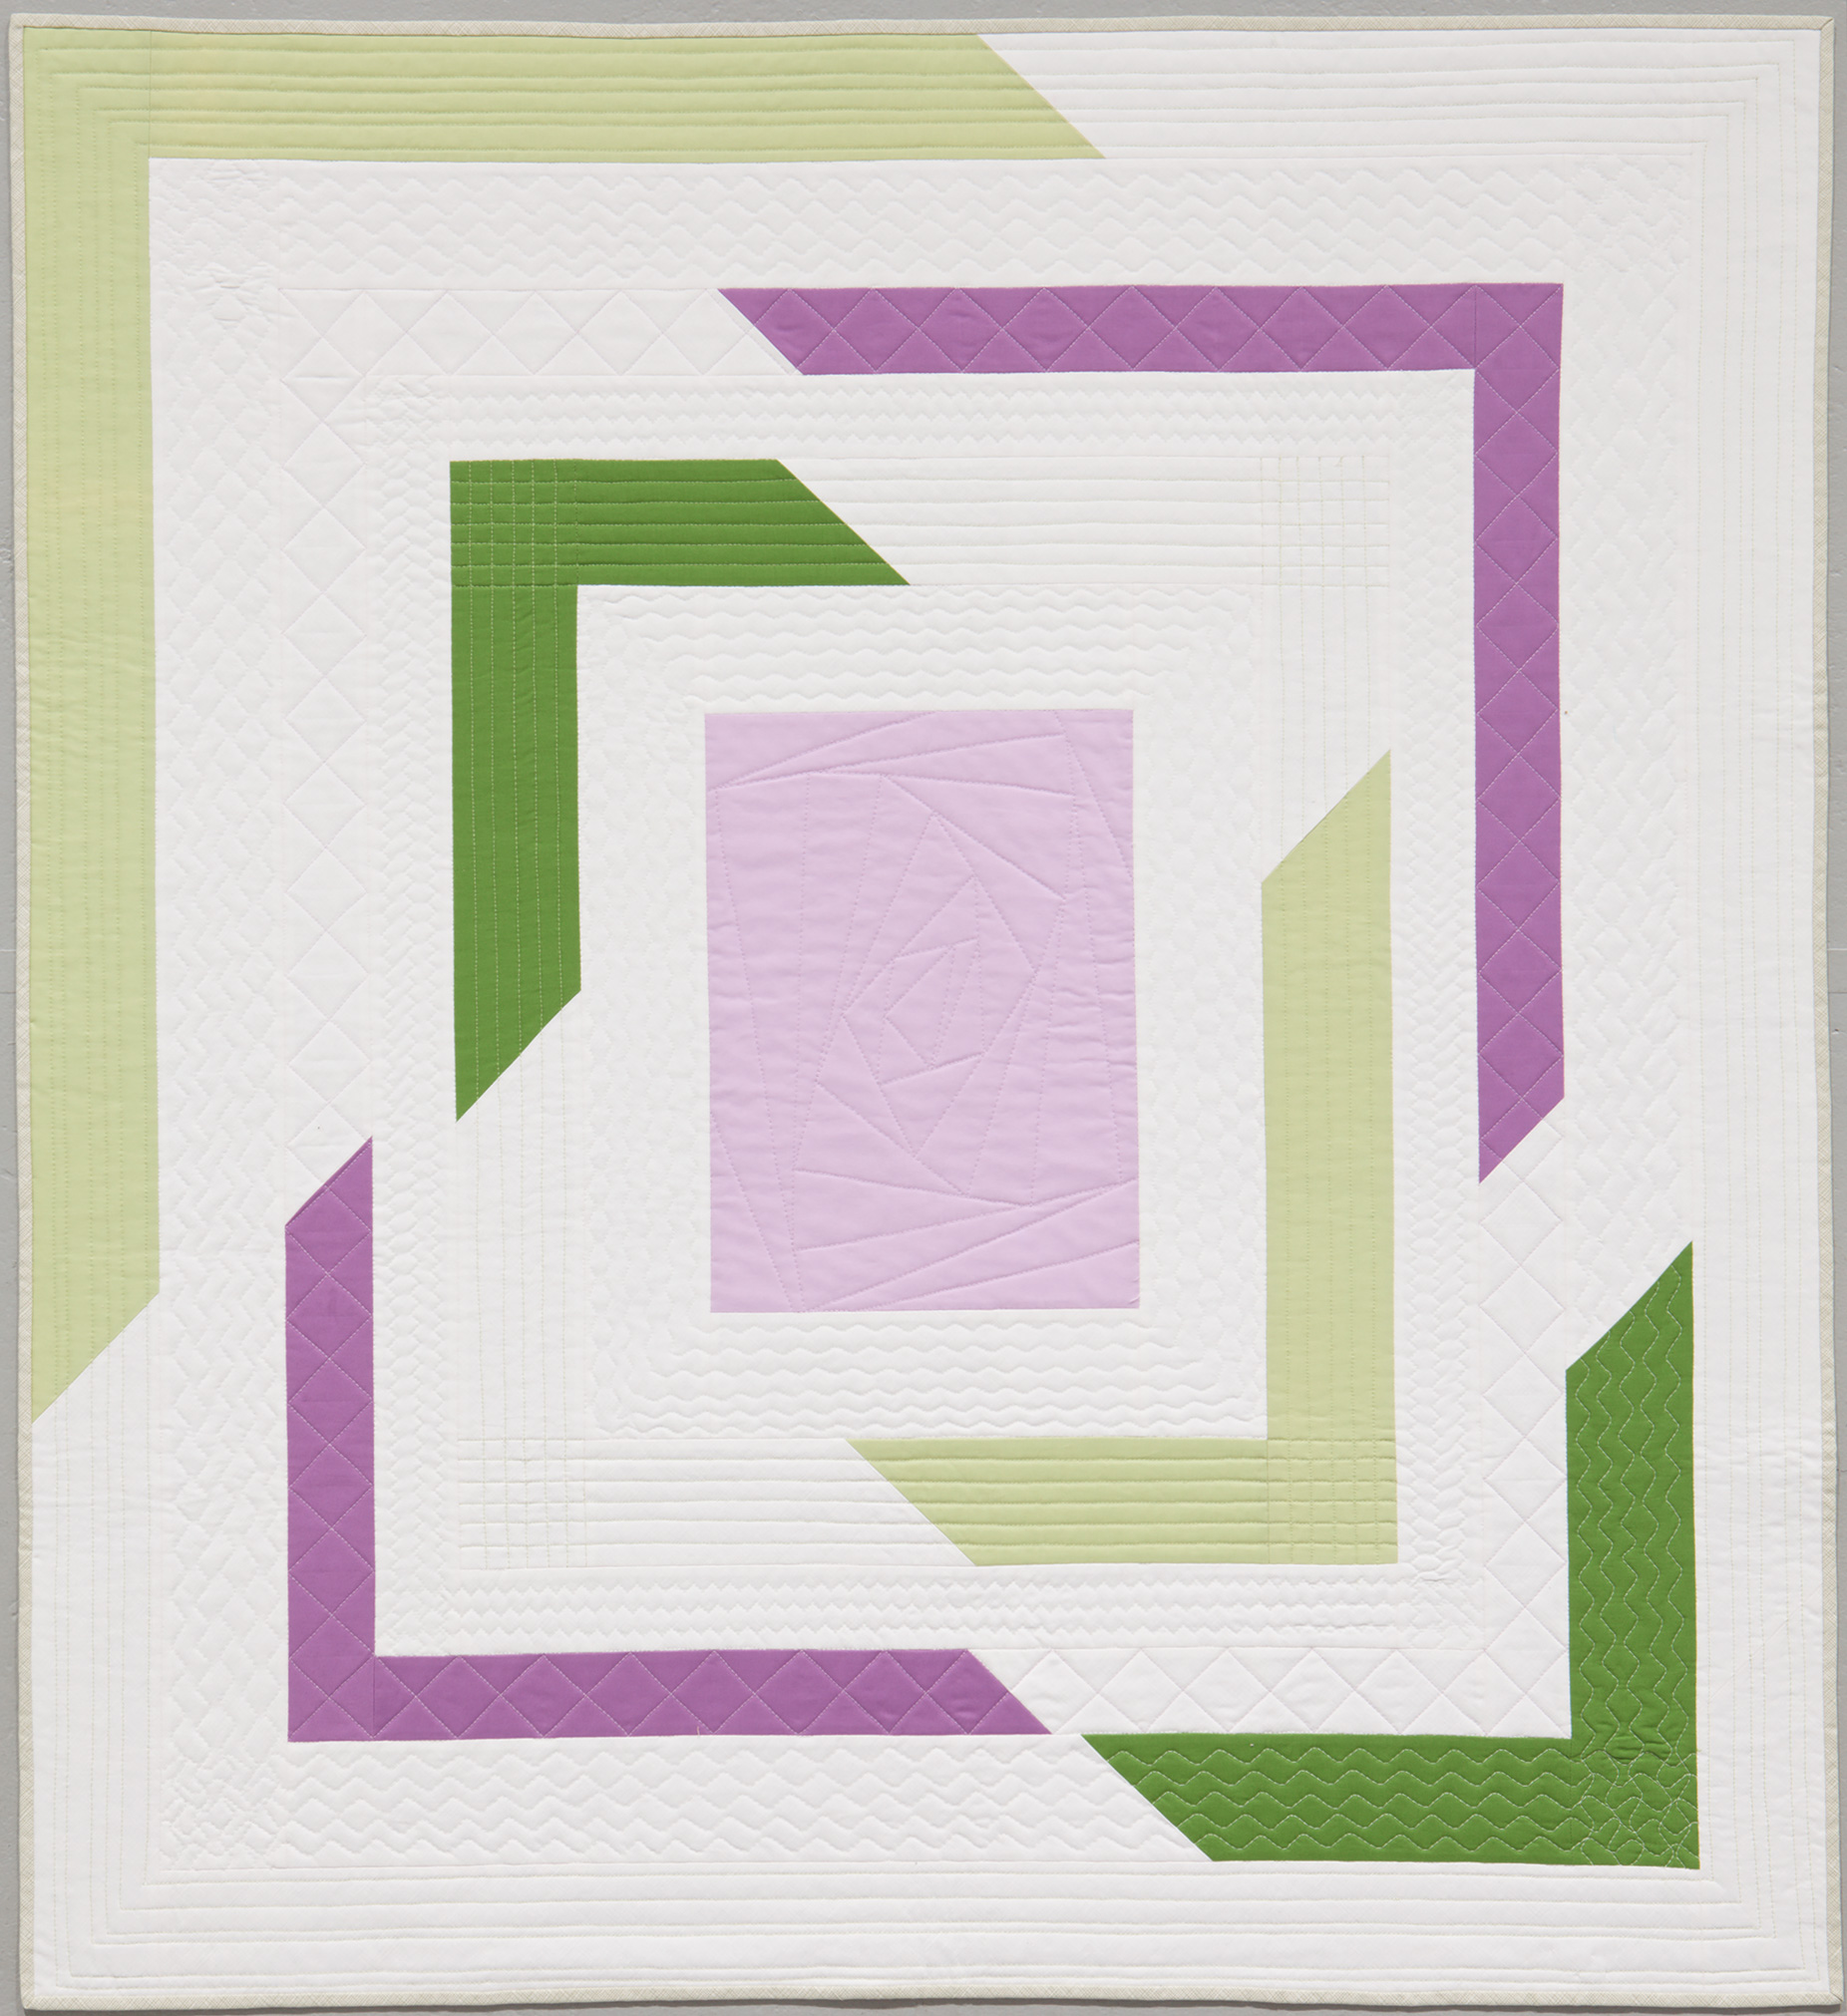
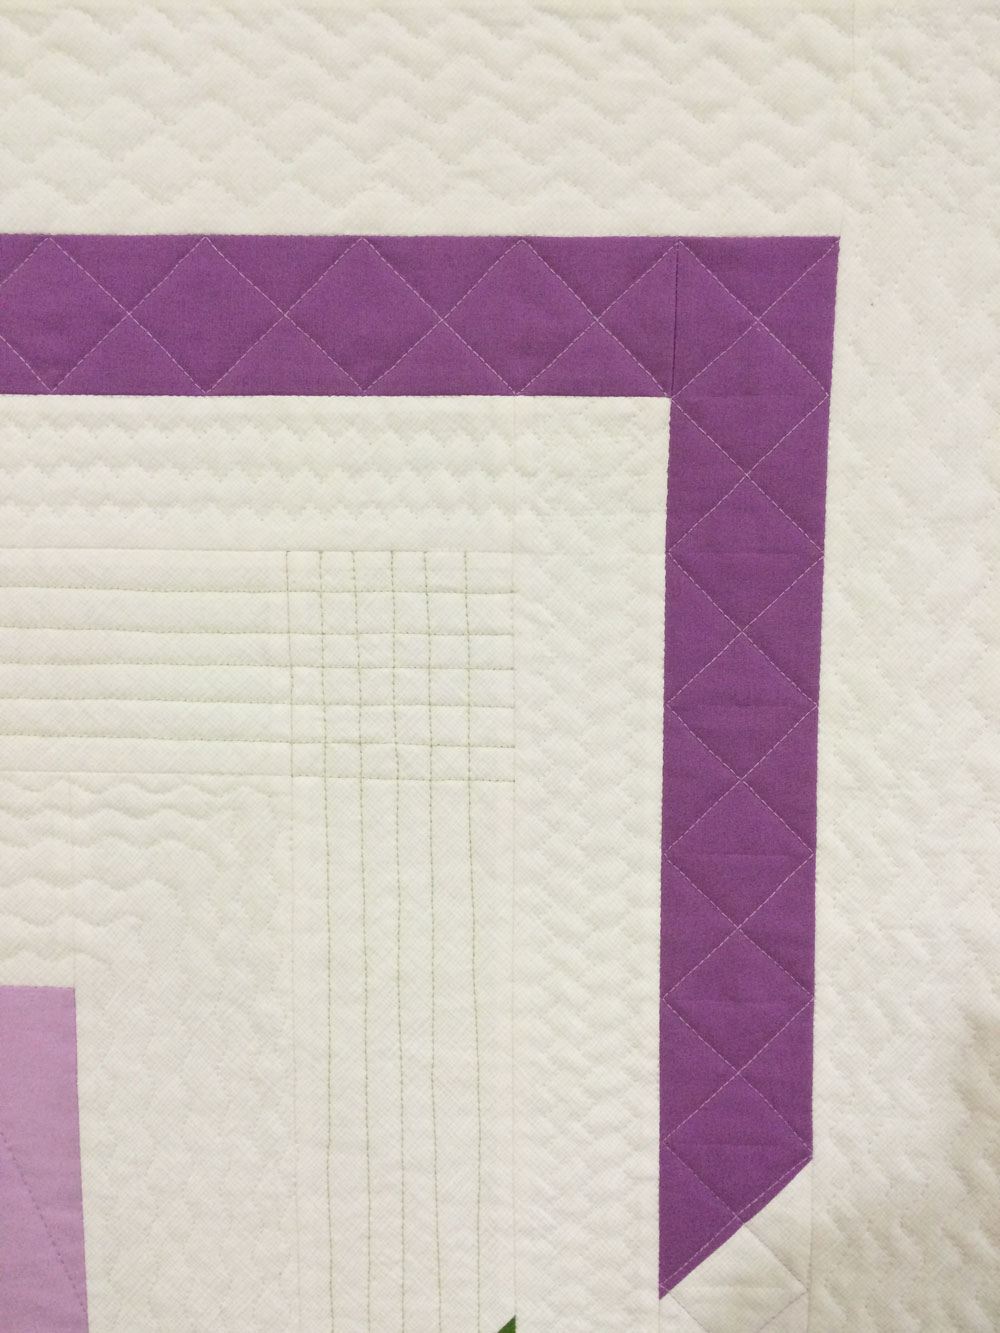
One of my favorite free-motion quilting techniques to do is combining two different designs for a unique stitch combination. That’s what I did in this week’s video. Combine spirals and pebbles to make Swirls & Pearls! Watch the video on my YouTube channel by clicking the image below:
Make My Block Chain Quilt
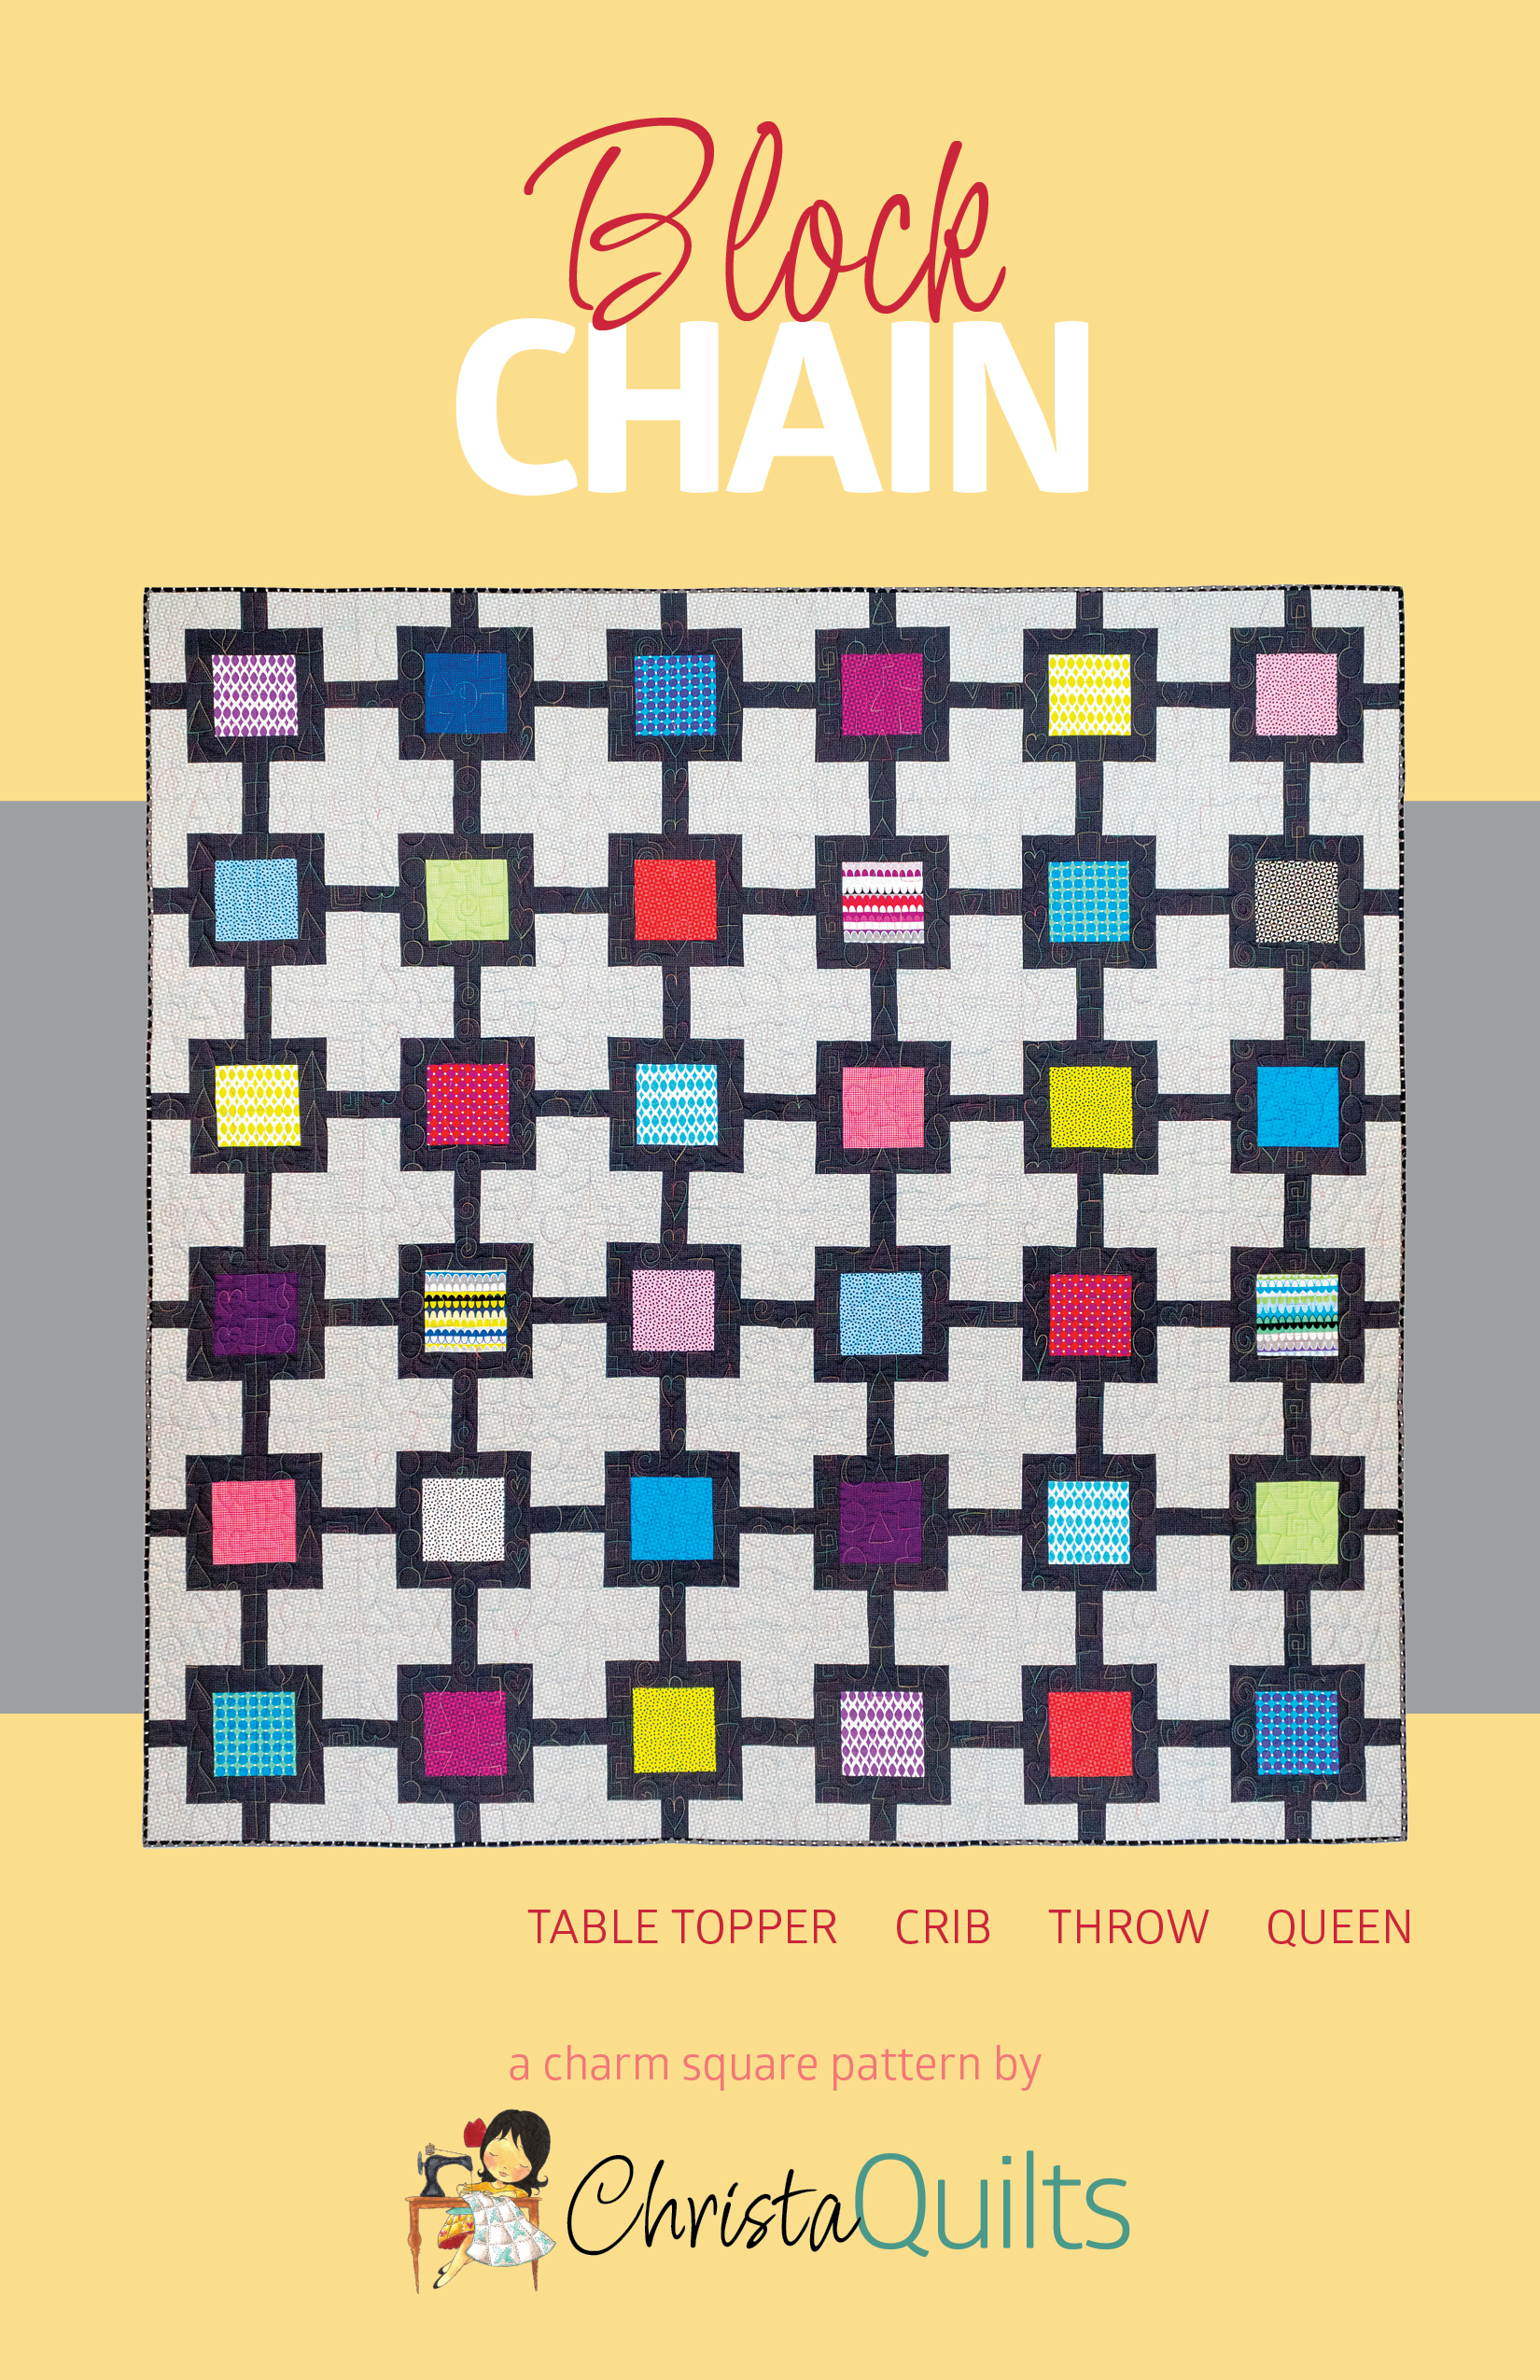
This week’s featured quilt is called Block Chain. I’ve made it twice over the years and it’s the perfect pattern to showcase a set of charm packs. Pair them up with light and dark accent fabrics for a quick make! You can grab the quilt pattern to make this quilt either in print (while supplies last) or as a PDF digital download.
Can you believe this is the penultimate episode in this series? Stay tuned for next week for the final chapter in this series. Just remember, these free machine quilting videos will stay up indefinitely so you can watch them as many times as you wish!
Welcome to Week 1 of Daisy Chain quilt along! We will dive right into cutting all of our pieces to make this quilt. I’m making 2 versions of the quilt in the throw size, but you can make any size you wish!
If you are just joining in, be sure to ask for the Daisy Chain quilt pattern from your favorite local quilt shop! (Shops can order it through Riley Blake, Checker, or EE Schenck.)
Stay Organized!
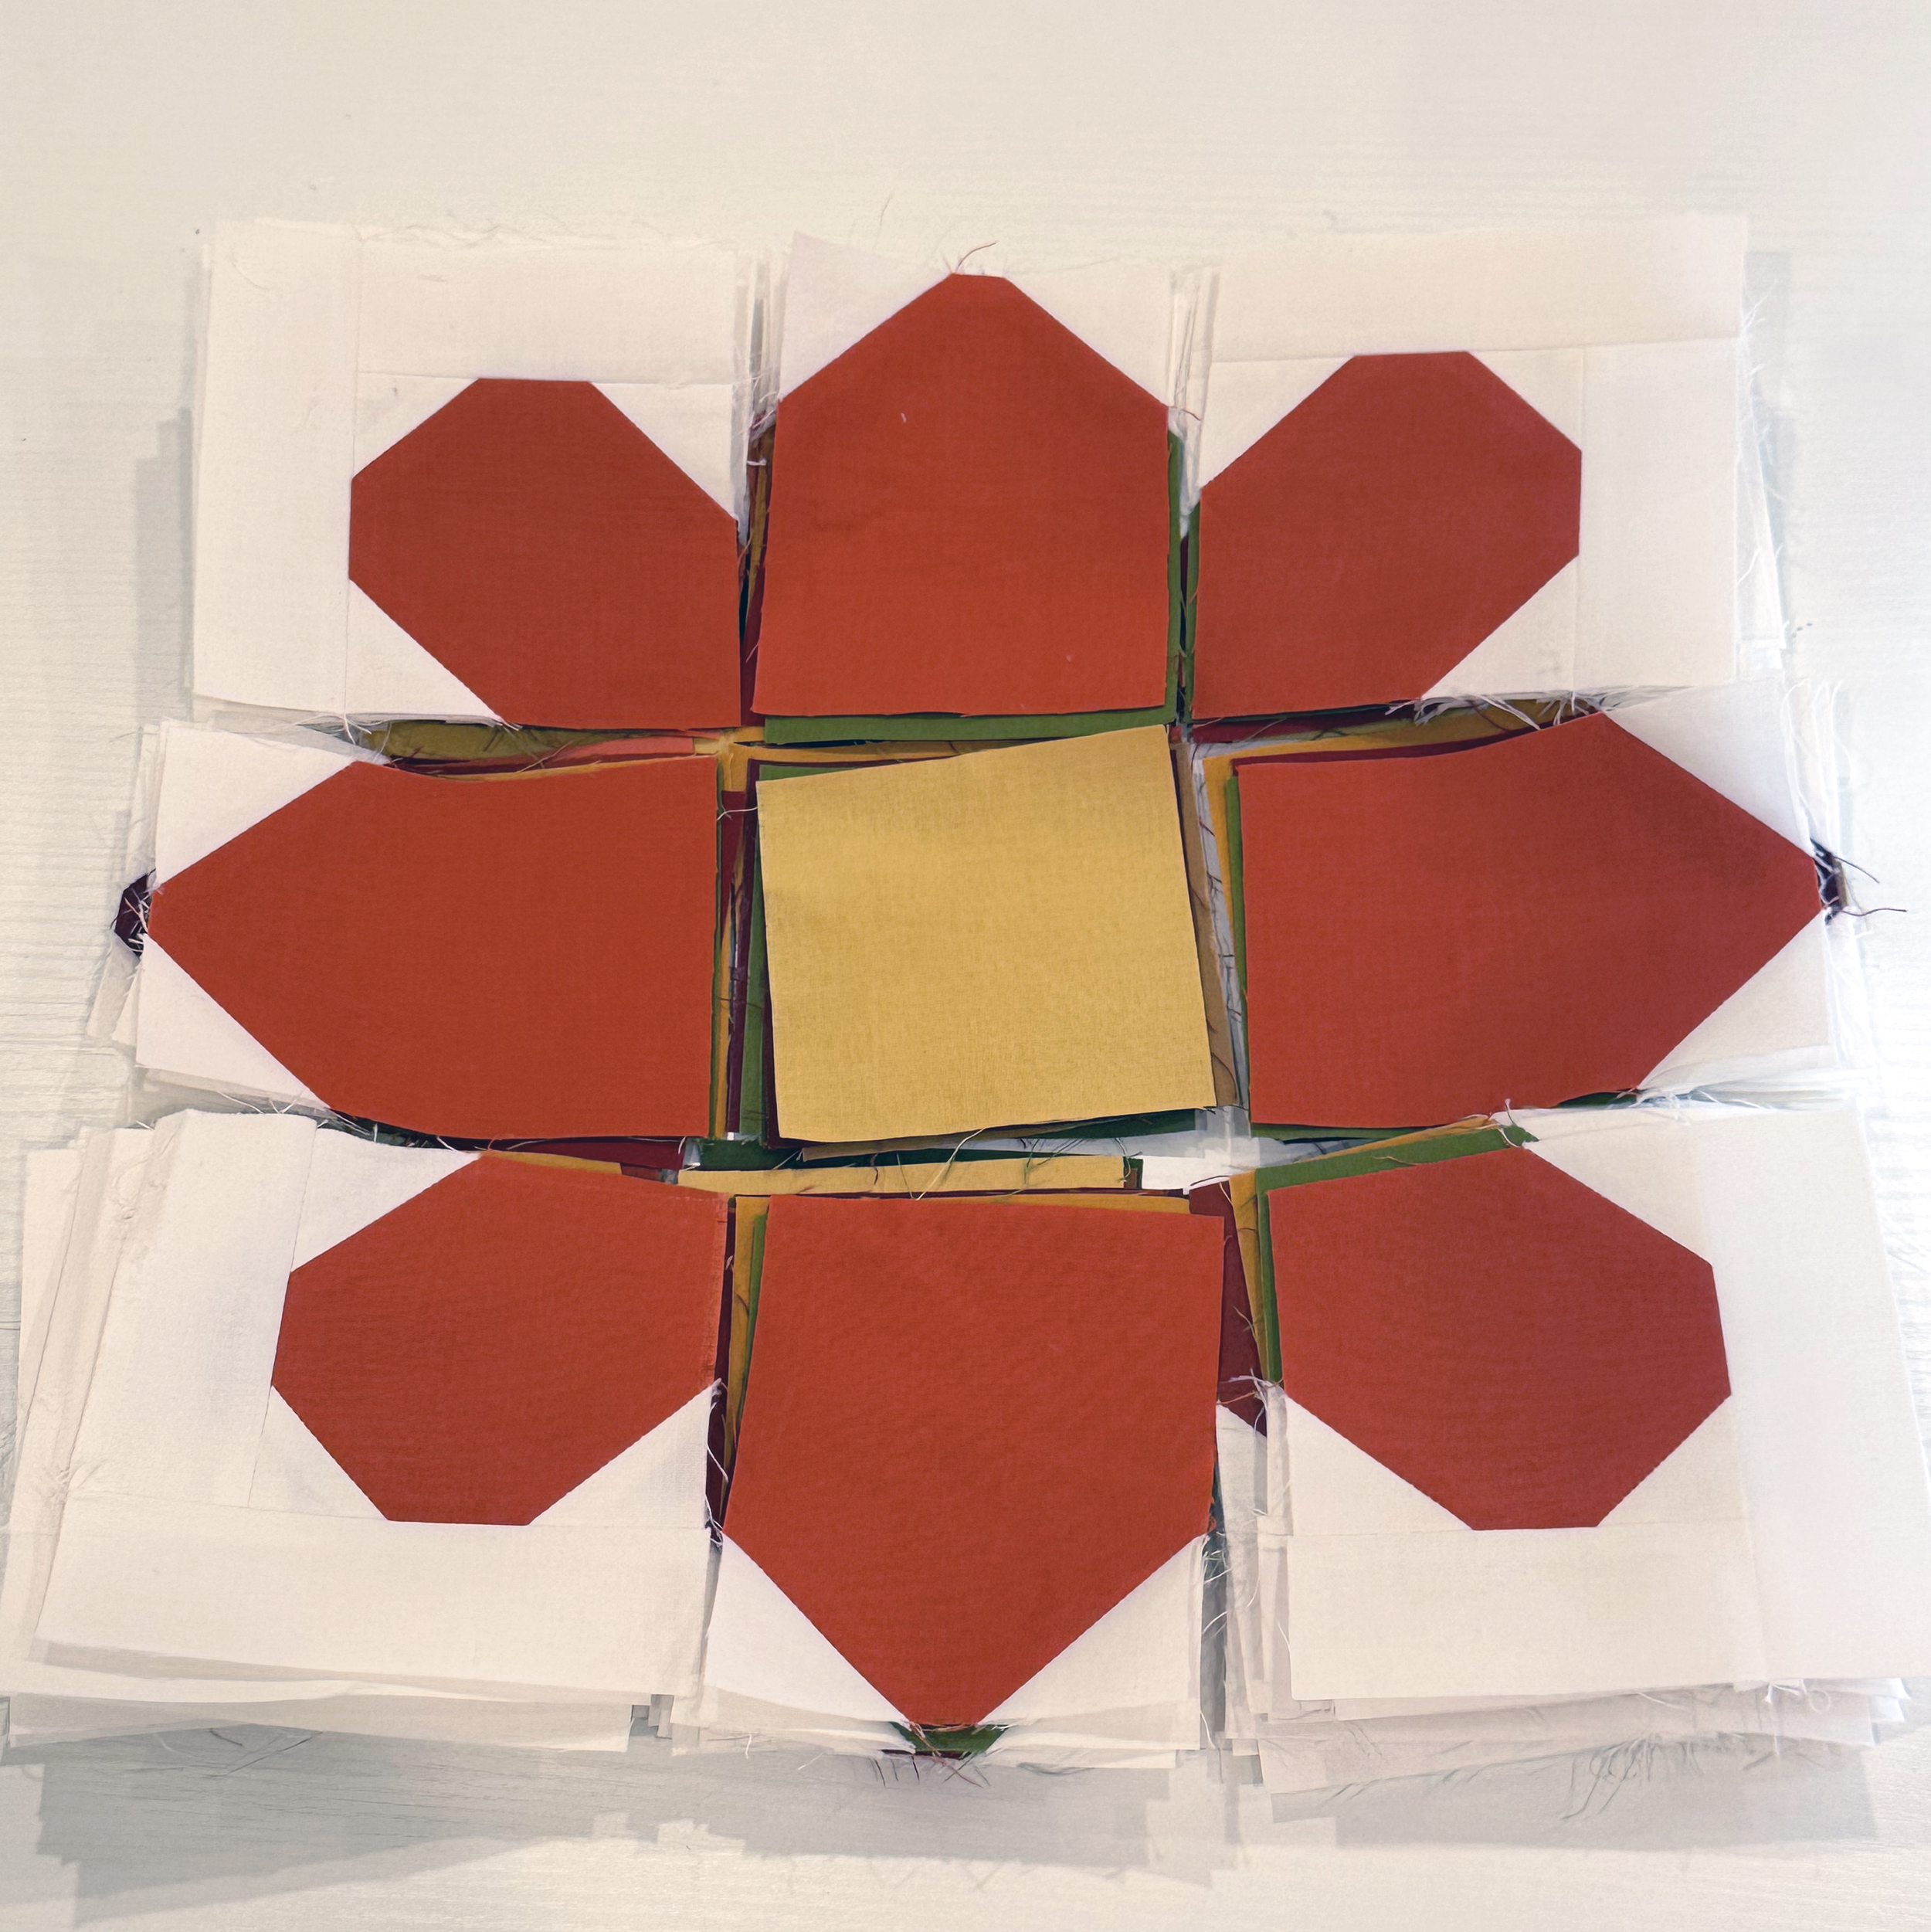
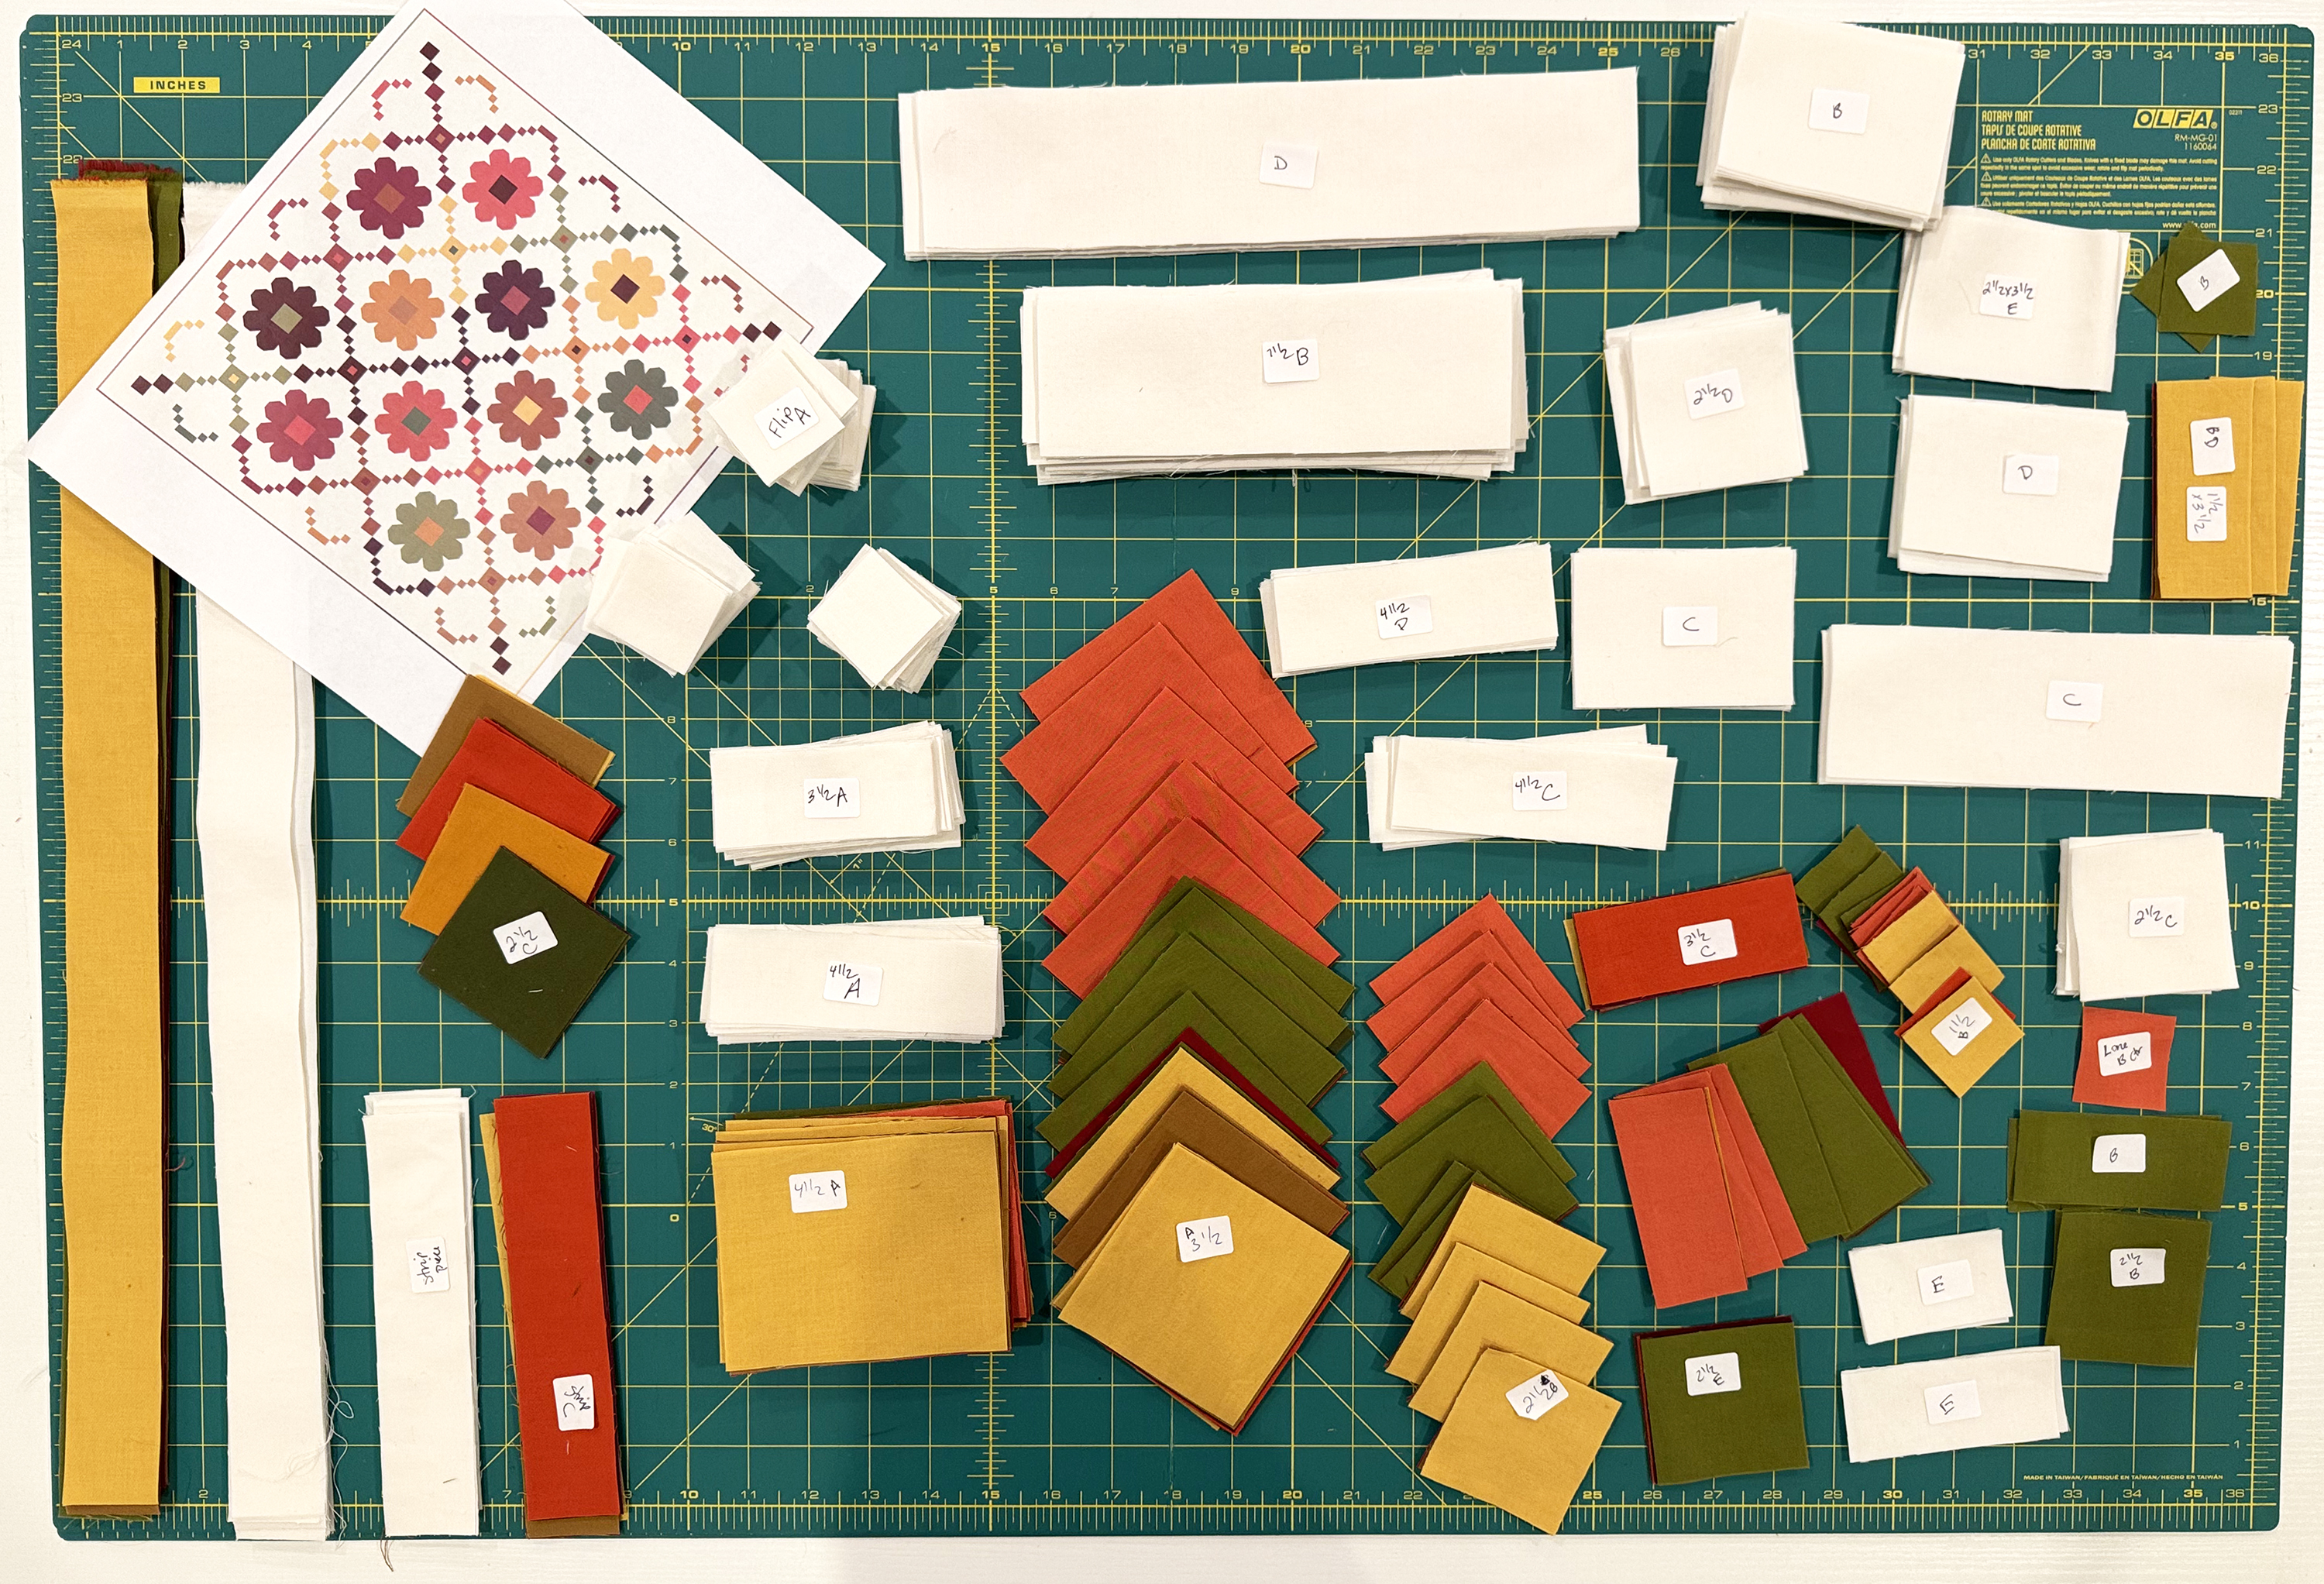
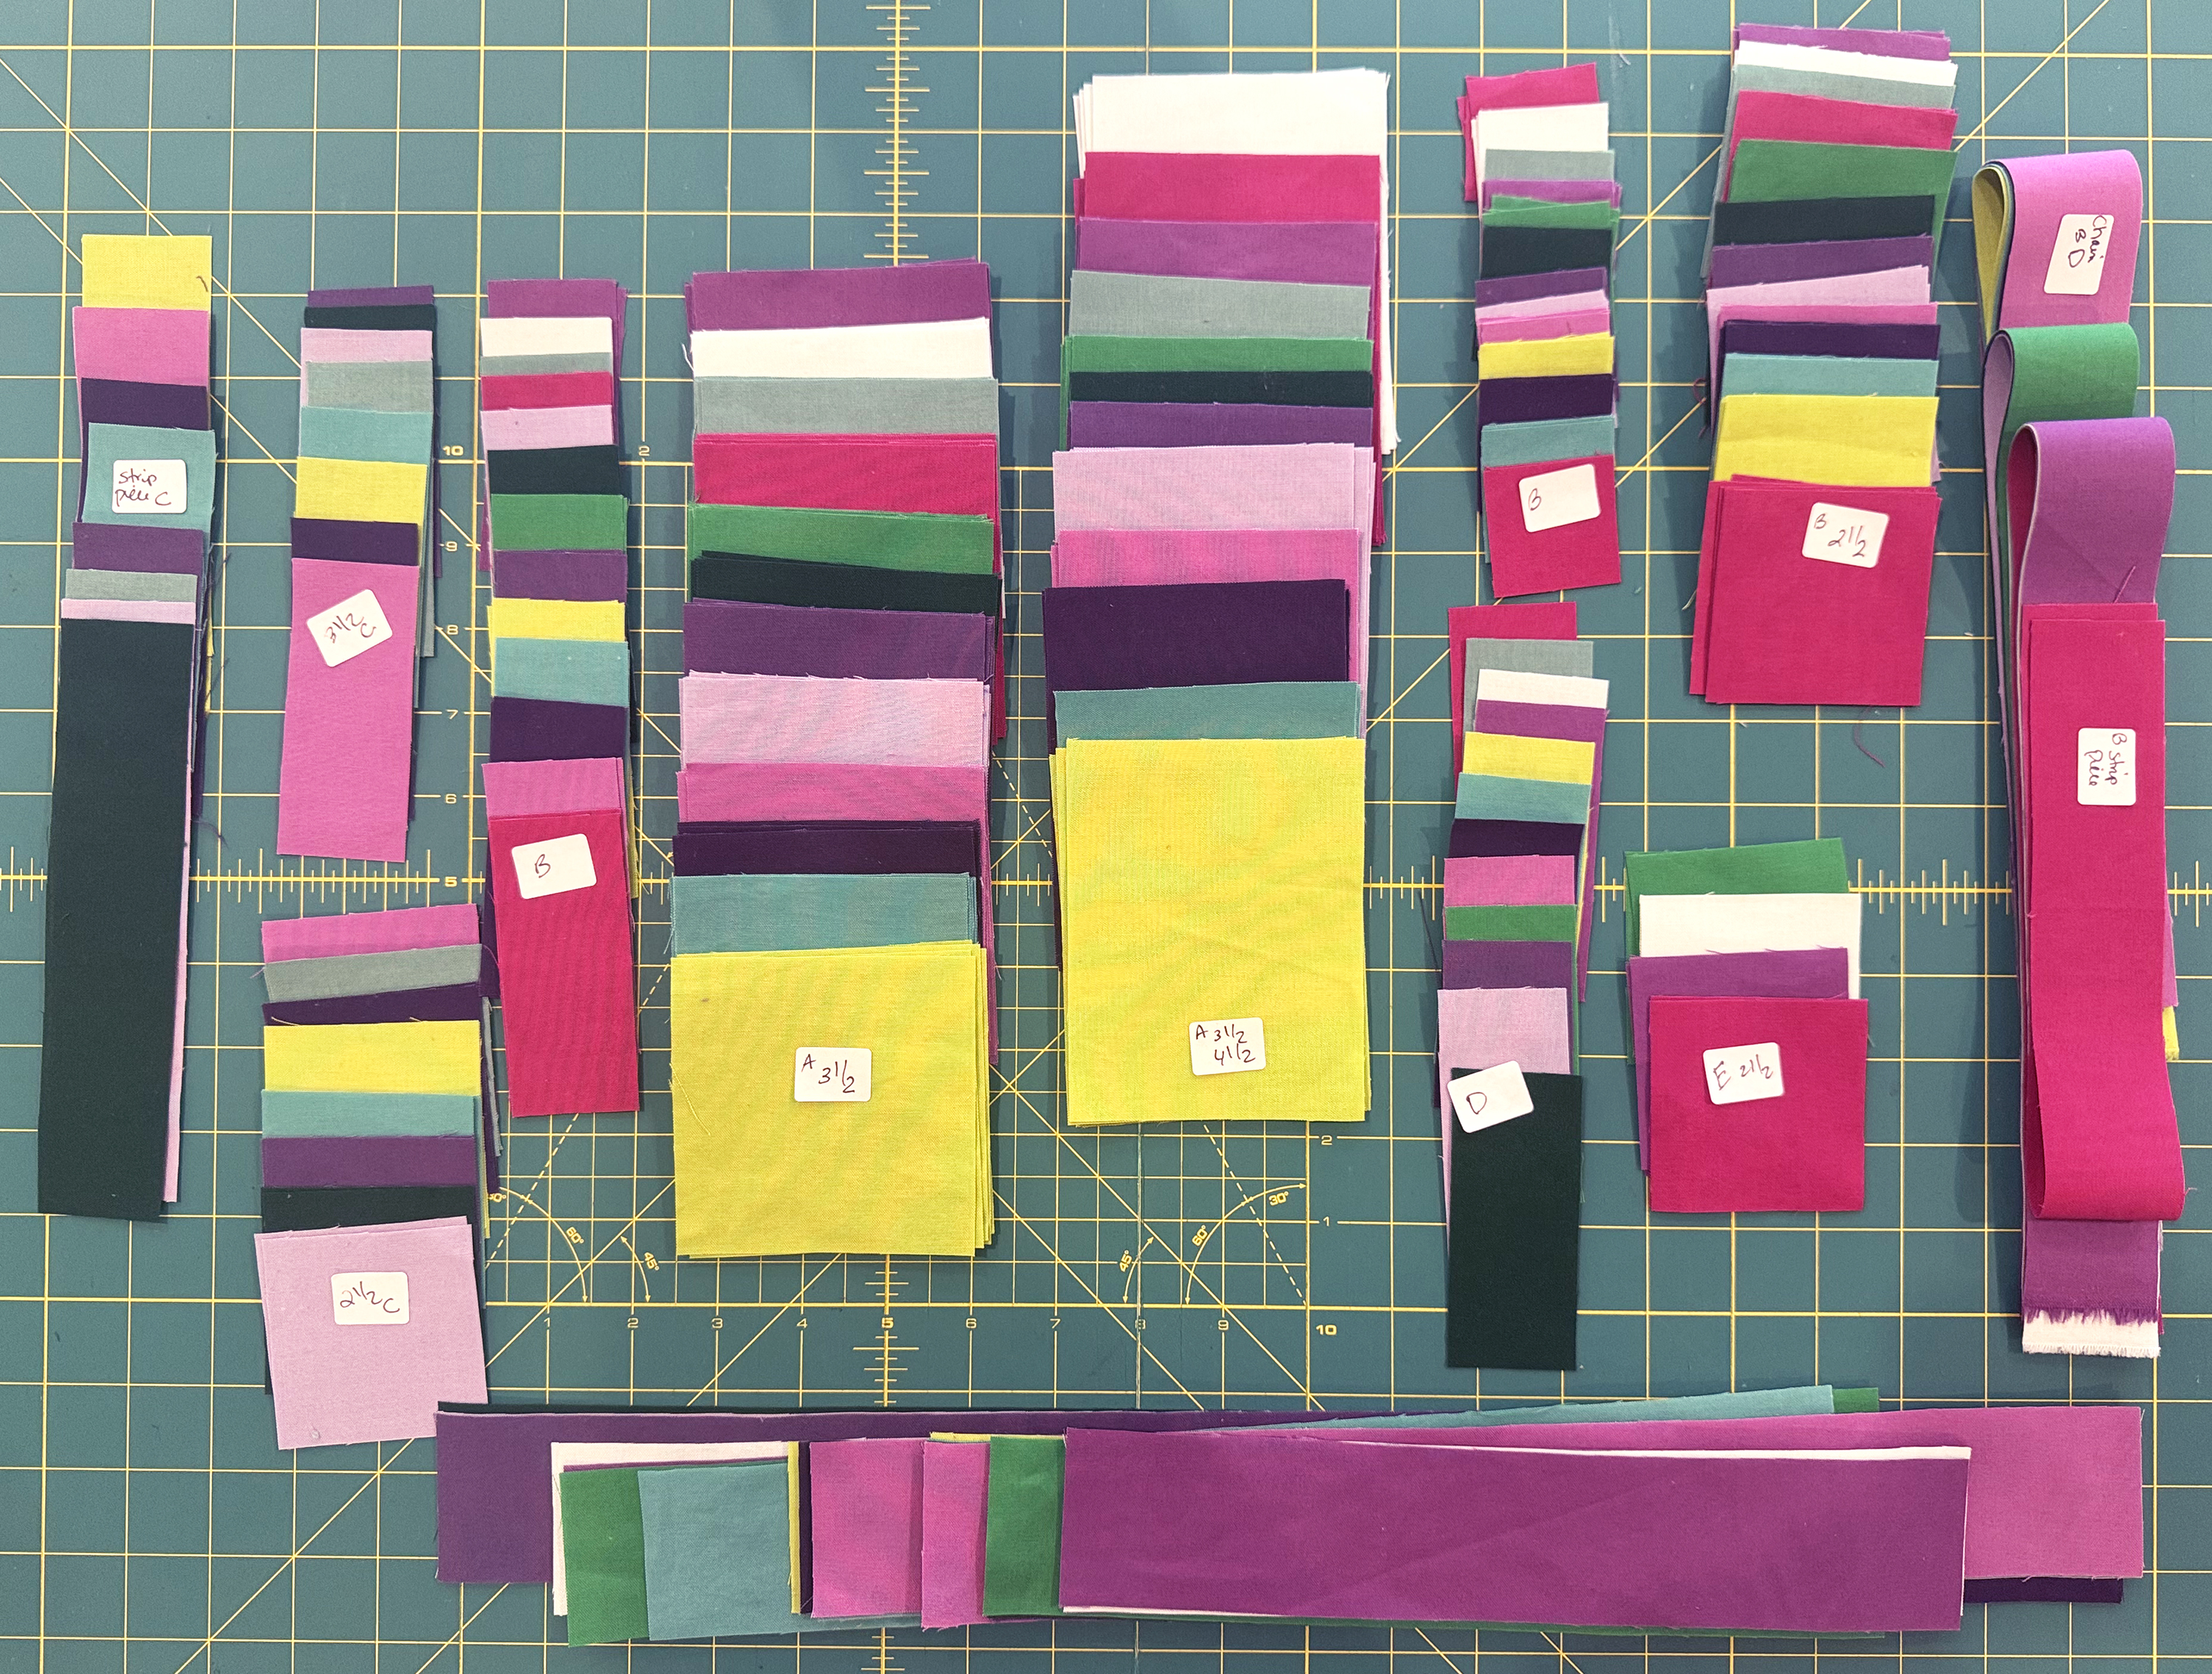
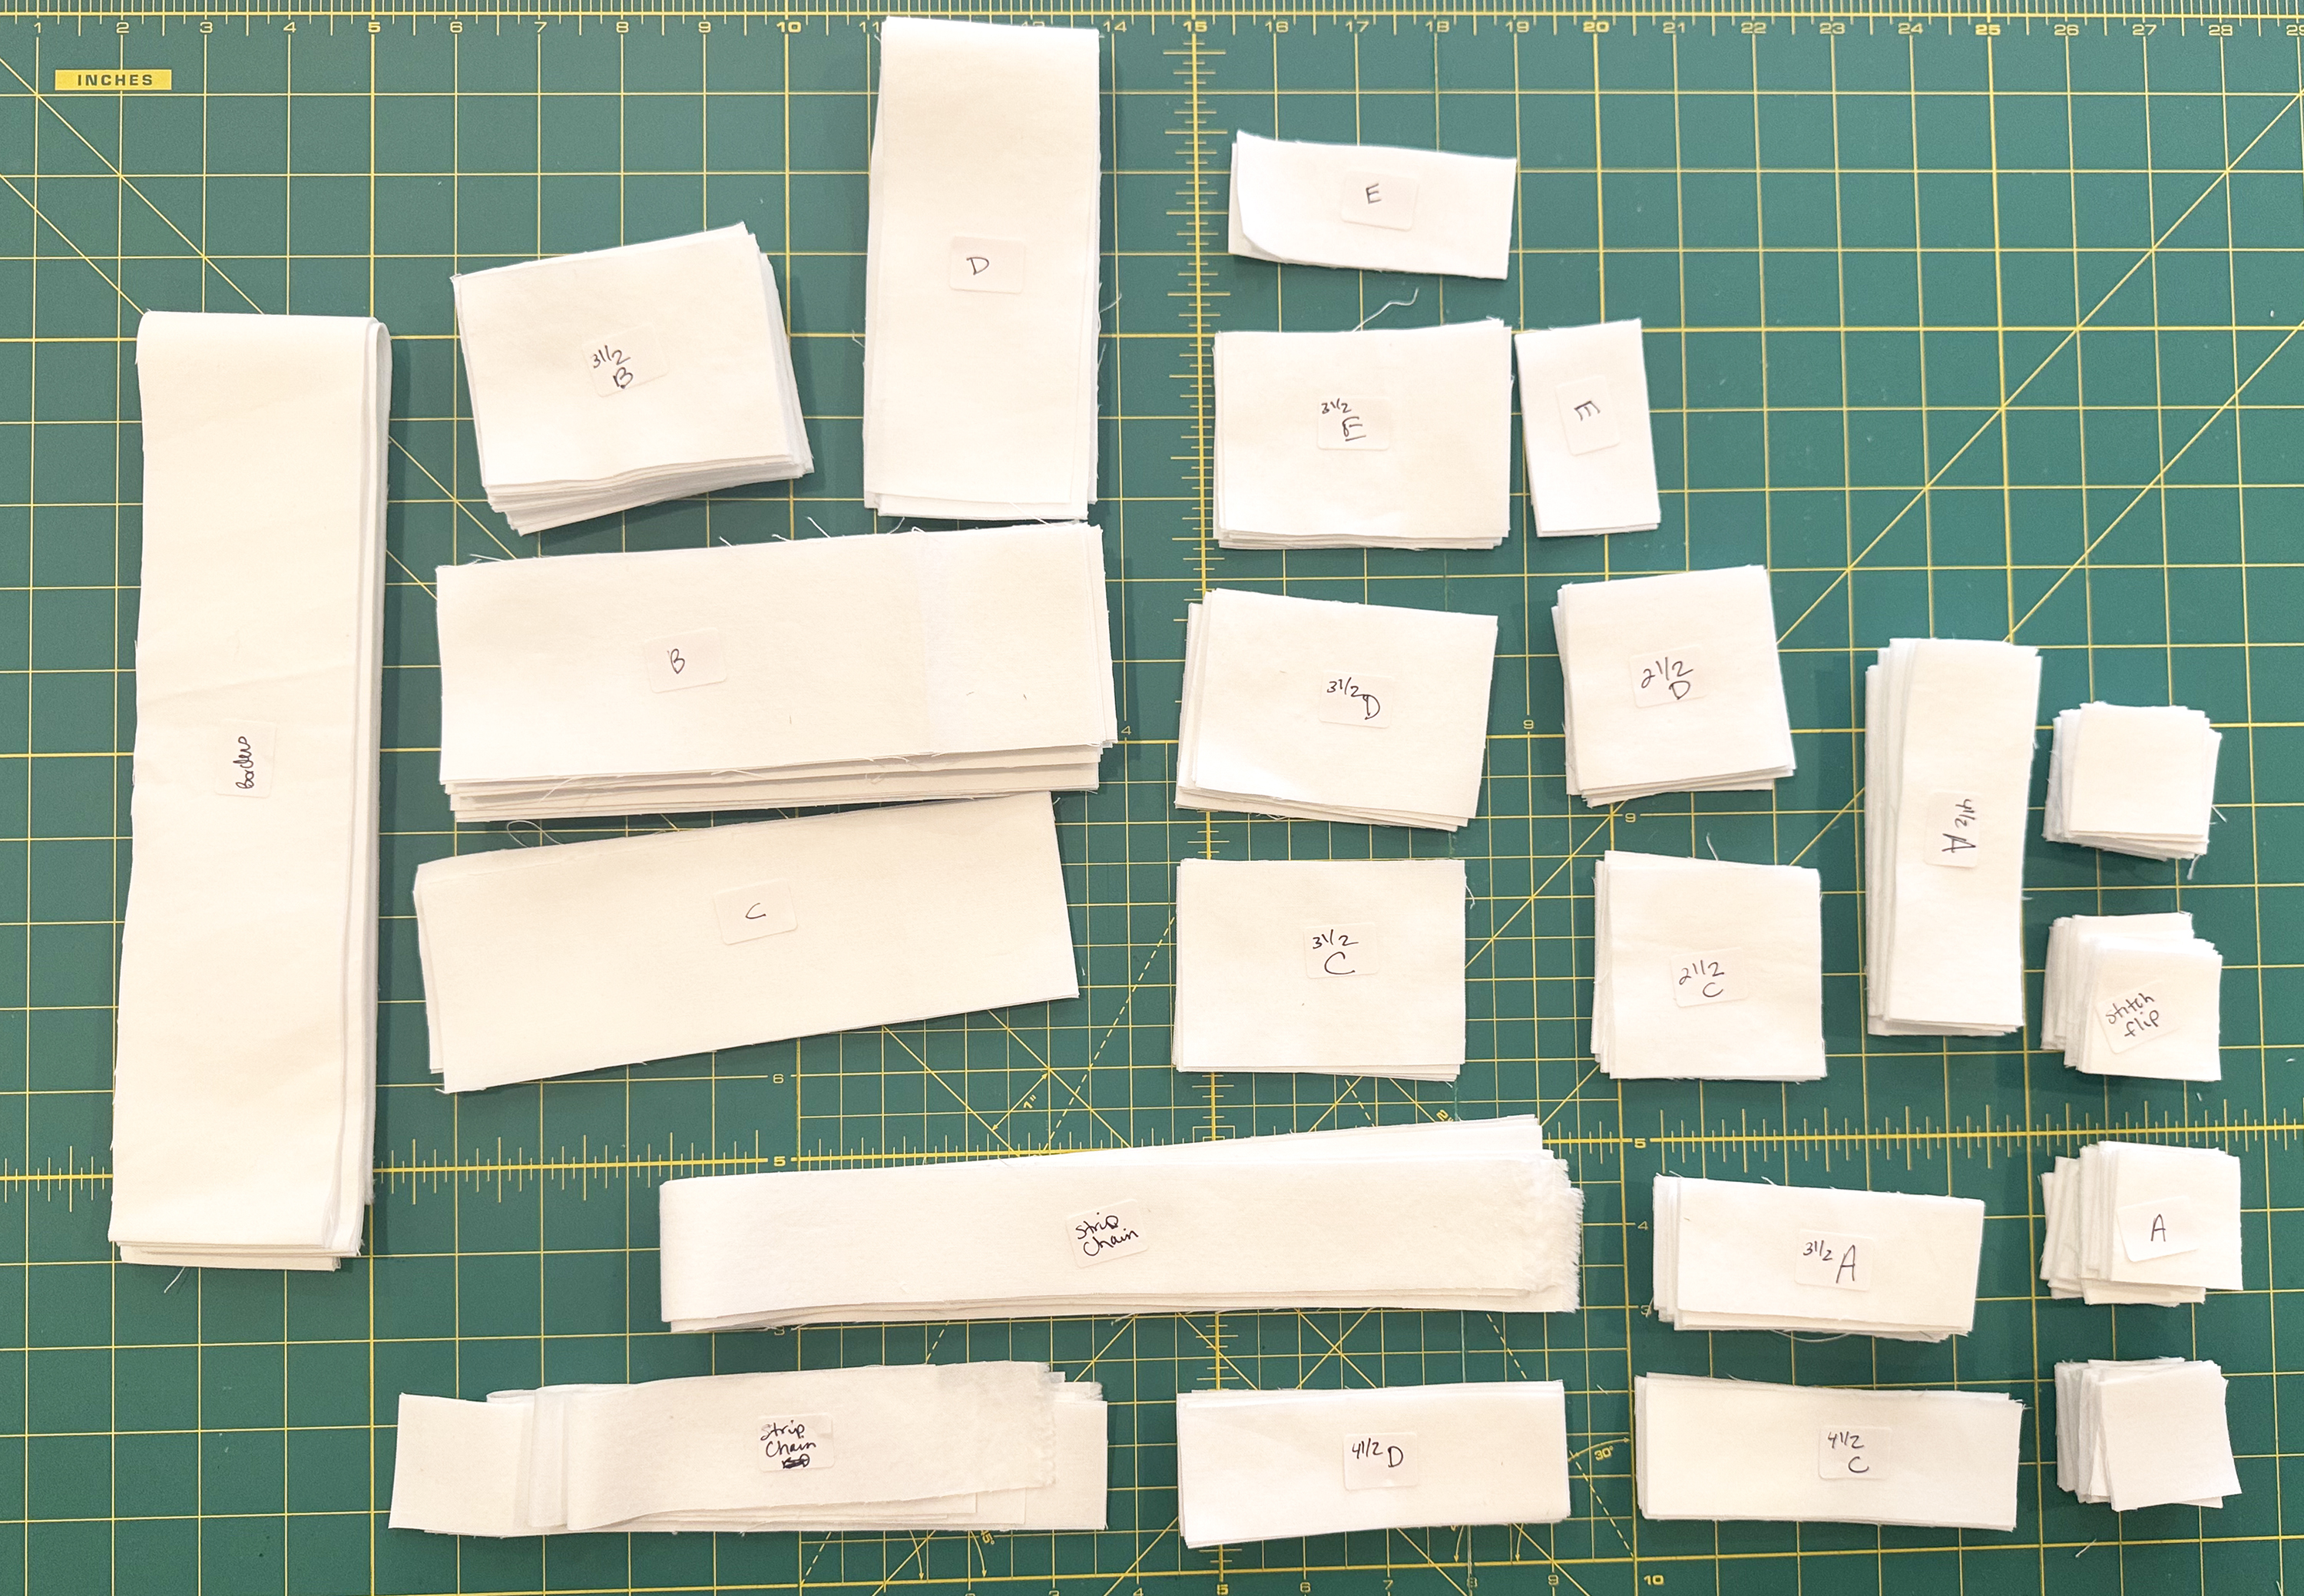
We will be working through the cutting charts on pages 2-6 of the quilt pattern. There is a LOT of cutting for this quilt, so I highly recommend labeling your units as you cut to stay organized. I created a bonus for you to go along with this pattern. It includes a coloring page plus 2 sheets of labels that you can print off and use to keep all of your units organized.
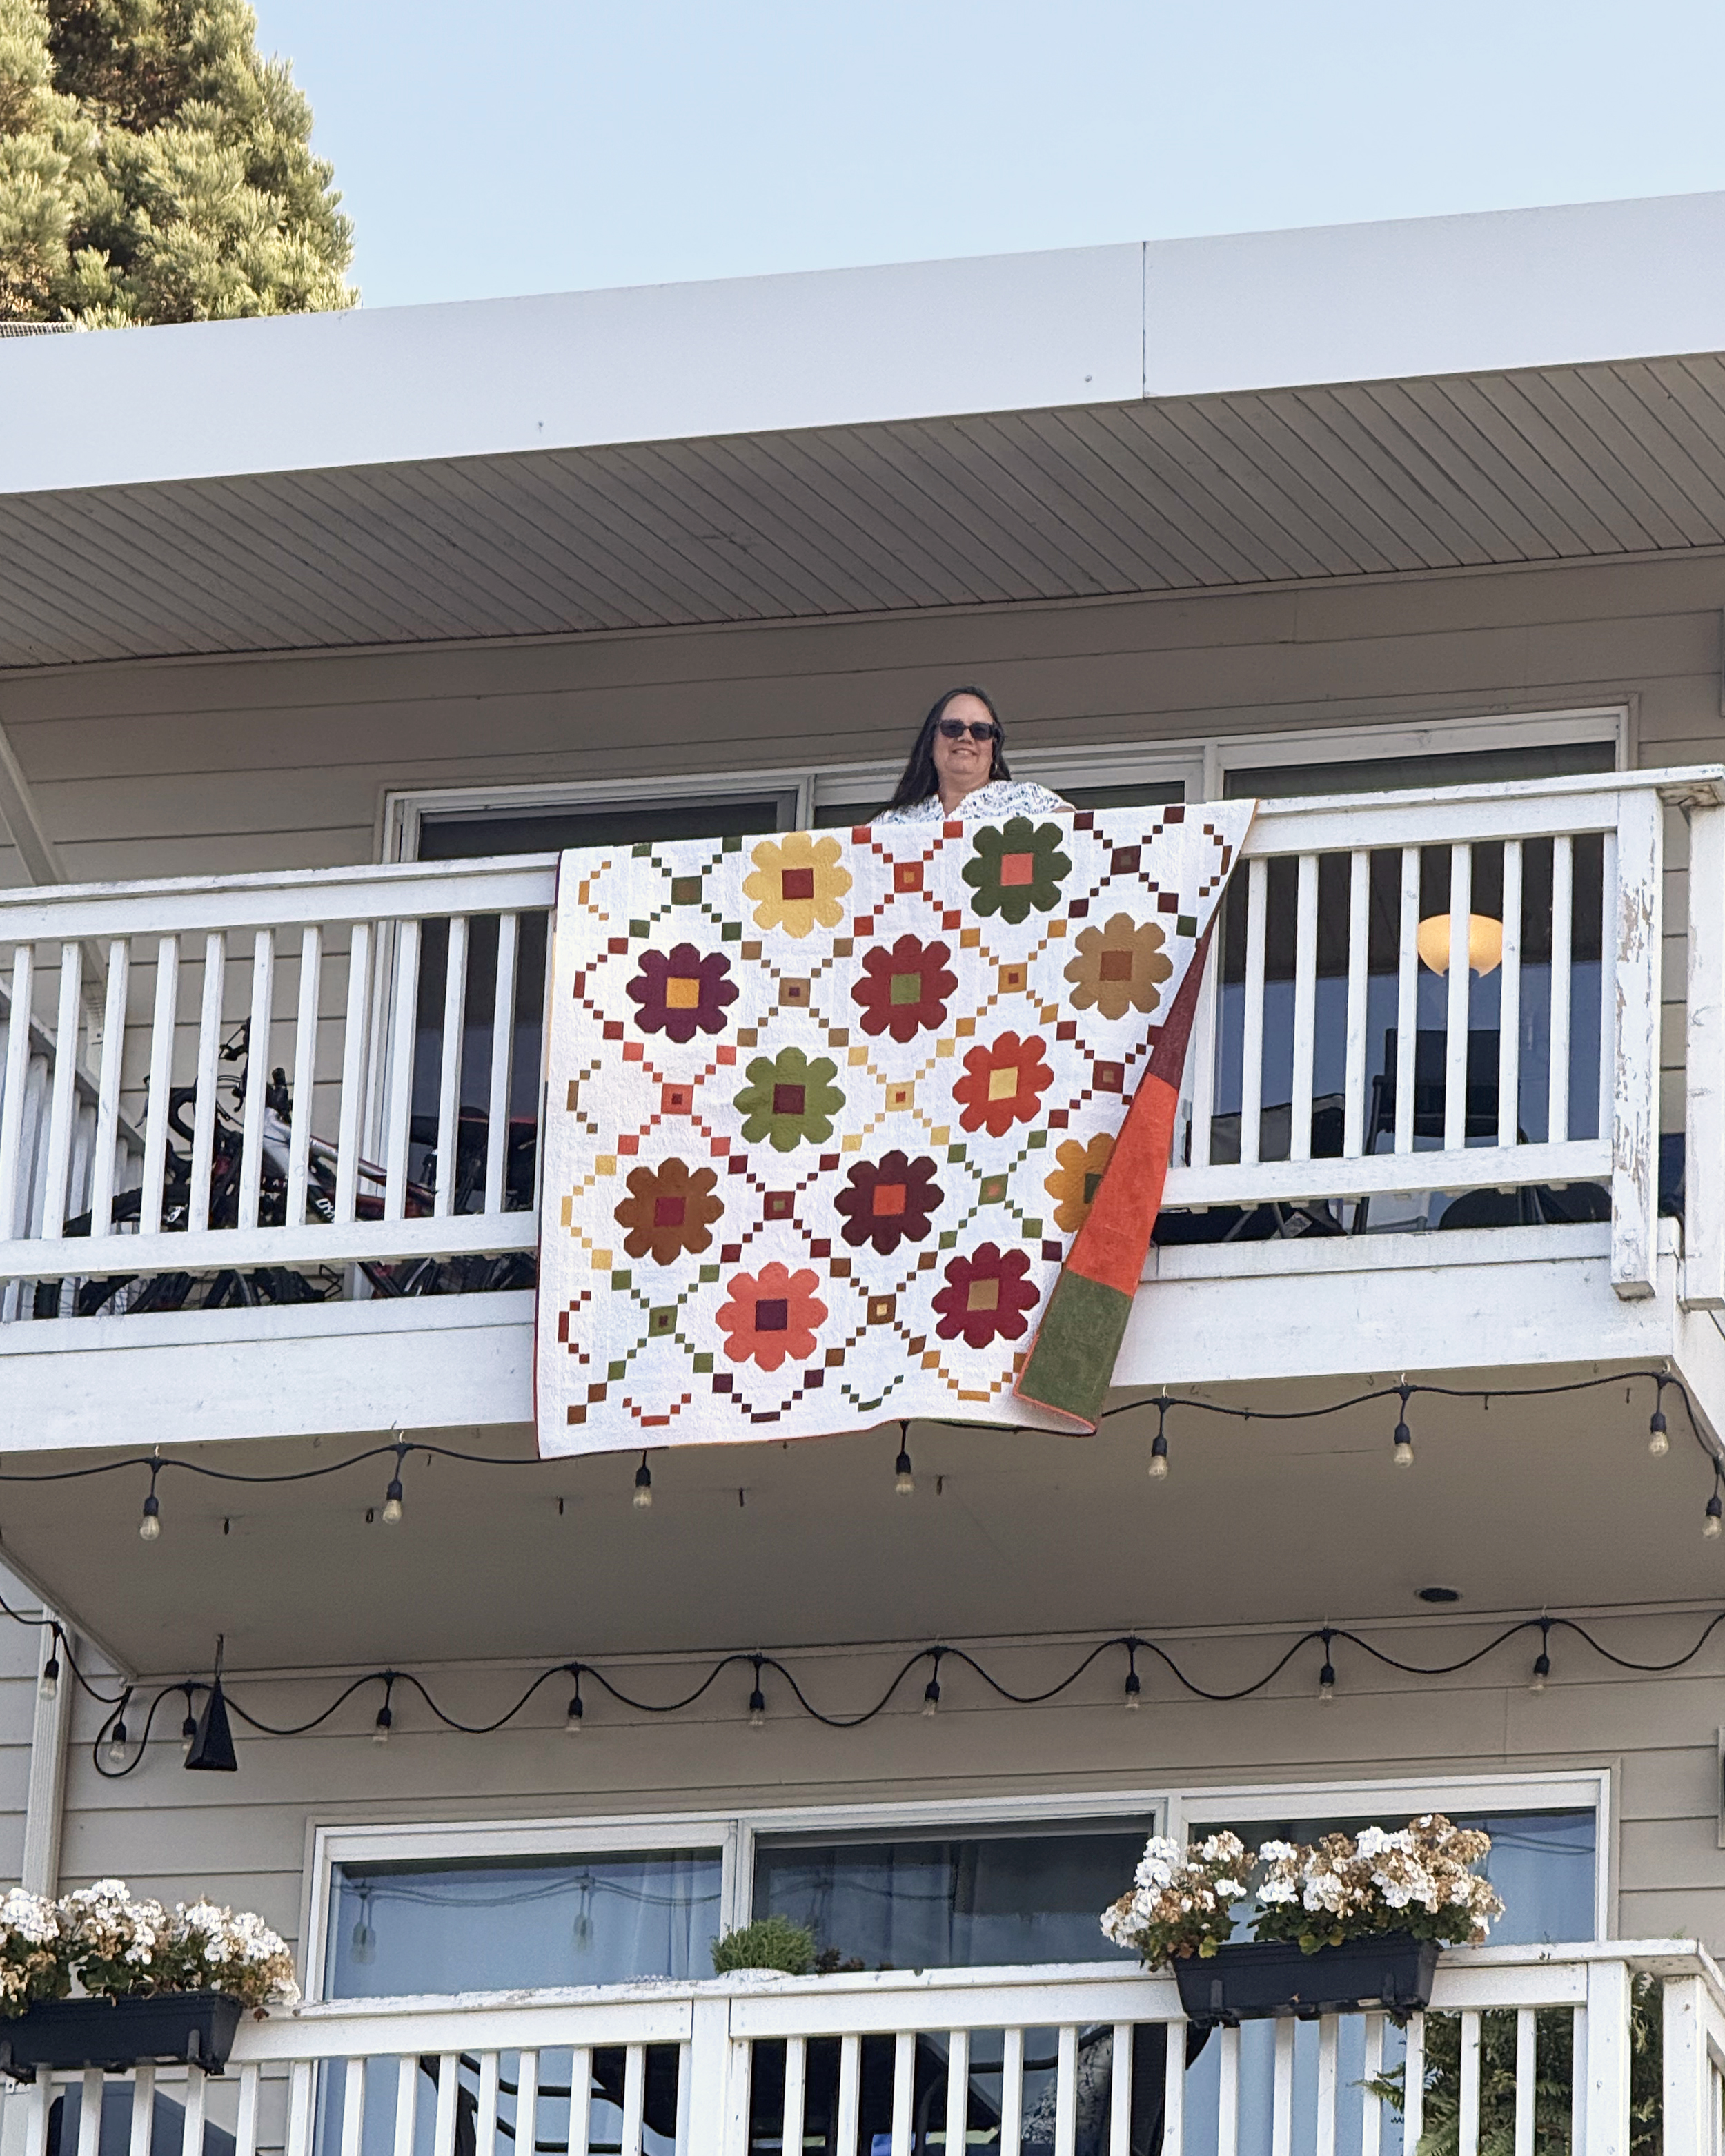
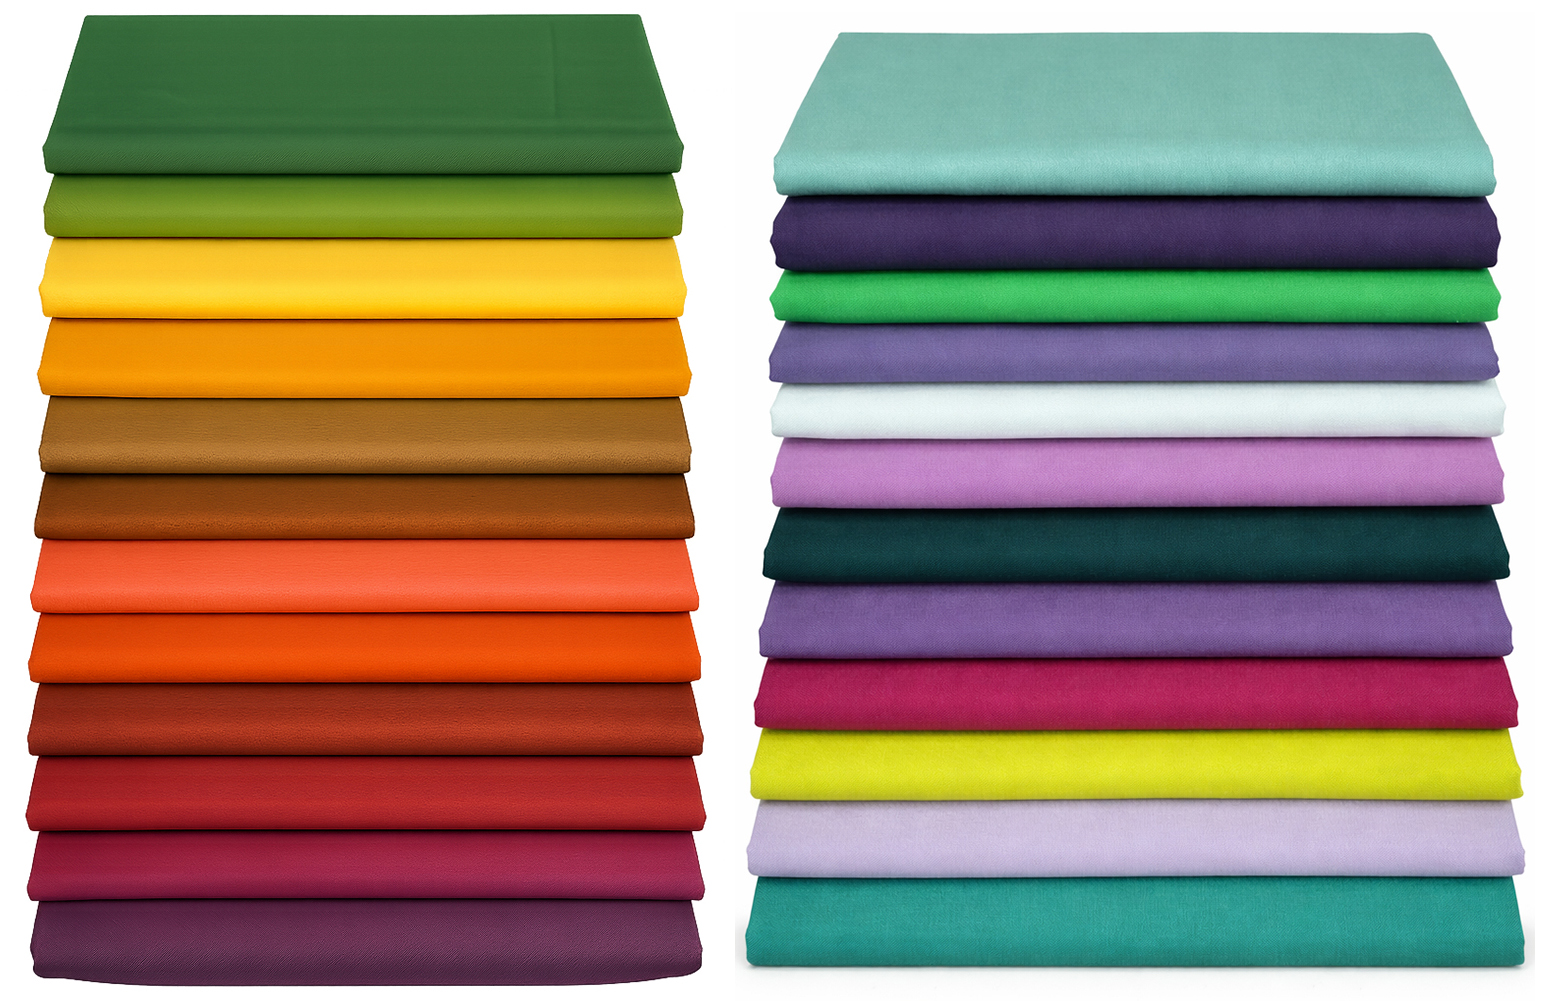
I’m using the Riley Blake Confetti Cotton solids Autumn FQ Bundle for this version.
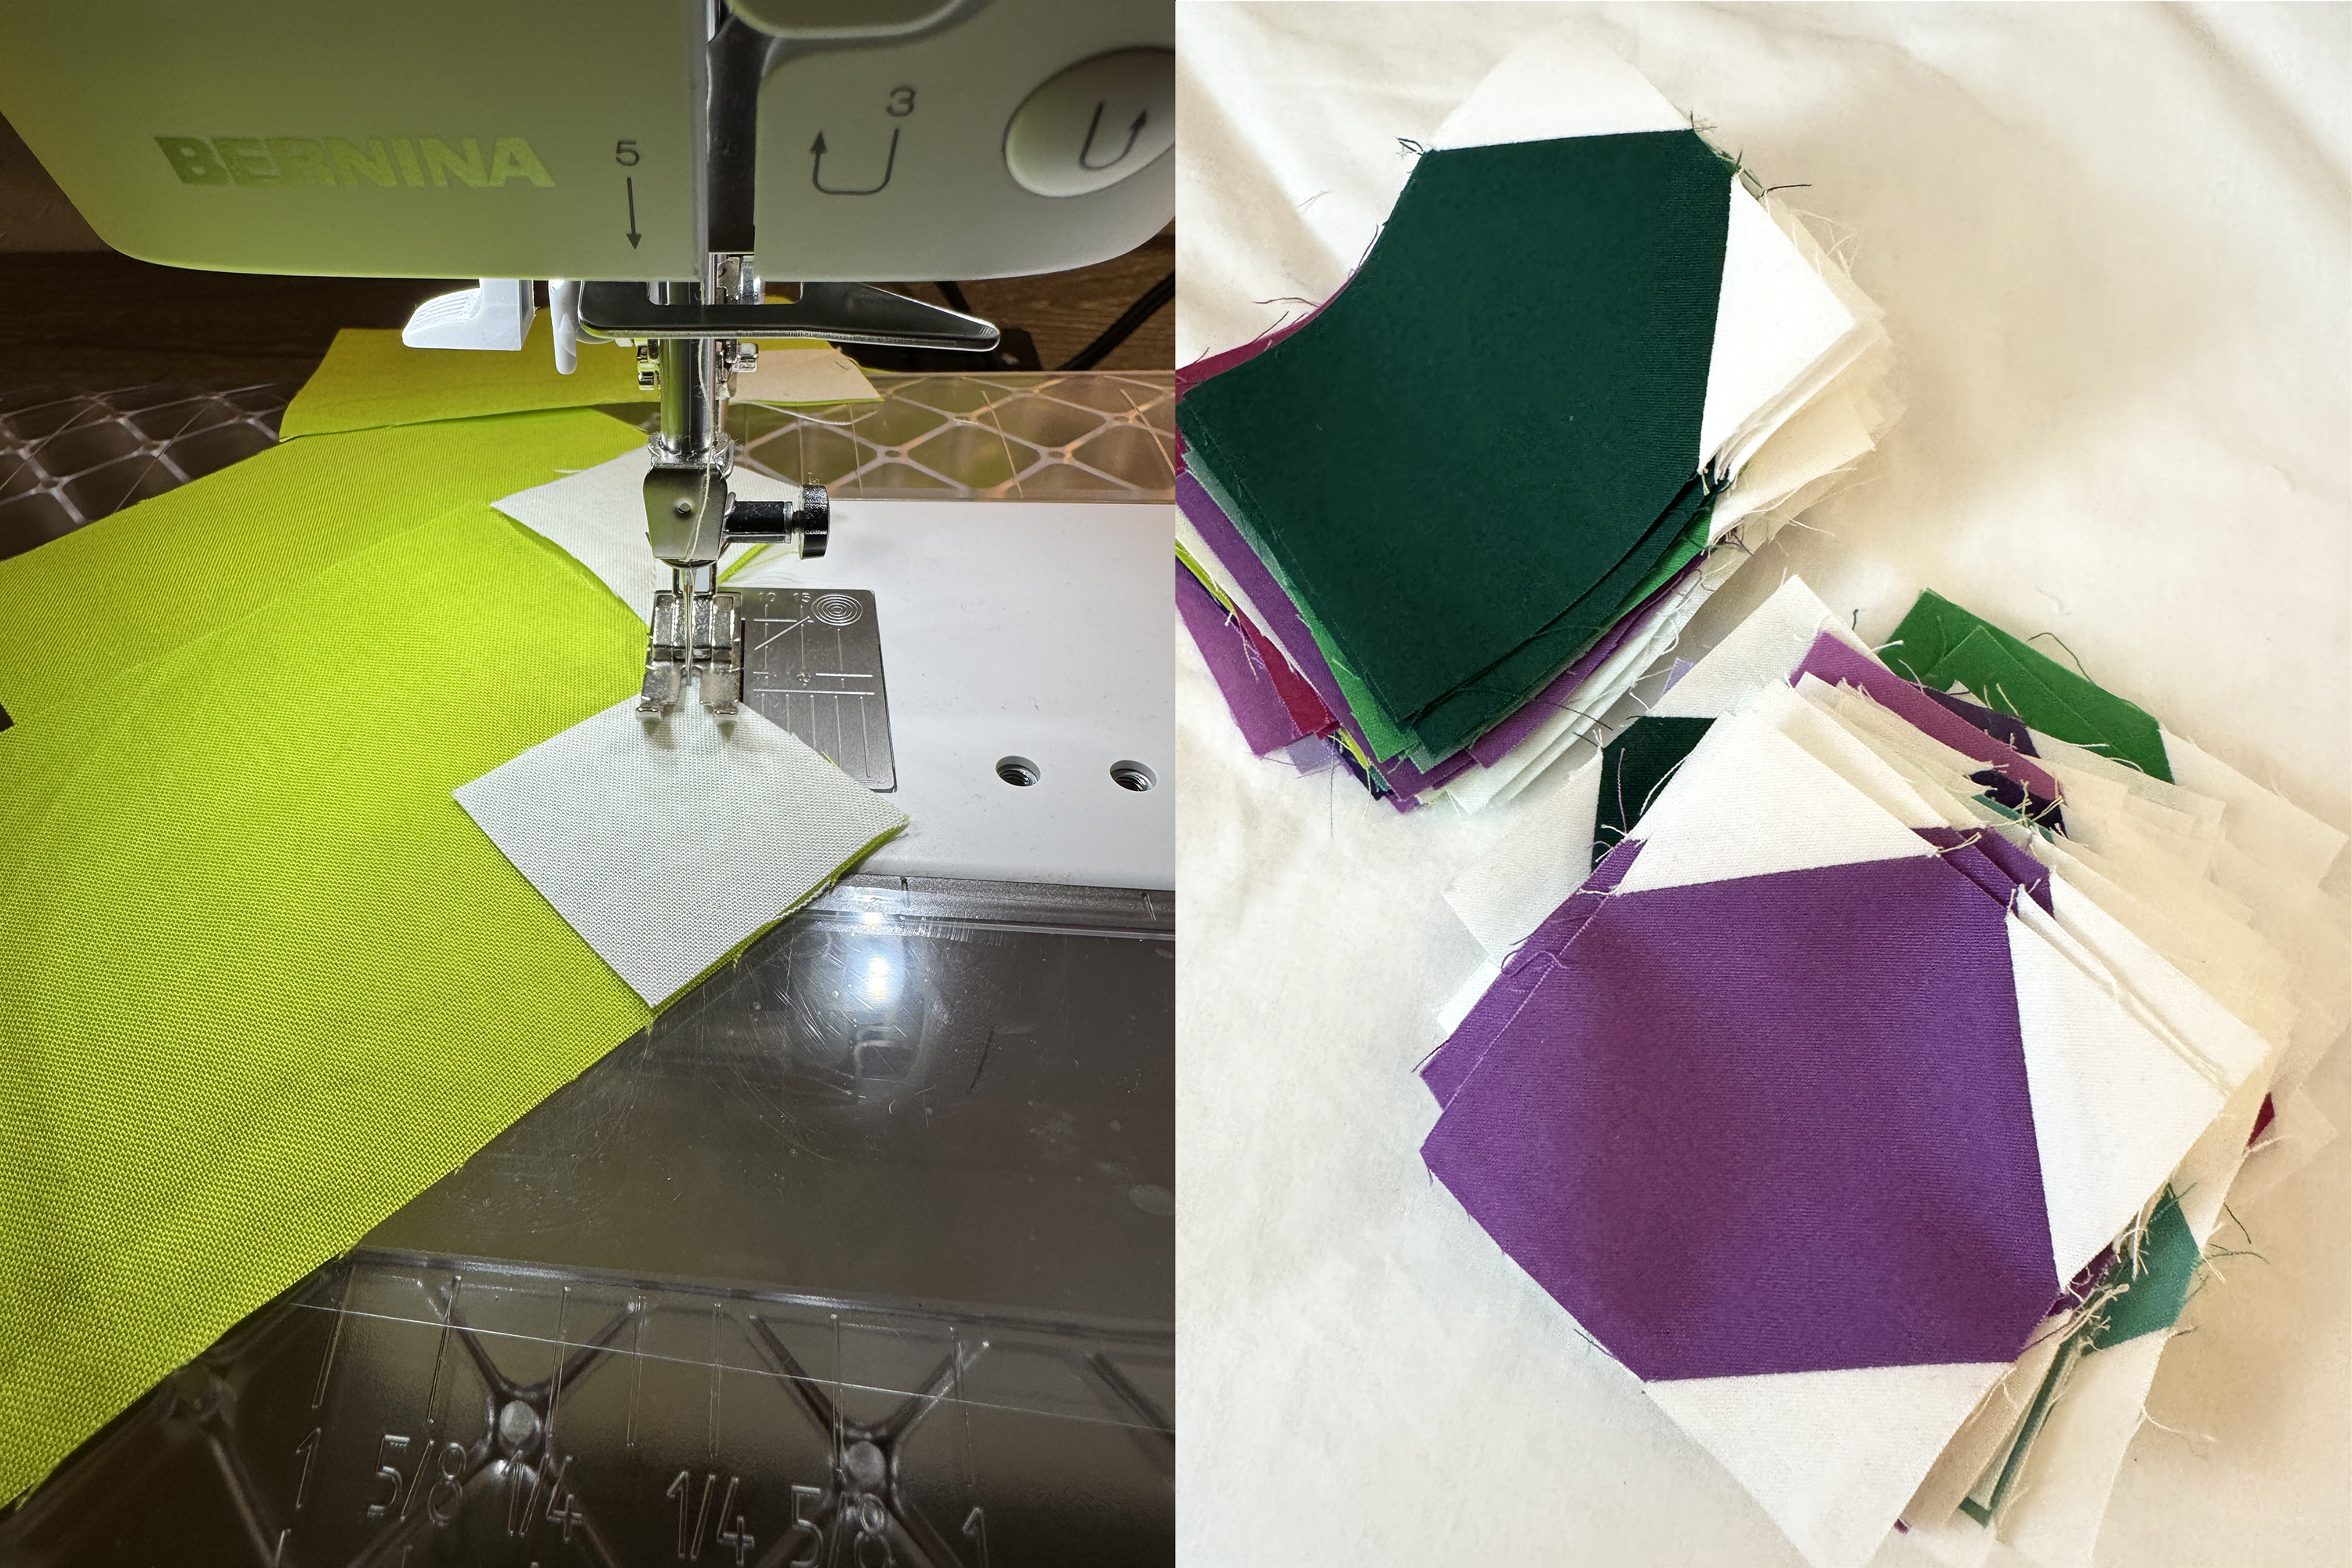
For cutting speed and efficiency, I’ll stack my fabrics up to 4 layers thick and double check my measurements. I like to cut out all of my strips first, and then subcut those into squares and rectangles. Most of the blocks will be made from individually cut units. However, there are a couple of units that can be strip pieced, so follow the cutting charts carefully as indicated.
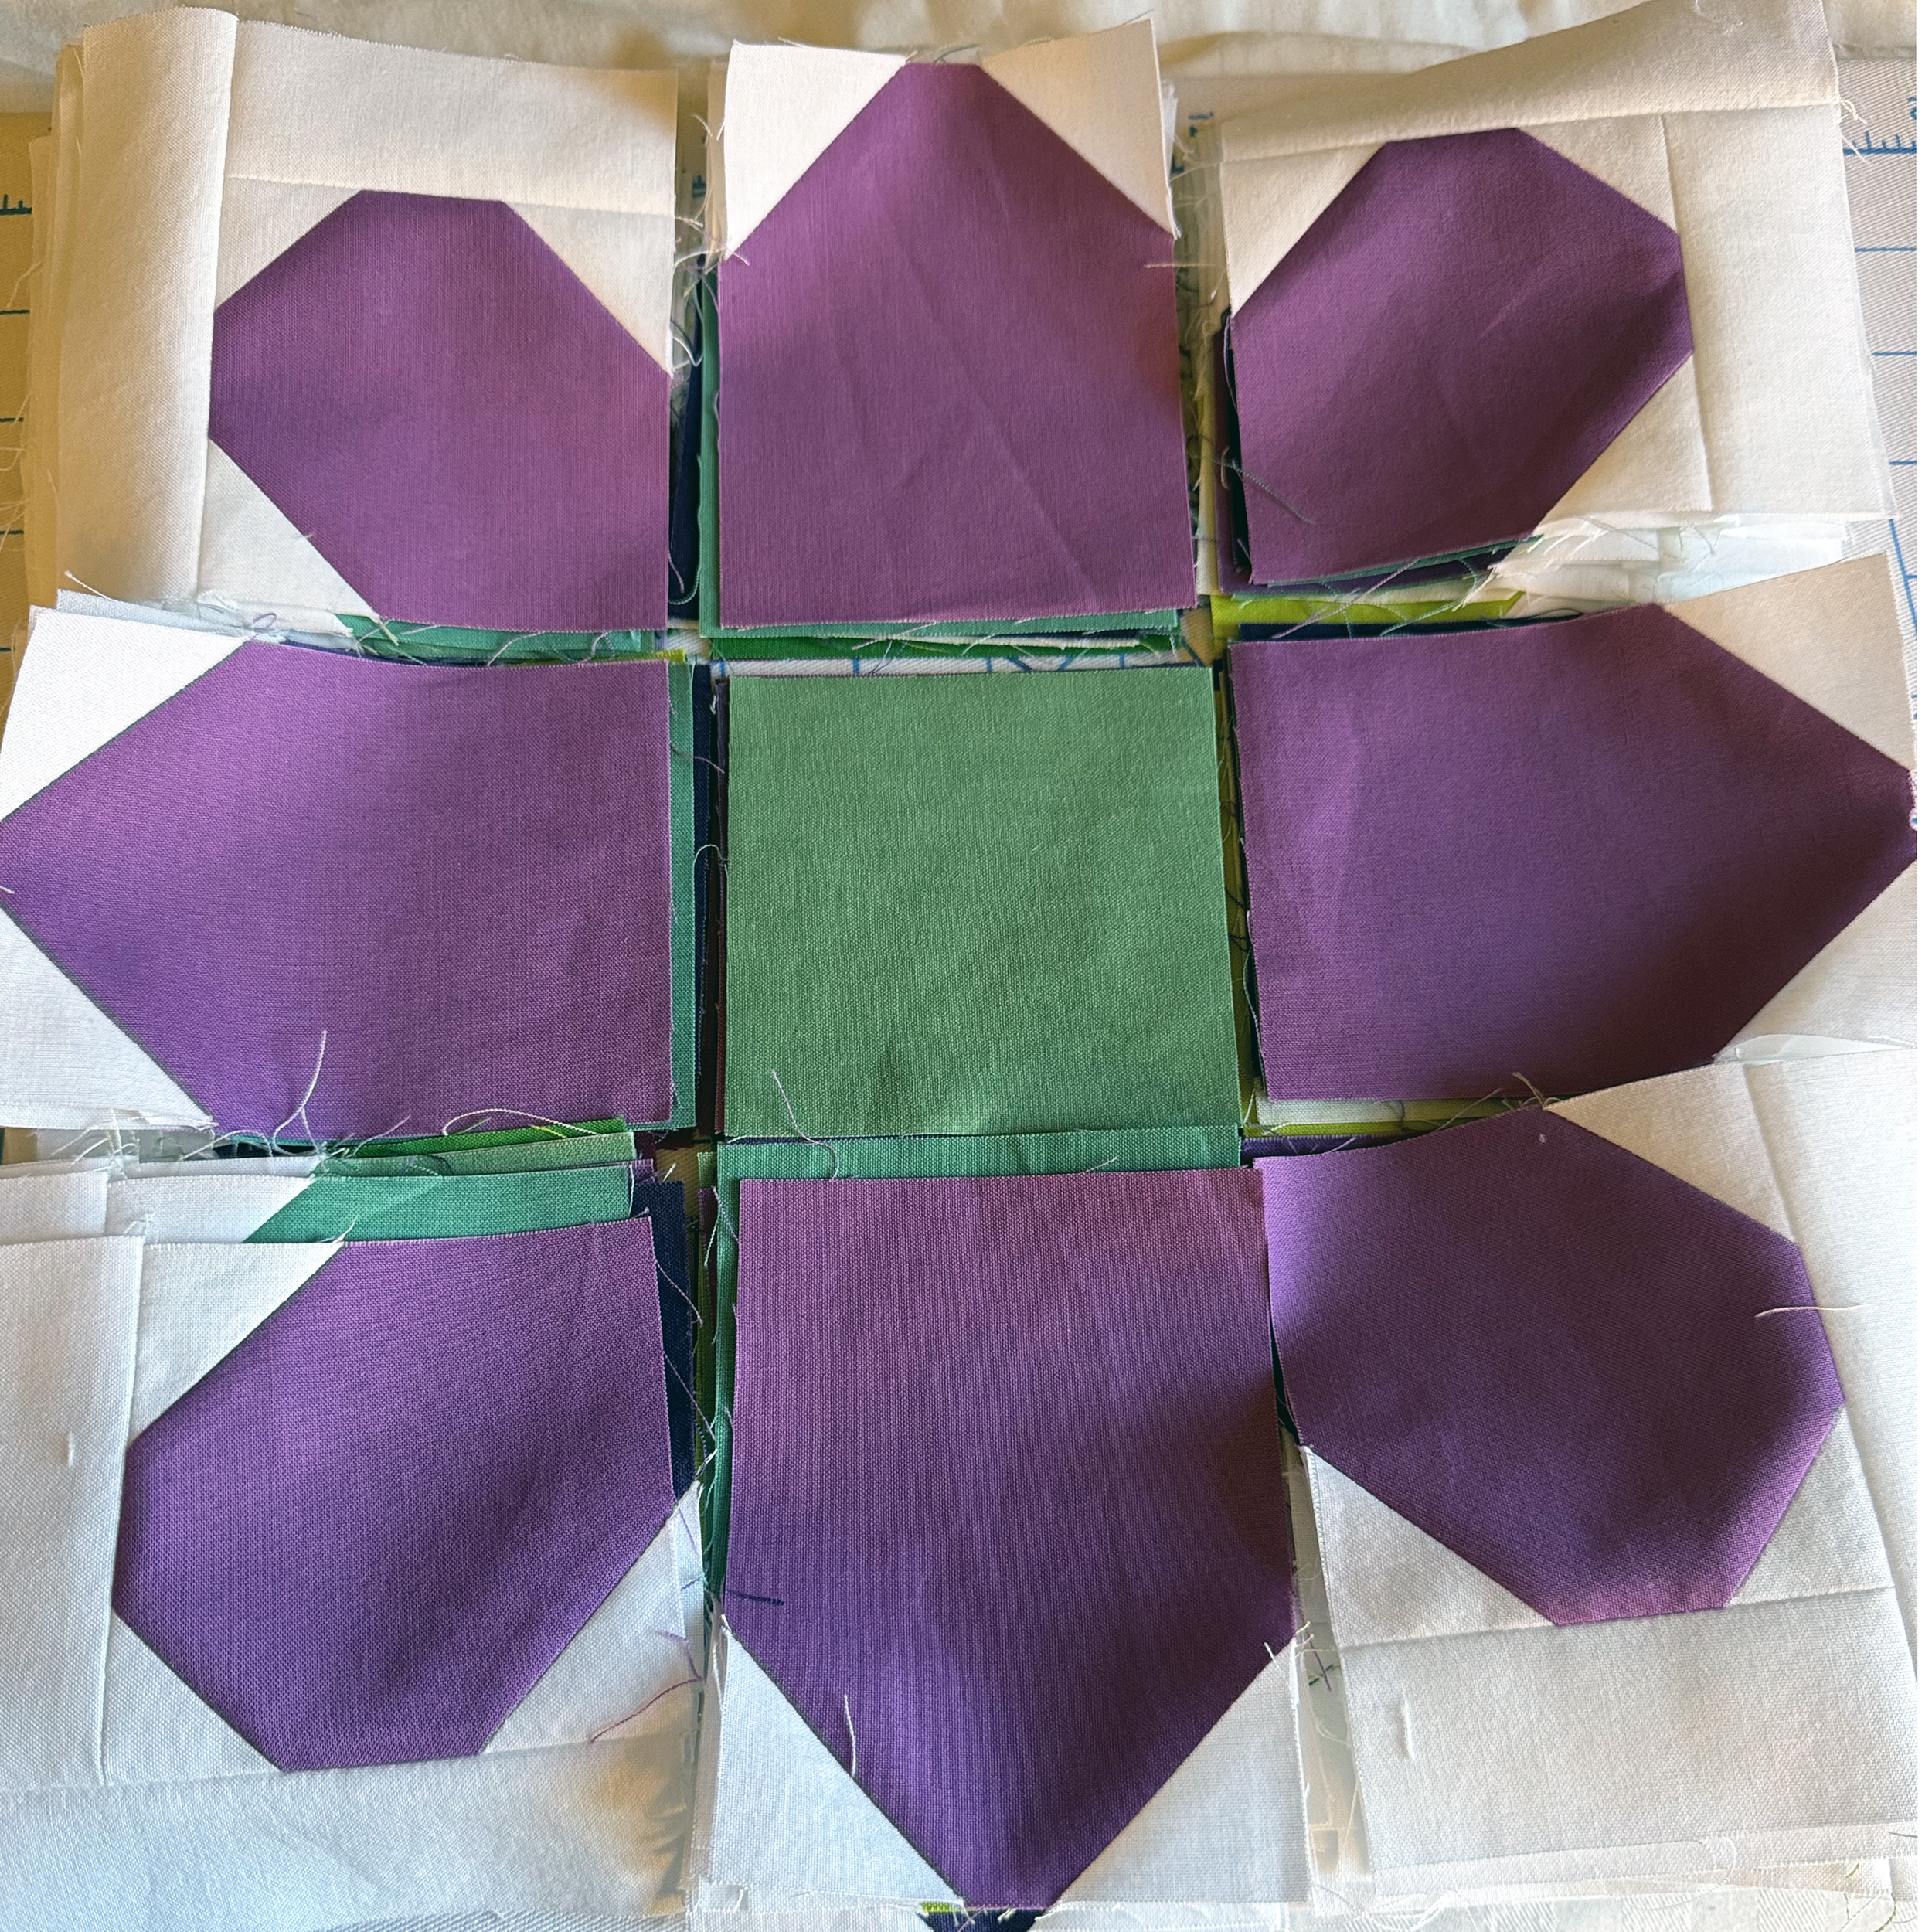
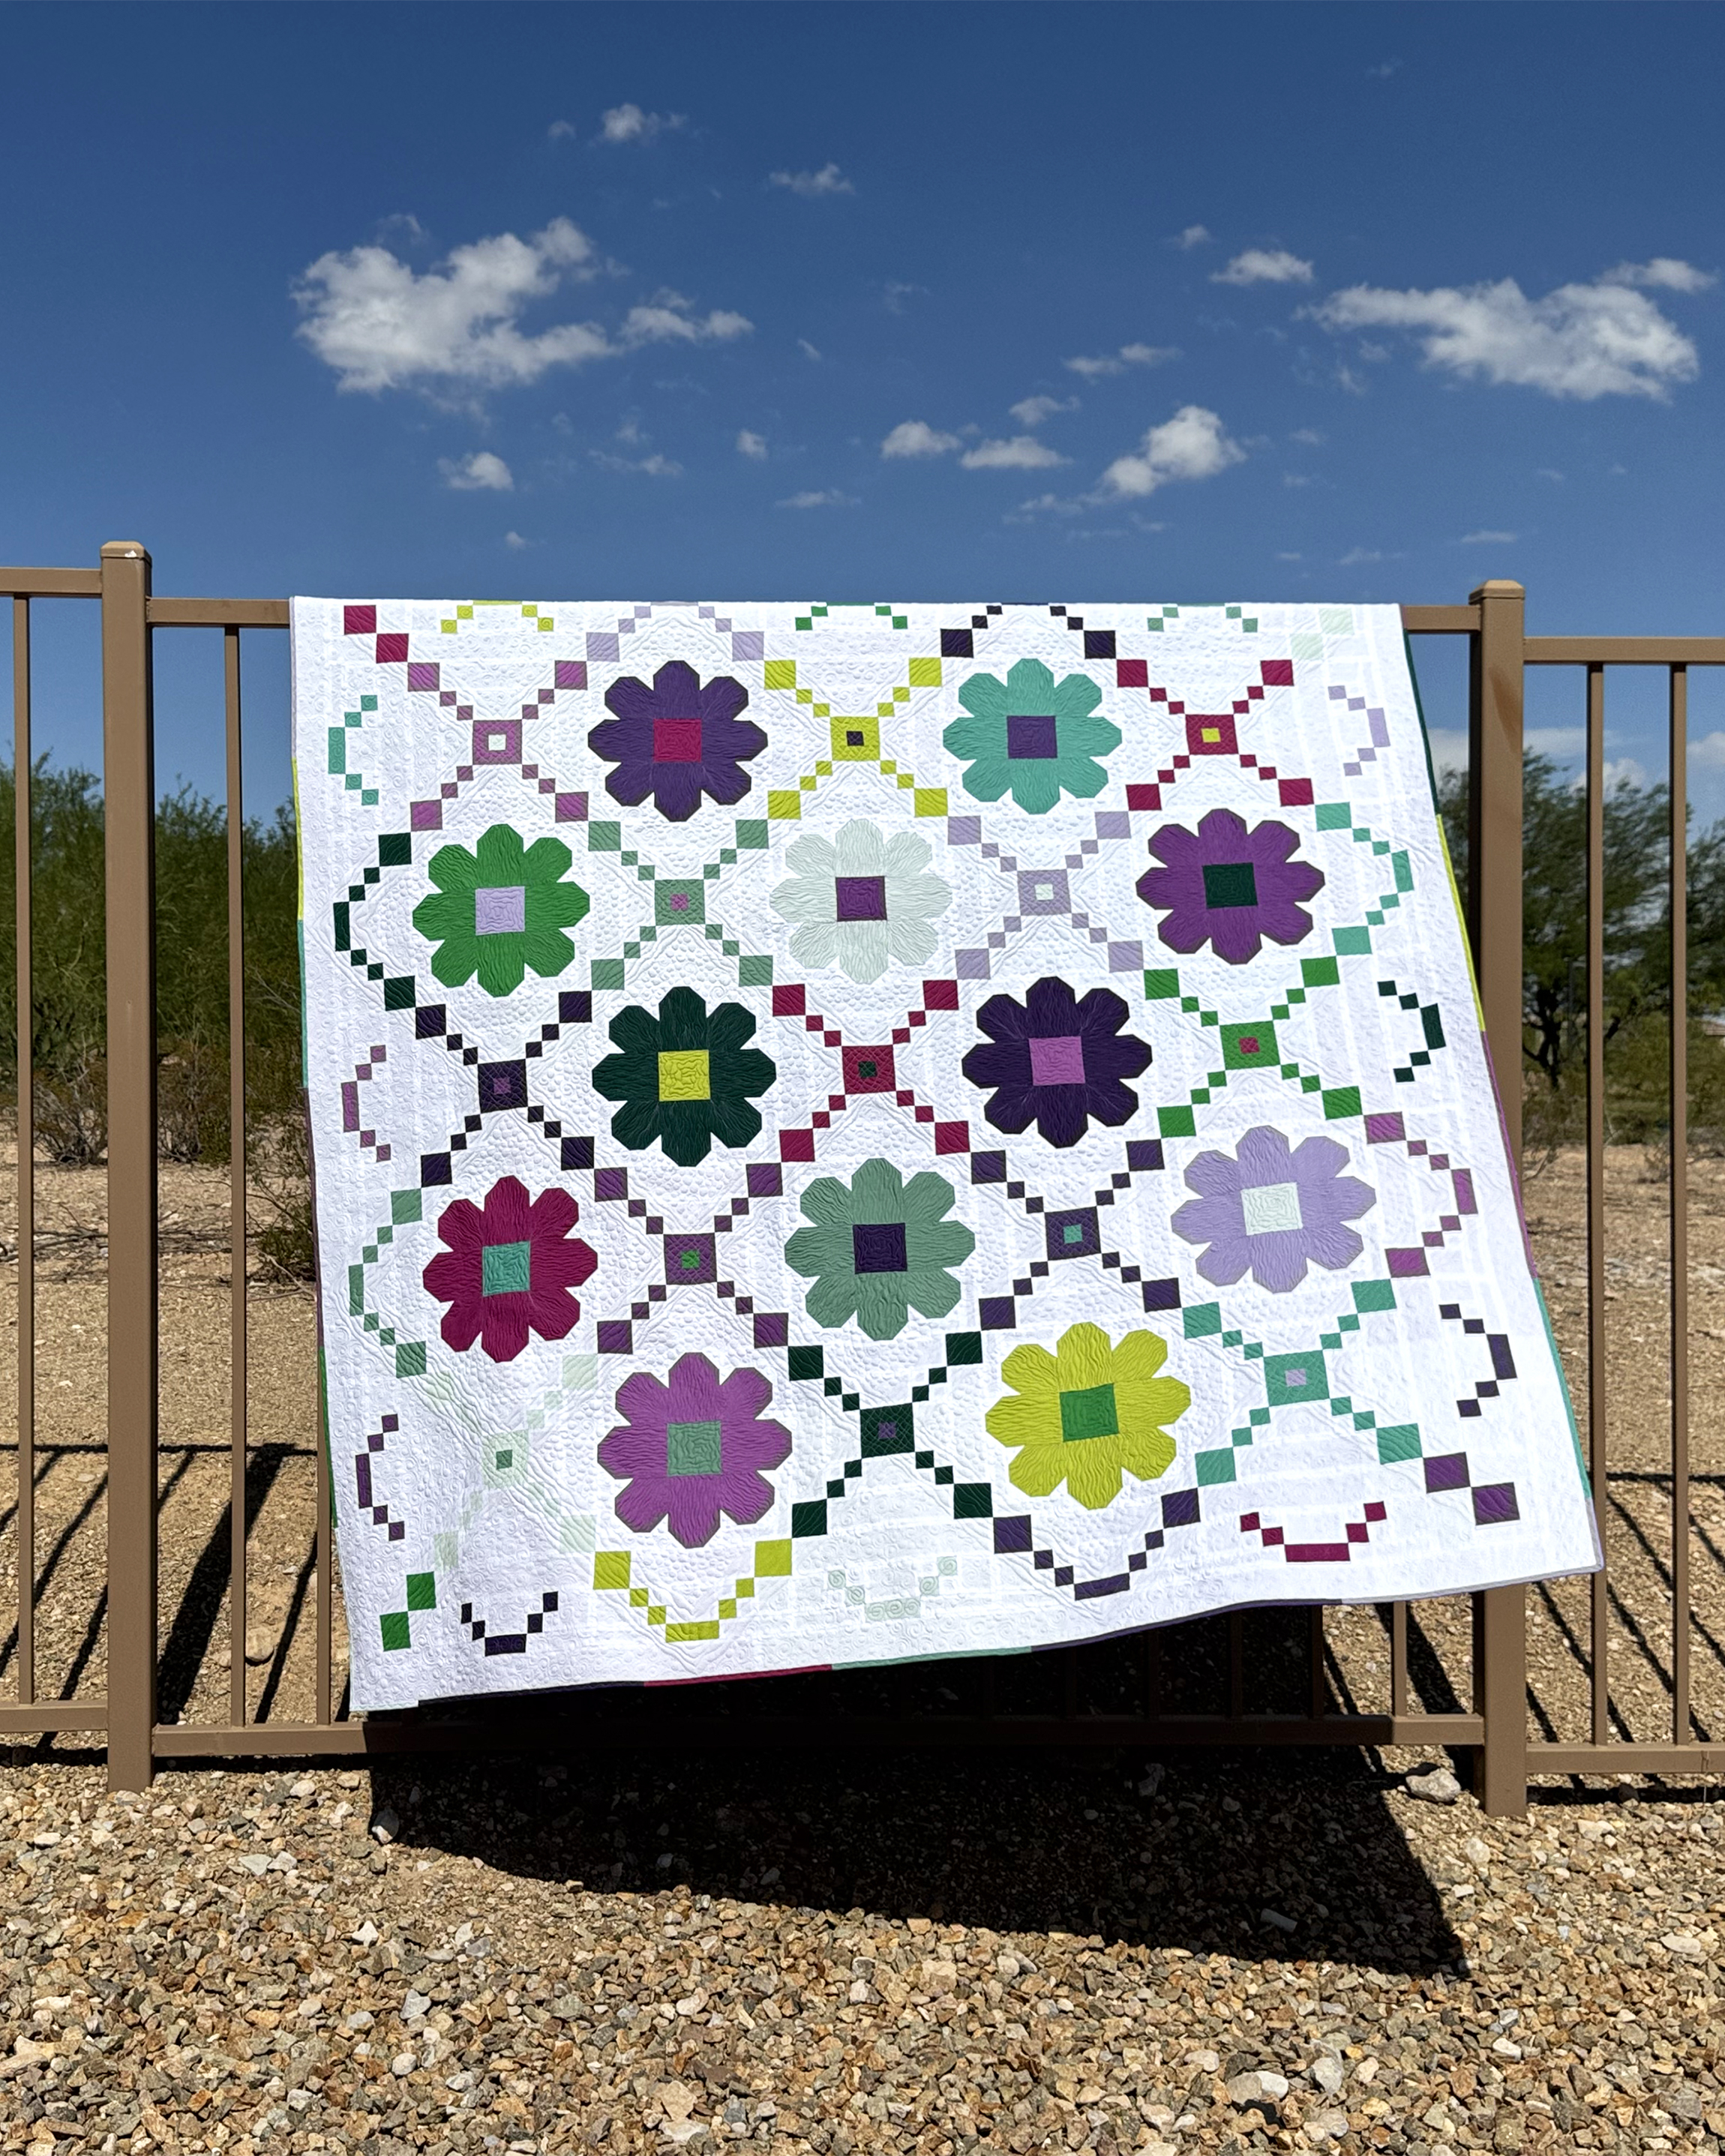
I’m using the Riley Blake Confetti Cotton solids Purple Vibrations FQ Bundle for this version.
I’m basing the instructions on 42″ wide fabric for the background with 40″ of usable length, and 17″ x 21″ usable area of the fat quarters. I recommend cutting out the fabric for the colorful units first, and then the background. The background goes much quicker since it’s all of one fabric.
I used Riley White background paired with the brighter colors, and Vintage white with the warmer tones. Yes, it’s a lot of cutting, so take it slow and work your way through, one stack at a time.
Leave a comment if you have any questions about this week’s “homework.” Remember, I’m here to cheer you on every step of the way!!
Check out my latest video from my 99 Machine Quilting Designs Series – Episode 54 – for 6 fun variations. Watch and learn below:
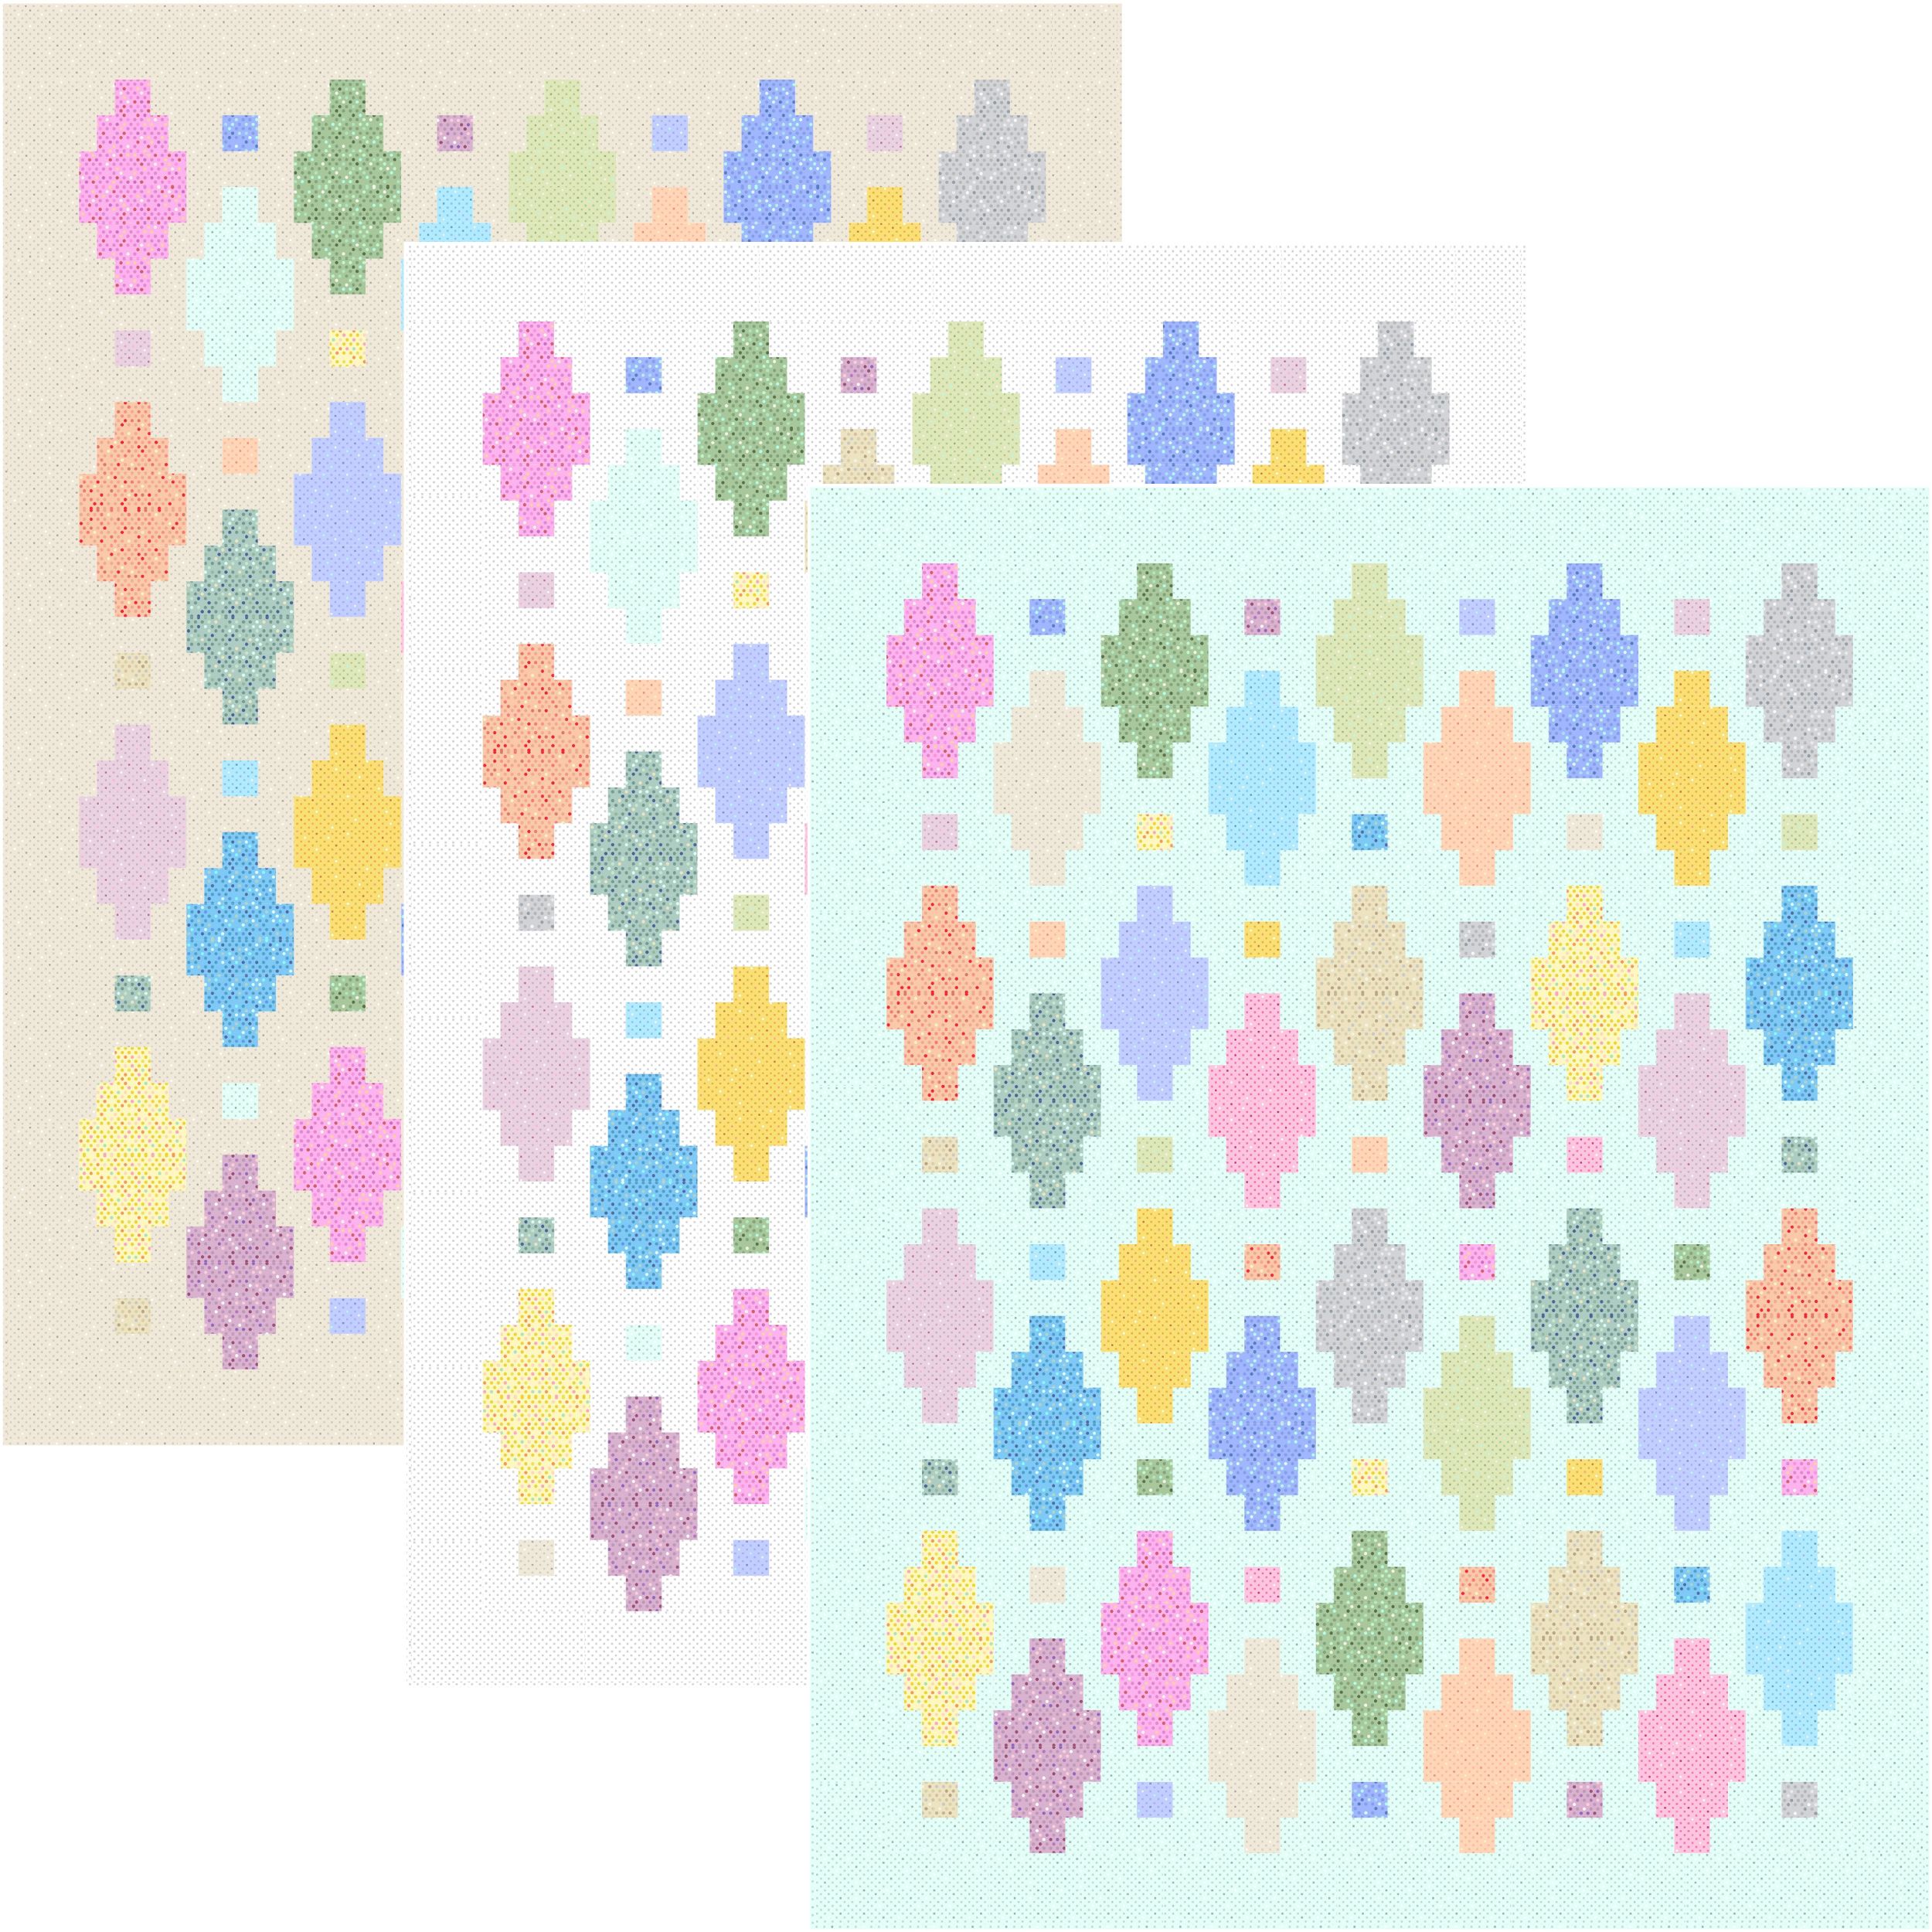
This week’s featured quilt is one of my free patterns called Beaded Lanterns. It’s another one I’ve made several times because it’s just so darn fun to stitch!
Check out the introductory video for this series. Then watch all of the previous videos. There’s a total of 56 for hours and hours of machine quilting fun!
Ready to practice your modern machine quilting? Try these 2 fabulous free-motion fills and see how you can tweak them to make them your own. Click the video below to watch:
Featured Quilt – Surplus Strips
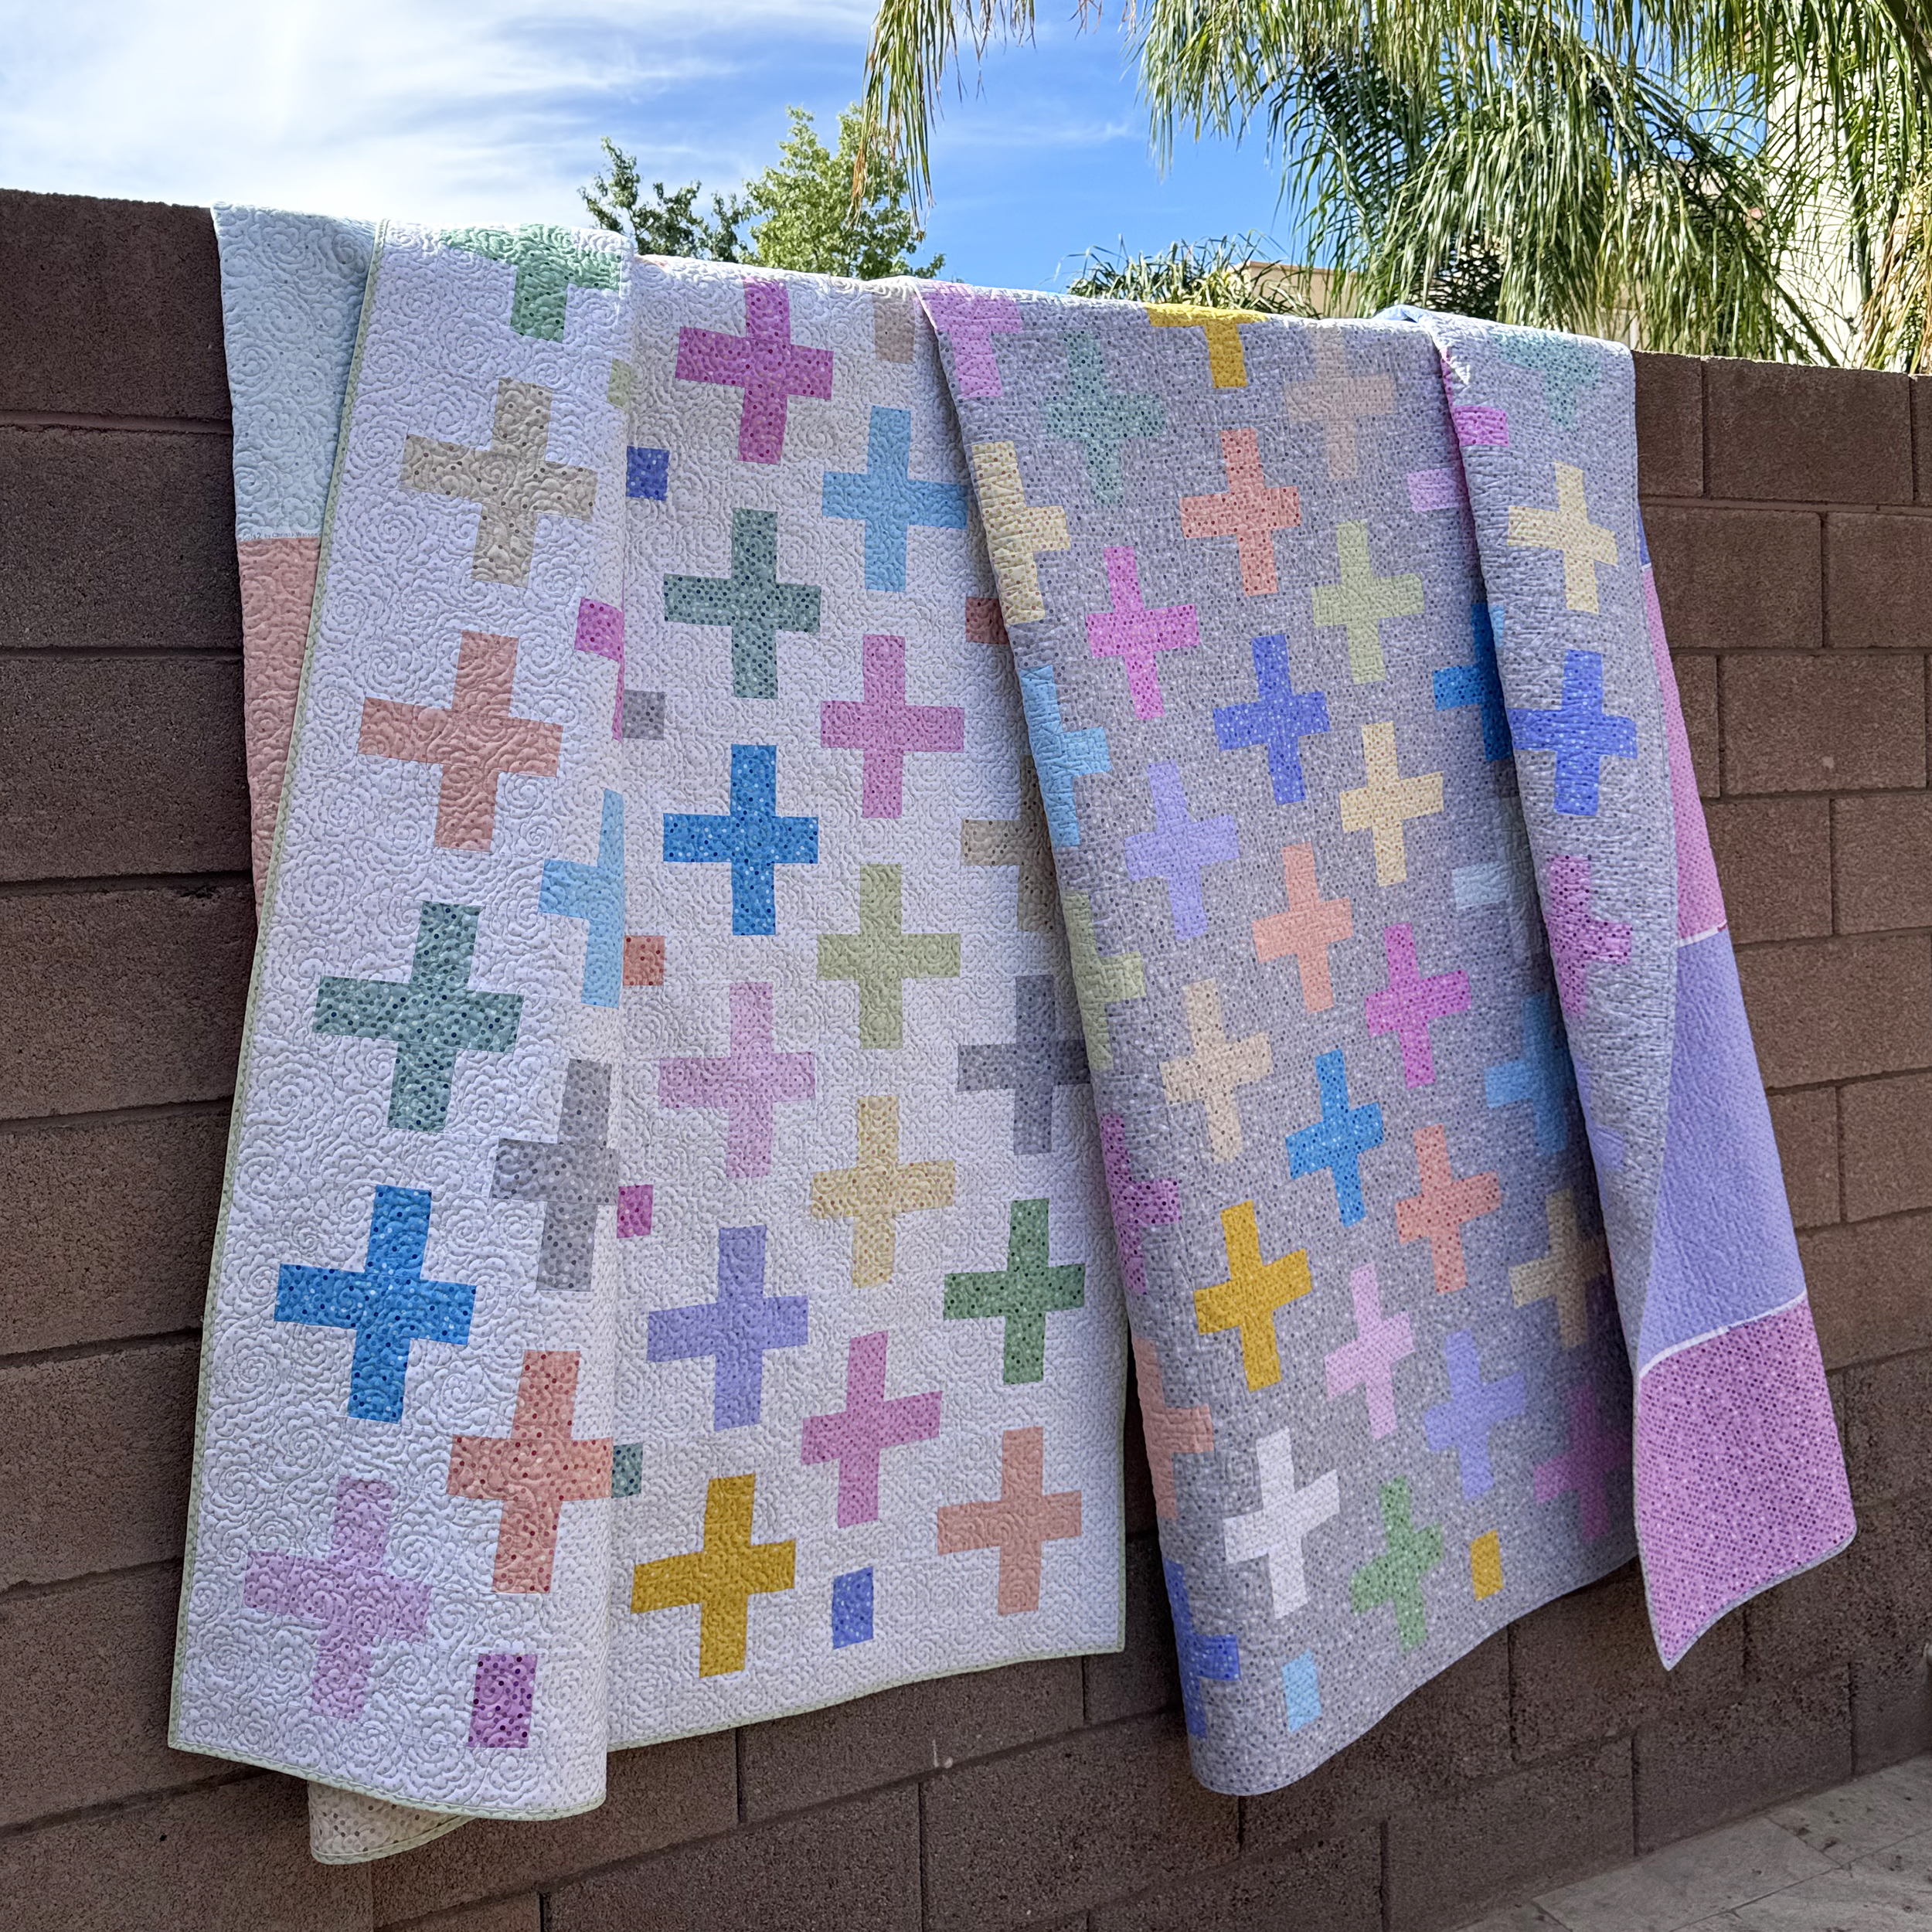
I turned the bumps from clamshells into a floral swirl design by combining them with a basic swirl technique. Then I quilted it edge to edge on the white version below Grab the Surplus Strips quilt pattern to make one for yourself!
Bonus Video – Quilting Surplus Strips 2 Ways
See how I quilted both of the quilts below using 2 different free-motion motifs. You can apply any design I’m sharing with you as an edge-to edge design on any quilt in your UFO pile!
More Ideas for Quilting Clamshells
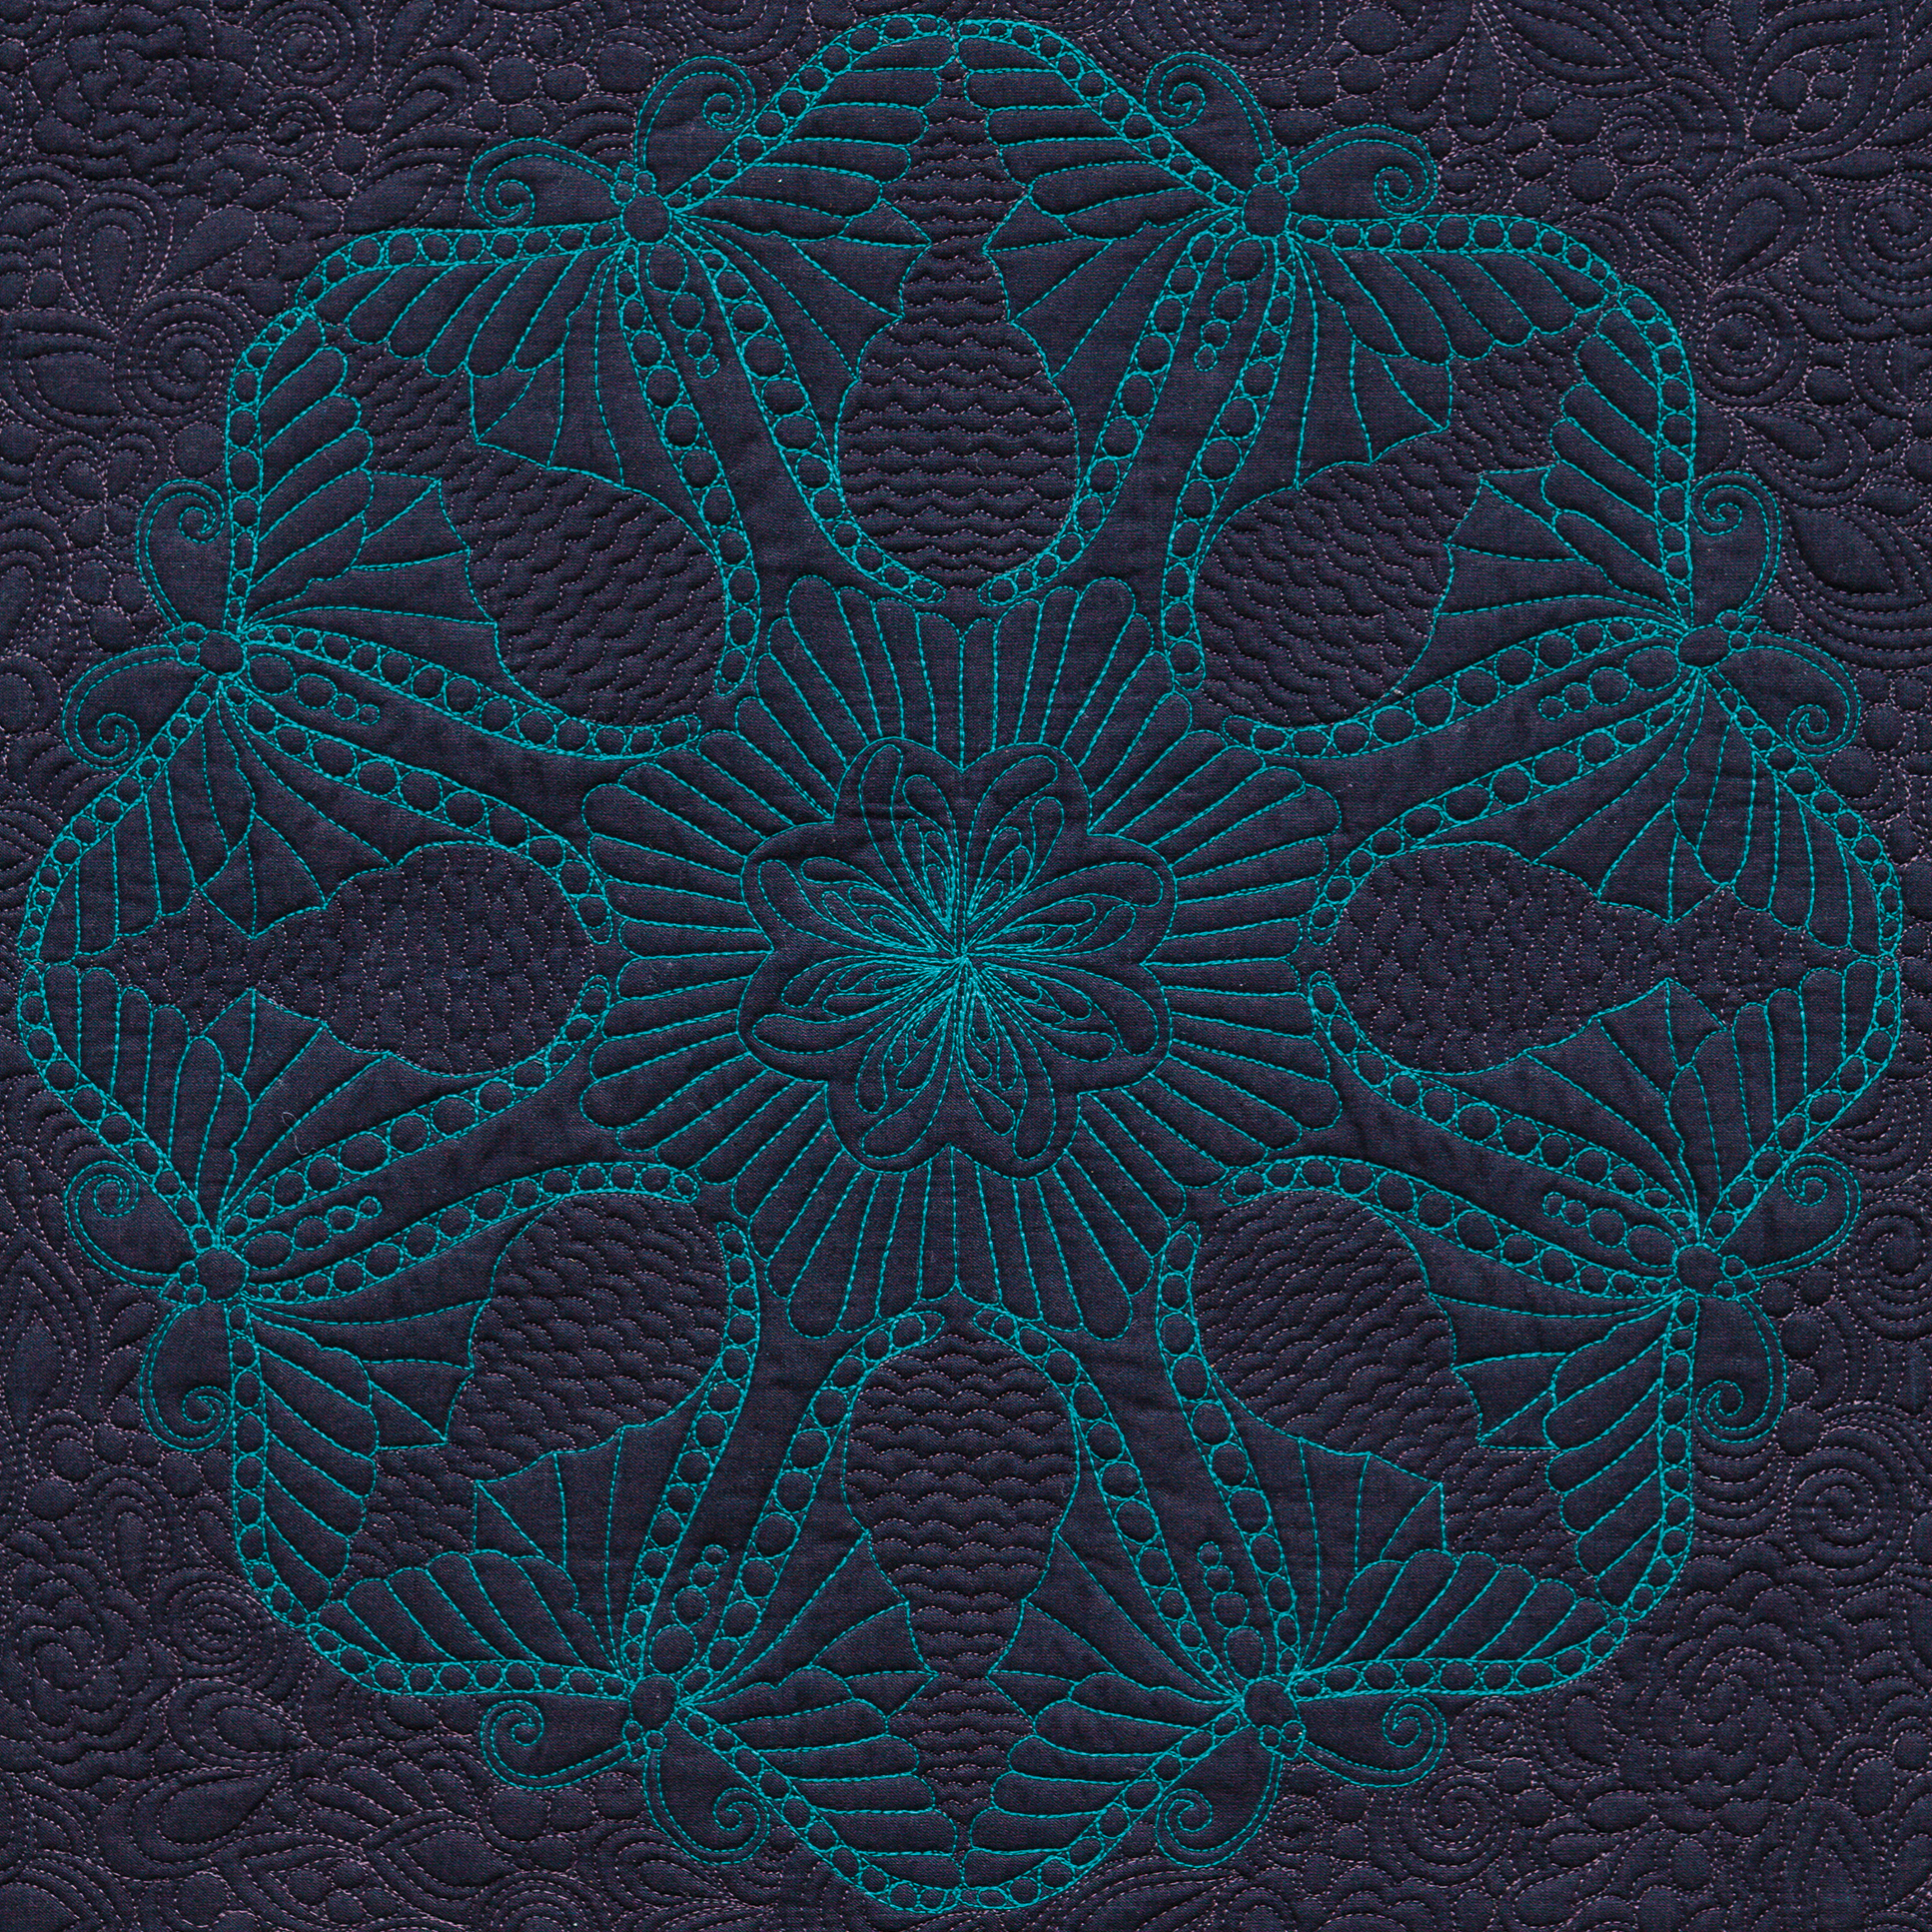
The pink quilt below shows clamshells as a background design, repeating the motif in the center. The dramatic black/teal whole cloth utilizes clamshells as a filler motif to highlight the focal point of this design.
This week’s machine quilting tutorial takes the traditional paisley design and modernizes it by adding filler motifs inside the design! It’s a fun way to change things up. Click the image below to watch on my YouTube channel:
Make This Quilt!
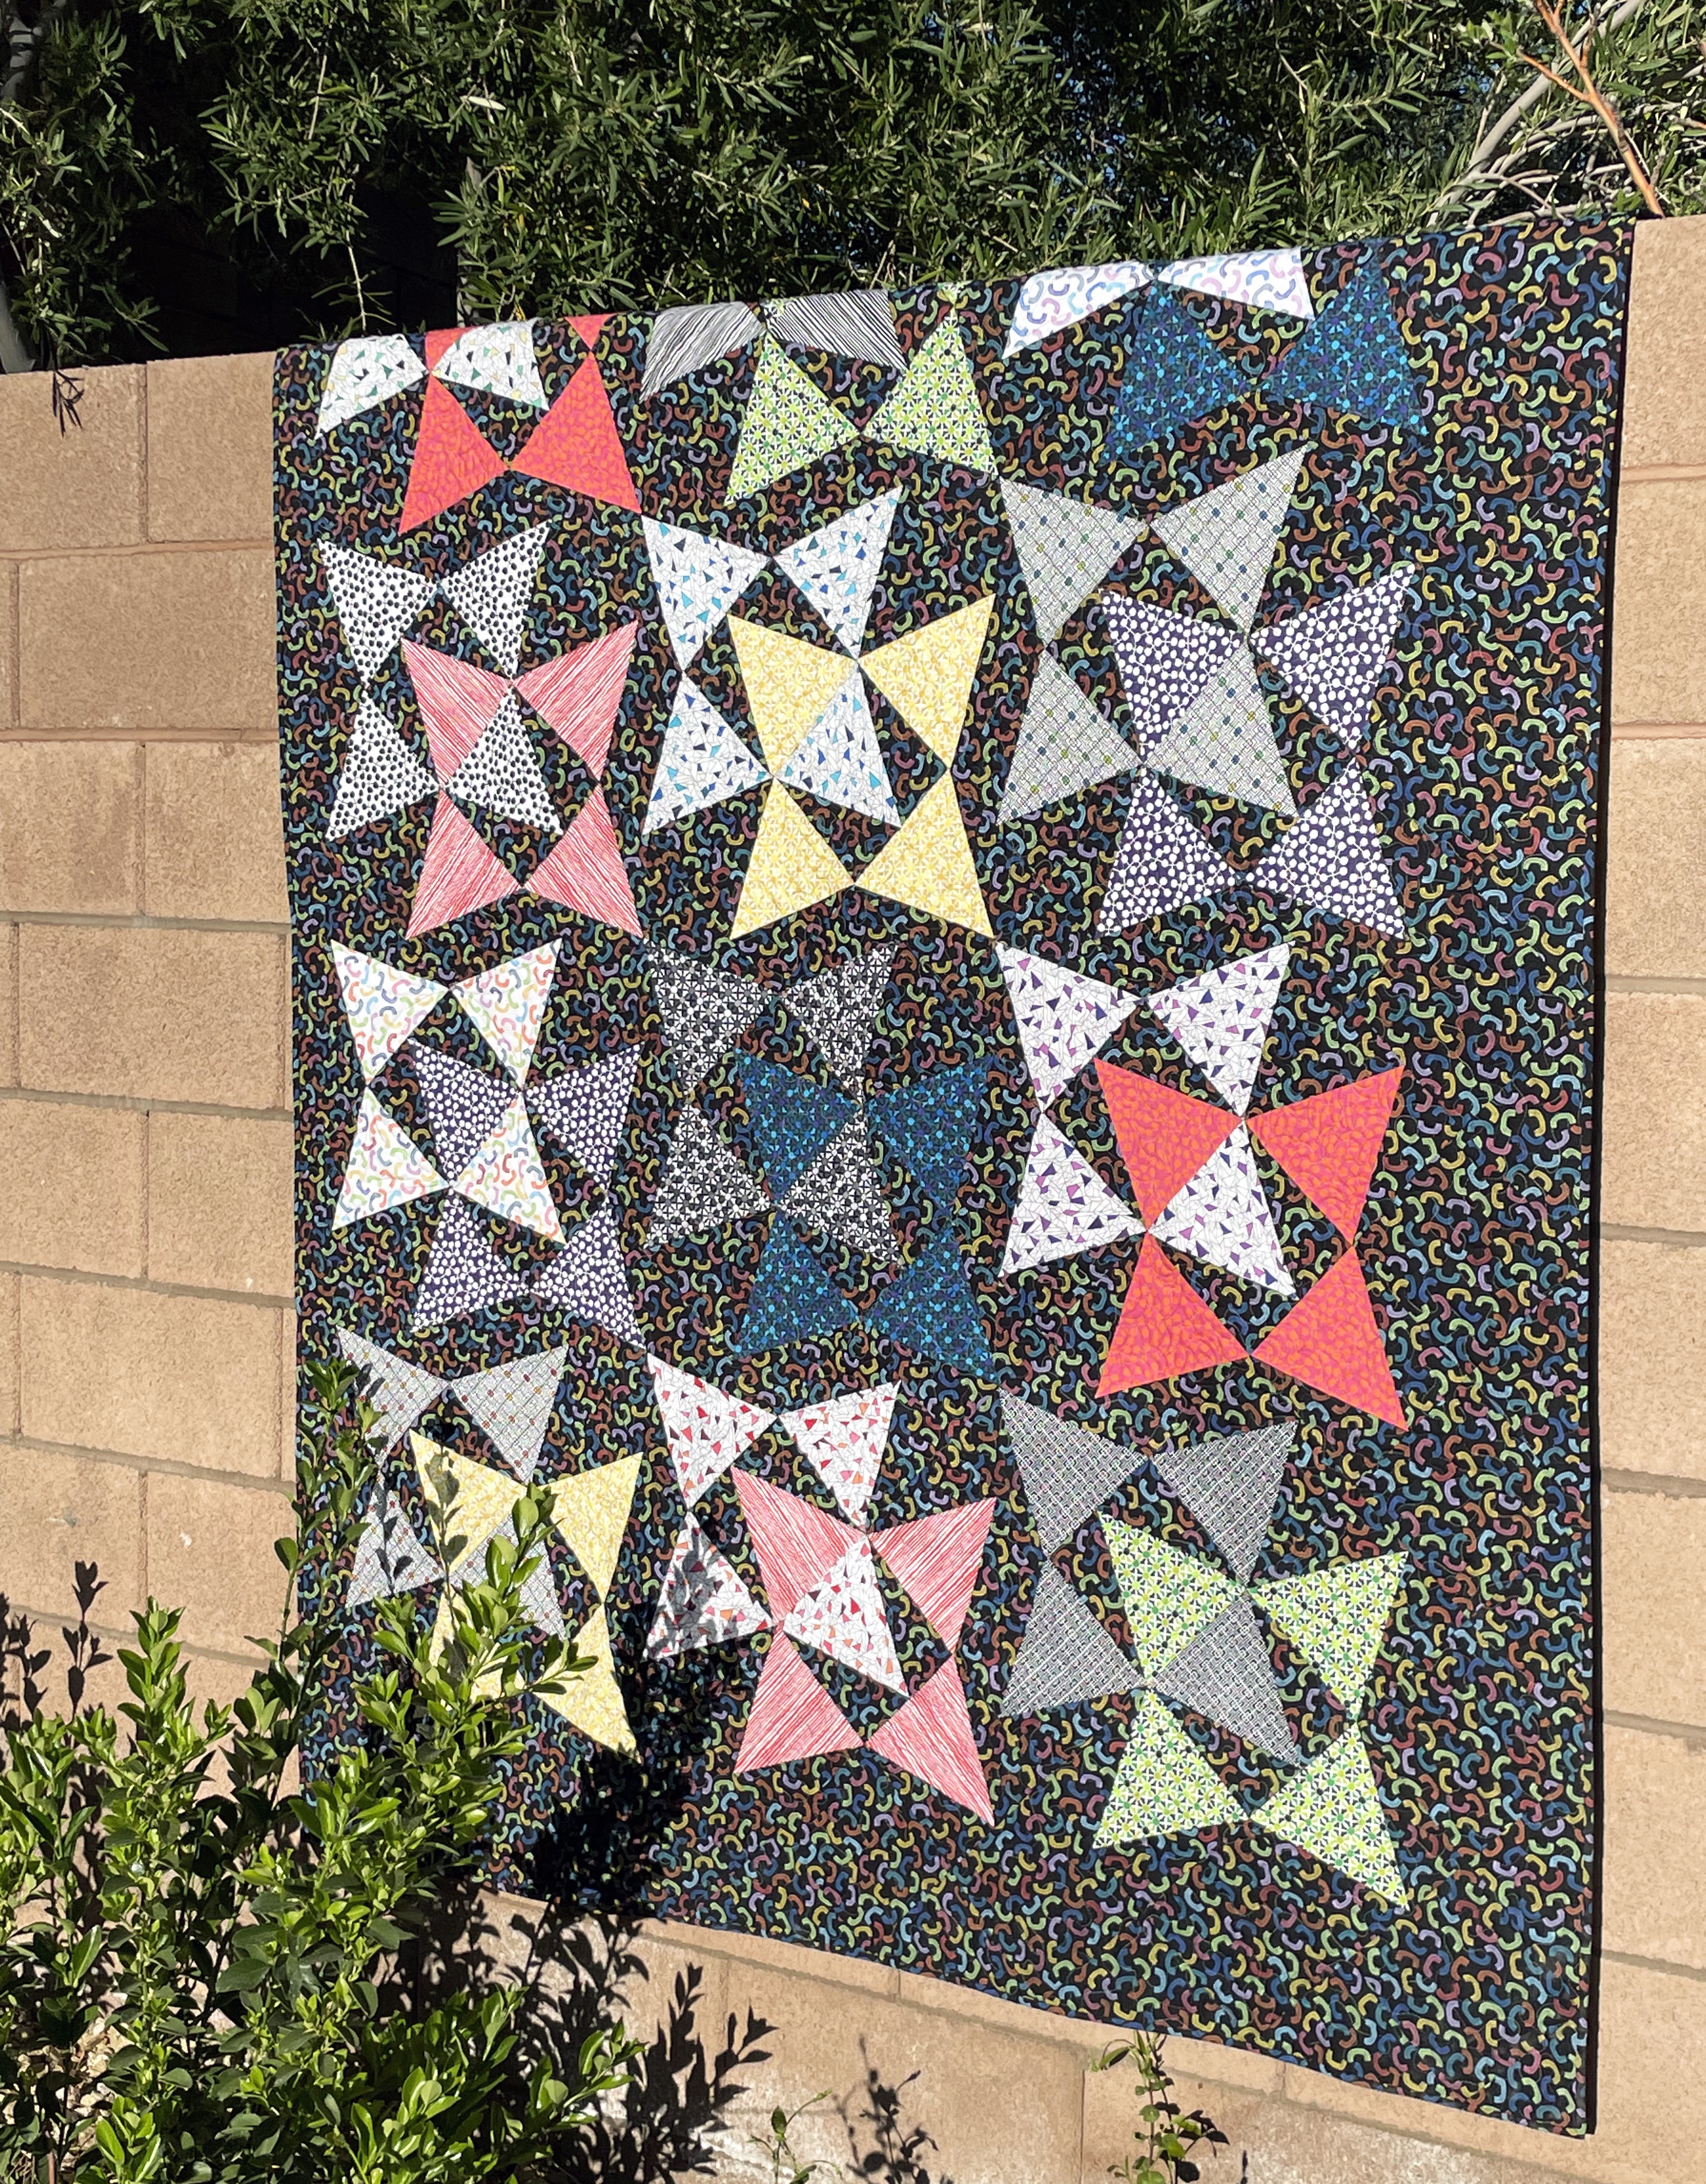
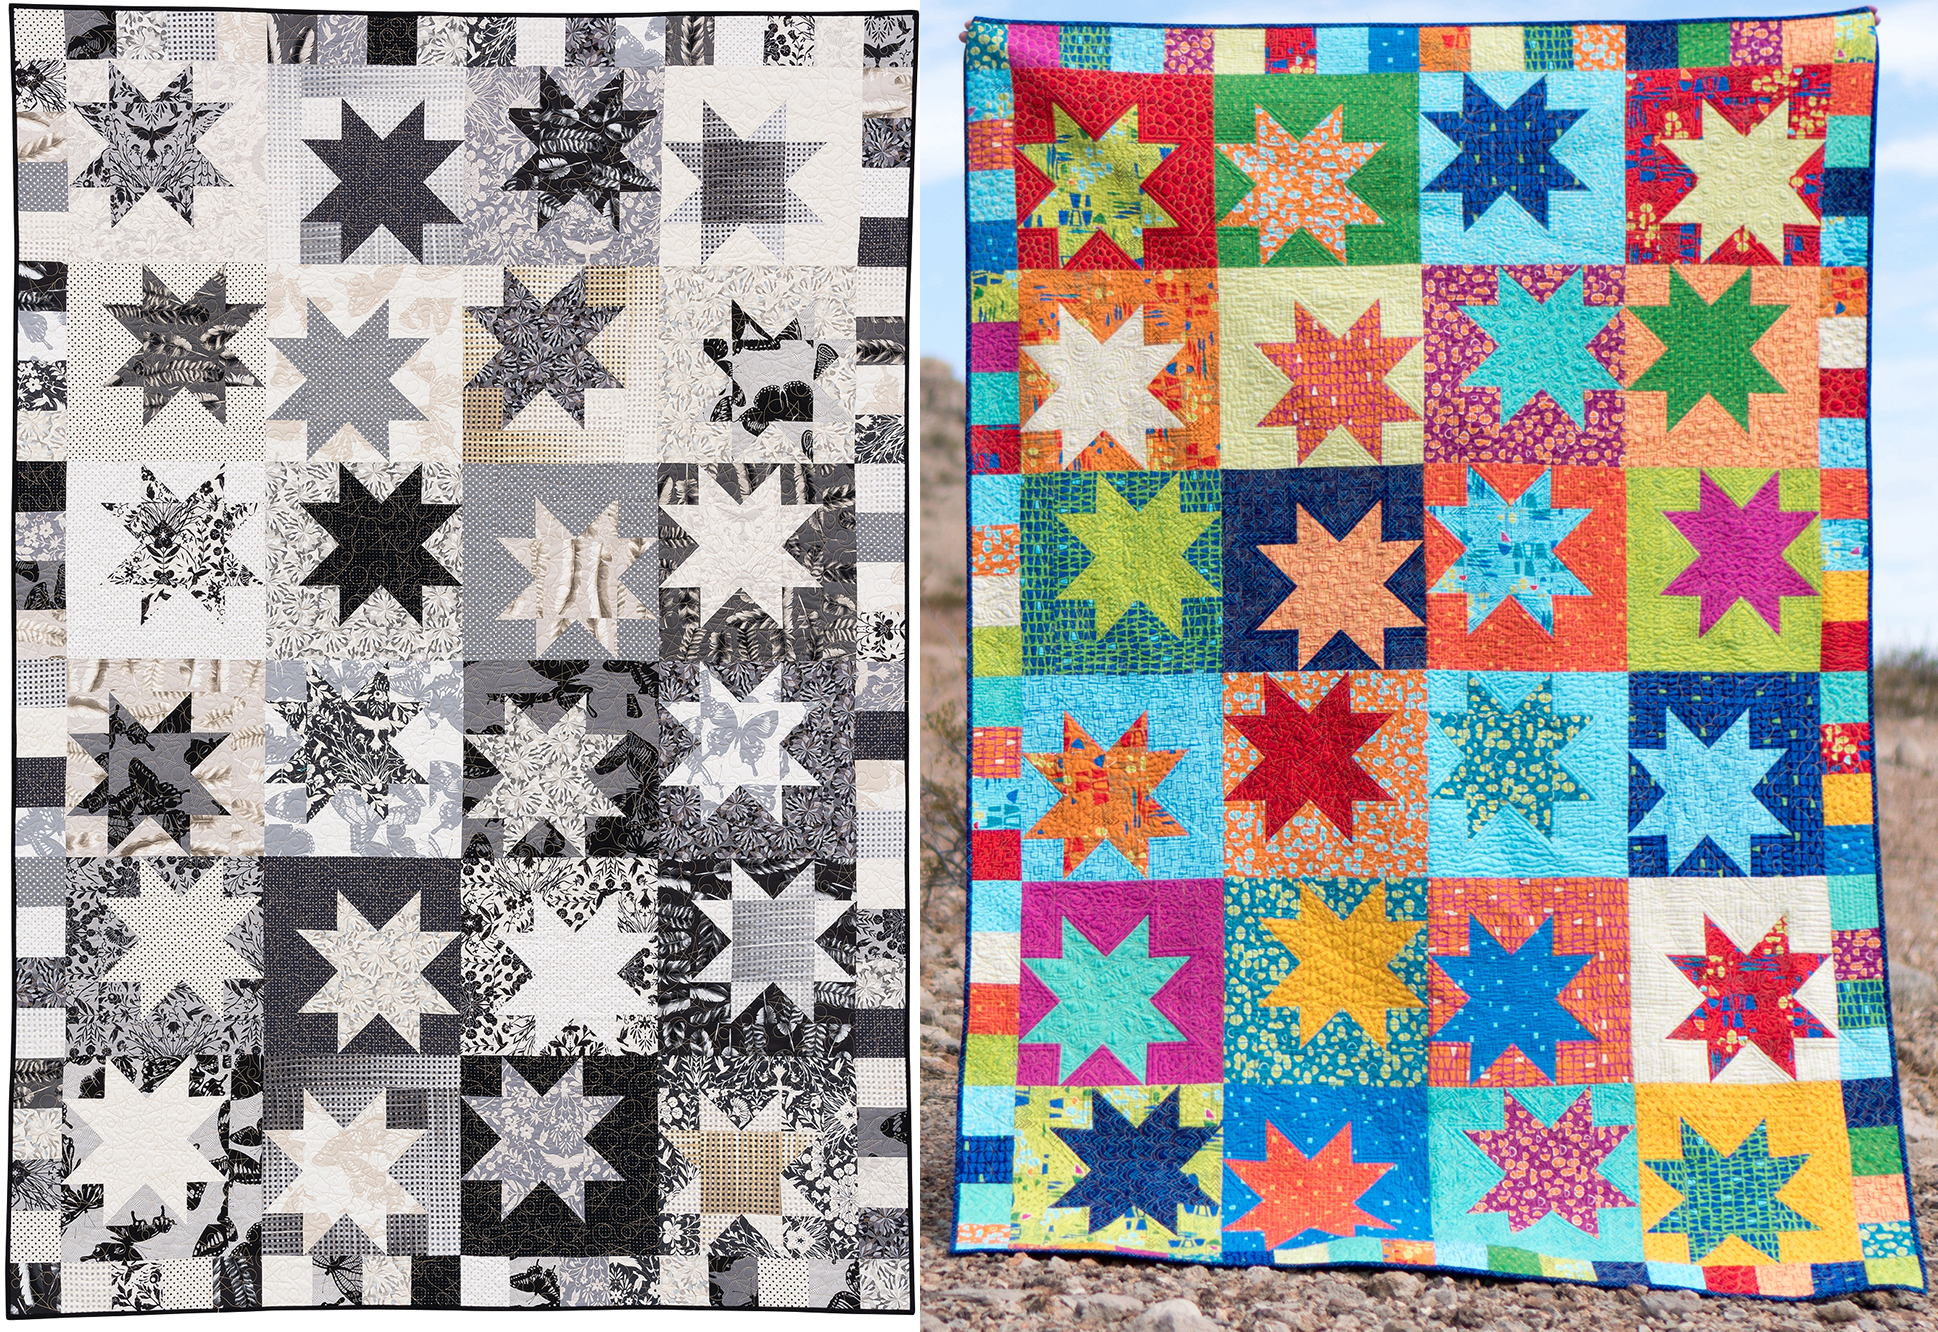
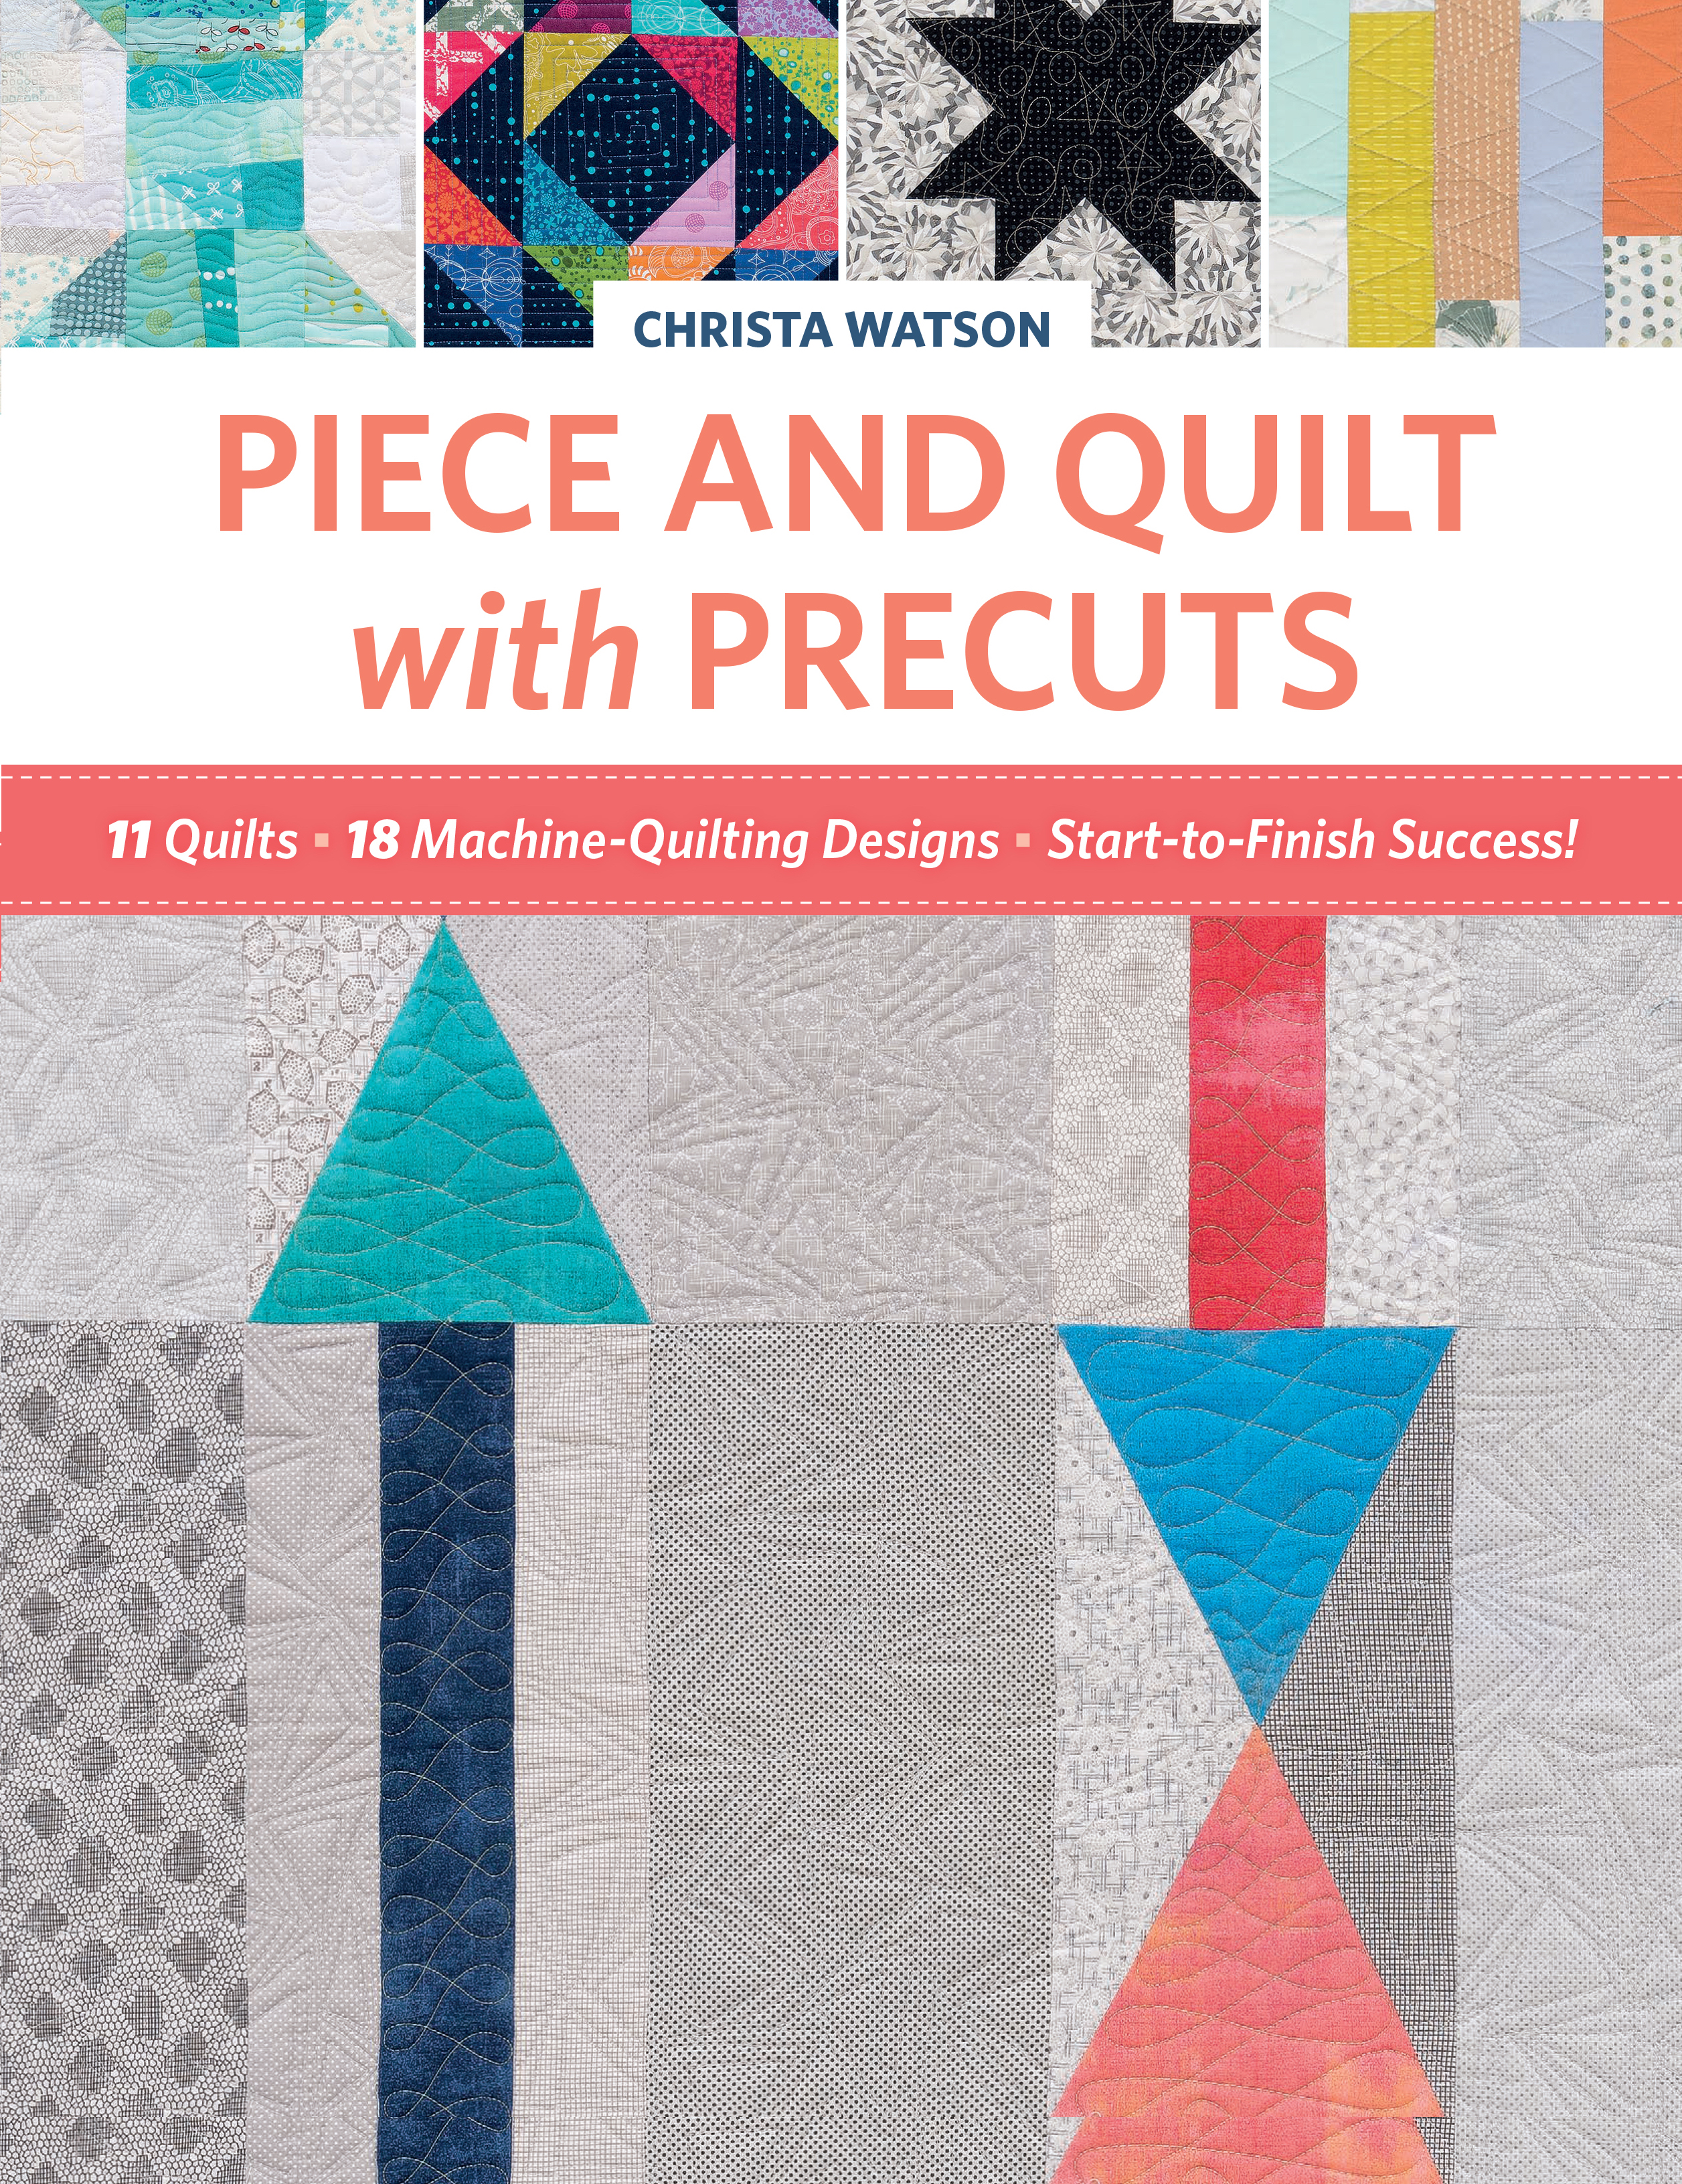
Throughout this series, I’ve loved showing how I quilted these designs on actual, real quilts. The quilt shown in the video behind me is called Star Struck and it’s fun to see how different it looks depending on the fabrics that are chosen. Complete, start to finish instructions for this pattern are included in my book, Piece and Quilt with Precuts!
I’m almost finished sharing all of the designs from this series. If you’ve missed any of them be sure to check out the complete play list for hours and hours of viewing pleasure!
For this week’s tutorial we are back in business with free-motion quilting! This design, Hourglass, is basically a geometric and modern version of an earlier design: Cursive L’s. The technique of these two designs is very similar, so if you got one down, you can easily do the other!
Dot n’ Dash Quilt – Pick Up Piece and Quilt With Precuts
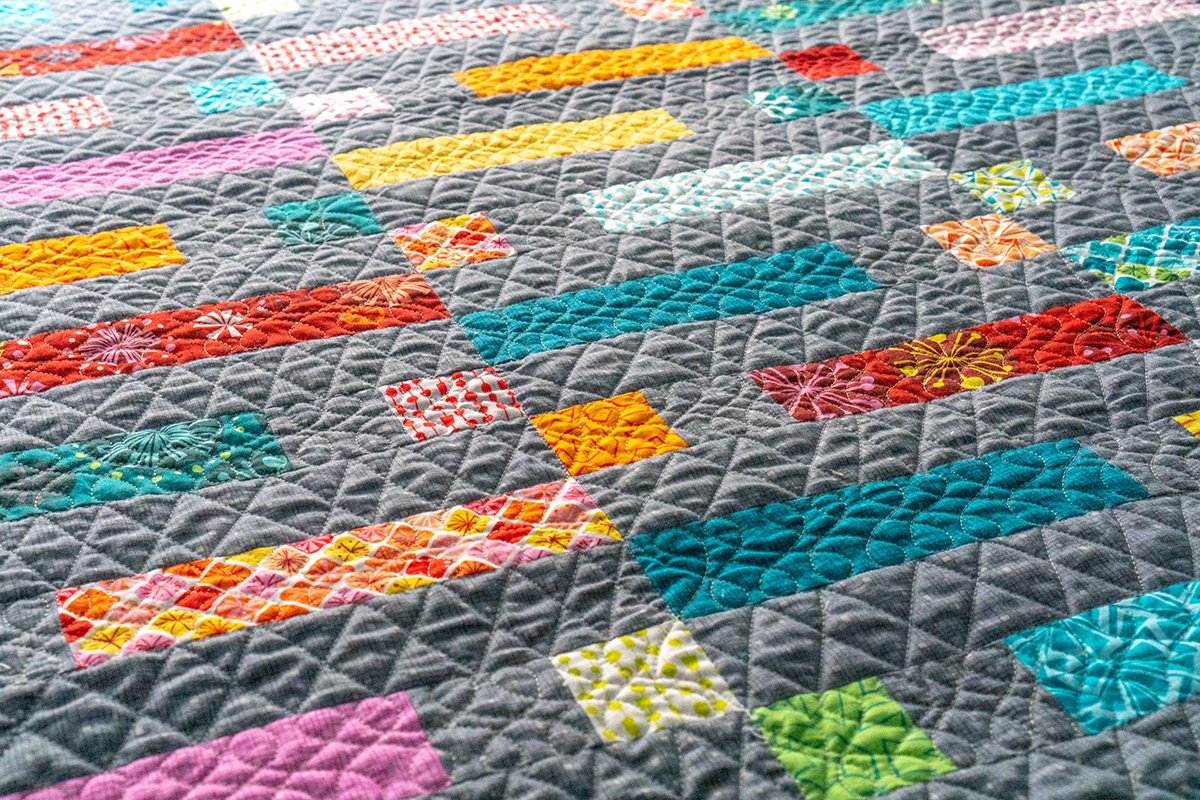
I admit I haven’t actually made a full-size quilt with Hourglass – that is on my bucket list! However, I’ve quilted a similar design on Dot n’ Dash, the featured quilt of this week. I call this a my Modern Jelly Roll Quilt since it can just be made with strips from a jelly roll! If you are interested in making this quilt for yourself, the original version of the pattern comes from my book, Piece and Quilt with Precuts.
Are you excited to make Daisy Chain along with me? See below for the complete quilt along schedule. Although this event will be quickly paced, I’ll leave these blog posts up indefinitely so you can work on your quilt any time you wish. I’m here to help you each step of the way!
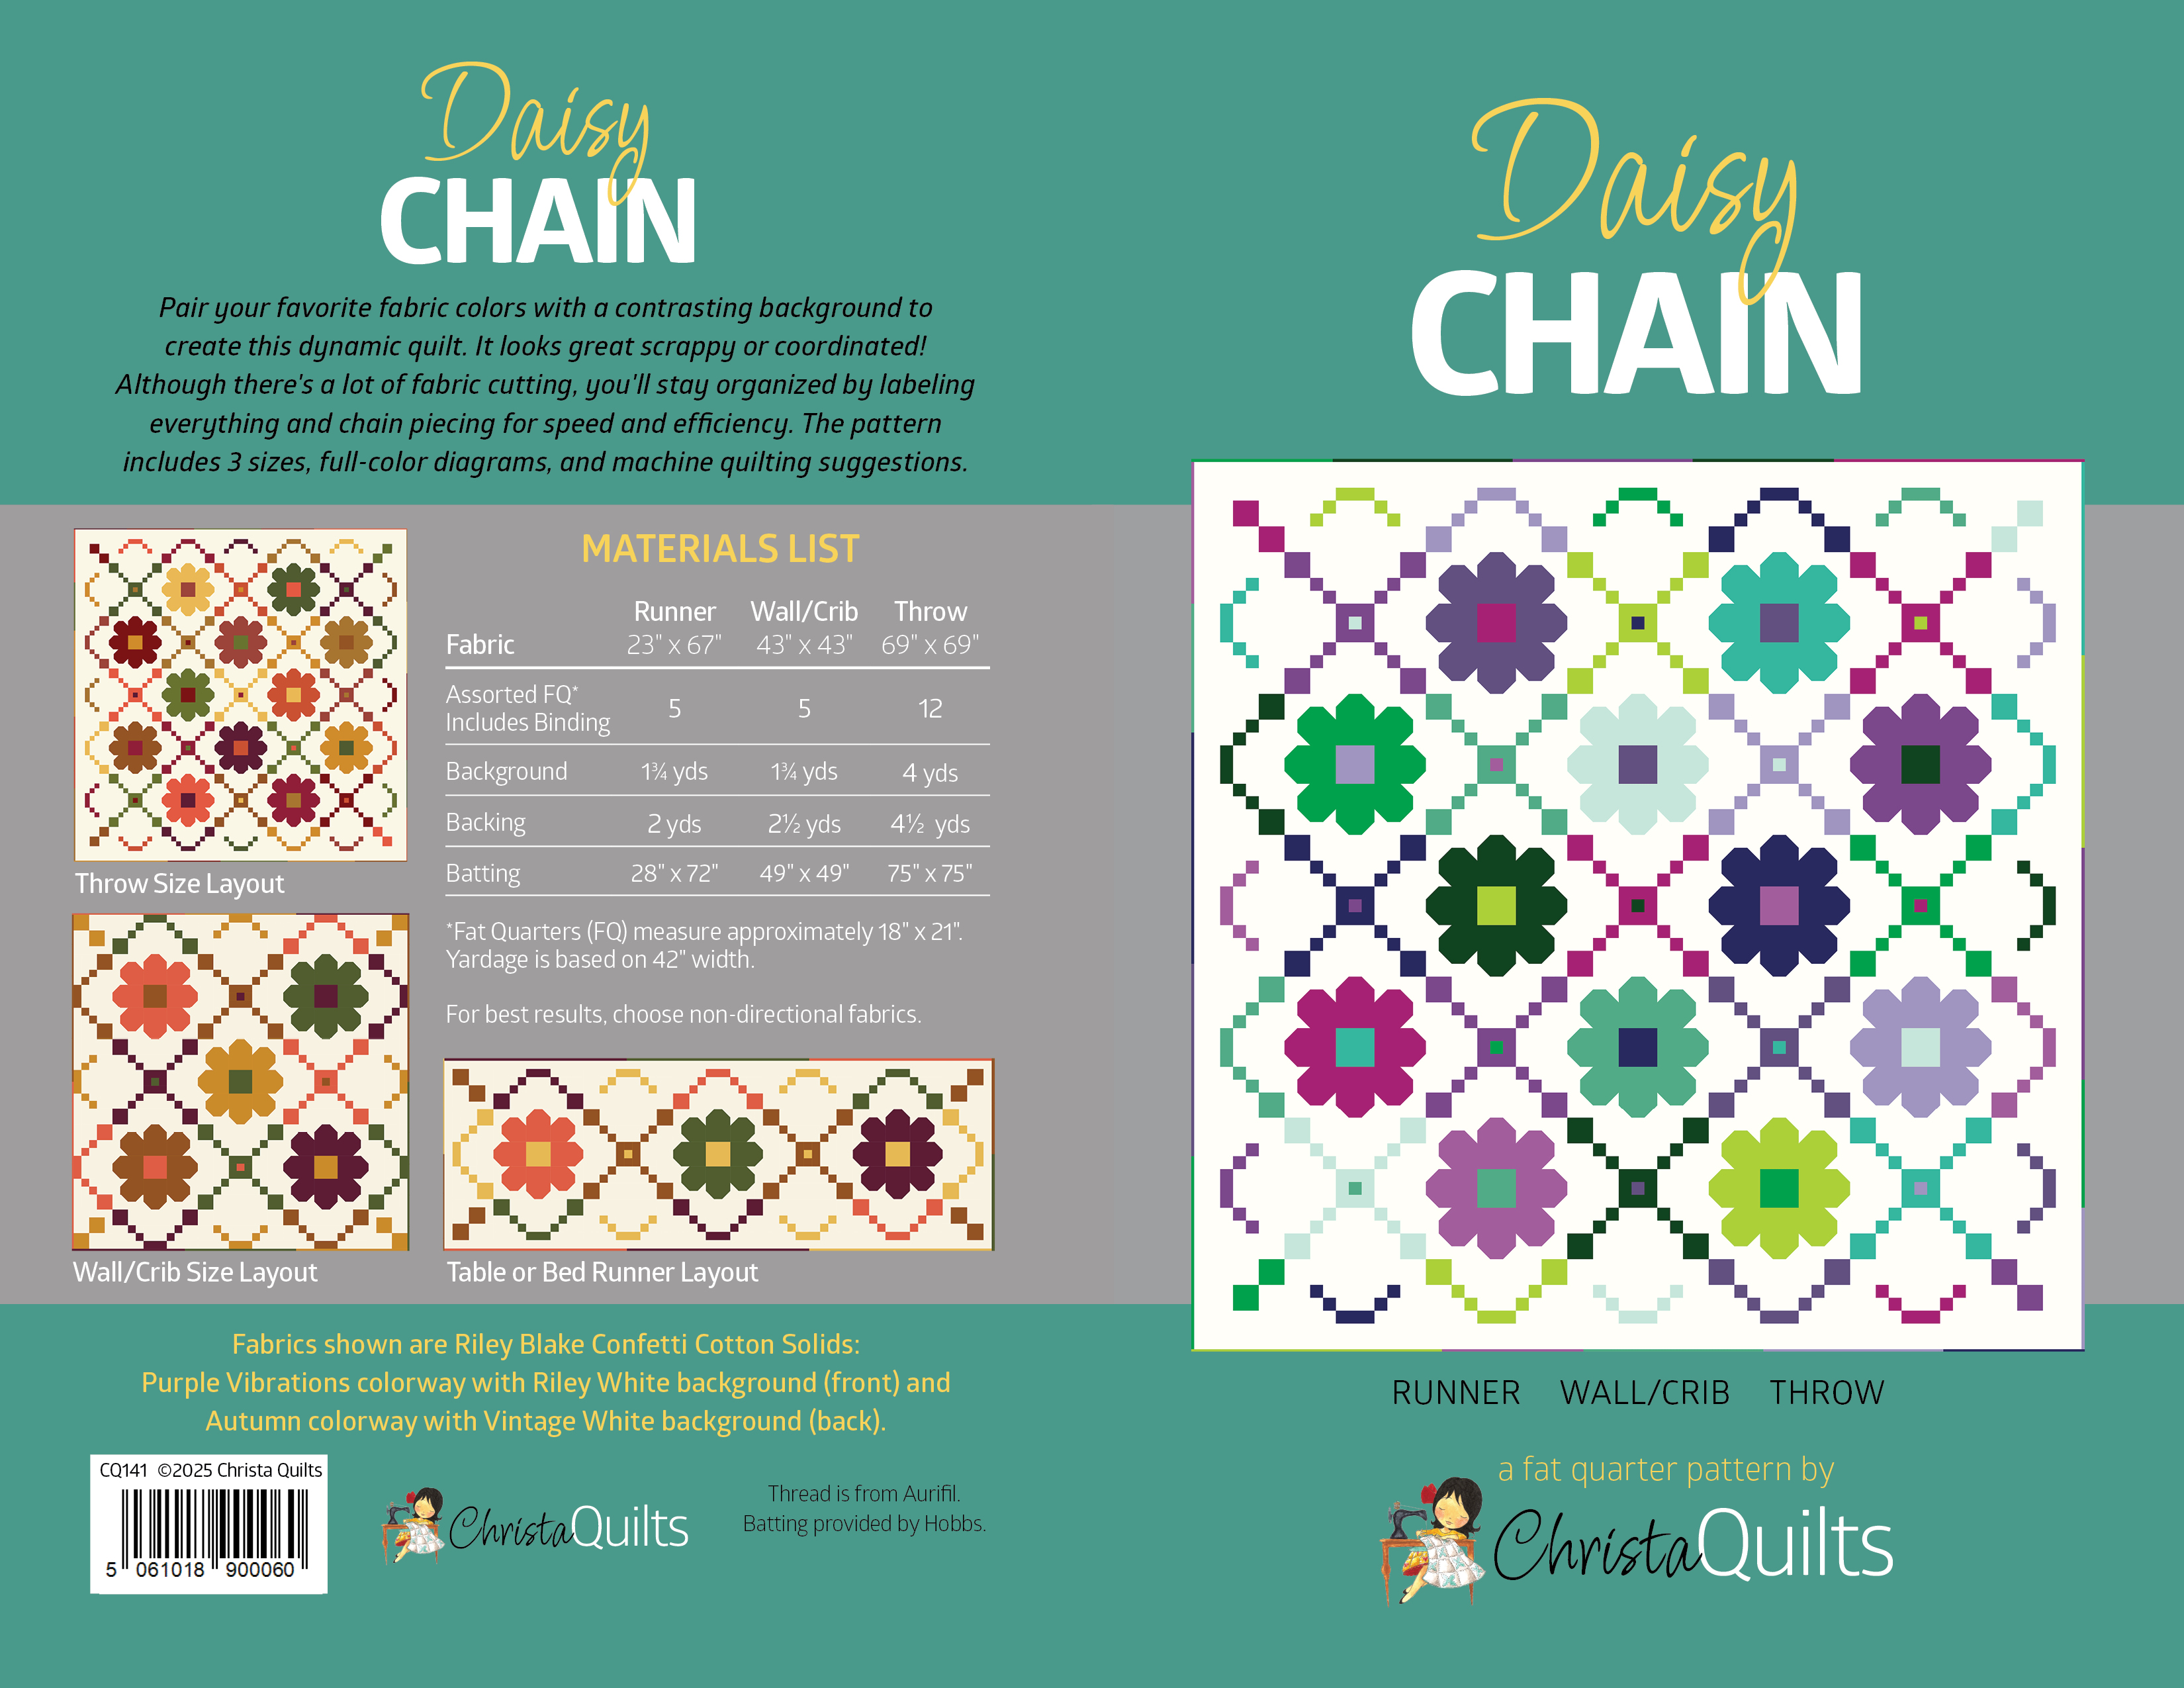
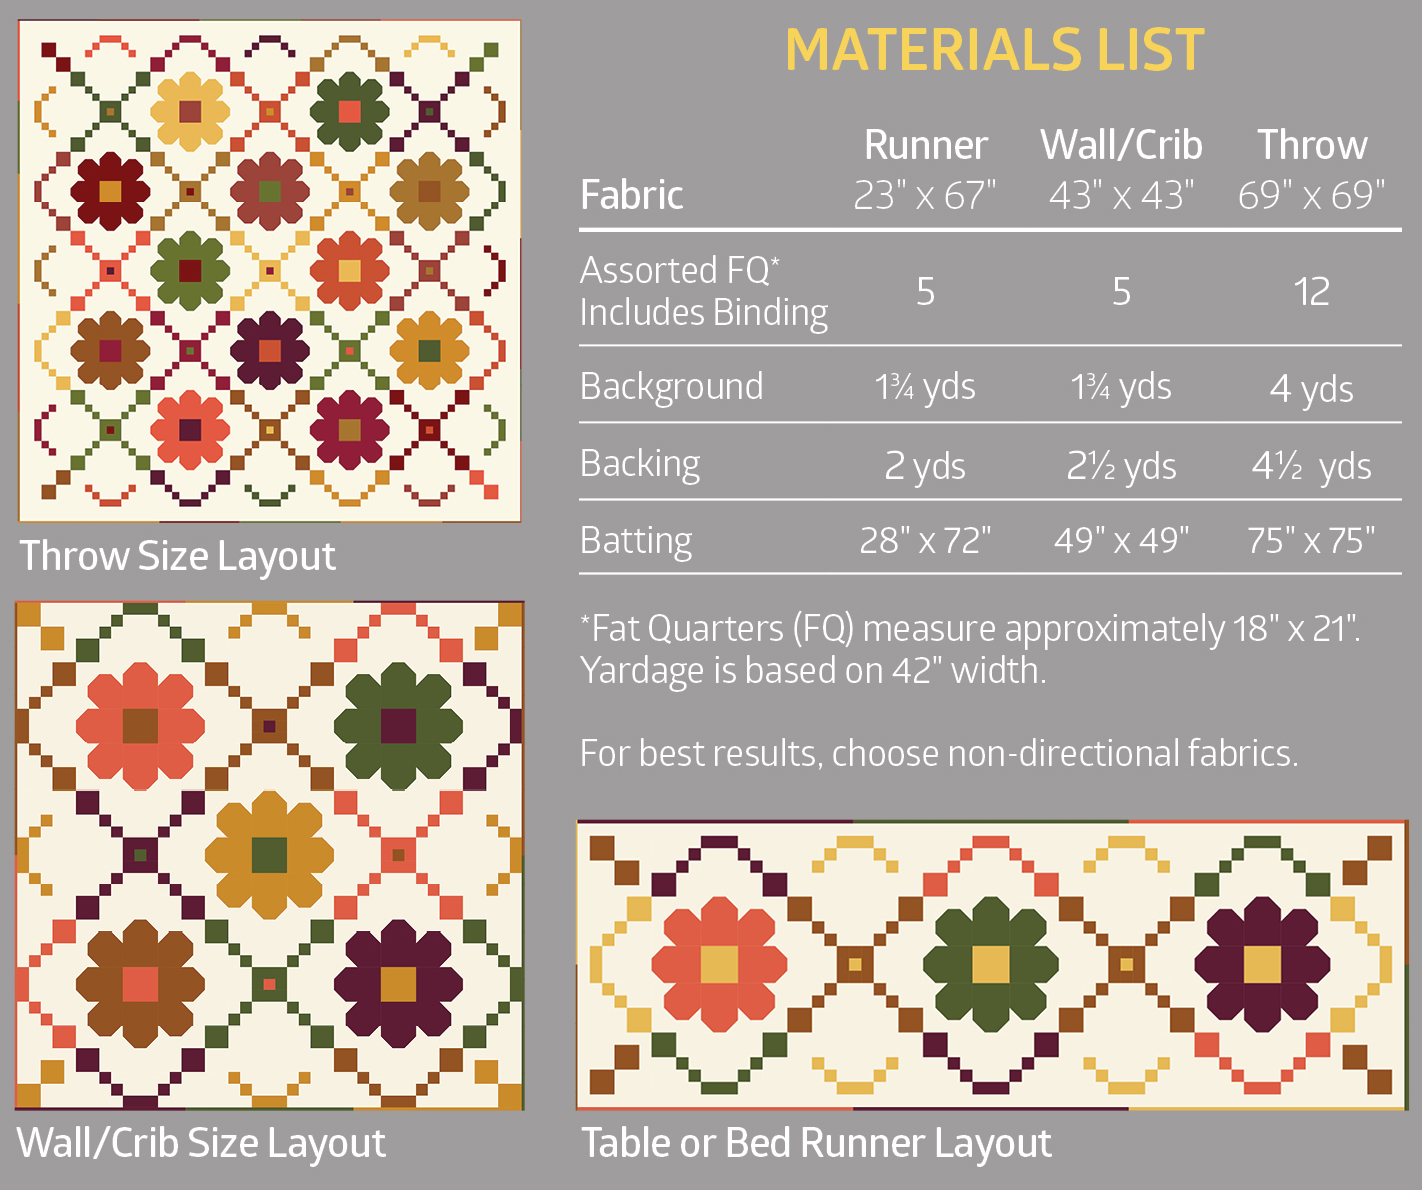
I made both versions of this quilt using fat quarters of Riley Blake Designs’ Confetti Cotton solids. The throw sizes shown here are made with 12 fat quarters plus 4 yards background, and the leftovers form a scrappy binding. Color selection is super easy for this quilt – just grab your favorite fabrics and pair them up with a highly contrasting background and you are good to go!!
I used fat quarters in the Autumn & Purple Vibrations Colorways for my Quilts
Here’s a the complete supply list so you can make this quilt in 3 different sizes. It’s a LOT of cutting, but it’s all just straight seams with traditional piecing techniques. So there’s no specialty rulers required. I do recommend getting some small label stickers though so you can label all your pieces to stay organized.
Quilt Along Schedule
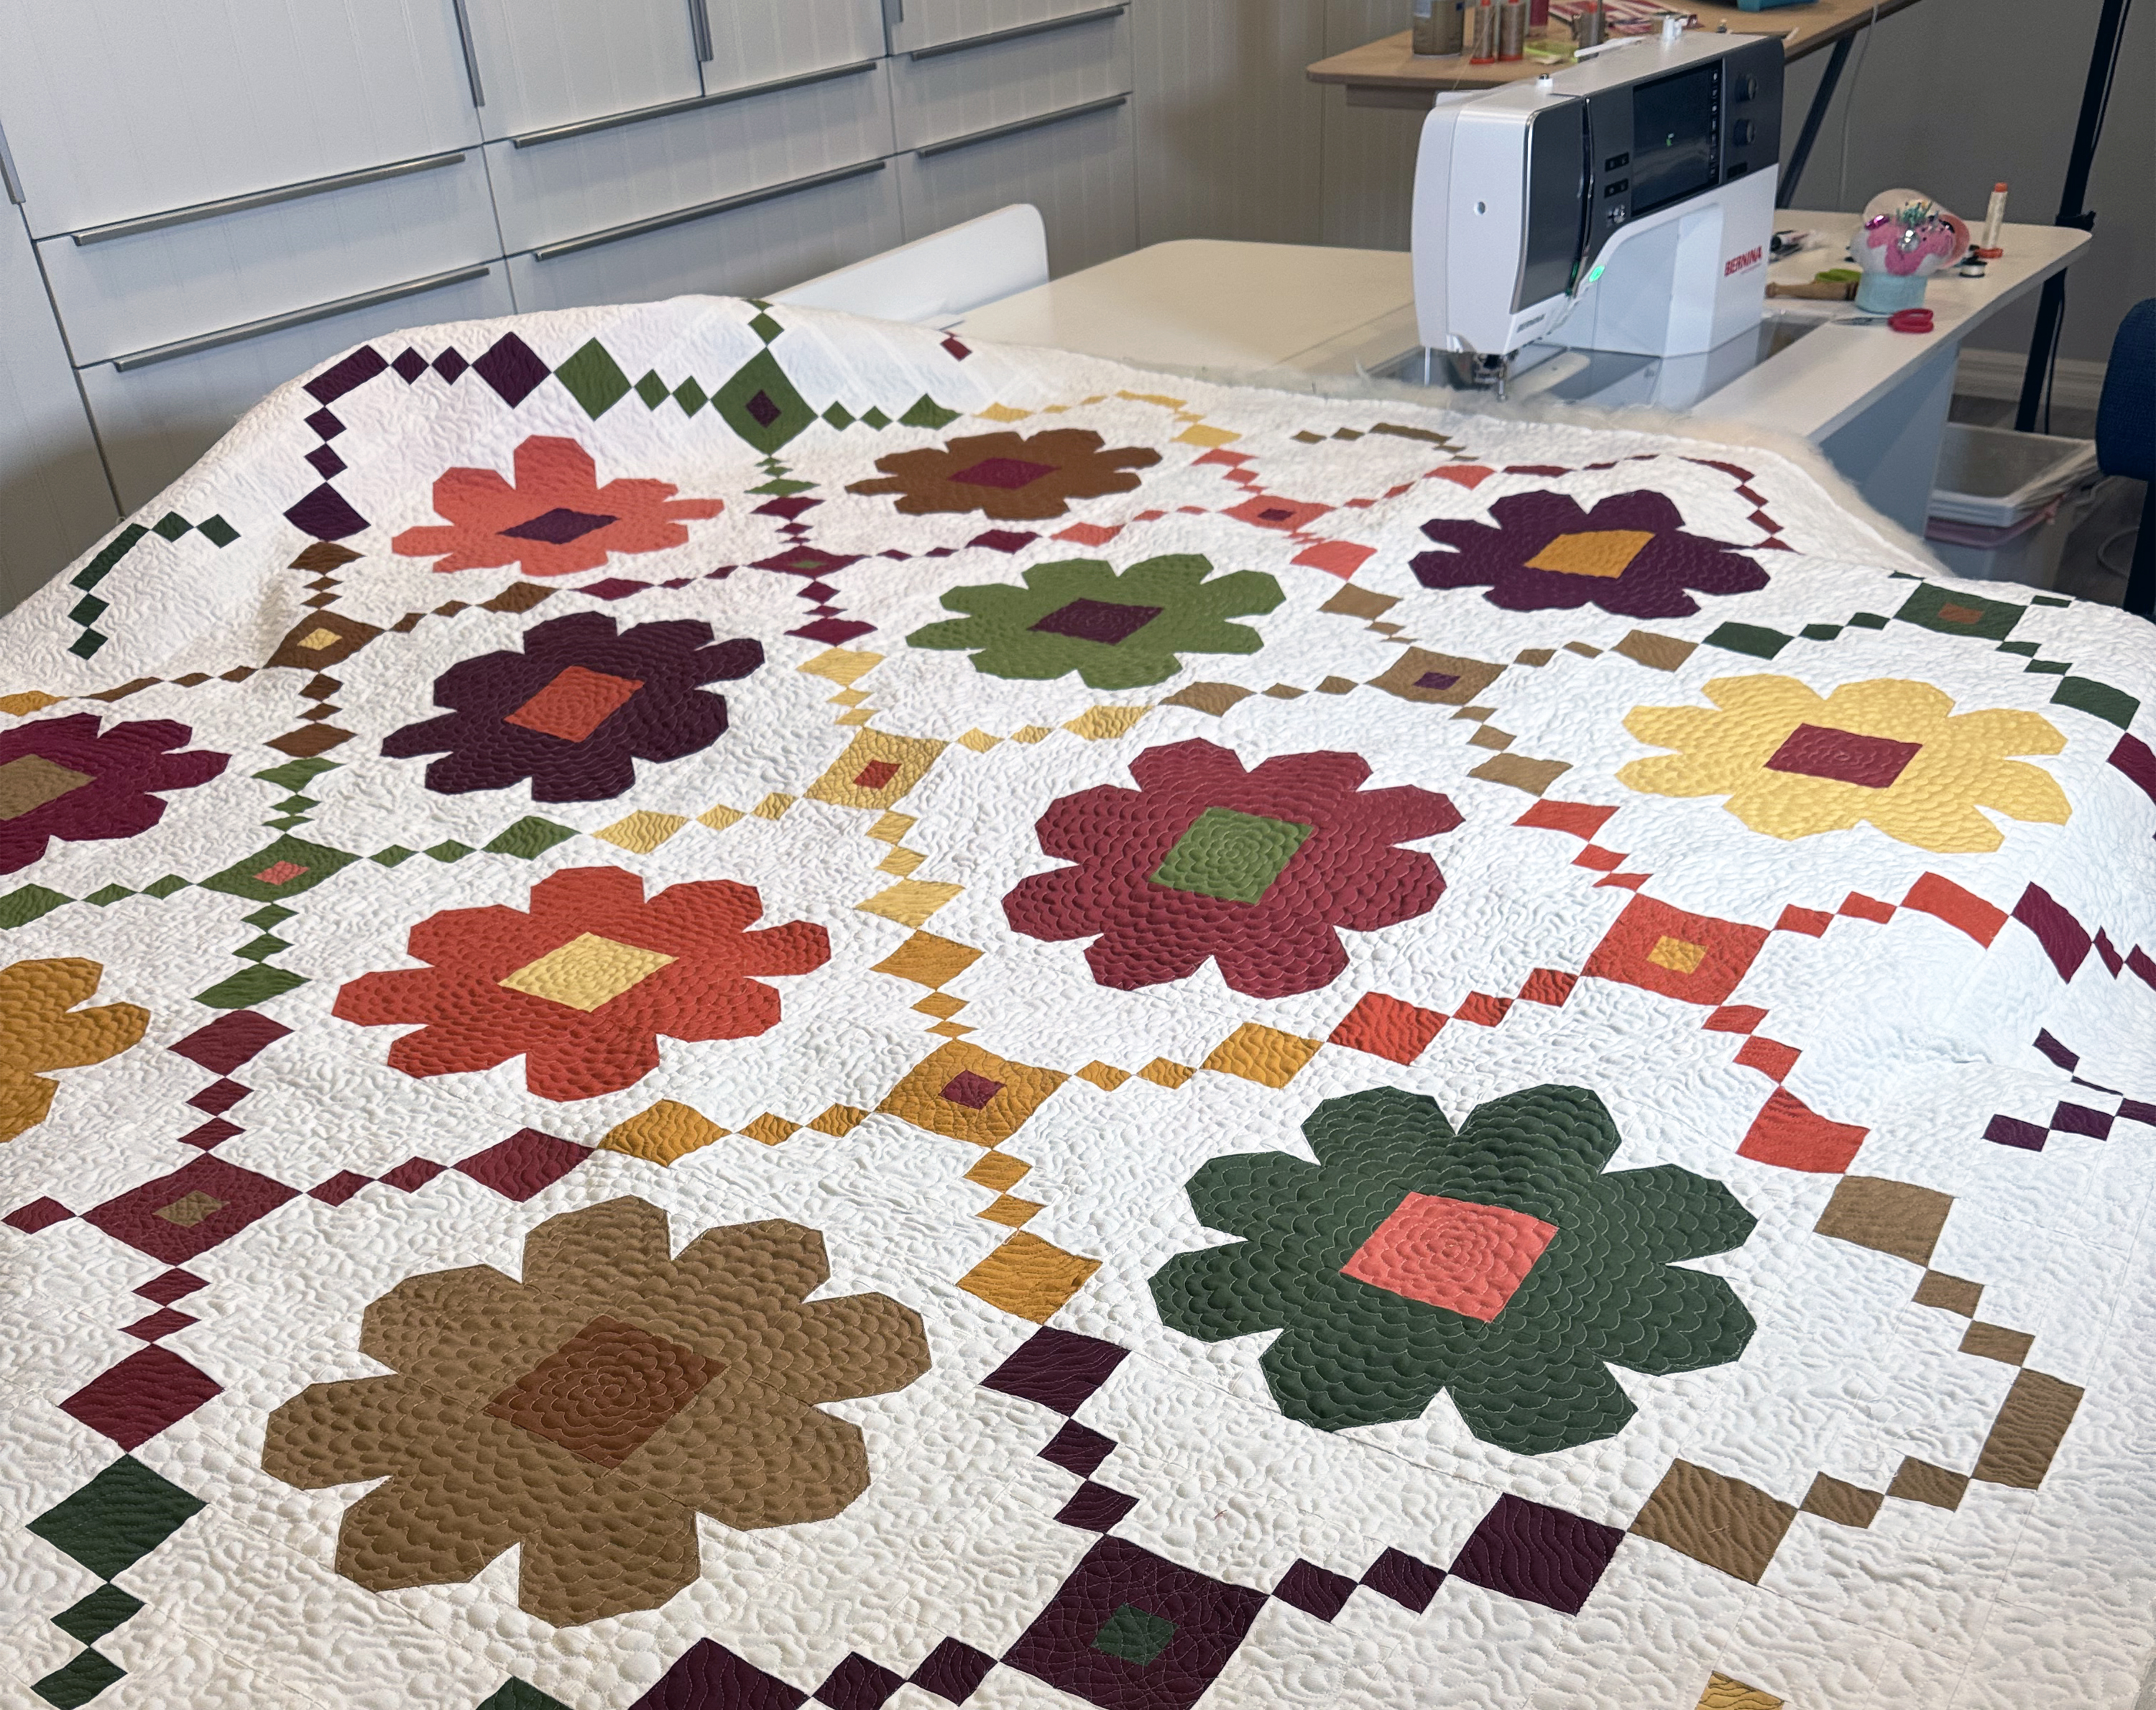
Throughout the quilt along I will refer you to specific parts of the pattern and will share lots of in progress pics and bonus tips. When it’s time to machine quilt, I’m going to share 2 bonus videos showing how I quilted each version. Hopefully this will inspire you get it done!! After all, machine quilting is my favorite part of the entire process, and there’s lots of room for experimentation and play in this quilt.
Feb 27 – Week 1: Cutting
March 6 – Week 2: Sewing the Daisy Blocks
March 13 – Week 3: Sewing the Chain Blocks
March 20 – Week 4: Sewing the Quilt Top
March 27 – Week 5: Backing & Basting
April 3 – Week 6: Quilting Option #1 – With Bonus Video Tutorial!!
April 10 – Week 7: Quilting Option #2 – With Bonus Video Tutorial!!
April 17 – Week 8: Binding to Finish
Machine Quilting in progress – can’t wait to share more details on how I quilted them!!
I’m happy to offer lots of support during this quilt along. You can share pics in my ChristaQuilts group on Facebook or leave a comment here on the blog with any questions you have. You can also share on social media using #daisychainquilt. I can’t wait to see how you make this your own!!
Want to level up your walking foot quilting game? Try combining straight lines and decorative stitches to create unique motifs that are super easy to do! Click below to watch my latest video tutorial and be sure to leave a comment letting me know what you think!
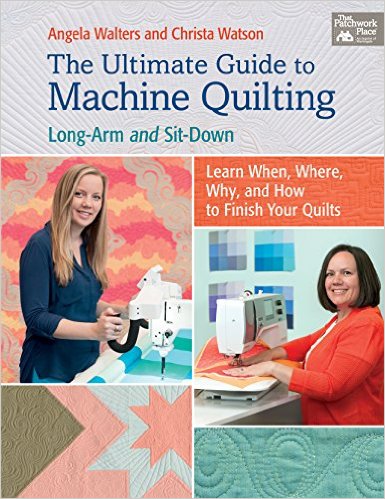
Get My Book – The Ultimate Guide to Machine Quilting
In the second book I ever wrote – The Ultimate Guide to Machine Quilting – I first explored this idea of combining straight lines and decorative stitches. The book itself includes 10 patterns and 20 quilts (each pattern is made 2 different ways). It was fun to explore lots of different domestic quilting ideas, while my co-author Angela Walters explored lots of different long arm quilting ideas.
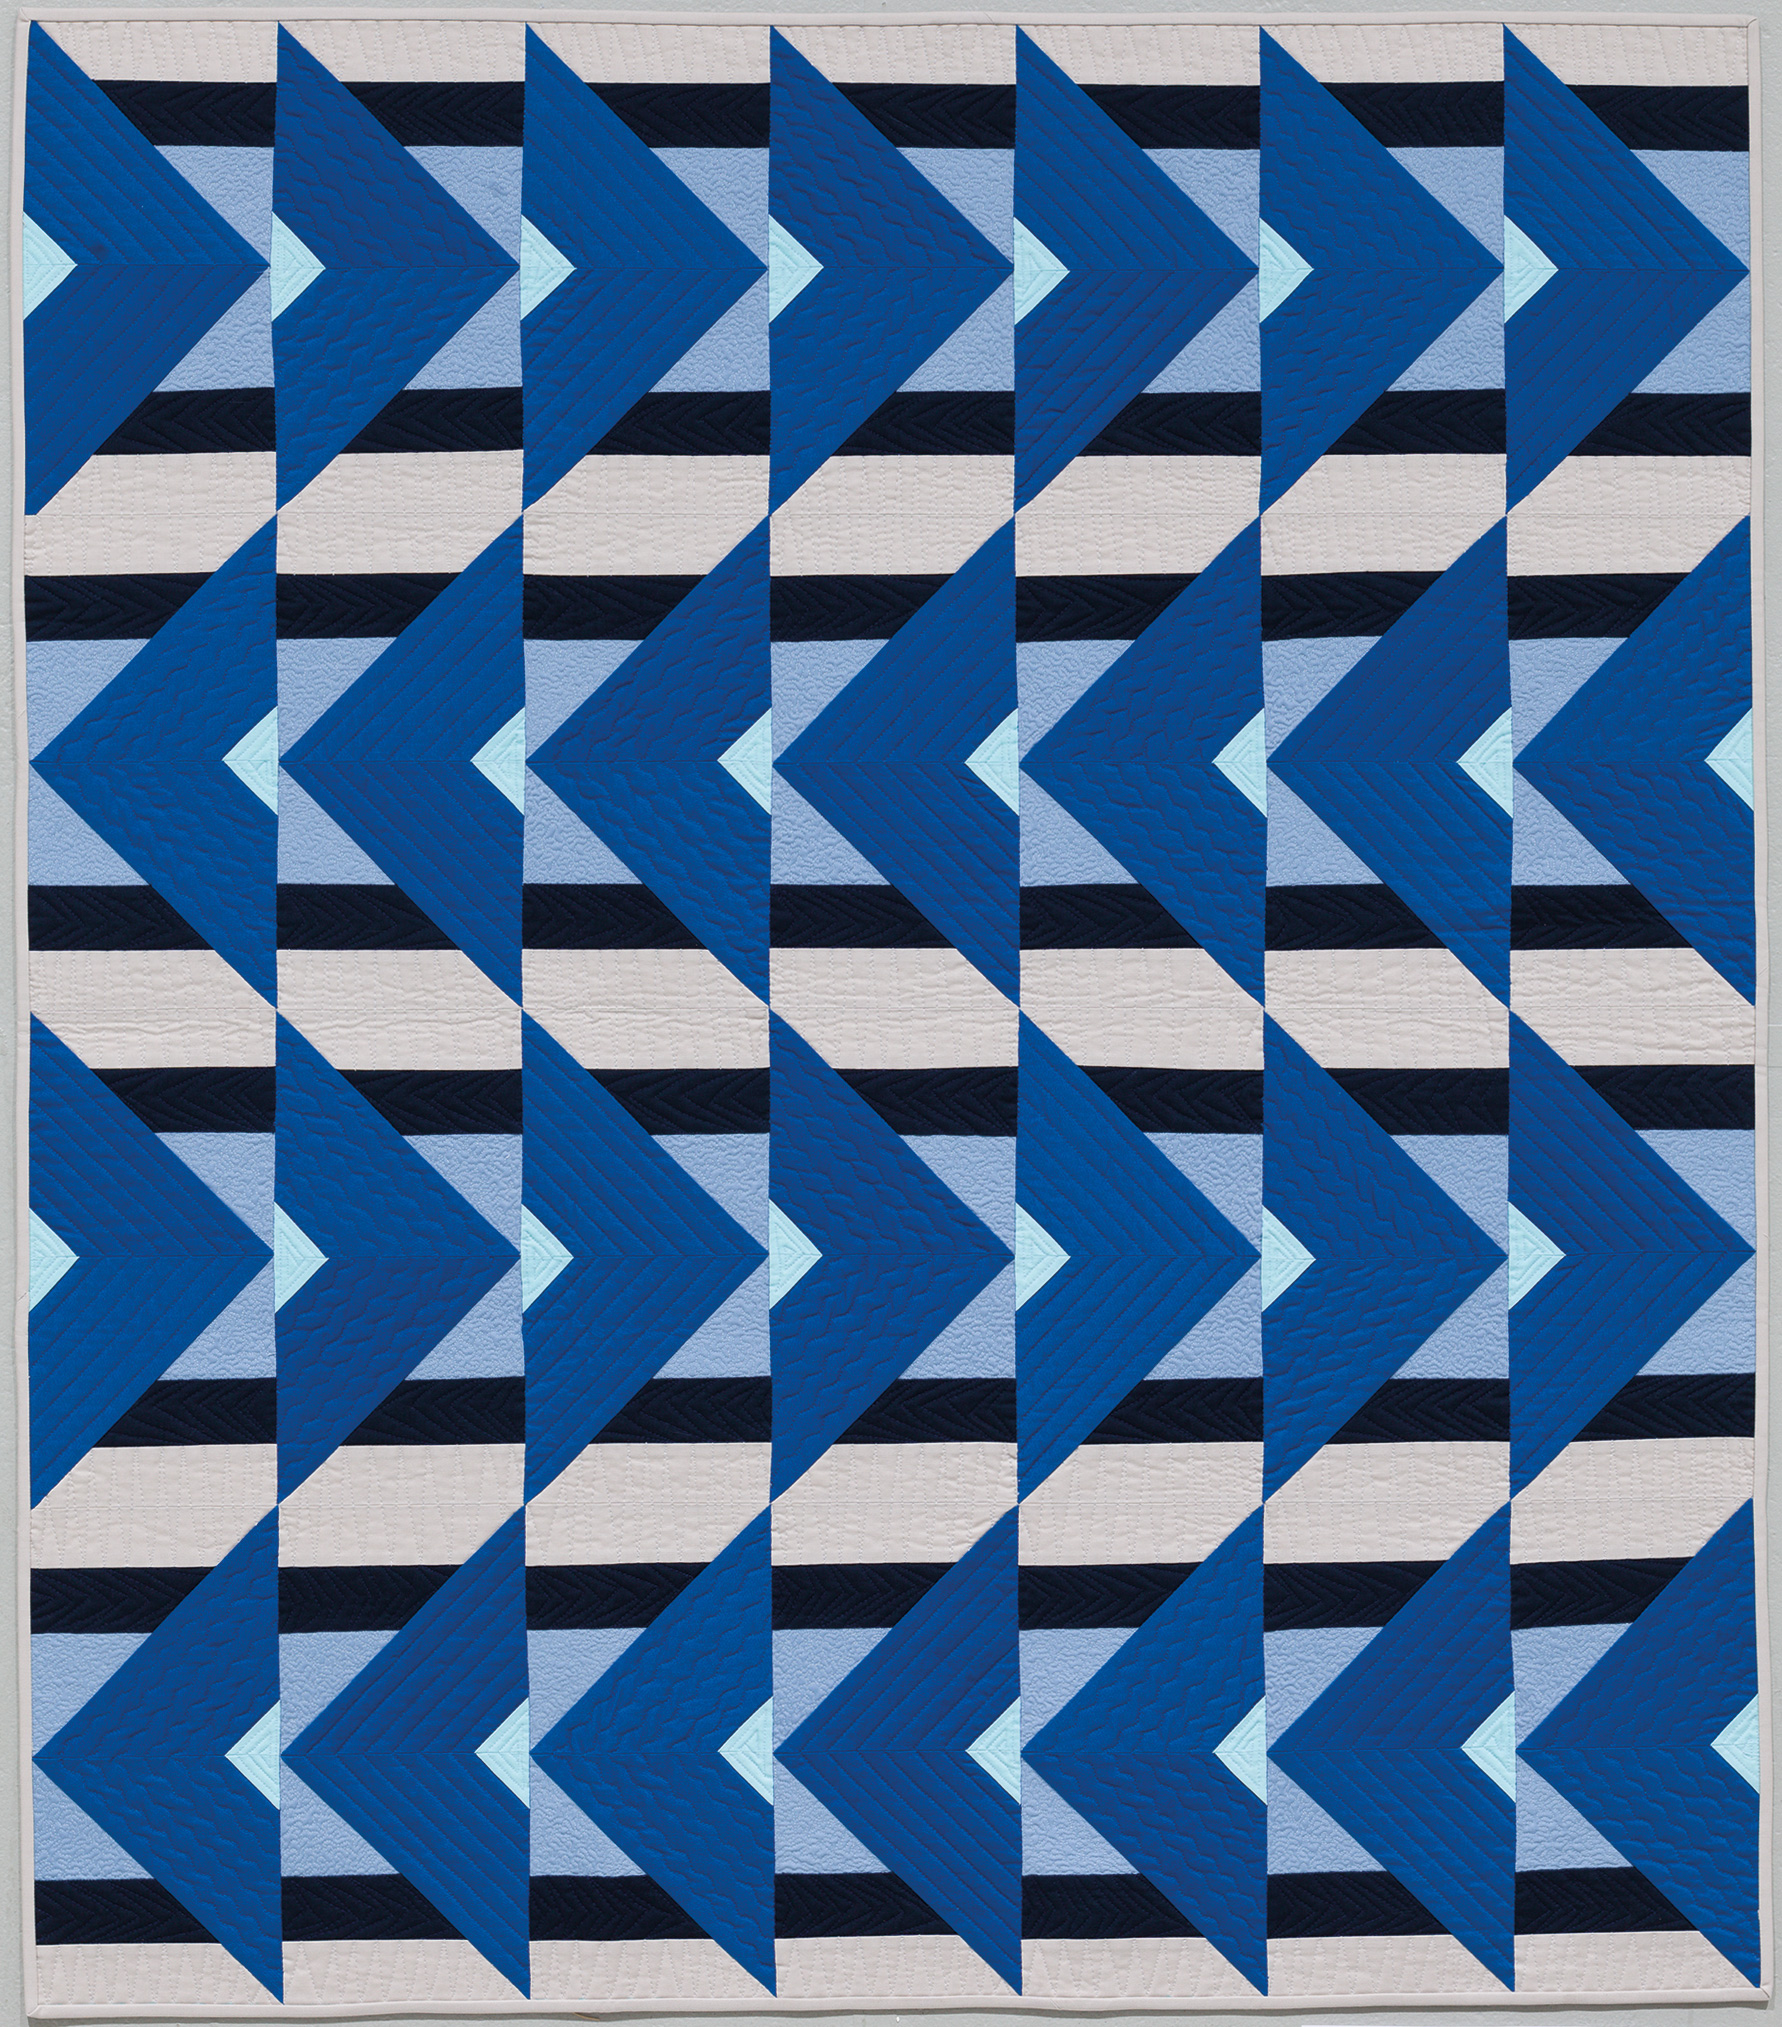
In 2 of the quilts I combined straight lines and decorative stitch ideas in 2 different ways. In the quilt called Directionally Challenged (shown below), I stitched straight lines in every other block, with decorative stitching in the alternate blocks.
Here’s a closeup image of the quilting so you can see more of the detail:
In another quilt, called Fractured Squares, I quilted it like a round robin design, with a different walking foot motif in each part of the quilt.
Here’s a closer shot of the quilting detail:
Let me know what you think of combining these two walking foot quilting ideas. It takes just a little bit of planning, but it’s a unique way to stitch and add lots of texture to your quilts!
Let’s kick off the new year right with a new pattern and Quilt Along! Check out Daisy Chain, a super fun pieced pattern shown in 2 colorways, with multiple sizes.
It’s been awhile since I’ve made a quilt completely from solids, and I chose to work with Riley Blake Confetti Cotton solids for both colorways. It really shows off the quilting and I’m thrilled with how they turned out.
I thought it would be fun to host a quilt along to make this quilt completely from start to finish. The quilt along will kick off right here on my blog, beginning February 27, 2026 so save the date if you’d like to join in. The quilt along is free – all you need is a copy of the quilt pattern.
Pre-sales of this pattern to quilt shops have been the best I’ve ever seen, so you can always ask for it at your local quilt shop, and any shop owners out there can purchase it wholesale directly through Riley Blake.
Stay tuned for next week where I’ll share a break down of the quilt along schedule, along with a supply list to make this quilt. For now here’s a sneak peek of the back cover, showing the different sizes and alternate colorways.
If you’d like get notified when the quilt along begins, be sure to sign up for email notifications (in the sidebar of this blog post) so you don’t miss a thing! You can also join my ChristaQuilts group on Facebook to share pics of your quilt in progress and to ask questions at any time. I can’t wait to tell you more, so stay tuned!!