This week the whole family is on vacation in Florida touring Universal Studios and Disney World. It’s a much-needed break from our regular routine and a chance to hang out with the extended family in a fun environment. (This was our surprise Christmas present from my husband’s parents that I blogged about last month).
On Saturday we spent the entire day at Universal’s Islands of Adventure.
The Spiderman ride was amazing with special 3 D Effects.

Jason and his sister with the kids.
My son Ryan is a Spidey fan!
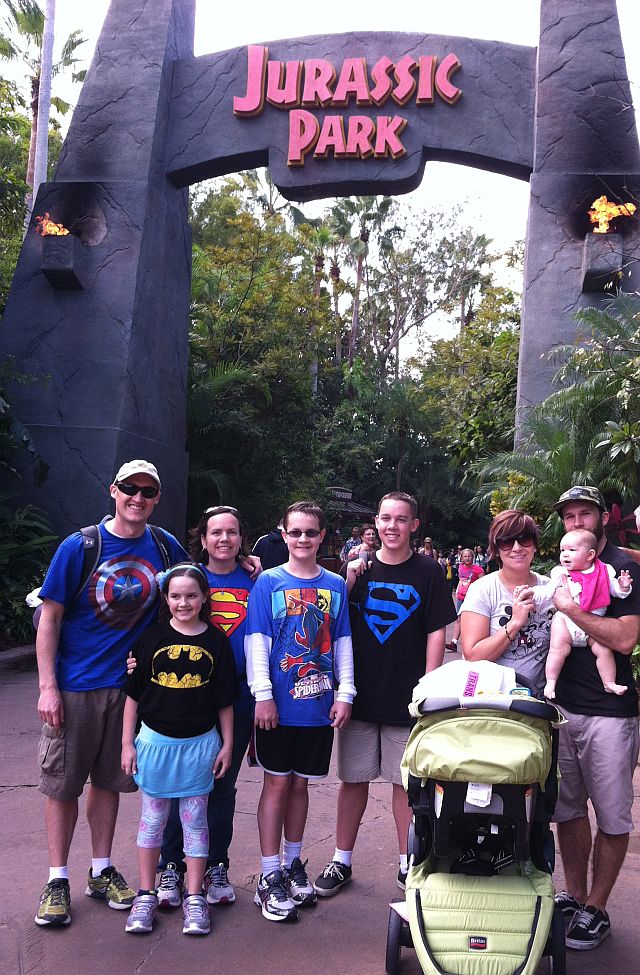
 They recreated Jurassic park complete with a fantastic water ride gone wrong. Thank goodness we escaped from the T-Rex. It really felt like we were in the world of movies!
 We visited Seuss Landing, full of truffula trees and characters from all of the books.

Truffula Trees
Jason and I paused for a minute in front of this cute little store-front window. Hmm, maybe we could use this in a future advertisement for our Grinch fabric collection???
 By far, our favorite area of the park was a re-creation of the Wizarding World of Harry Potter. (We are huge Harry Potter fans!) We visited Hogsmeade, downed some delicious Butter-beer and took a look at the famous Hogwarts Express.

The kids were thrilled to visit Ollivander’s to buy their own magic wands, and Ryan was chosen to act out a special “wand-finding ceremony” of his own at the famous shop. The best ride ever was a tour and intense motion ride inside of Hogwarts castle (sadly, no pictures!)

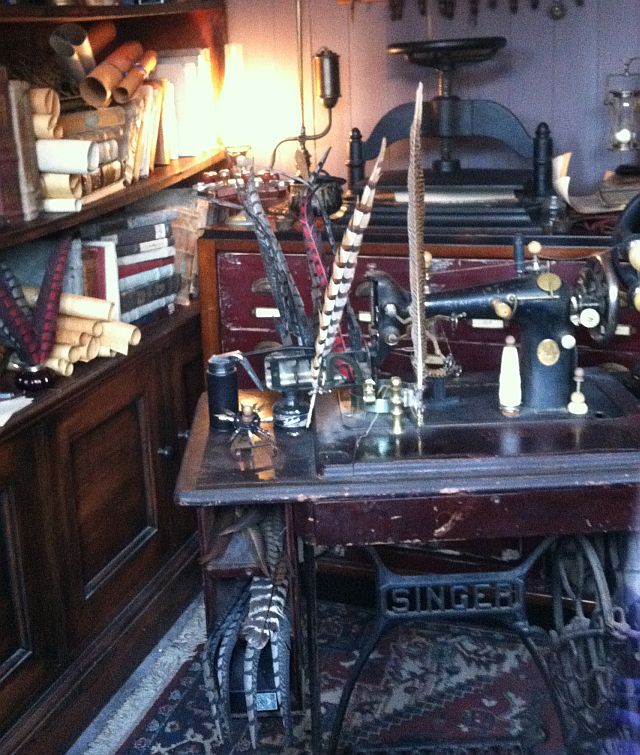
I was very pleased to see that the robe-maker’s sewing machine of choice was an antique singer featherweight. Because the individual robes were way out of our price-range (over $100 each!), my kids asked me if I could “quilt” them a Hogwarts robe. I had to patiently explain that quilt-making and clothing design are two entirely different things!
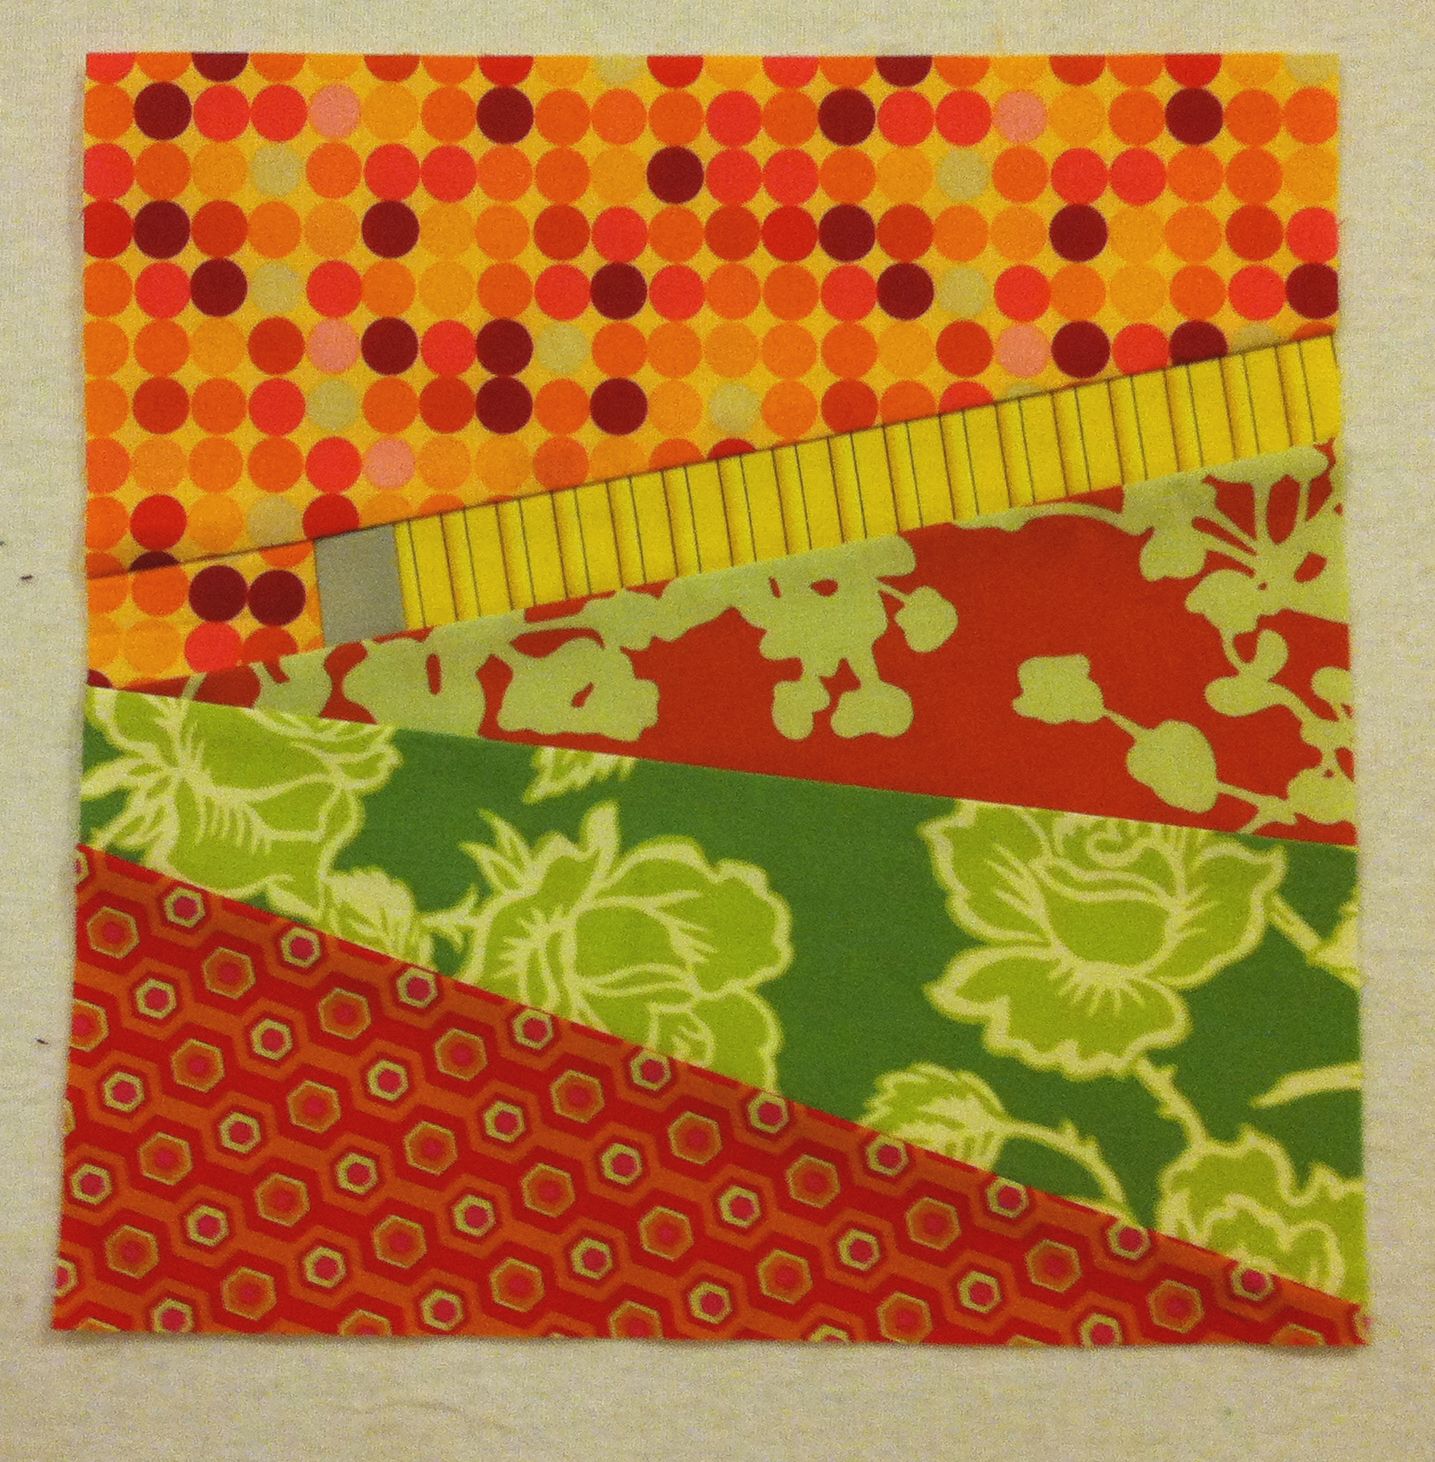
 Our family motto is that “we work hard and we play hard.” Because I worked long and hard before we left, all of my regularly scheduled blog posts are coming up later this week: my quilt-along tutorial, sew and tell, and my favorite quilt-links. Thanks for stopping by!