Thanks for joining me for part 2 of my Love Mini Quilt Along. Links for the supply list and the tutorial schedule are shown at the end of this post.
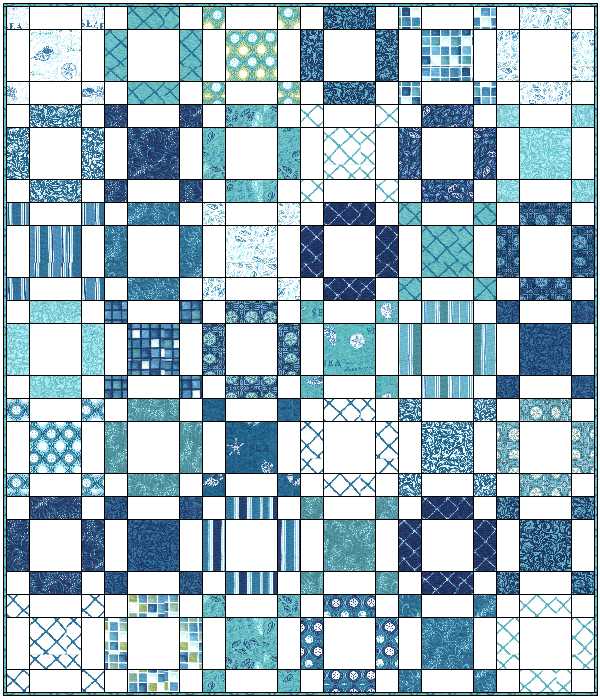
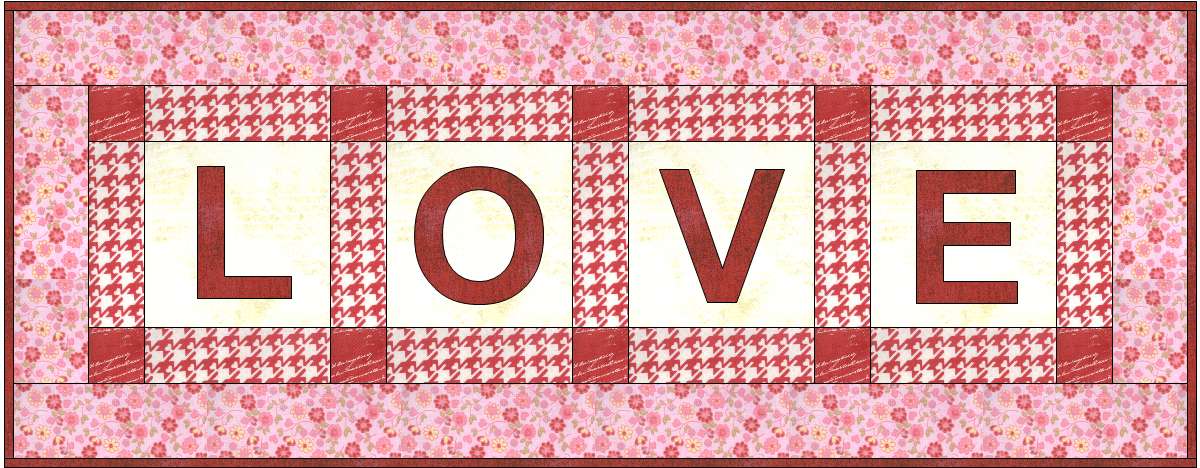
I am making this table runner which finishes approximately 30″ x 12″. I played around with EQ7 and fabric swatches from BasicGrey’s Kissing Booth to come up with a couple of different color options. My version is shown for the step-by-step photos and at the end.
Step 1 – Cutting the Fabric
- Cut 4 roughly 4.5″ squares for your letters (red). You will prepare them in step 2 below. Or you can fussy cut your appliques by using a big chunk of fabric instead.
- Cut 4 – 5″ squares of background fabric (cream).
- Cut 13 – 2″ x 5″ rectangles for sashing (red check).
- Cut 10 – 2″ squares for sashing squares (red).
- Cut 2 – 2.5″ x 8″ strips for side borders (pink floral).
- Cut 2 – 2.5″ x 30″ strips for top/bottom borders (pink floral).
- Cut 3 – 2.25″ x WOF (Width of Fabric) strips for binding.
- Cut 1 – 14″ x 32″ piece of batting.
- Cut 1 – 16″ x 34″ piece of fabric for backing.
Step 2 – Preparing the Love Letters
 Download and print of a copy of the letters L-O-V-E (click here). (Or if you’d like to be a little more creative, you can enlarge any font style you like and make your own letters.)
Flip your paper over so that your letters are backwards. Trace the backwards letters onto the paper side of your fusible web.
You may need to use a lightbox to see through the paper. Or print the letters out on transparent vellum for tracing.
Rough cut around each fusible paper letter. Then following the mfg’s instructions, adhere your fusible web to the backside of your letter fabric. Use this phrase: rough to wrong. The rough (glue) side of the web needs to be stuck to the back (wrong) side of your fabric.

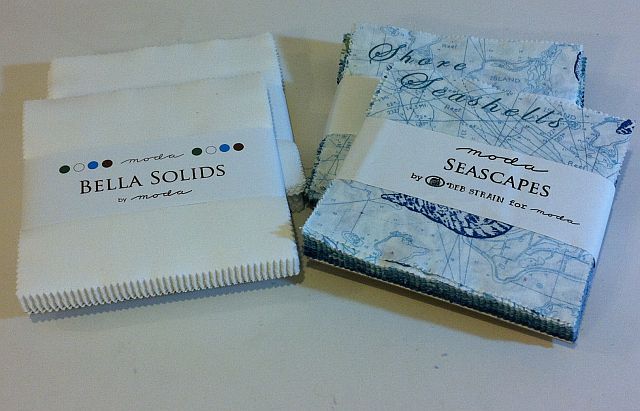
I used Pearl Bracelets fabric for my letters and positioned them to take advantage of the printed design. Cut out the letters following their outlines. Don’t forget to cut out the center of the O! You have now made your own iron-on appliques.

Step 3 – Assembling the Quilt Top
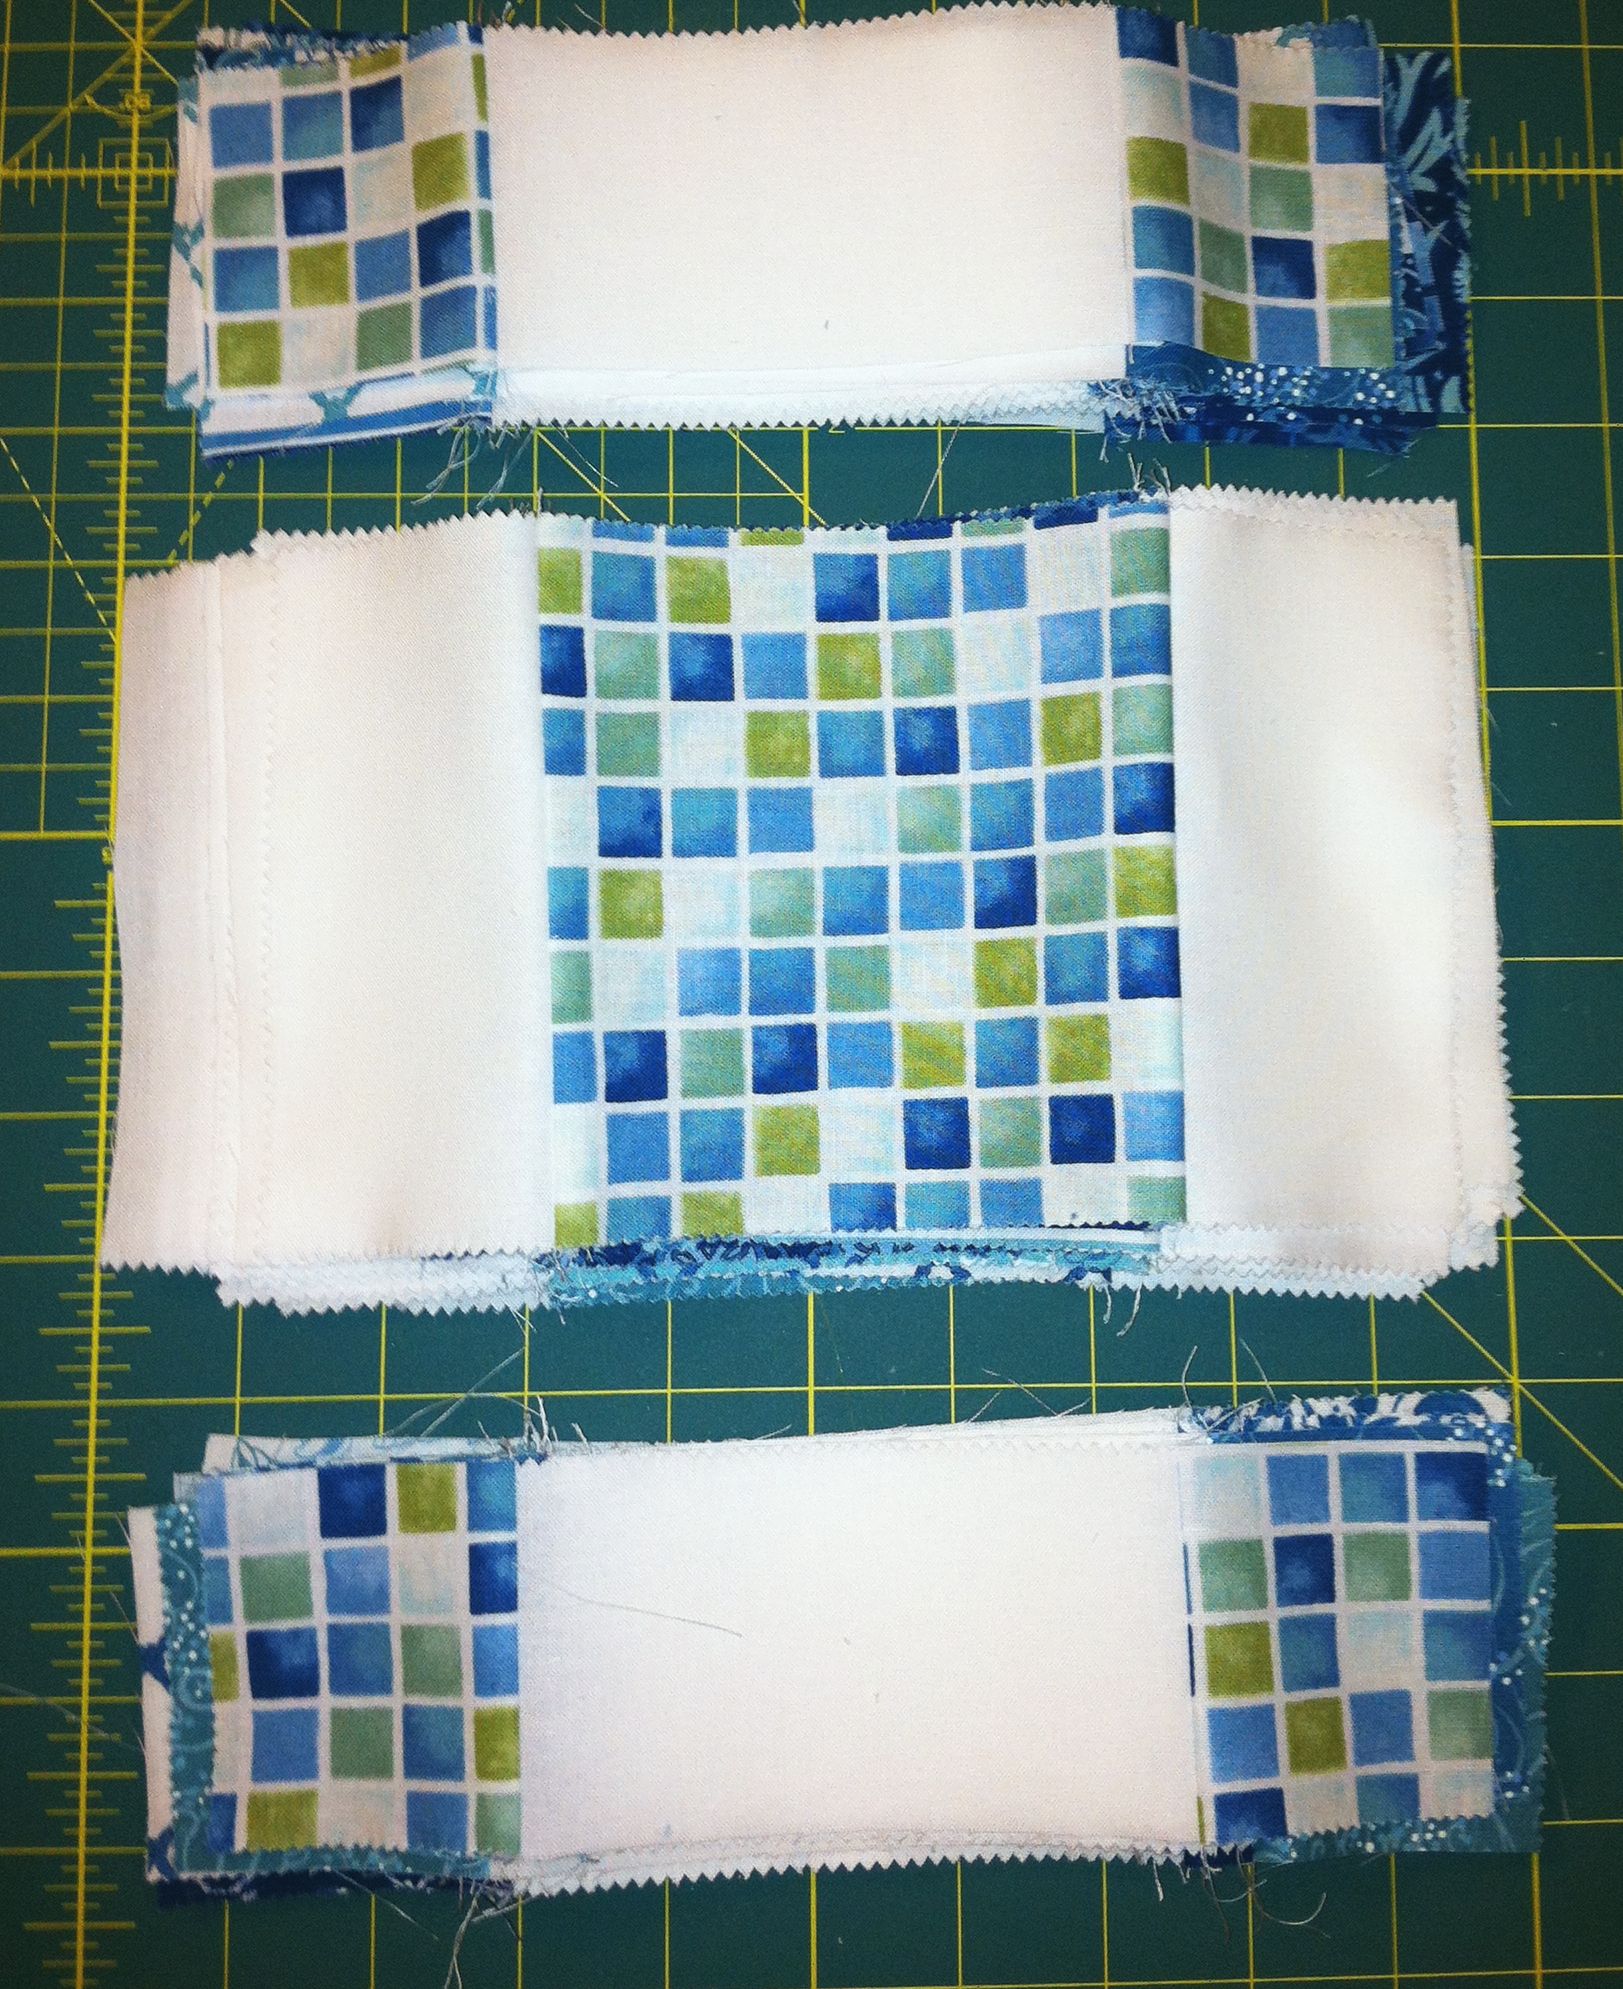
Sew your inner-quilt pieces (IQ) into 3 separate rows (sash row, block row, sash row):

You will notice I have not added the letters yet. I like to add them once the top is done so I can space them just right. Press seams open or towards the sashing fabric.

Join the rows and add side borders that are trimmed to size. Then add the top and bottom borders and press towards the border fabric.

Remove the backing from your cut out letters. Following the mfg’s instructions, adhere them to your block backgrounds. You can eyeball them in place, arrange them whimsically, or use a ruler to measure exact placement. It’s up to you!
Next week I will demonstrate you how to applique and quilt all at the same time. The key is to use thin thread that matches your letter fabric. I prefer silk or very thin polyester thread for this, but regular cotton thread is ok, too.
Here is the mini-quilt along schedule. Links will become active once that blog post is done.
- Part 1 Supply List
- Part 2 Sewing the Top – today’s post
- Part 3 Machine Applique and Quilting – Monday February 11
Please join my ChristasQuiltAlong flickr group to share pictures of your work-in-progress!
For these other arrangements, just follow the modified steps below.
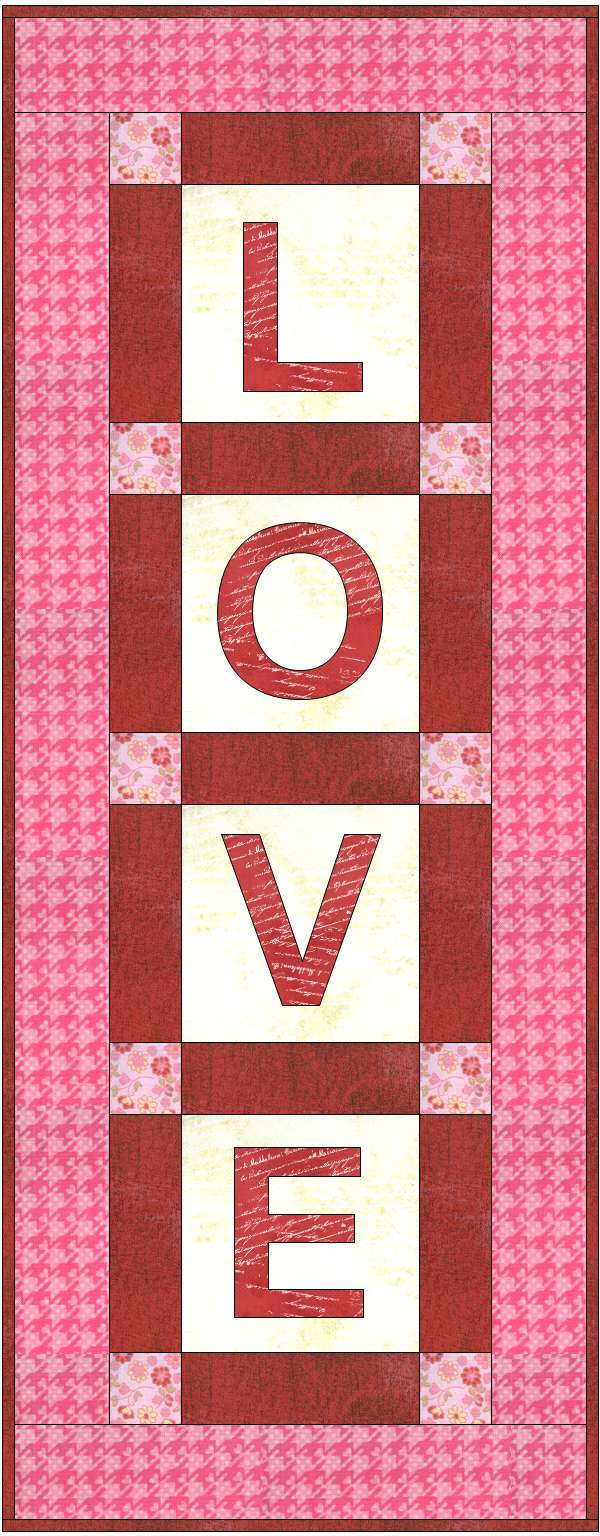

The vertical love wall banner uses the exact same directions as the table runner except that the letters are arranged vertically instead of horizontally – watch out for directional fabrics and cut them accordingly.
To make the 18″ Love Square wall-hanging or pillow, use these cutting instructions:
- Cut 4 – 4.5″ squares for your letters.
- Cut 4 – 5″ squares of background fabric.
- Cut 12 – 2″ x 5″ rectangles for sashing.
- Cut 9 – 2″ squares for sashing squares.
- Cut 2 – 2.5″ x 14″ strips for side borders.
- Cut 2 – 2.5″ x 18.5″ strips for top/bottom borders (pink floral).
- Cut 2 – 2.25″ x WOF (Width of Fabric) strips for binding (for wallhanging only).
- Cut 1 – 20″ square piece of batting.
- Cut 1 – 22″ square piece of fabric for backing (use muslin or scrap for pillow).
Then sew together so that it looks like the diagram above.