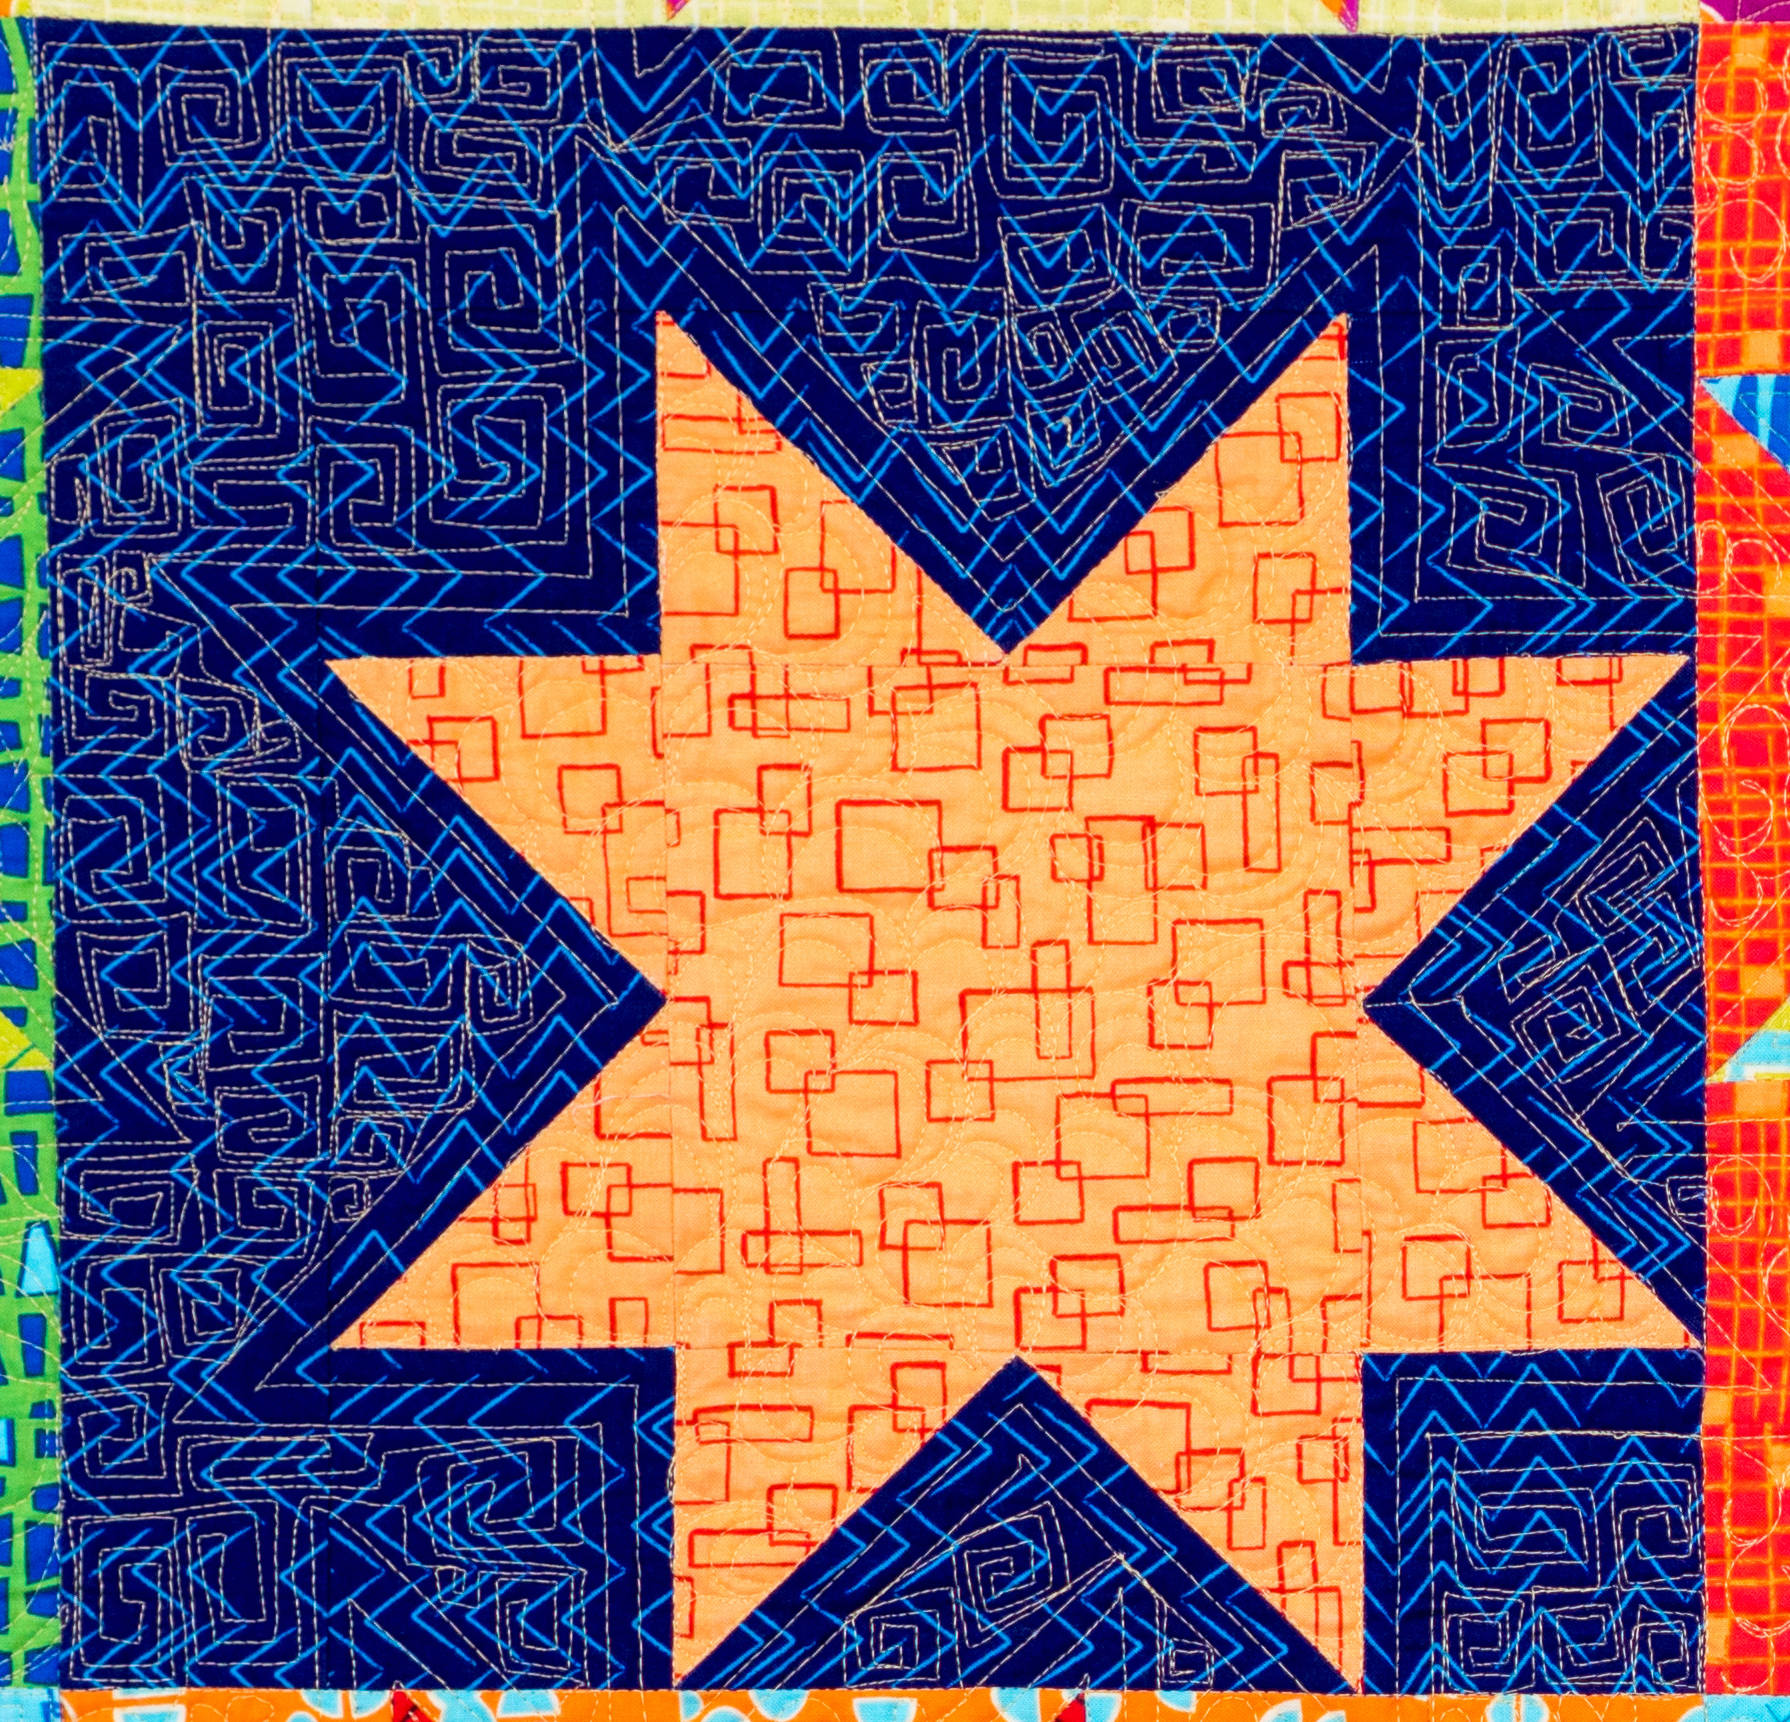
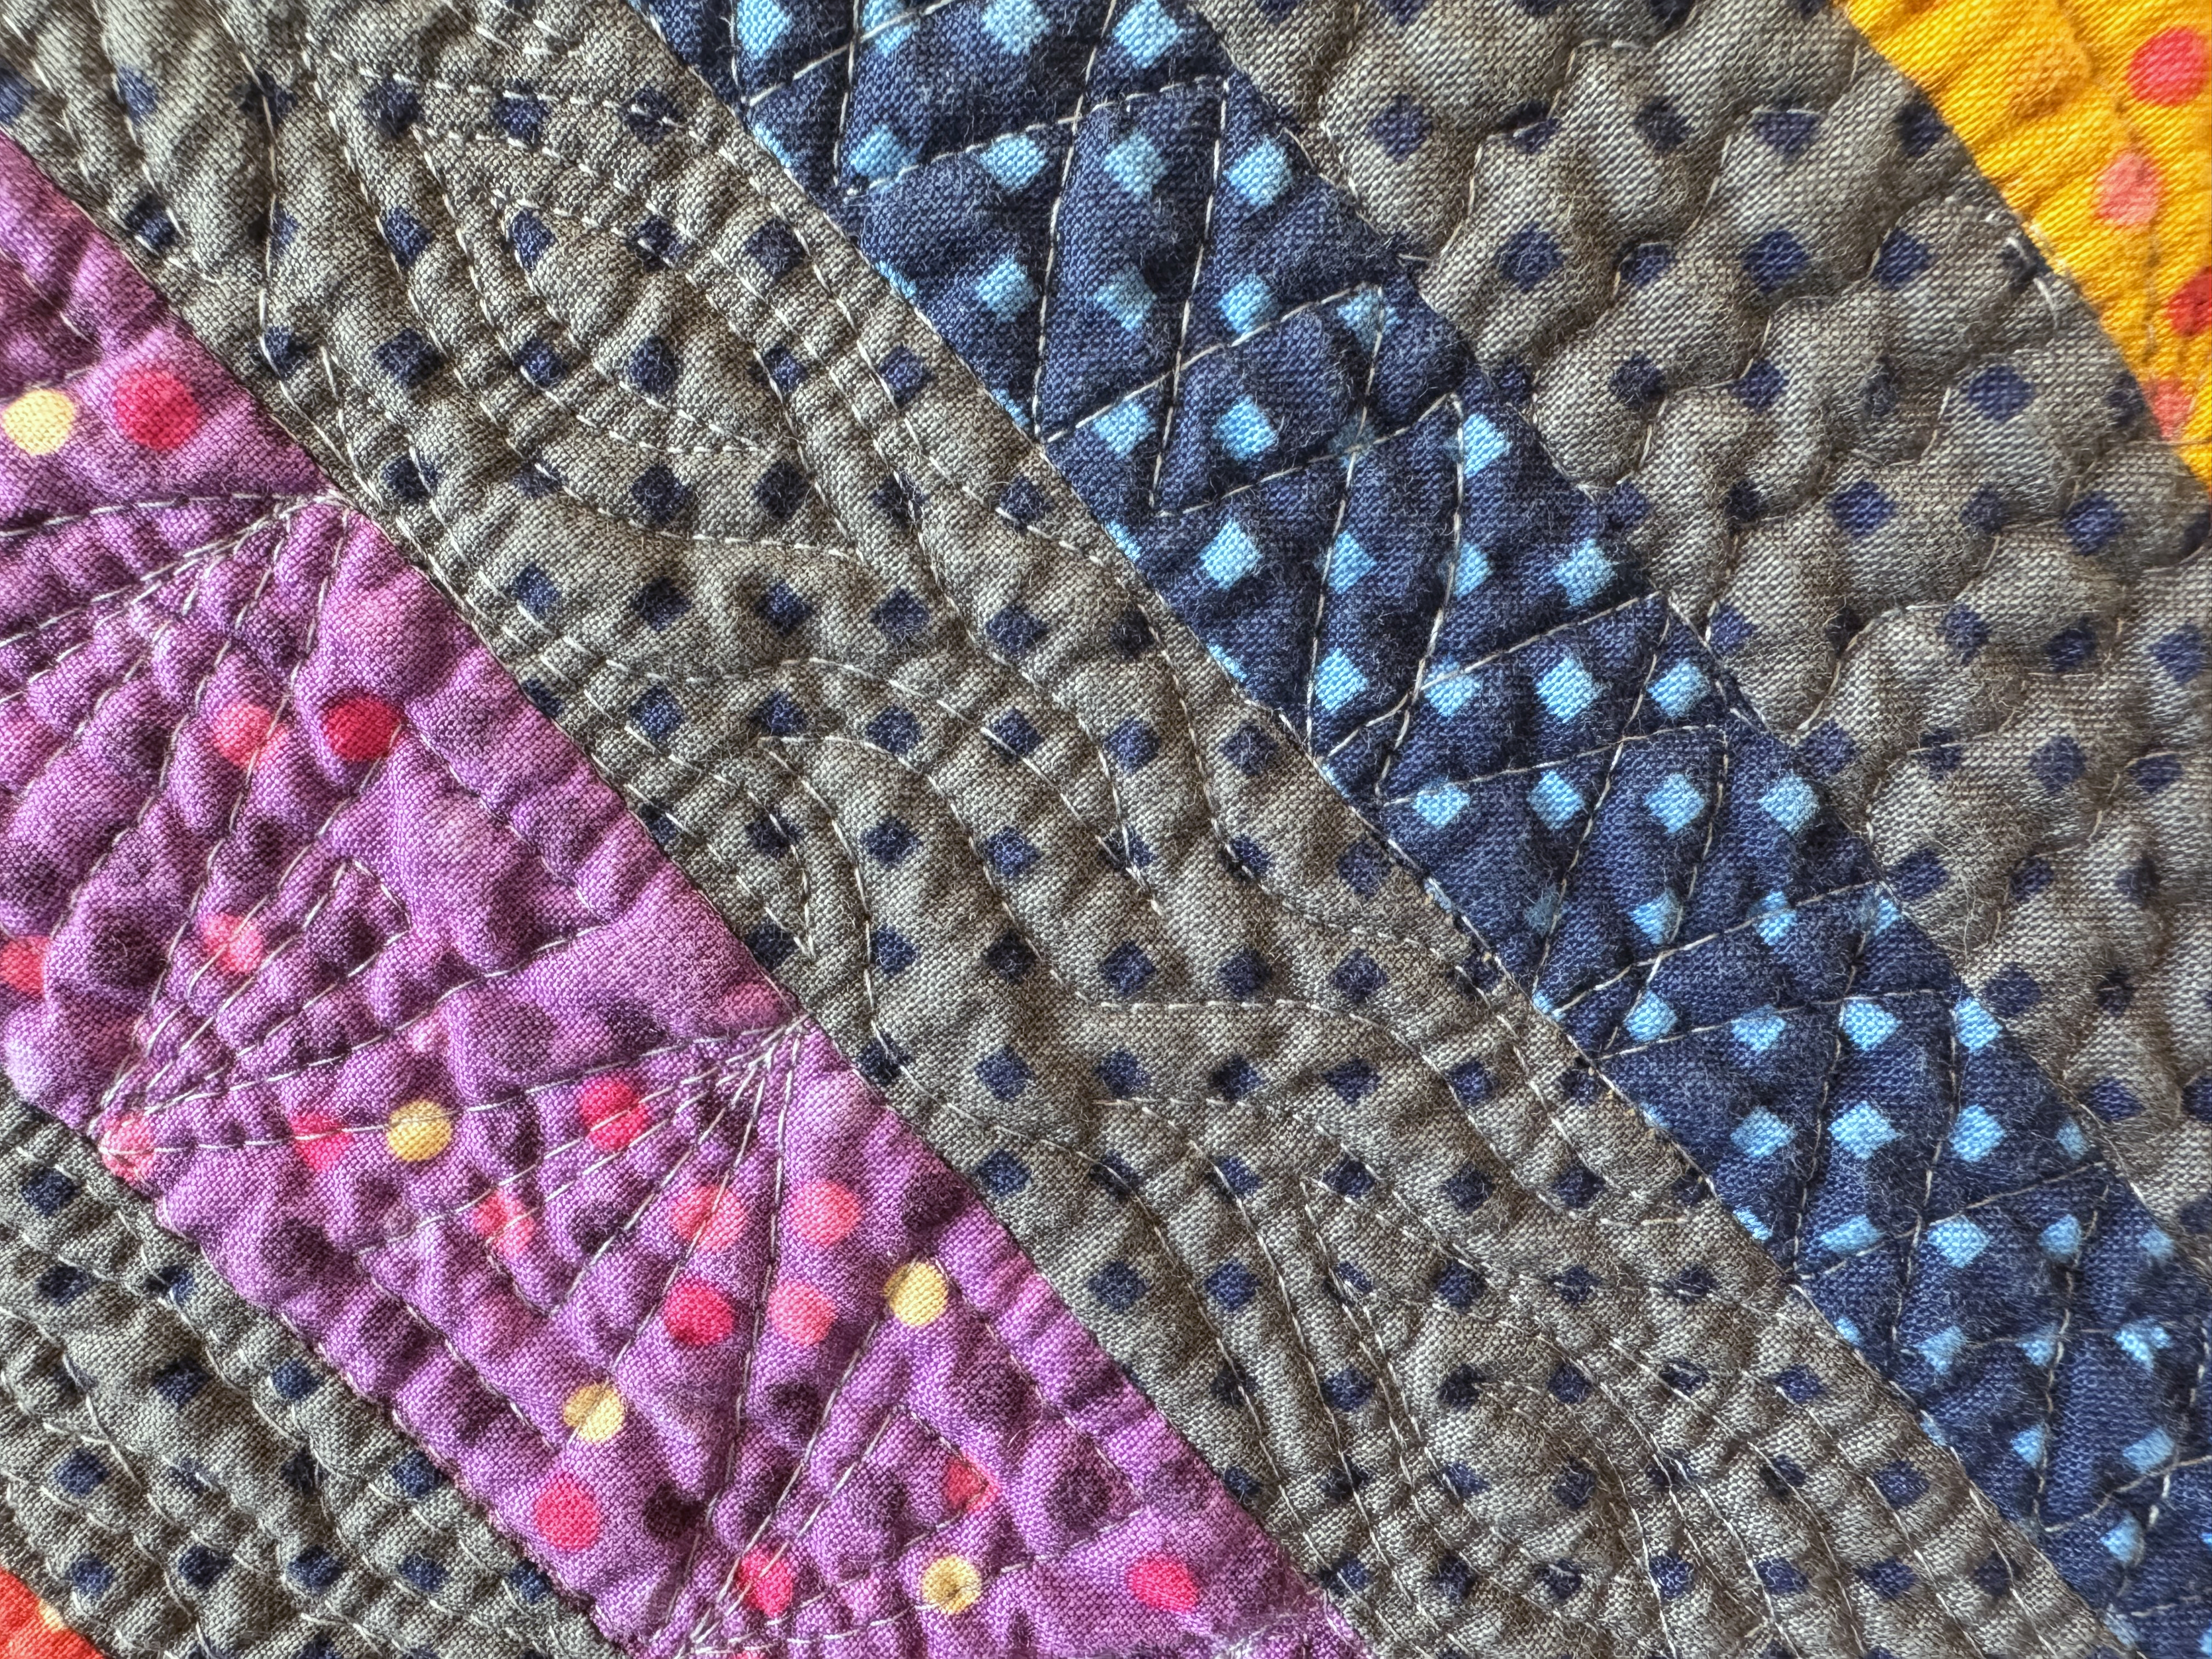
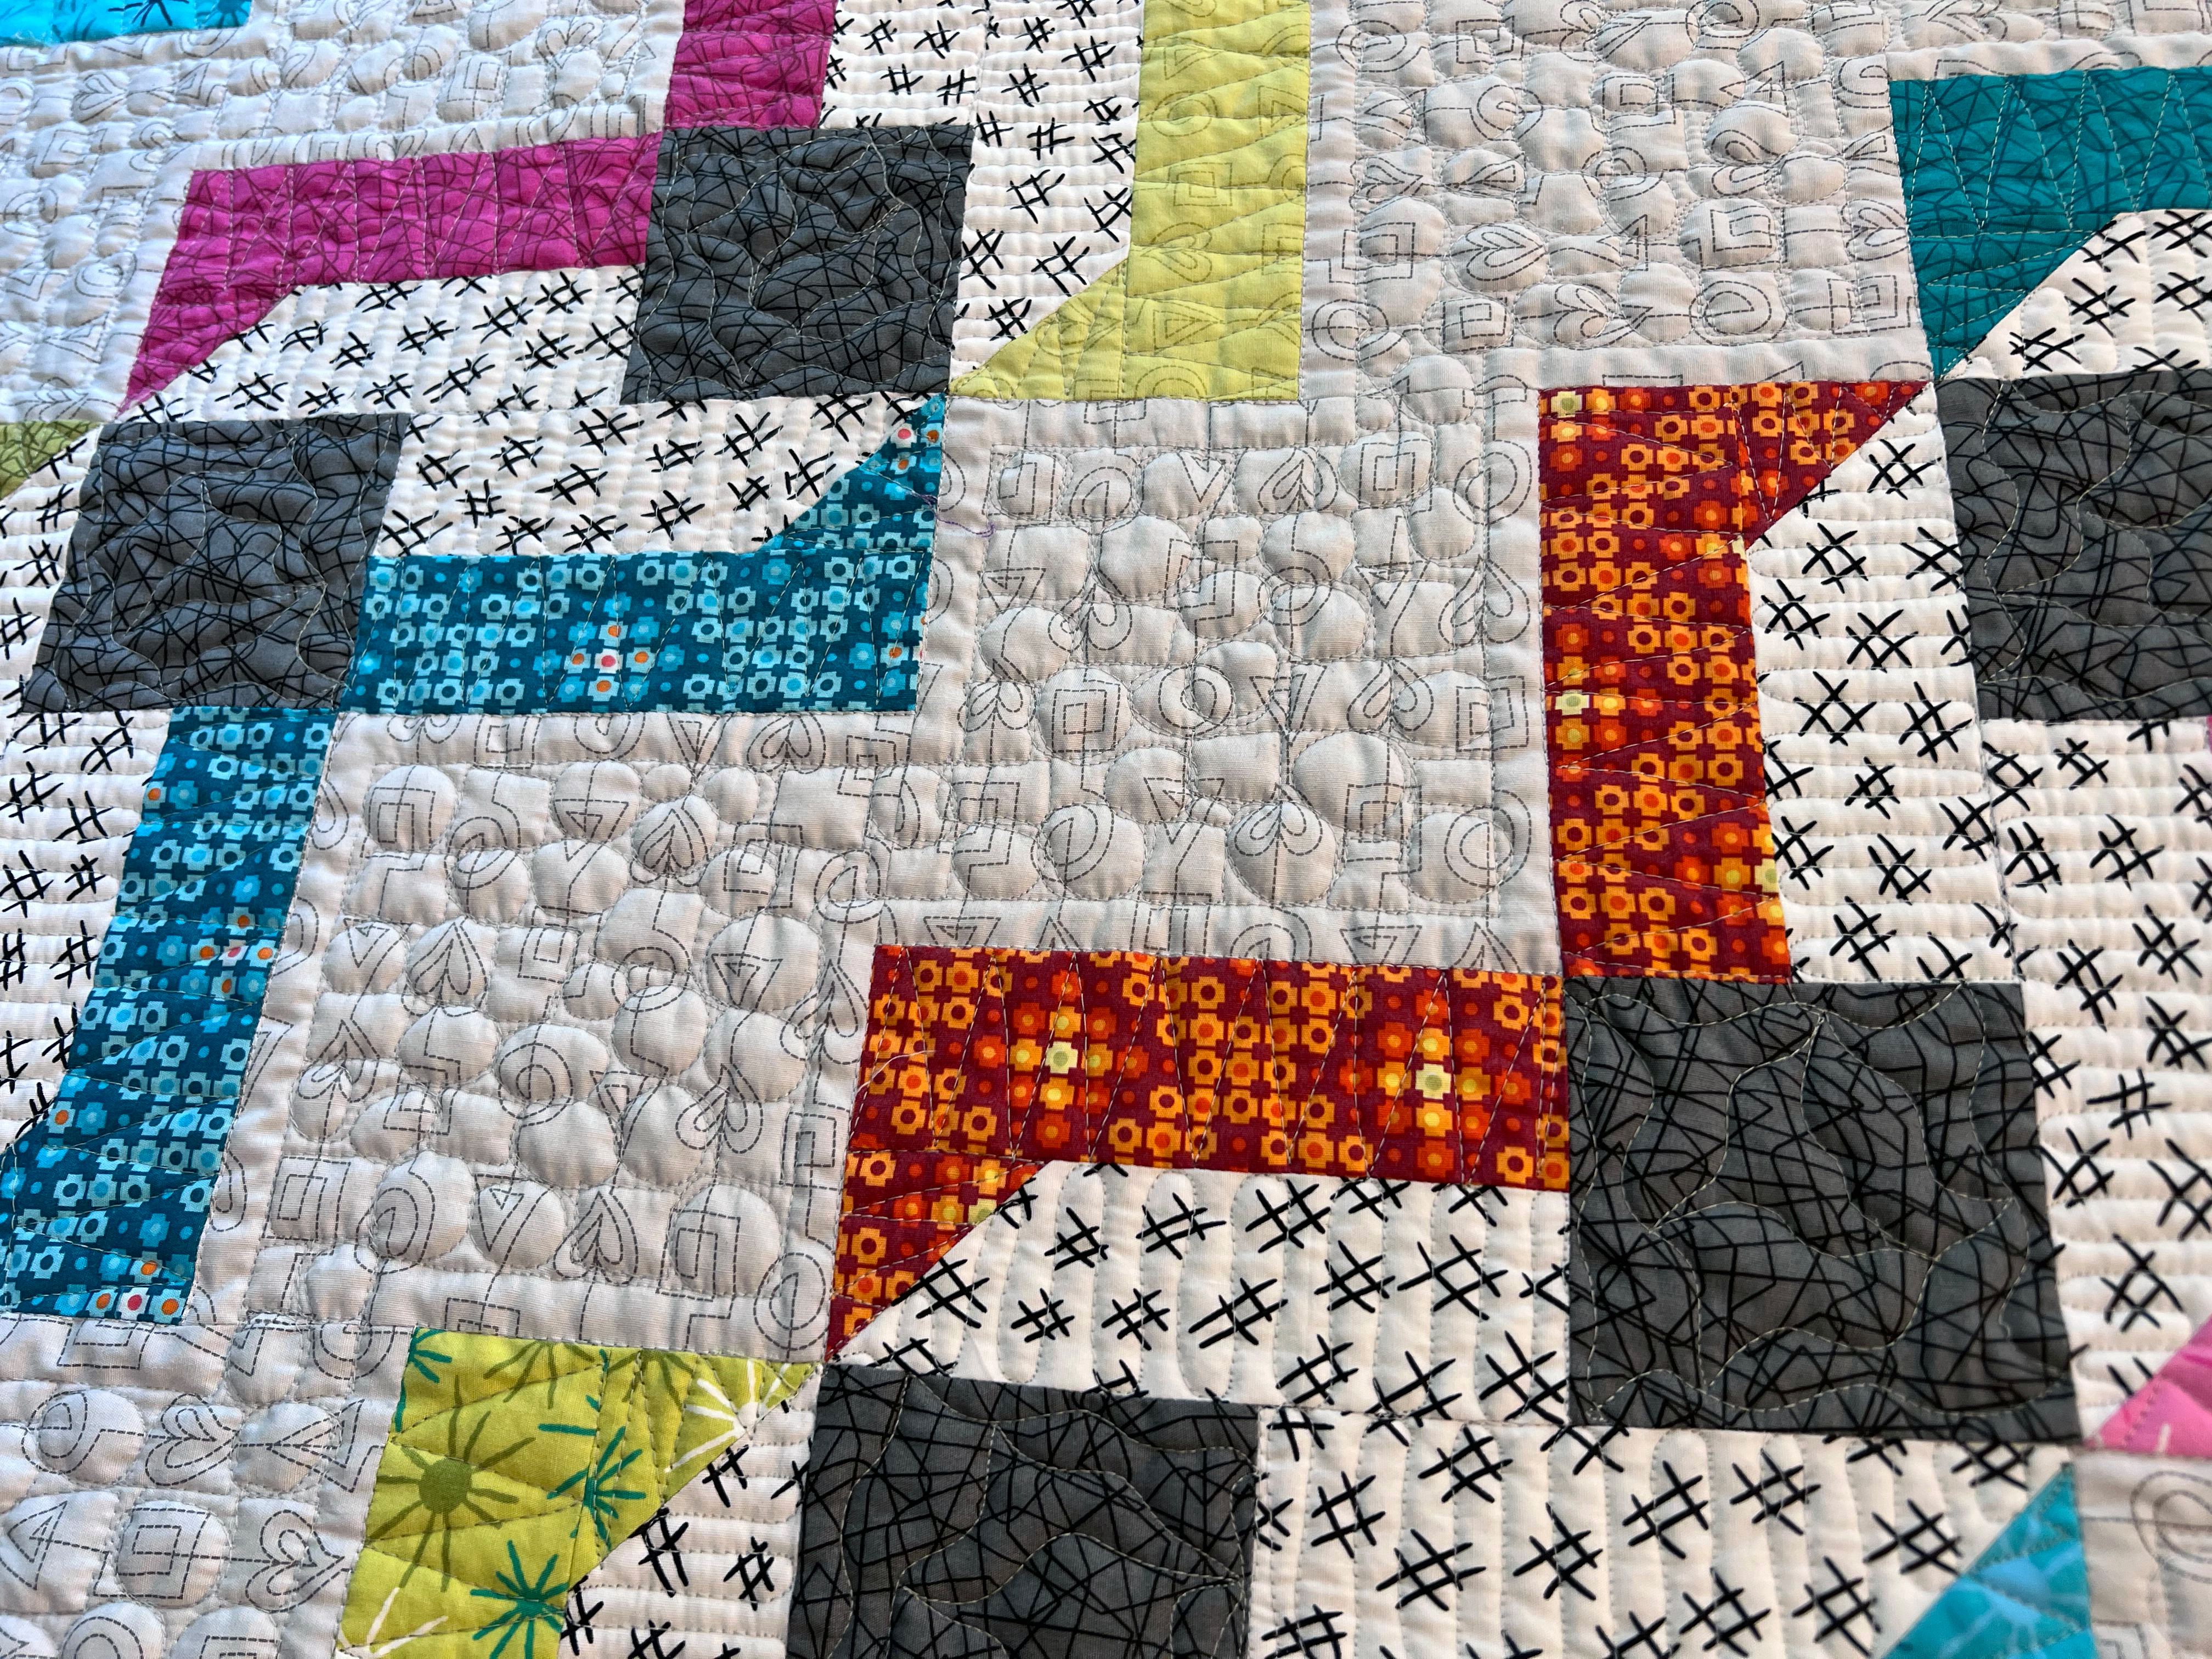
For this week’s tutorial we are back in business with free-motion quilting! This design, Hourglass, is basically a geometric and modern version of an earlier design: Cursive L’s. The technique of these two designs is very similar, so if you got one down, you can easily do the other!
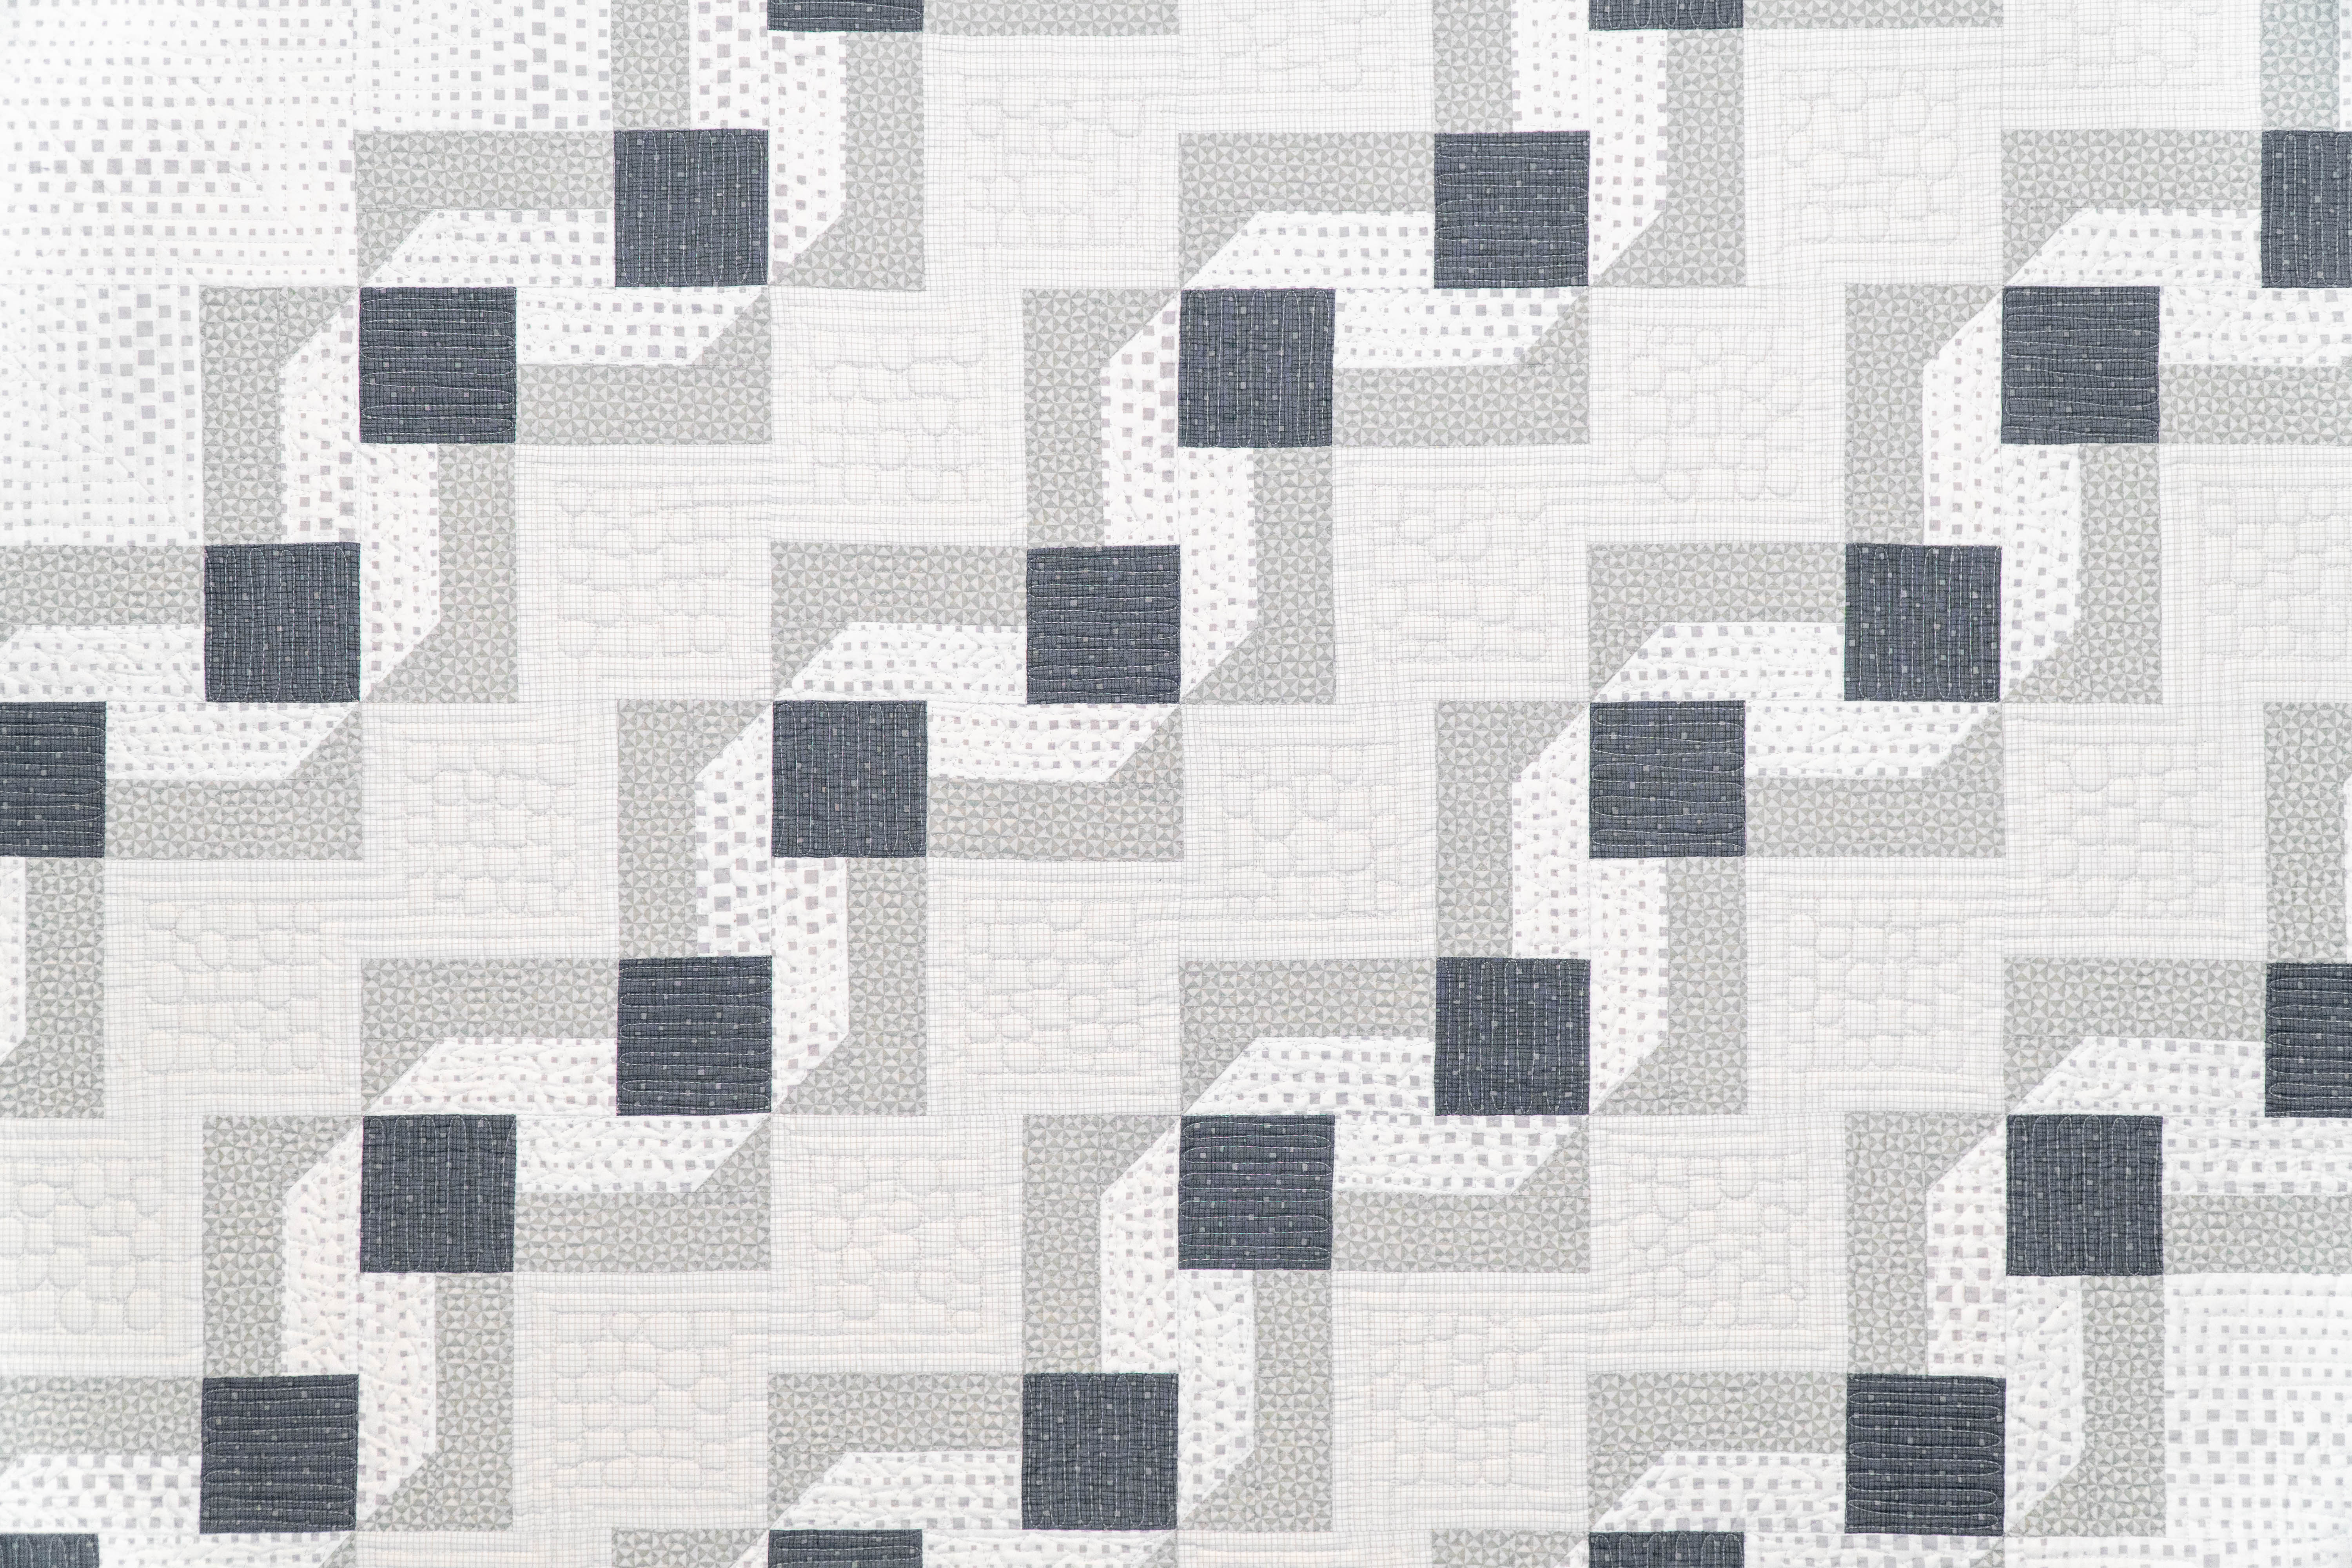
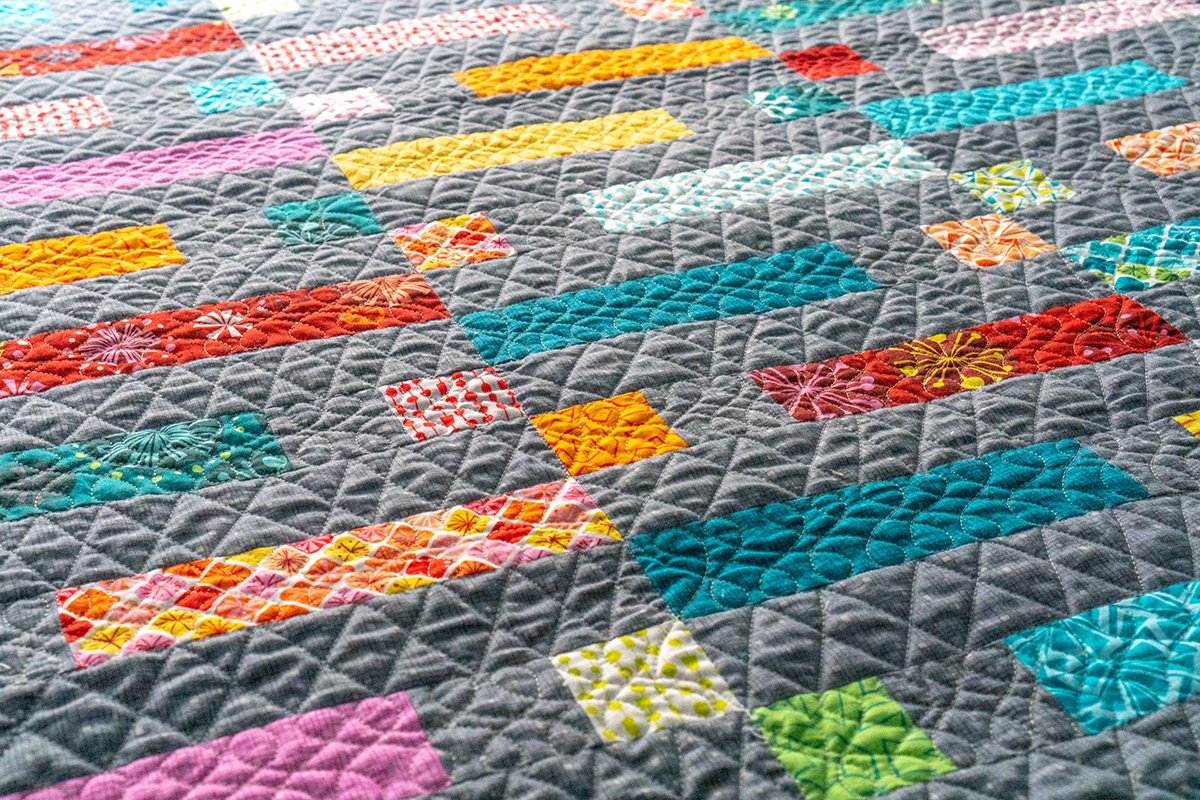
Dot n’ Dash Quilt – Pick Up Piece and Quilt With Precuts
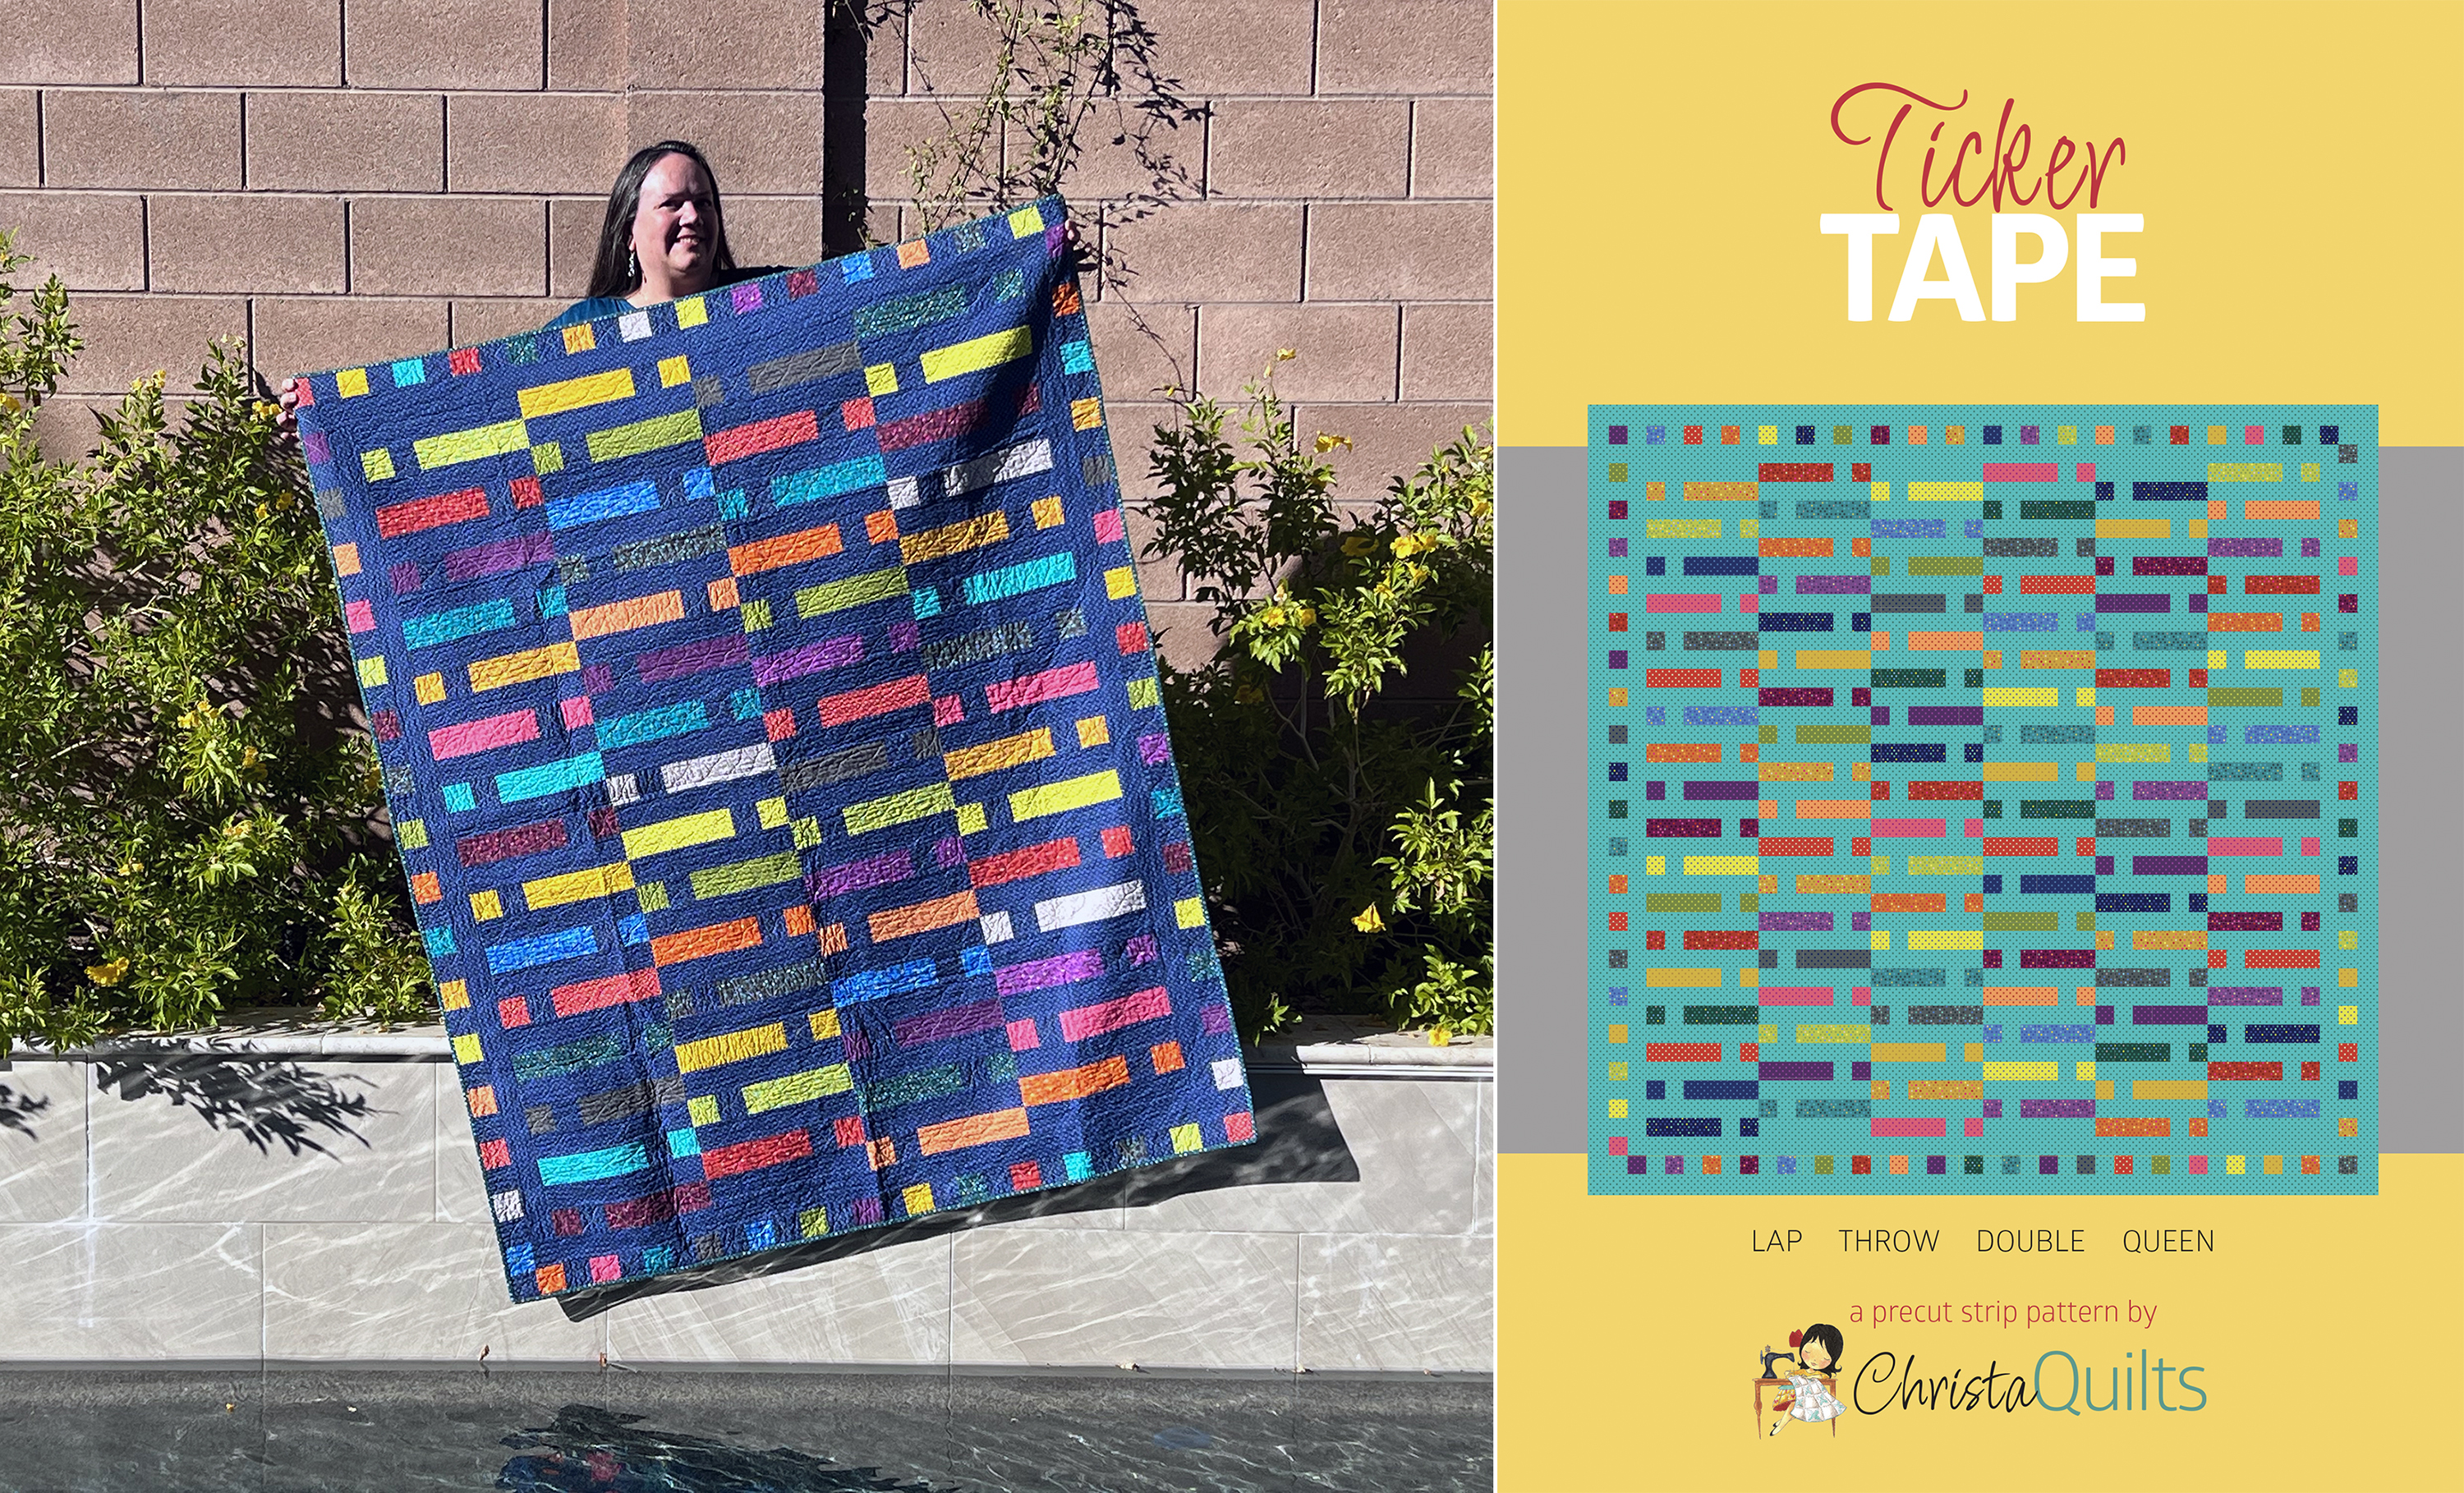
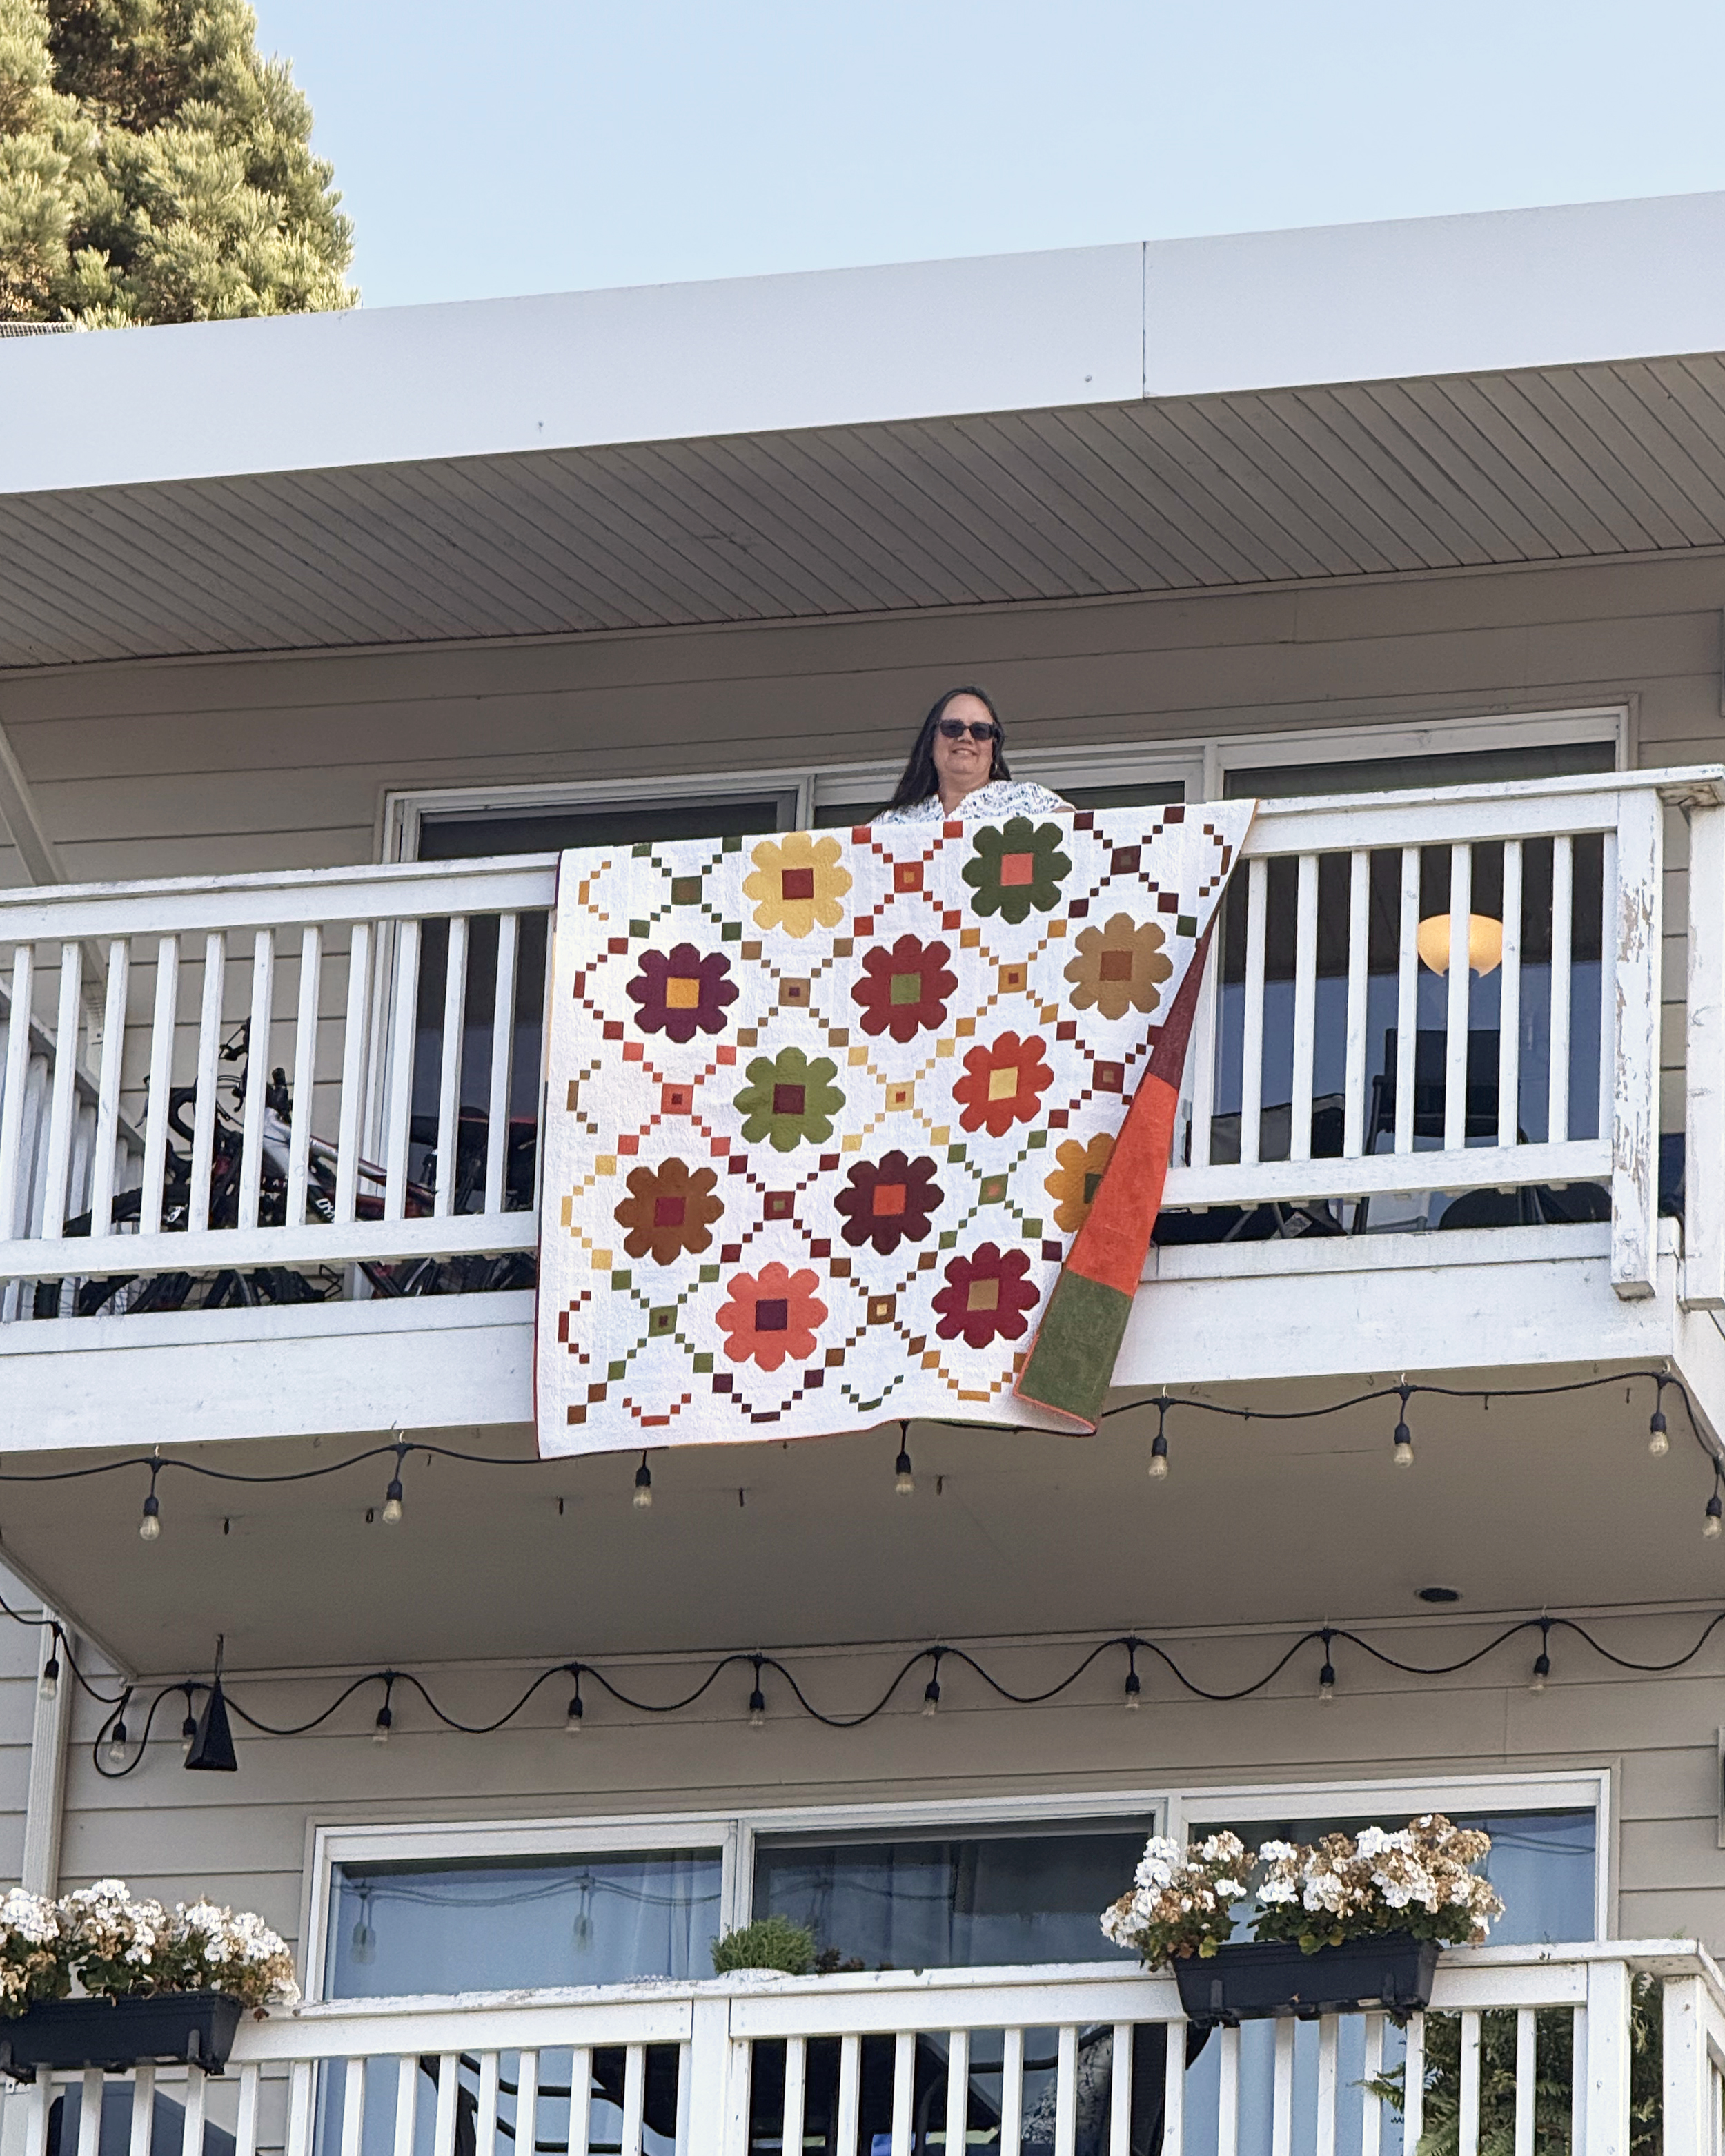
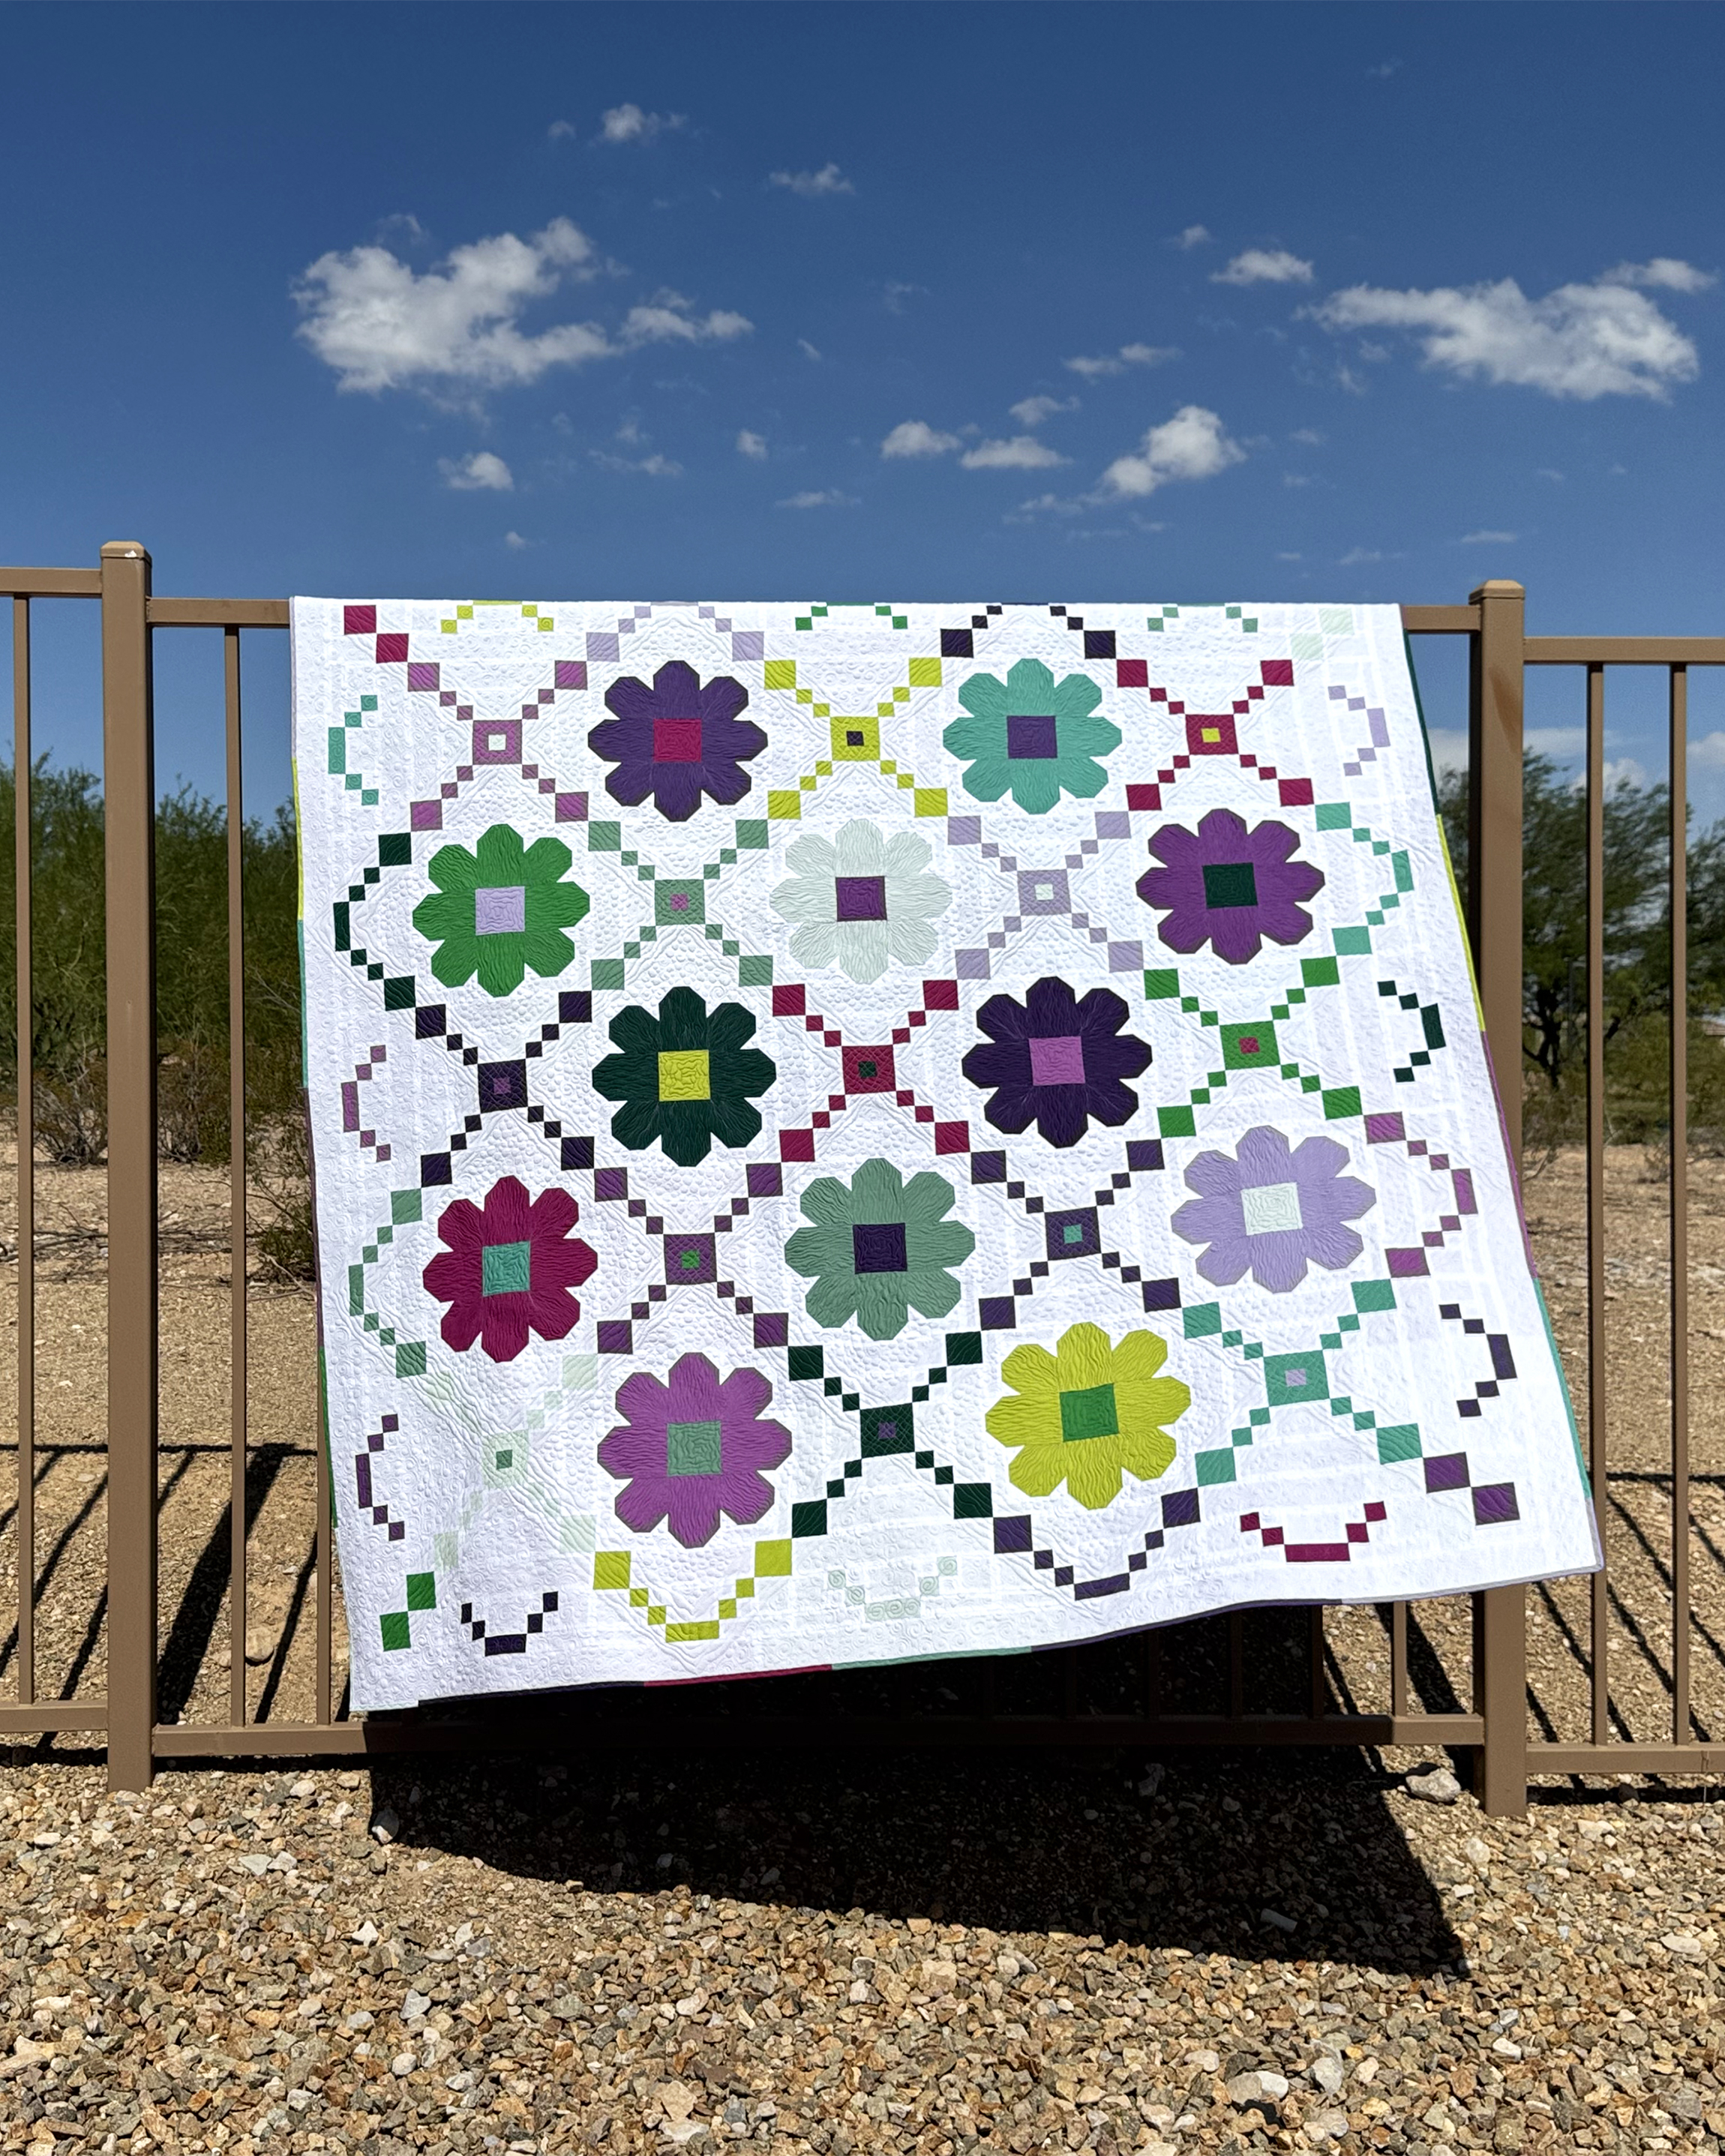
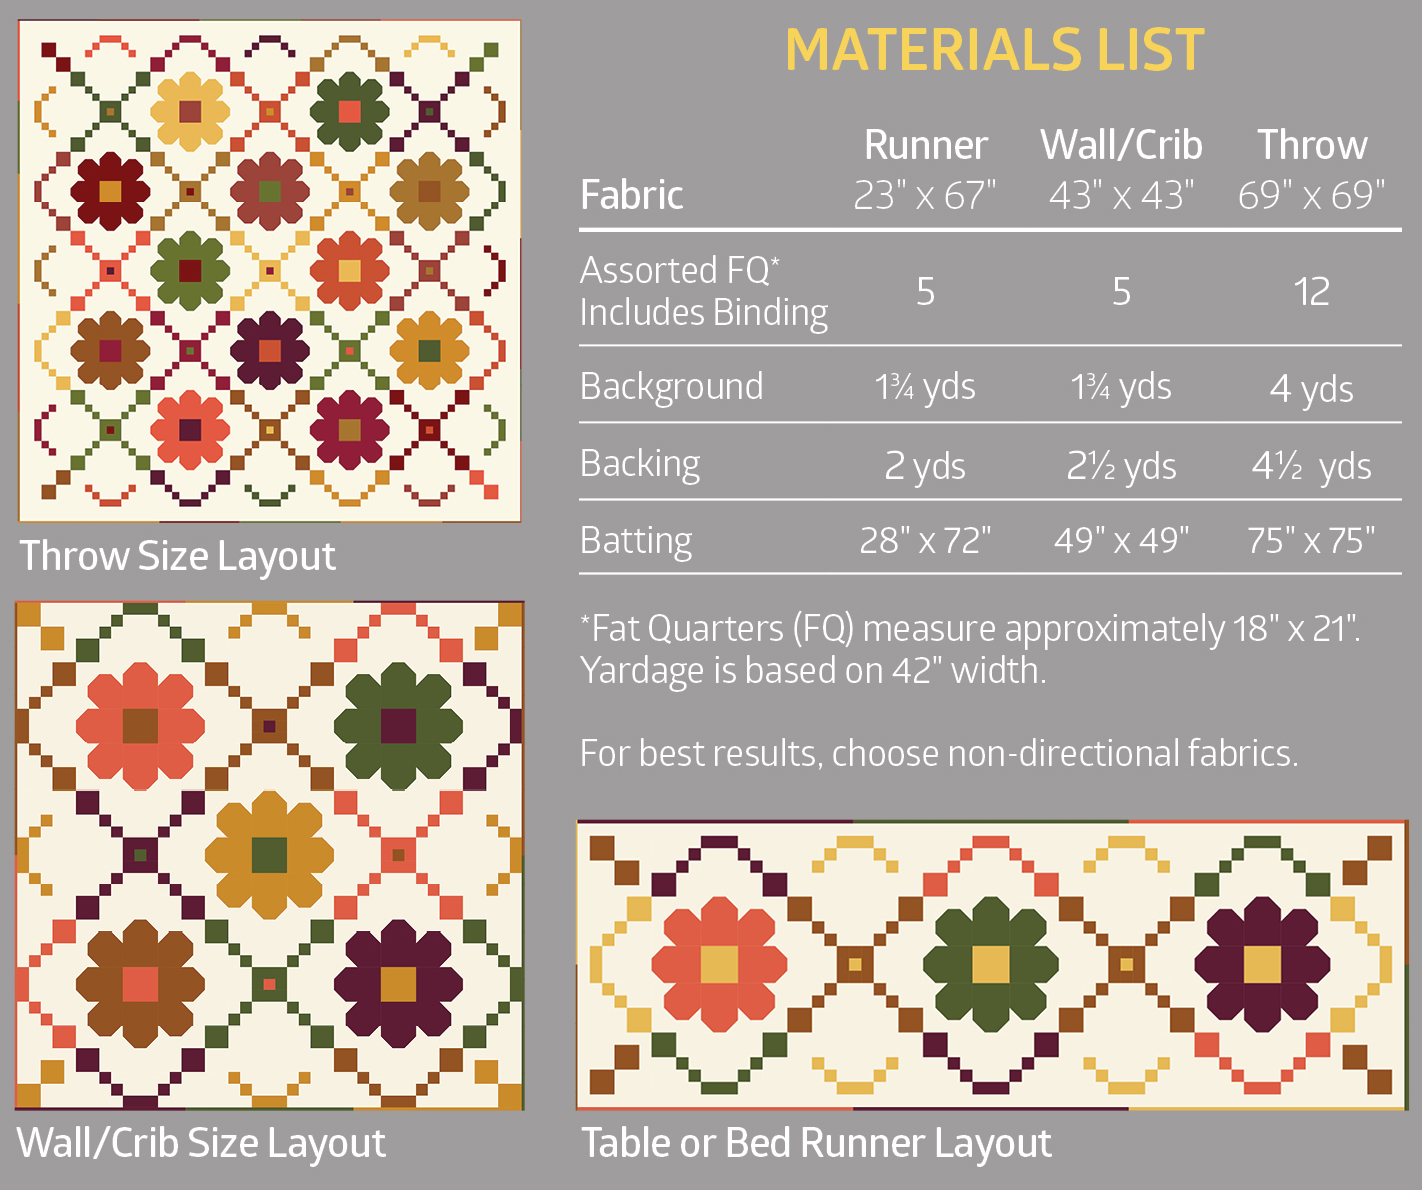
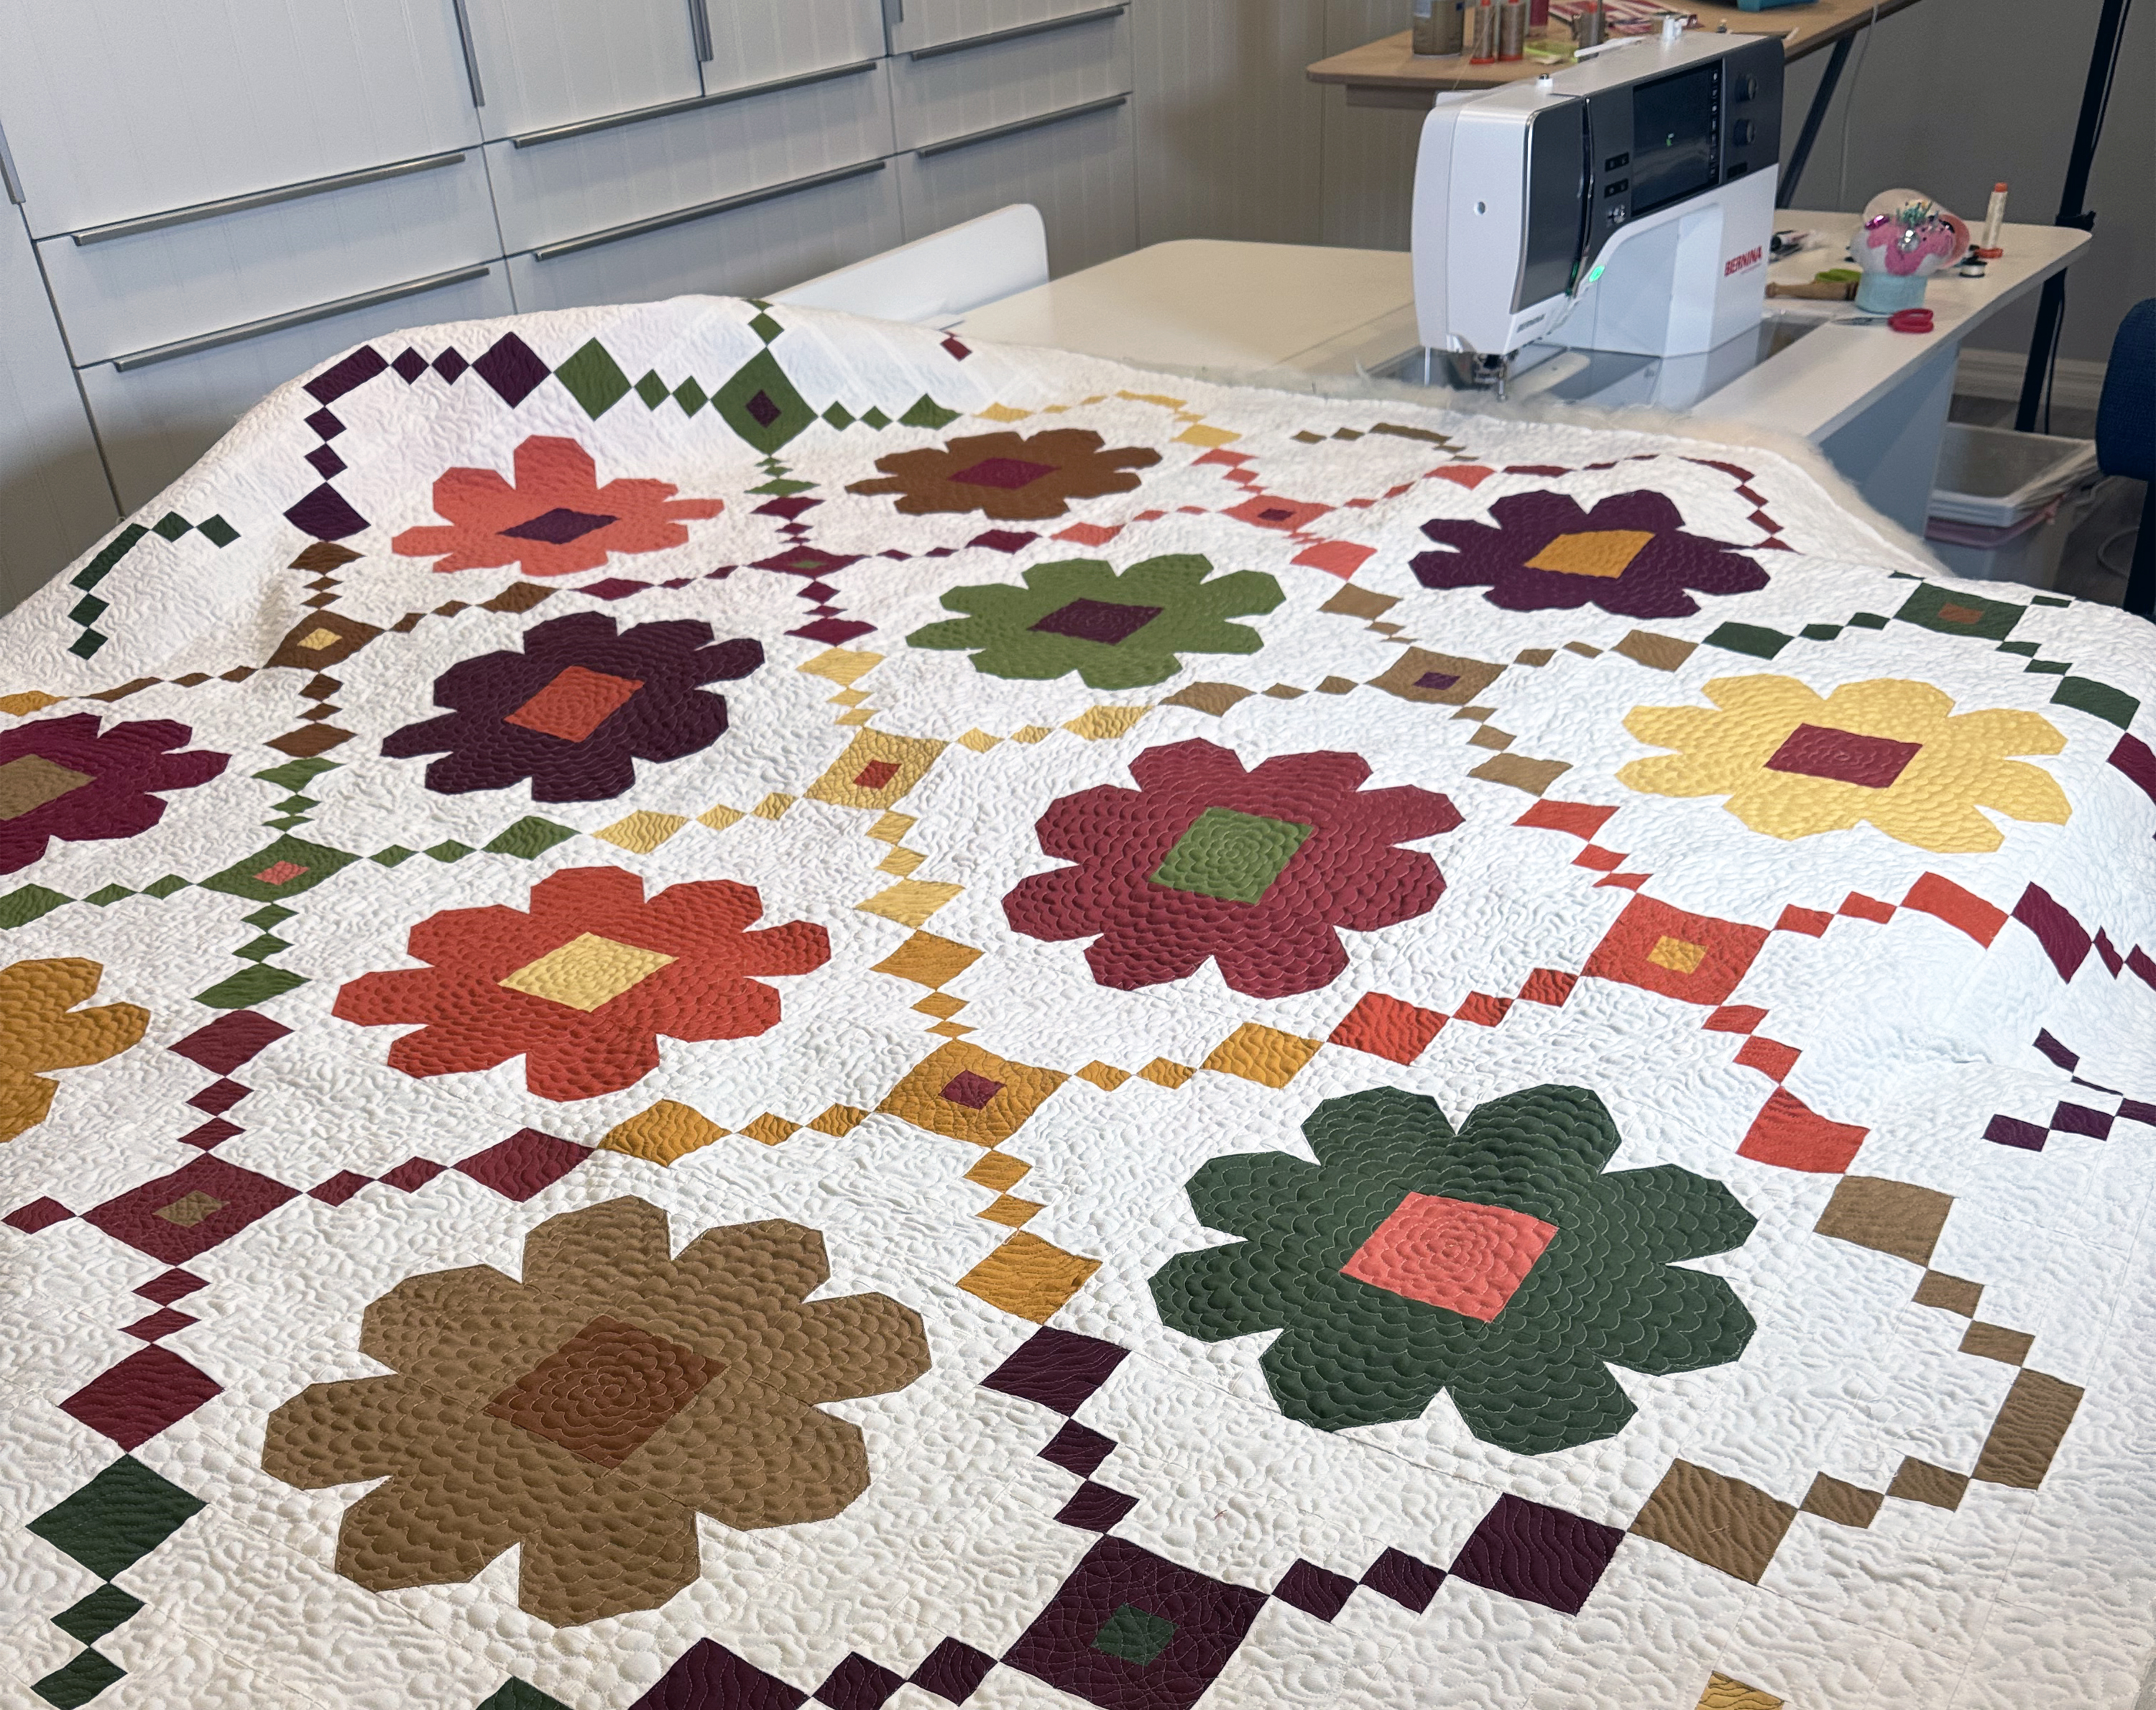
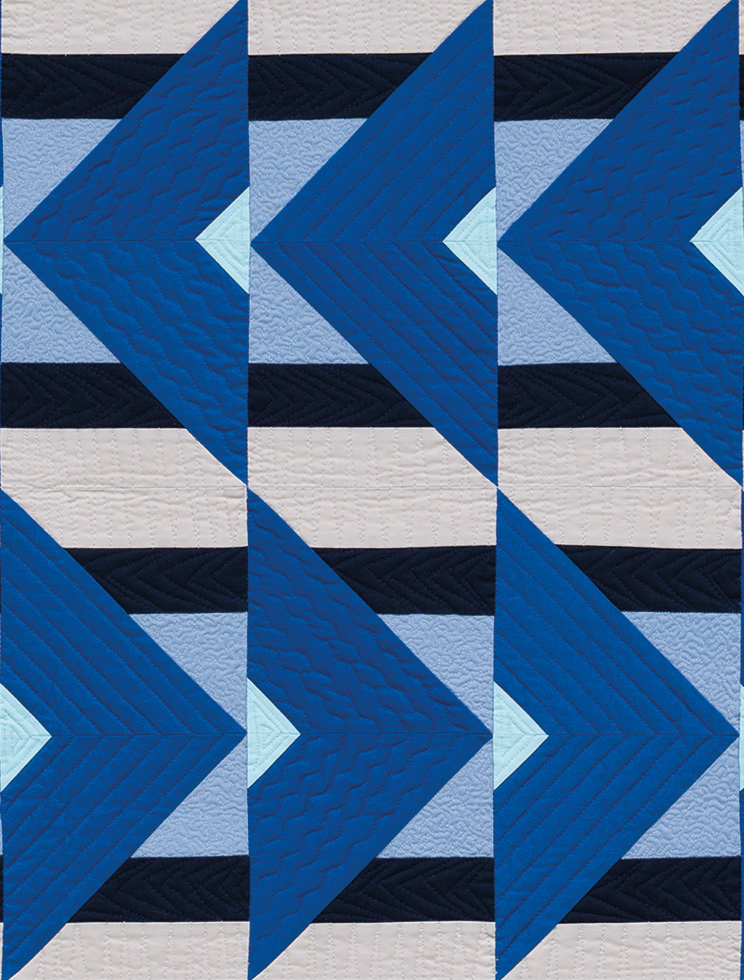
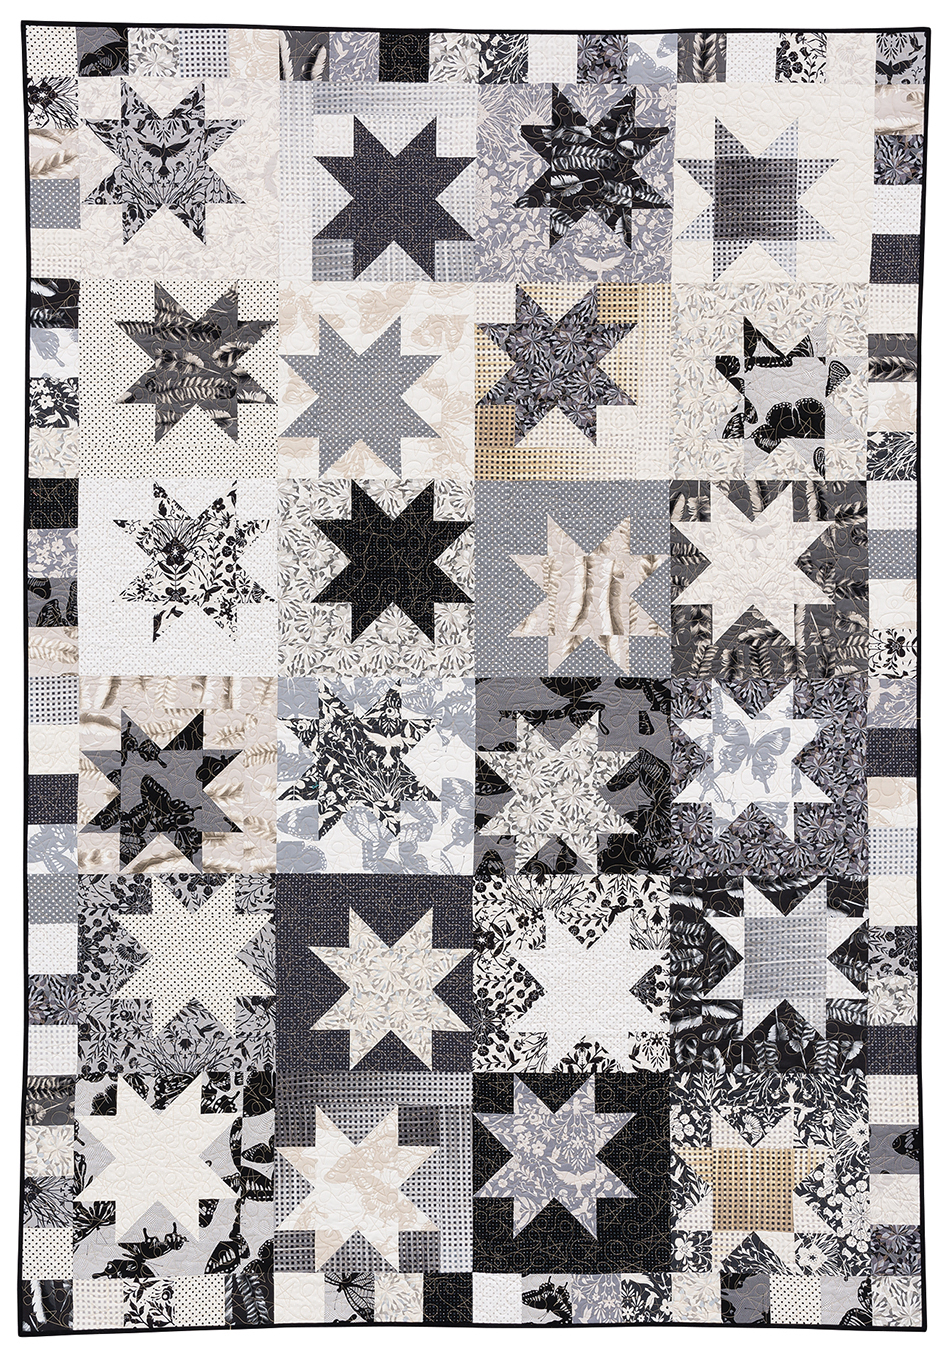
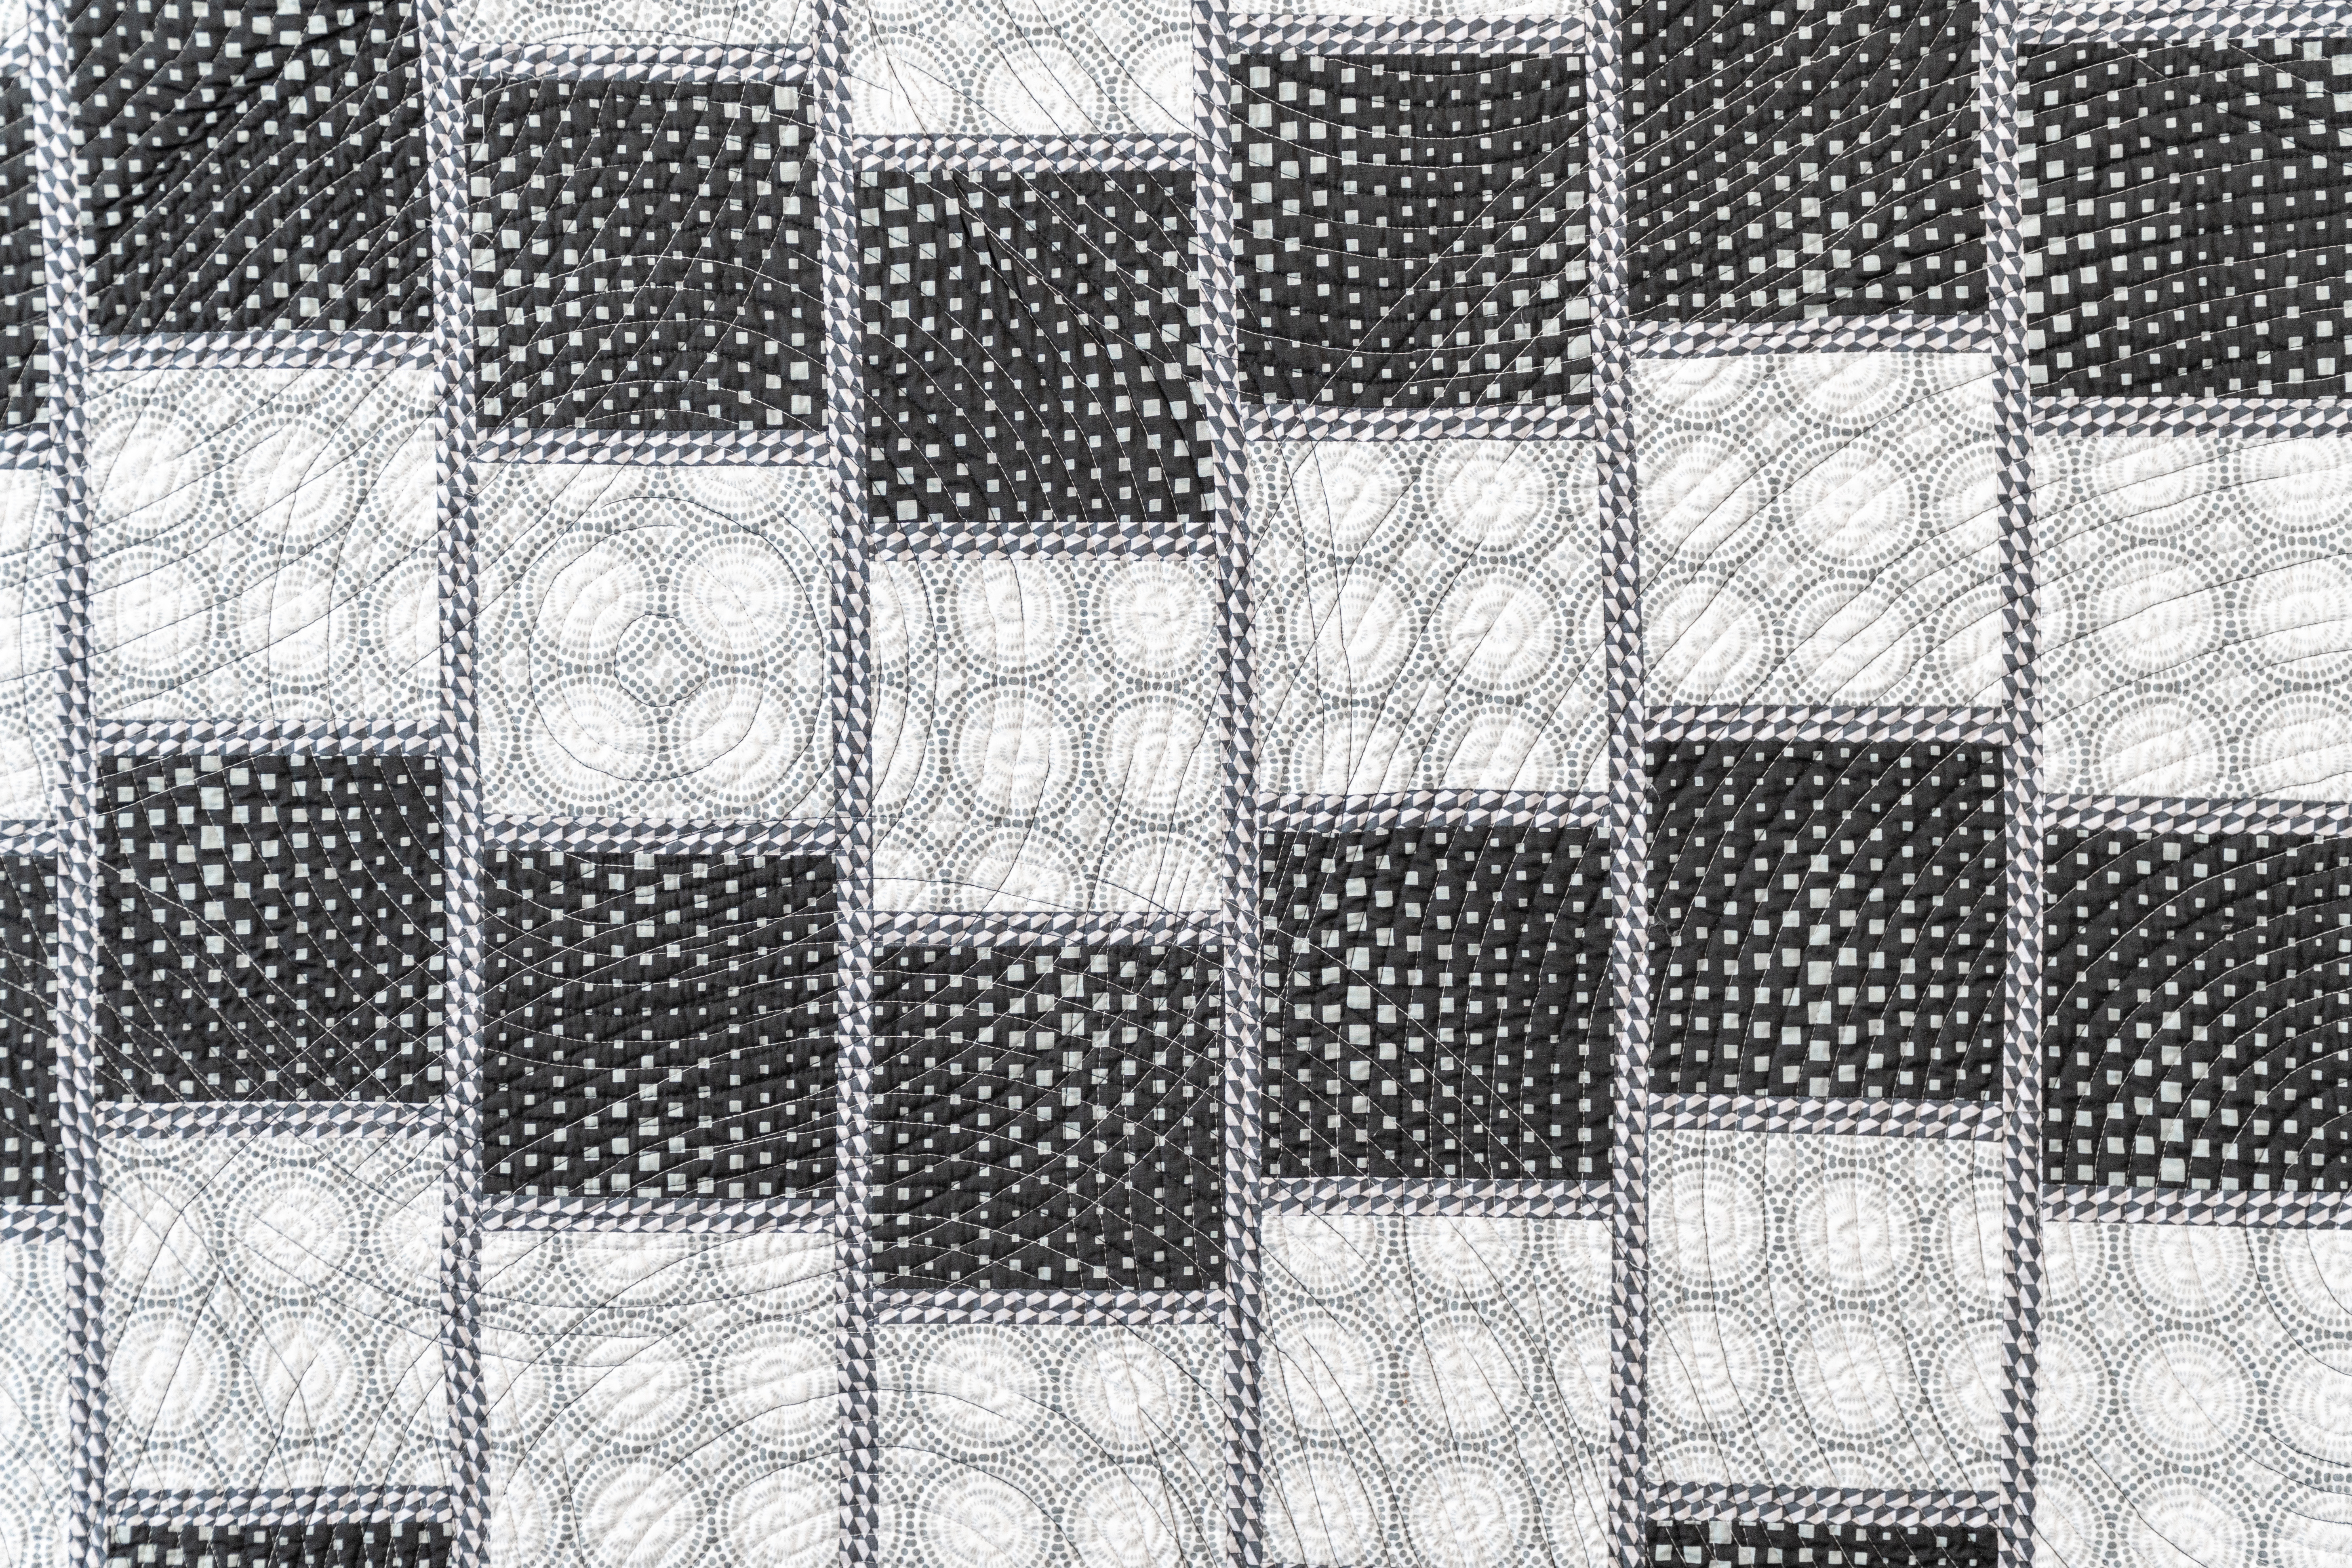
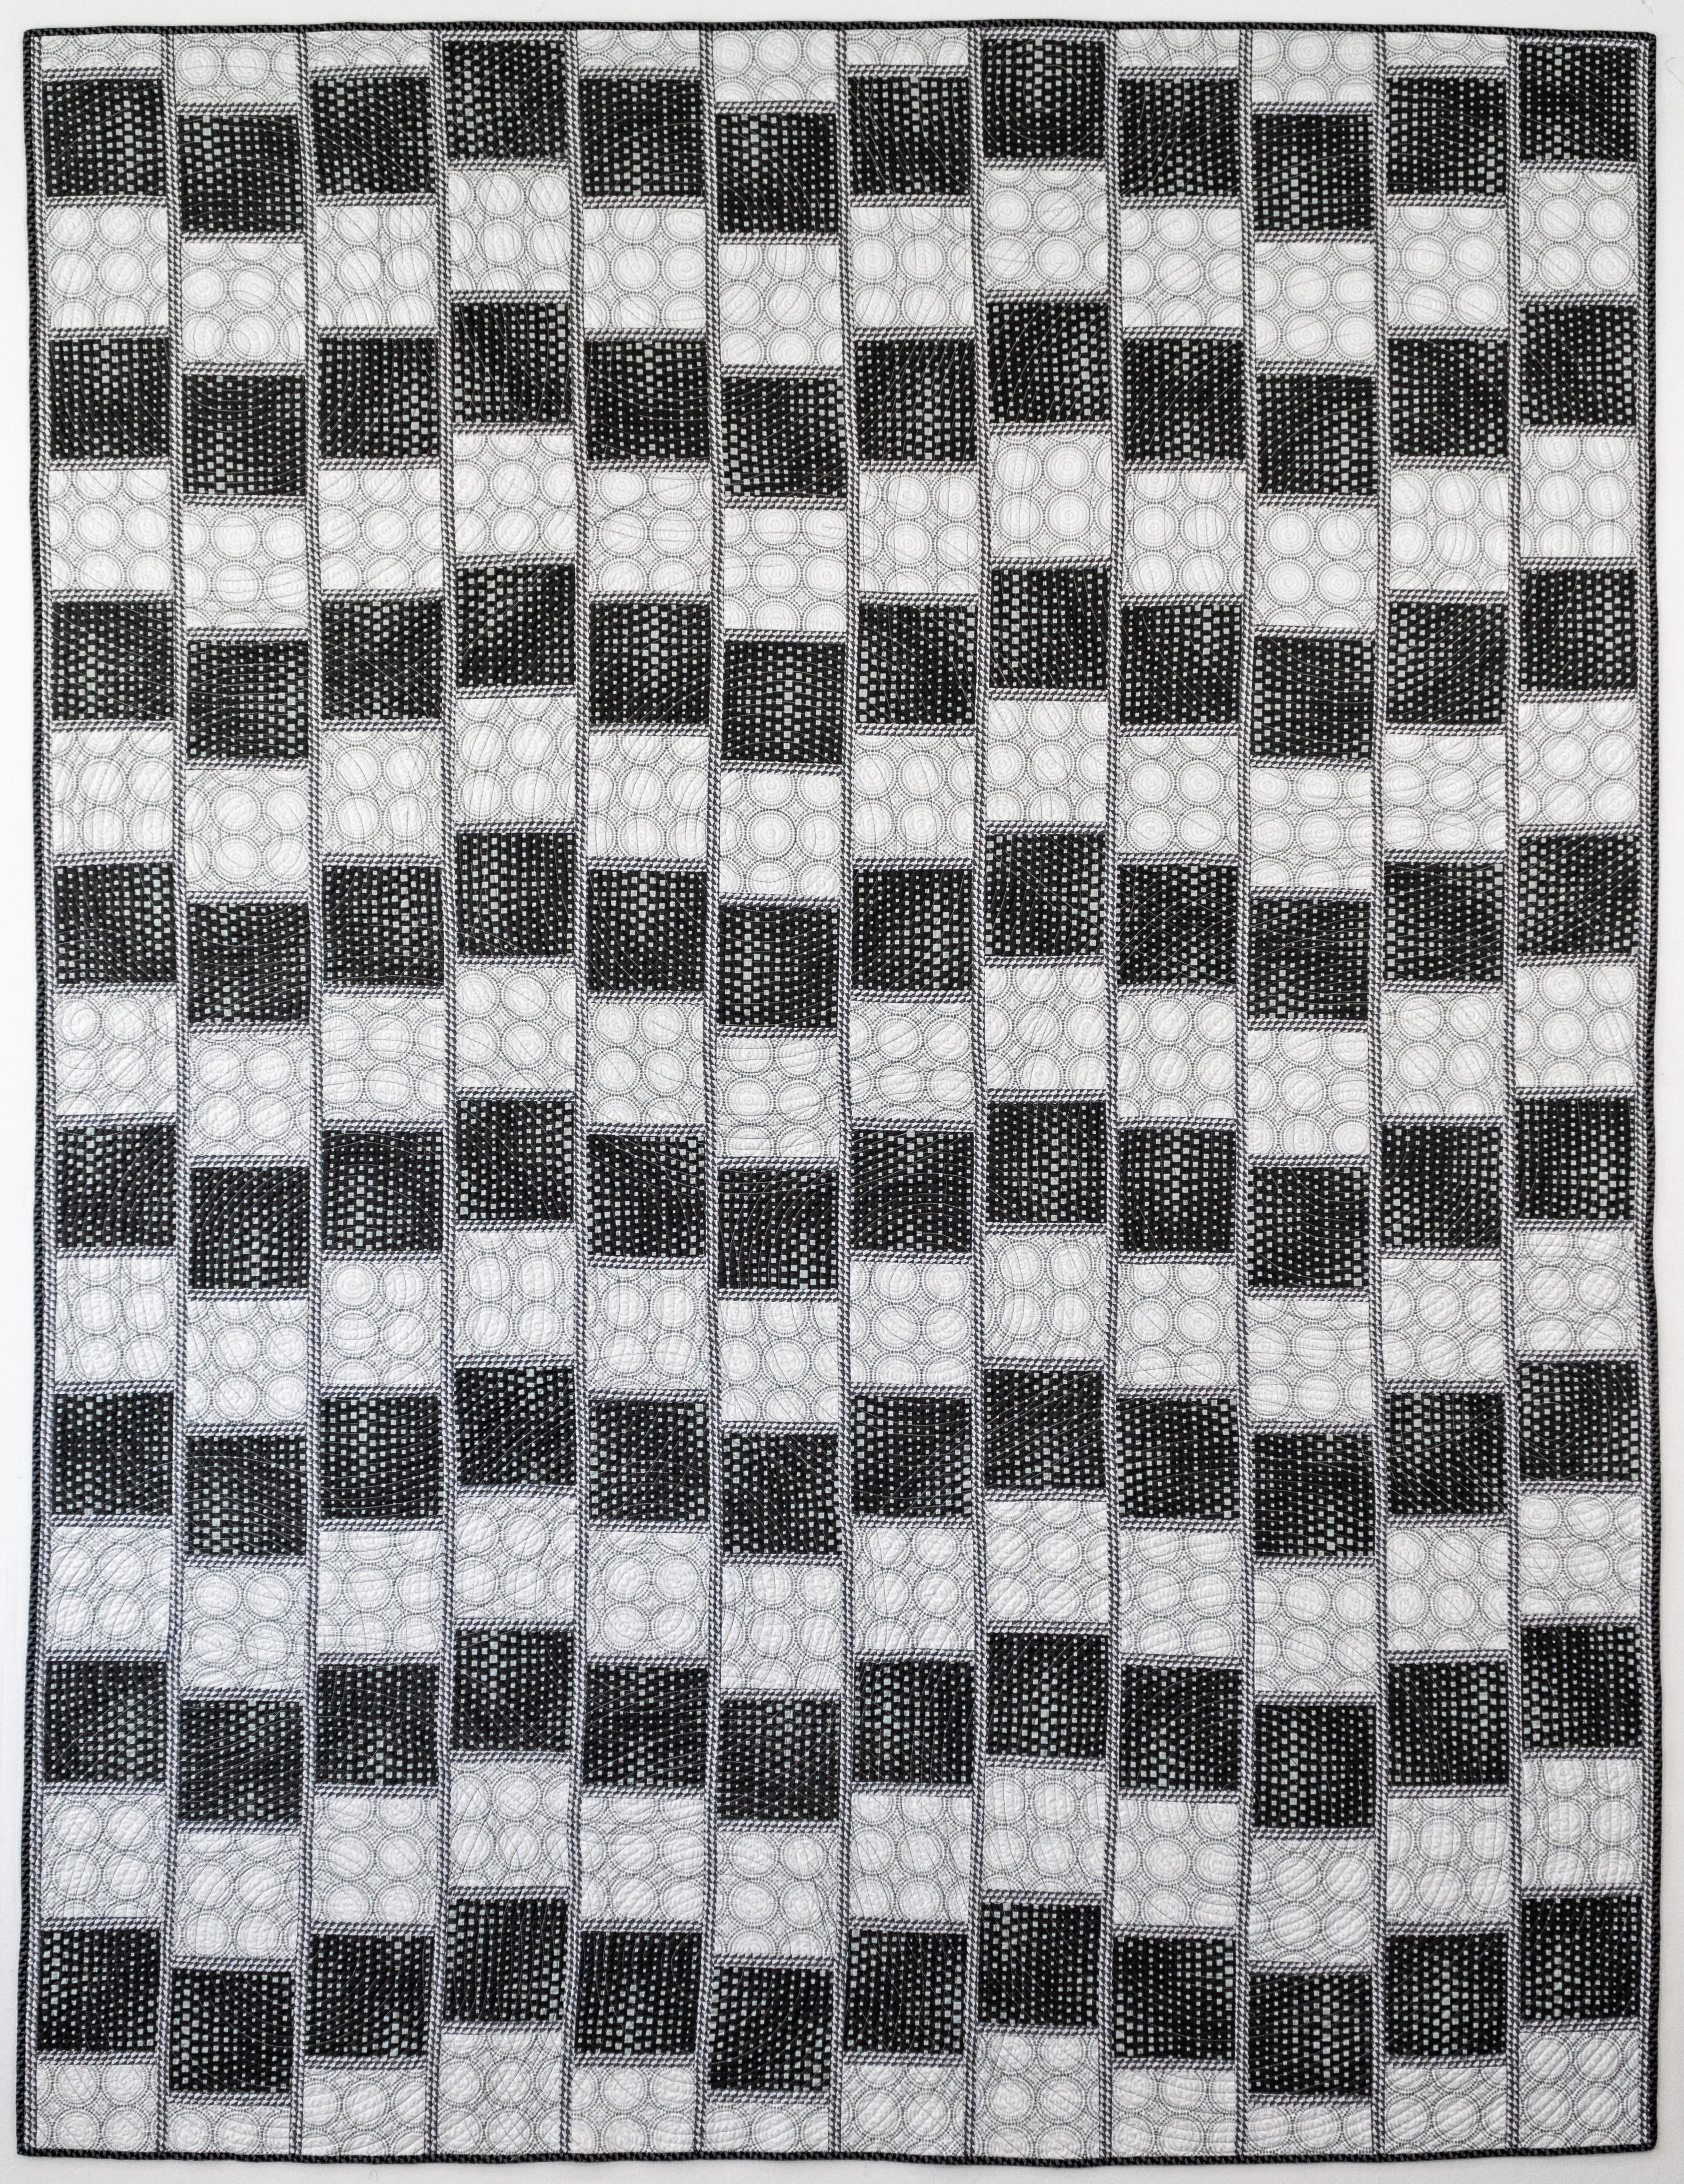
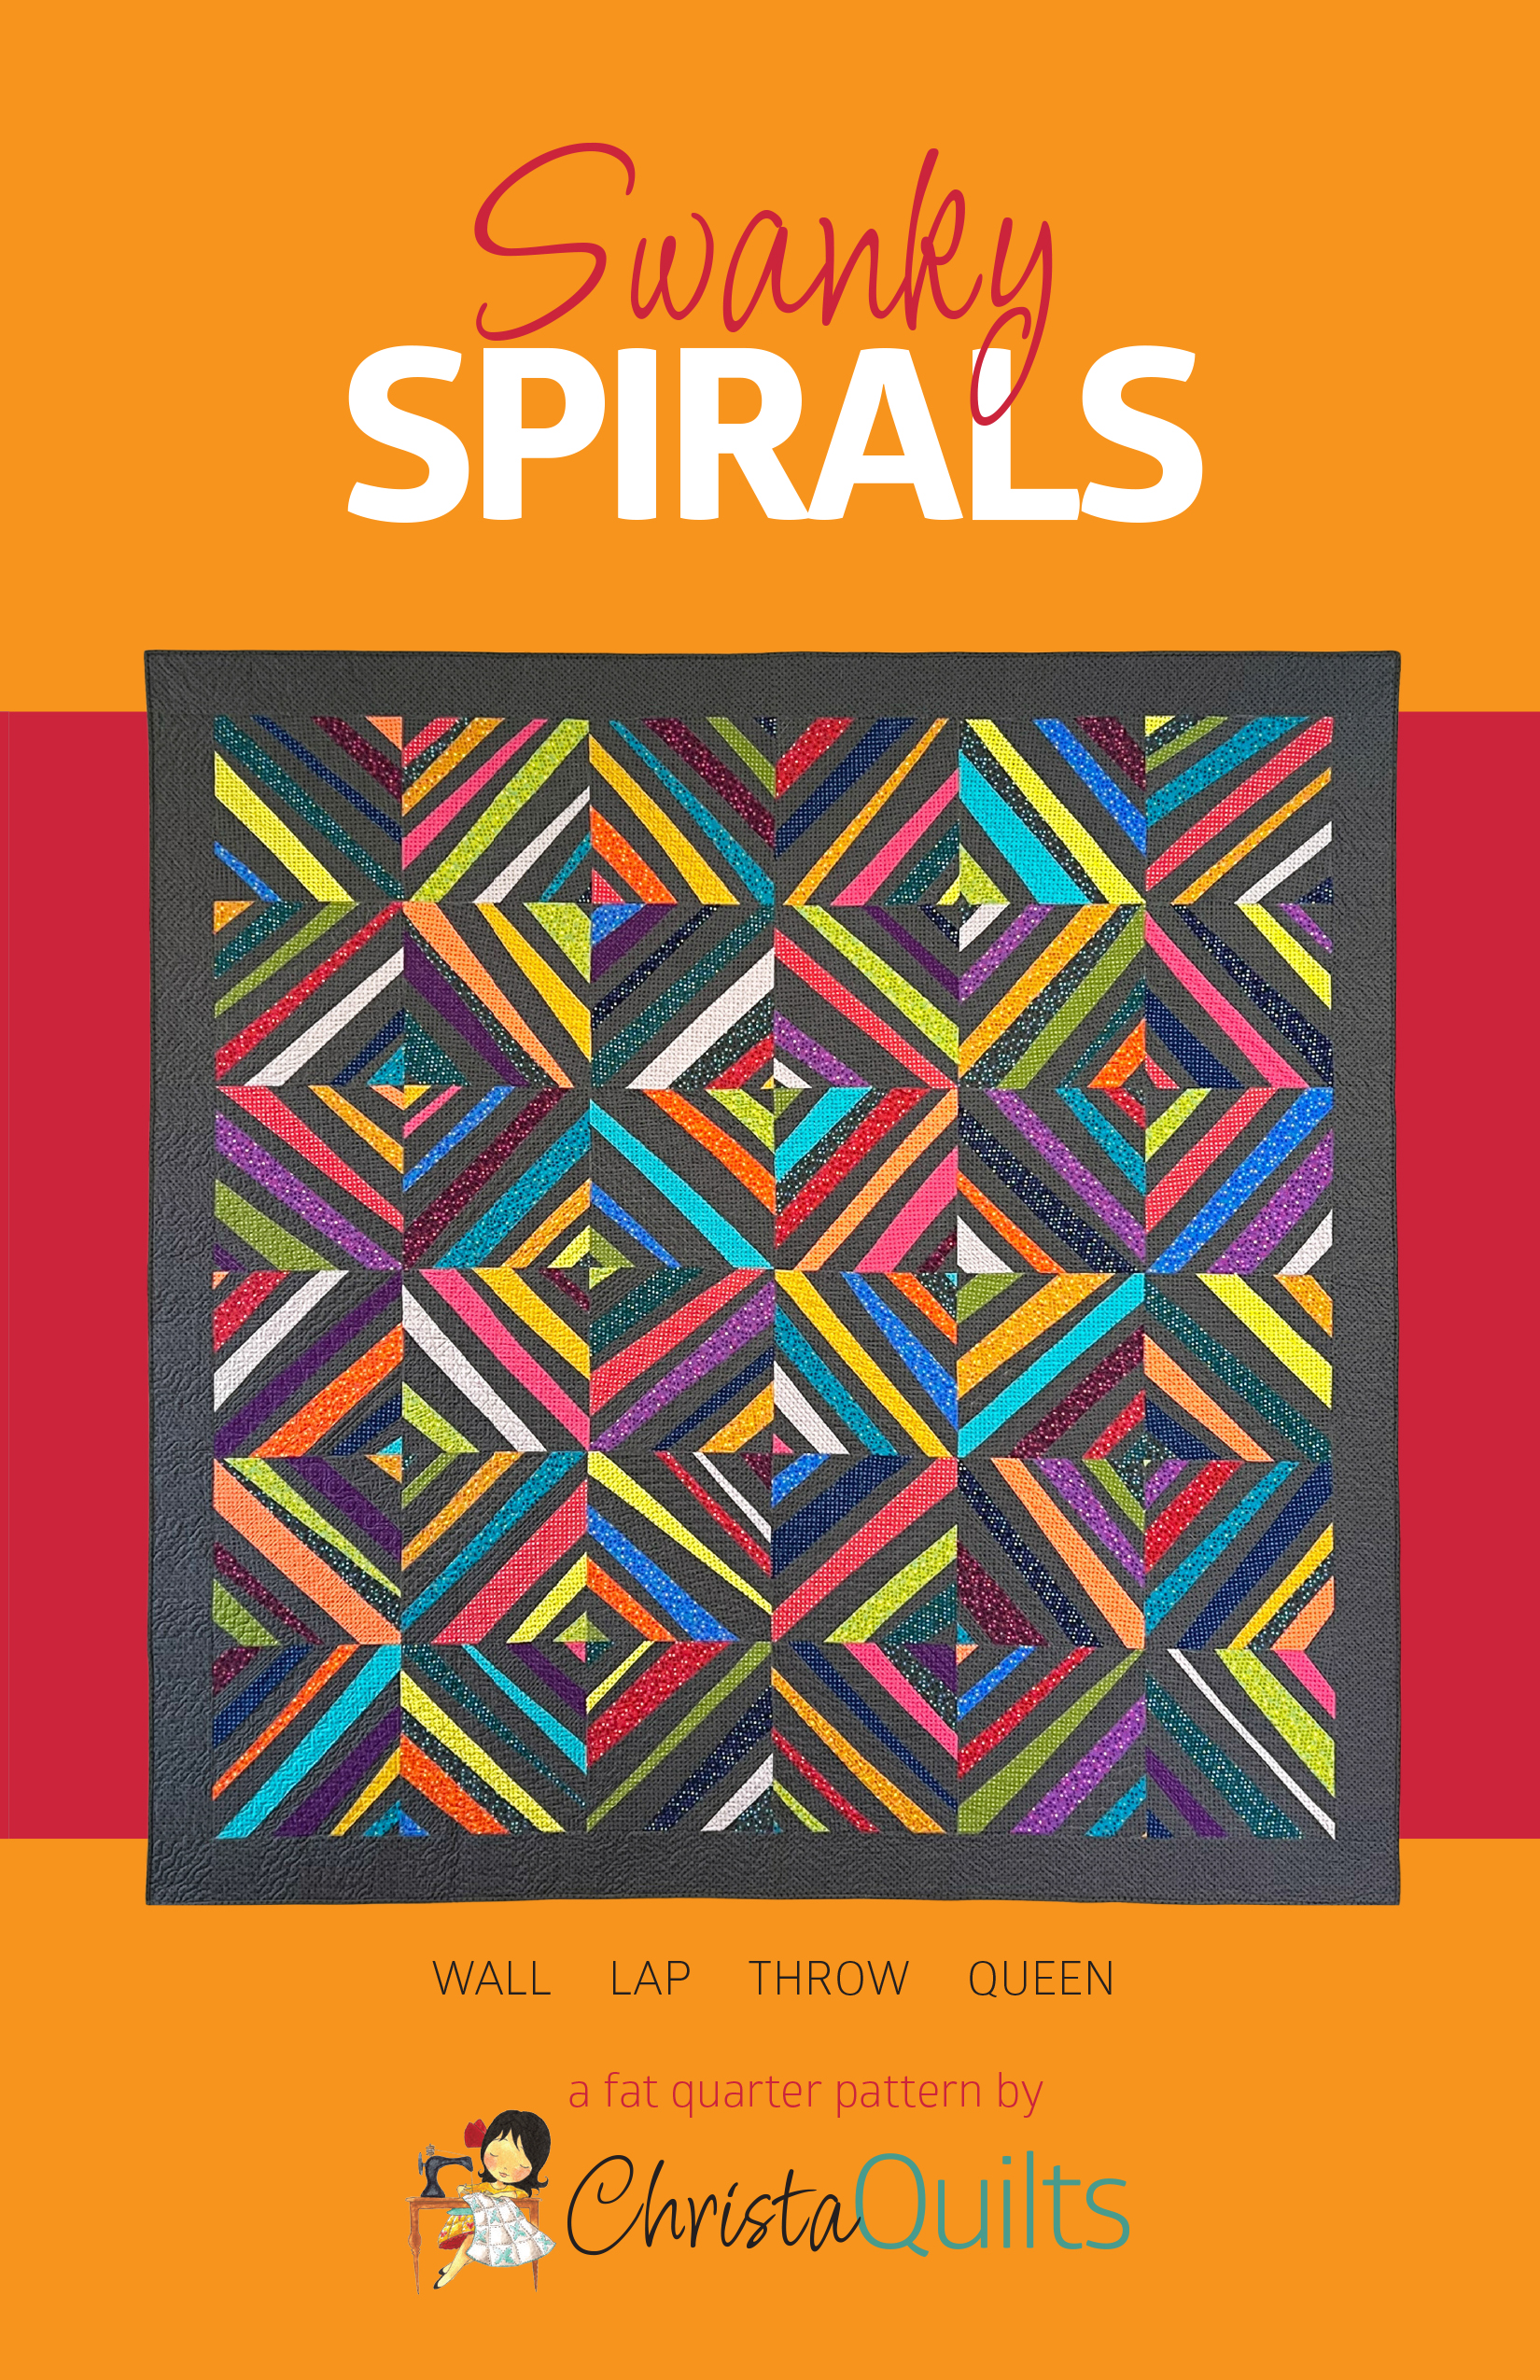
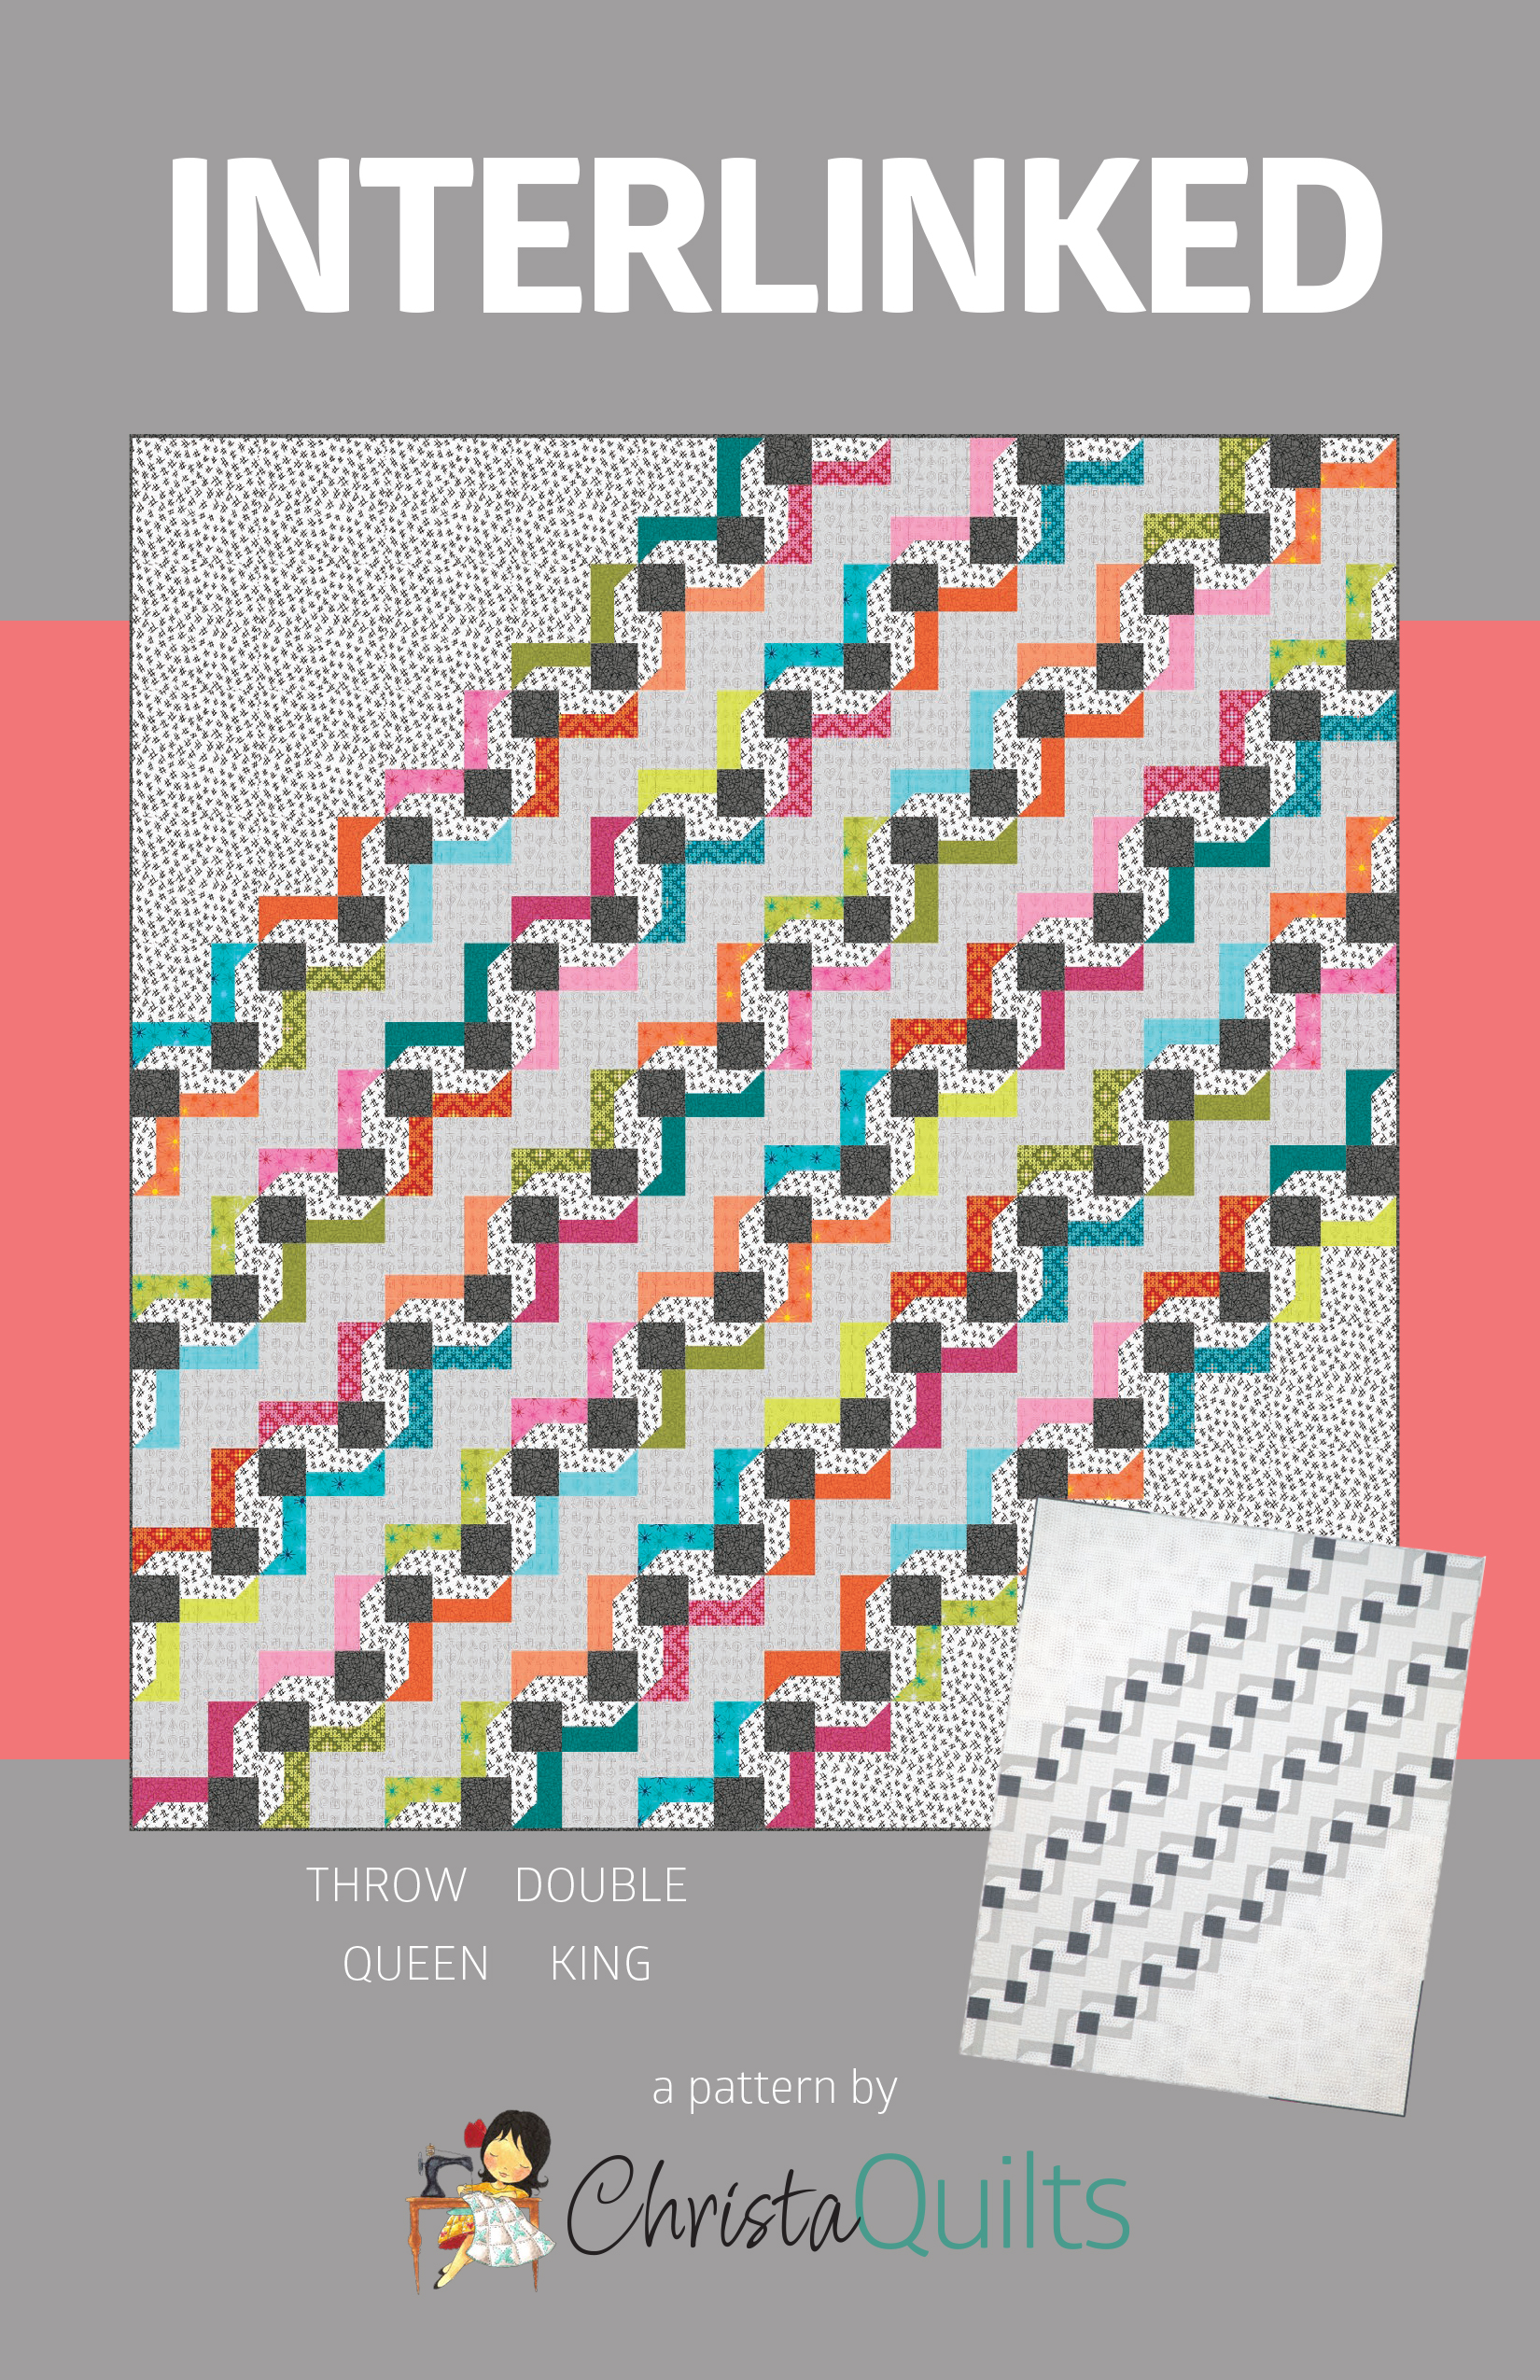
I admit I haven’t actually made a full-size quilt with Hourglass – that is on my bucket list! However, I’ve quilted a similar design on Dot n’ Dash, the featured quilt of this week. I call this a my Modern Jelly Roll Quilt since it can just be made with strips from a jelly roll! If you are interested in making this quilt for yourself, the original version of the pattern comes from my book, Piece and Quilt with Precuts.

This book is currently out of print. Click here to get the PDF download version.
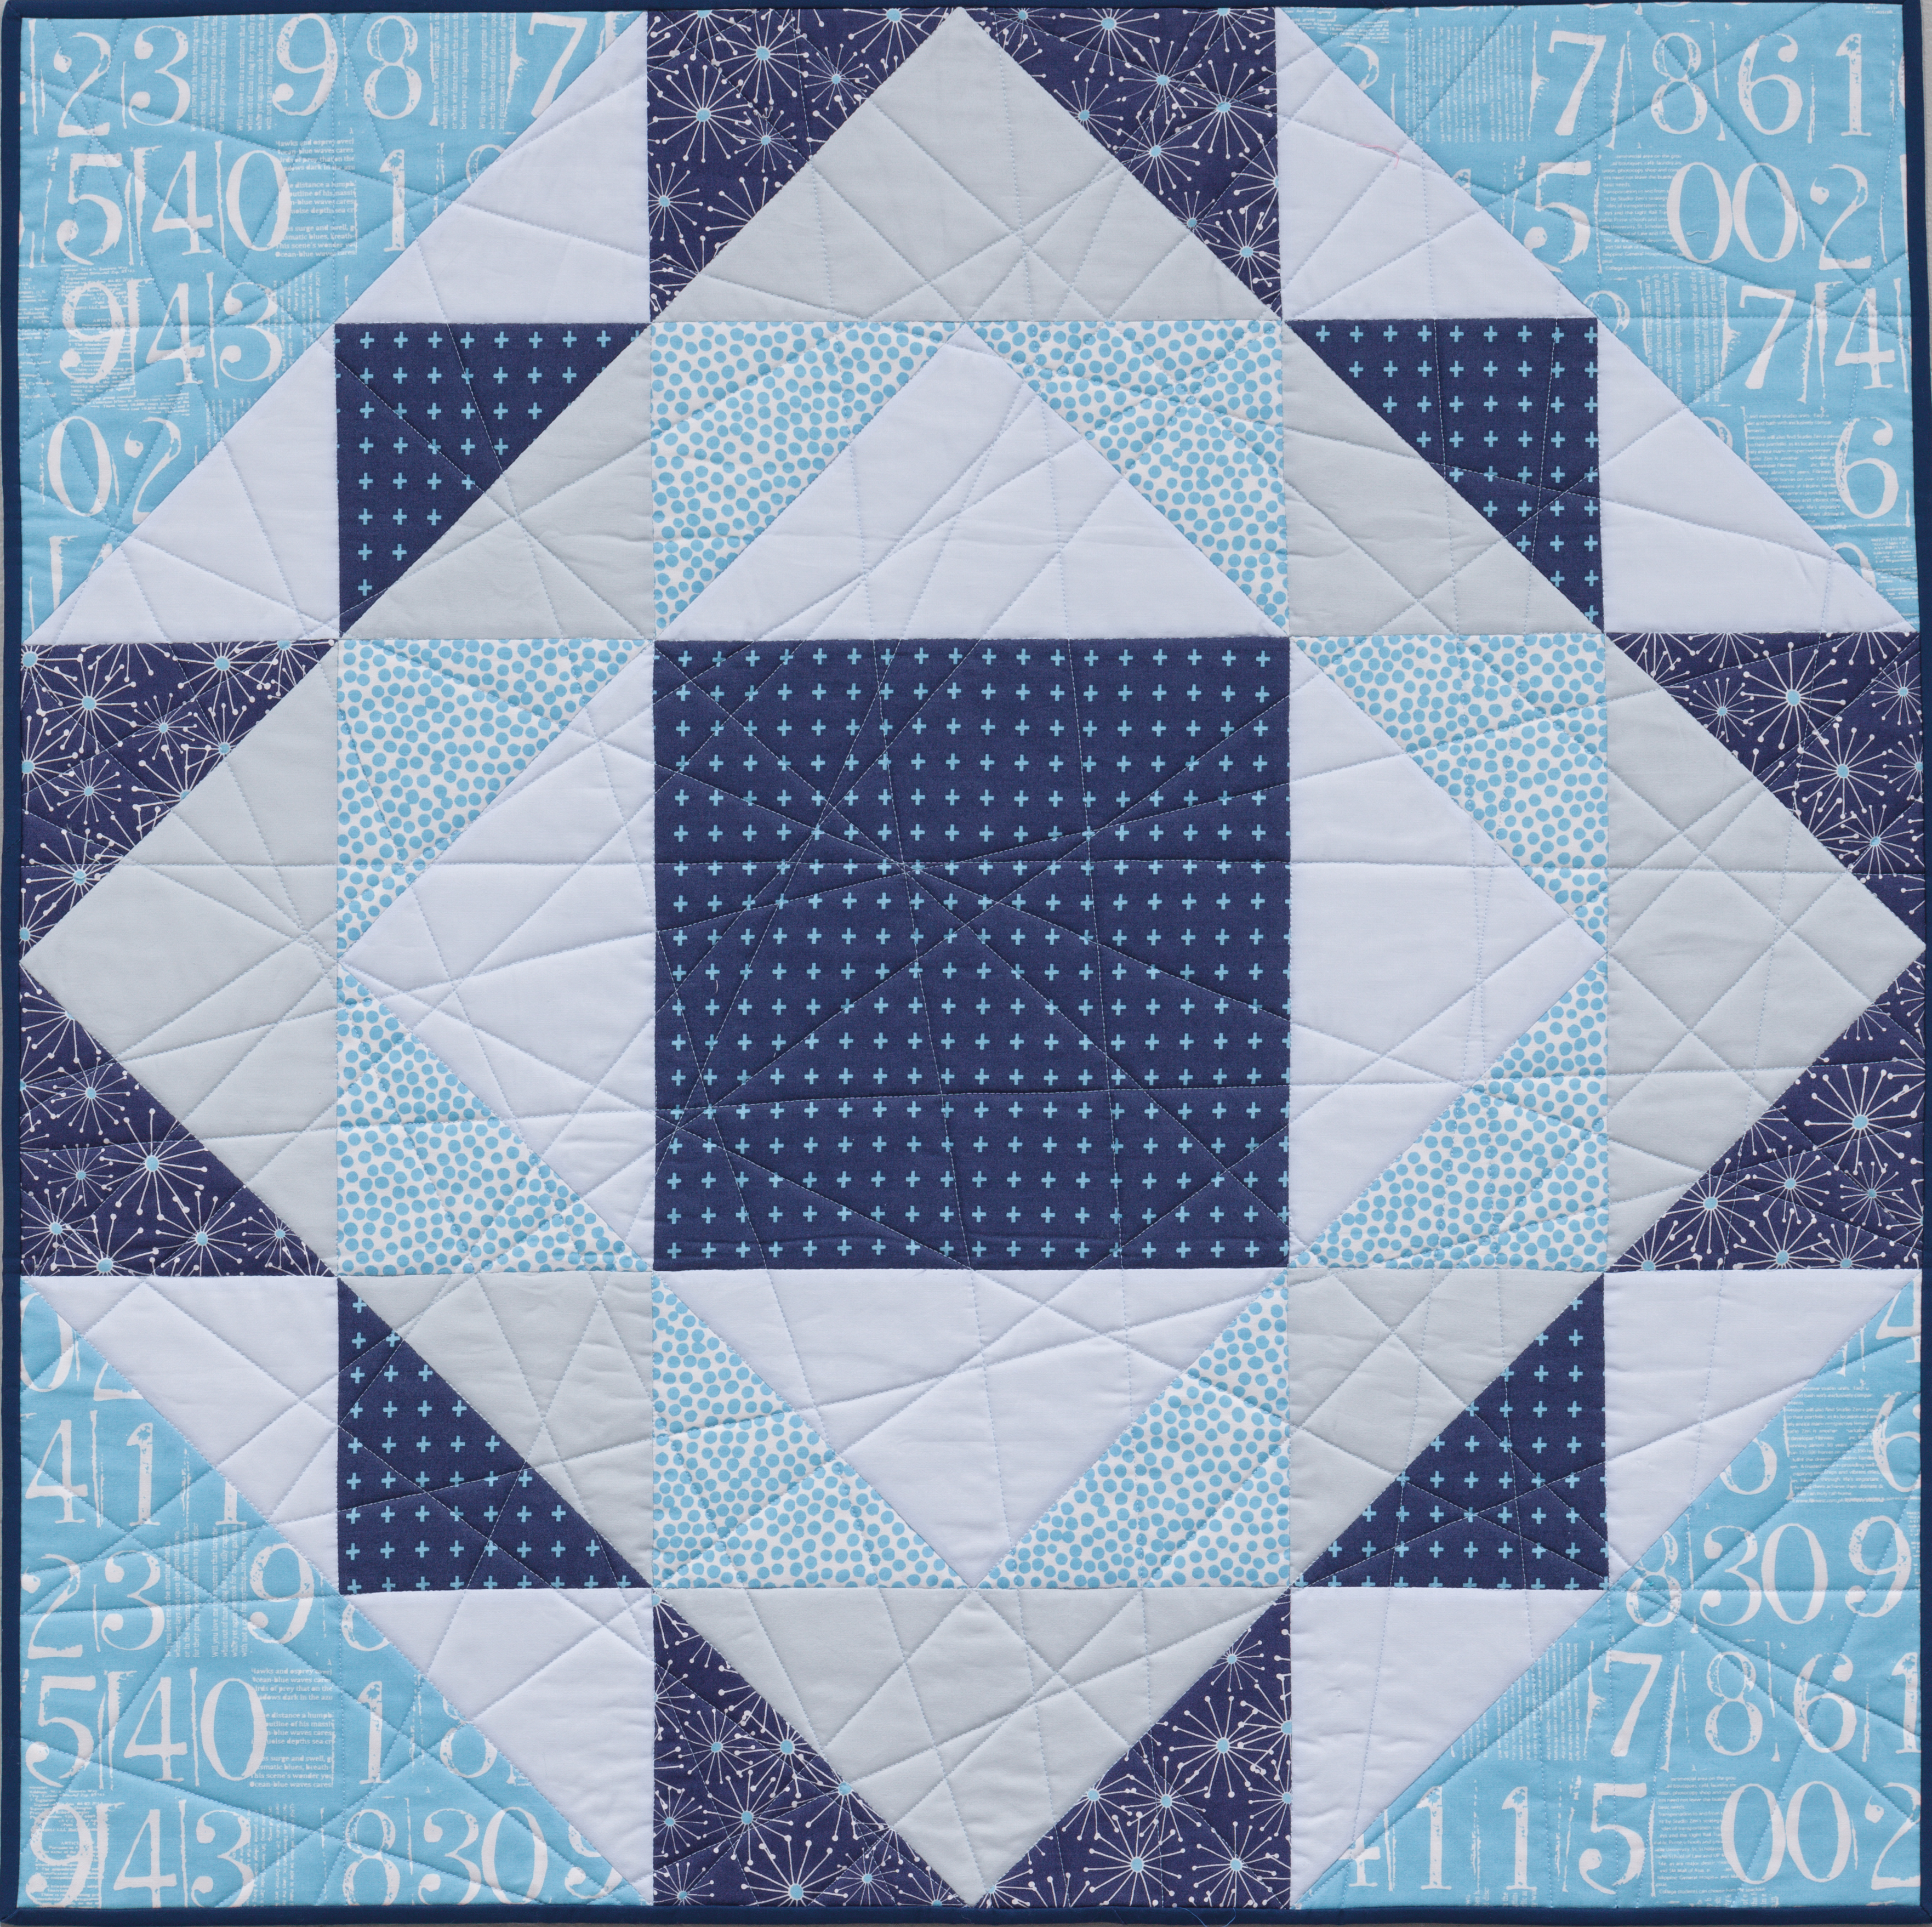
I remade this quilt with some of my newer fabric, udpated the layout, added borders and more sizes, and renamed it Ticker Tape!