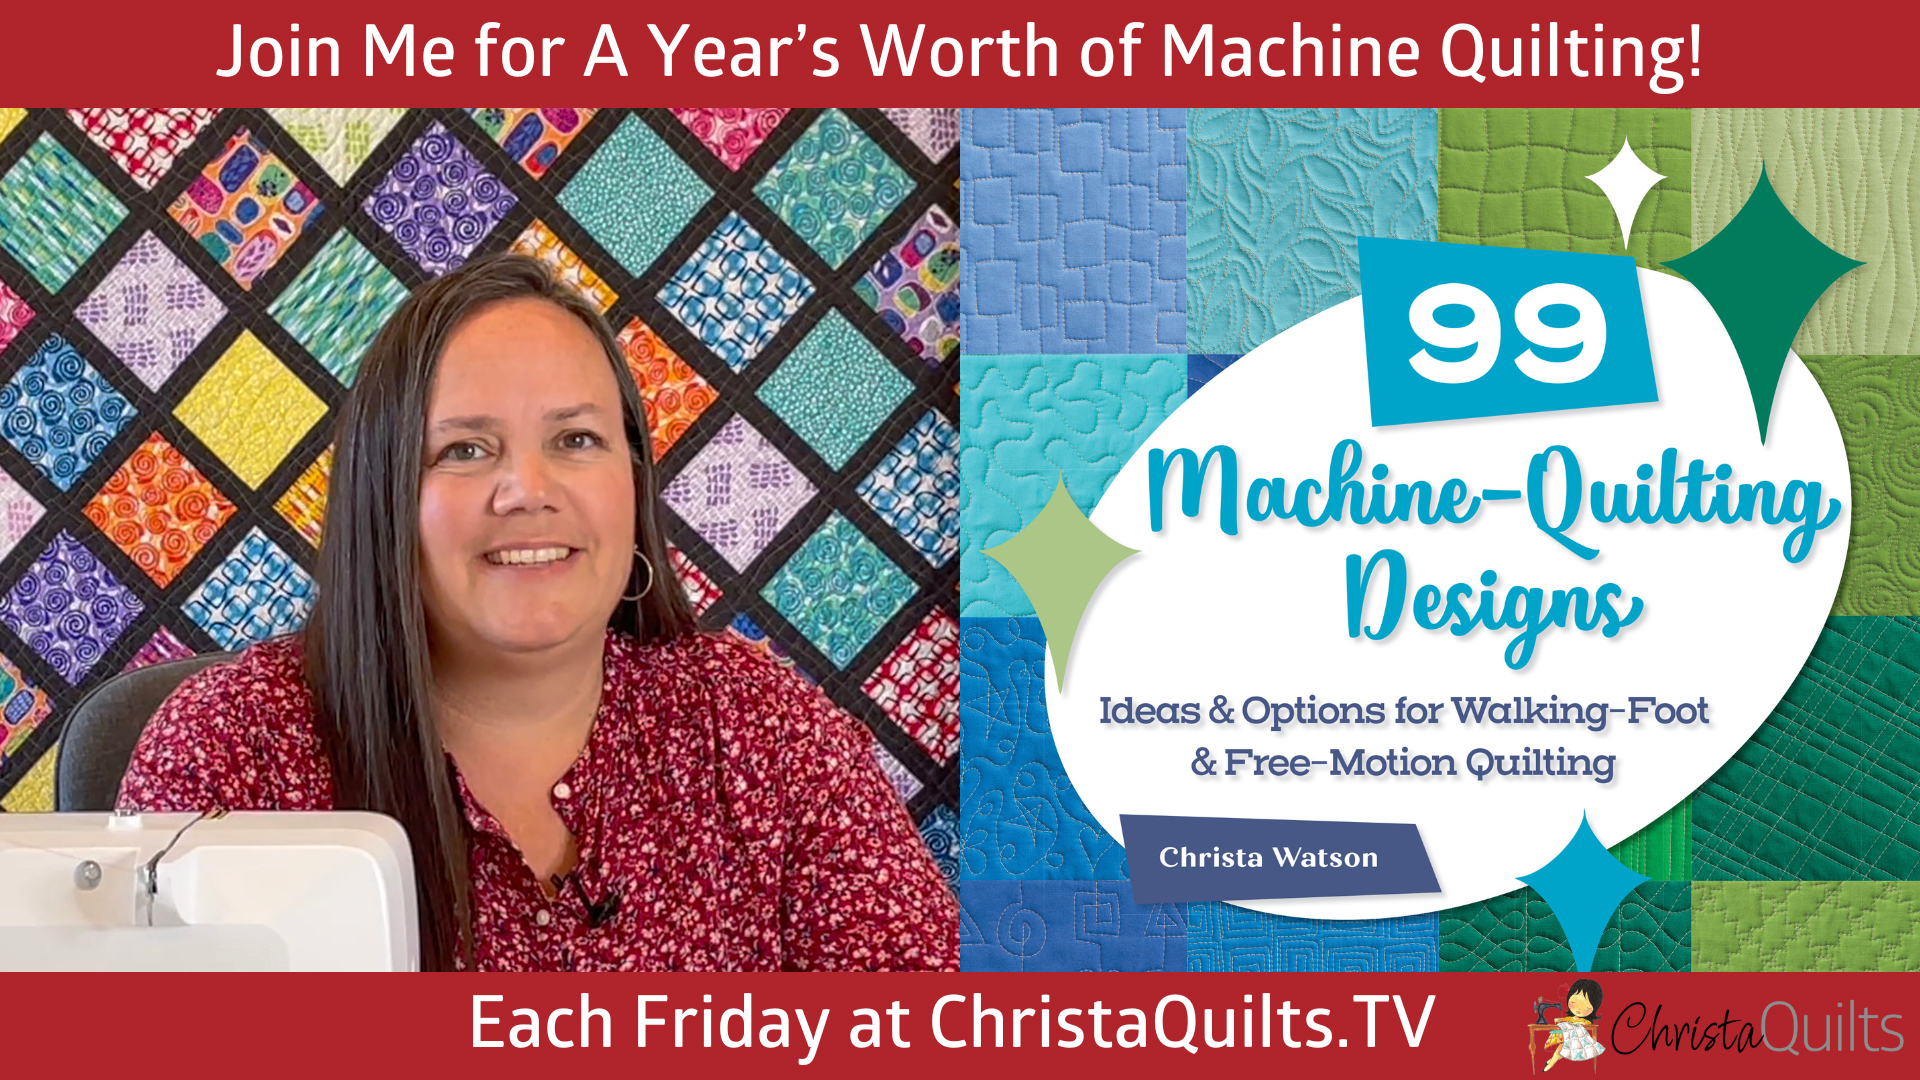
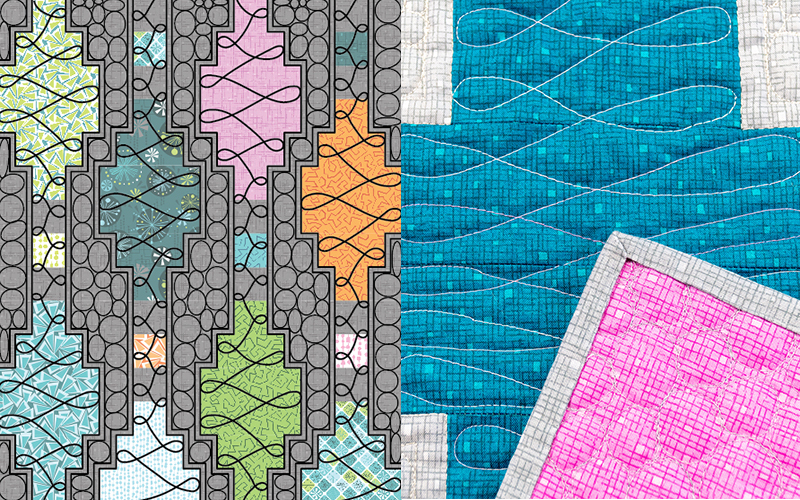
We’re back to free-motion quilting this week with two dense designs that will add lots of texture to a full-sized quilt: Echoed Hearts and Geometrics. If you want to learn more about these designs, click on the video below.
Try these designs on Surplus Strips!
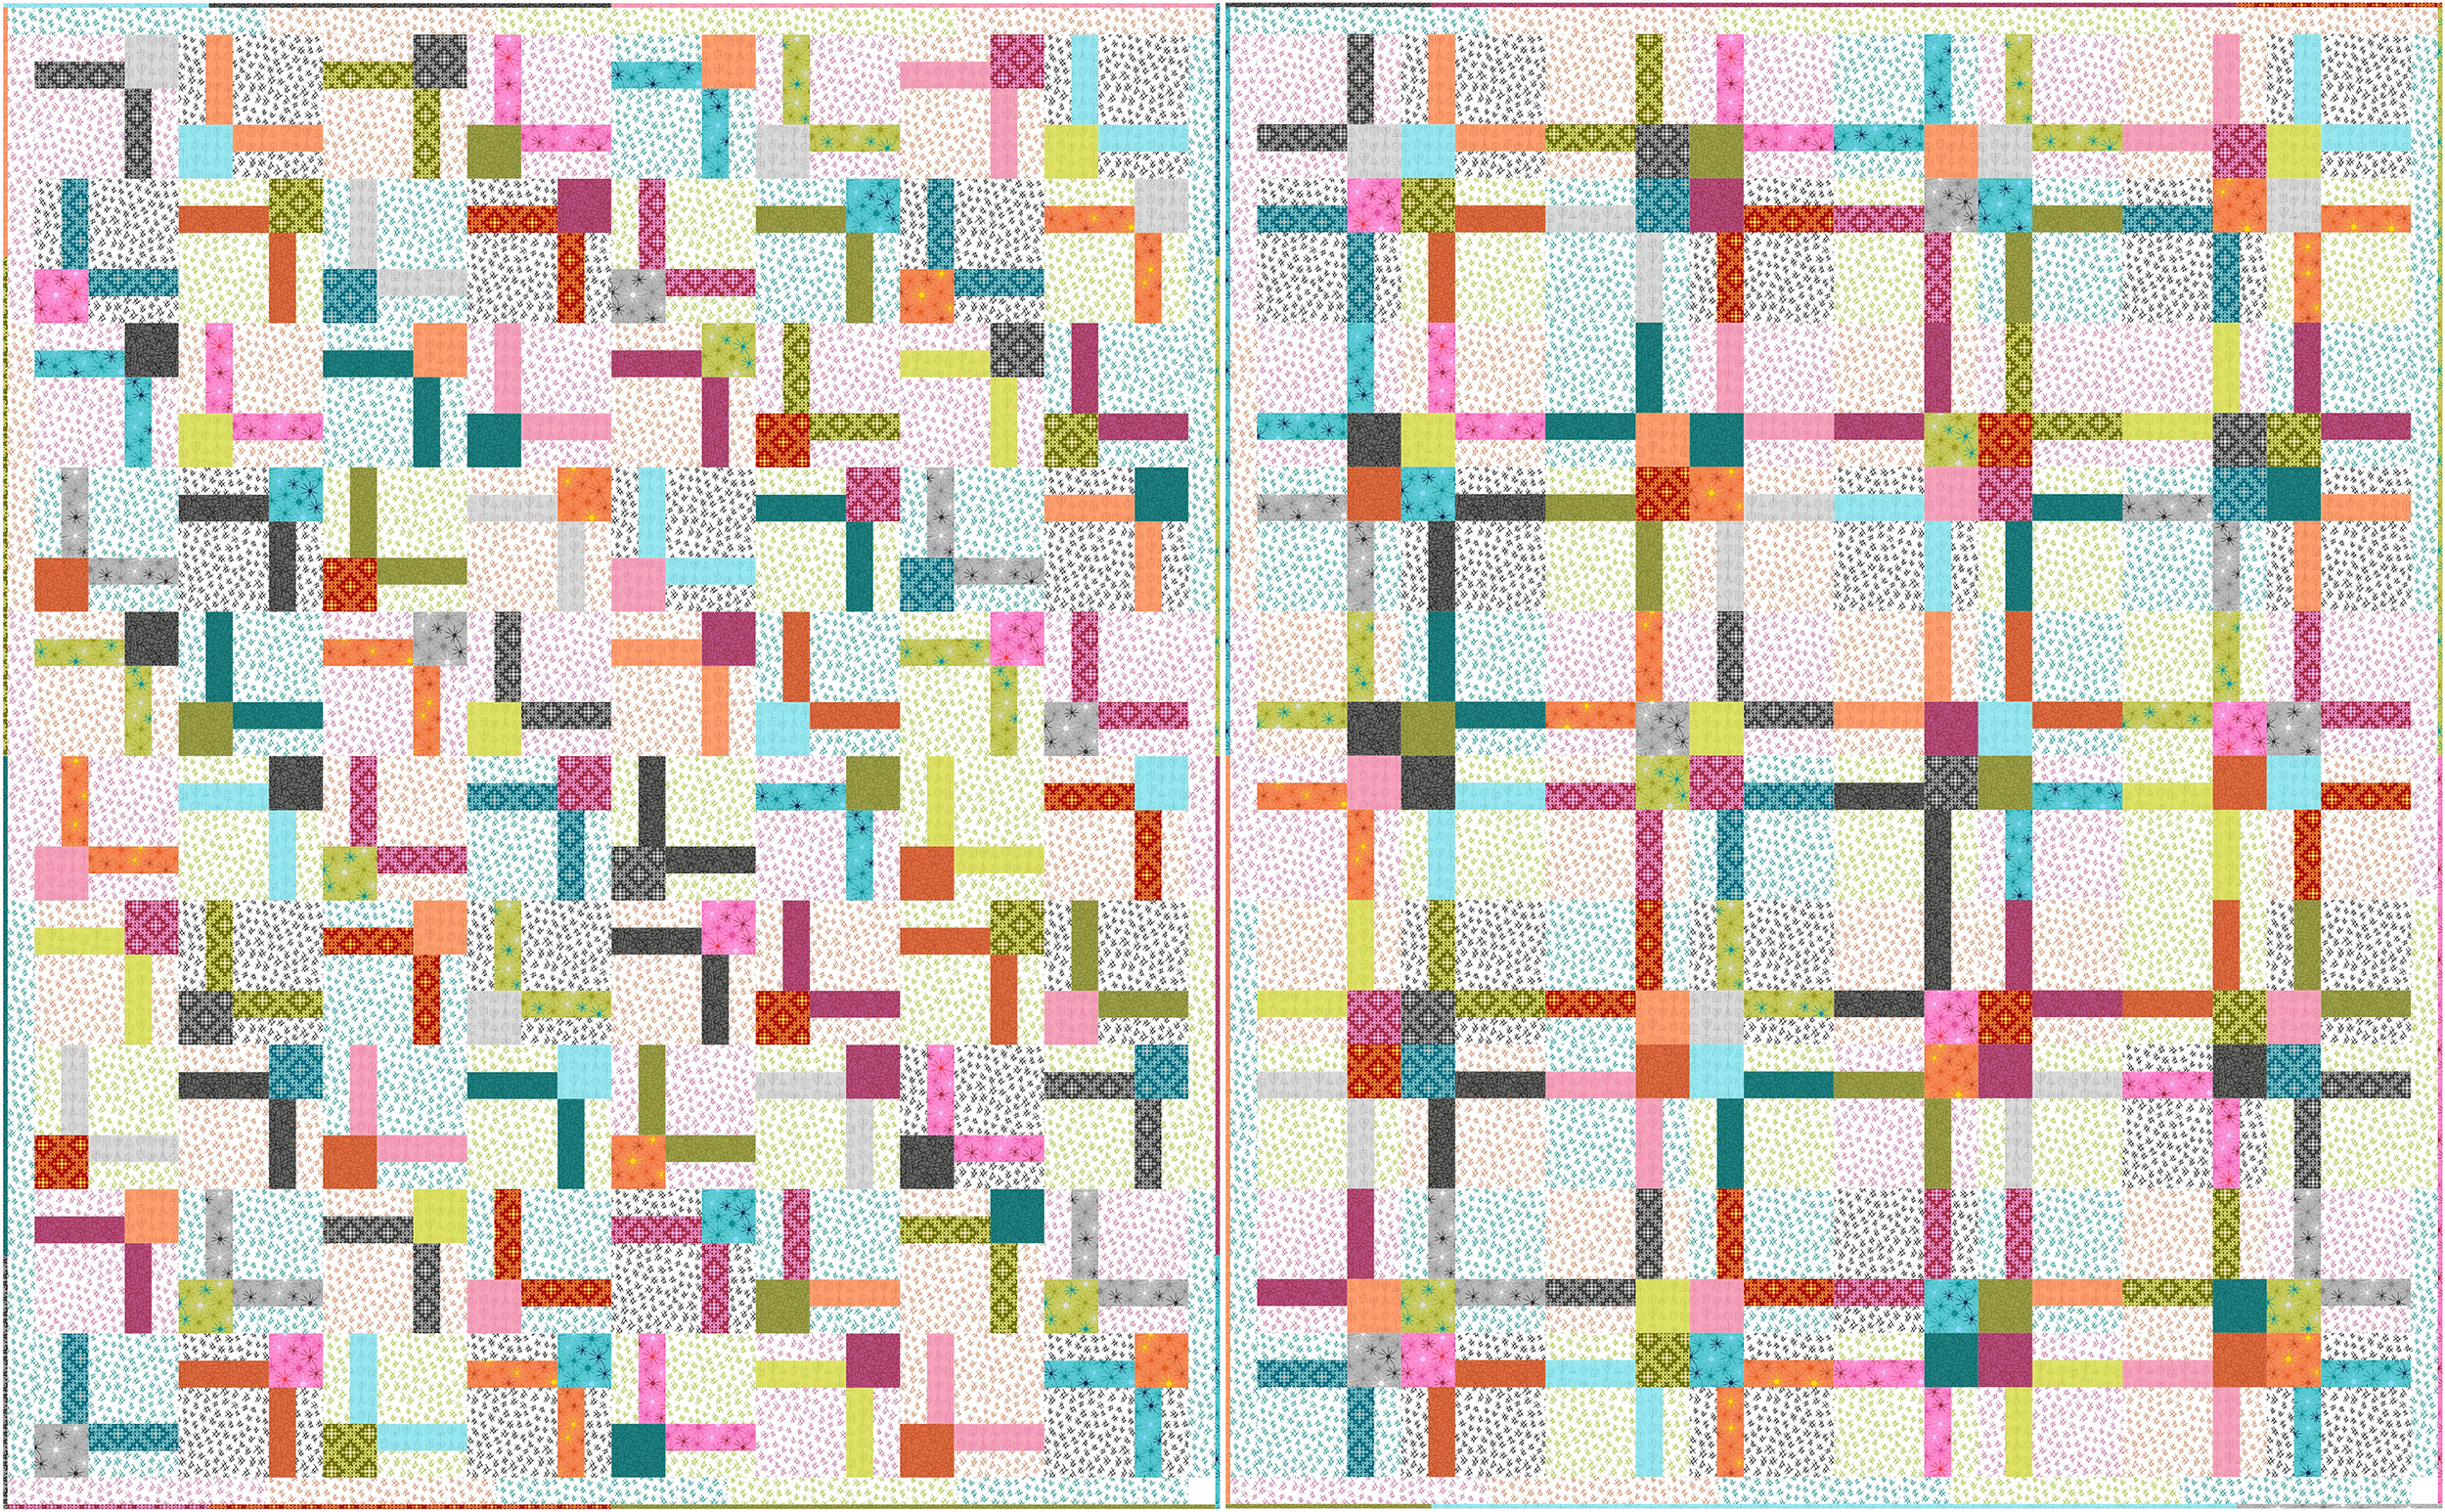
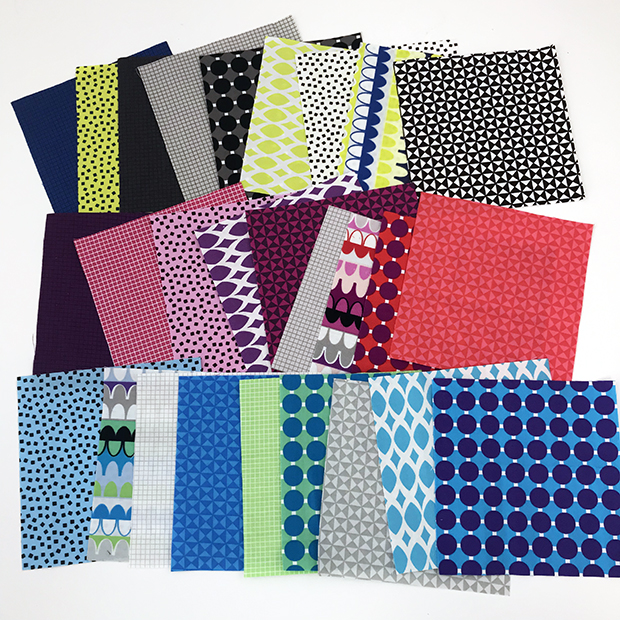
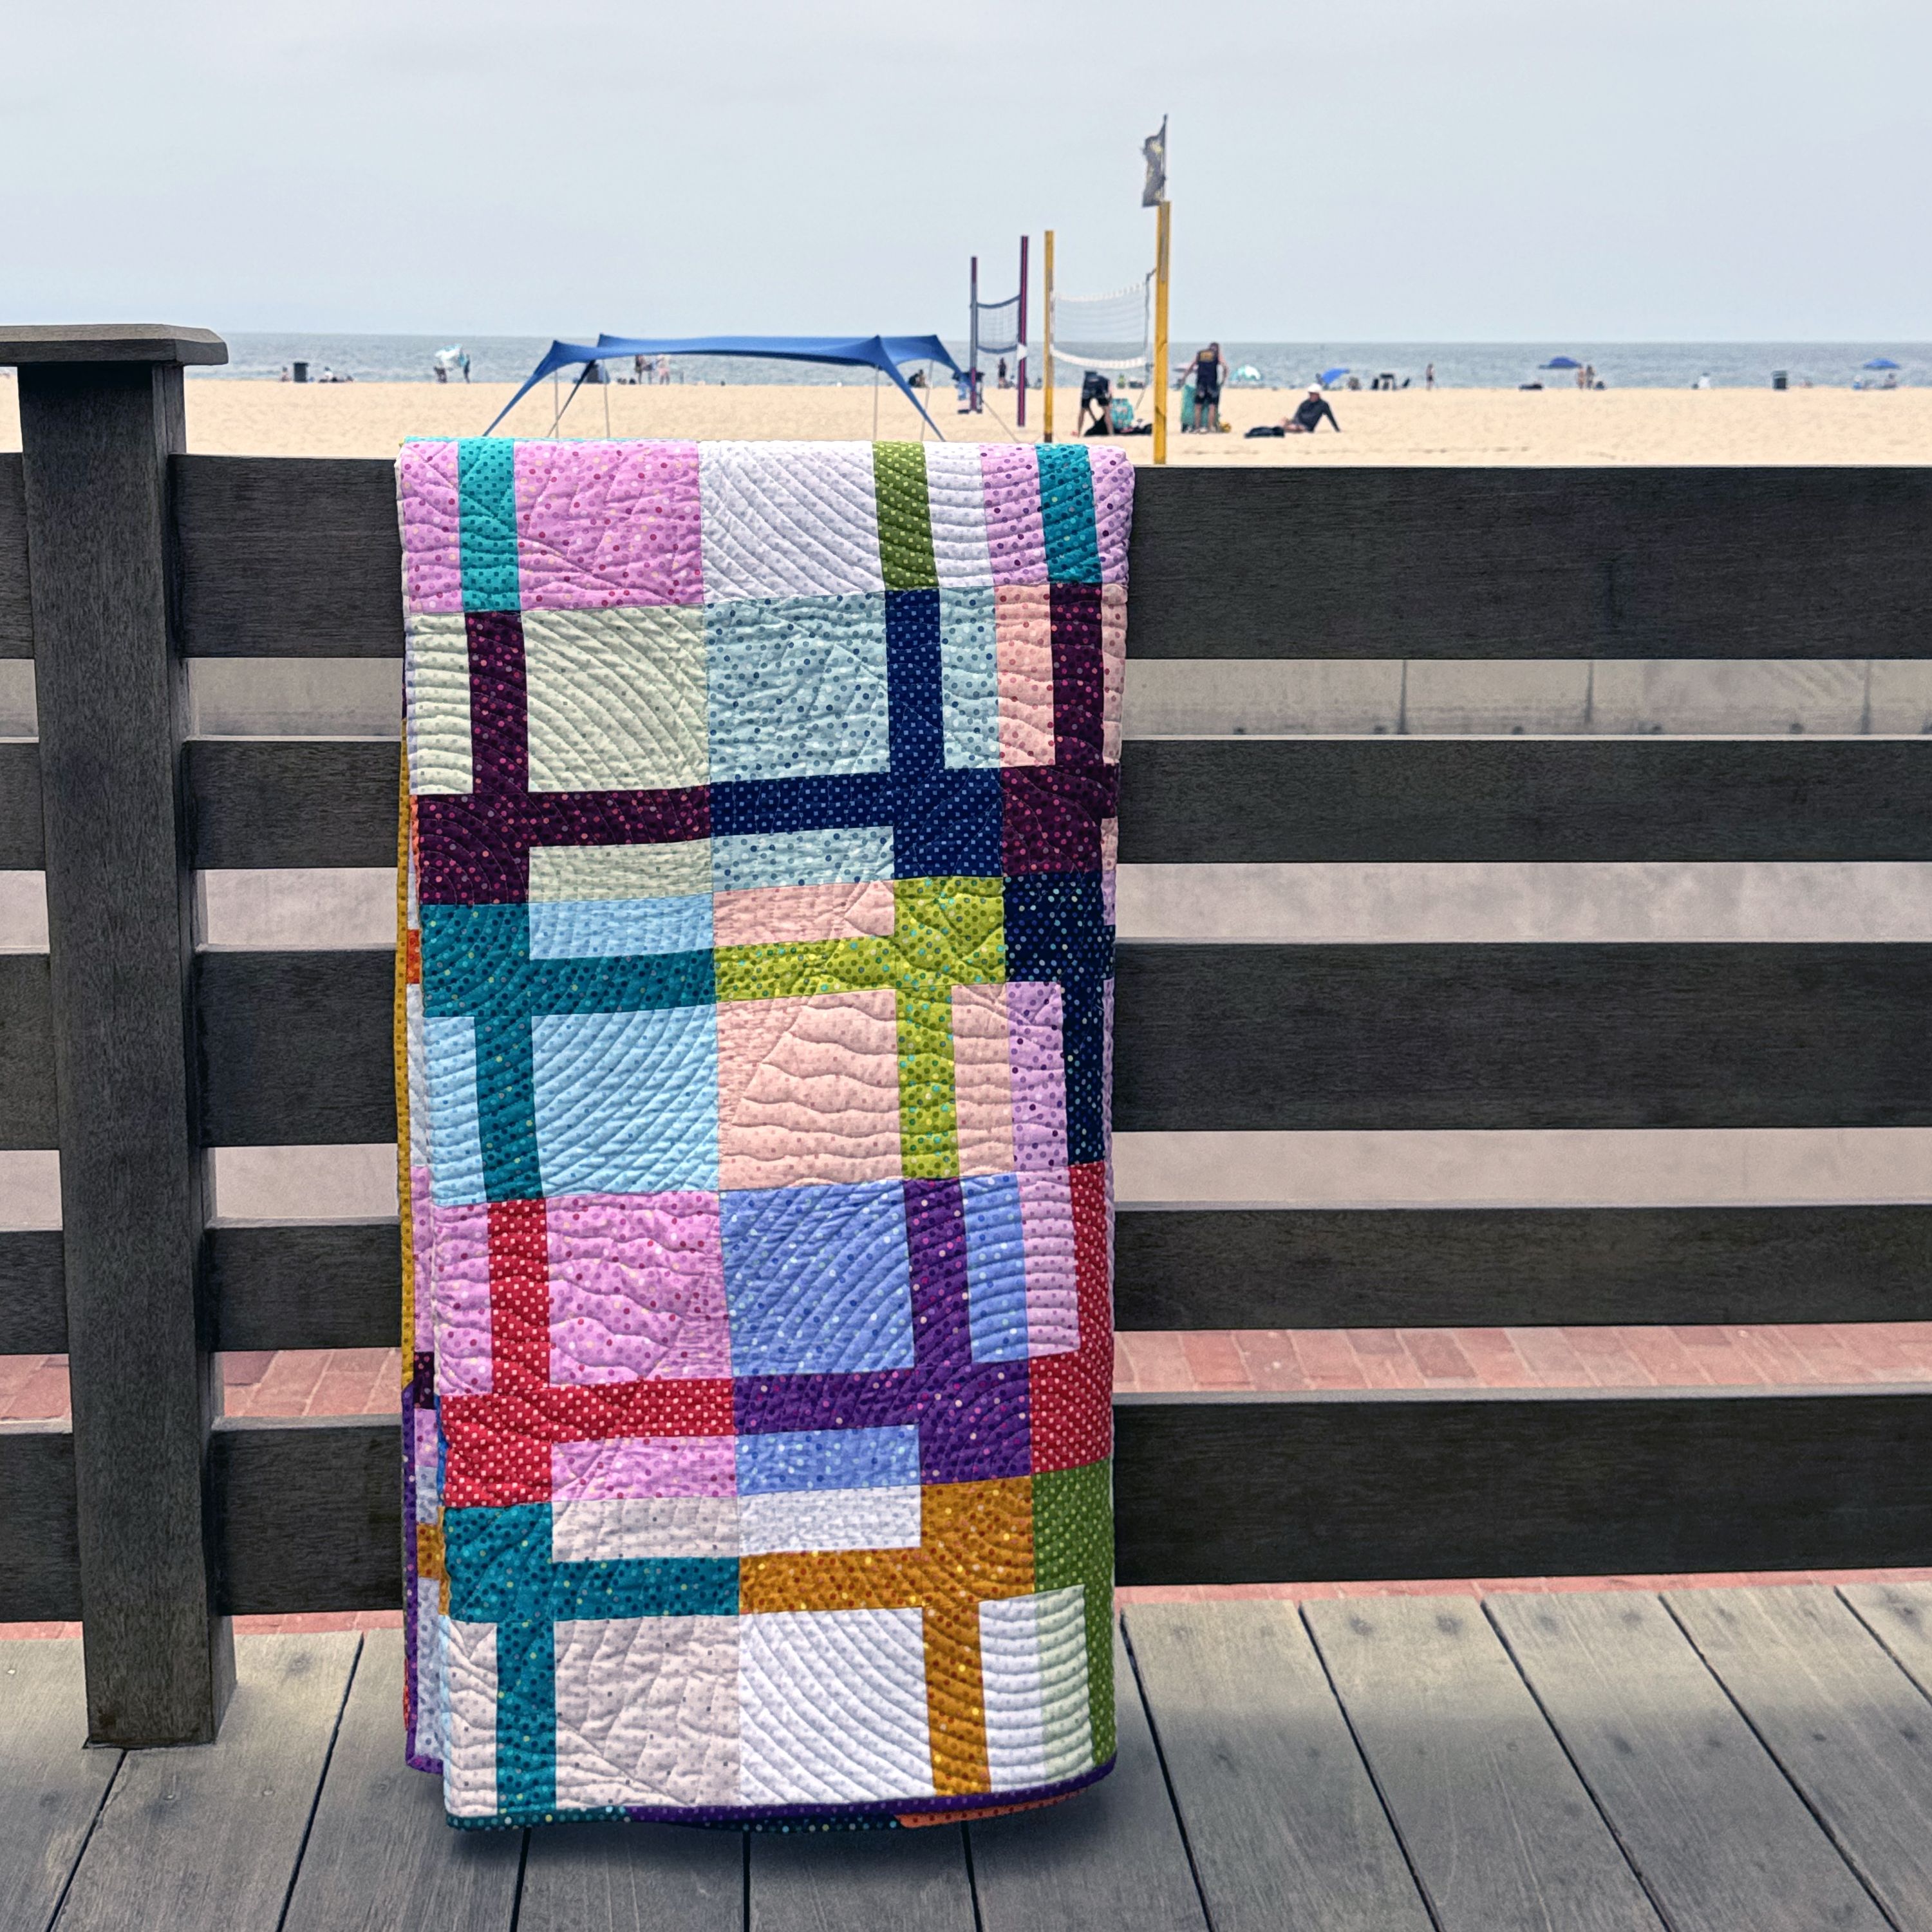
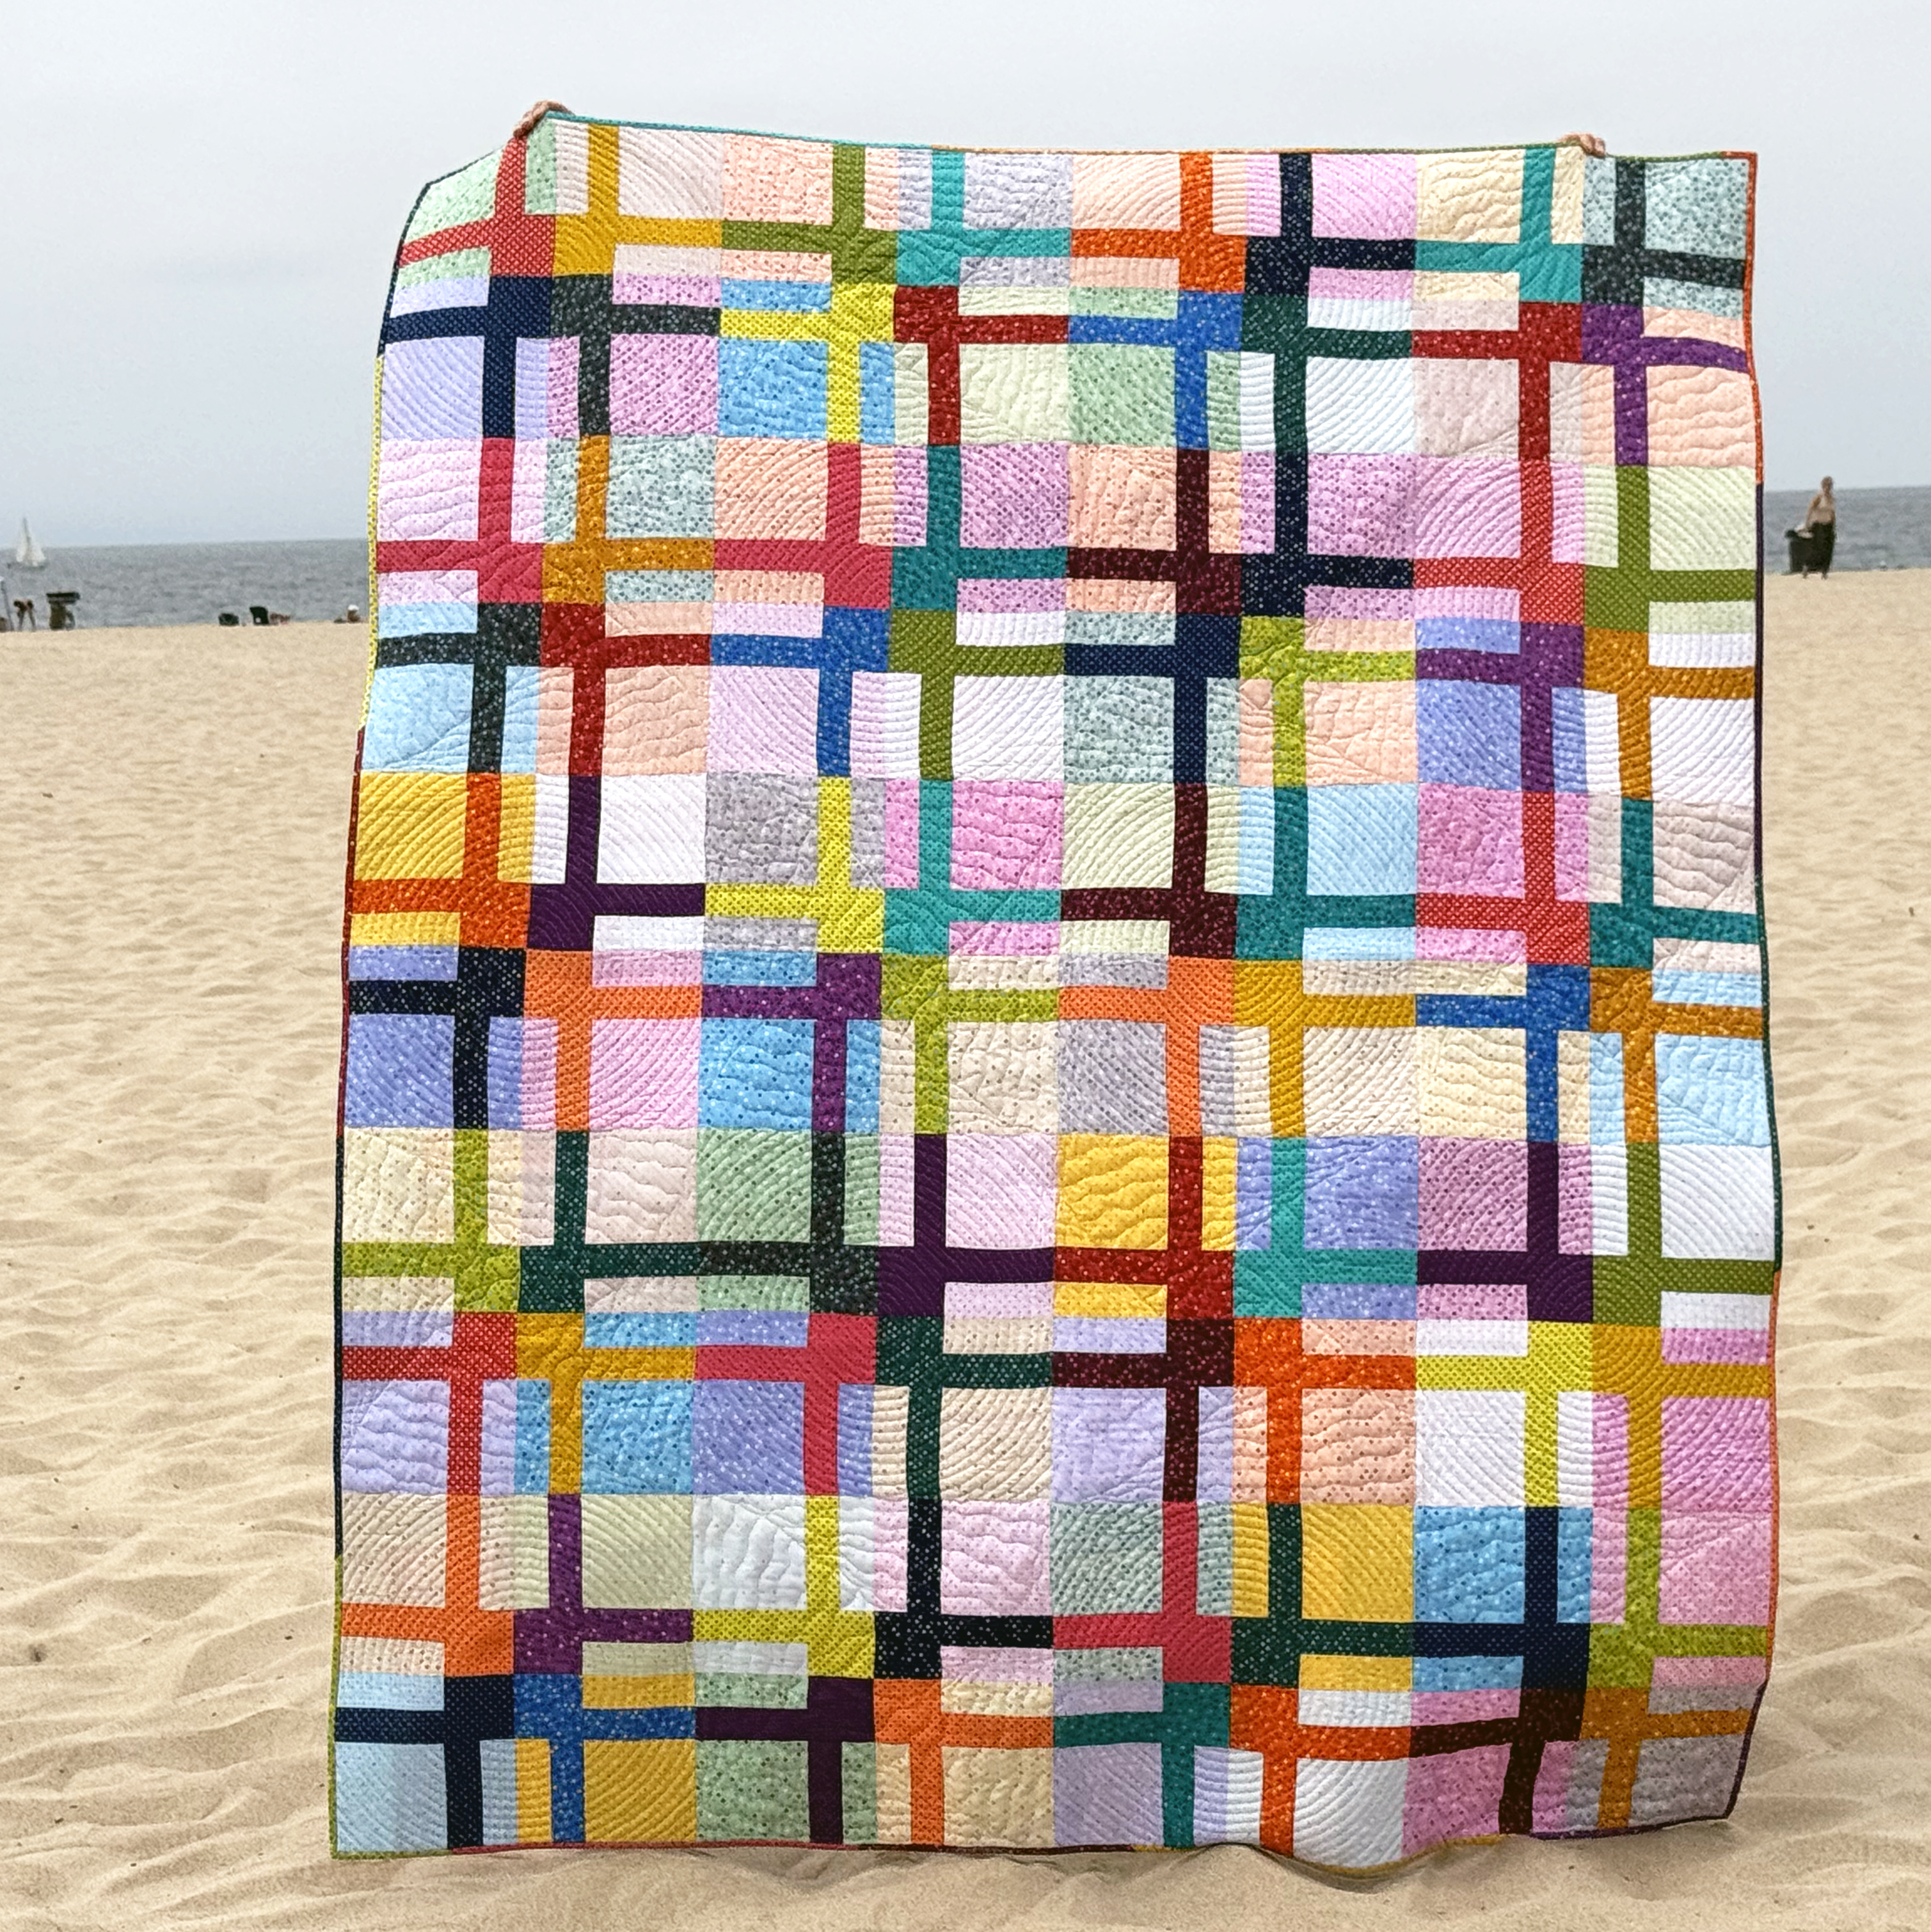
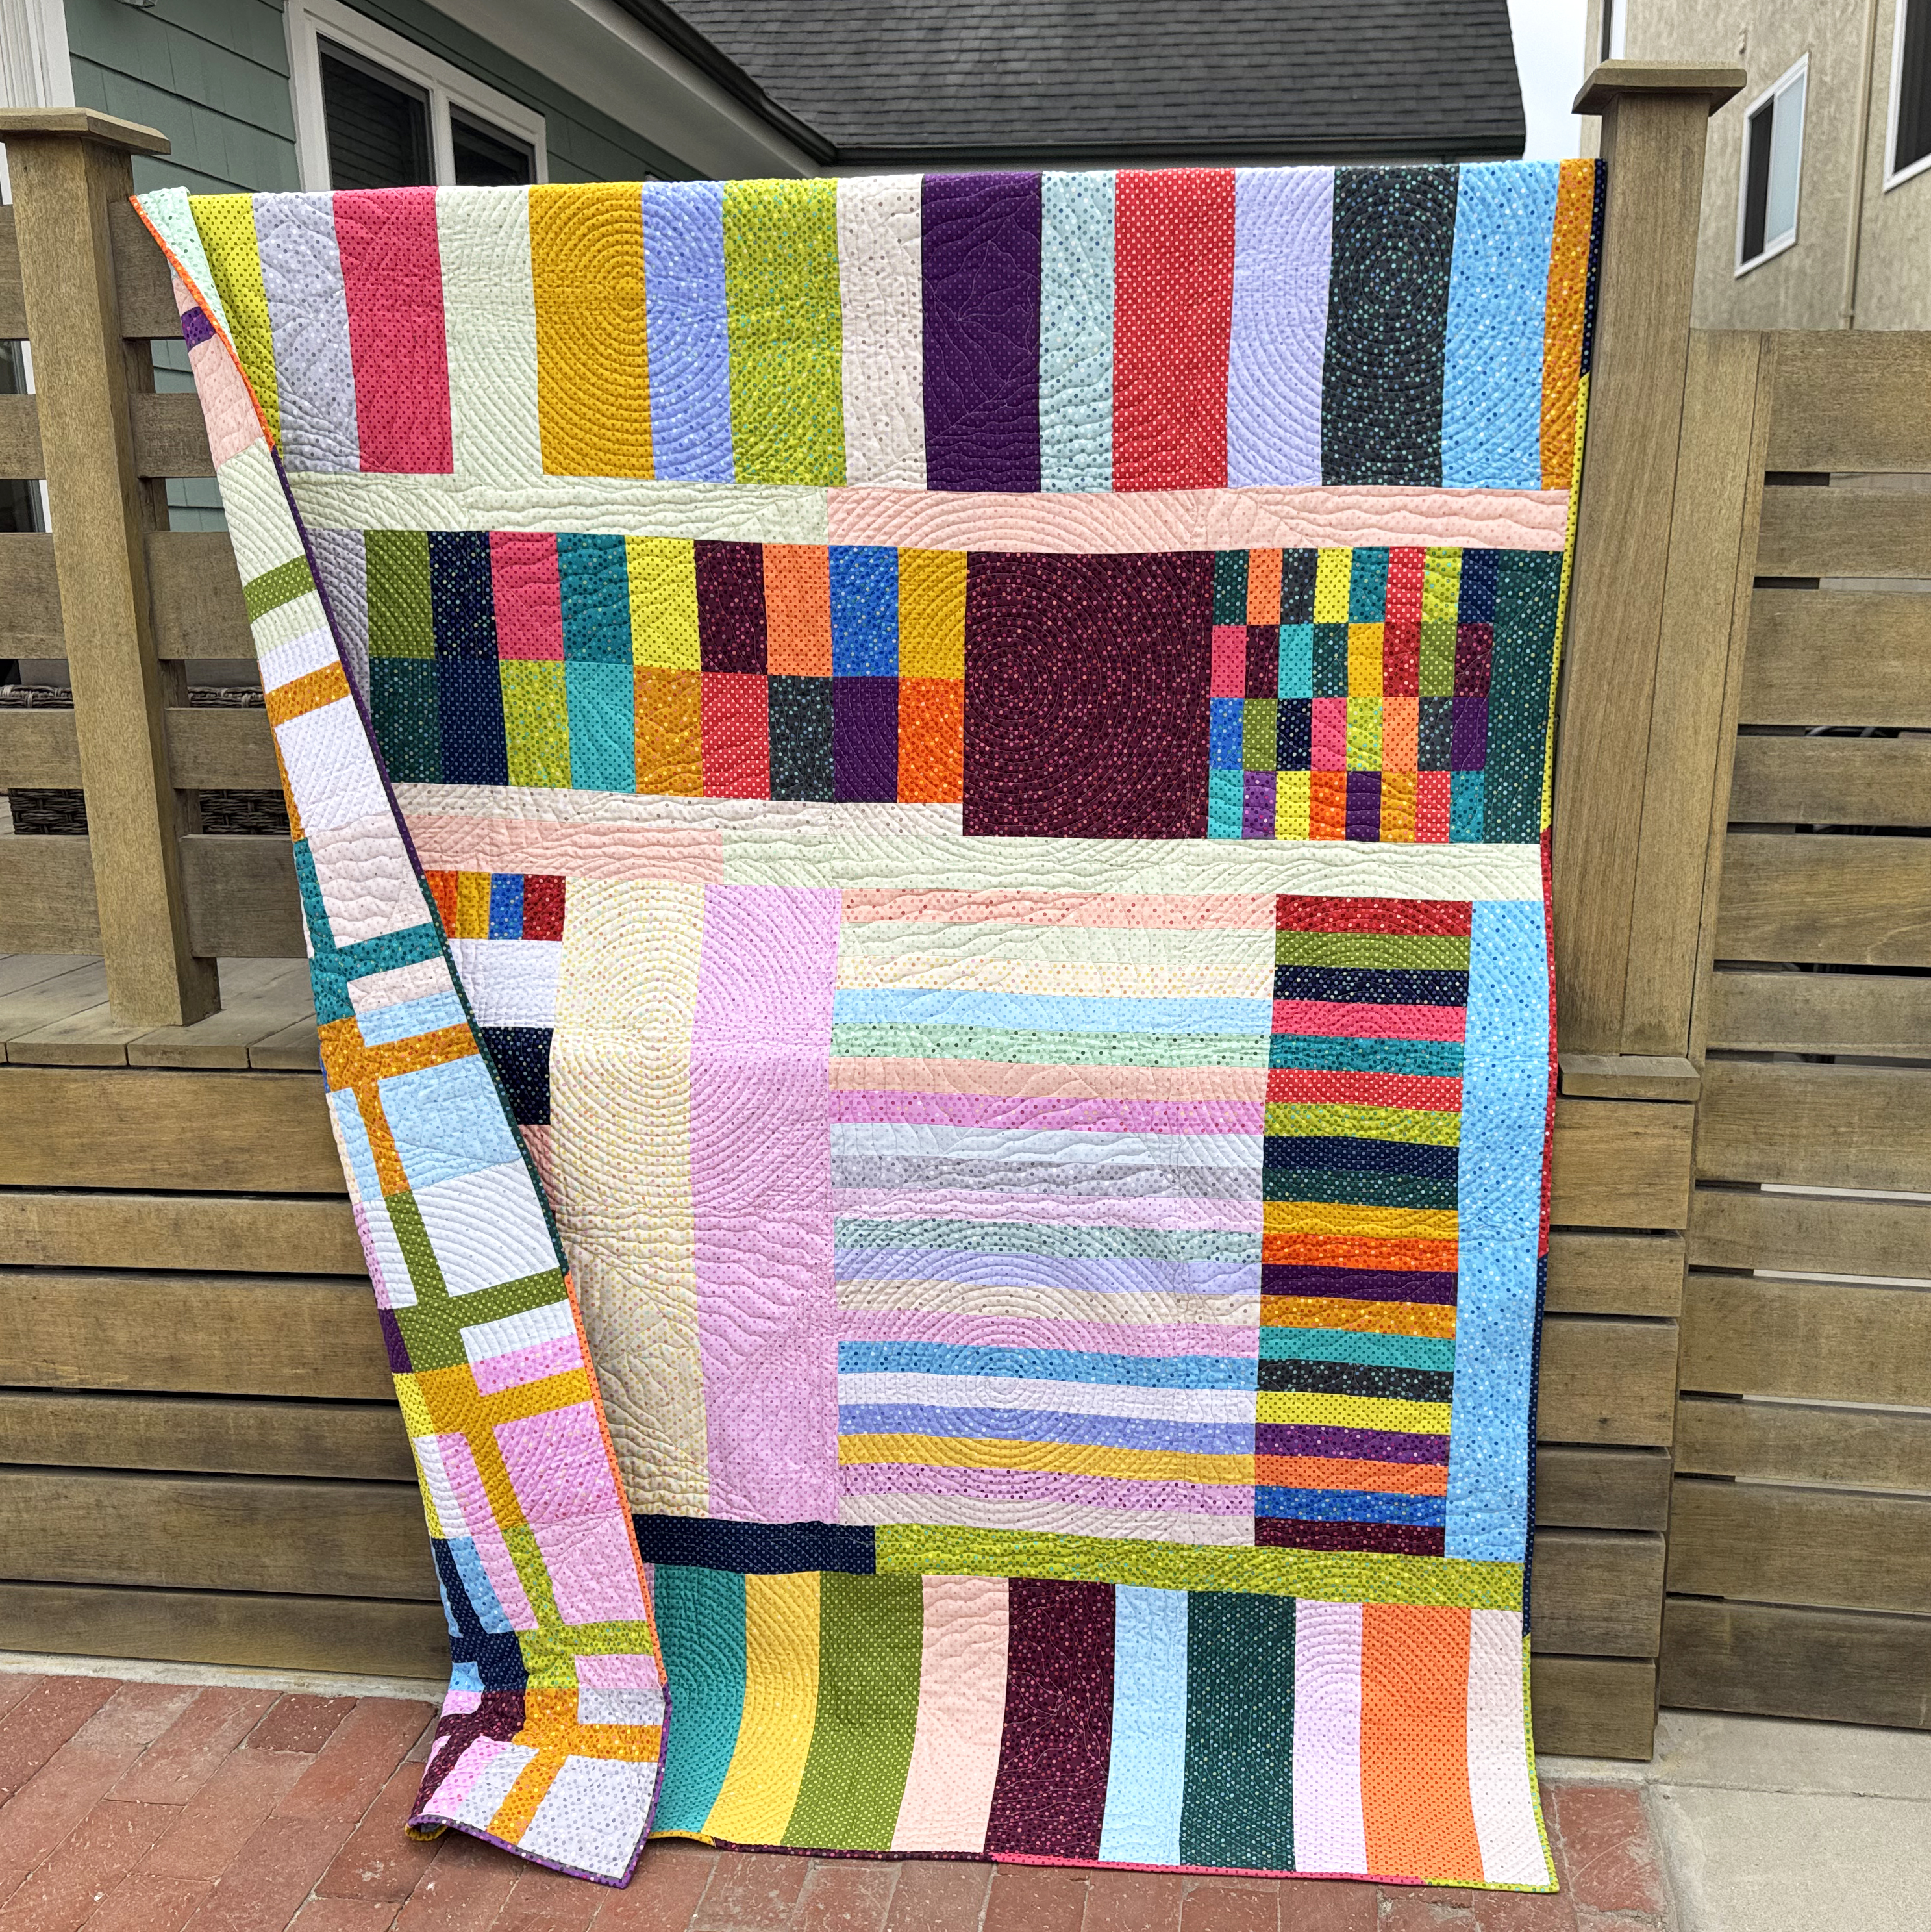
Want to try one or both of these designs on a real quilt? Check out Surplus Strips, a beginner-friendly design made from just one Jelly Roll and background fabric. You can get the kit (while supplies last) or pattern below. You can also take a look at all my Jelly Rolls to assemble your own custom kit.
- Click Here to view all Quilt Kits
- Click Here to grab the Surplus Strips Quilt Pattern – PDF Download
- Click Here to see all Jelly Rolls
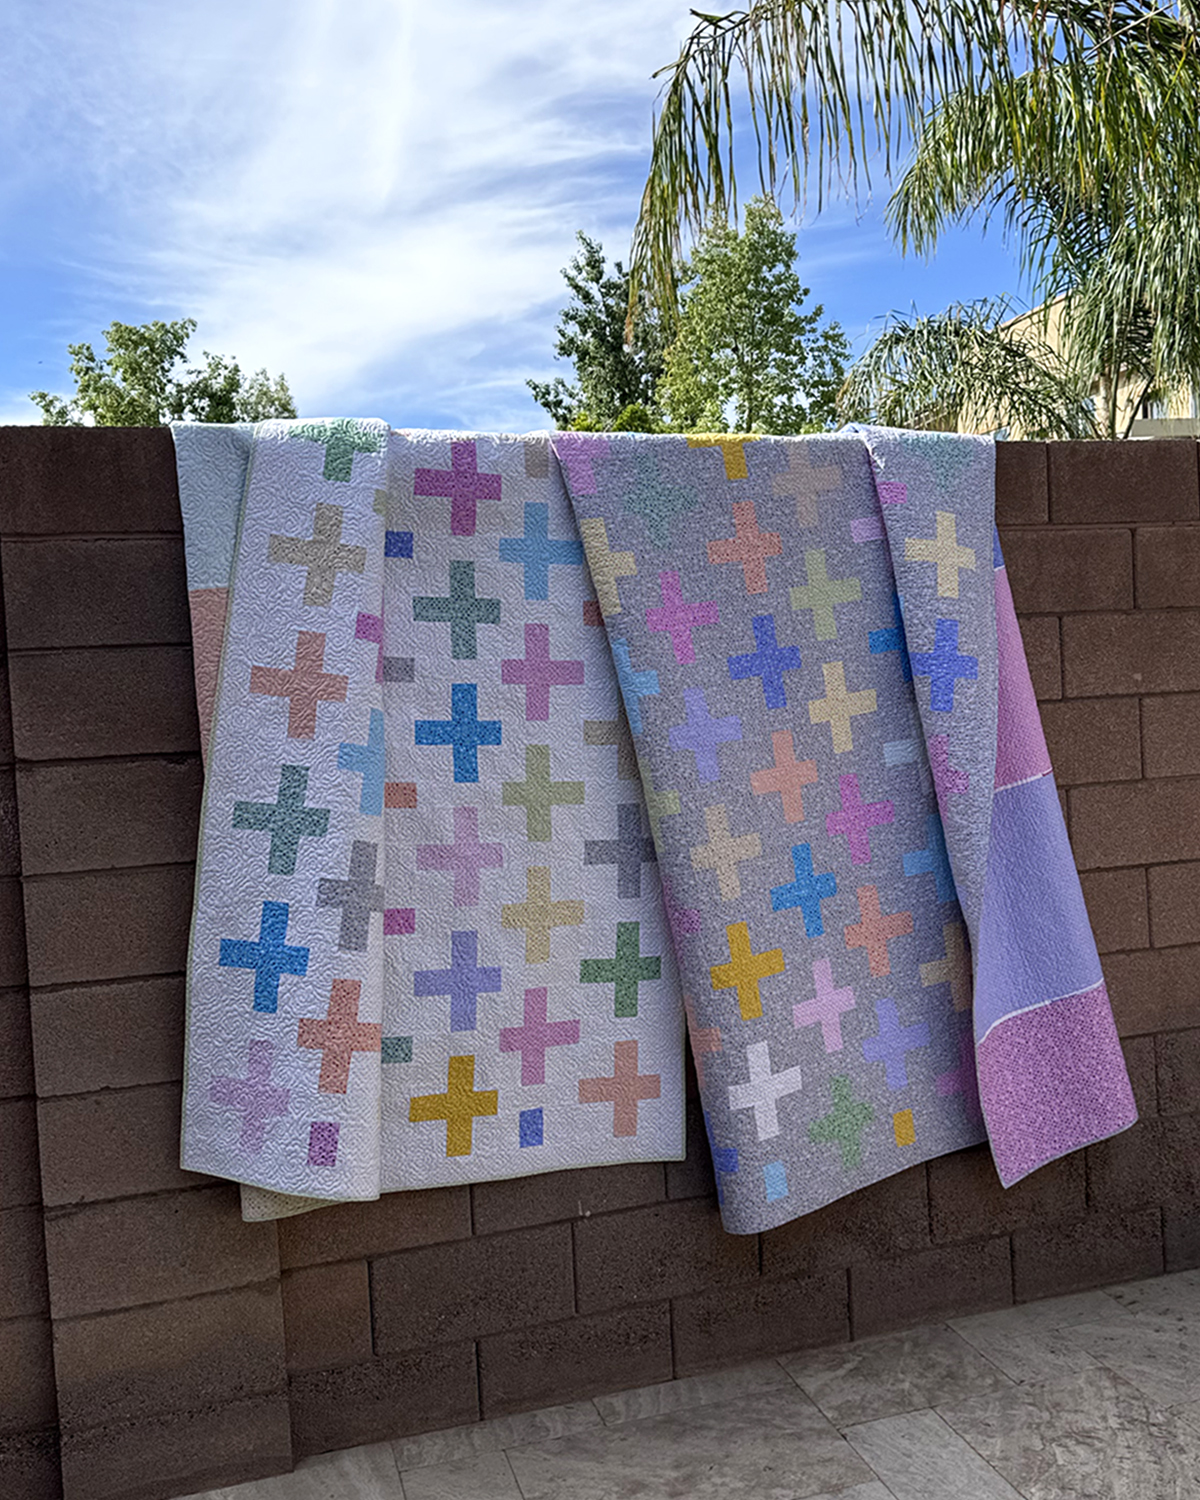
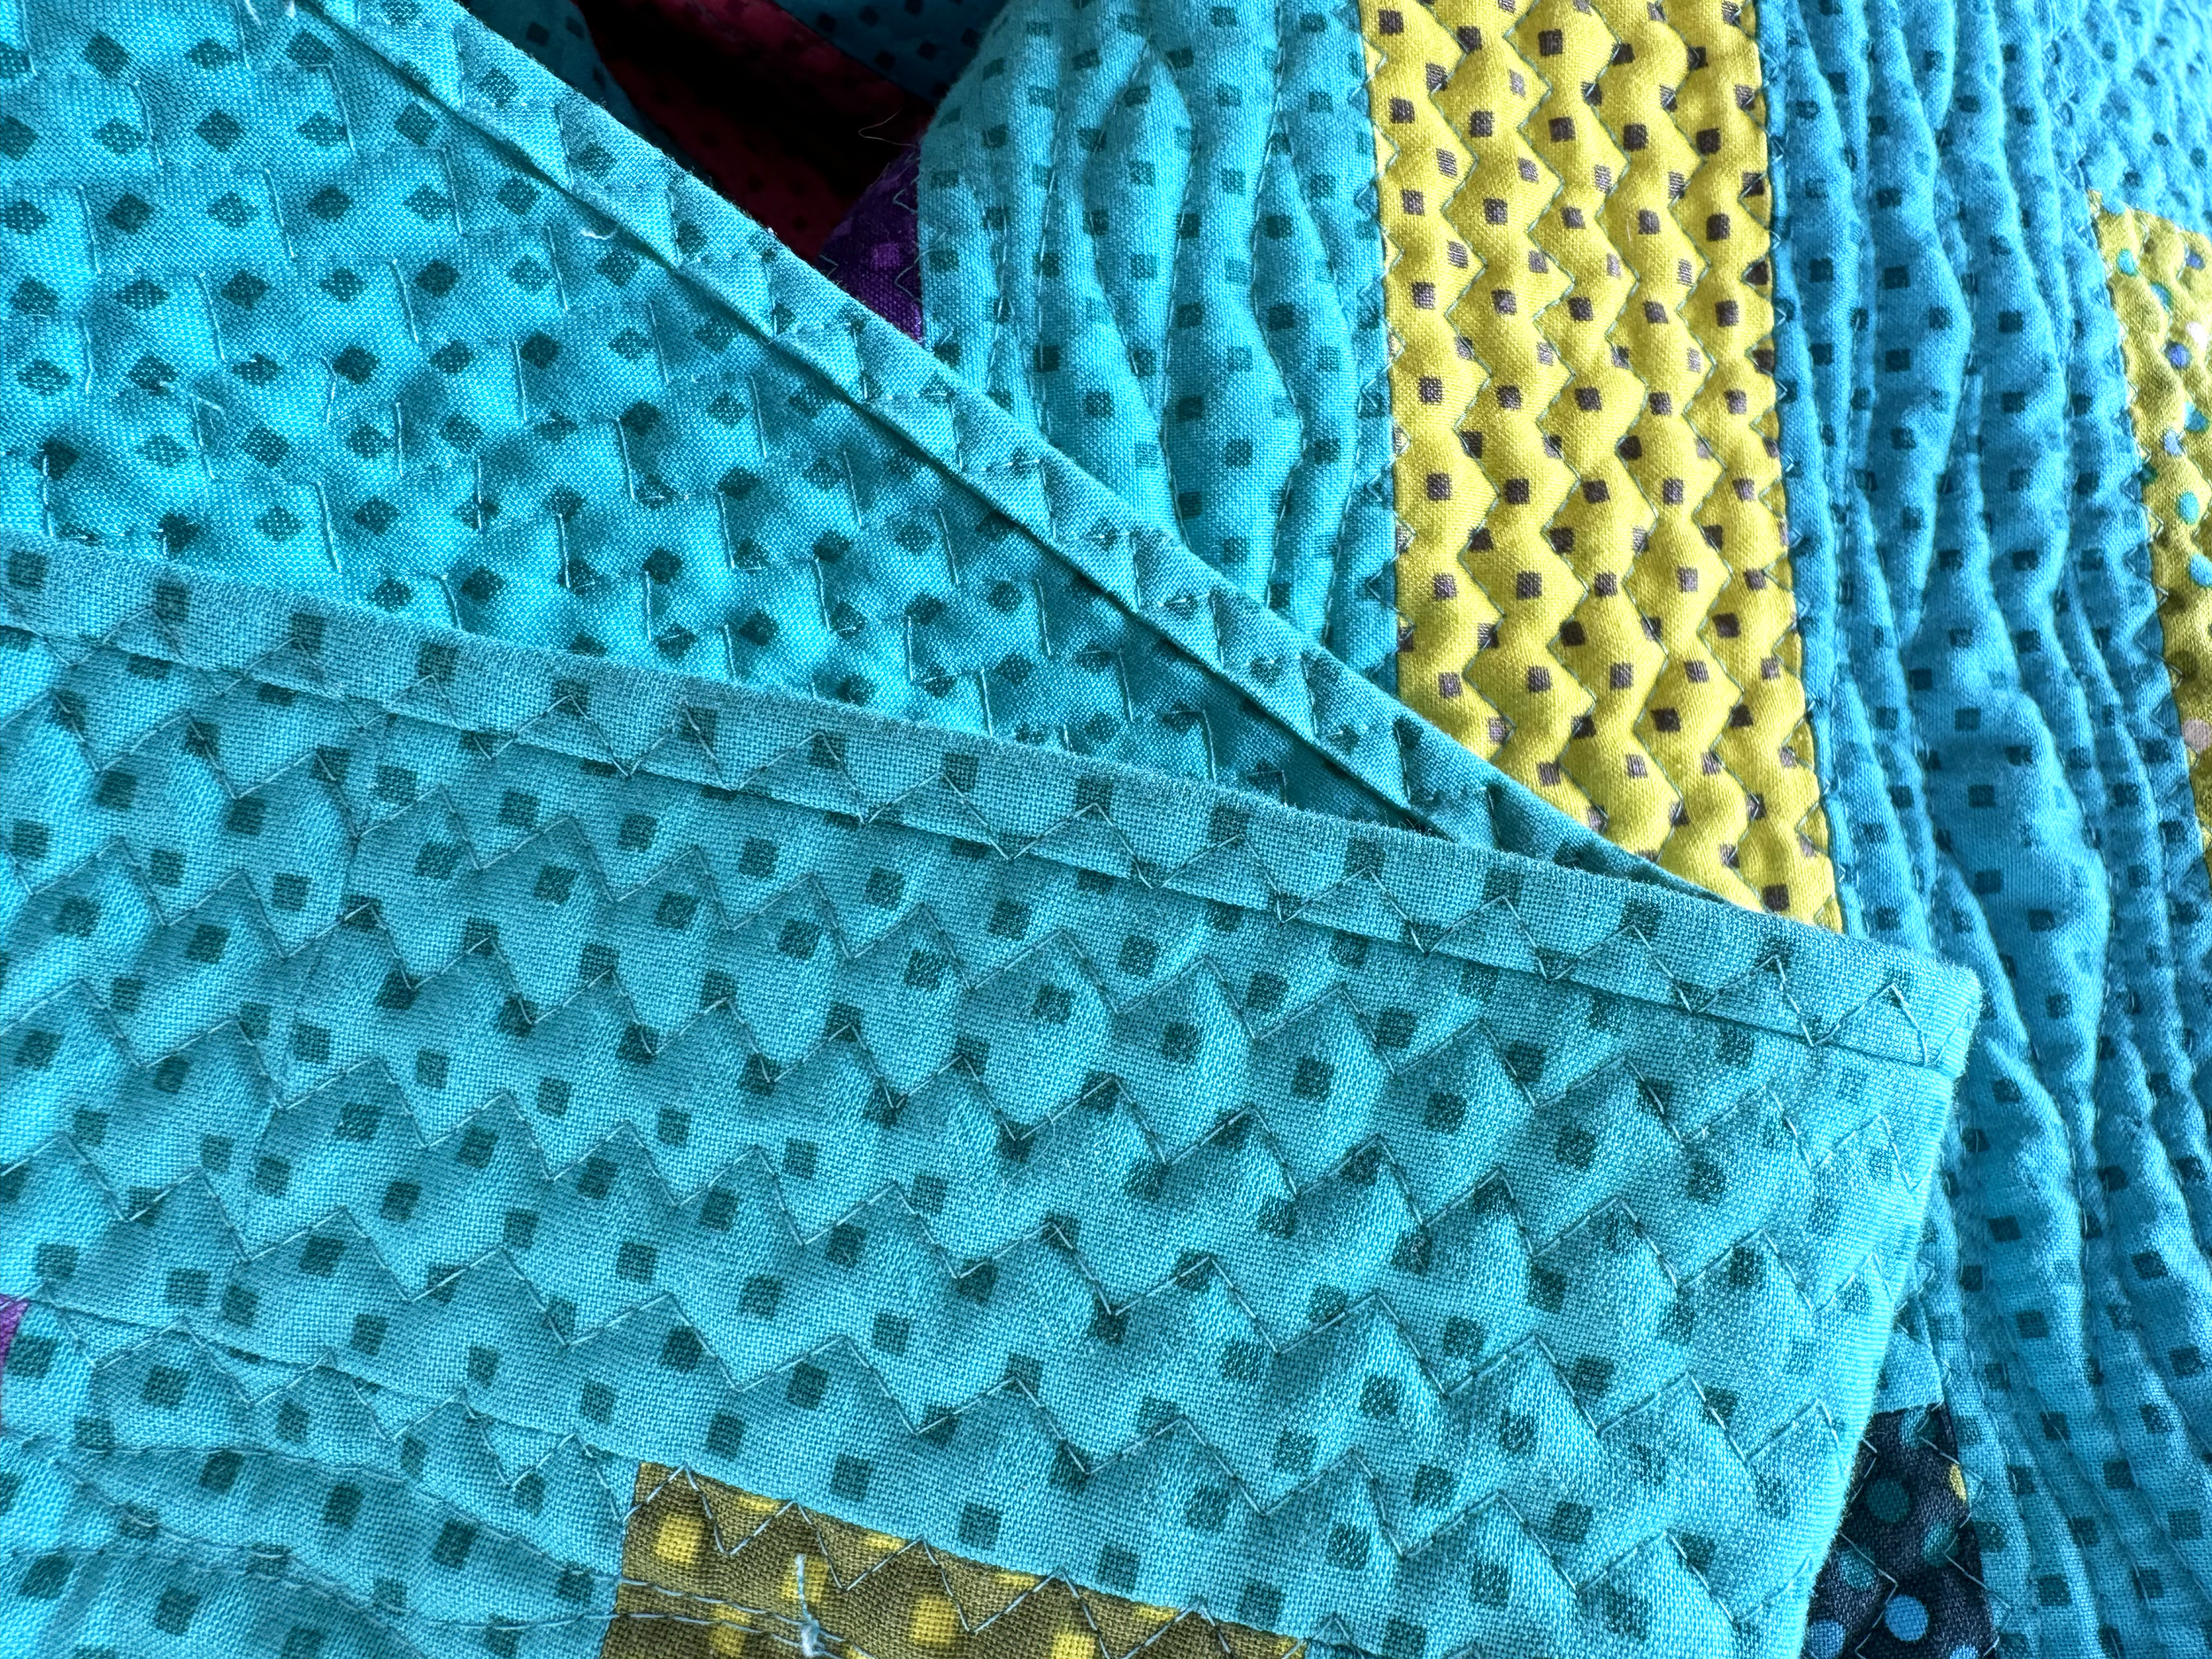
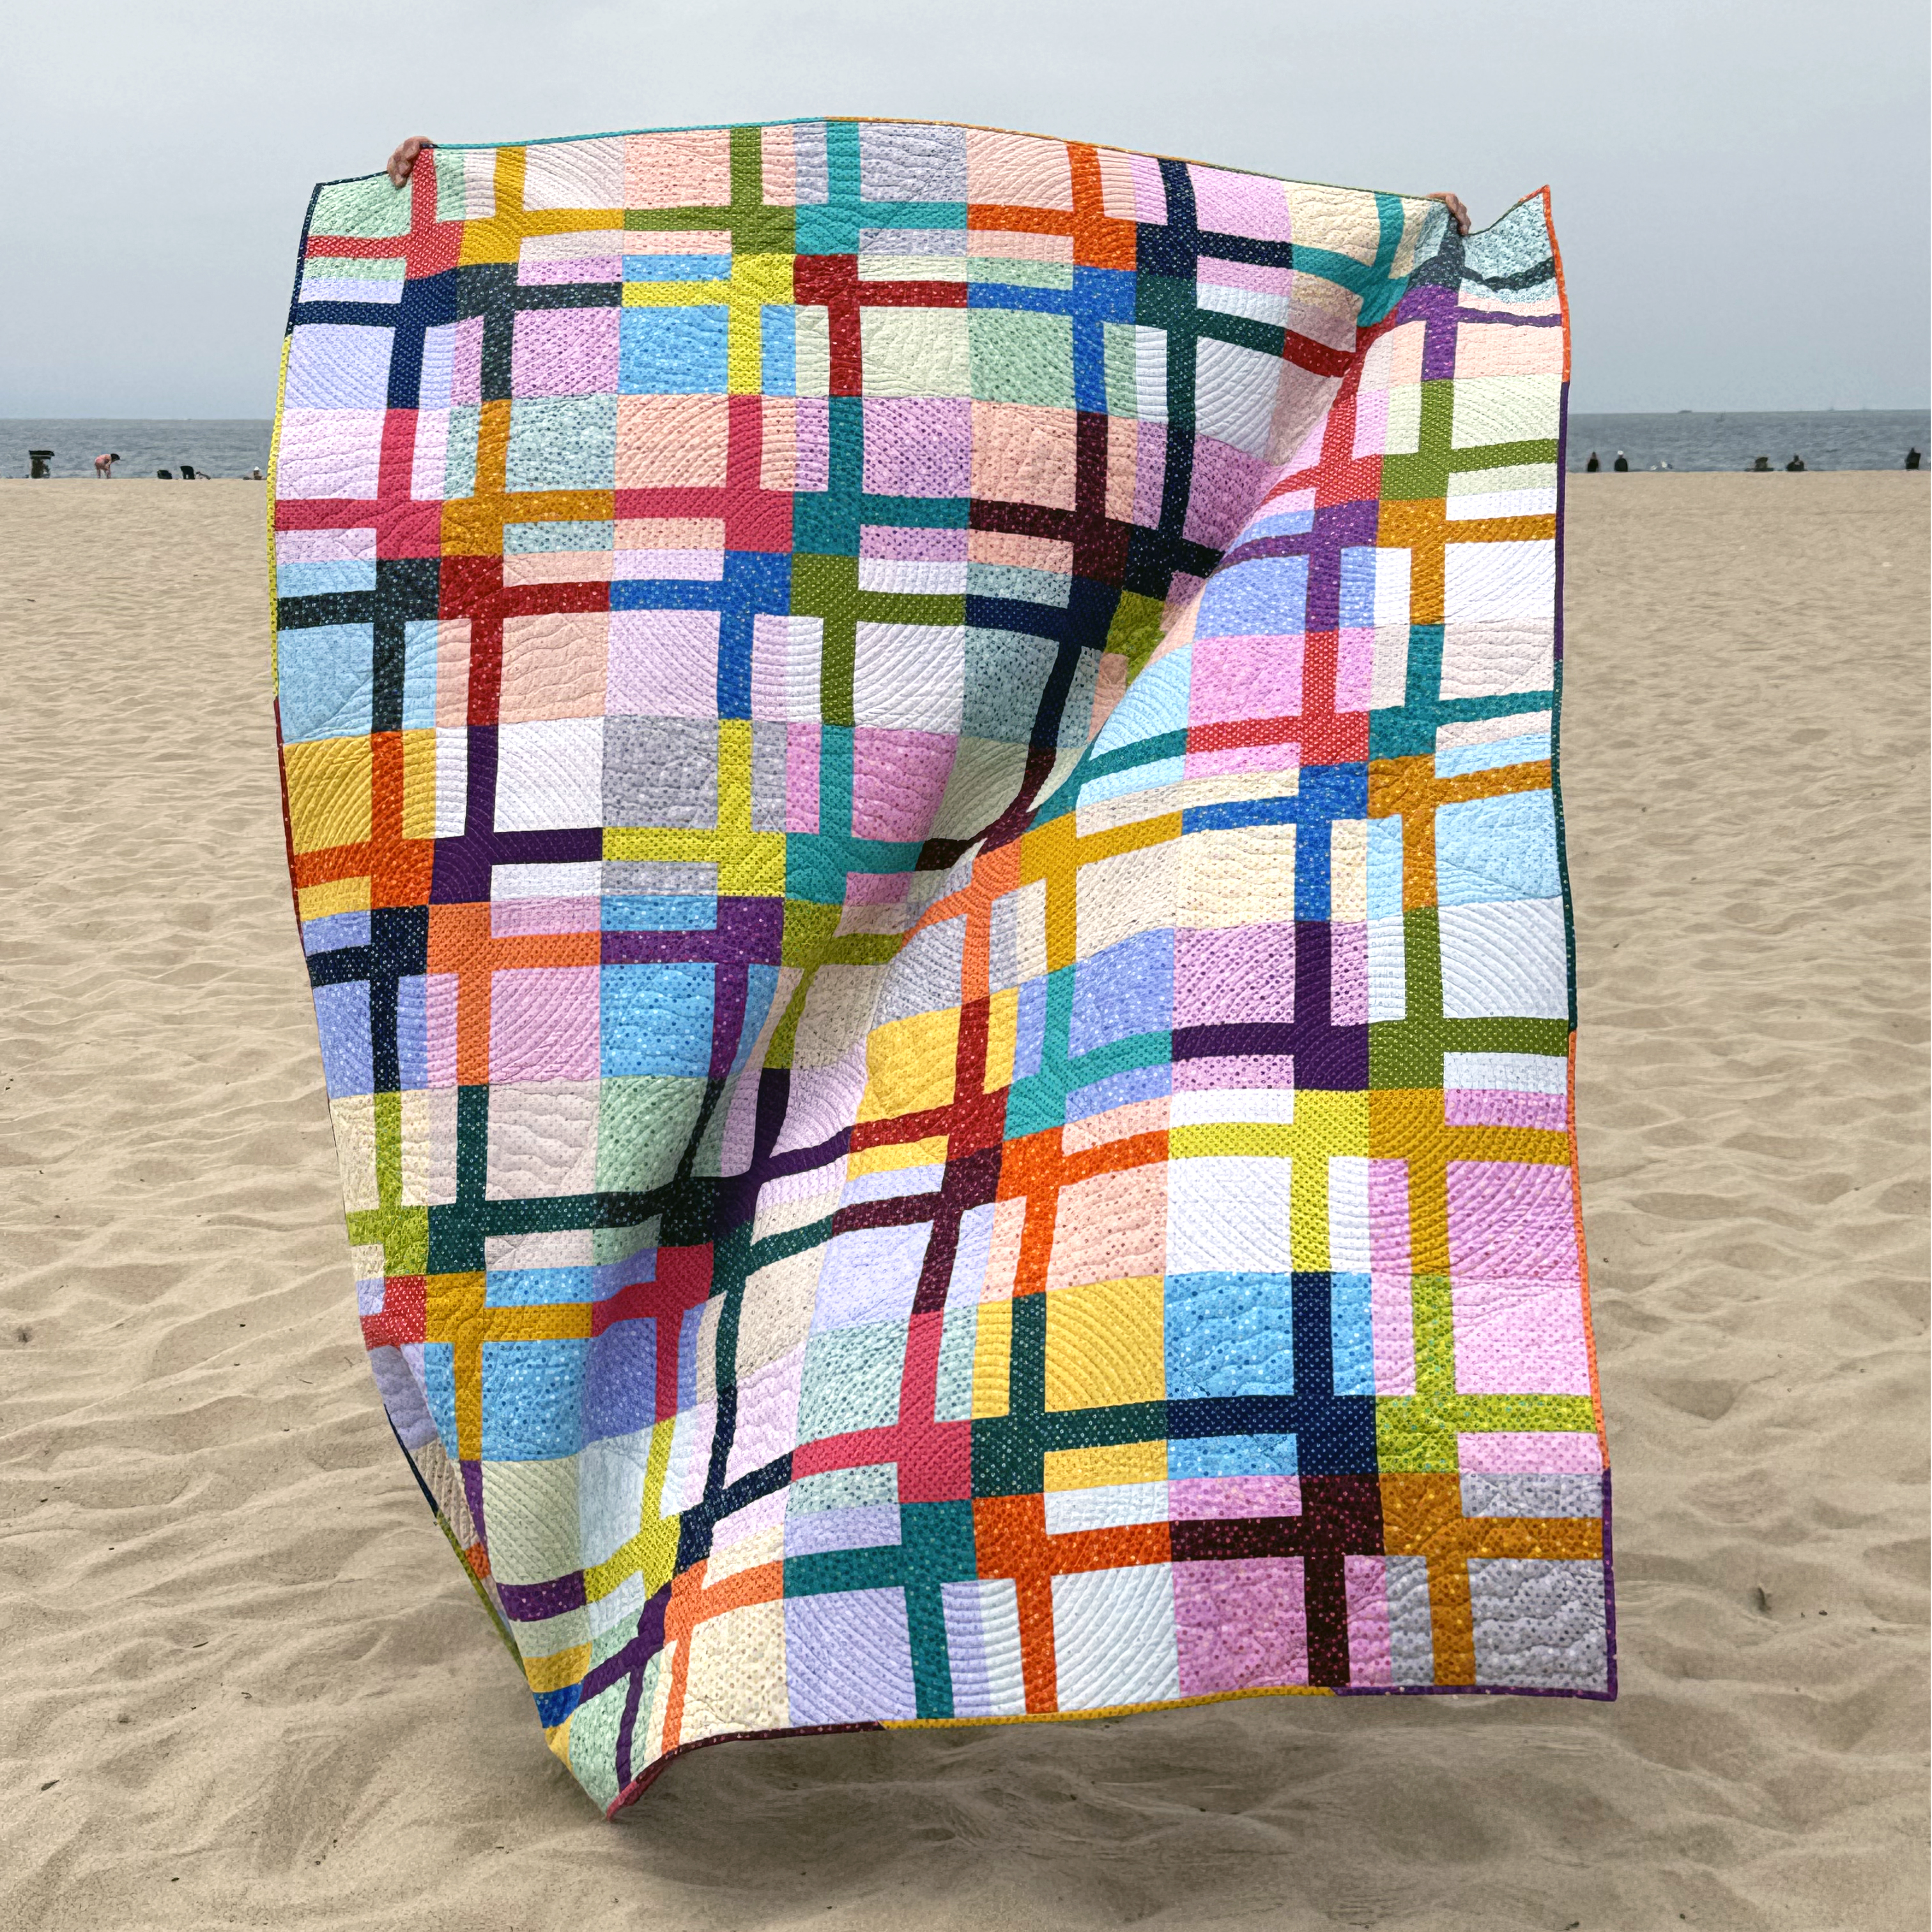
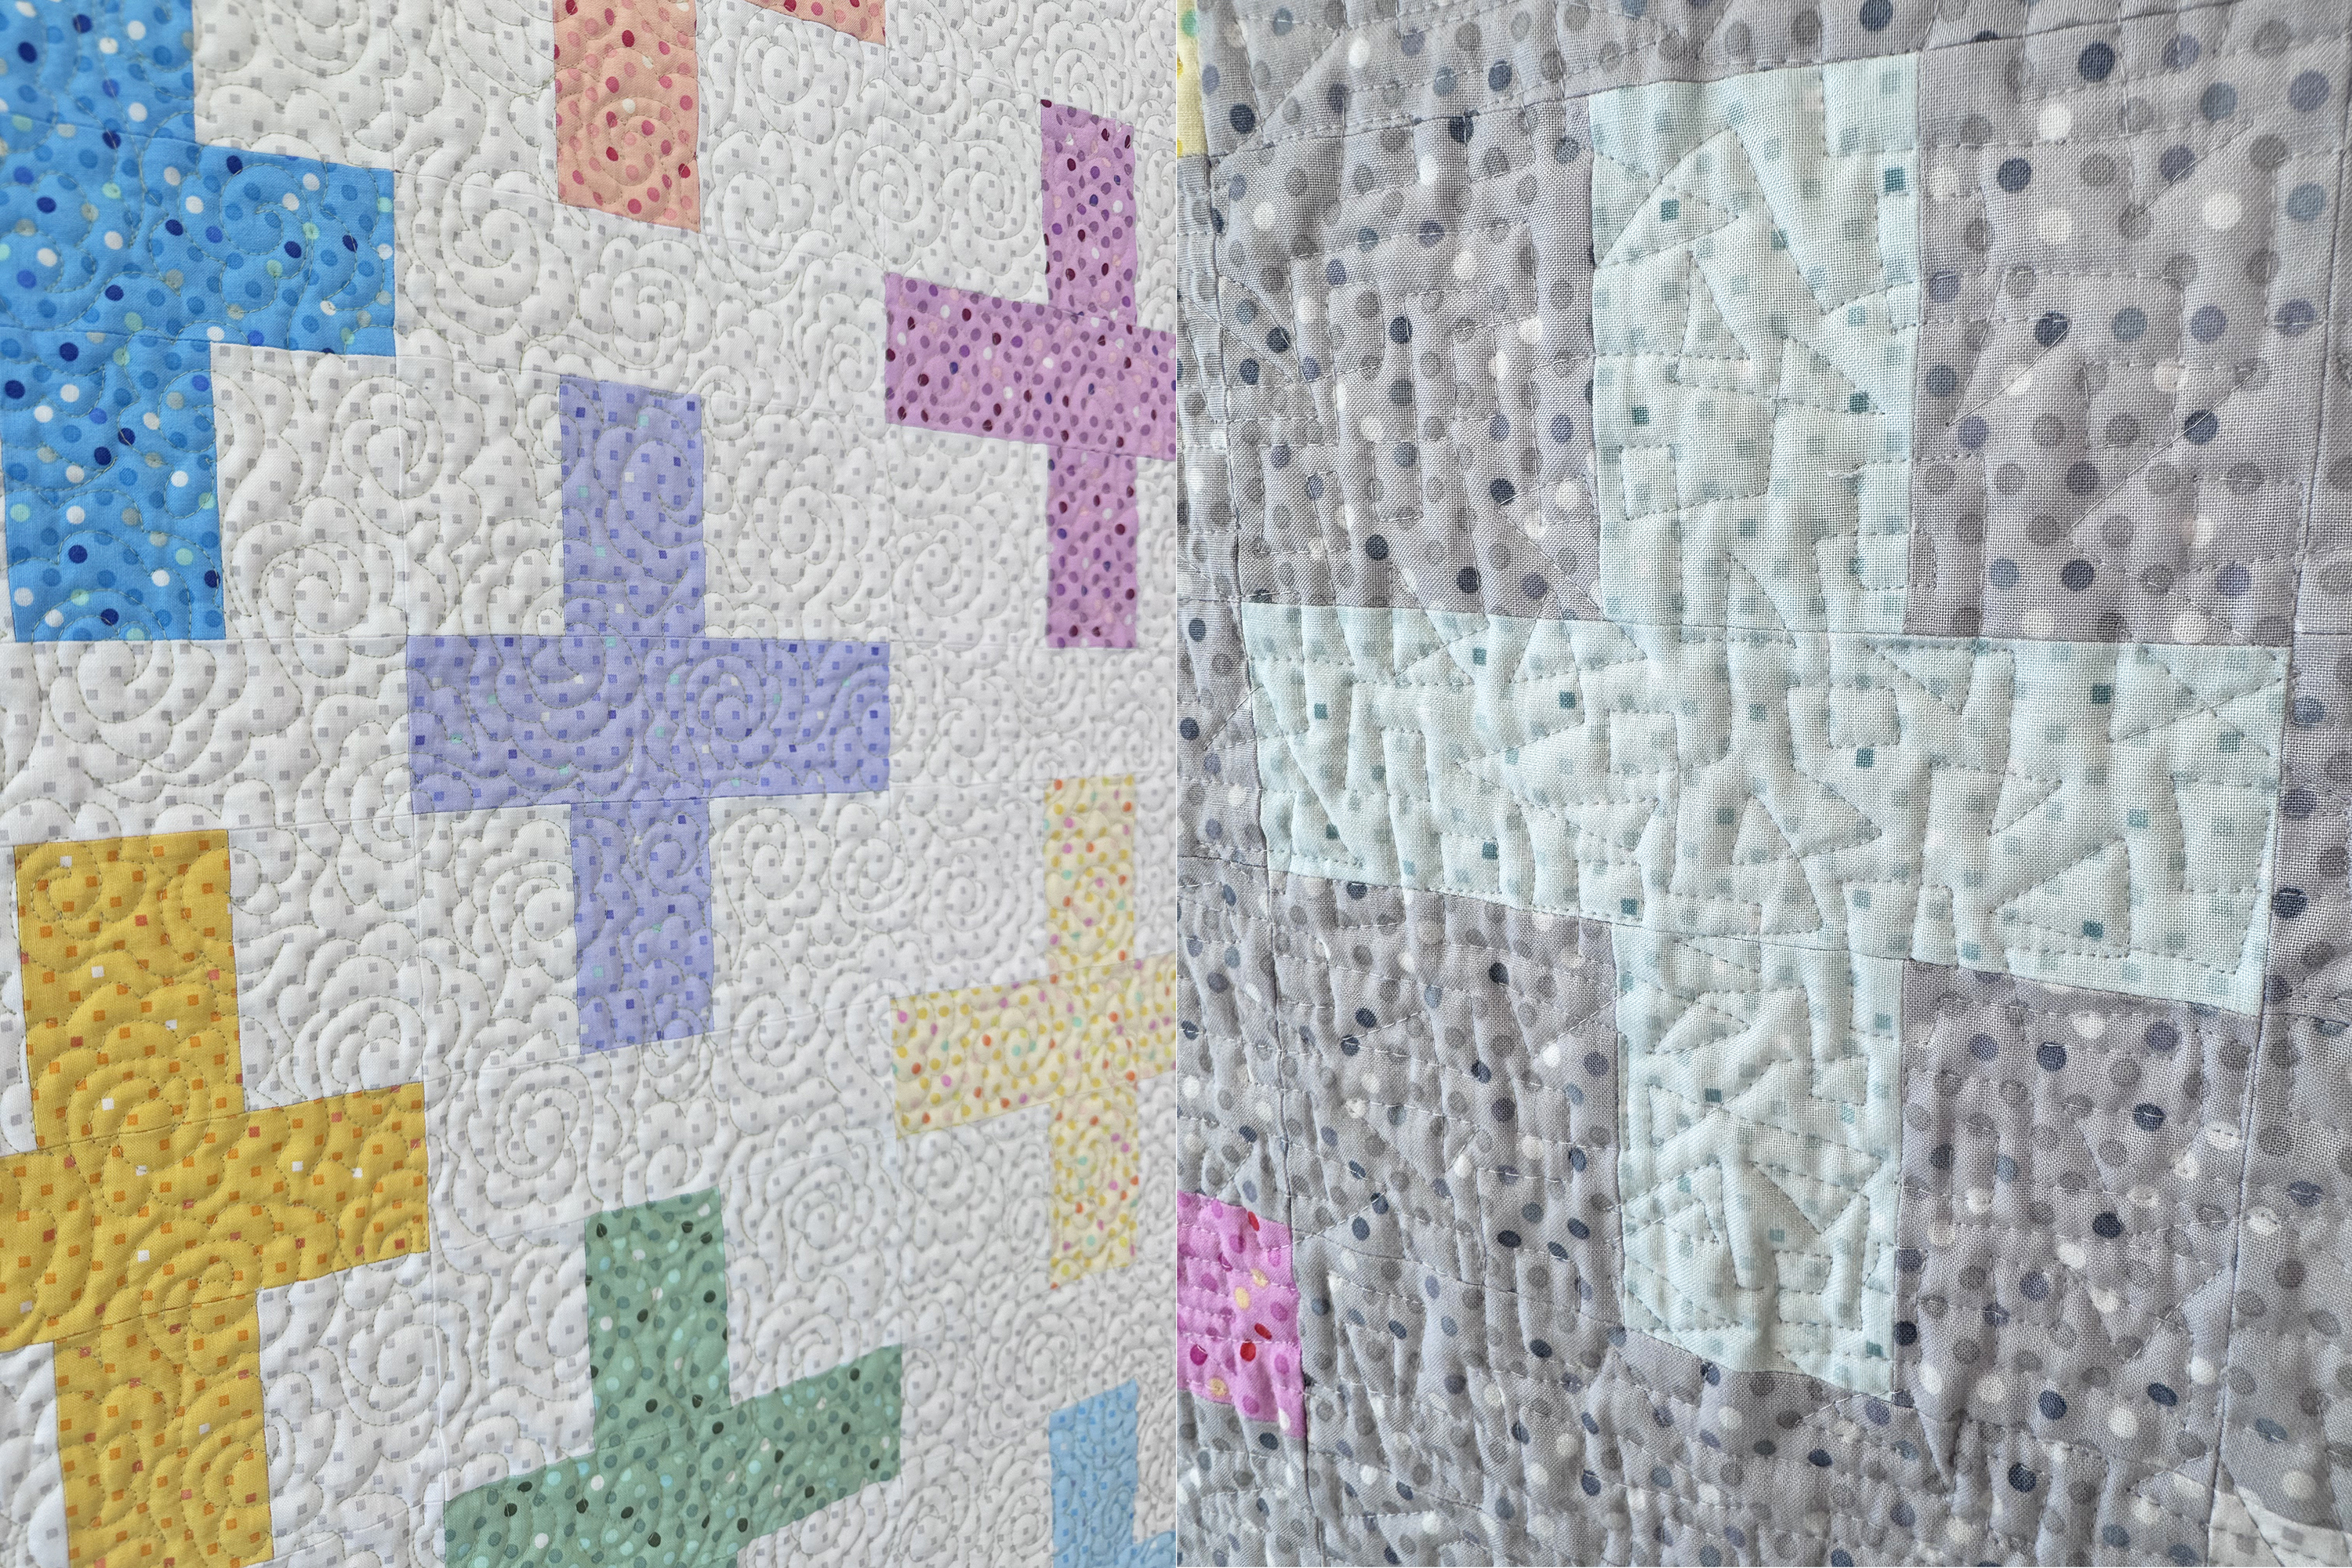
Here’s a detail shot of two different quilting designs used on this quilt. I love making different iterations of my quilts, as I’ve actually made Surplus Strips four times! There are endless opportunities to vary this quilt from fabric choice to what designs you quilt on it.
Bonus Video – Free Motion Quilting on Surplus Strips
This is a how-to video on how I quilted different dense FMQ designs on Surplus Strips. If you want a deep dive into making the quilting plan for this quilt, check out the video below.
I hope you’re enjoying this series! Leave a comment to let me know what you think!