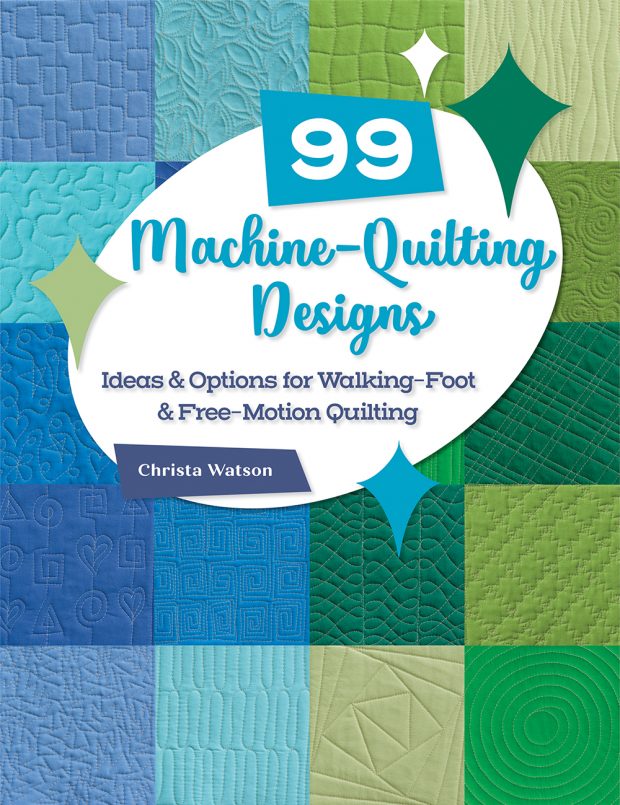
Today I’m excited to kick off a 9 part series on Machine Quilting Tips and Tricks. This is something I’ve been wanting to do for a long time, especially since I’ve written and taught on this topic extensively over the last few years. This week’s post will serve as an introduction to the series, and also as the landing page where I’ll update each of the links below as they are written.
I’m also happy to answer your machine quilting questions. So don’t be shy – ask you questions in the comments and I’ll include answers in a future post! So first off all here’s the schedule:
- Week 1 – Introduction
- Week 2 – Tools of the Trade
- Week 3 – Preparing the Quilt
- Week 4 – Practice, Practice, Practice!
- Week 5 – Make a Quilting Plan
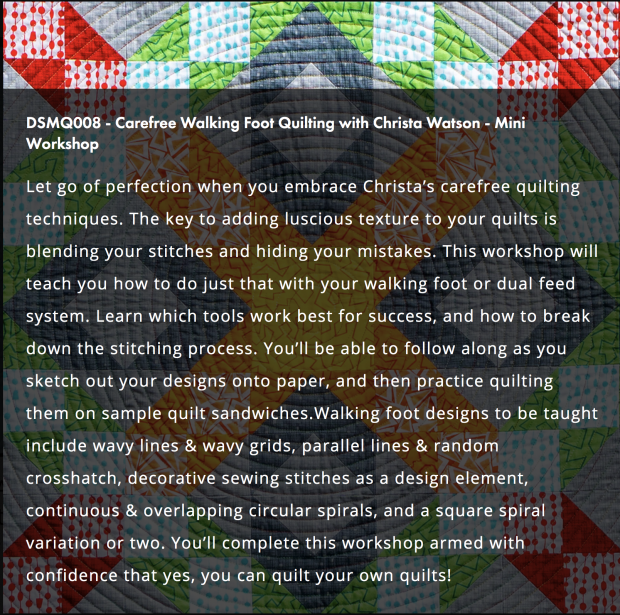
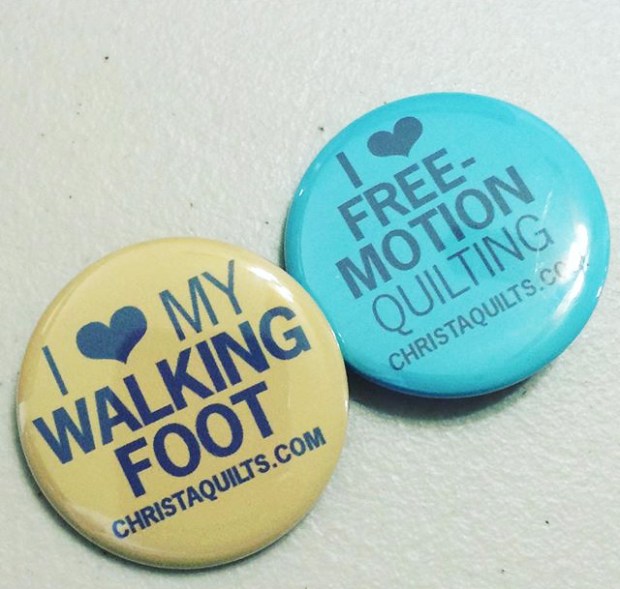
- Week 6 – Easy Walking Foot Designs
- Week 7 – Easy Free Motion Designs
- Week 8 – Custom Quilting
- Week 9 – Wrap up and Your Questions Answered
Sewing Machine – Longarm vs. Sit Down
The very first question you’ll want to decide is whether you want to quilt on a regular home sewing machine (like I do), or if you want to purchase a specialty machine like a sit-down free motion machine or a stand up long-arm machine.
I like the feel of “scrunching and smooshing” my quilt through a regular machine, so that’s what I’m most comfortable with. Also, I like the freedom to quilt “walking-foot” designs with my feed-dogs up, or “free-motion” designs with my feed-dogs down. A free-motion only machine can be limiting, but it provides more room to quilt and can usually quilt a lot faster than a domestic home machine.
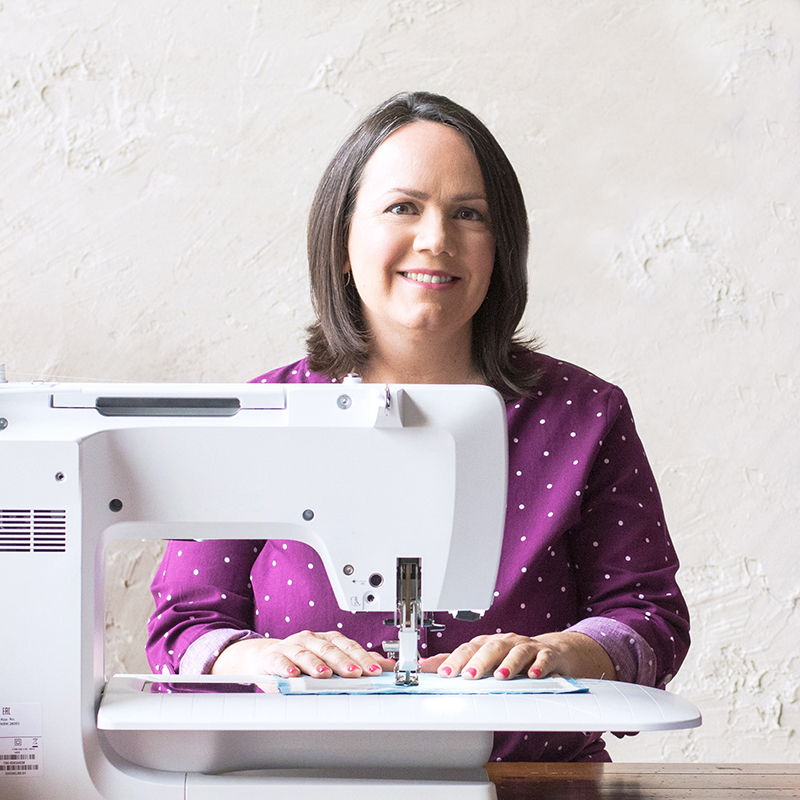
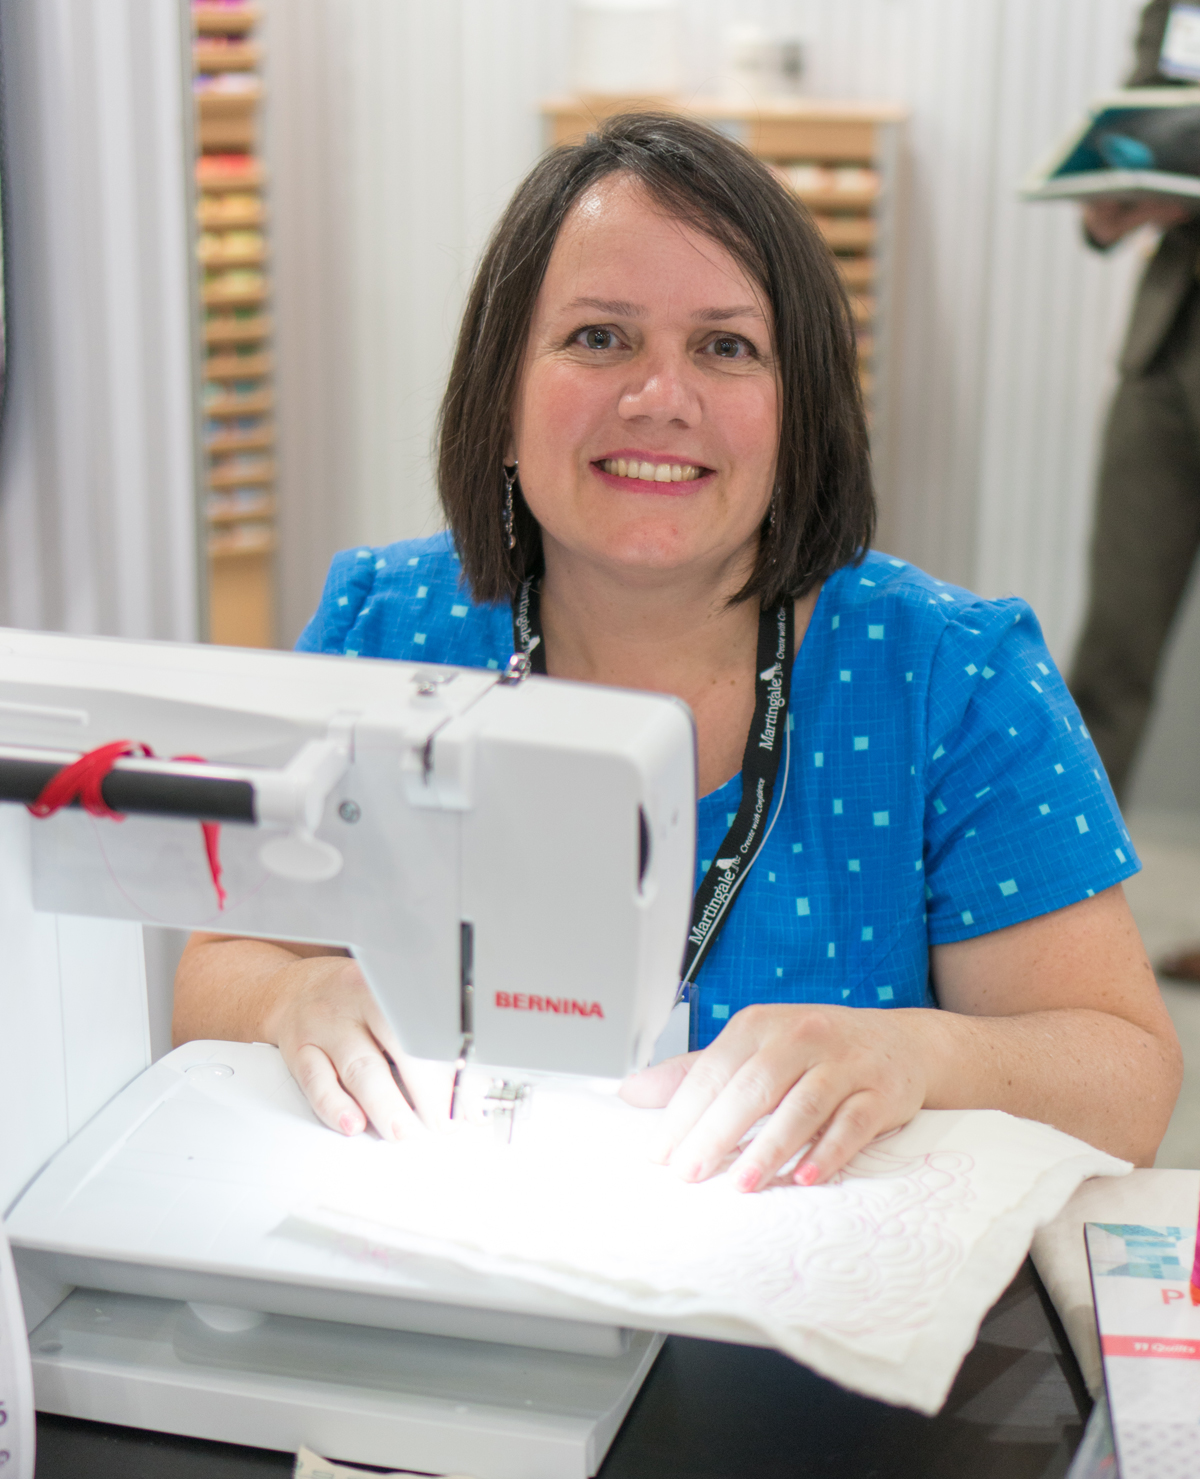
Domestic Machine Quilting


This throwback pic is from 2013 just after I got my first upgraded machine, but I still quilt the same way – in my studio while listening to music or a quilting podcast!
My recommendation is to try out both and do what feels most natural for you. Many quilters start quilting on their regular home sewing machine, then upgrade to a larger machine as they improve their skills. I’ve tried both and I prefer the feel of domestic machine quilting, so that’s mainly what the rest of this series will be about. However, if you are a longarmer, stick around – many of my tips and ideas can be easily adapted to your situation!
A great place to try out sit down “domestic” machines is at your local sewing machine dealer. I recommend visiting all of the dealers in your area and bringing in your own practice samples (or even a full sized quilt) to try out. Although I am a BERNINA ambassador and that’s my machine brand of choice, a good reliable dealer will go along way towards helping you be successful with home machine quilting. I don’t recommend buying a machine online or at a big box store, because you’re just not going to get the level or service you’ll need.
Long Arm Quilting


My friend Vicki Ruebel of Orchid Owl Quilts in her longarm shop in Las Vegas
For long-arm machines, I highly recommend testing out all of the major brands at local or national quilt shows. They’ll usually have a full-size machine set up that you can test out, and it will be prepared with a quilt already on the machine that you can practice on. Most shows will also have great deals on machines if you purchase it at the show. So keep that in mind and don’t be afraid to attend multiple shows until your mind is made up.
Many local quilt shops now offer longarm rental service so that’s also a great way to get your feet wet before making such a large purchase.
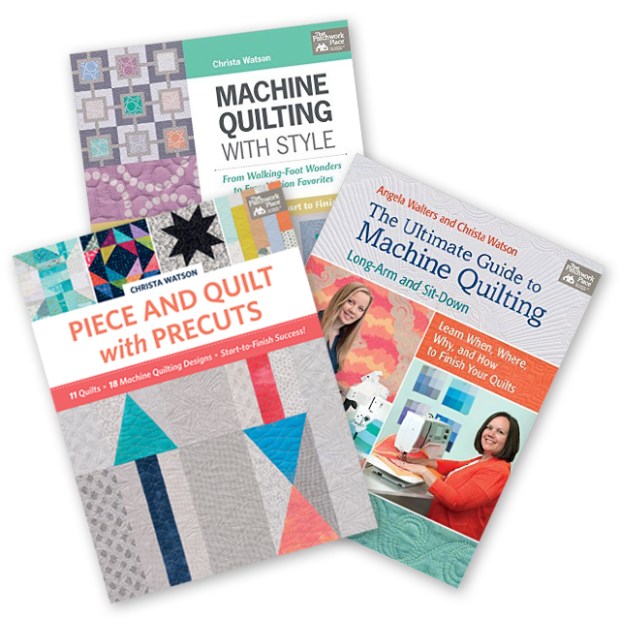
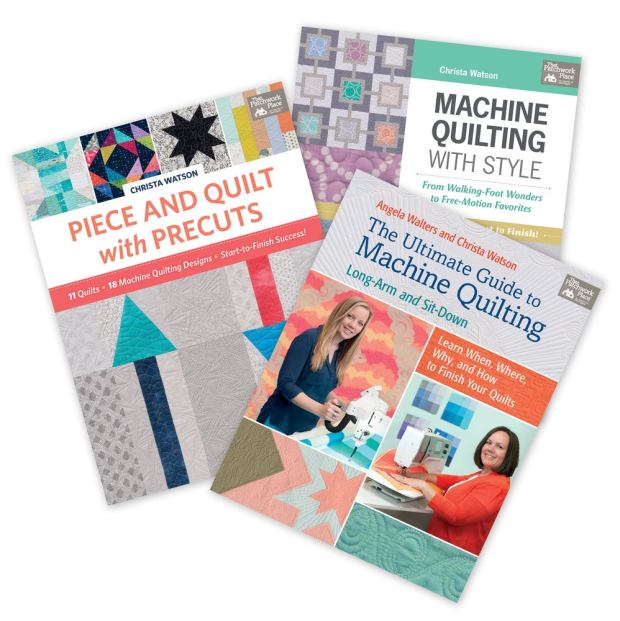
If you want further reading on the differences between machine quilting with a longarm versus a domestic machine, be sure to check out mine and Angela Walters’ book The Ultimate Guide to Machine Quilting. It’s where we get to share the best of both worlds!
Click here to grab a signed copy of our book, The Ultimate Guide to Machine Quilting.
Here are two other fabulous longarmers I recommend following on social media: my friends Heather Black of Quiltachusetts and Vicki Ruebel of Orchid Owl Quilts. Check out their websites and instagram accounts for some fabulous long-arm quilting eye candy!
In next week’s Tools of the Trade segment, I’ll share about the specific features I prefer to have on my domestic machine that make it much easier to get the job done, so stay tuned!


 Kathleen Hetzler Riordan on Smith Mountain Lake, Virginia