Free Quilt Pattern
New to my blog? Be sure to sign up for my email newsletter to get a free pattern!
Abacus
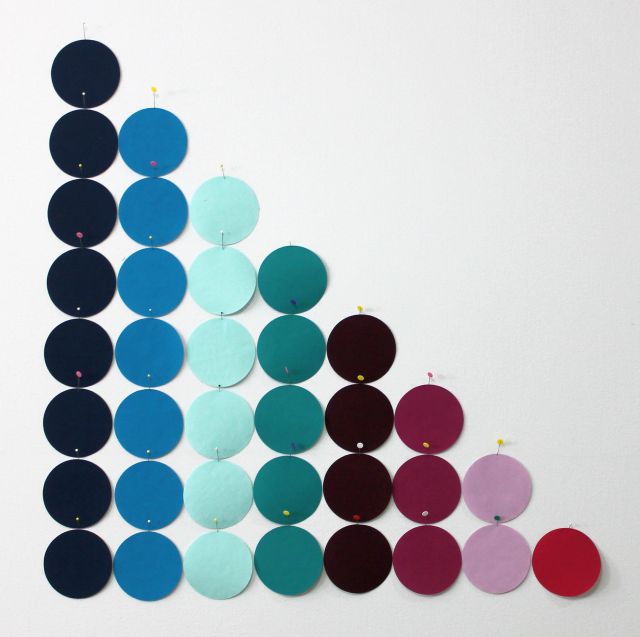
Welcome to my Fall 2014 Quilt Along – Abacus! Join me as we make a modern applique quilt perfect for the wall, floor, or any place you’d like to add some color! My version of Abacus finishes at 32″ x 32″. Please feel free to tweak the size, colors, and fabrics to make it yourself and make it your own!
 Abacus by Christa Watson, 32″ x 32″, made from Kona Solids.
At any time, you can click on the Abacus main page which will has the supply list, the quilt along schedule, and links for all the tutorials as they go live. It took me a total of 3 hours to complete this week’s lesson. This is not a race, so please, work at your own pace. 🙂
Now, let’s get started! All fabrics are based on 40″ of useable fabric width. I recommend washing and starching all fabrics prior to beginning. Wash lights and darks separately with dye magnet sheets such as Shout Color Catchers.
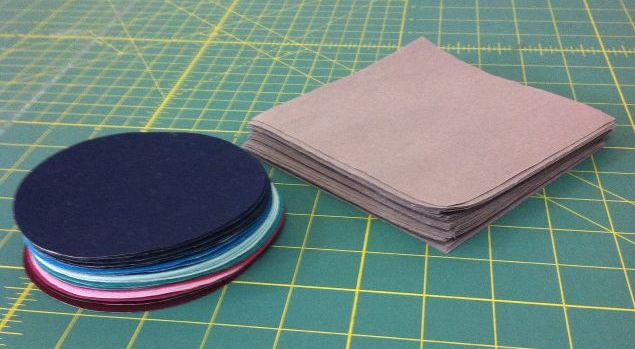
Step 1 – Cutting the Colored Bead Strips (1/2 hour)
- 1 – 5″ x 40″ strip of 4 different fabrics (solids 1-4 below)
- 1 – 5″ x 20″ strip of 4 different fabrics (solids 5-8 below)
Step 2 – Cutting the Background Fabric (1 hour)
From the background (grey) fabric, cut: 5 strips, 5” x 42”. Crosscut them into a total of 36 squares, 5” x 5” each. You should be able to get 8 squares per strip. These are cut oversized for now and will be trimmed down later.
 Cut a total of 36 squares, 5″ x 5″ each.
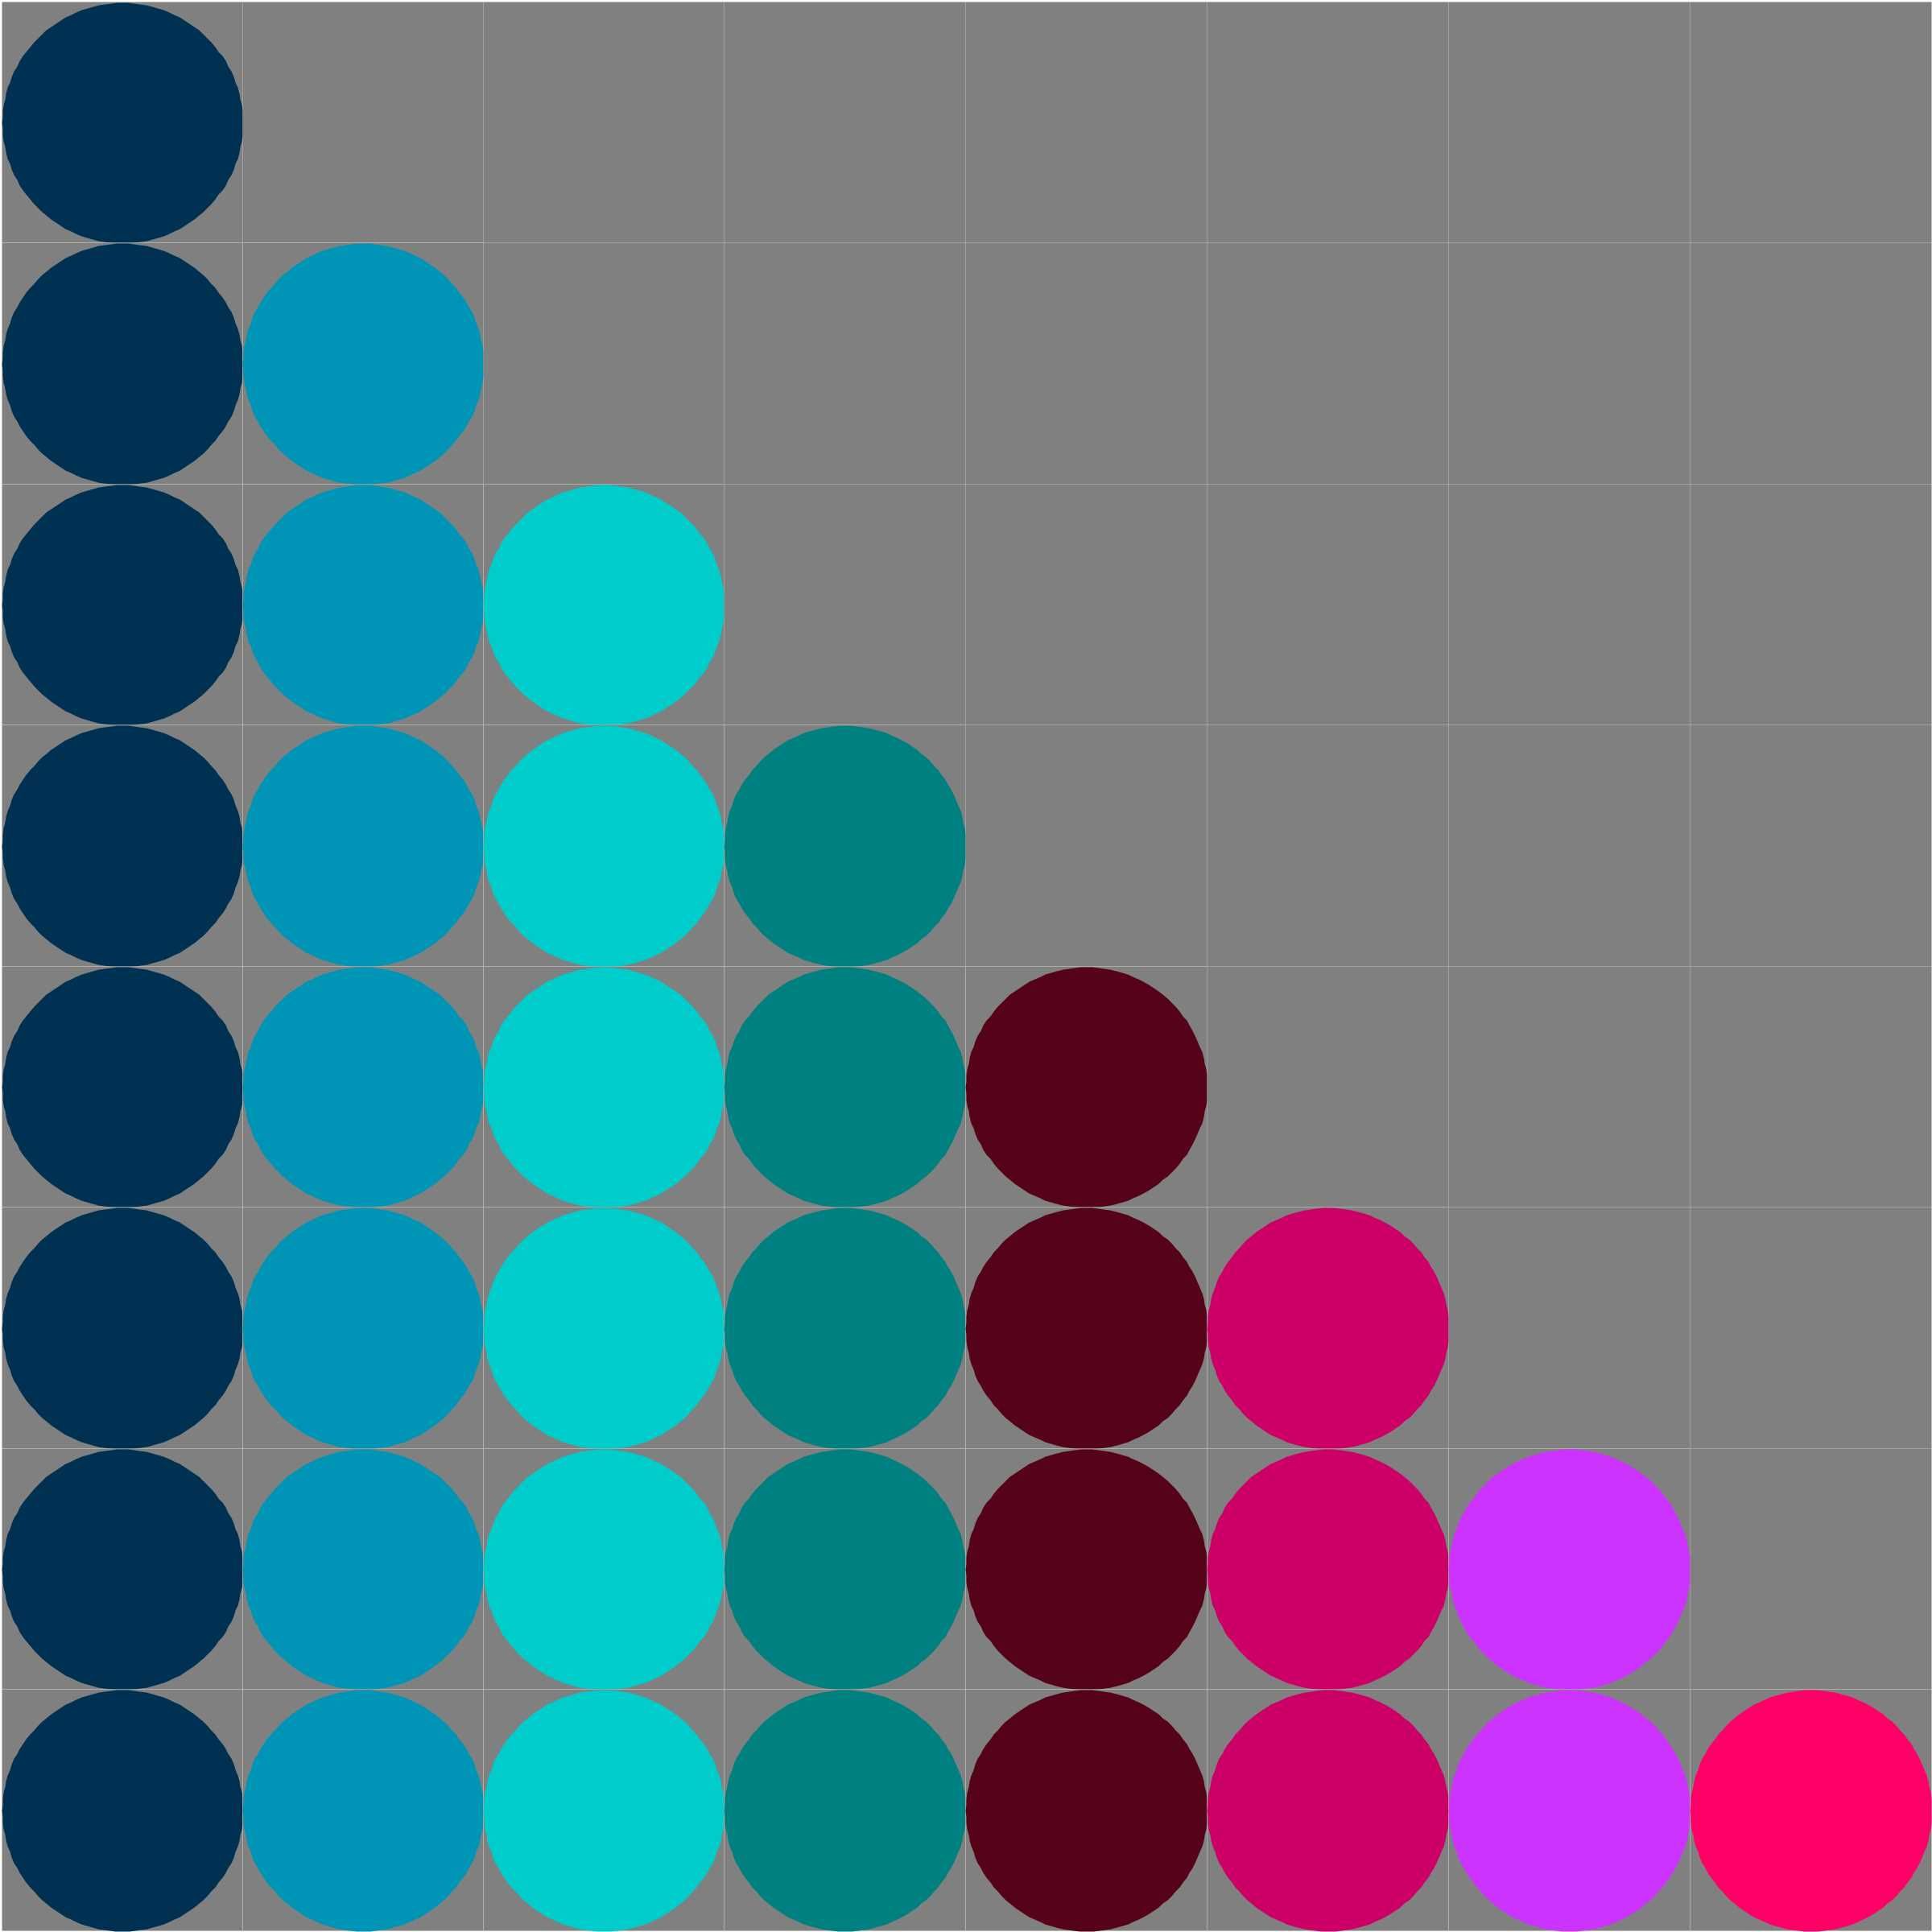
Also, from the background fabric, cut 4 strips: 4 1/2” x 42.” Cut these into 7 different rectangles that will form the negative space above the abacus strips.
The measurements are 4 1/2” wide by:
4 1/2”; 8 1/2”; 12 1/2”; 16 1/2”; 20 1/2”; 24 1/2”; 28 1/2”
 Cut background strips according to the diagram above.
Step 3 – Fusing and Cutting the Bead Fabrics (1 hour)
Cut 12 strips of paper backed fusible web, 4 3/4” x 15”. (You will get 3 circles per strip.)
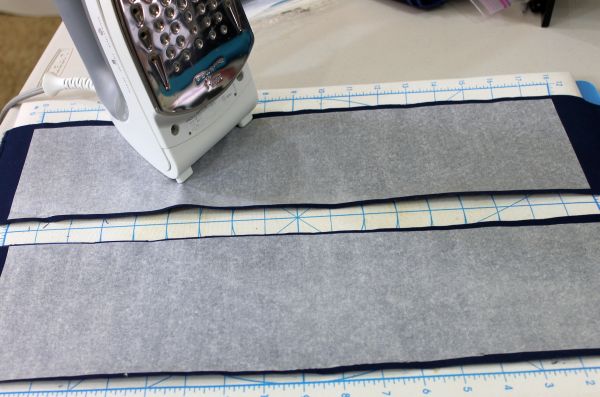
Following the manufacturer’s instructions, adhere full and partial fusible web strips to the wrong side (back side) of your bead fabric strips.
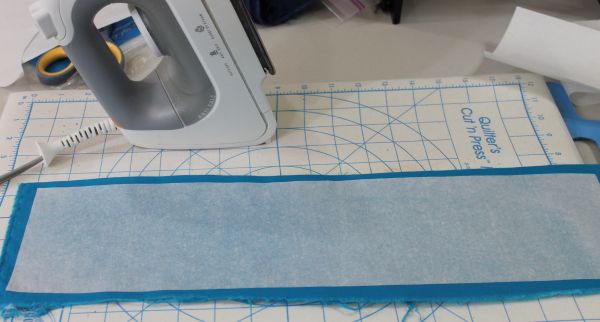 Adhere fusible web to the back side of your “bead” fabrics.
Cover strips of fabric with fusible web:
- 40” of fabric strip 1;
- 35” of strip 2;
- 30” of strip 3;
- 25” of strip 4;
- 20” of strip 5;
- 15” of strip 6;
- 10” of strip 7; and
- 5” of strip 8.
Cut additional strips of fusible web if needed.
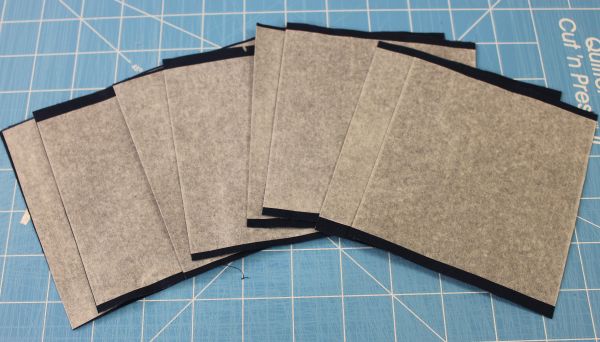
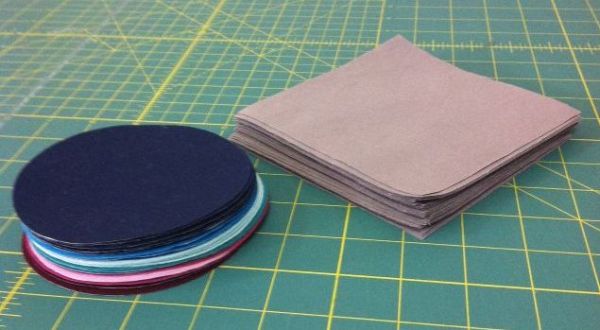
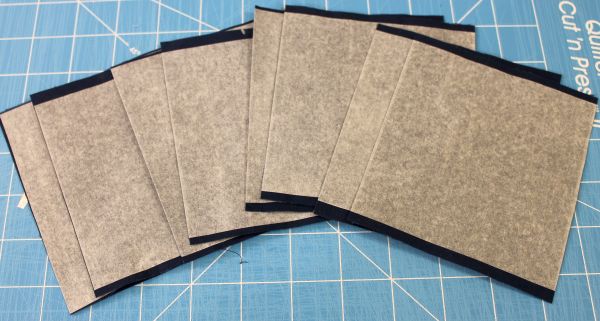 Cut your fusible backed fabric strips into squares approximately, 5” x 5”:
- 8 squares of fabric 1;
- 7 squares of fabric 2;
- 6 squares of fabric 3;
- 5 squares of fabric 4;
- 4 squares of fabric 5,
- 3 squares of fabric 6,
- 2 squares of fabric 7,
- and 1 square of fabric 8.
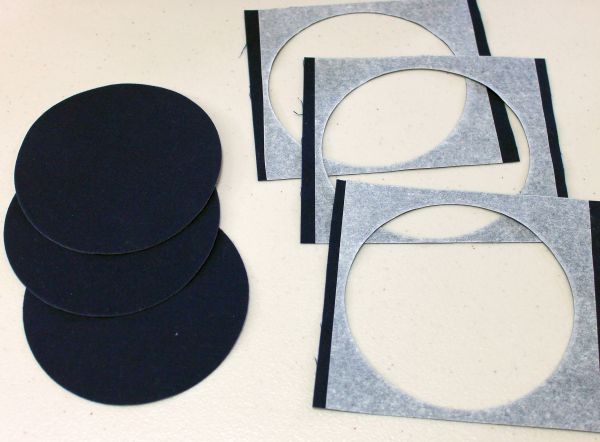
For Die Cutting the Circles (1/2 hour):
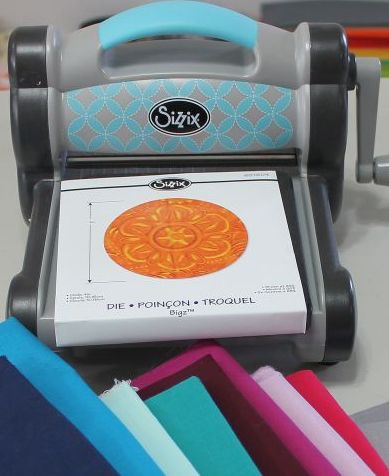
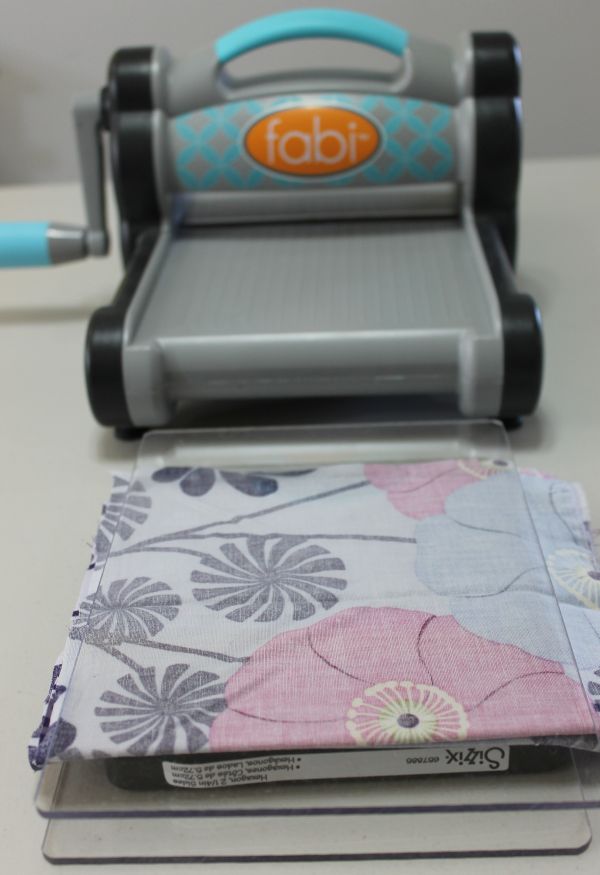
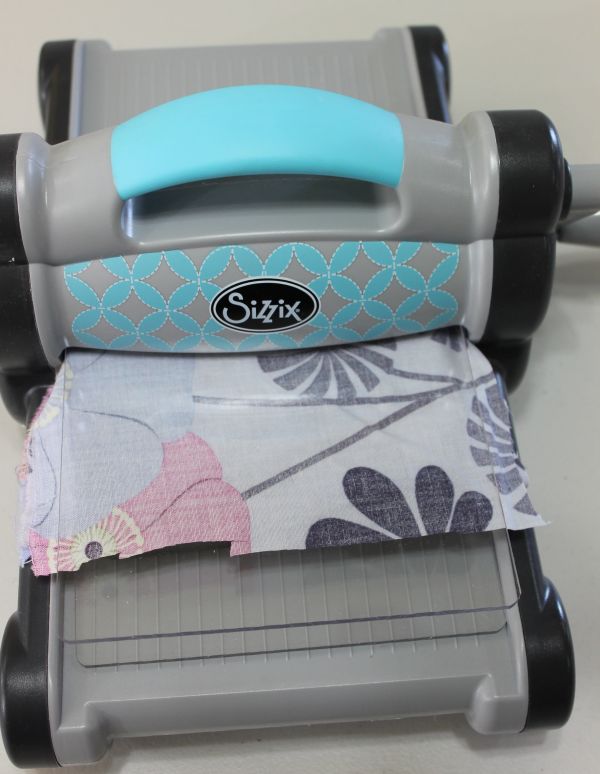
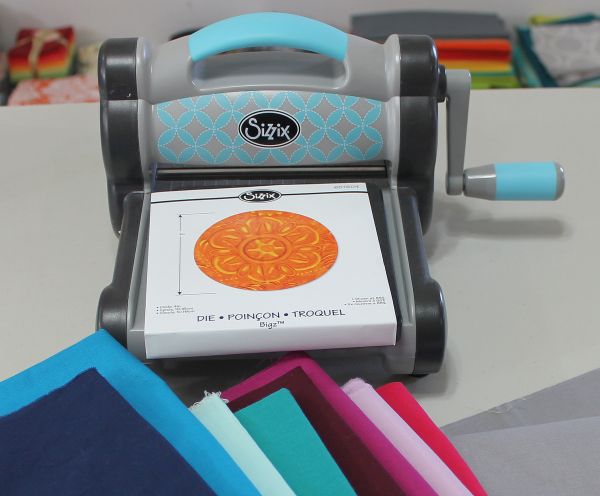
Note, using a die cutter is super fast. If cutting the traditional way by hand, allow additional time. Run the fusible backed squares through your die cutting machine, using a 4” diameter circle die. Repeat to cut all 36 circles.
 Use a 4″ diameter circle die if using a die cutter. I used the Sizzix.
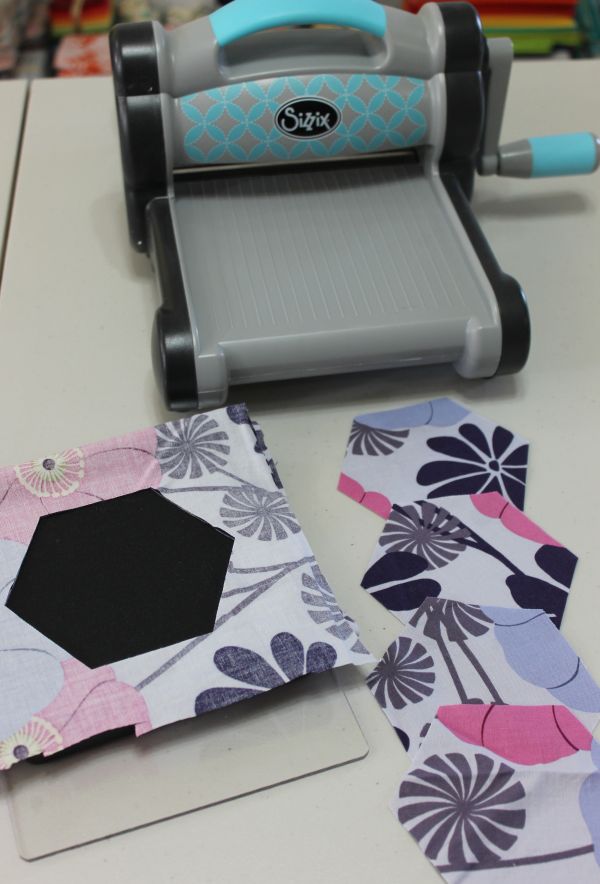
 Repeat to cut a total of 36 circles.
For Traditional Cutting of the Circles (Time May Vary):
Click the picture below to print off the circle template onto a piece of stiff cardstock. Or print in onto plain paper and trace it onto template plastic, cutting carefully on the line. Use a lightbox or window if needed for tracing. Be sure to print at 100% scaling and measure the diameter to ensure it is 4”.
 Circle Template – be sure to click the picture, save it, and print at 100% scaling.
Trace around your circle template on the back of each fused square and cut the circles out on the line slowly and carefully, for a total of 36 fused circles.
 Congratulations! You are now ready to assemble an awesome quilt from just circles and squares! Come back next week for block assembly and easy, yes easy machine applique!
Here’s a hint: choose thin blending cotton threads such as Aurifil 50 weight in colors to match your fabrics for quick and beautiful machine applique!
Something new I am adding this year is a parade of quilts! If you finish your quilts by November 10th, you can email me a picture of your quilt (along with a blog link if you have one) and I’ll feature them on my blog on November 12th.
Sharing is Caring
Please share your work in progress in my facebook group: Quilt With Christa . 🙂
I also invite you to share your progress on Instagram with the hashtag #abacusqal, or on my flickr group: Christa’s Quilt Along
Let’s share the love! Please grab a quilt along button and add it to your blog.

<div align="center"><a href="http://christasquiltalong.com" title="Christa's Quilt Along" target="_blank"><img src="https://christaquilts.com/wp-content/uploads/2013/03/christas-quilt-along-175-2.png" alt="Christa's Quilt Along" style="border:none;" /></a></div>