The fastest way to finish a quilt is to assembly line all of the steps. That means I like to cut out all of the pieces first, then sew as much as I can until I need to stop and press. I test out of all of my patterns by following my own directions while making the quilt, and I tend to make my quilts several times so you can rest assured the instructions will be correct.

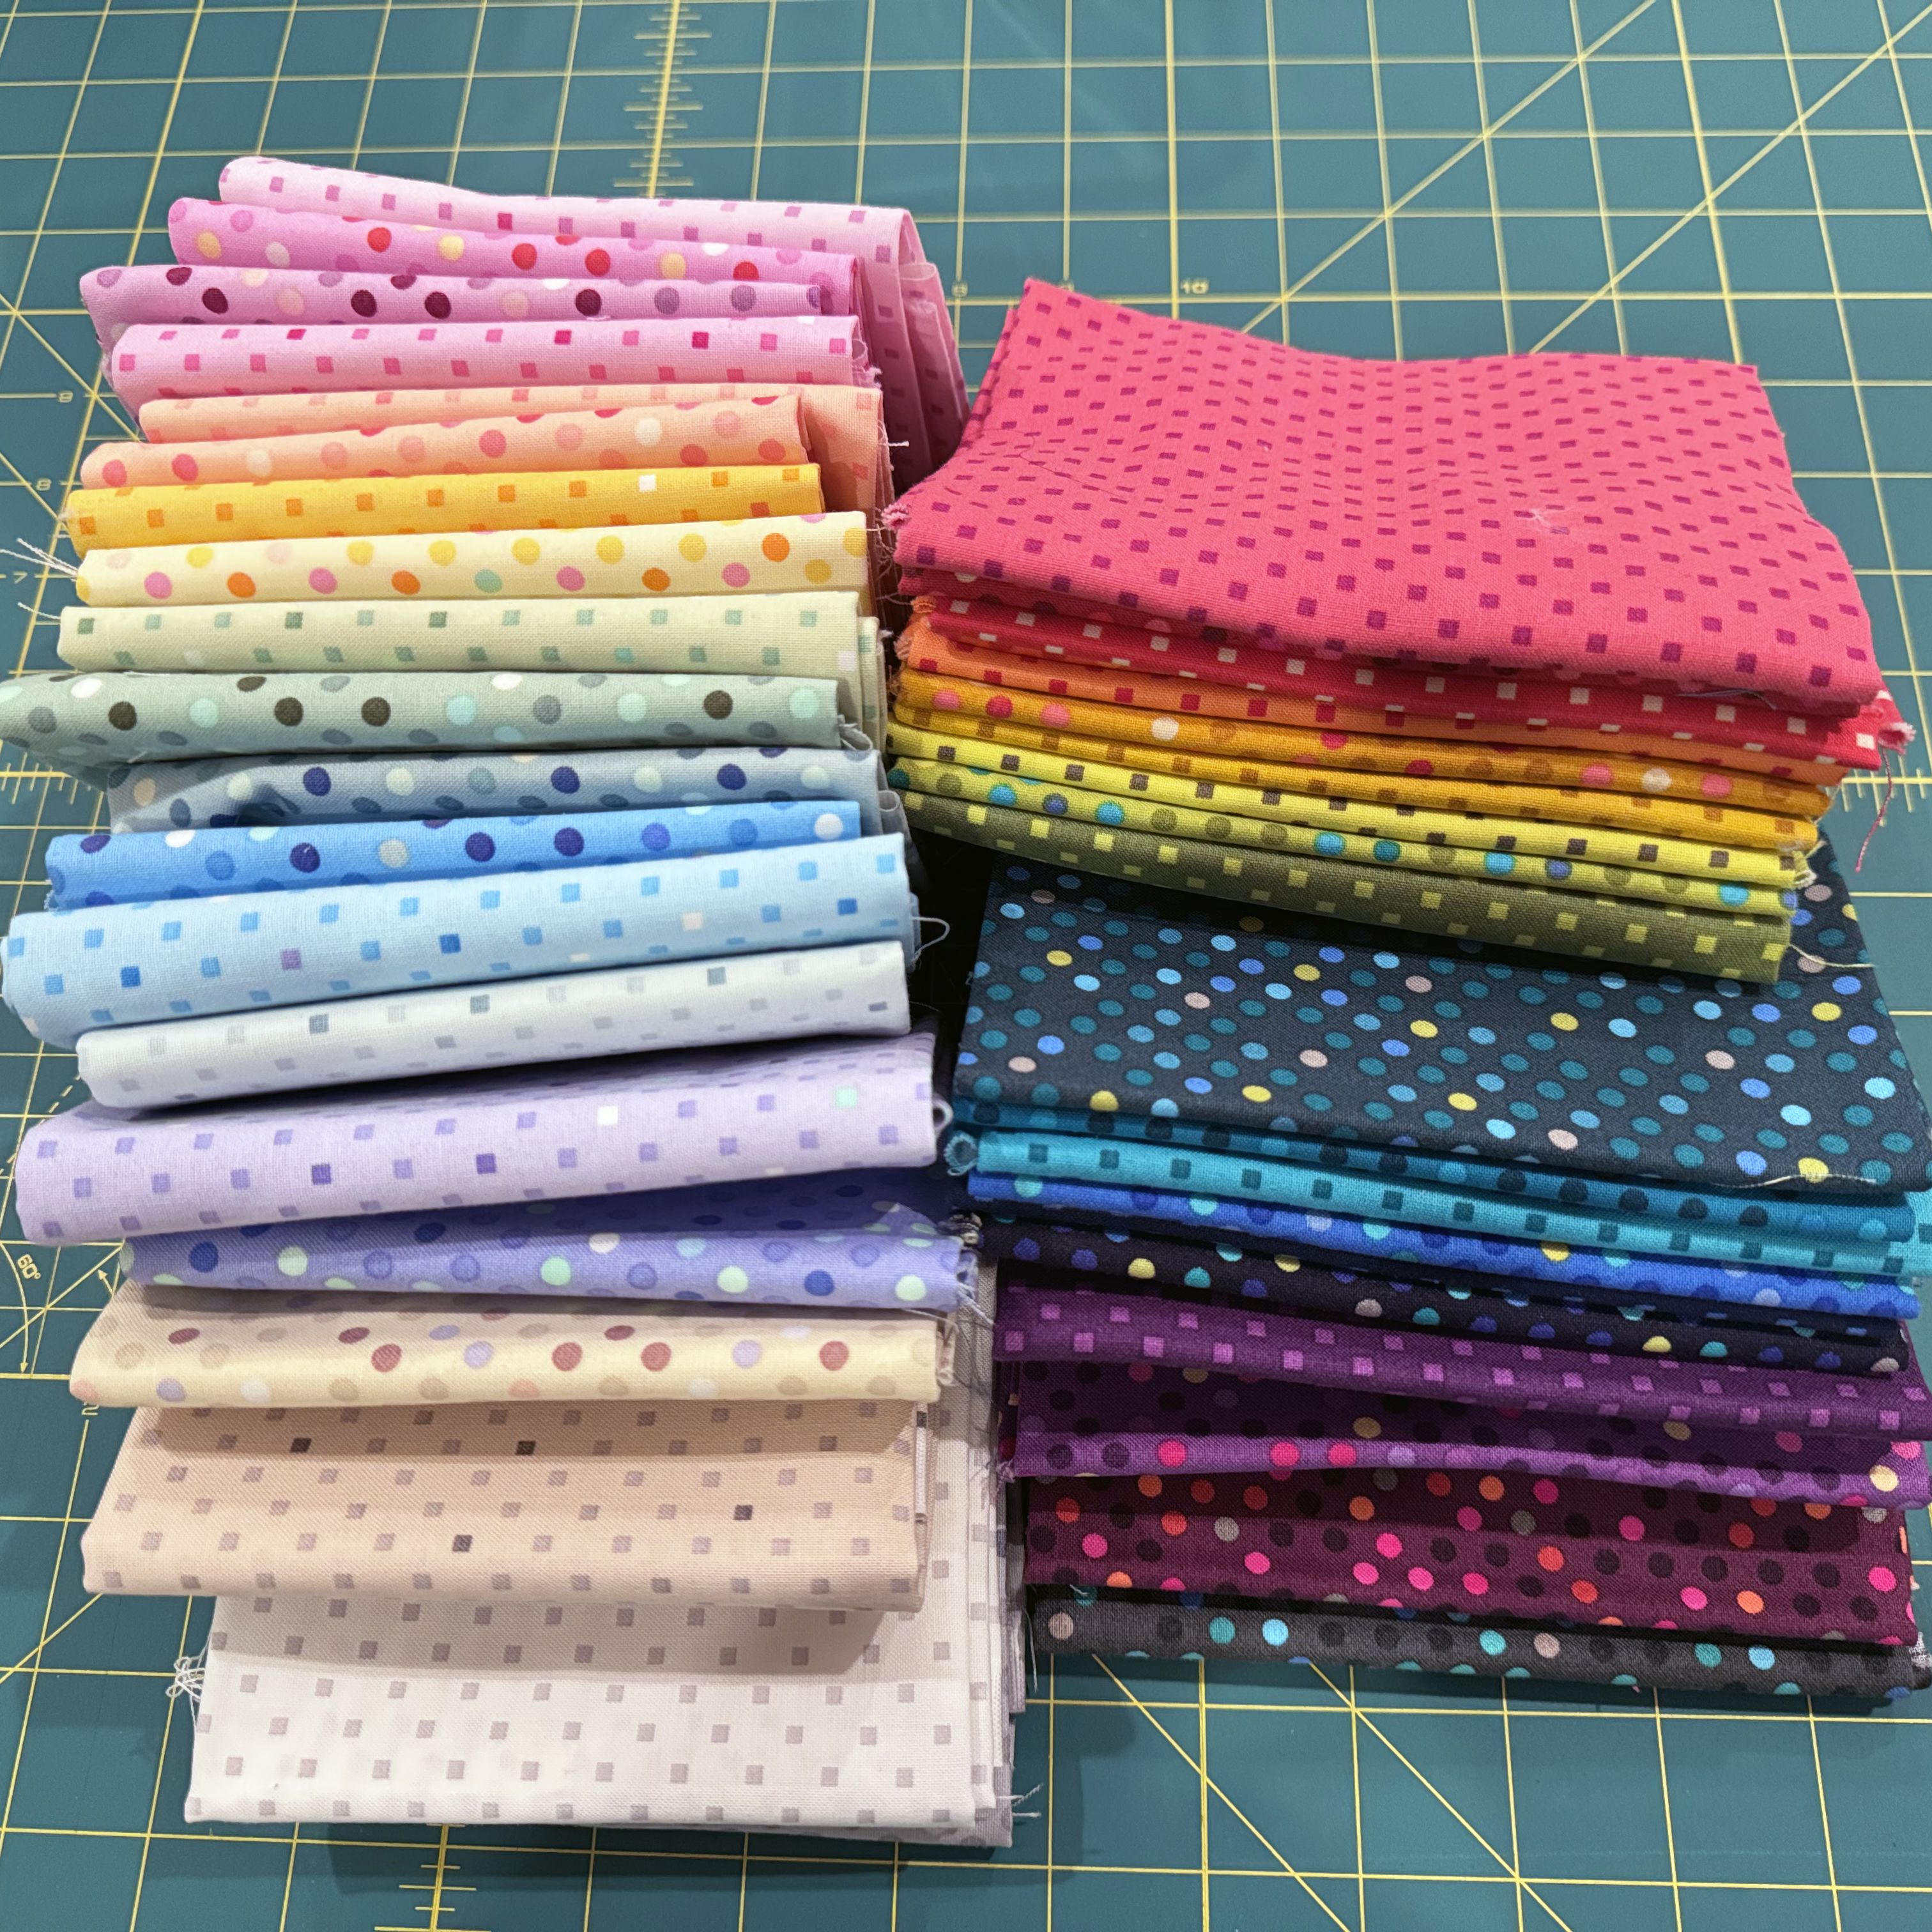
So this week it’s time to dive in and cut into your luscious fabrics to make *your* version of Bling! Depending on which fabrics you’ve chosen, you can use fat quarters, half yards, or even scraps! I’m making my version from Dazzle Dots 1 & 2 Fat Quarters.
The darker, more saturated prints will be for the main block design, while the lighter, pastel prints will be for my backgrounds. I took out the light and dark grey from the original Dazzle Dots since I only need 20 fabrics (not 22).
If you’d like to make this quilt exactly as I’m showing here, you can grab the Bling Quilt Kit, while supplies last. I also have a few made up in my Stitchy fabrics, too! This is my 5th time making Bling (see the other color ways below). If you can’t already tell, I really like making this quilt!

Click here to get the optional Bling Quilt Kit
Click here to get the Bling quilt pattern
Now, on to the cutting!
Follow the pattern instructions on page 2 to cut out all of your units. For faster cutting, I like to cut my fabrics into strips, then subcut them into the unit sizes listed in the pattern. I’ll usually stack 4 layers of fabric to make this go faster. So that’s either 4 fat quarters stacked on top, or if I’m cutting double folded yardage, it’s usually 2 fabrics at a time.
Because I’m cutting 4 at a time, there may be some leftovers at the end, but I’ll just set those aside for something else, or piece them into the backing. If you are cutting your units from fat quarters like I did, you’ll have some of each fat quarter left over. I’ll include those on the back, too!
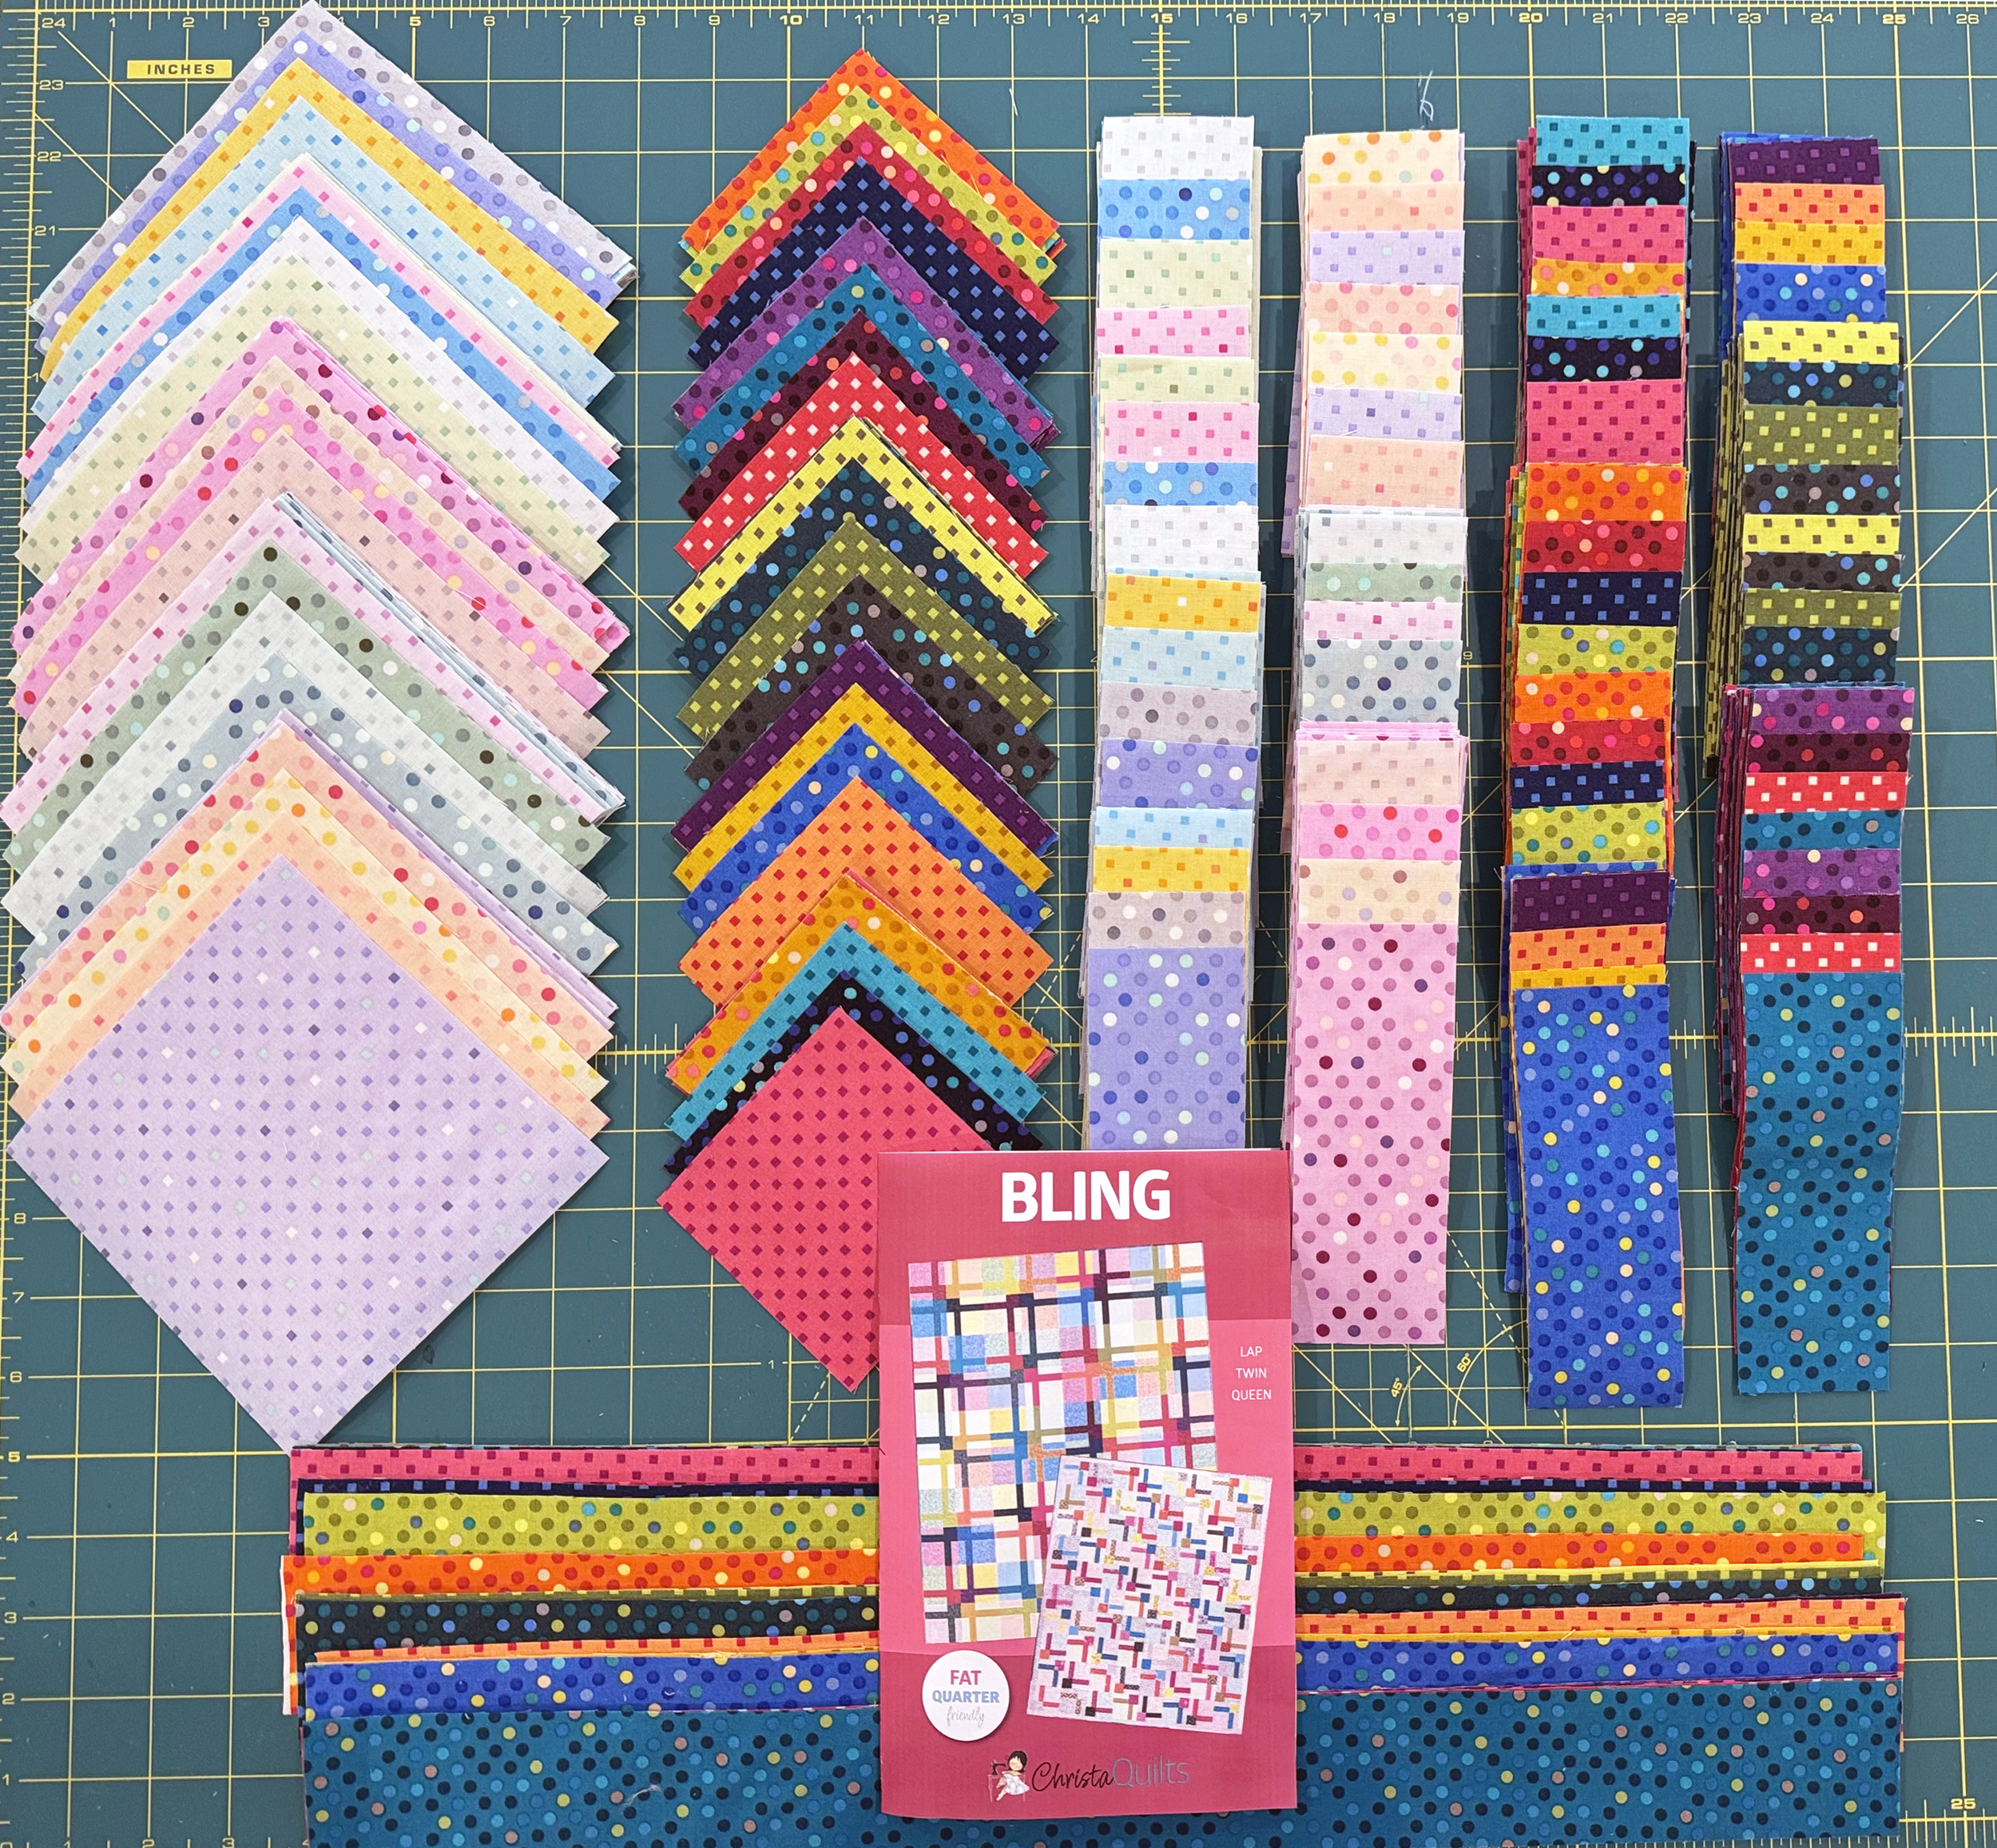
I will also cut the binding out ahead of time and in this case it will be scrappy, too! Bling includes an optional scrappy border, but I’m not adding that in this version like I have in previous versions. For some reason, I really like how the blocks go all the way to the edges this time.
I love getting a shot of all my pieces, cut, organized and ready to sew!! If you want to get a leg up on next week’s piecing, you can lay out all of your units in order right next to your sewing machine.

I prefer to cut out all of my pieces to the correct size ahead of time, and then sew them together, rather than strip piecing. So it may seem like a lot of cutting at the beginning. But once the pieces are stacked and ready to sew, they go together super fast!!
Until next week, happy quilting!!!
