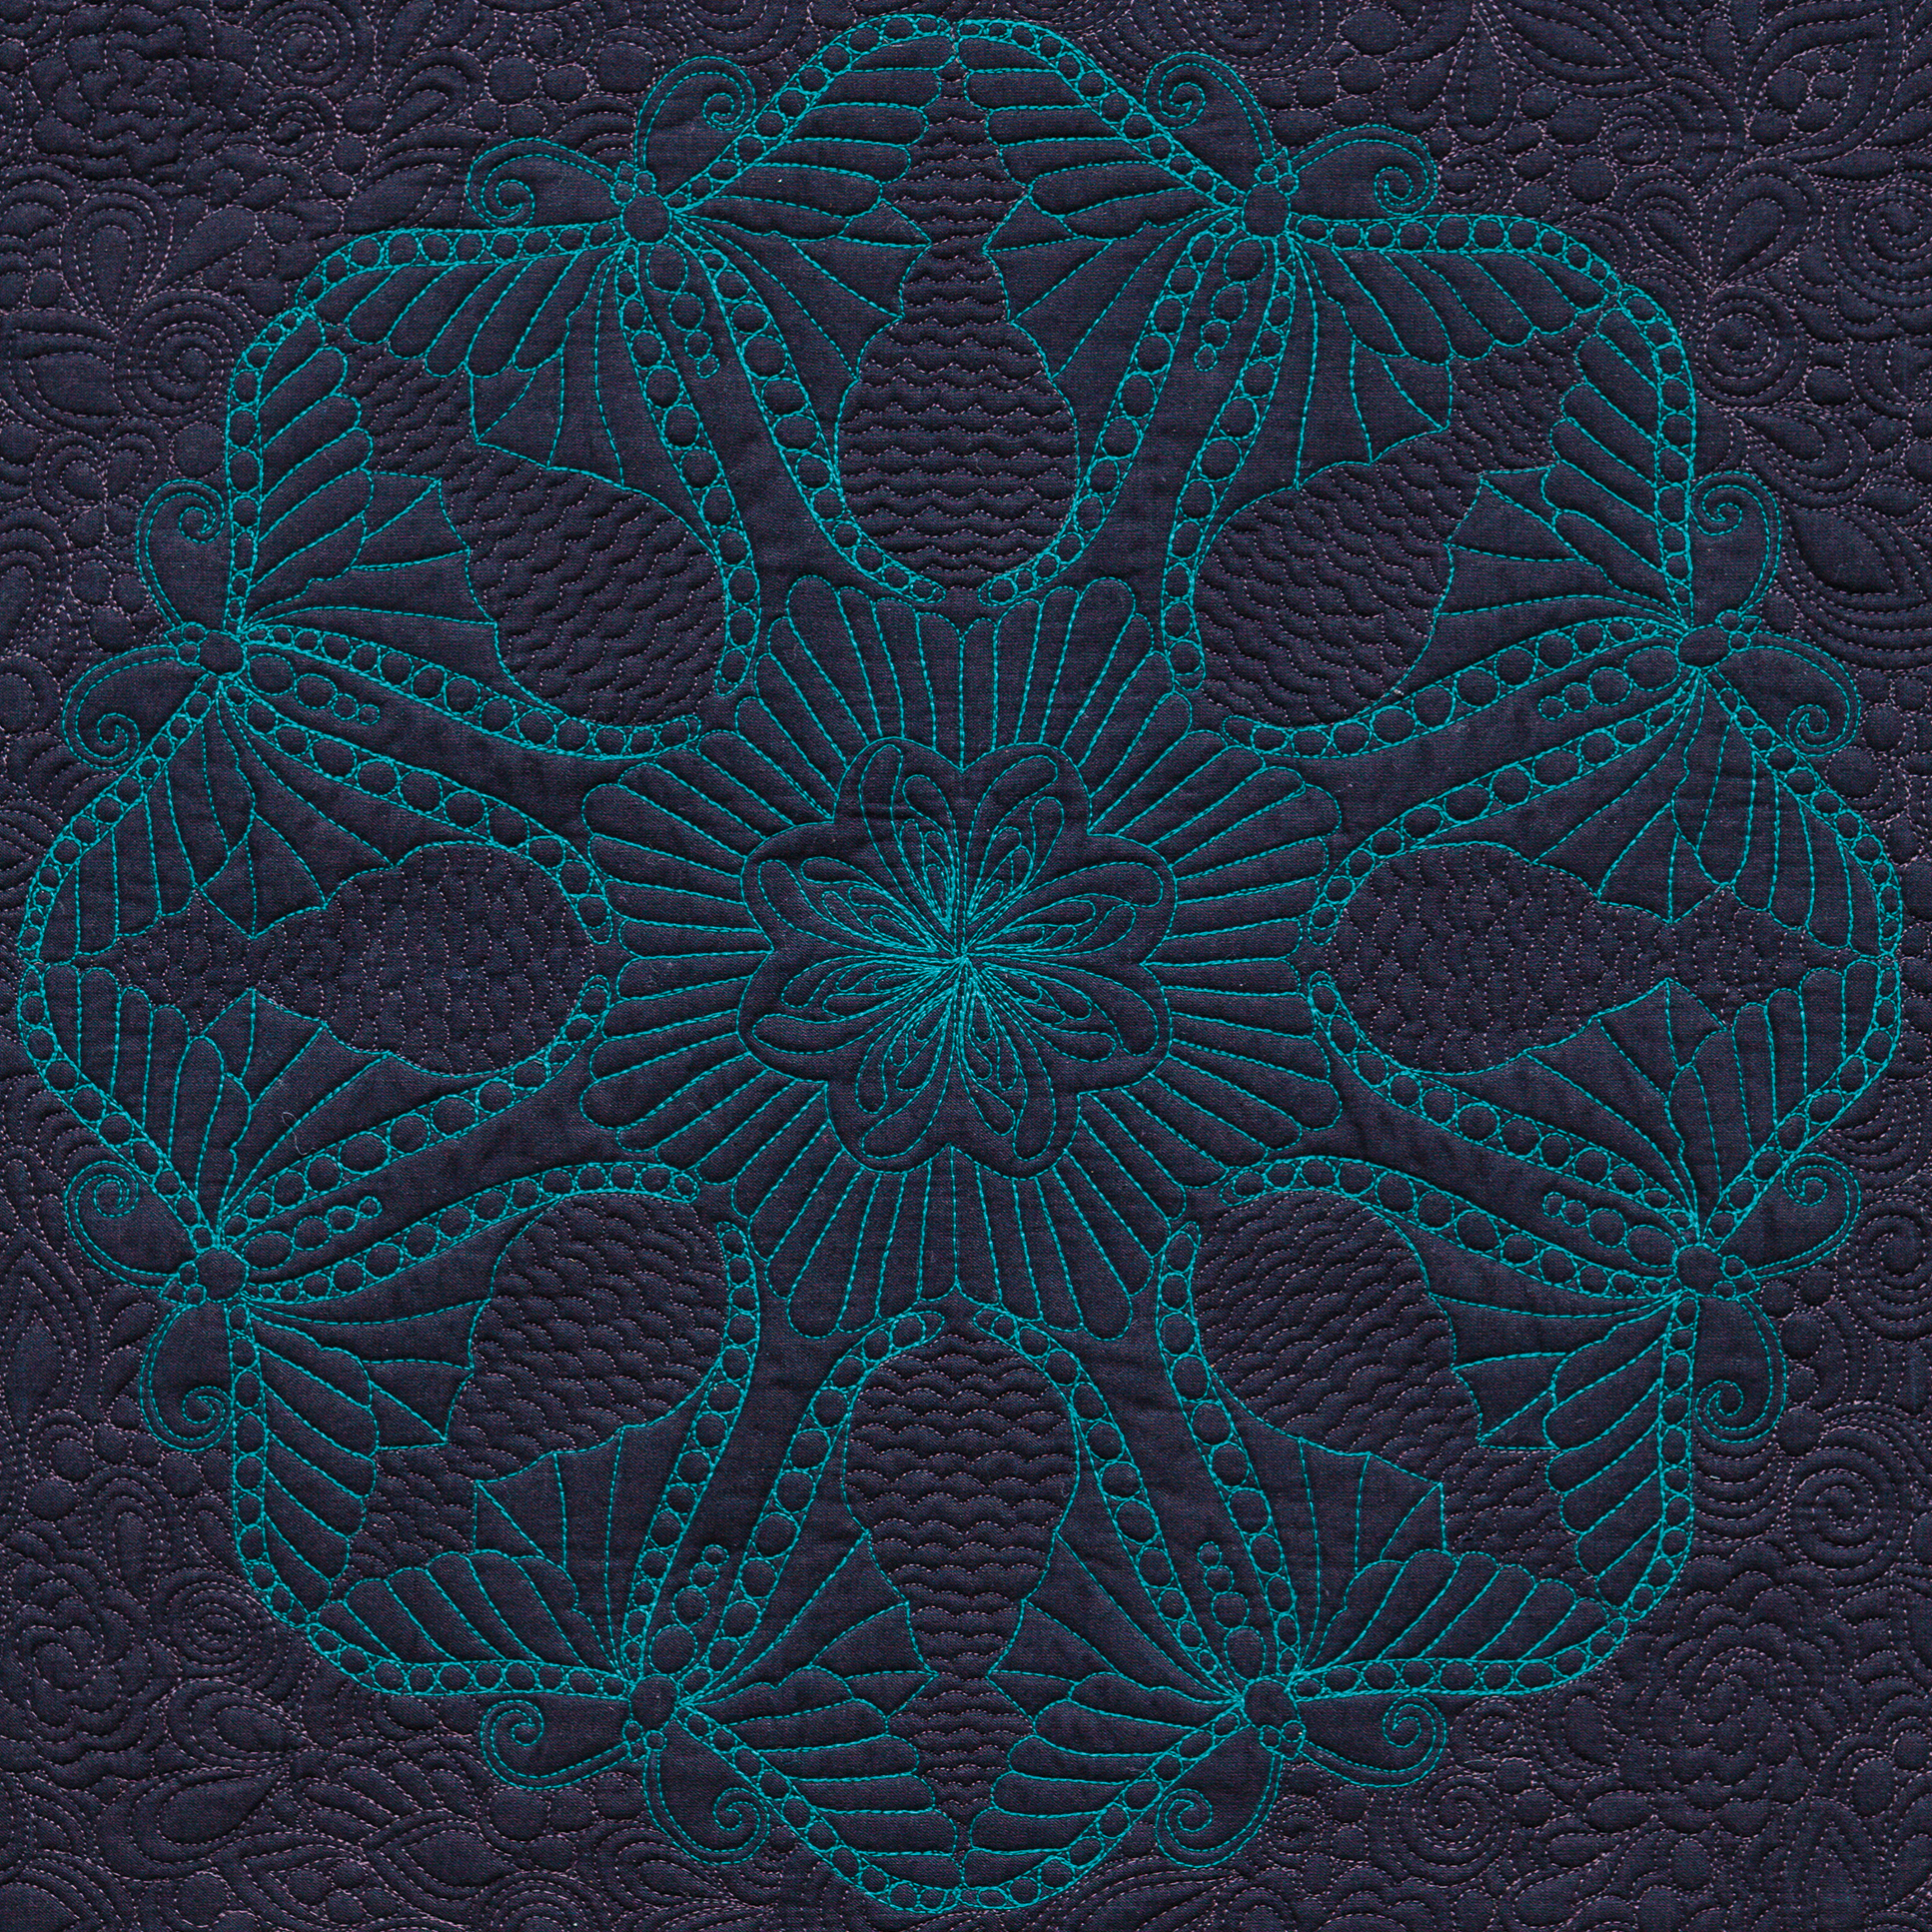
In case you missed it, here’s a super short recap of all of the free domestic machine quilting tutorials I shared over the past year. Click play below for a quick peek of all 99 designs. Credit to my son Ryan for composing the original music to go along with it!
If you’d like to catch up on any of them that you’ve missed, I’ve created a playlist of all 99 Machine Quilting Designs. These come straight from my best-selling book of the same name. The playlist spans a total of 56 videos plus an in-depth introduction to the series which shows how to set yourself up for machine quilting success.
While you are visiting my YouTube channel, be sure to like and subscribe to stay in the loop of what’s next!
- Click here for free machine quilting videos from 99 Machine Quilting Designs
- Click here to grab a PDF download of my best-selling book!

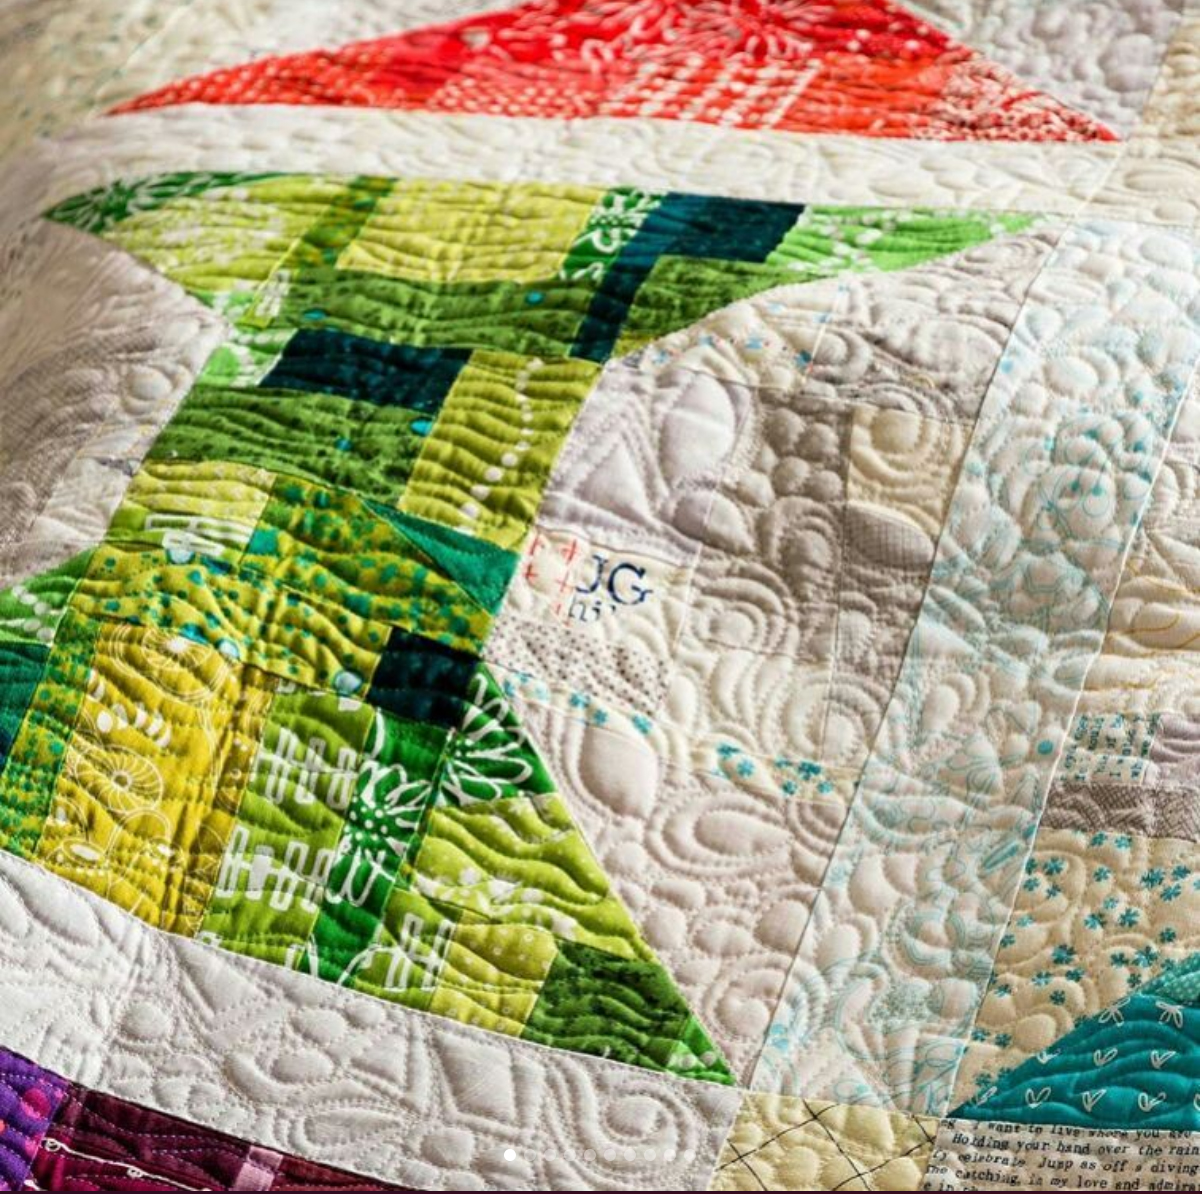
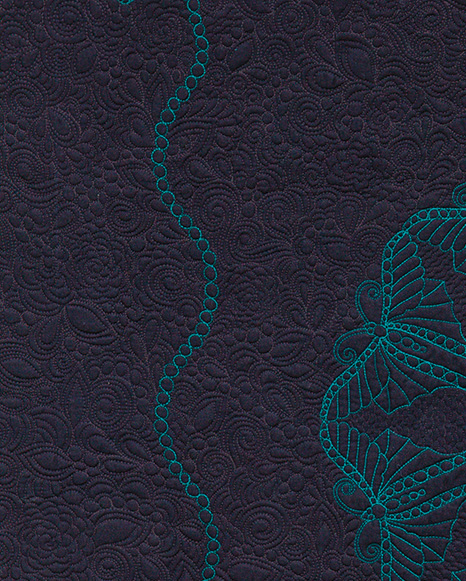
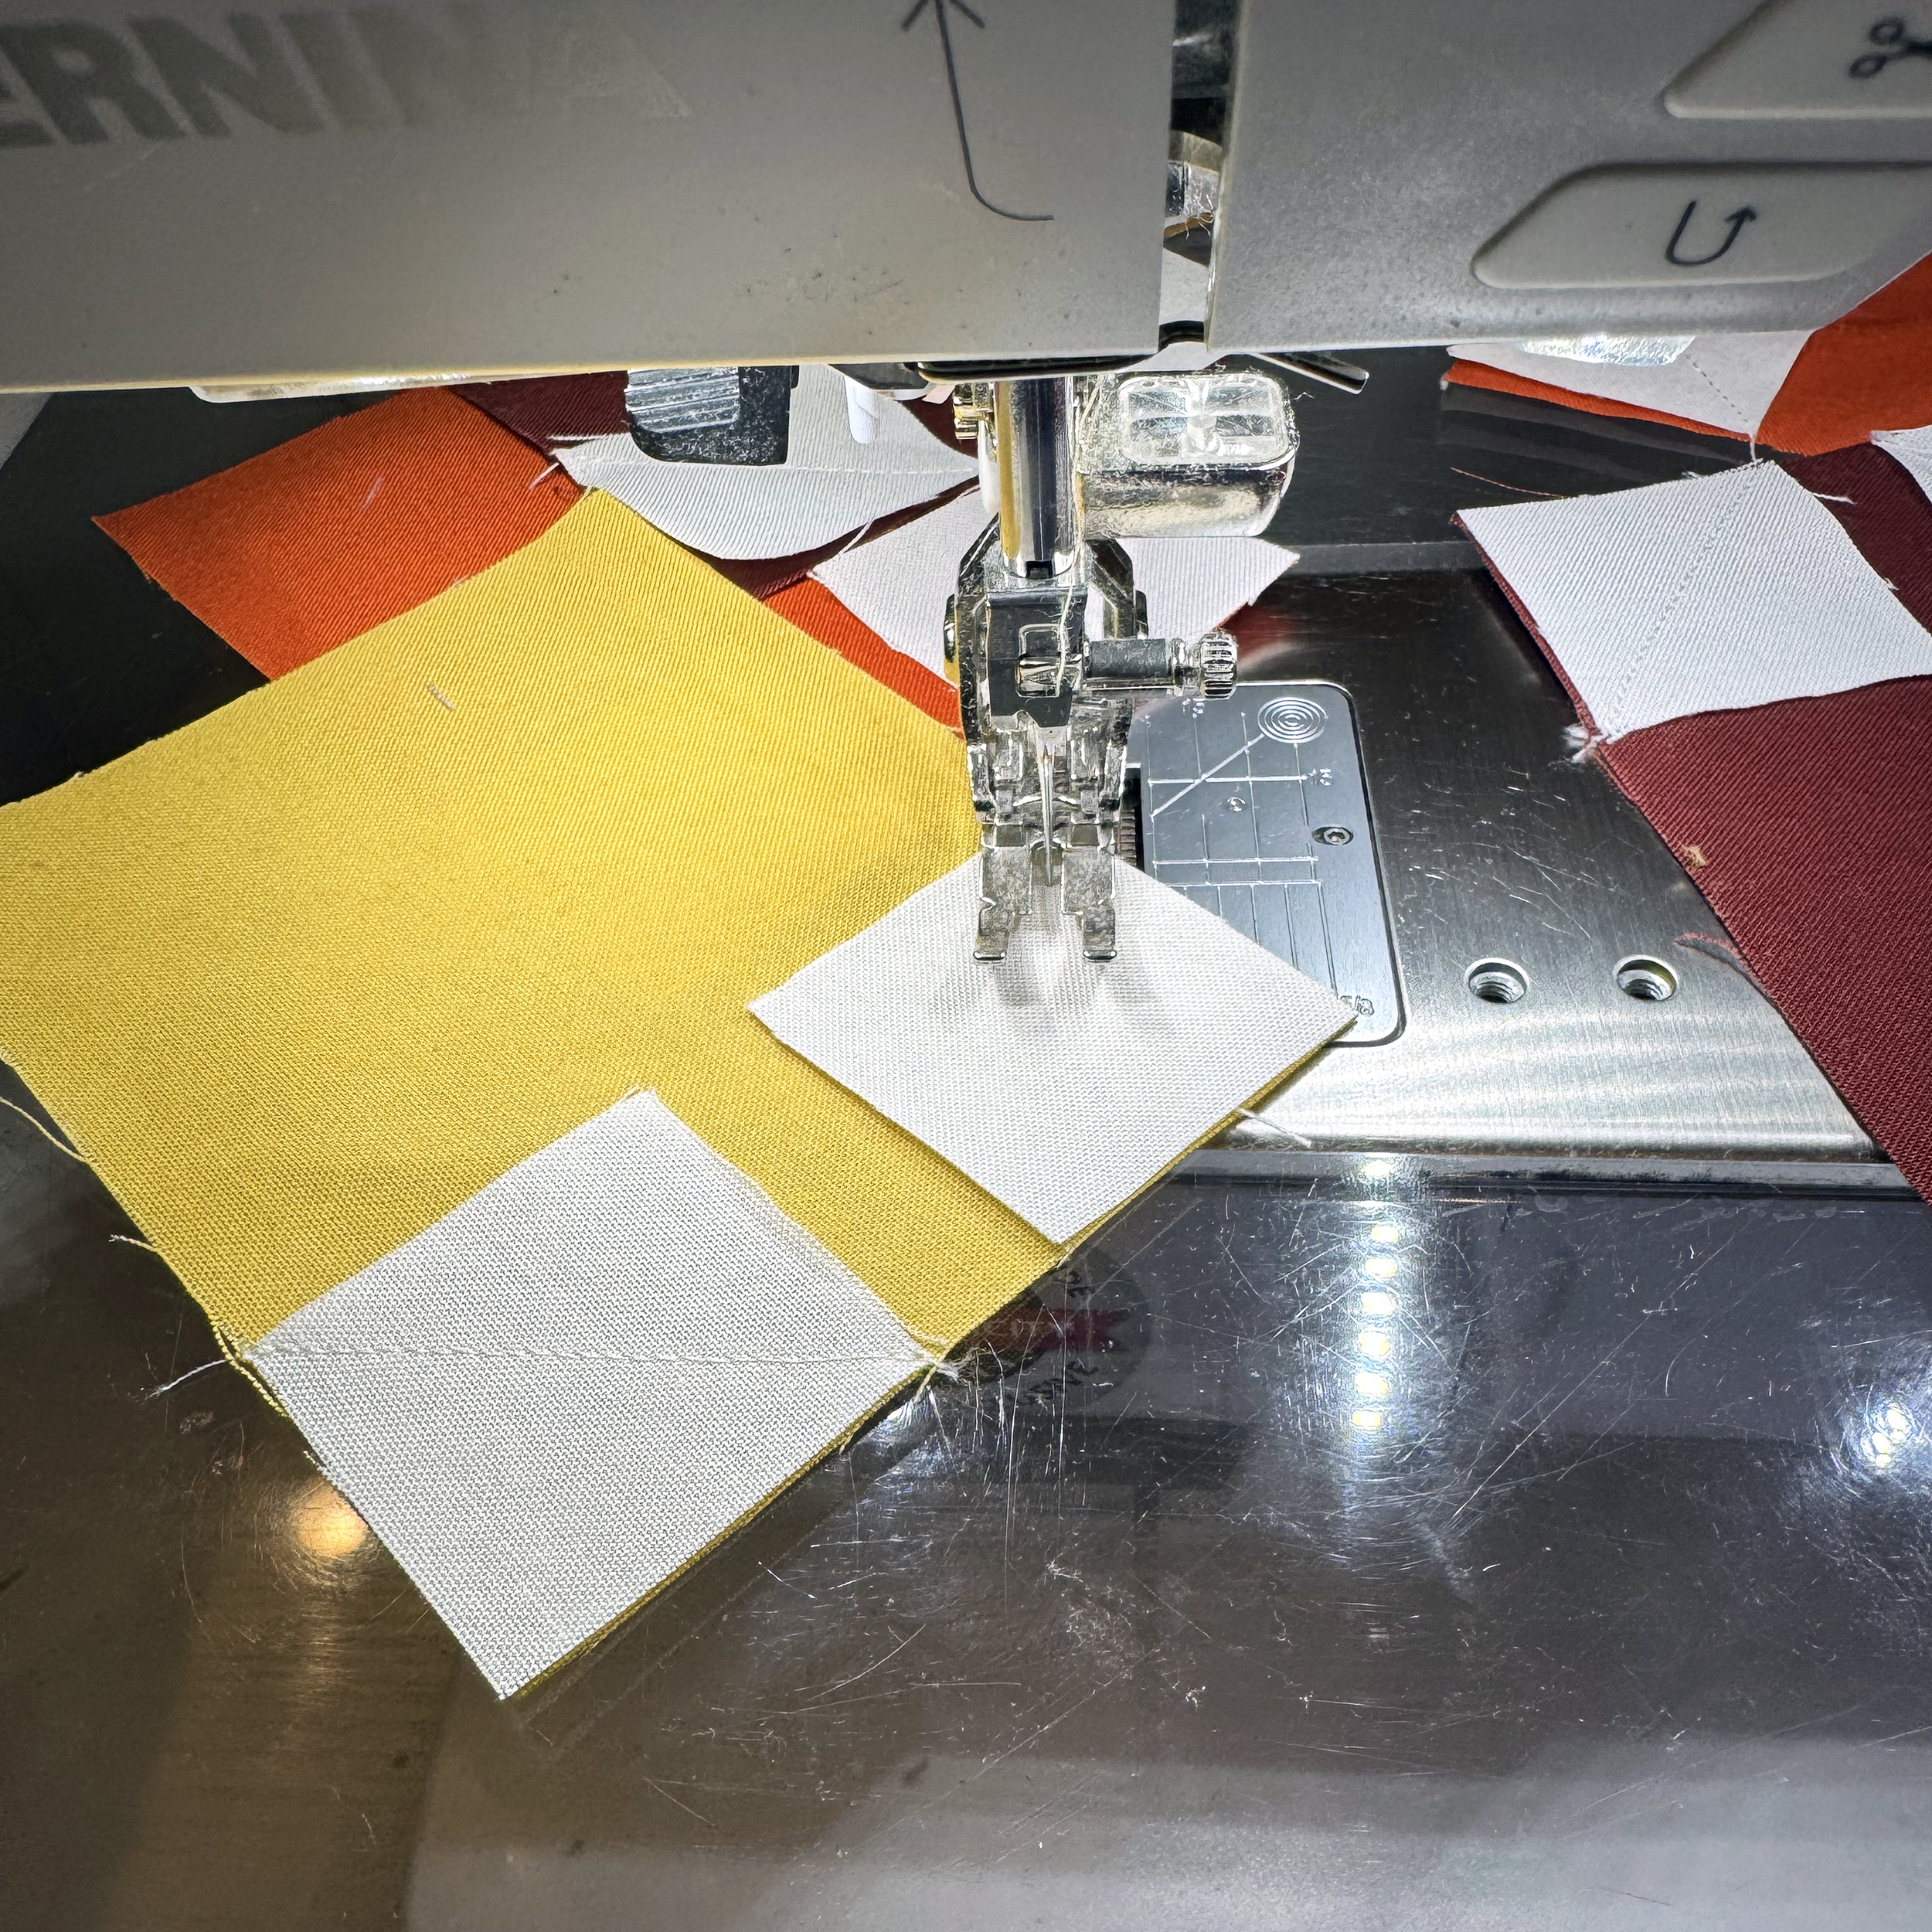
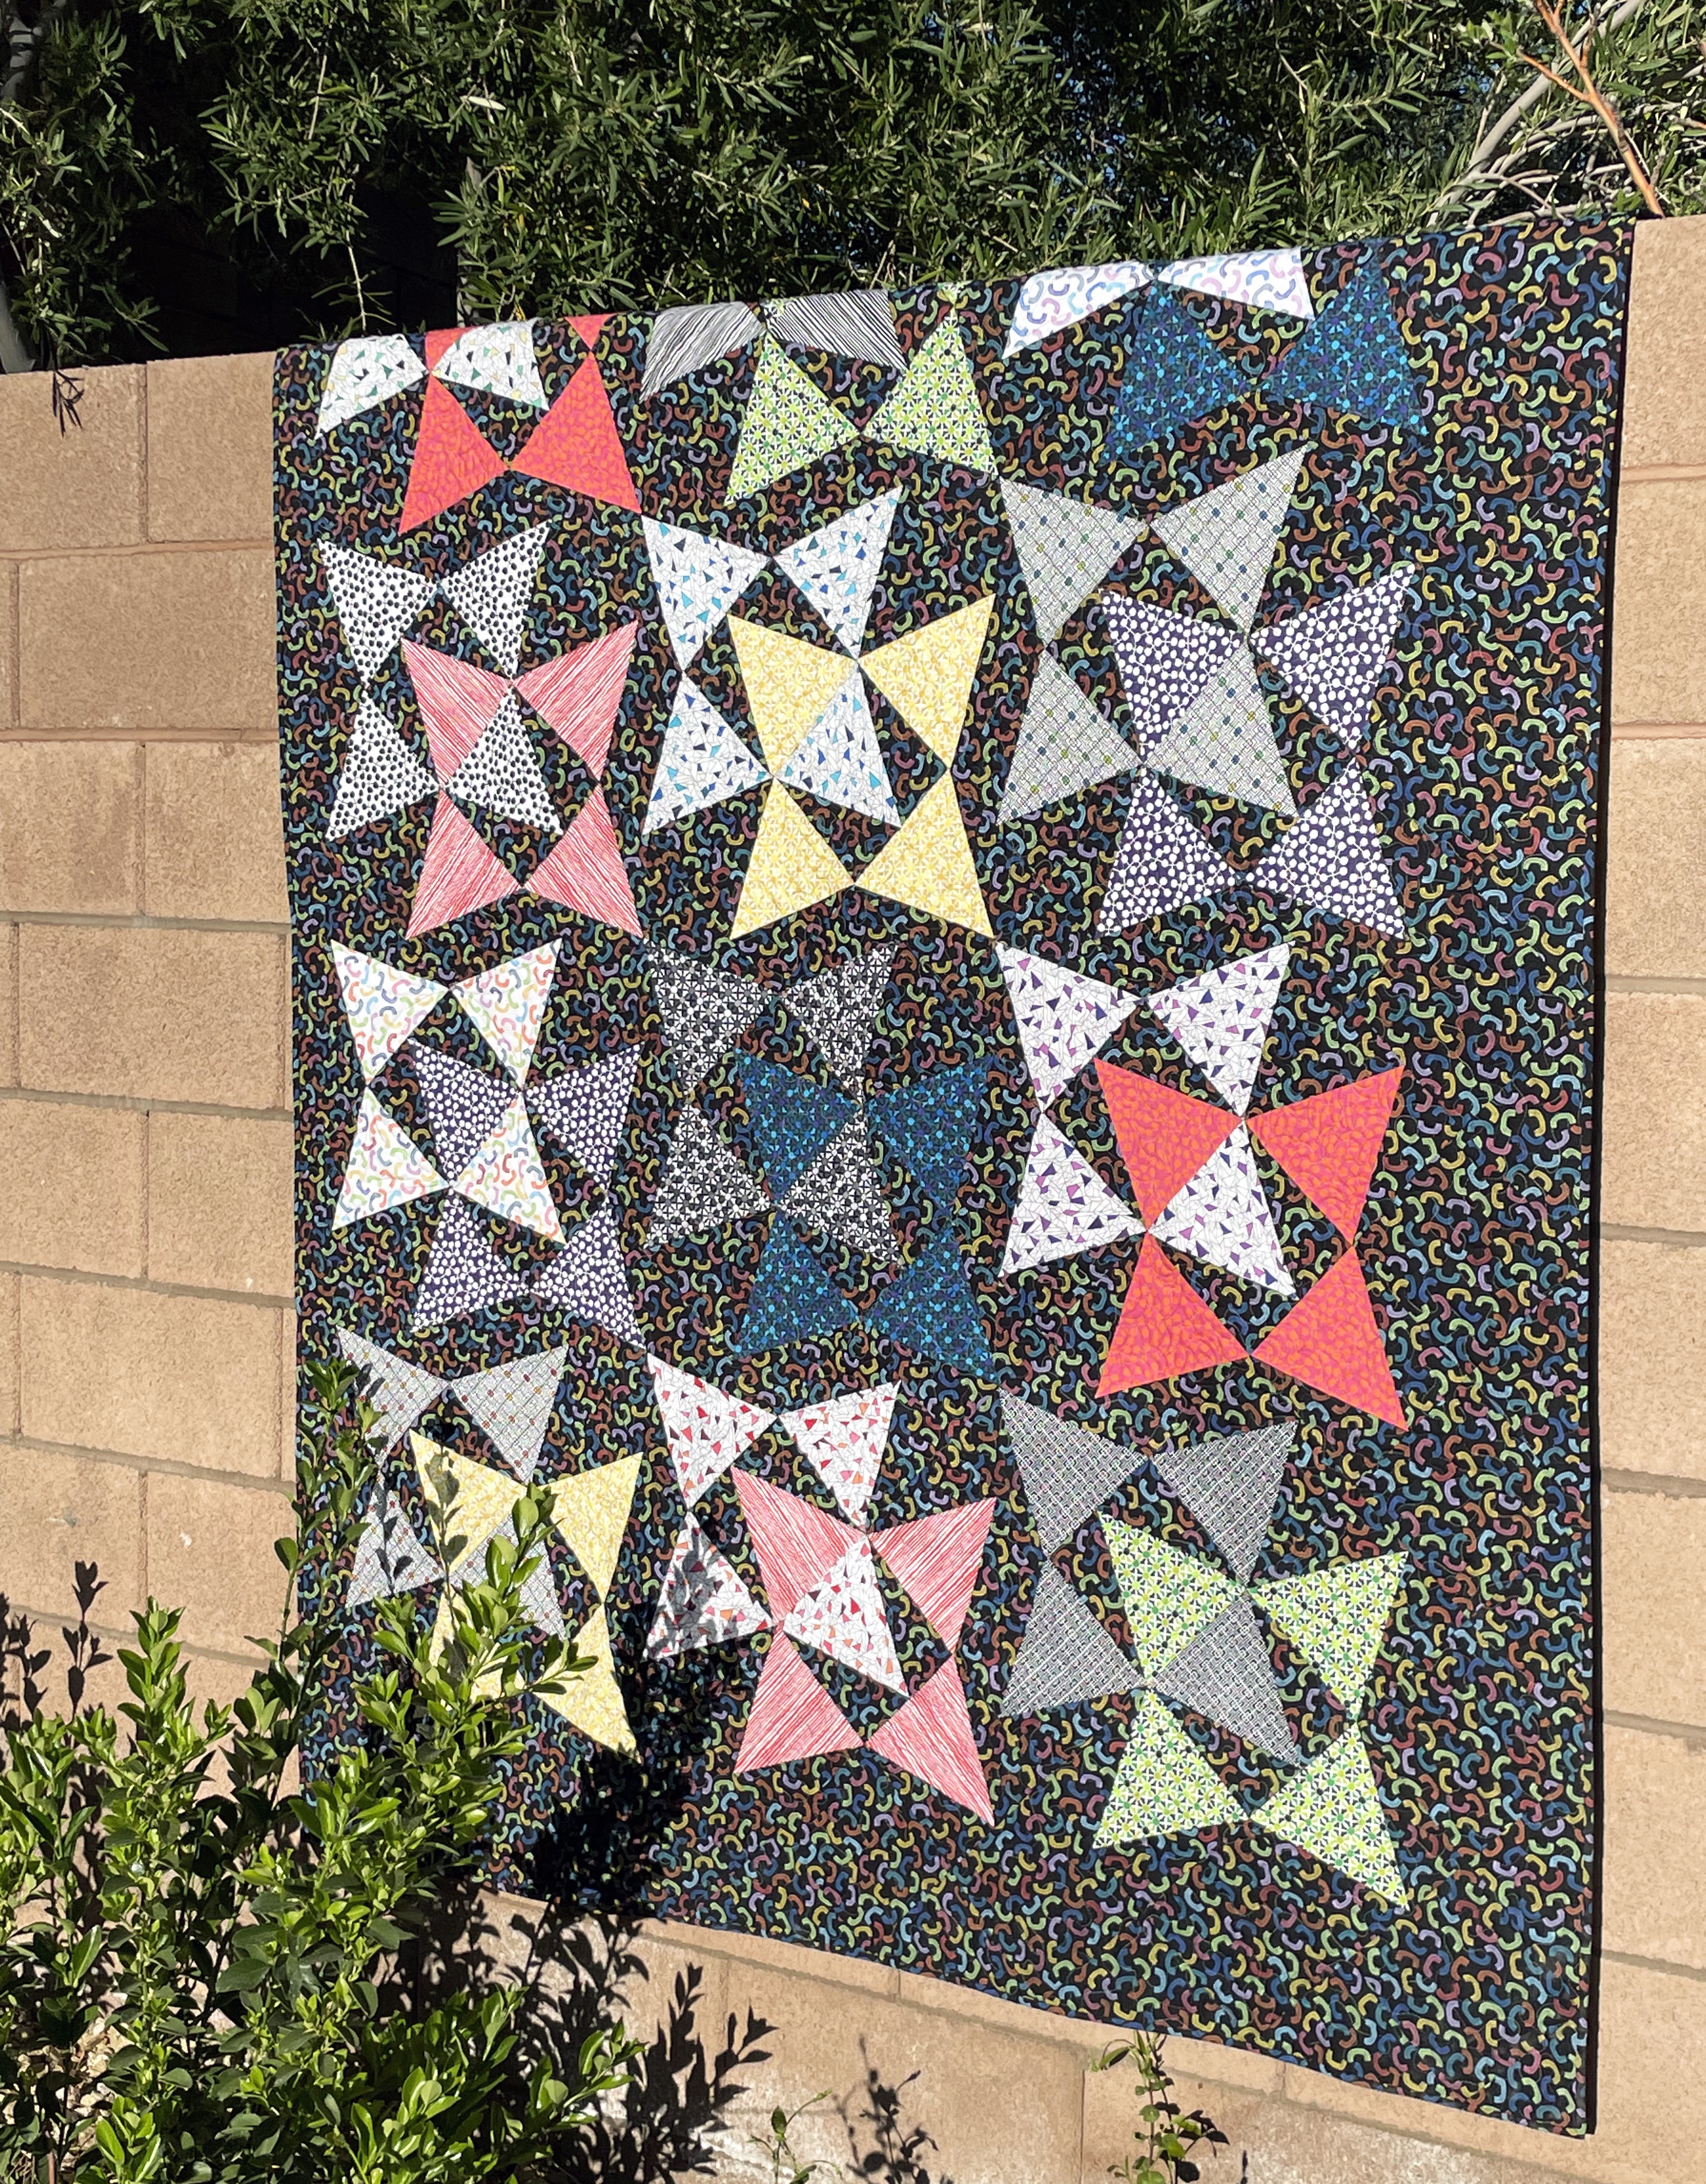
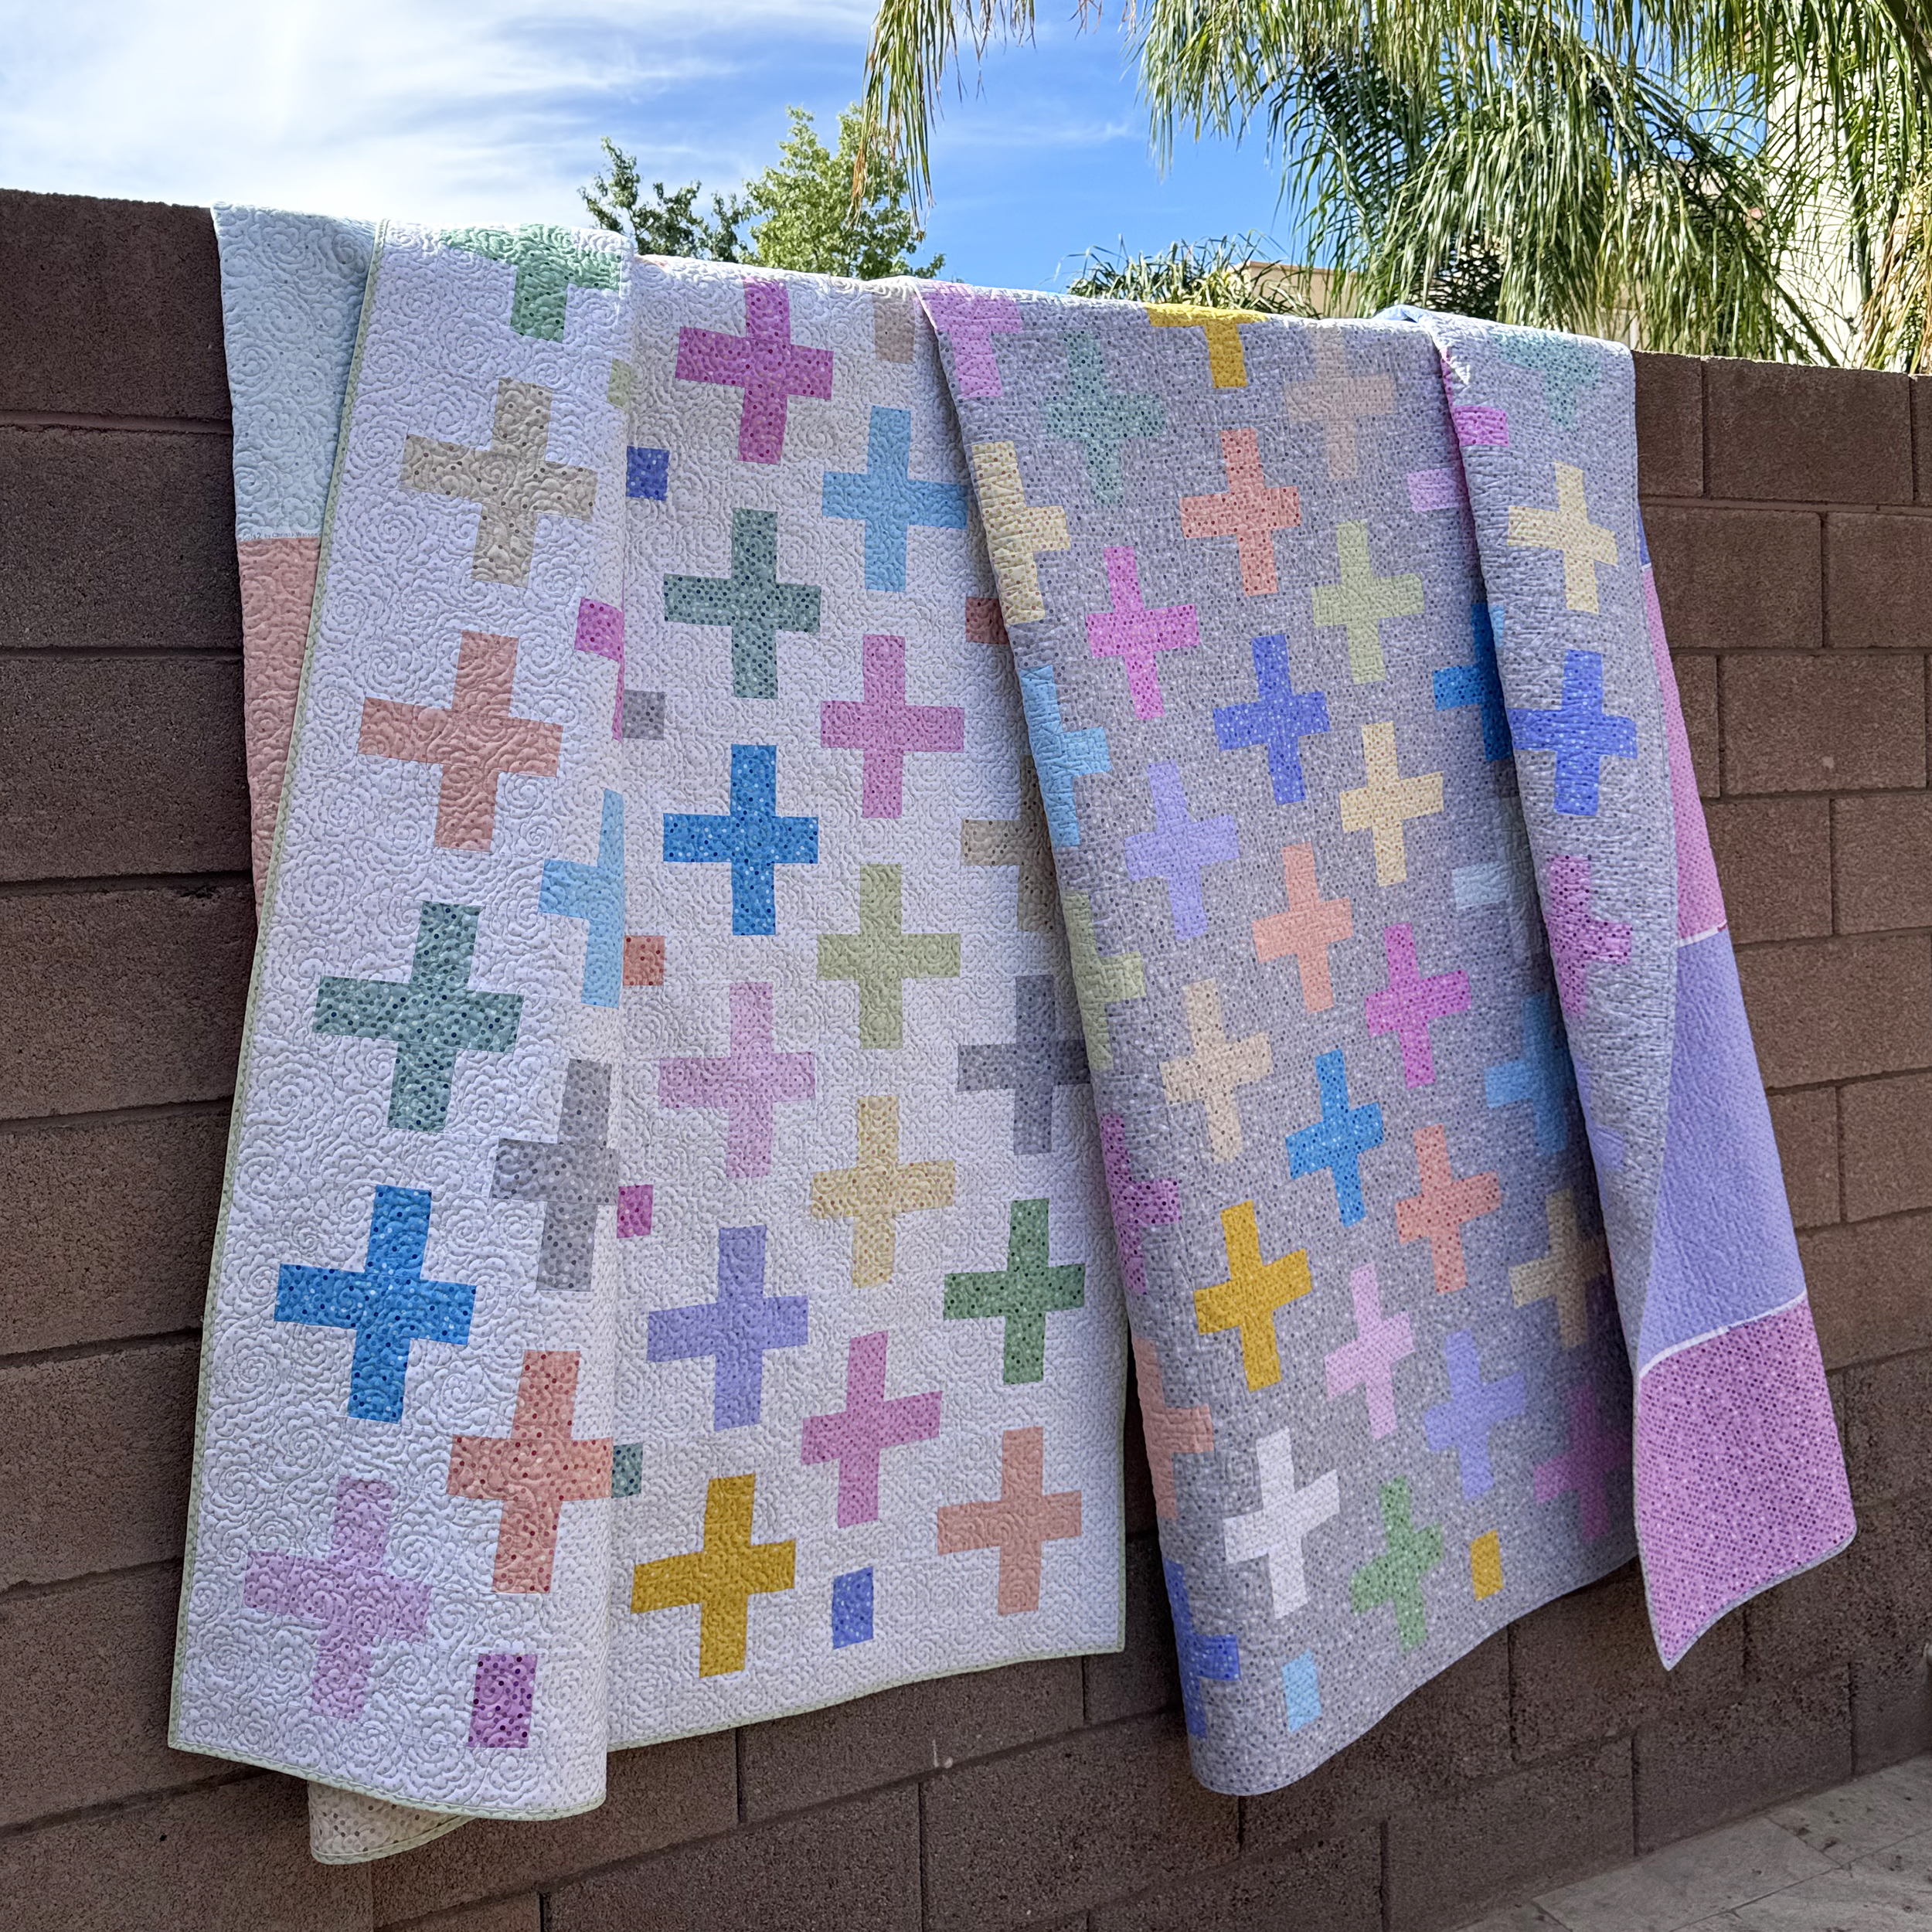
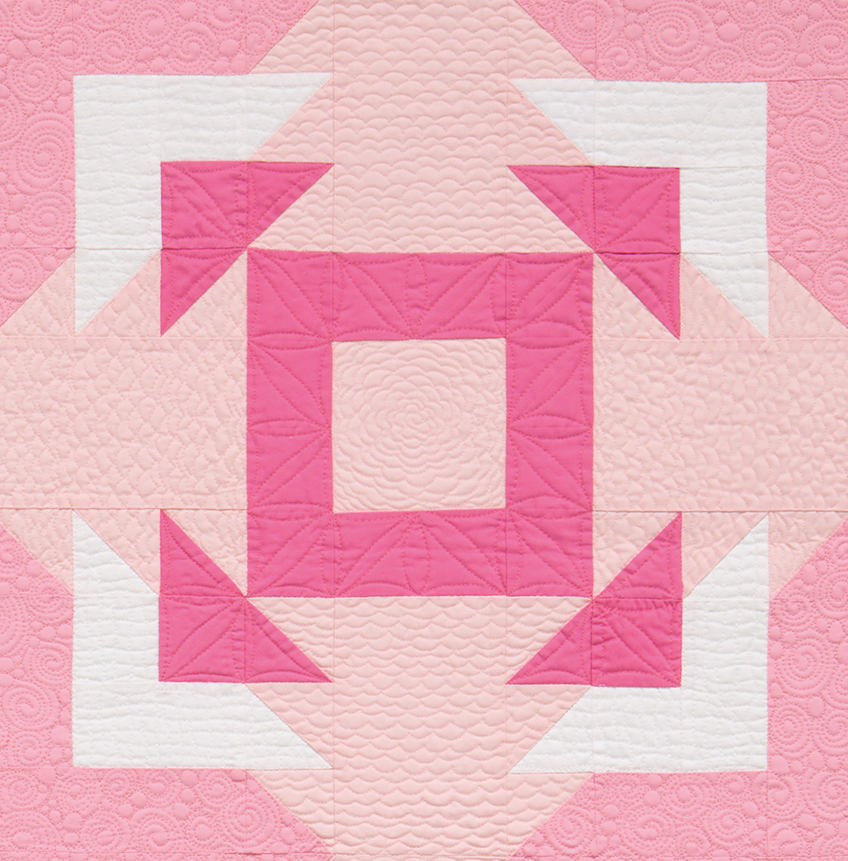
The number one question I get when showing these tutorials is how to quilt these designs on a real quilt. In each of the video tutorials I share a few quick tips and show examples of real quilts.
However, due to popular request, I’ve created another, on-going playlist that walks you through from start to finish how to quilt a real, full sized quilt. I will be adding more to this series on a regular basis, each time a make a new quilt, so stay tuned for more!
Click here to view my other video playlist called, “How I Quilted It.”
This playlist is also based on my newest book of the sae name which is available in both print and PDF:
- Click here to get a physical signed coy of How Do I Quilt It?
- Click here to get the PDF download of How Do I Quilt It?
Now, more quilty adventures await!