Christa’s Quilt Along 1.3 – Jelly Roll Quilt Top

This week’s do-it-yourself-quilt tutorial will be pretty long. We are finishing our Jelly Roll quilt tops and I’m including lots of steps with photos. You can click on last week’s post here.

Step 1 – Piecing the RowsBlock Pairs

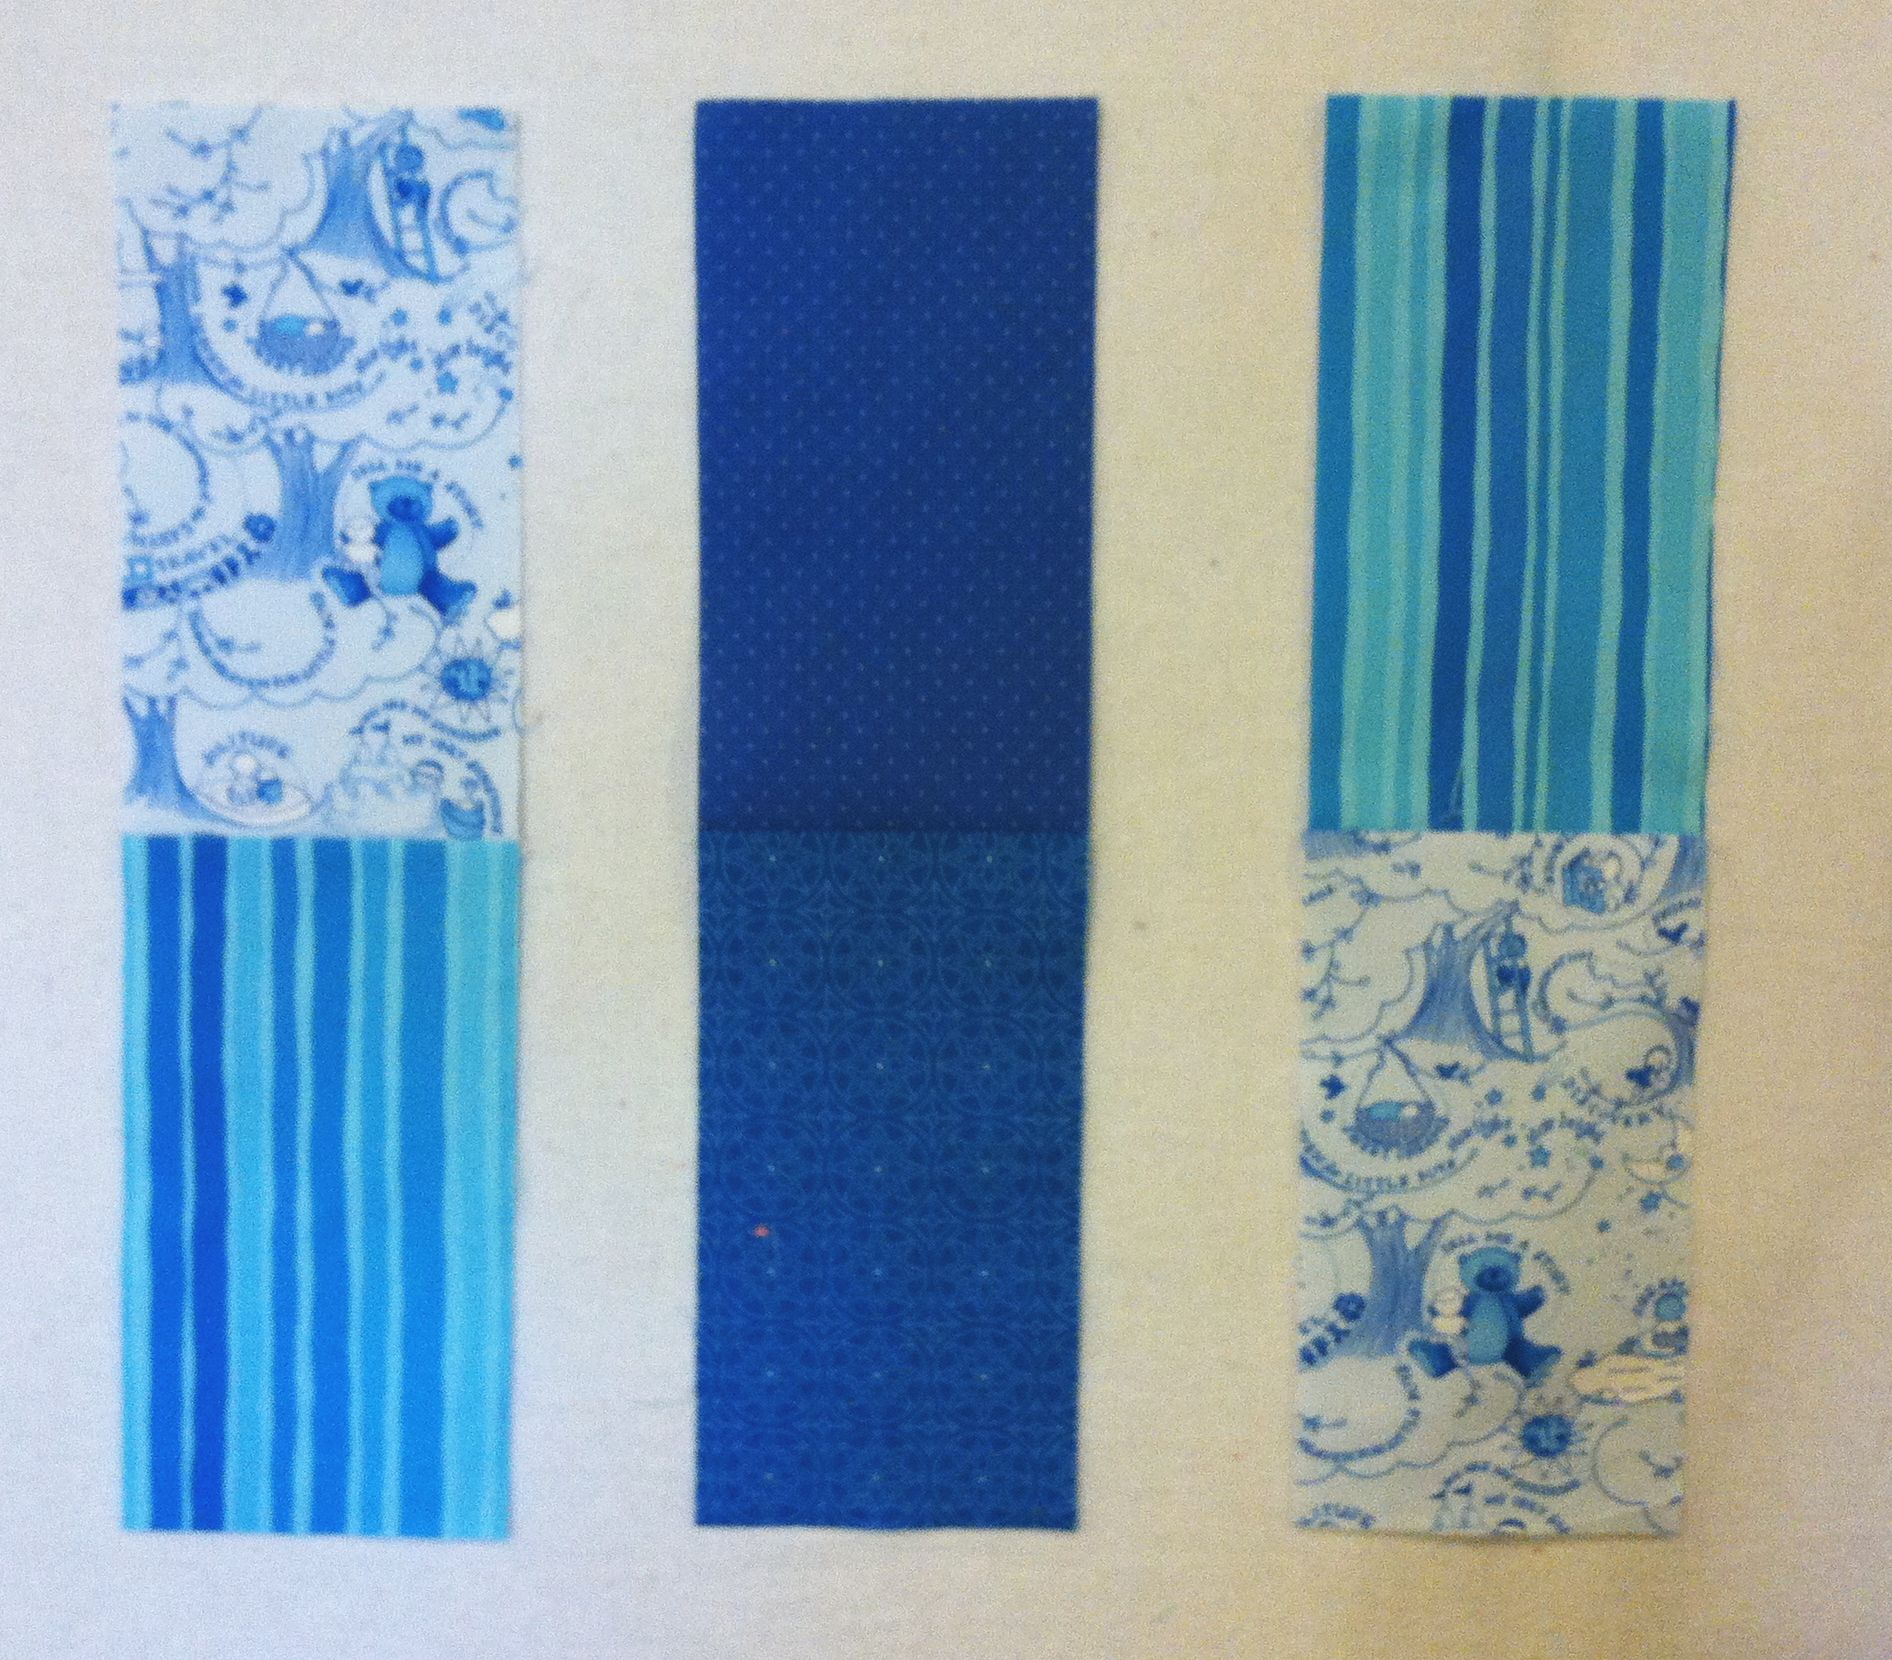
Grab 100 of your sewn blocks and pair them up into sets of 2 like this. Notice the orientation. Sew them all together so that you have 50 block pairs.

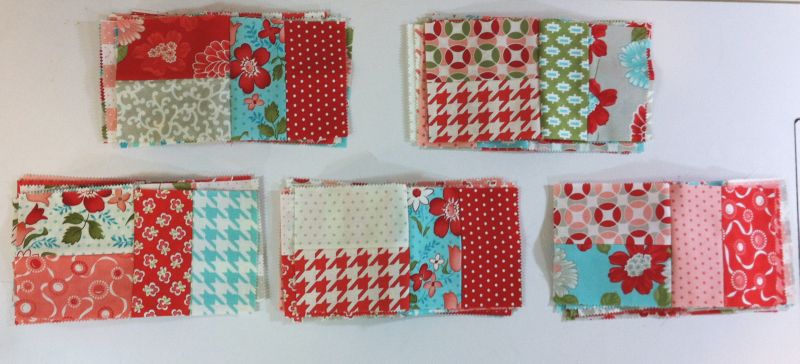
Next, sort your pairs into five stacks of ten block pairs each. This will be for 10 rows you will sew.

5 Stacks of 10 Blocks

Sew the top two pairs together and then the bottom 3 pairs together. Of course, you can shuffle them around as desired and assembly line sew all the stacks to make it quicker.

Piecing the RowsJoin these two pieces together to complete a row from each stack. Repeat to make 10 rows of 10 blocks each. They will all look the same and you will flip every other row to create the pattern. Please take this into account if you are using any directional fabrics.

Step 2 – Sewing your “IQ” (Inner Quilt)

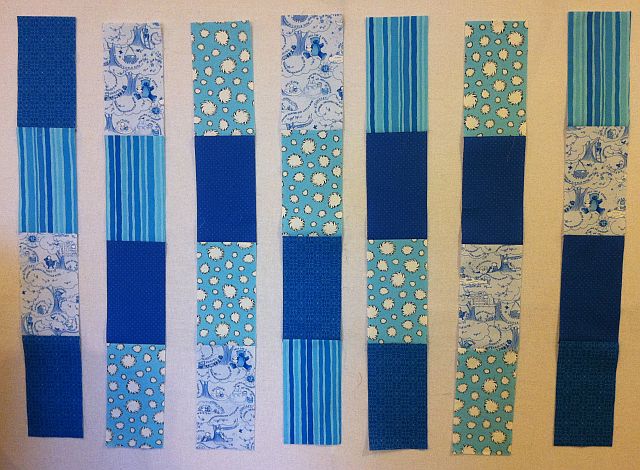
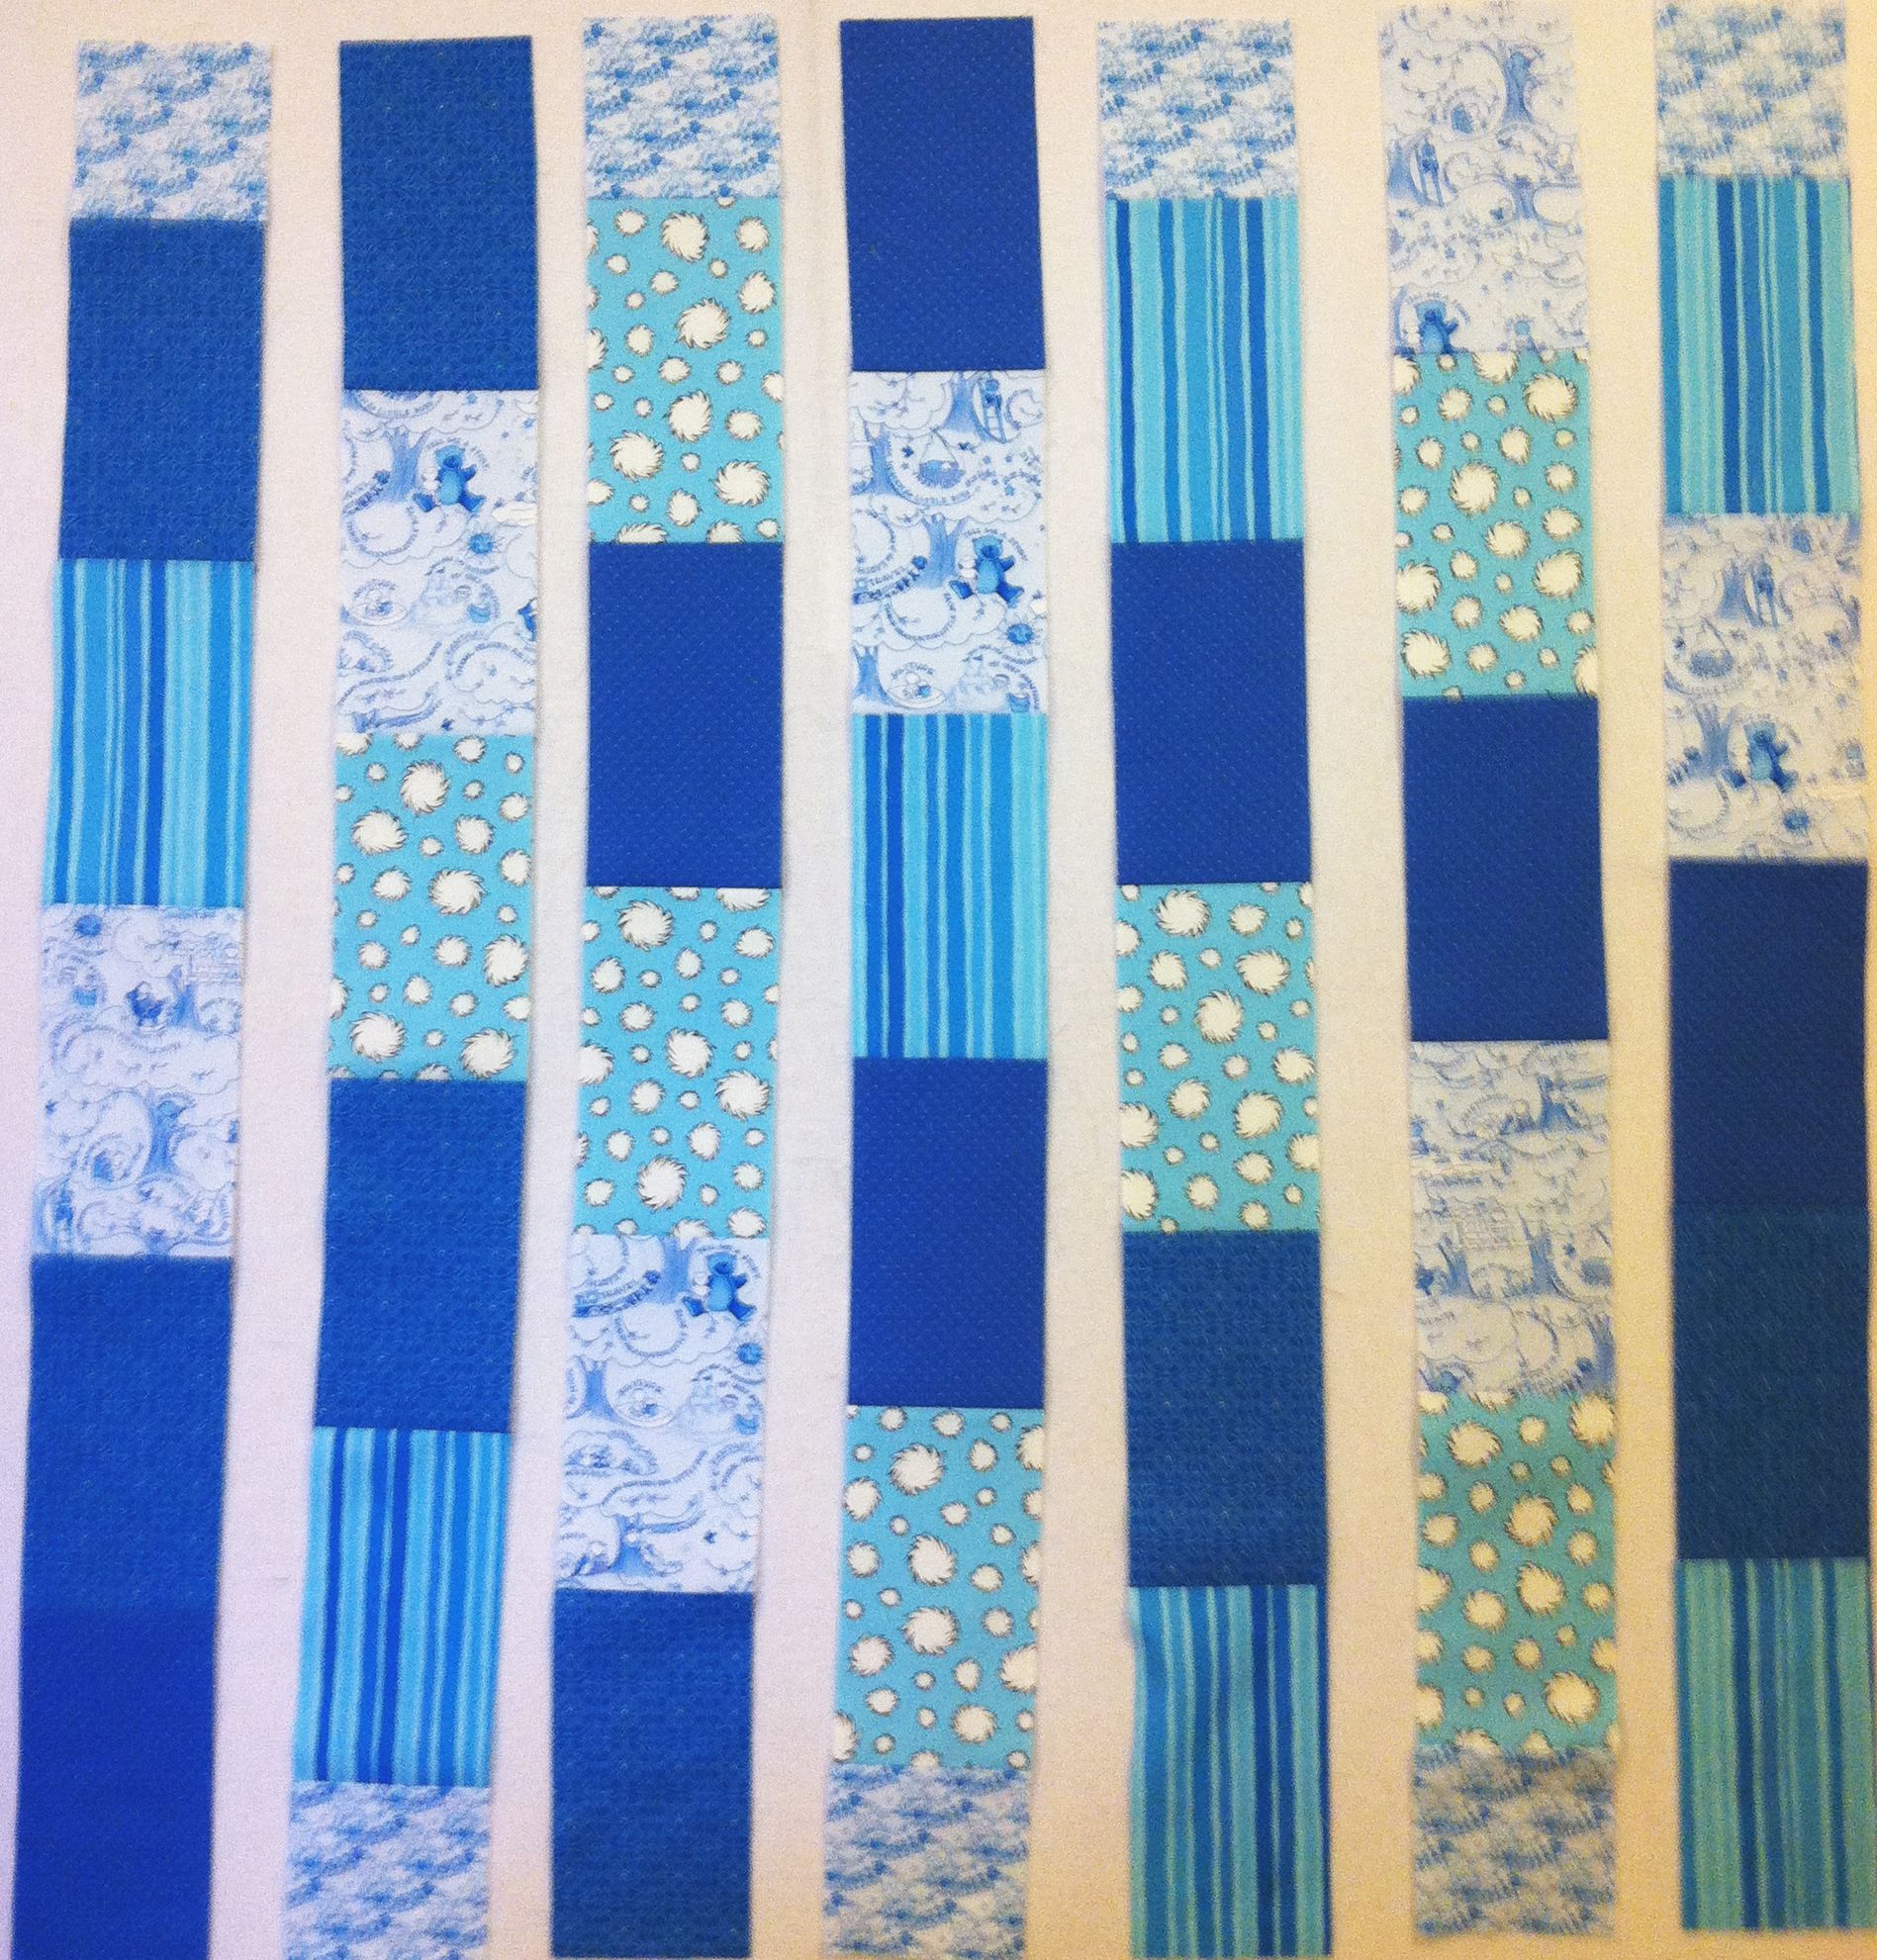
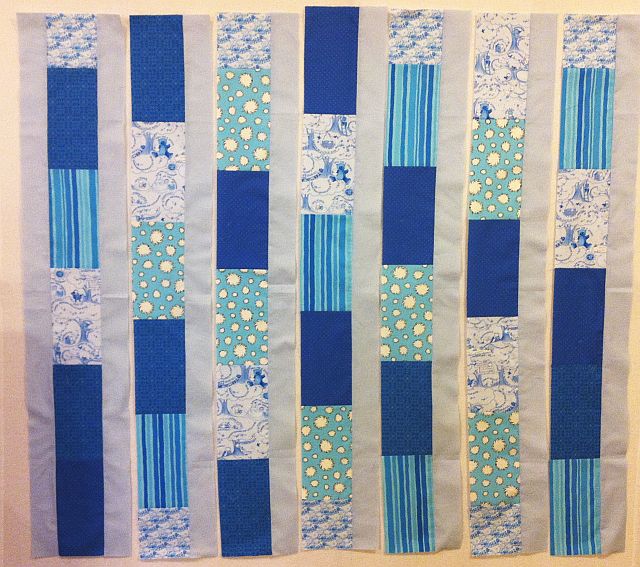
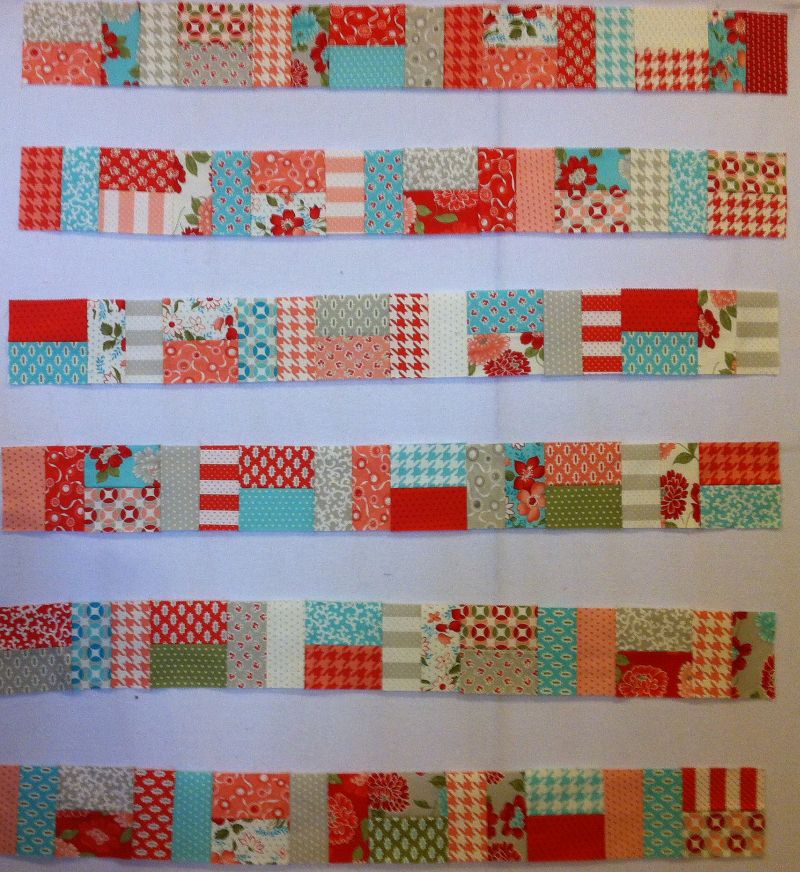
Lay out all 10 of your rows horizontally into a pleasing arrangement. Flip every other row to create a horizontal-vertical-horizontal pattern with the blocks.

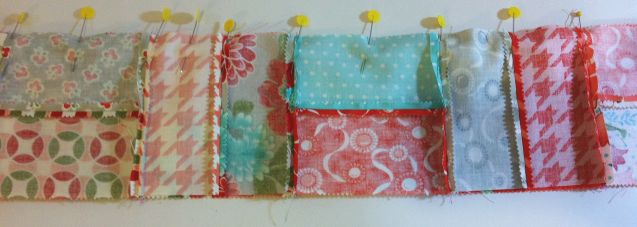
Pieced Jelly Roll Strip Rows10 Rows of BlocksImplement the 3 P’s for pretty patchwork: Press, Pin, and be Precise!

Pin Your RowsSew the rows of blocks together into groups of two. I put each row up on my design wall to make sure I don’t have the same two fabrics touching. Join rows to complete the IQ.

Join the Rows

Step 3 – Adding The Inner Solid Border & Outer Pieced Border

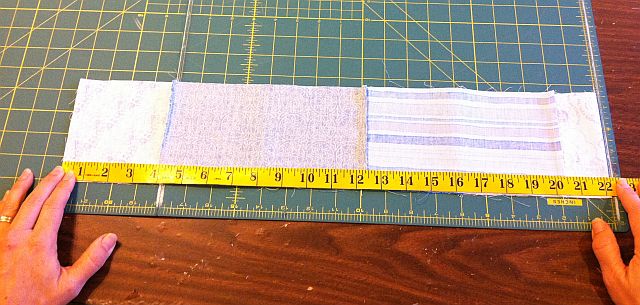
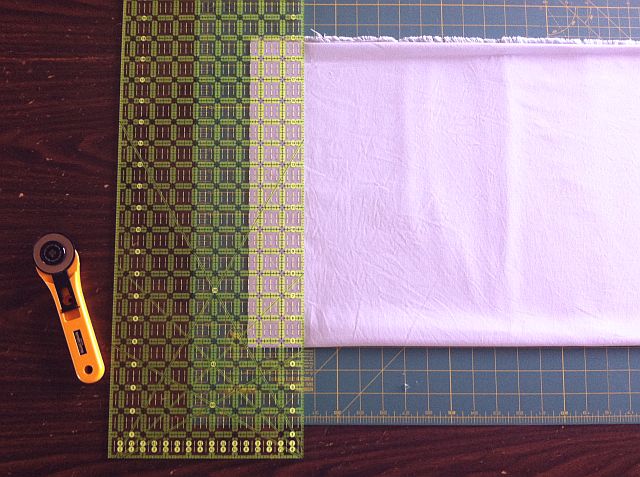
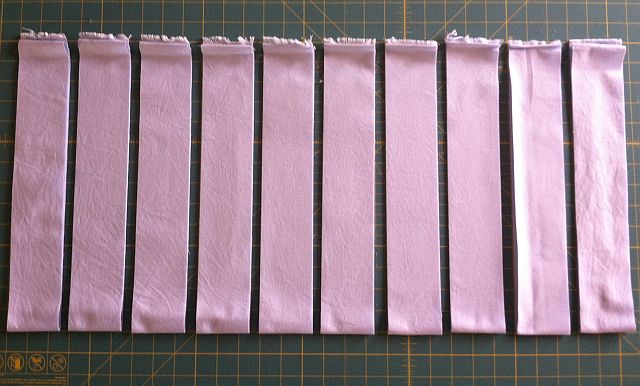
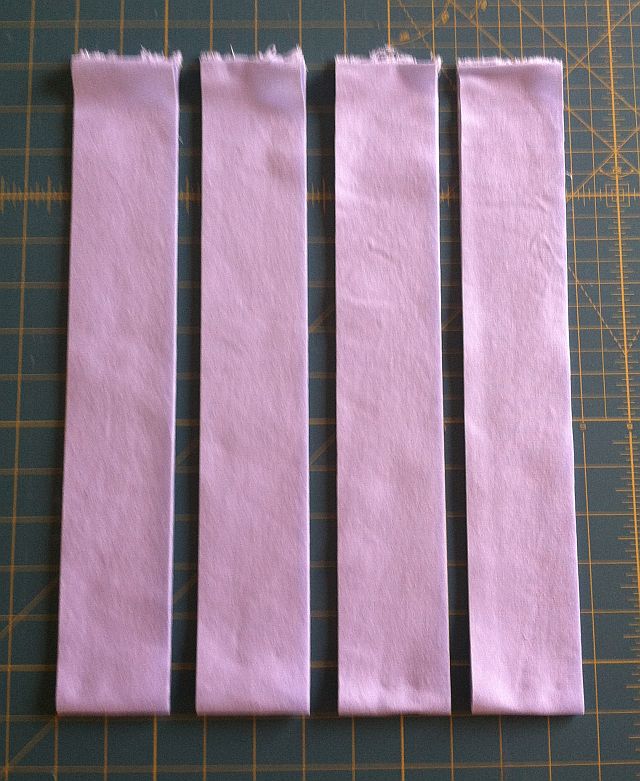
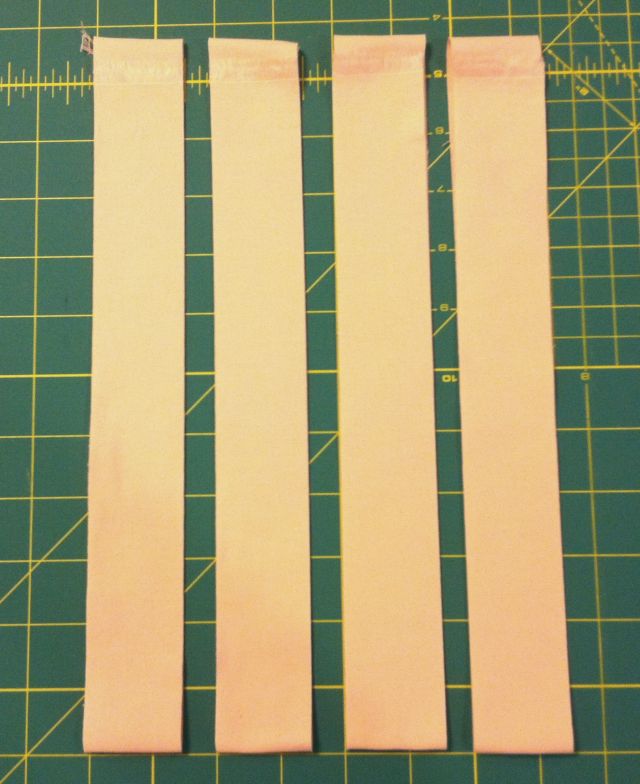
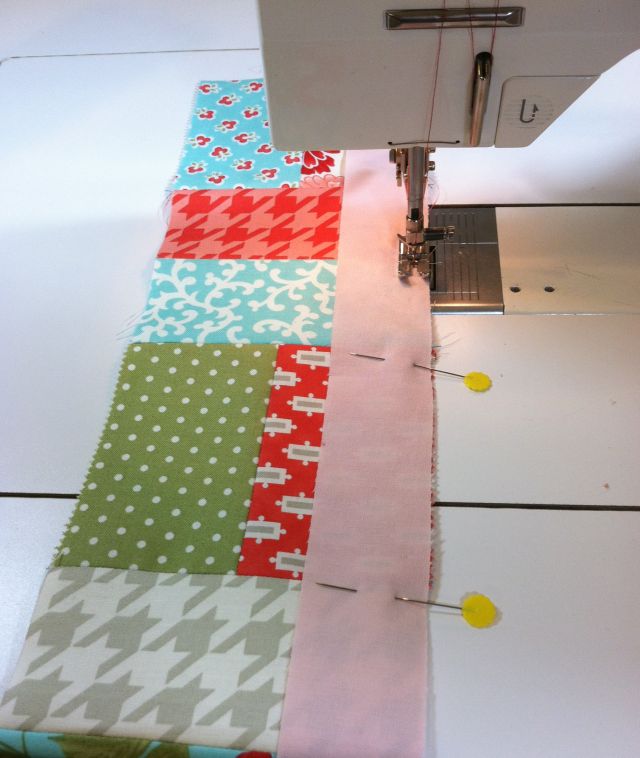
Sew together 4 more rows of 10 blocks each. Keep the same horizontal-vertical-horizontal pattern going. These strips will be for each of your borders. From your solid fabric, cut 5 – 1.5″ strips. Measure each of your rows and trim 4 of these solid strips to that measurement. Add a strip to each pieced border row on the same side so that they all look the same.

Cut 5 - 1 1/2 Inch StripsAttaching Accent StripsThe rows should measure 40.5″ unfinished. However, my rows grew to 41.5″.

That’s ok as long as they are all consistent!

Sold Strip with Pieced BordersNext, set aside 4 extra pieced blocks for each of the corners. Add a strip of 1.5″ solid to two sides of each block so that it looks like an L. Be sure to sew as shown below to make sure they are positioned carefully. If your blocks measure 4.5″ unfinished, you can trim 4 solid side strips to 4.5″. Trim the other solid side strips to 5.5″.

Adding Corner StripsBorder CornersTwo of each block will be the same.

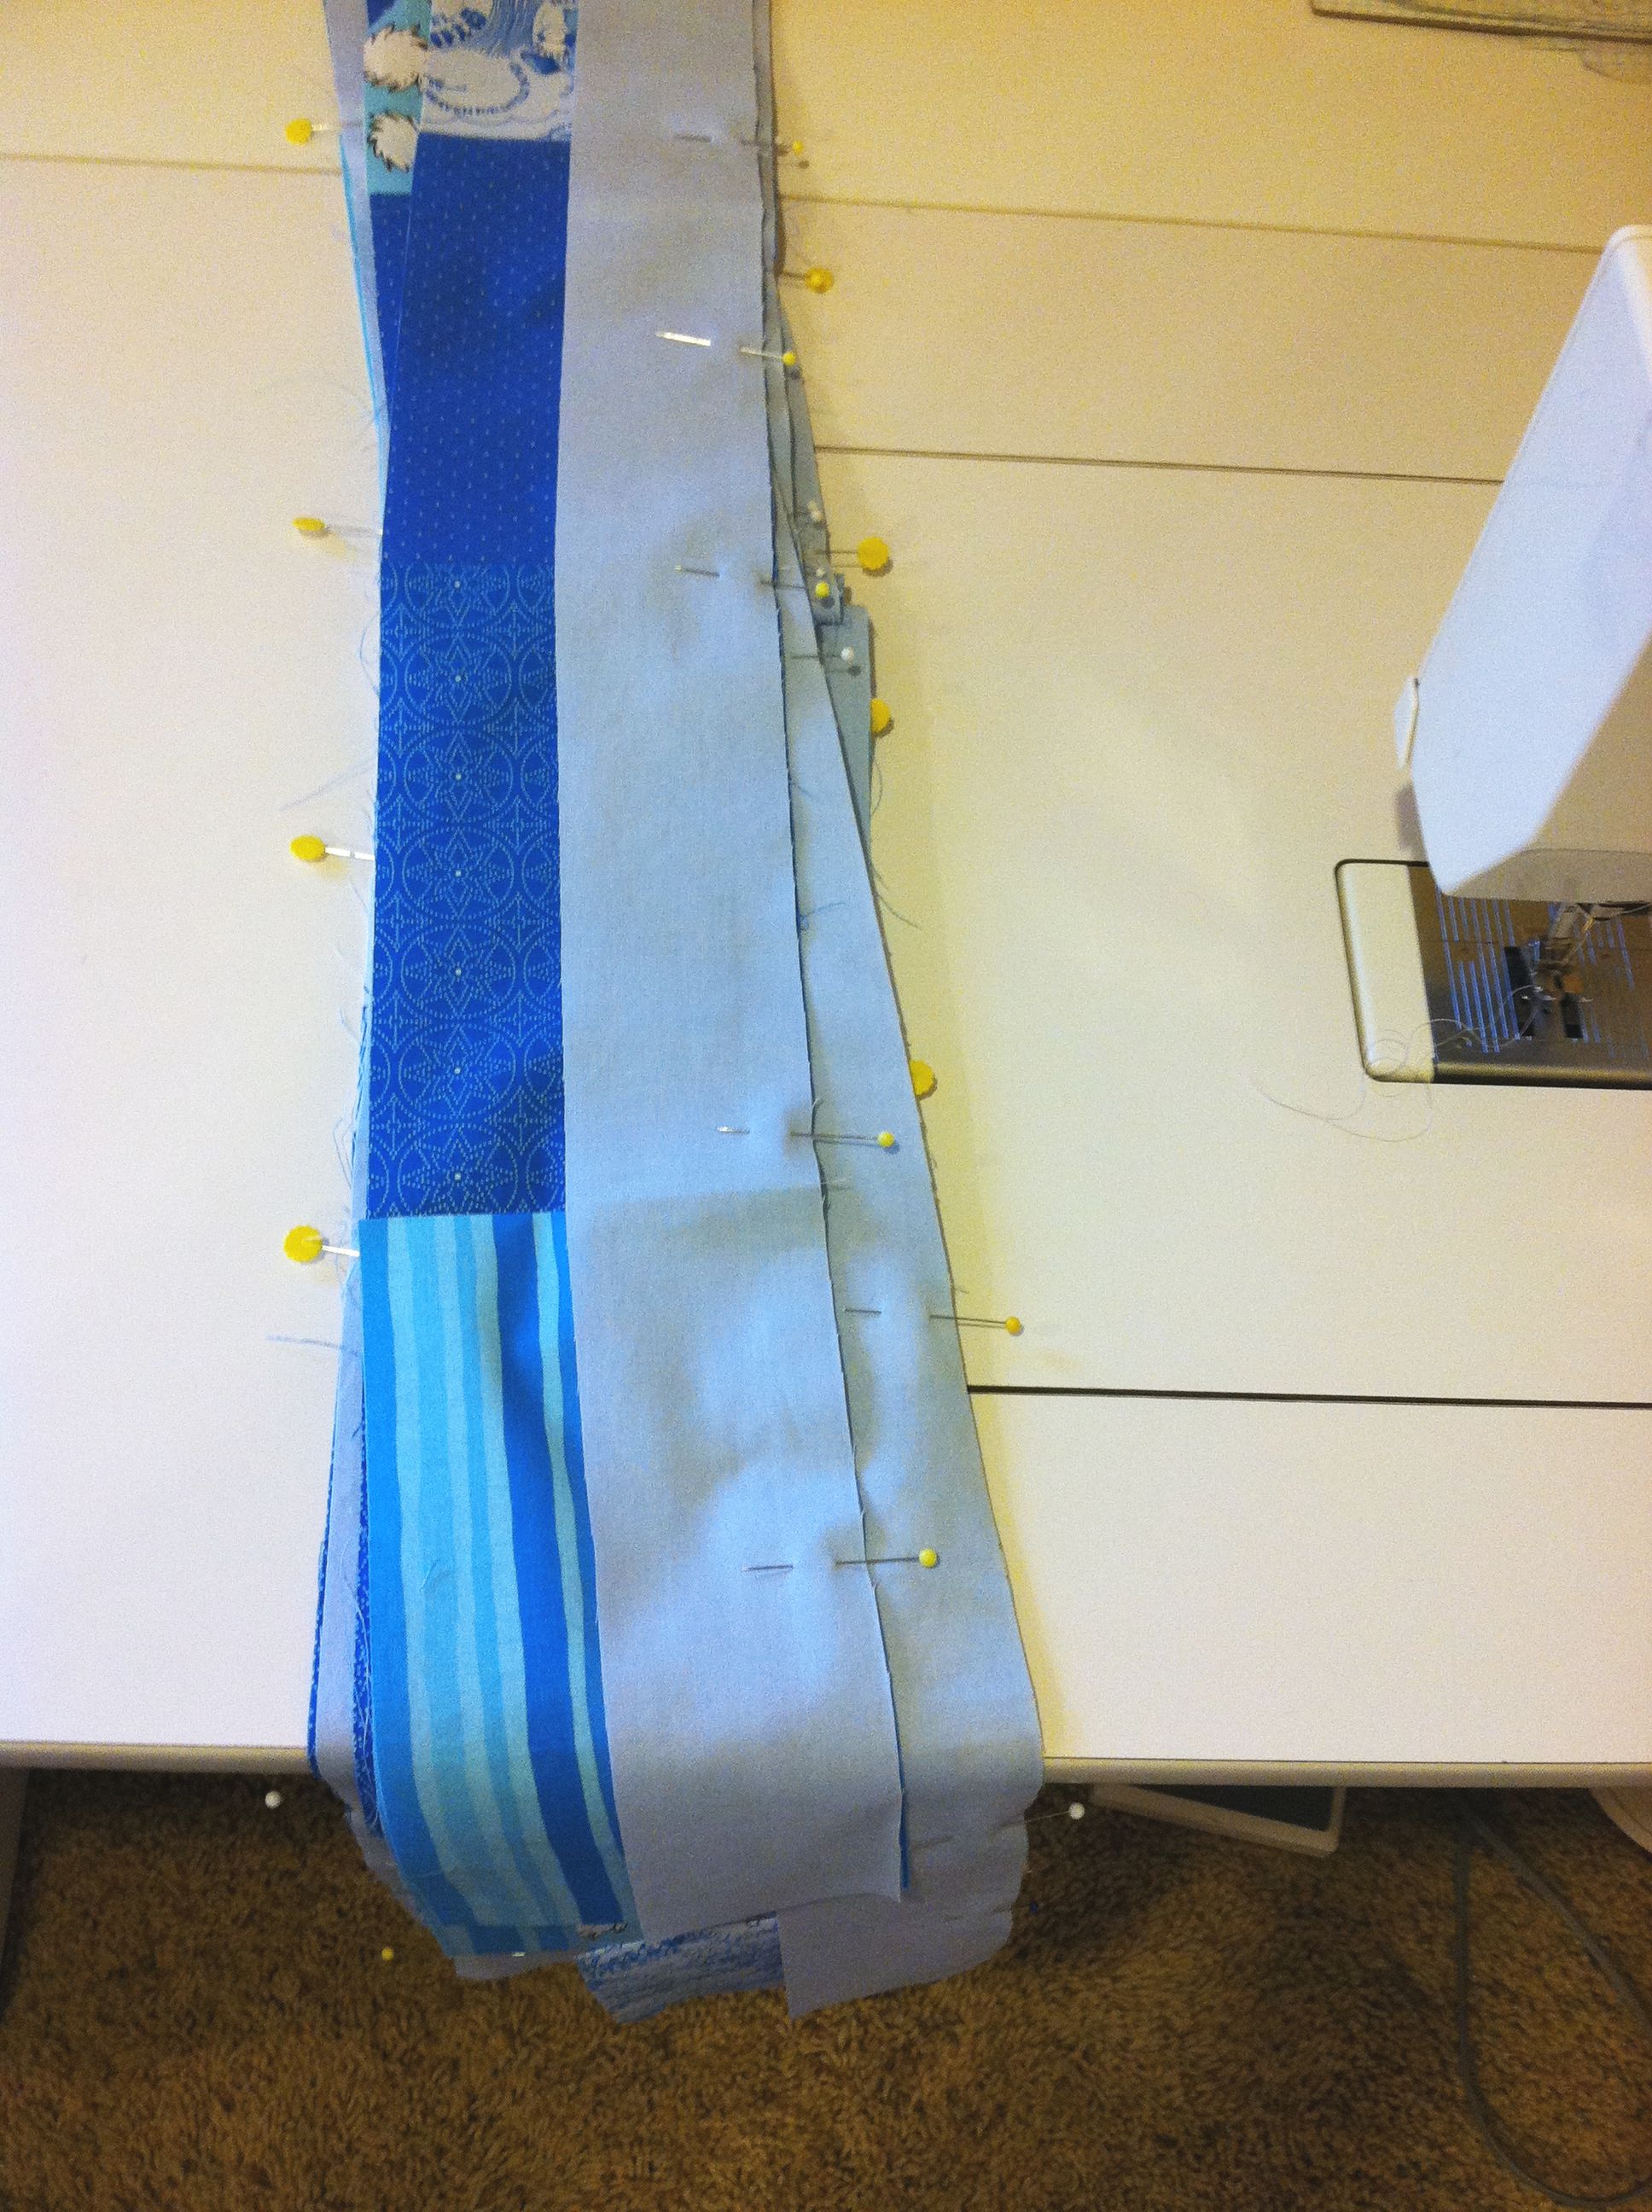
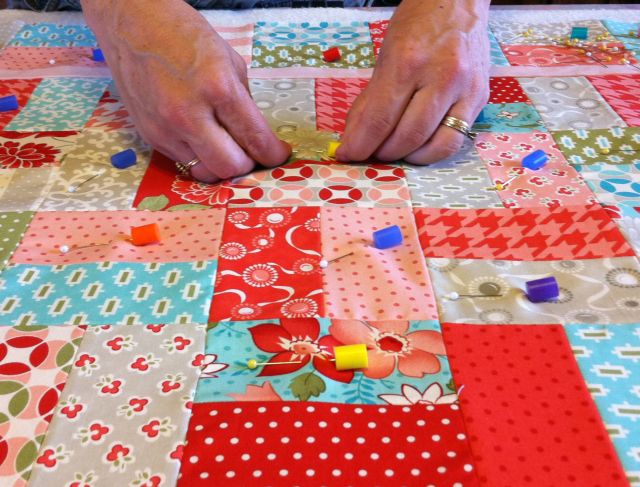
Now it is time to sew two of your pieced borders to the top and bottom of your quilt. Flip the border strip so that your vertical-horizontal-vertical block pattern continues in the borders.Sew Top and Bottom BordersTo make the rows line up properly, flip the border strip down so you can match up the seams. Use lots of pins to keep everything lined up straight.

Match the SeamsUse lots of Pins

Corner Detail

Add corner blocks to either side of the remaining two pieced borders trips. Again, watch the rotation of your blocks.

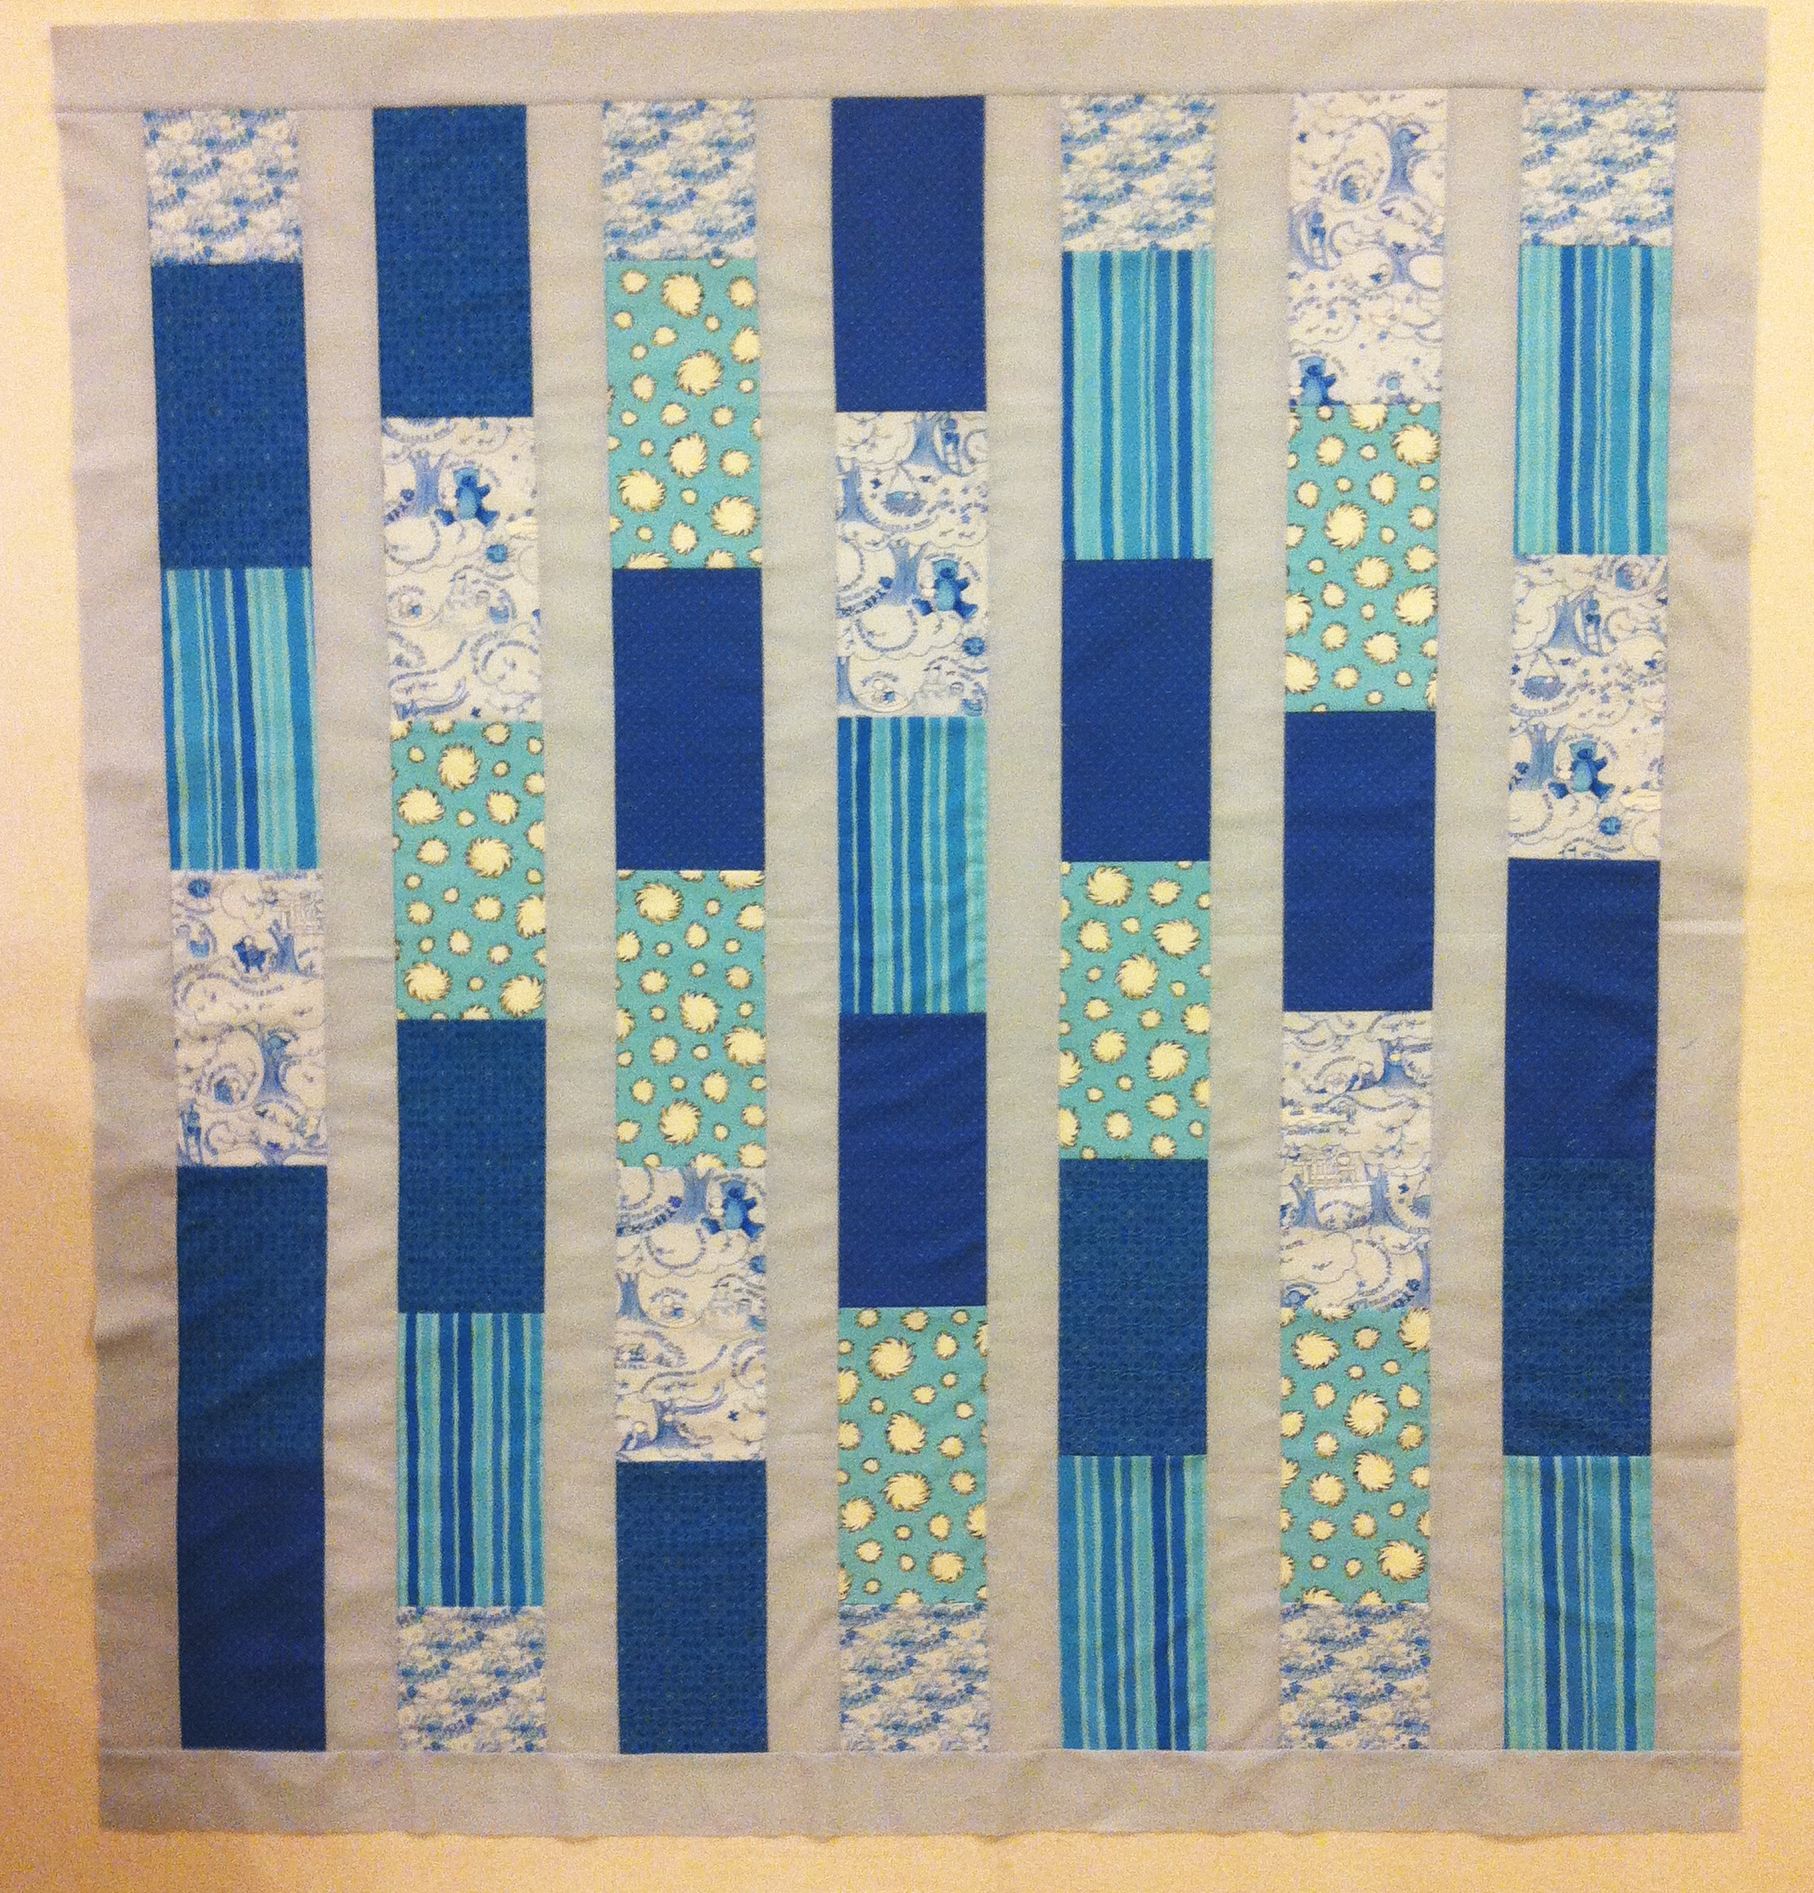
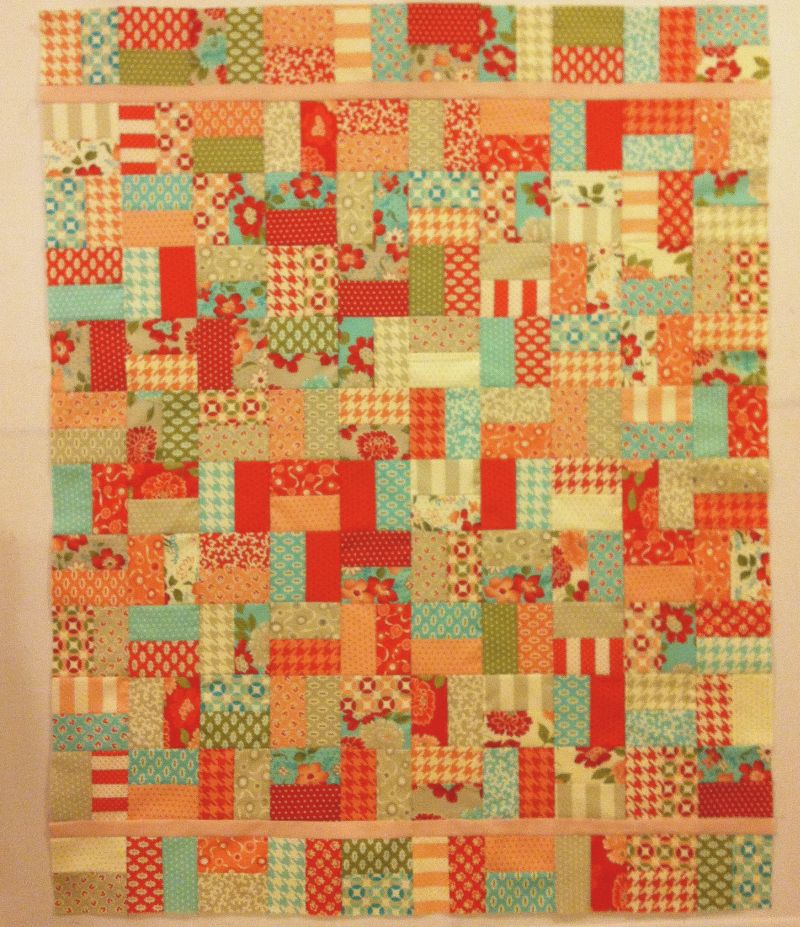
You will notice I changed the design slightly from my original drawing.

I like the look of the solid border extending out into the edges of the blocks. I also liked continuing the alternating block pattern into the pieced borders.

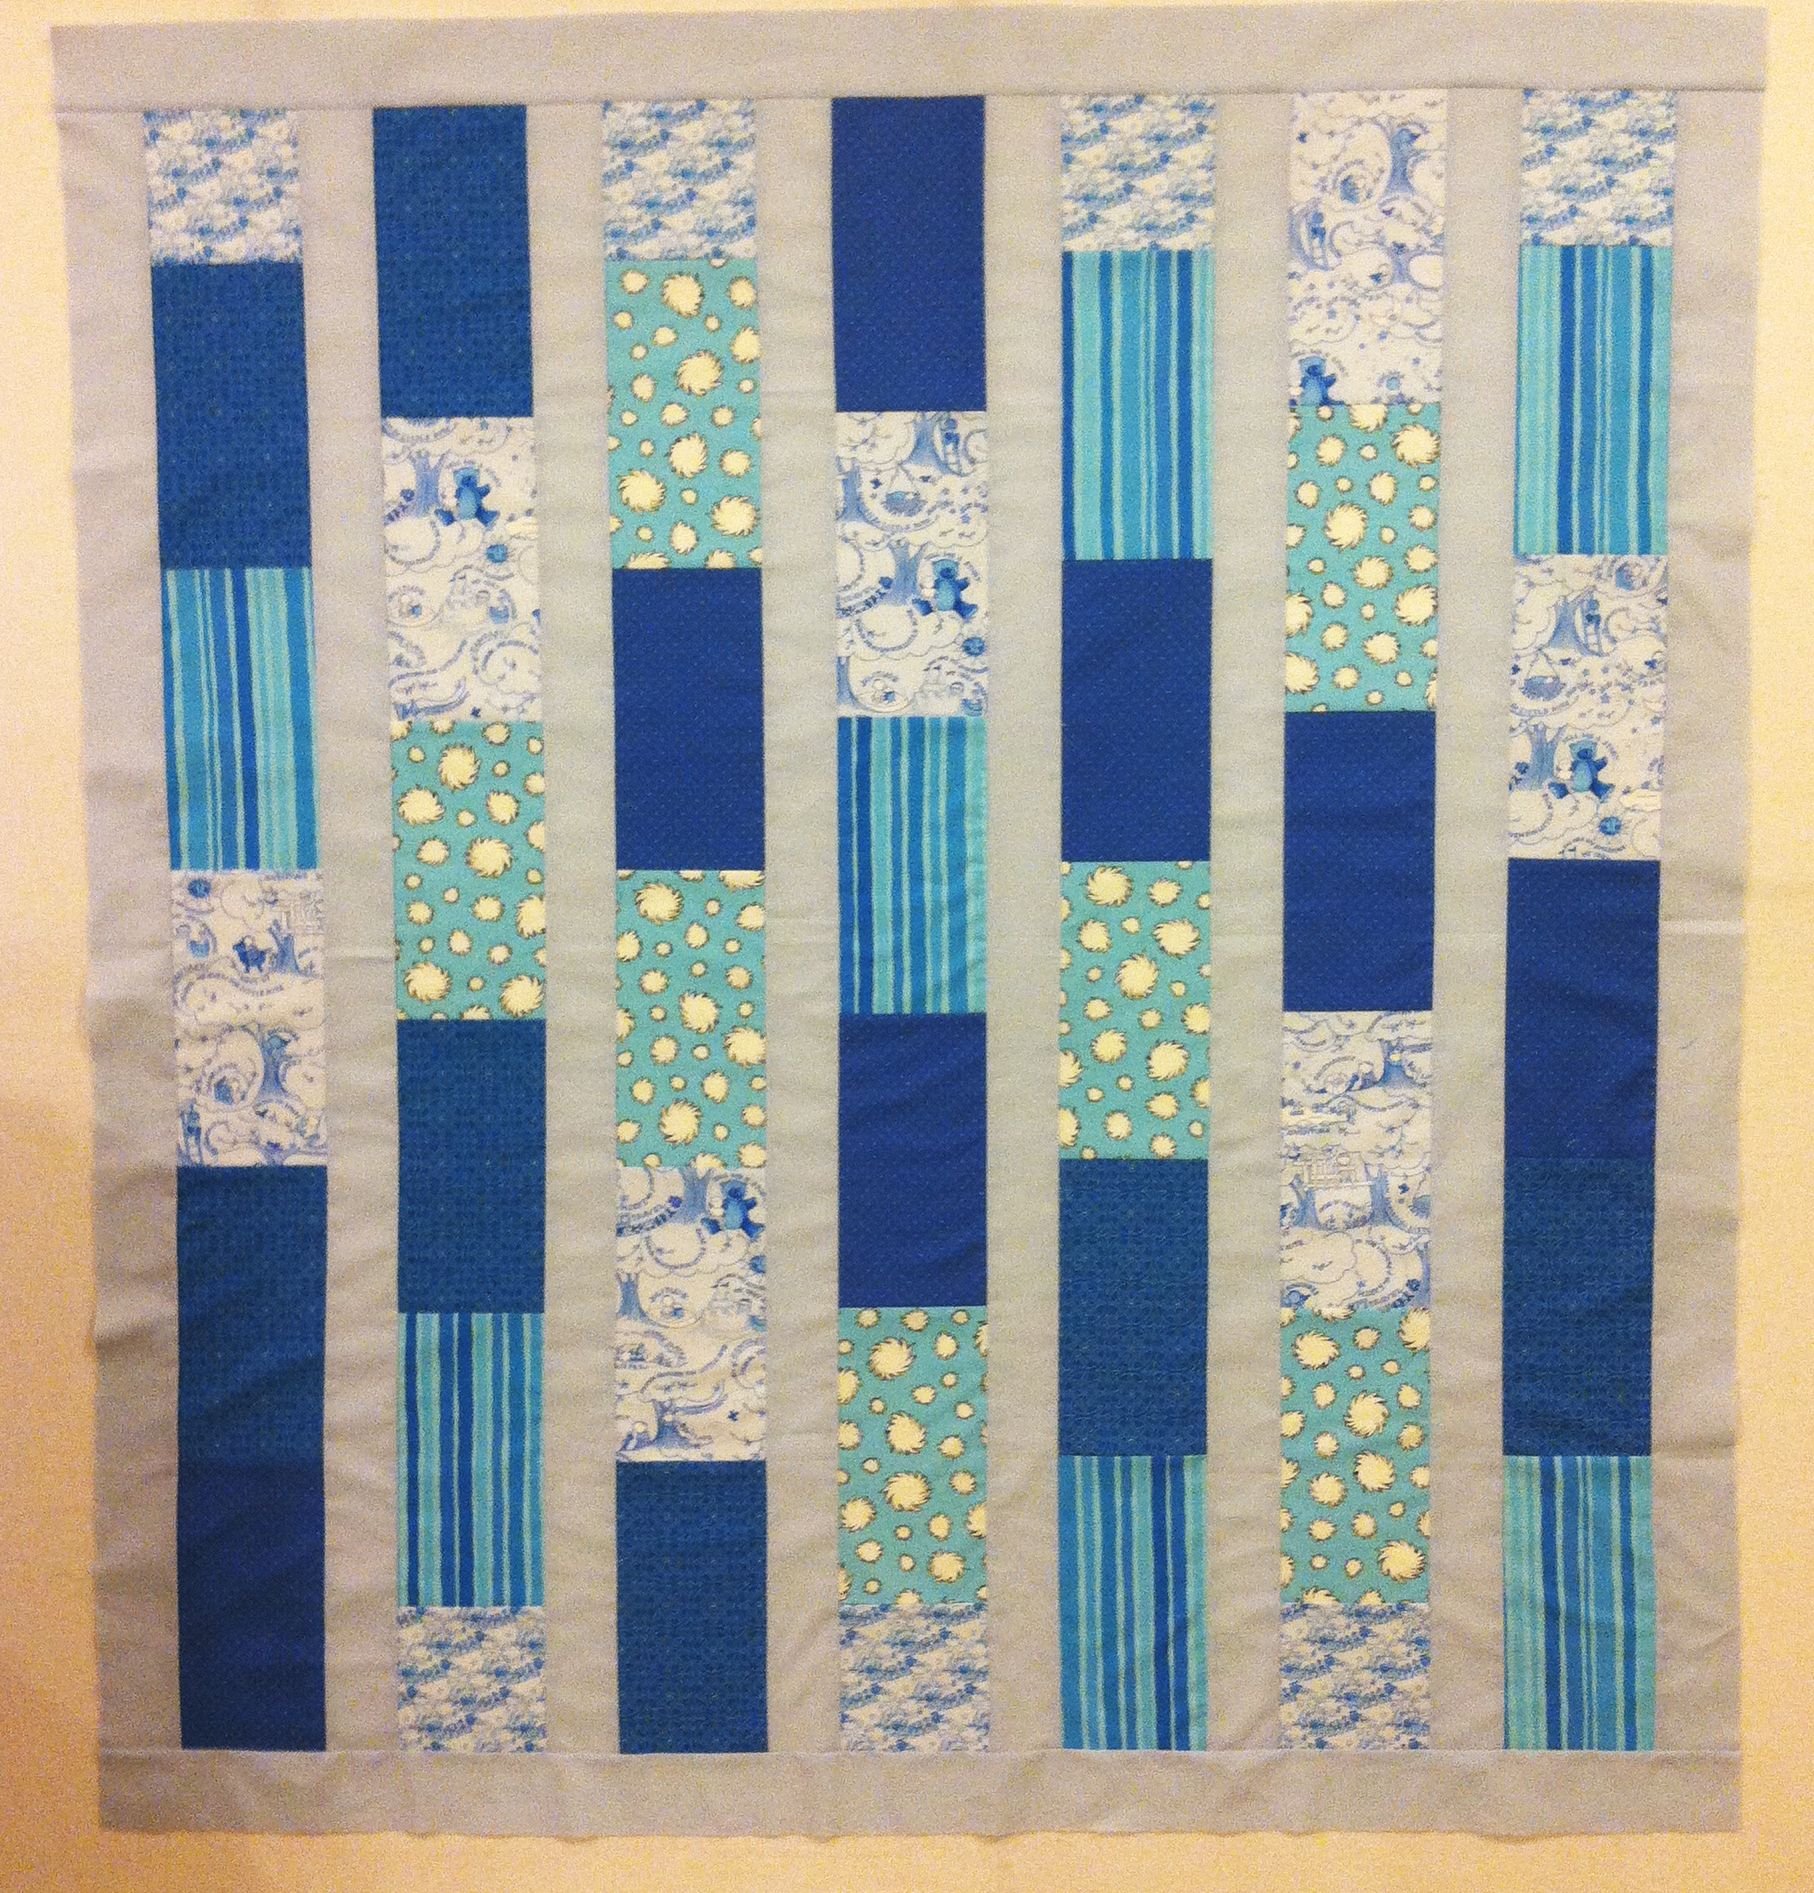
Join the side rows to complete the top!

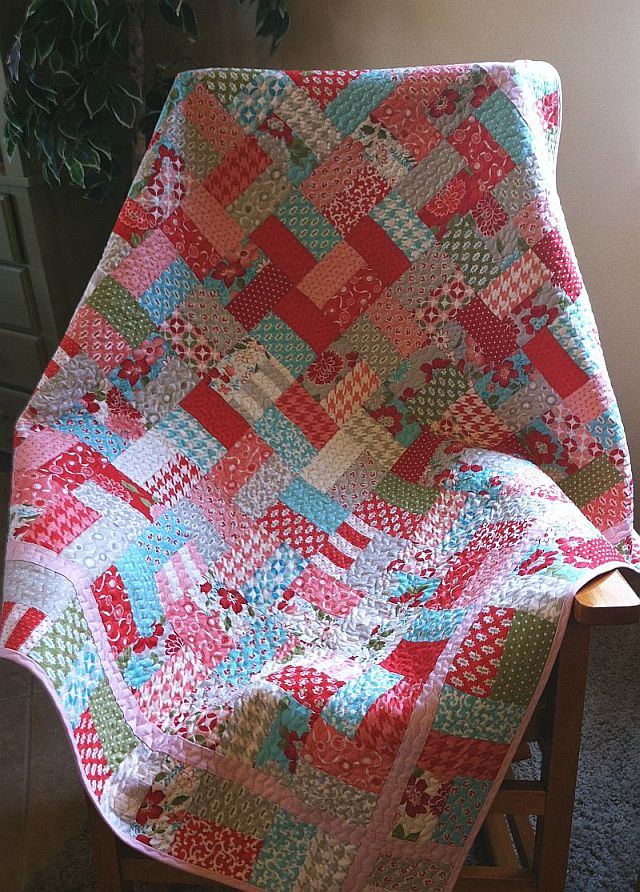
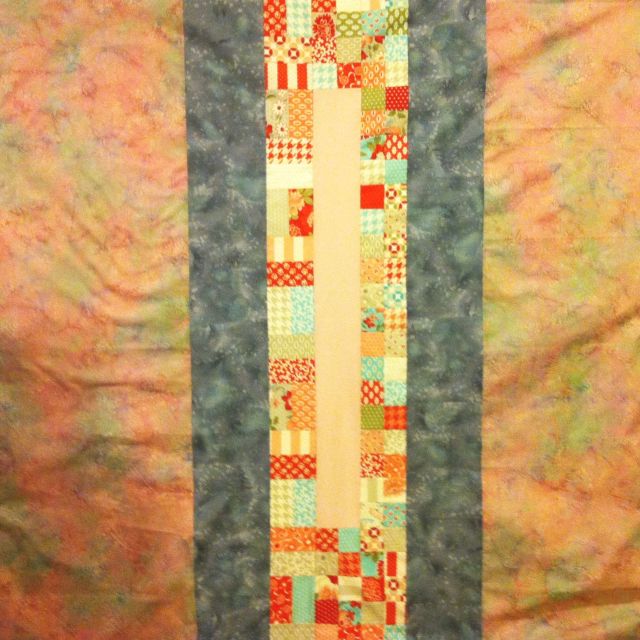
Jolly Jelly Roll Quilt TopCongratulations! You’ve now finished your Jolly Jelly Roll Quilt Top! Please email  pictures of your completed top to christa@christaquilts.com and tell me which Jelly Roll or set of fabrics you used. I’ll share your pictures before next week’s tutorial.

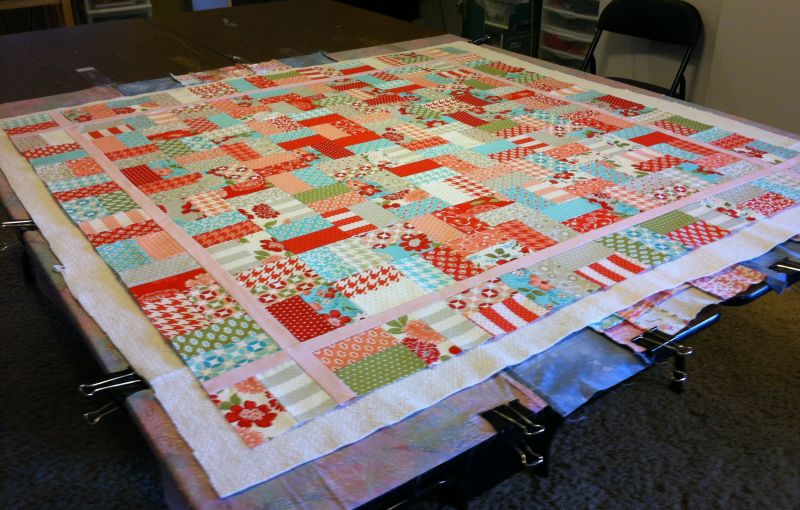
Next week we will prepare the backing and baste so it’s ready to quilt! You’ll need backing fabric (3.5 yards), batting (at least 60″ square), and basting pins. Here is the supply list.

I used one Vintage Modern jelly roll by Bonnie and Camille with 1 yard of Kona Cotton Solids in flesh pink for my quilt top. I will pick out my backing fabric later this week and will use the remaining blocks to add a little interest to the back of my quilt.


Here is the complete Jolly Jelly Roll Quilt-Along Schedule:

Week 1 – Supply ListJolly Jelly Roll Quilt

Week 2 – Sewing the Blocks

Week 3 – Completing the Top

Week 4 – Backing and Basting

Week 5 – Machine Quilting

Week 6 – Machine Binding to Finish

Christa’s Quilt Along 1.2 – Jolly Jelly Roll Quilt Blocks

Welcome to week 2 of my Jolly Jelly Roll Quilt Tutorial. You can link back to week 1 here for the supply list. This week we will sew up all of our jelly roll strips into blocks.

Step 1 – First, find yourself a nice relaxing sewing spot.  Next, lay out all of your pretty strips (40 total) and cut each of them in half along the fold so that you have a total of 80 half strips, each measuring 2 1/2 inches wide by approximately 21 inches long. This will give you a better variety to work with. Smaller strips are also easier to handle and sew together.

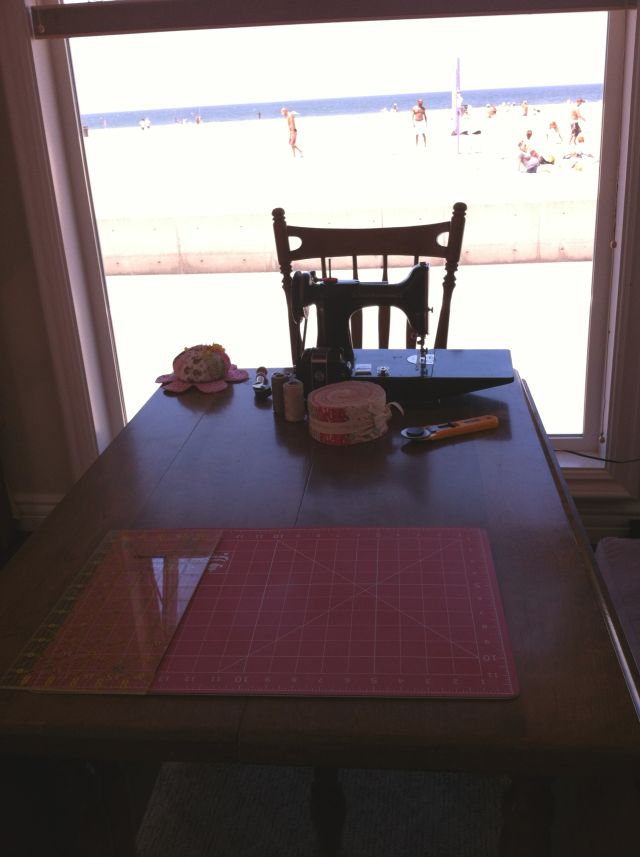
Relaxing Sewing SpotLay out Your StripsI sewed my strips together with my  Singer Feather-weight last week while  on vacation at the beach. It doesn’t get any better than this!

Step 2 – Group your half-strips into pairs. You’ll be using the same fabric twice each time, so try to mix them up so they are all different. Or you can sew them together totally randomly. Lay your whole stack next to your sewing machine, with pairs rights sides together and sew them together along the length. Try to keep a consistent quarter-inch seam allowance while sewing.

Stack of StripsSewn Strip Pairs

Seams Pressed OpenStep 3 – Press your seams open. I find that the strips lie much flatter, and are much easier to stack and cut when the seams are pressed open. As we will find in a couple of weeks, they are also much easier to machine quilt though.

Make sure there is at least 20″ of useable fabric per strip set, not including selvedges.

You can click on any of the pictures shown to see a larger, detailed view.

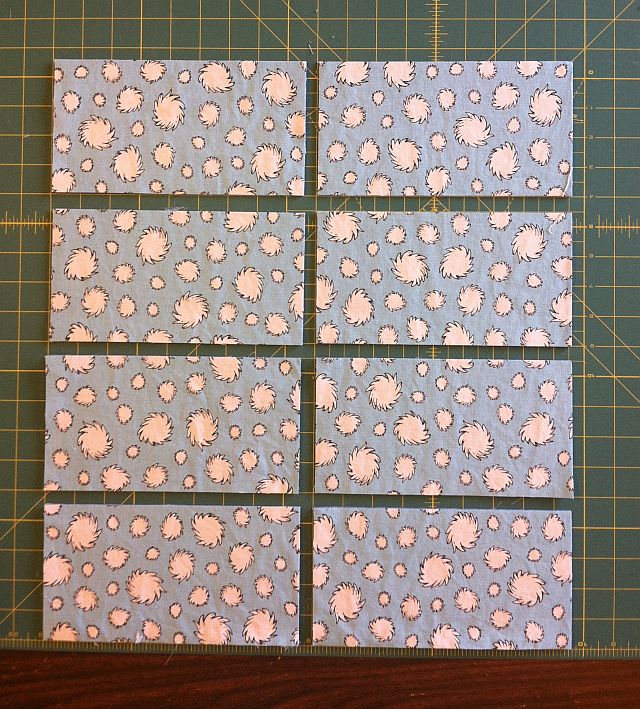
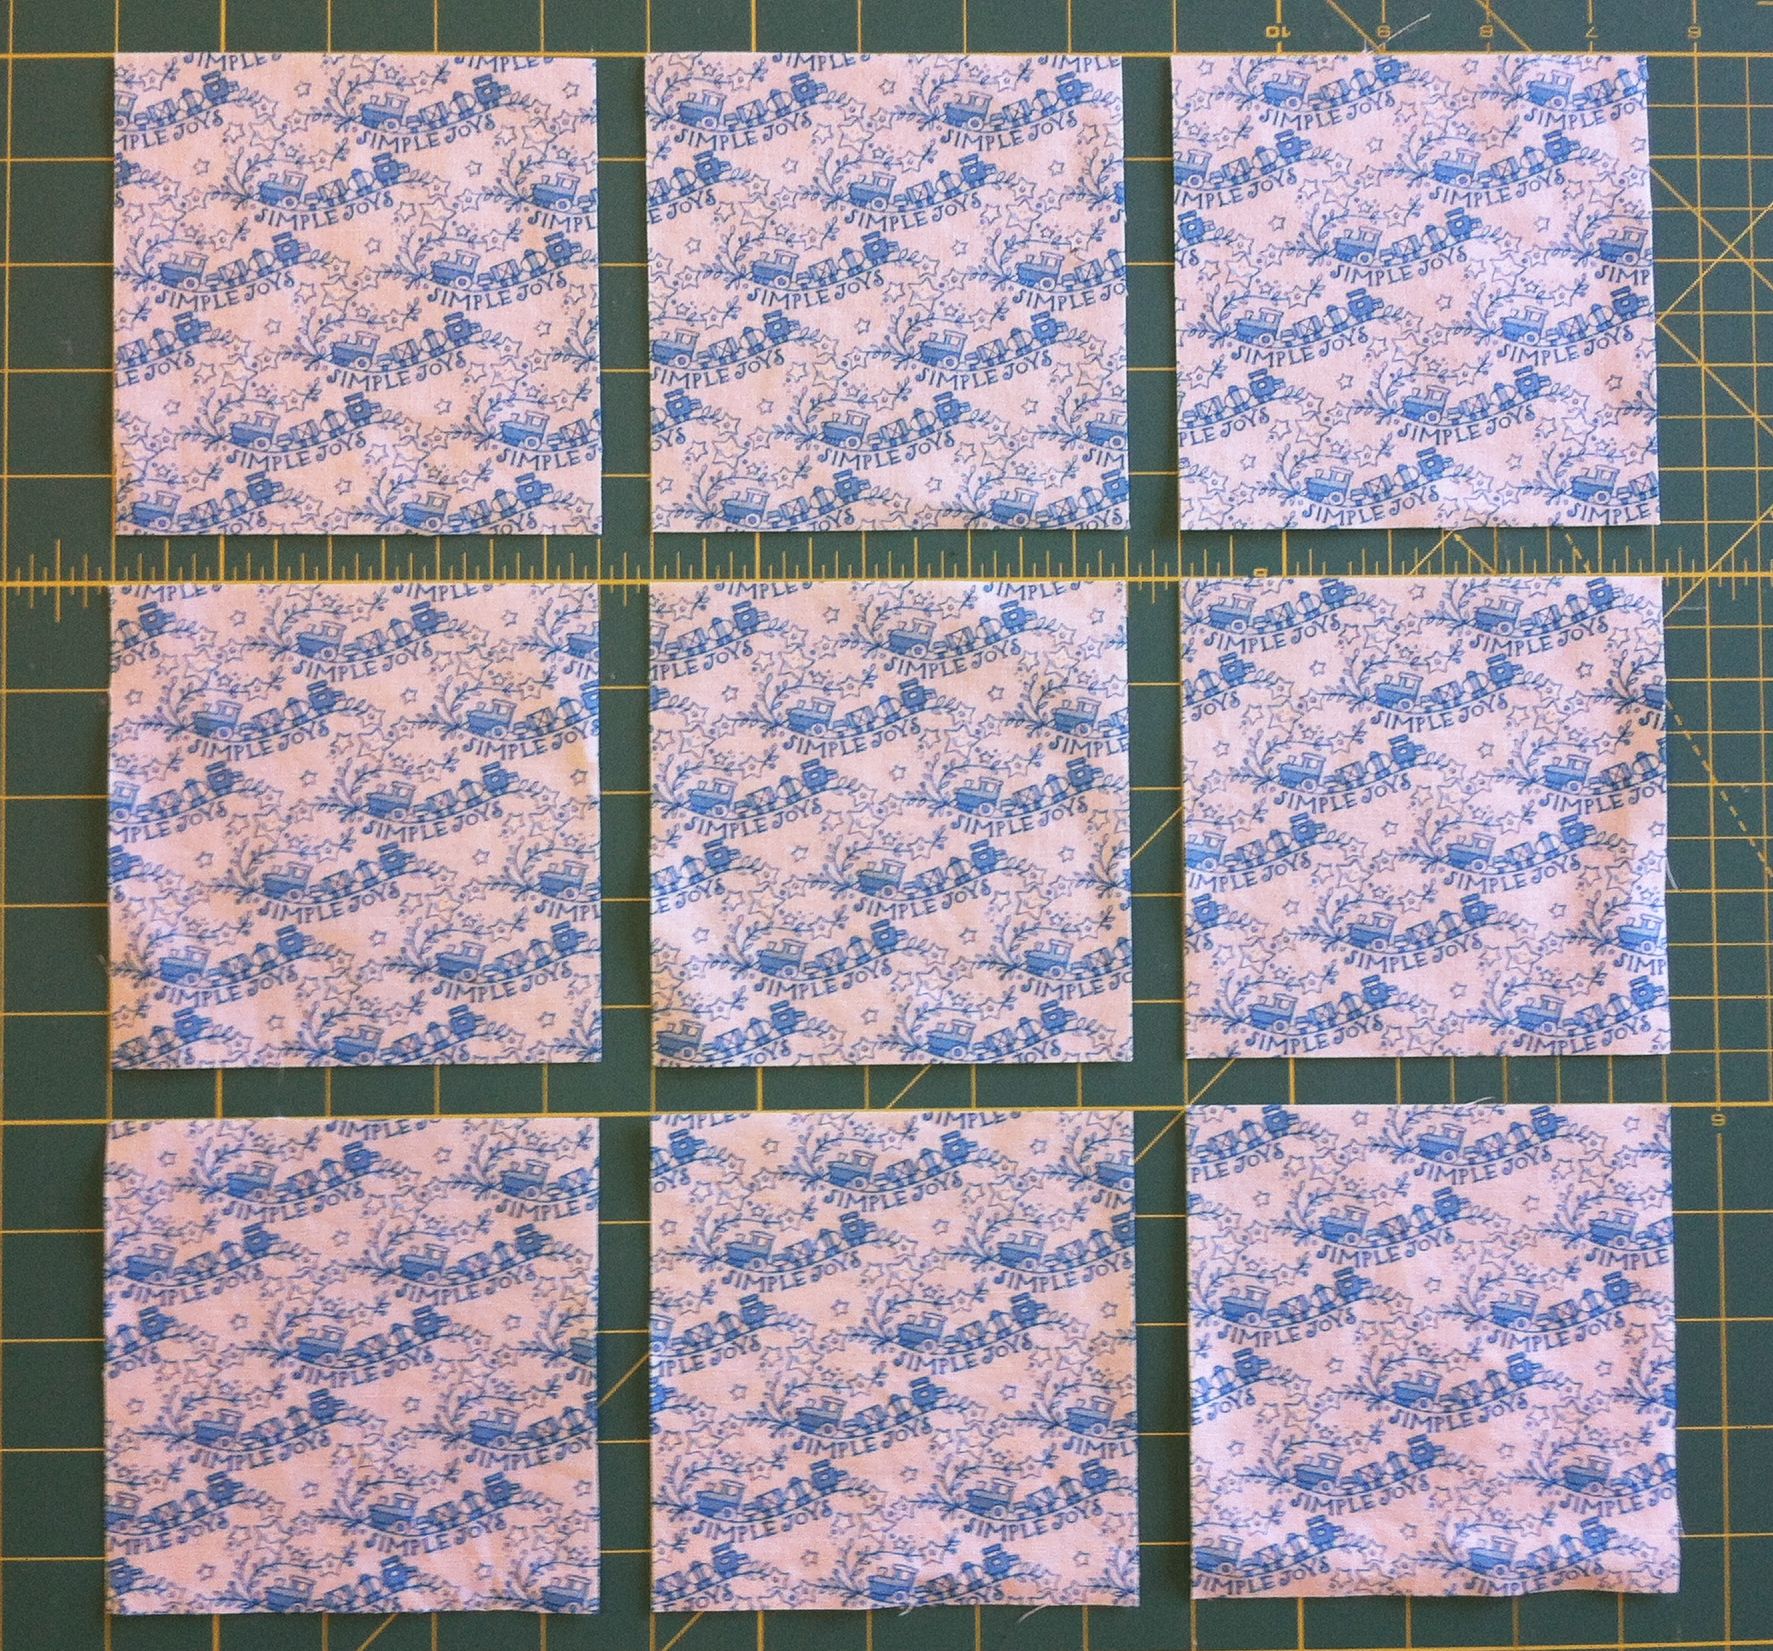
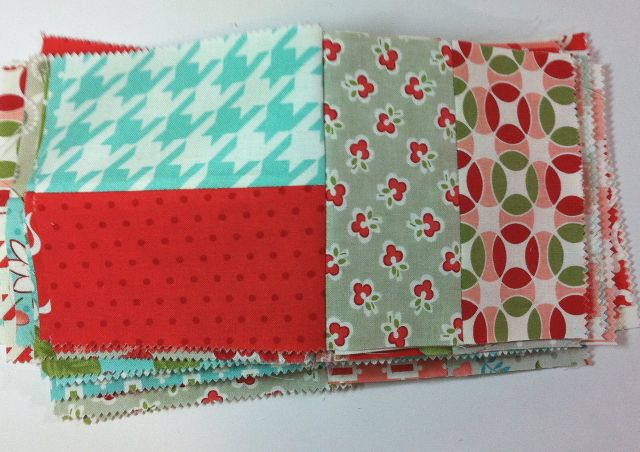
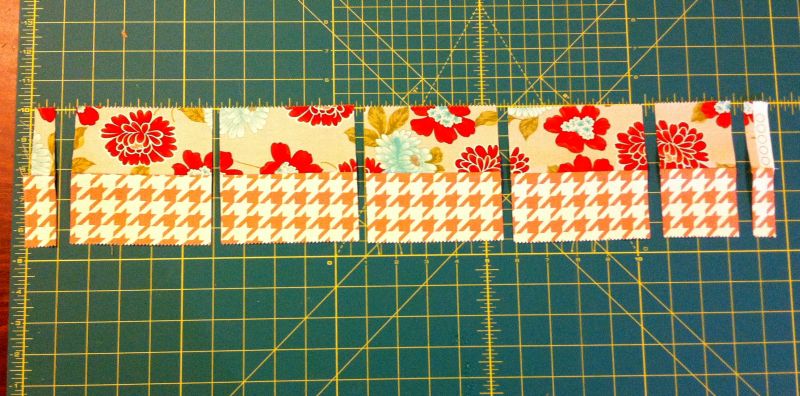
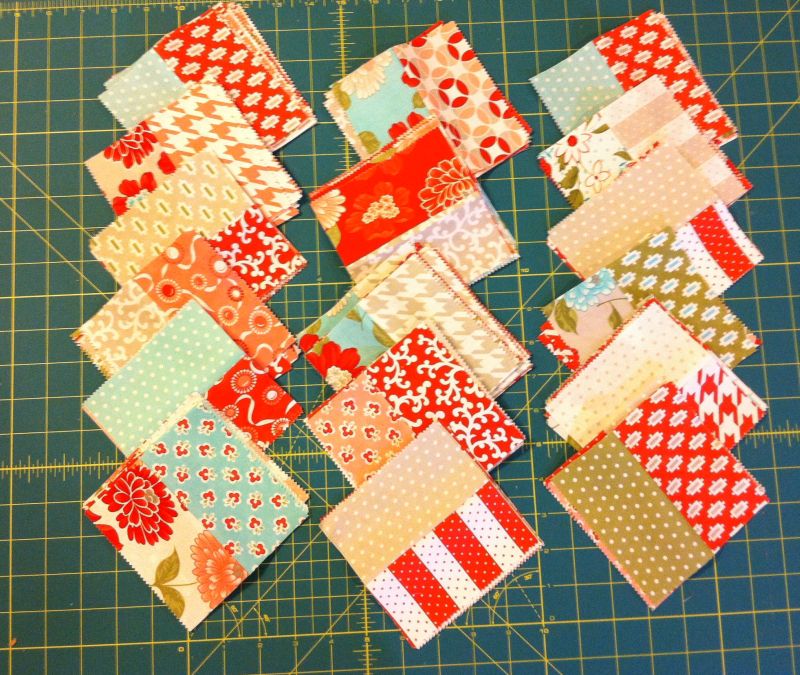
Step 4 – Square up the end and cut each strip segment into 4 – 4 1/2″ blocks. There is little waste and with careful cutting, you can get a bonus 2 1/2″ piece at the end of each segment. Save those for now and I’ll figure out something fun to do with them later.Cut into 4 1/2" SegmentsStep 5 – Cut all of your strip sets into blocks exactly the same way. You should be able to cut a total of 160 blocks. You only need 145 blocks for the quilt (if I counted correctly!) Save the leftovers in case of mistakes. I will use some of them on the backside of my quilt.

Stacks of Finished BlocksNext week we will finish the quilt top. We will continue on with basting, easy machine quilting, and binding in subsequent weeks. I like to go at an easy pace so everyone can keep up! Feel free to work ahead if you like and email me pictures of your progress. I’ll feature as many of them as I can during my sew and tell on Fridays!

Also, please post any questions you have about this project and I’ll answer them in the comments section of my blog. Thanks for sewing-along!


Here is the complete Jolly Jelly Roll Quilt-Along Schedule:

Week 1 – Supply ListJolly Jelly Roll Quilt

Week 2 – Sewing the Blocks

Week 3 – Completing the Top

Week 4 – Backing and Basting

Week 5 – Machine Quilting

Week 6 – Machine Binding to Finish

Christa’s Quilt Along 1.1 – The Jolly Jelly Roll Quilt Supply List

Join My Quilt AlonG

New to my blog? Be sure to sign up for my email newsletter to join my next quilt along where I show you how to make a complete quilt from start to finish!

Geo Pop Update!!

This design would look fabulous using one strip roll from any of my fabric lines. I’ve recolored it below using Geo Pop!

Jolly Jellyroll quilt in Geo Pop by Christa Watson

The Jolly Jelly Roll Quilt

Do you love precuts but have no idea what to do with them? Are you tired of quilting by check and want to make your own quilts from start to finish? Do basting and binding a quilt scare you? Then come join me for a quilting adventure and I’ll show you how to finish your own quilts yourself, and hopefully help you build the confidence to do so!

With my Quilt Along series I will post step-by-step tutorials showing you exactly how to make a quilt from beginning to end. My first project is this super simple Jolly Jelly Roll quilt.

Scroll to the end of this post for the schedule. You can also share it on Instagram with the tag #christaquiltsqal.

Sugar Sweet Jolly Jelly Roll QuiltI designed this quilt in EQ7 using fabric swatches Bonnie and Camille’s Vintage Modern collection. However, it will work great with any jelly roll!

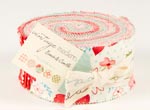
Vintage Modern Fabric Swatch Vintage Modern Jelly RollLet’s get started! Below, I’ve posted a supply list as well as the quilt’s vital statistics and a few notes.


Suggested Supply List

  • 1 jelly roll, or 40 fabric strips measuring 2 1/2″ x WOF (width of fabric – usually 42″)
  • 1 yard of coordinating solid or tone-on-tone fabric for the inner border and binding
  • 3 1/2 yards of fabric for backing, or a pieced backing measuring approximately 60″ square
  • 60″ x 60″ piece of batting (Warm-N-Natural cotton and Legacy wool are my favorites.)
  • 100% Cotton neutral thread for piecing (I like Superior Threads Masterpiece)
  • 50 weight 100% Cotton or 30-60 wt soft polyester thread for quilting in a blending color
  • Quality sewing needles for piecing and quilting (I use Superior Titanium Needles)
  • General sewing supplies: sewing machine, rotary cutting equipment, pins, seam ripper, etc.
  • Optional: Machingers quilting gloves, basting pins, walking foot

Quilt Vital Statistics

  • Size: Approximately 51″ x 51″
  • Finished Block Size: 4″
  • Number of Blocks in Quilt: 100 (set 10 x 10)
  • Number of Blocks in Border: 45

Go gather up your supplies and follow the links below for some fun sewing!

Additional Notes About This Quilt

1. Fabric selection is easy: just choose a jelly roll that you like and pair it with a nice solid fabric, or a tone-on-tone print that “reads” as solid. This will help break up the busy-ness of the quilt design. The same fabric will also be used for the binding.

2. Do not be afraid to machine quilt this quilt yourself. For this pattern, I will be quilting using a walking foot only and leaving my feed dogs engaged as normal. I will not do any free-motion quilting on this quilt; instead I will show you how much lovely texture can be created with either straight stitching or using a decorative stitch on your sewing machine.

3. I am very generous when figuring out yardage for my quilts. For example, you can probably get away with only 3/4 yard of fabric for the inner border and binding. And, with extremely careful measuring or basting, you may be able to get by with just 3 yards for the backing. However, I always round up just in case of fabric shrinkage or mis-cuts. It’s better to be safe than sorry. Besides, anything leftover is like “free fabric” for your next quilt!


Week 1 – Supply ListJolly Jelly Roll Quilt

Week 2 – Sewing the Blocks

Week 3 – Completing the Top

Week 4 – Backing and Basting

Week 5 – Machine Quilting

Week 6 – Machine Binding to Finish


Sharing is Caring

I’d love to see your version! Please share your work in progress in my facebook group: Quilt With Christa . 🙂

Batik Double Wedding Ring Quilt

Here is the double wedding quilt I made for my husband’s  sister Cortney. (I blogged about the other sister’s wedding quilt last week).  It was a learning curve for me in so many ways. It was the first quilt I sewed using curves! I also learned a ton about machine quilting and marking.

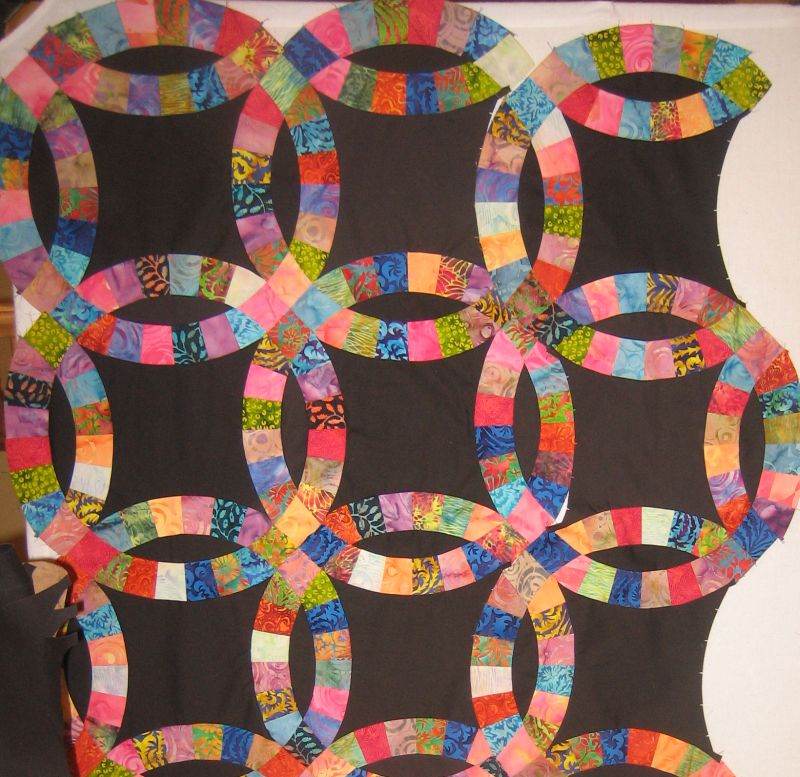
Batik Double Wedding RingI think every quilter should make at least one double wedding ring quilt as a sort of right of passage. I made this quilt using a precut Quilt Kit from Benartex.  This made the top go together easily. The pieces were notched so I could match the seams with lots of pins.

Pinning CurvesDouble Wedding Ring BlocksThe blocks were sewn a few at a time in partial rows. Melon pieces filled in the edges.

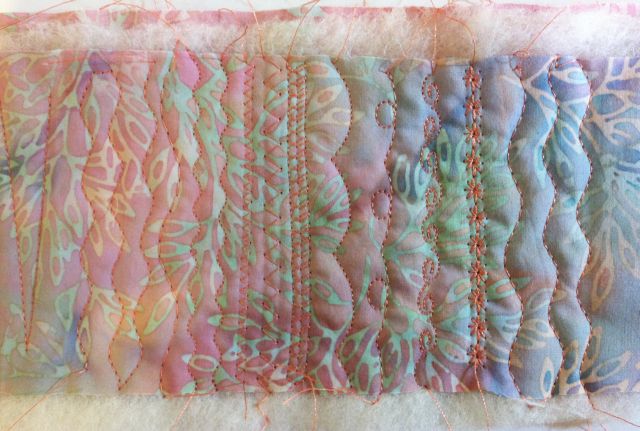
Chalk Pencil MarkingFor the machine quilting, I wanted to try a few new things. I stitched around all of the pieced blocks near the ditch with a decorative serpentine stitch. Then I used a washout marking pencil and a stencil to mark a heart motif in each of the block centers. I used a heavyweight variegated thread for the centers and filled in the backgrounds with black metallic thread from Superior Threads.

Quilting Closeup

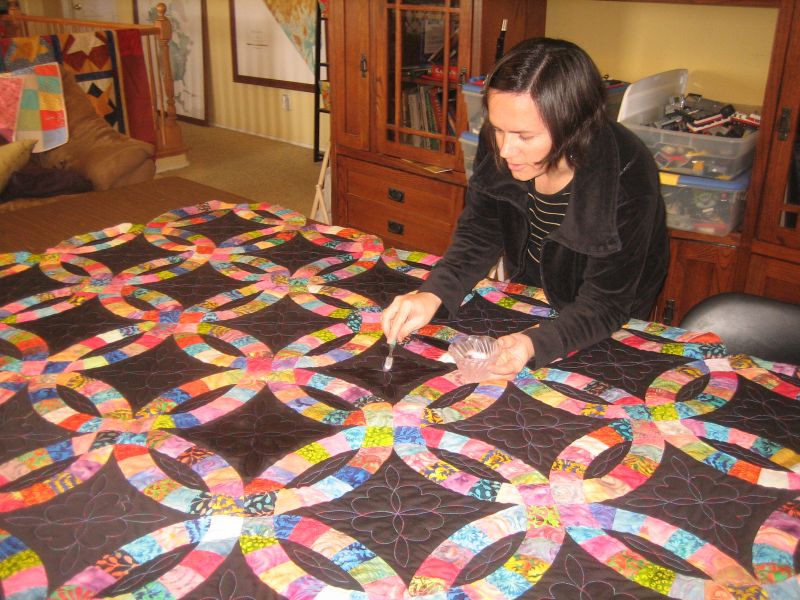
To get out all of my markings, I filled a small bowl with water and used a toothbrush to scrub them out. It worked pretty well I think. Because this fabric has so much black, the batting bearded a little and I had to use a lint roller on it (next time – black batting!!)

Removing Chalk Marks

I named this quilt Los Novios (The Lovers) because of the backing fabric. My sister in-law loves the Alexander Henry Day of the Dead fabric so I thought it was a perfect match for the back! When I entered this quilt in a show recently, the quilt judge loved it until she saw the backing. She didn’t think it was  appropriate for this quilt, but my sister-in-law absolutely loves it and that’s what’s most important!

Backing Fabric

Hearts and Stars Wedding Quilt

I recently made wedding quilts for my husband’s two sisters. The first one I’m blogging about today was for his sister Cresen who got married about two years ago. (I’ll show pictures of the other one next week.) I titled this one simply Hearts and Stars.

Hearts and StarsI made the blocks in a  quilting class years ago but was never quite sure what to do with them. When Cresen got married they matched her home decor nicely!

Both sisters are really into the Day of the Dead theme, so of course I had to include that fabric on the back. This red fabric is from Alexander Henry, called “Paseo De Los Muertos”. An alternate title for this quilt could be “Americana De Los Muertos.”Day of the Dead Backing Fabric

For the star quilting I made a template out of a sticky label and stitched around the outside edges. I also added lots of micro-stippling for texture. Click the pictures to see closeups.

Star Quilting

Heart Block

For the borders, I played around with some loopy stitching and used a stencil to mark a double-wedding ring motif around the outer border. It took5 hours to mark the outer border and 4 hours to quilt it. But I was loving every minute of it! I used wool batting because it seems to show of the quilting more. I quilted it with Superior Threads Highlights TriLobal polyester (40 weight)  in the top with matching Bottom Line thread in the bobbin. I changed threads to match the fabrics so the texture would show, rather than the stitches.
Border Detail

Here it is hanging up in a my guild’s quilt show. Alas, it did not win a ribbon because there were so many other more beautiful quilts in the show. But my sister in-law was happy to receive it and I was thrilled to get in more free-motion machine quilting practice!

Hanging Nicely!

Mini Baltimore Album Quilt

Today I wanted to share pictures of a miniature Baltimore Album Quilt I made recently, for my quilting guild’s miniature quilt auction as part of our quilt show held earlier this month.

Miniature Baltimore Album QuiltI love machine applique and lots of machine quilting so I combined both to make this little quilt, measuring approximately 20 inches square.  Here’s a closeup of the back where you can see the quilting a little bit better.

Quilt Back

My friend and show auctioneer Georgi bid on and won this quilt for a friend of hers for her birthday. I was very pleased that this quilt was the highest selling mini quilt  (it made up for the fact that I didn’t win any ribbons on my other entries, but more about  that later!) The quilting shows up better in this picture I think.

Georgi's Quilt

Mini Tulip Block

For the applique, first I appliqued all of the blocks, matching my thread colors as close as possible to the fabric.

I used Superior silk thread for most of the applique because it’s very thin and blends well. I didn’t mind switching threads at all.

Once blocks were sewn, I added the swags and appliqued them as well before basting and quilting. I use an open-toe foot to see where I’m going.

Machine Applique

This quilt was actually a remake of a quilt I made about 10 years ago for myself. It’s taken me that long to make another! The original quilt had more blocks with different sashing.

First Mini Applique

Busy BackI used a busy back and appliqued the same time that I quilted.

My techniques are much better now!

Happy New (Quilt) Year!

For 2011 I resolve NOT to make any new resolutions! I will however, try to sew more, hang with my kids more, and stress less.

Here are some pictures of a couple of quilts I finished recently using charm squares, embellished with some alphabet applique.

Alphabet CharmsI made this quilt using very boyish plaids, tiny 1 inch setting squares and fusible applique for the letters. It’s about 36″ x 46″.

I just let the letters lie casually on each fabric square so I didn’t have to be too precise on placement.

I used my favorite moon stencil for the border – check out earlier posts for a closeup look using the same quilt design.


I used one Moda Charm Pack in girl colors for this cute quilt:Baby Girl Charms

Just like the blue quilt above, I enlarged a computer font and made my own stencils for the lettering, placing them haphazardly on the background charms to give it a more whimsical look.

This quilt measures about 32″ x 36″ – perfect for a snuggly baby on the go!

My local quilting guild has encouraged its members to complete 12 projects this year – one for every month. These won’t count for 2011 but just looking at them is getting me excited to start my new projects. If I complete my goal, I’ll be rewarded with a gift certificate to a local quilt shop.

Hey – even though I run my own quilt store, it’s still fun to go shopping somewhere else!