For today’s lesson, I will show you how I used a simple serpentine stitch to quickly quilt through all the centers of my X’s. It only took about 2 hours and gave a really nice finish.
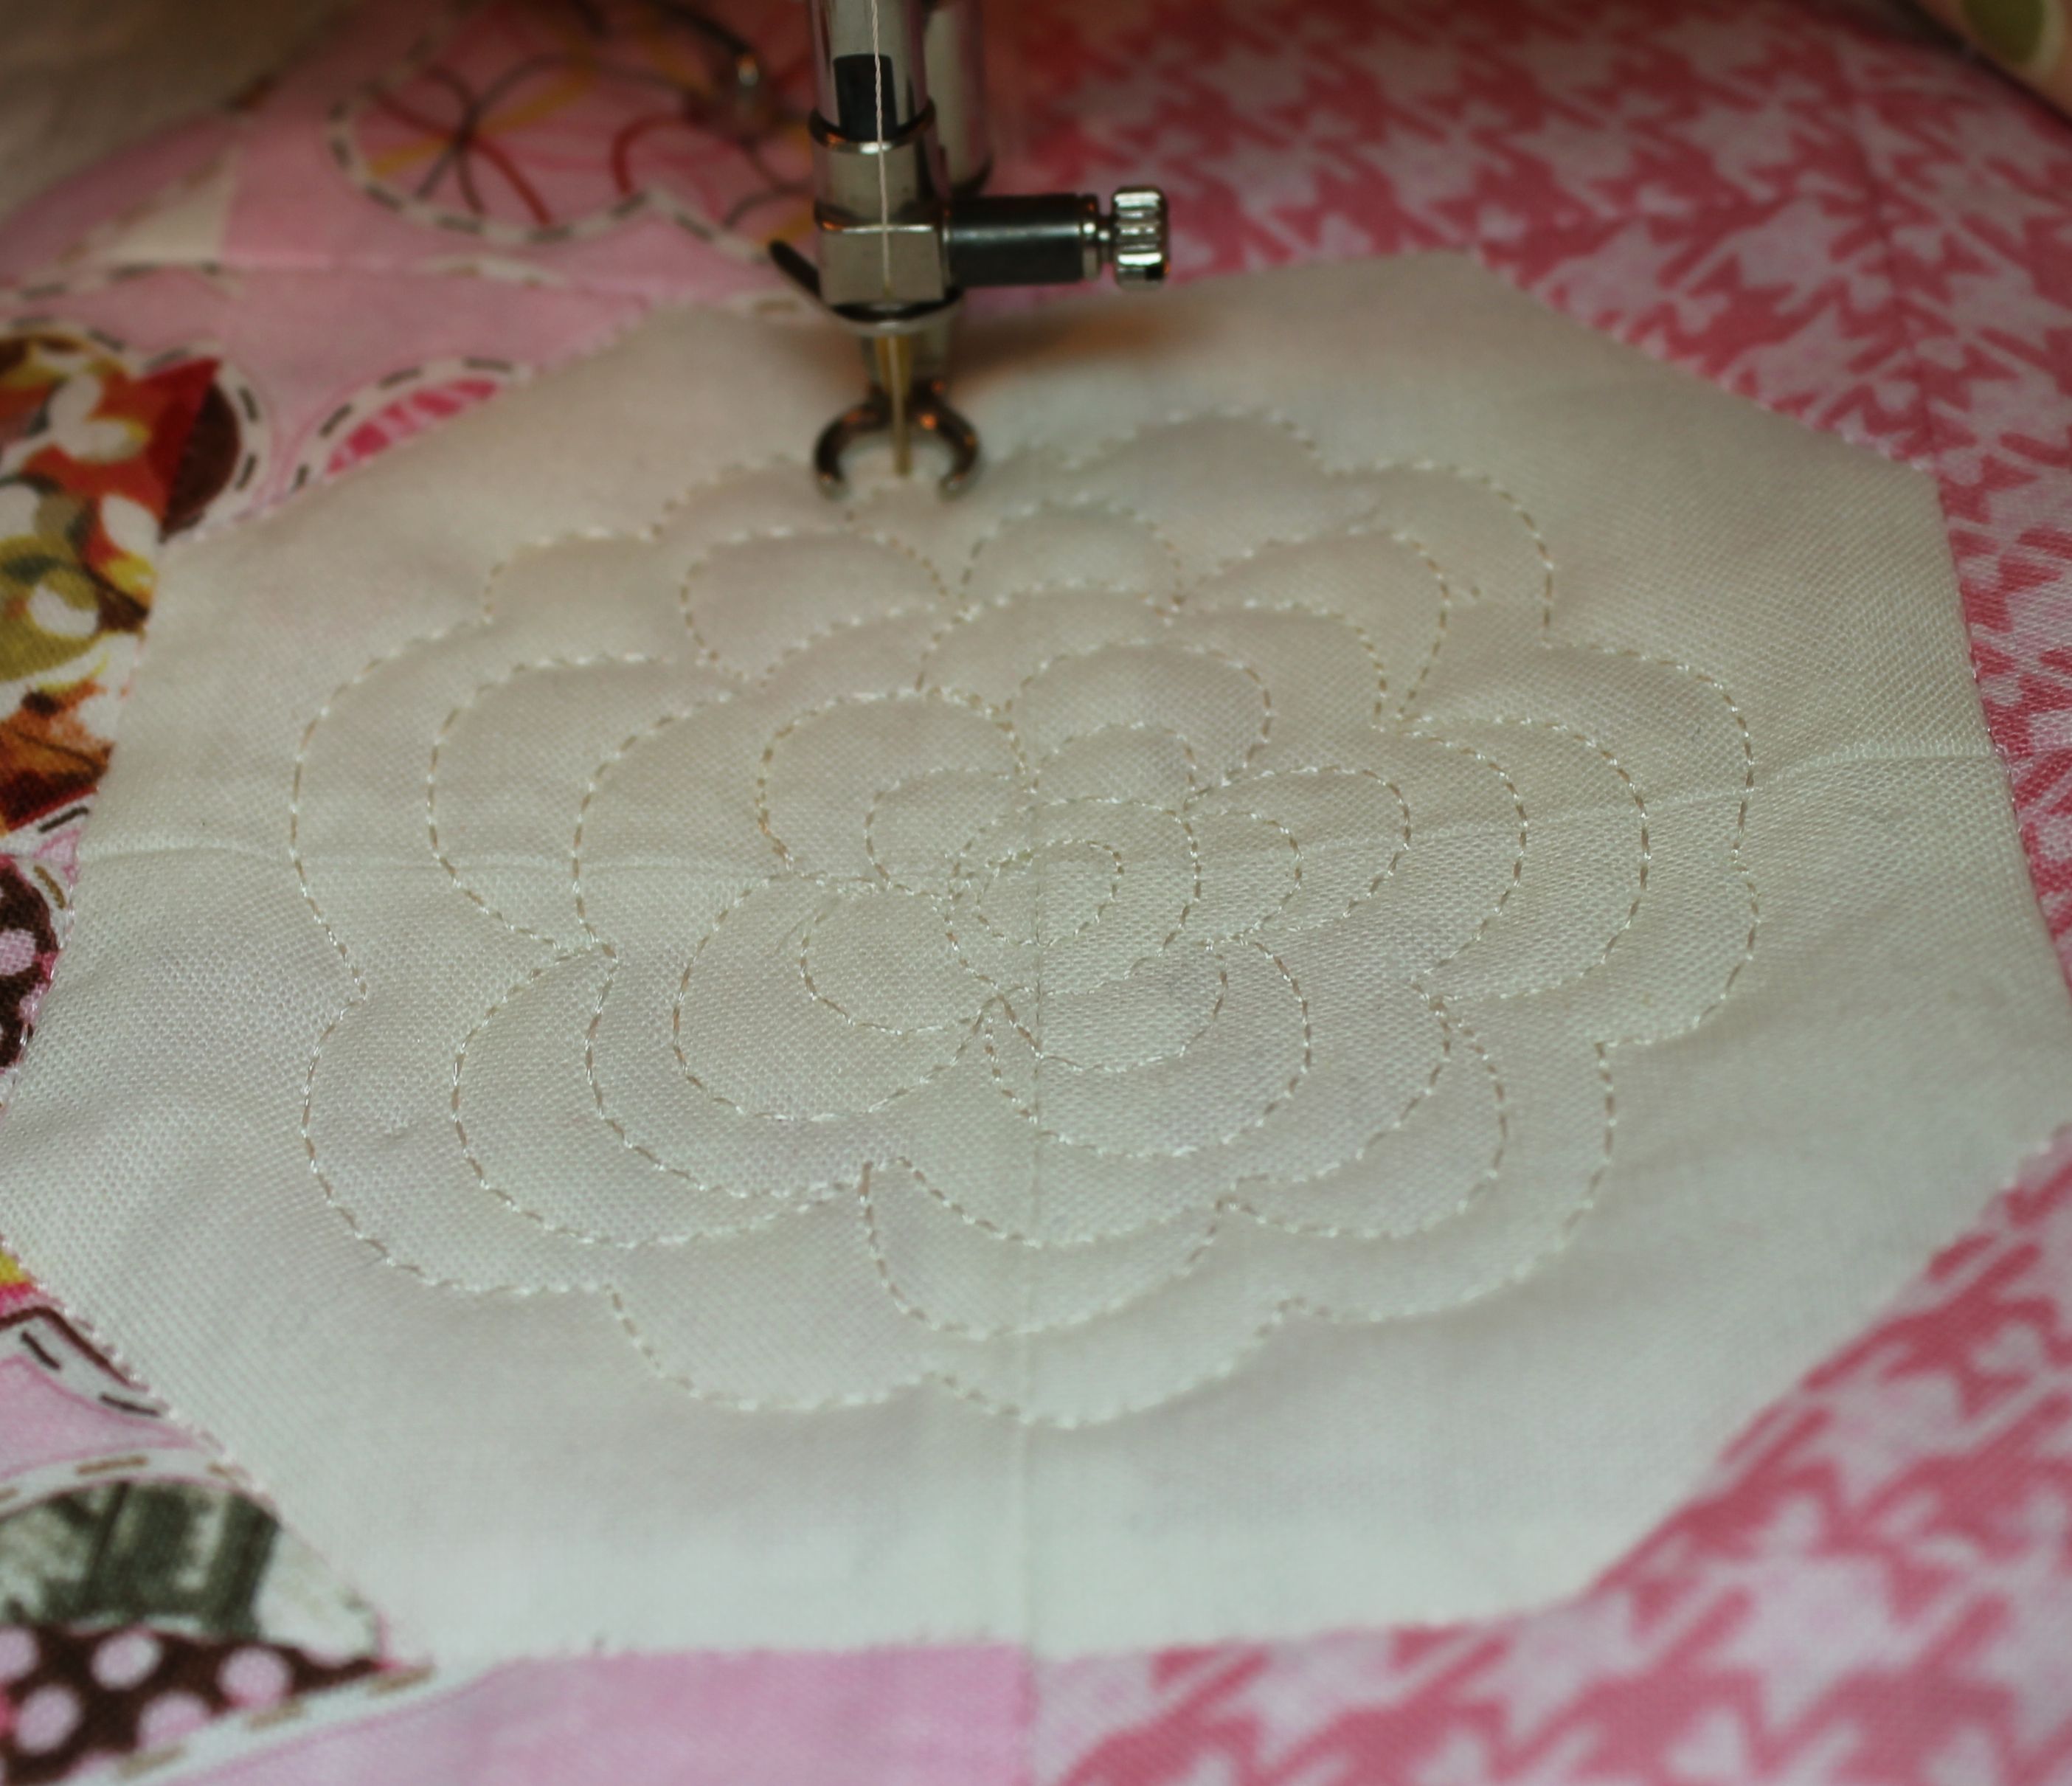
Because the flower quilting I did in the “O” spaces is really the star of the show in this quilt, I didn’t want to overwhelm the quilt with much more quilting.

Therefore I chose a simple wiggly line that is one of the decorative stitch options on my sewing machine. I just eyeballed the quilting as I went and didn’t mark anything.
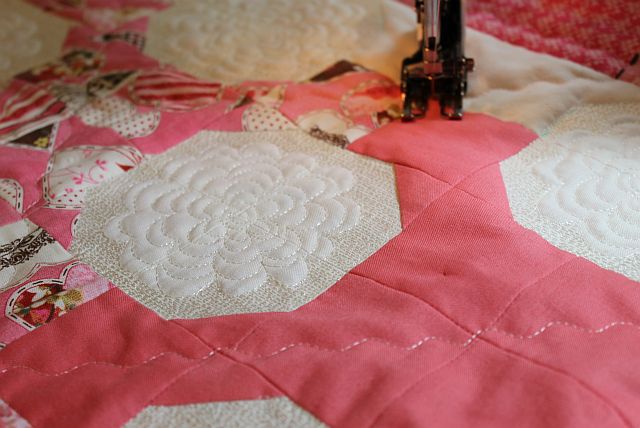
I used a light pink thread that blended with most of the fabrics and gave a nice texture even on the darker prints. I went all the way across the X’s in one direction, then turned the quilt and crossed over in the opposite direction.
 I like the little bit of “poof” it gives to the quilt in the un-quilted areas. I use this wiggly stitch quite a bit. It’s more forgiving that trying to stitch perfectly straight lines, and I can cover a lot of area quickly!
For the borders, I quilted 3 lines of wiggles which finished it off nicely.
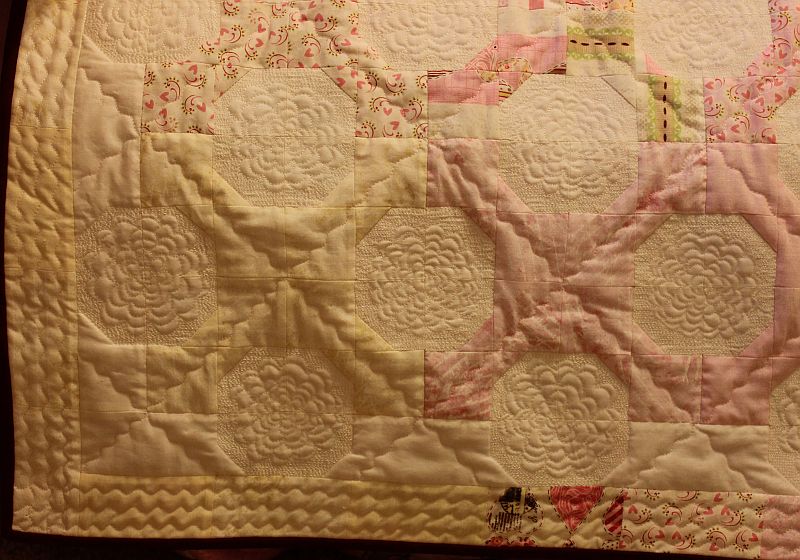
For another idea on how to quilt the blocks, here’s a picture of my original Hugs and Kisses quilt in yellow and orange. I used a stencil to mark motifs in the O blocks and I quilted straight lines through the X blocks. Then I stippled the rest of the background spaces.
 You’ll notice the original Hugs and Kisses is flatter than the updated version. That’s because I used cotton batting. In the pink version, I used wool batting which gives more of a trapunto look to the quilting. Both are great – it just depends on the look you prefer!
Hugs ‘n Kisses Quilt Kits are available for purchase while supplies last. If you have any questions about this week’s homework, please be sure to join my flickr discussion, leave a comment, or email me directly at christa@christaquilts.com.
Quilt Along Schedule – Links will go to each active post when published.

Hugs ‘N Kisses 48″ x 64″
- 5.1 – 2/27/13 Supply List
- 5.2 – 3/6/13 Choosing Fabrics and Layouts
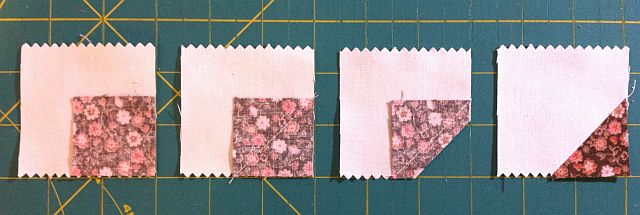
- 5.3 – 3/13/13 Cutting and Sewing the Bow Ties
- 5.4 – 3/20/13 Sewing the X and O Blocks
- 5.5 – 3/27/13 Finishing the Top and Borders
- 5.6 – 4/3/13 Piecing the Backing
- 5.7 – 4/10/13 Pin Basting
- 5.8 – 4/17/13 Stitching in the Ditch
- 5.9 – 4/24/13 Decorative FMQ
- 5.10 – 5/1/13 Additional Quilting
- 5.11 – 5/8/13 Binding – It’s Finished!
Grab my Quilt Along button!

<div align="center"><a href="http://christasquiltalong.com" title="Christa's Quilt Along" target="_blank"><img src="https://christaquilts.com/wp-content/uploads/2013/03/christas-quilt-along-175-2.png" alt="Christa's Quilt Along" style="border:none;" /></a></div>