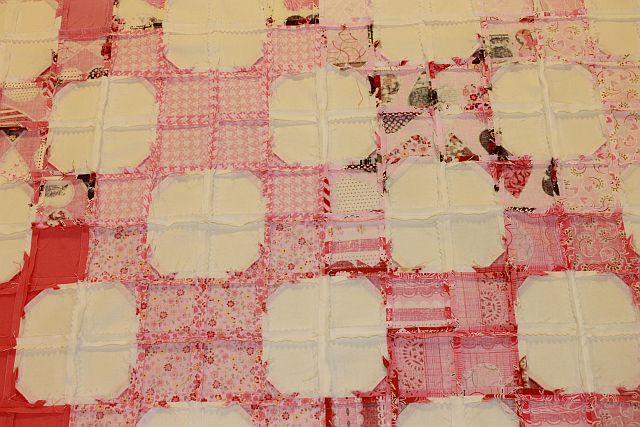
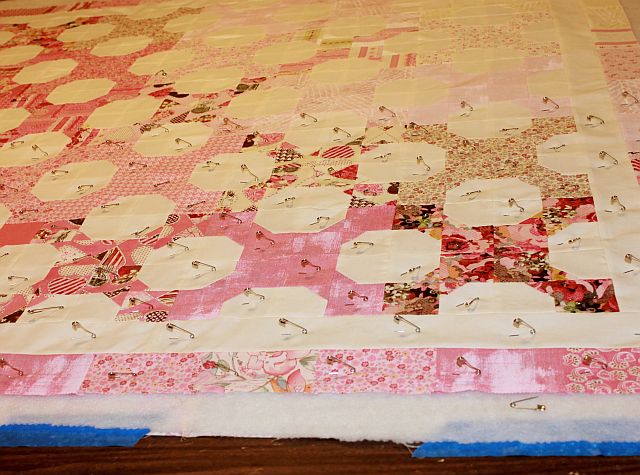
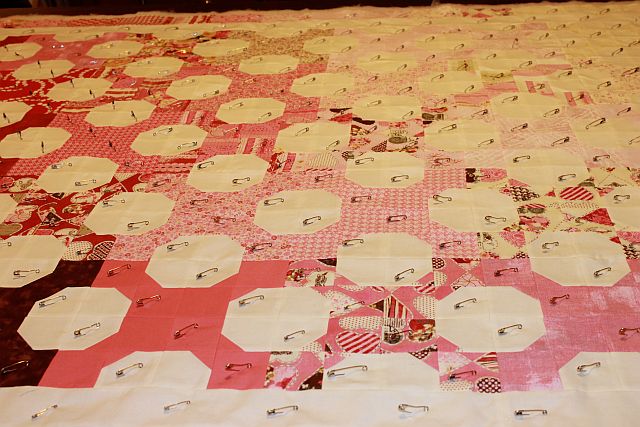
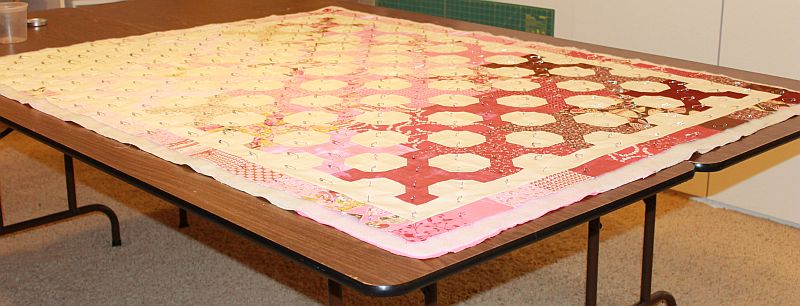
Christa’s Quilt Along 5.6 – Hugs ‘n Kisses Pieced Backing

I just love creative quilt backs, don’t you? For today’s Quilt Along lesson, I will show how I made my pieced scrappy backing for Hugs ‘n Kisses using fabric from my stash. It took me 4 hours to complete my pieced backing.

Backing FabricStep 1 – Choose Your Backing Fabric (30 Minutes)

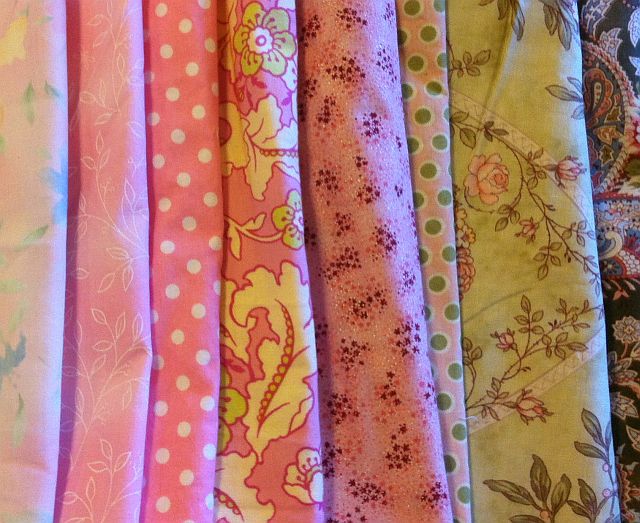
To get started, comb through your stash for any fabrics you want to use up that “go” with your Hugs ‘n Kisses quilt top.  Don’t worry about pulling too many or too few, you can finalize it a bit later.

I wanted to use up a few pinks and greens and I tried to pull fabrics that were light (or the backside was very light) so that they would not shadow (show through) the quilt top.

Step 2 – Estimate the Yardage (30 Minutes)

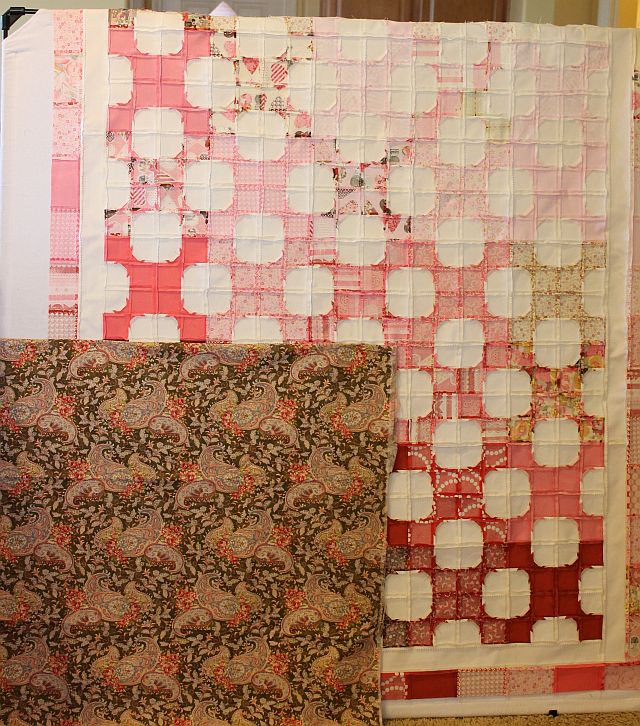
Next, lay out your quilt top so you can see how much area you need to cover. I laid mine out wrong side up so I could see where the darker and lighter blocks were. I wanted to mimic a little bit of the light and dark areas on the back of the quilt.

Hugs 'n Kisses TopCovering the Back

Now start covering up the quilt! It’s kind of like a puzzle. I played around with several different arrangements until the top was covered and I liked the way it looked. Don’t forget to stack your pieces so that there are a few extra inches of fabric hanging off all four sides.

Fill in the puzzle.Completely Covered


Step 3 – Figuring Out Exact Measurements (1 Hour)

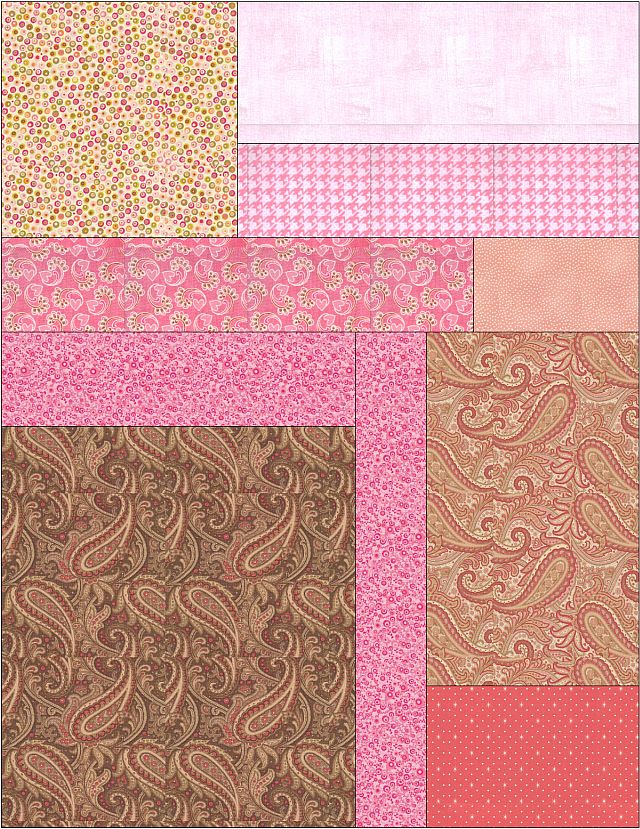
I drew a sketch of my layout in EQ7 so I could figure out the measurements. You can also do this on graph paper. Start with the finished size of your quilt top which should be around 48″ x 64″. Then add 6 inches to both directions to figure out how large your backing needs to be. This brings me to a total backing size of 54″ x 70″.

Backing PIeces

I drew rectangles of each fabric piece in place on my diagram based on the finished size.  When I cut the pieces I will include 1/2″ for seam allowances. If you would like to skip figuring it out for yourself, you can use my exact cutting measurements below.

Step 4 – Cutting the Backing Pieces (1 Hour)

I recommend pre-washing and starching your backing fabrics. I have listed two charts below. The first one is how much fabric you would need as yardage (with some leftover). The second chart is how big to cut each piece, including seam allowances.

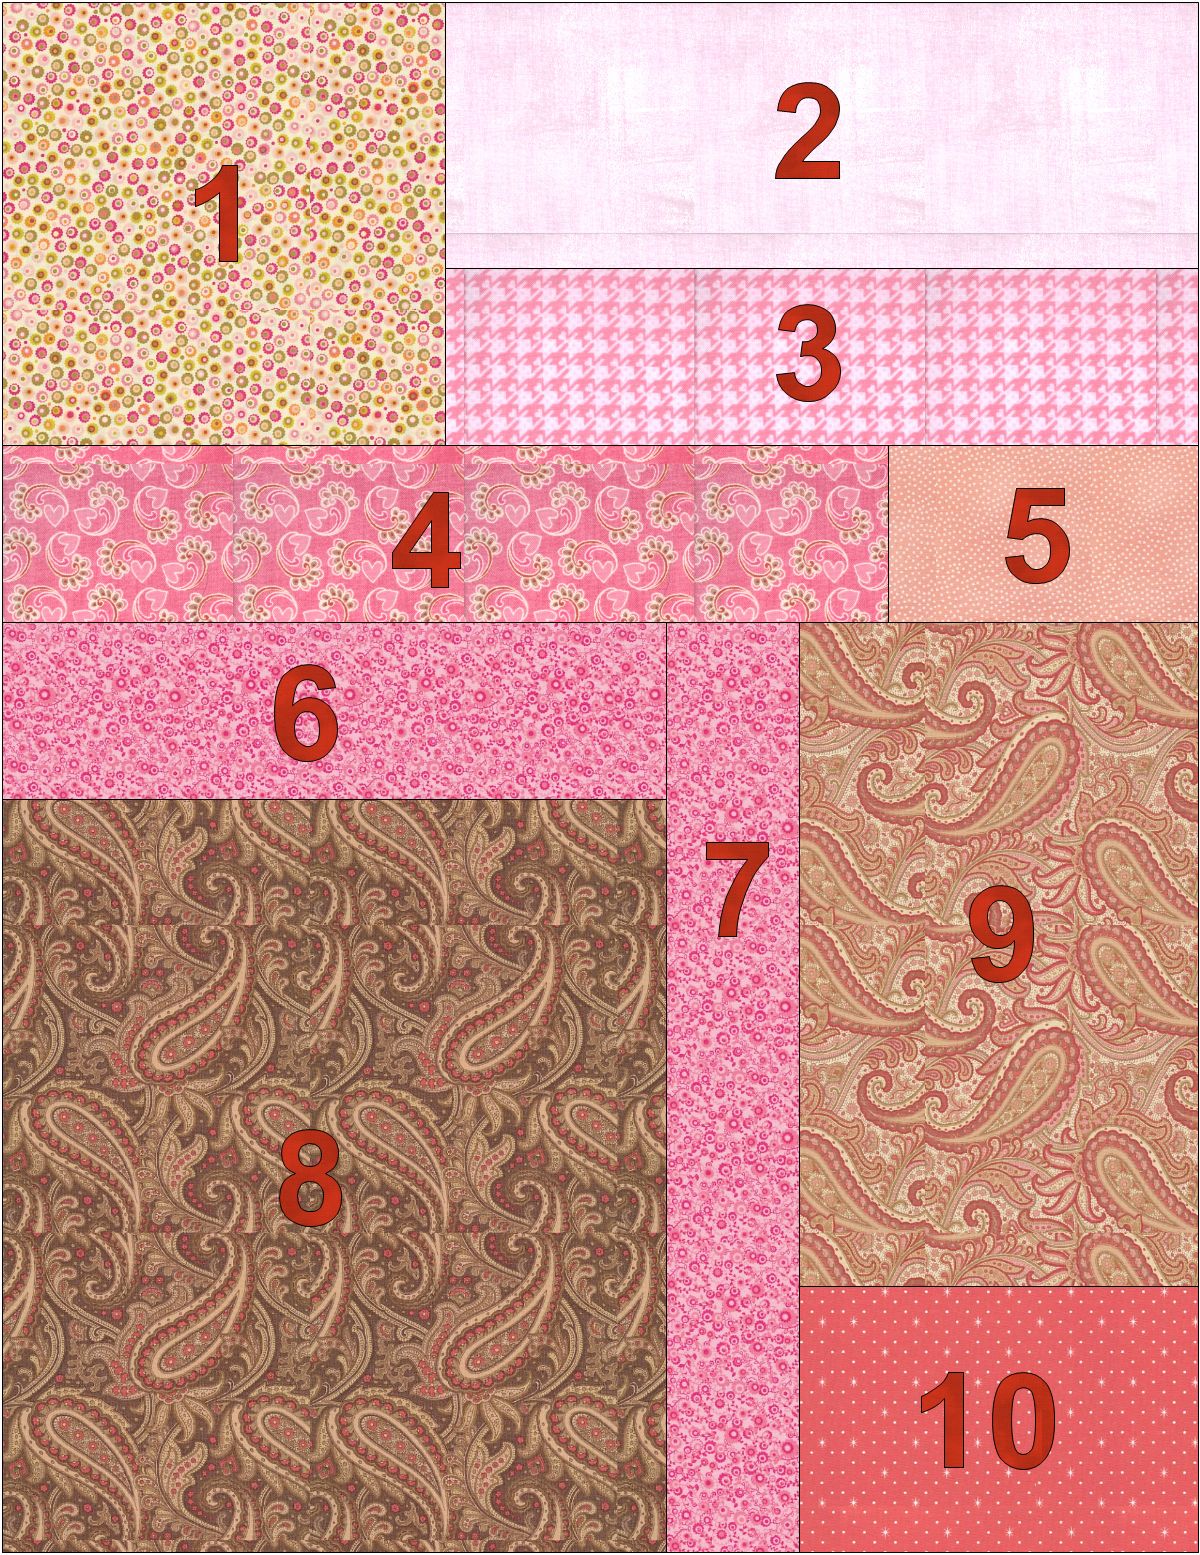
4.5 Yards Total ScrapsQuilt Back Diagram

  1. 5/8 Yard
  2. 1/2 Yard
  3. 1/3 Yard
  4. 1/3 Yard
  5. Fat Quarter
  6. 1/3 Yard
  7. 1/4 Yard
  8. 1 Yard
  9. 5/8 Yard
  10. Fat Quarter

Cutting Measurements

  1. 20.5″ x 20.5″
  2. 34.5″ x 12.5″
  3. 34.5″ x 8.5″
  4. 40.5″ x 8.5″
  5. 14.5″ x 8.5″
  6. 30.5″ x 8.5″
  7. 6.5″ x 42.5″
  8. 30.5″ x 34.5″
  9. 18.5″ x 30.5″
  10. 18.5″ x 12.5″

You may need use a bigger backing if you are sending it out to be quilted, but no one here is going to do that, right?? We are all going to quilt our own quilts and have fun doing it!

Step 5 – Piecing the Backing (1 Hour)

Use 1/4″ seam allowances and press all seams open. Follow the diagram above:

  • Sew piece 2 and 3 together; add to piece 1.
  • Join pieces 4 and 5.
  • Add 6 to the top of piece 8; then add piece 7 to the side.
  • Join pieces 9 and 10
  • Add unit 1-2-3 to unit 4-5
  • Add unit 6-7-8 to unit 9-10
  • So both larger units together to complete the backing and give it a final pressing.

Pieced Backing

Optional Non-Scrappy Backing

Plain BackingIf you would like to sew your backing using all one fabric, you will need a total of 3 yards.

Cut it into 2 equal pieces and trim off the selvedges. Then join the pieces together parallel to the selvedge.

You will have now a large piece measuring approximately 54″ x 80″.

Cut off about 10″ of excess length so that you have a piece measuring approximately 54″ x 70″.


Hugs ‘n Kisses Quilt Kits are available for purchase while supplies last. If you have any questions about this week’s homework, please be sure to join my flickr discussion, leave a comment, or email me directly at christa@christaquilts.com.

Quilt Along Schedule – Links will go to each active post when published.

Hugs 'N Kisses

Hugs ‘N Kisses 48″ x 64″


Christa’s Quilt Along 5.5 – Hugs and Kisses Top and Pieced Borders

Hugs 'N Kisses

Hugs ‘N Kisses 48″ x 64″

Welcome to part 5 of my Hugs ‘n Kisses Quilt Along!

For anyone just joining me, Hugs ‘n Kisses Quilt Kits are available for purchase while supplies last.

Be sure to work at your own pace and please share pictures of your progress on flickr.

Scroll to the end of the post for the quilt along schedule.

It took me a total of 6 hours to follow the steps below and complete my Hugs ‘n Kisses quilt top.


Step 1 – Arranging The Blocks (30 Minutes)

I decided to go with all X blocks for my layout. You will notice that my blog header shows part of a Hugs ‘n Kisses quilt I made several years ago in reds and oranges. I decided to try something different this time around and I encourage you to make it your own. 🙂

Kisses Blocks

Using a design wall or other large surface, play around with your blocks until they are in a pleasing arrangement. I tried to create a radiating effect by grouping all of the lighter blocks together in one corner and gradually darkening them across the quilt.

Step 2 Sewing the Blocks into Rows (1 Hour, 30 Minutes)

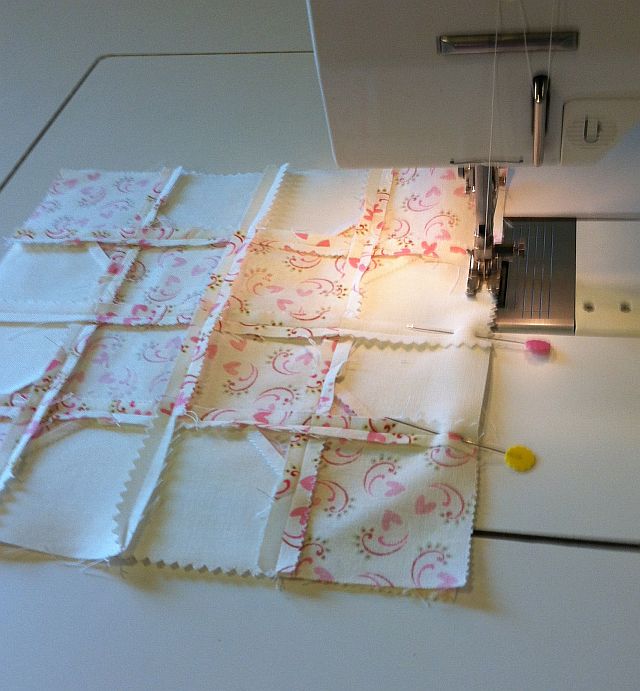
Lay out your design forming 5 blocks across by 7 rows down. To keep track of my rows, I took a picture with my camera phone. Then I was able to refer back to it for proper block placement. I pinned at the intersections and pressed all of my seams open.

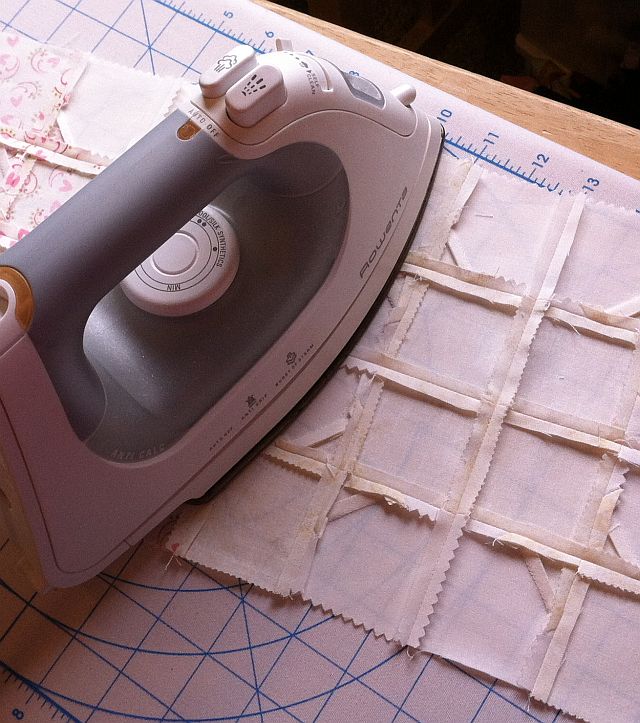
Pin BlocksPress Seams Open


Sew each set of blocks into a row. For easier joining, press rows 1, 3, 5 one way and press rows 2, 4, 6 the opposite way. Or press all seams open like I did.

7 Rows of Blocks

Step 3 – Joining the rows (1 Hour, 15 Minutes)

Join two sets of rows into one piece. Repeat for 3 pairs of rows with one left over. When pressing my seams open, I open them with a wooden seam roller, then press with an iron.

Pairs of Rows Seam Roller


Join rows 1-2 and 3-4. Then join rows 5-6 with row 7. Then sew the two pieces together.

Step 4 – Adding the Inner Borders (45 Minutes)

Measure the width of your quilt top. An easy way to do this is the fold it in half and measure using a cutting mat. My folded measurement is 20.5 inches which means my quilt measures 41 inches. (Mathematically it should measure exactly 40.5 inches so mine grew slightly.)

Measure the quilt.
Trim two 2.5 inch background strips to this measurement. Attach carefully with pins and sew one strip each to the top and bottom. Usually I sew side borders first. However, since I wanted to avoid piecing the top/bottom borders I sewed them first. 🙂

Inner Border

Next, measure the length of your quilt including the added strips. Use the same folding trick as above. Mine was 61 inches (mathematically it should have been 60.5 inches). You will need to join multiple background strips together for length. Trim two pieced strips so that they measure this length exactly. Add rows to either side.

Step 5 – Adding the Pieced Outer Border (2 Hours)

Each pieced border is composed of bricks that you cut out previously. You need a total of 54 bricks that measure 2.5″ x 4.5″ each. Sew them together into segments until you have 4 pieced segments (you can make them random or gradated):

Pieced Borders

2 Top/Bottom Borders – 12 Bricks Each
2 Side Borders – 15 Bricks Each

Top & Bottom: 12 segments sewn end-to-end (Make 2)
Sides: 15 segments sewn end-to-end (Make 2)

Add the pieced side borders to your top first. If they are too short, you may need to go back and re-sew a few segments with slightly narrower seam allowances. Or you can insert a piece as needed.

If the rows are too long, you may need to go back and increase the width of a few of your seam allowance segments to shorten it up. Or just trim off the excess.

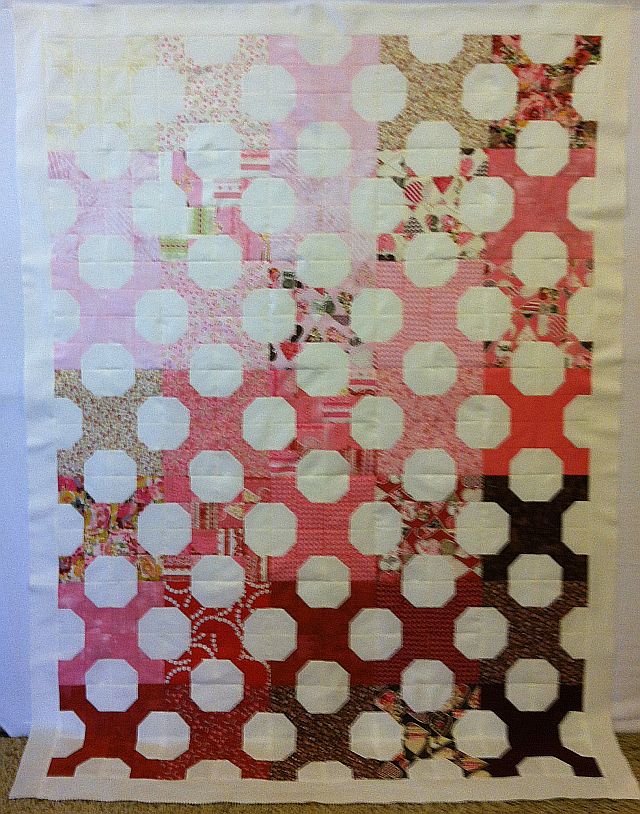
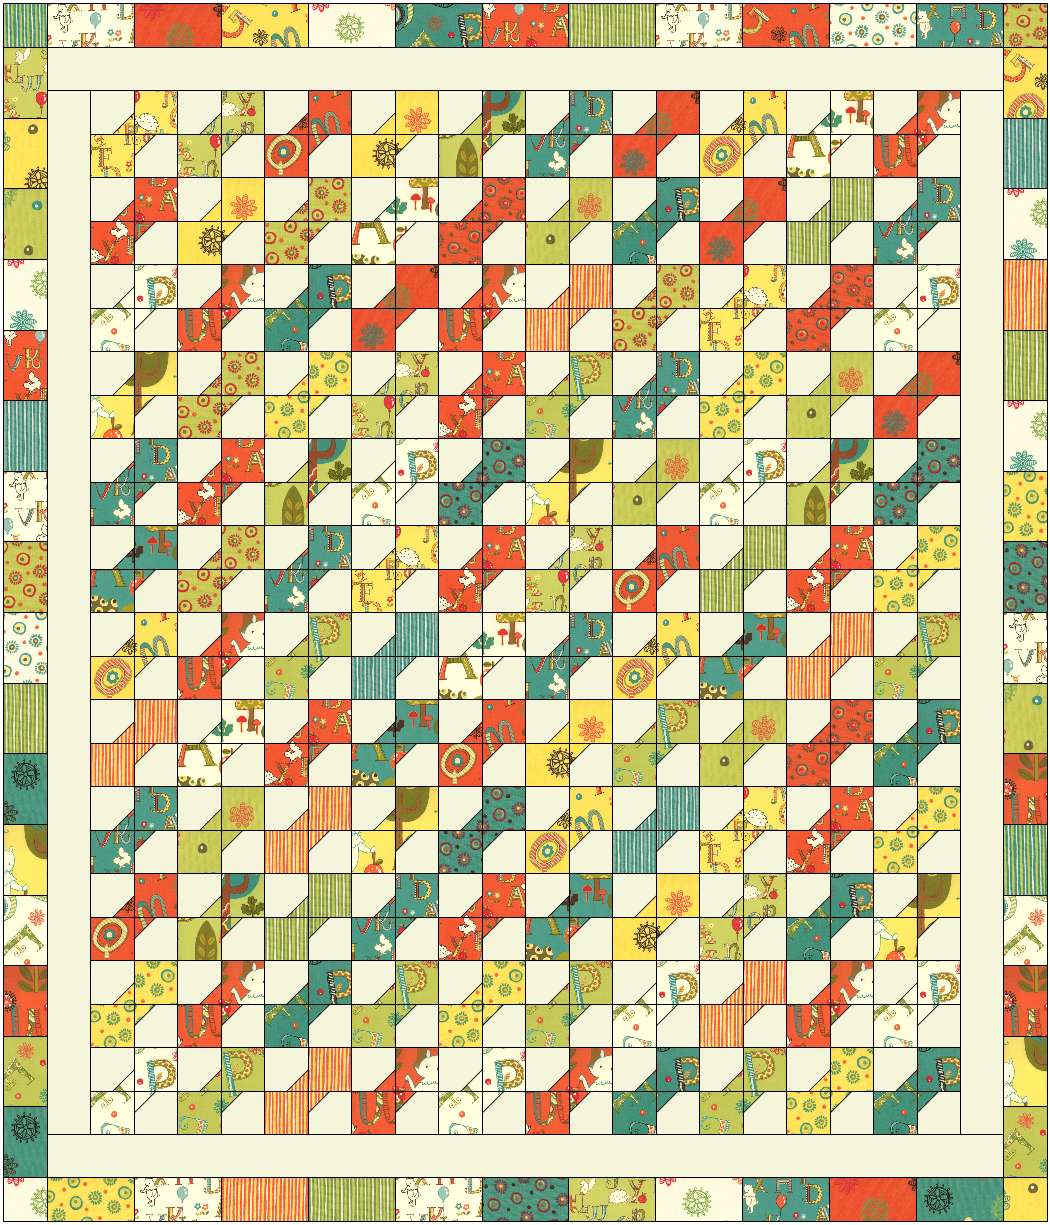
Hugs 'n Kisses Quilt Top

Add the top and bottom borders on in the same way. Voila! A finished quilt top!


If you have any questions about this week’s homework, please be sure to join my flickr discussion or email me directly at christa@christaquilts.com.

Quilt Along Schedule – Links will go to each active post when published.


Christa’s Quilt Along 5.4 – Hugs ‘n Kisses X and O Blocks

Hugs 'N Kisses

Hugs ‘N Kisses 48″ x 64″

Welcome to part 4 of my Hugs ‘n Kisses Quilt Along!

For anyone just joining me, Hugs ‘n Kisses Quilt Kits are available for purchase while supplies last.

Thanks to all of you who have shared your quilt along pictures on my flickr group so far. It’s been “sew” fun to see your progress!

Scroll to the end of the post for  the quilt along schedule.

It took me a total of 2 hours to sew all my blocks.


Did you finish your bow ties from last week? If not, that’s ok. I added an extra week to my schedule to give everyone a chance to catch up. That means less homework this week!

Bow Ties

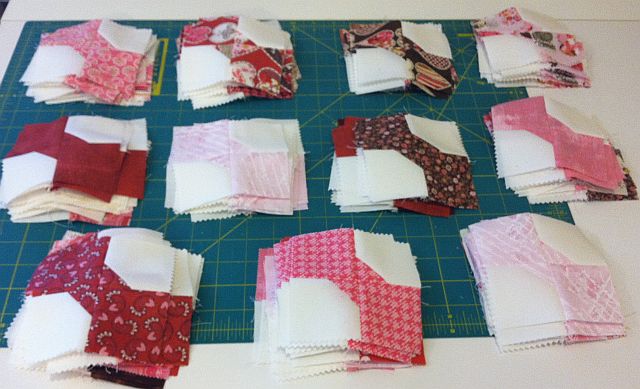
140 Bow Ties is a lot!

Step 1 – Sewing the Half-Blocks (1 Hour)

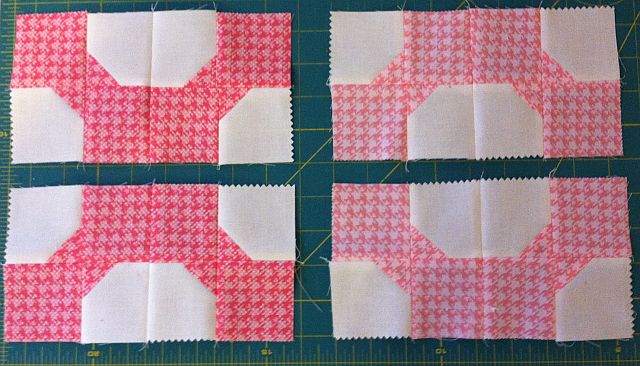
It takes 4 bow tie units to complete one X or O block. Sew two bow ties together to complete half of the block. Repeat for the other half of the block.

Half Blocks

At this point you can decide whether you want it to be an X or an O. Chain piece all of your pairs of bowties until you have a total of 70 “half-units”.

Partial Blocks

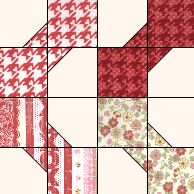
For an X block, join the halves with the print squares in the middle forming an X. For an O block, join the halves with the background squares touching to form an O. I pressed all of my seams open so that it did not matter which way I rotated the units.

Step 2 – Completing the X and O Blocks (1 Hour)

Sew a total of 18 X blocks and 17 O blocks. You should have a total of 35 blocks.

X O Blocks

For a fun design aesthetic you could try to make the X blocks from mostly medium/dark fabrics and the O blocks from mostly light/medium fabrics. It’s up to you!

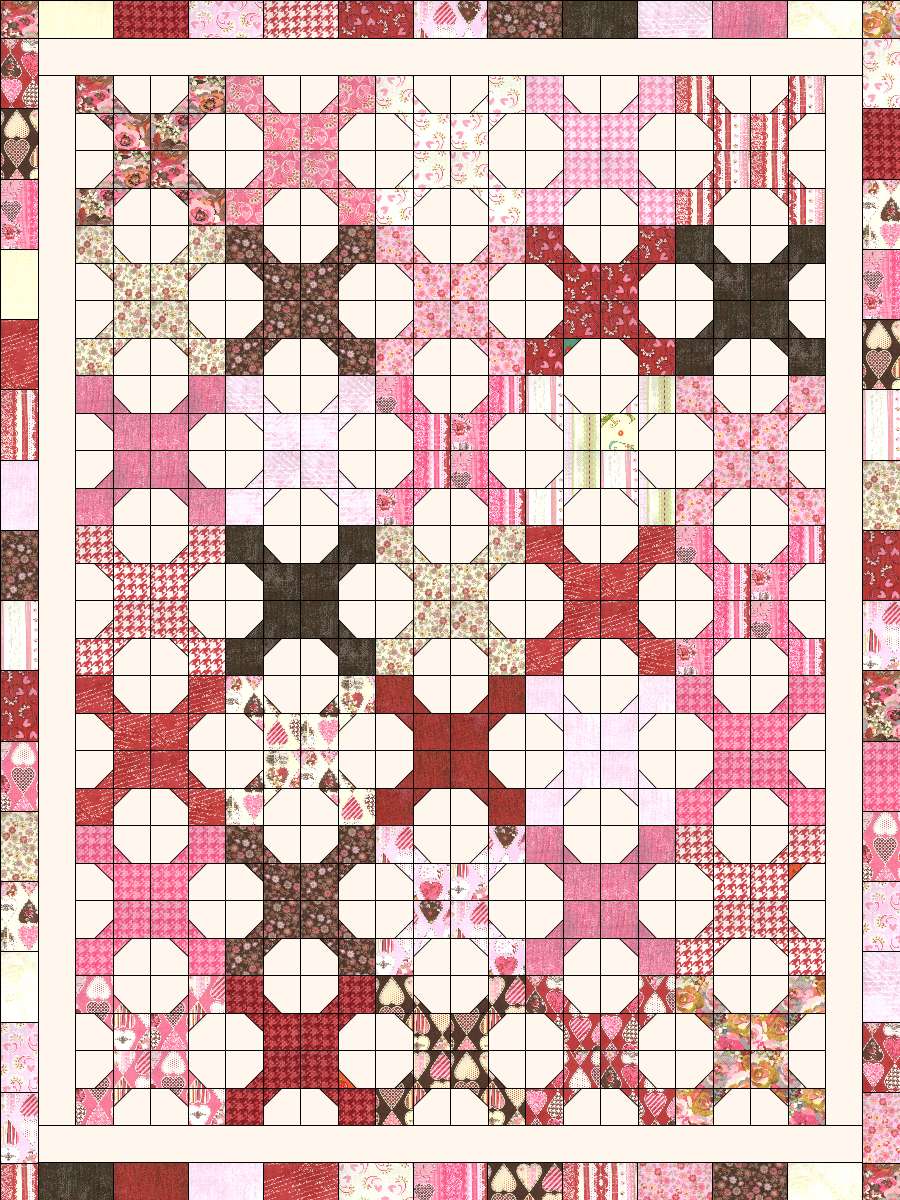
I am making my quilt from all X’s so I have sewn a total of 35 X blocks

All X's

Alternate Block Design

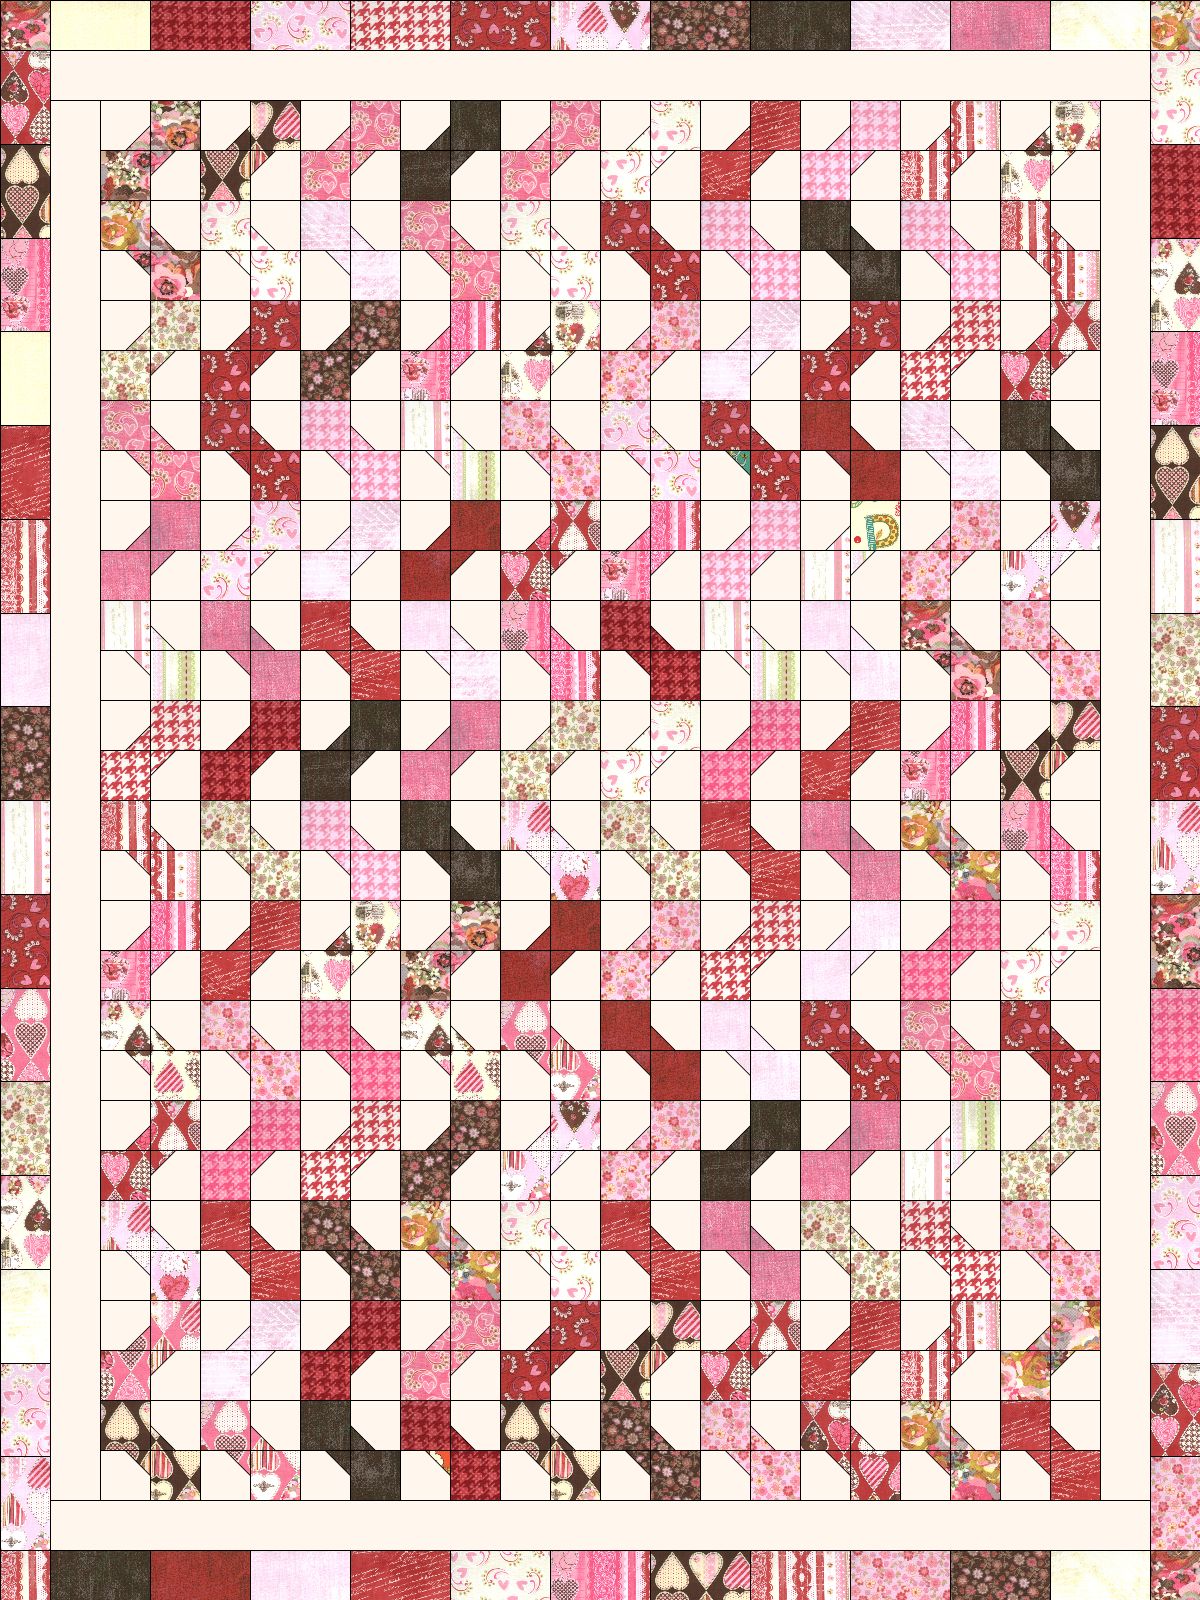
If you would like to go with an alternate layout such as waves, mix up your bow ties so that each one is different and sew all block units like this:

Waves Block 1Waves Block 2Waves Block 3


Play around with your bow ties and see what other designs you can come up with!
On the left is a sketch of what my quilt will look like. On the right is an alternate layout.

All X's

All X’s

Random Waves

Random Waves


If you have any questions about this week’s homework, please be sure to join my flickr discussion or email me directly at christa@christaquilts.com.

Quilt Along Schedule – Links will go to each active post when published.


Christa’s Quilt Along 5.3 – Hugs and Kisses Bow Tie Blocks

Hugs 'N Kisses

Hugs ‘N Kisses 48″ x 64″

Welcome to part 3 of my Hugs ‘n Kisses Quilt Along!

This week we will cut our strips into pieces and sew the bow tie units that make up the hugs and kisses blocks. Today’s post is pretty lengthy but I want to remind you to work at your own pace. Making this quilt is not a race; rather it is about enjoying the process.

I timed each step as I completed it to give you an idea of how long it will take to sew (total of 9 hours).  Rather than try to hurry and finish it all at once, I completed 1-2 steps per day so I never felt rushed.

Before cutting into segments, I starched my strips.

I also replaced a few jelly roll strips with a couple from my stash. (That’s because I borrowed them to make a previous Valentine’s Table Runner last month, LOL!!)

Hugs 'n Kisses Strips

Kissing Booth Jelly Roll Plus Stash Strips

Optional Step 1 – Starching the Strips (1 Hour, 15 Minutes)

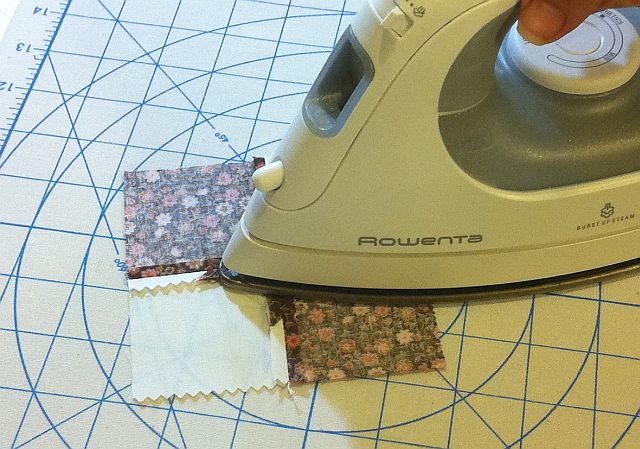
I sprayed a light mist on the backside, let it soak in, then gently pressed from the front. Take care not to stretch your skinny strips out of alignment. It’s not mandatory, but I do get better results by starching. You can read my previous post about using starch here.

Starch BackPress Front


If you decide to starch your background strips, take care that you don’t scorch them. I would suggest testing on a piece of white fabric first to make sure you don’t get any yellowing or flaking of the starch. Here’s a hint – cut some of your starched strips into units while you are waiting for other starched strips to dry in between pressing.

If you select any one of the layouts from last week’s post you can cut all of your fabrics according to the chart below. But feel free to modify your design further if it pleases you.

Step 2 – Cutting the Print Strips into Segments (2 Hours)

From each of 35 print jelly roll strips (2 .5″ x 42″), cut:

  • 8 – 2.5″ squares (2o inches so far)
  • 8 – 1.5″ squares (32 inches so far)
  • 1 – 2.5″ x 4.5″ brick (37 inches total)
Cut Squares

Cut Squares

Be sure to cut off the selvedges first and stack up to 4 layers of strips for cutting efficiency. Just remember – measure twice, cut once! I found it easiest to cut the 2.5″ squares, then the brick, then trim the rest of the strip down to 1.5″ before cutting the smaller squares.

You should have one stack of squares (8 large, 8 small) for every complete X or O block.

From 3 print jelly roll strips, cut:

  • a total of 19 more 2.5″ x 4.5″ bricks
Border Brick Units

Border Brick Units

You should have a total of 54 bricks that measure 2.5″ x 4.5″. Stack all of your bricks together and set aside for now. Keep your squares above sorted by color.

Step 3 – Cutting the Solid Background Strips (30 Minutes)

From 18 solid background strips (2 .5″ x 42″):

  • Cut a total of 280 – 2.5″ squares. Yes, this is a lot of background squares.
  • You need 8 squares per large block and will be making 35 blocks total.
  • You can get 16 – 2.5″ squares per strip.
Background Strip

Cut 4 stacks of squares per background strip.

Background Squares

280 Background Squares

Here’s a hint: fold one of your background strips into 4 layers so that it is at least 10 inches wide.

Cut one background strip at a time into 4 stacks of 4 squares each.

Continue cutting until you have a total of 280 squares. You will use a total 17.5 strips exactly for the squares.

Set aside 6 extra full strips for borders = 24 background strips total.


Step 4 – Sew and Trim the Bow Tie Corners (1 Hour, 15 Minutes)

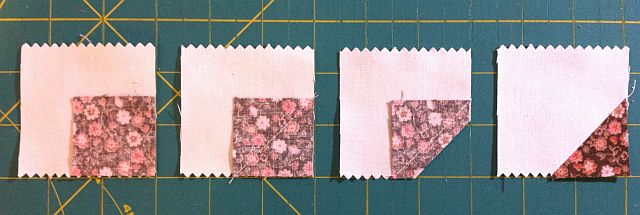
  1. Layer one smaller print square in the corner of one larger background square.
  2. Sew diagonally from corner to corner on the print square.
  3. Trim off the corner, leaving 1/4″ seam allowance.
  4. Press the print corner down to complete the square.
Bow Tie Corners

Bow Tie Corners

Chain Piecing

Chain Piecing

Practice making one bow tie corner unit so you get the hang of it.

I didn’t worry about marking my sewing line since it was such a small square.

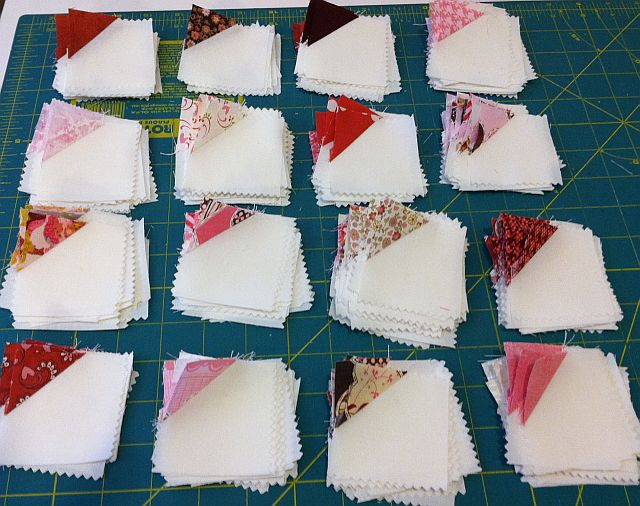
Assembly line sew all of your squares until you have a total of 280 pieced corners (8 of each fabric).

This is also called chain piecing. Sew all of the squares before cutting in between each one.


Step 5 – Press All the Pieced Squares (45 Minutes)

Taking care not to scorch your fabrics, press all 280 pieced squares with the fabric towards the dark side. At this point, they can all face the same direction.

Bow Tie Corners

Bow Tie Corners

Step 6 – Sewing the Bow Tie Blocks (3 Hours, 15 Minutes)

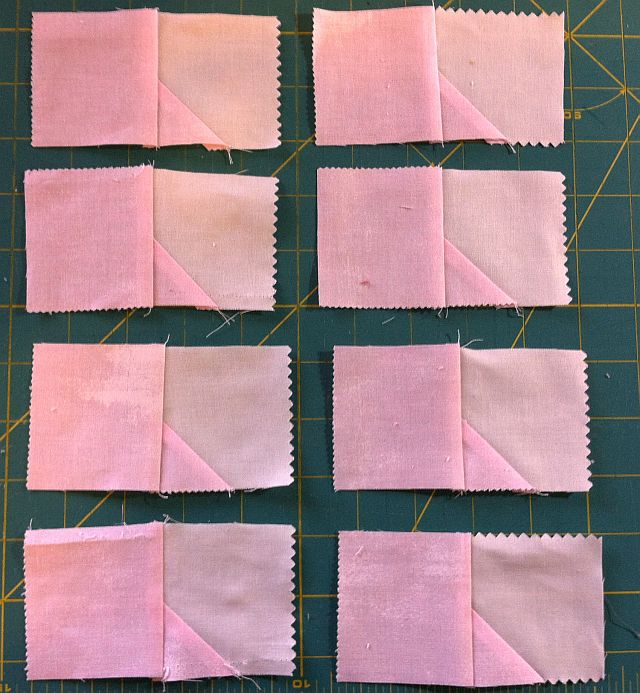
It takes 2 print squares and two pieced background squares per bow tie unit. For efficiency, you can turn the pieces all the same way and join them together assembly line style. Be sure to sew one test unit first so you know you are putting it together correctly.

Bow Tie Squares

Bow Tie Squares

Bow Tie Piecing

Bow Tie Piecing

Sew two half units together to complete one bow tie unit.

Bow Tie Units

Bow Tie Units

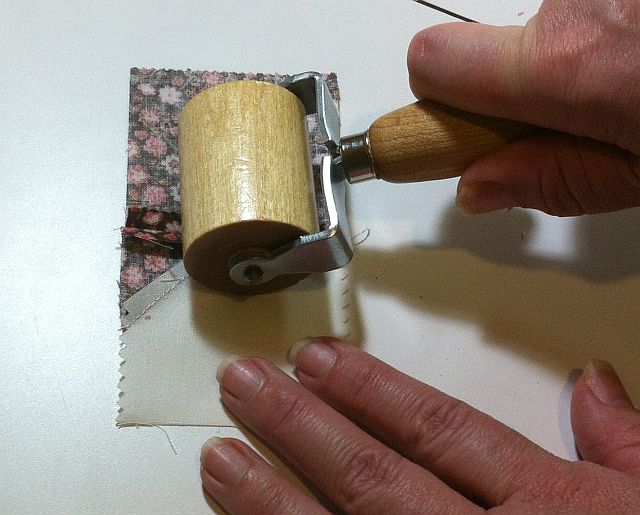
Pressing tips: I like to “finger” press each half of the bow tie unit with a  wooden seam roller. Then, after sewing the halves to complete the bow tie, I will press open with an iron.

Seam Roller Press

Seam Roller Press

Press Seams Open

Press Seams Open


Sew a total of 140 bow tie units, 4 of each color. You may have 8 bow ties of some colors if you have duplicate strips. Next week we will sew them into blocks.


If you have any questions about this week’s homework, please be sure to join my flickr discussion or email me directly at christa@christaquilts.com.

Quilt Along Schedule – Links will go to each active post when published.


Christa’s Quilt Along 5.2 – Hugs ‘n Kisses Fabric Layout

Hugs 'N Kisses

Hugs ‘N Kisses 48″ x 64″

Welcome to part 2 of my Hugs ‘n Kisses Quilt Along! Today I will be discussing fabric selection and layout.

Hugs ‘n Kisses Quilt Kits are available if you’d rather not worry about fabric selection.

For a successful design, this quilt relies on contrast between the print fabrics and the solid background.

You could choose one of your favorite themed fabrics like solids, batiks, or a favorite color range, and pair them with either a totally light solid or a totally dark fabric for contrast.


That being said, what if we play around a little? You will notice my original version has a few light colored strips. What if you wanted a modern, low-volume quilt? Just blur the contrast between the prints and background to achieve this sort of look in the pink design below.

Low Volume Hugs 'n Kisses

Low Volume Hugs ‘n Kisses

Juvenile Hugs 'n Kisses

Juvenile Hugs ‘n Kisses


And if you want to make a more playful, juvenile quilt, you can choose a bright background solid that matches one of your print fabrics. You could also use several different background fabrics if you want to make it a bit more “scrappy.”

If you are working with a kit where all of the fabrics are already chosen, you can make it your own by changing the setting of the squares, also known as block layout.

Hugs 'n Kisses Bowties

Hugs ‘n Kisses Bowties

Hugs 'n Kisses Waves

Hugs ‘n Kisses Waves

The basic unit we will be constructing next week is the bow-tie block. You could lay out your entire quilt with the bow ties all going the same way to achieve a totally different look. Or how about zig-zags, all kisses, or all hugs? It’s up to you!

Hugs 'n Kisses All X's

Hugs ‘n Kisses all X’s

Hugs 'n Kisses All O's

Hugs ‘n Kisses All O’s


I even dare you to play around with the borders if you are so inclined. What if you swapped the border fabric for the binding fabric, i.e., a solid border and a scrappy binding instead? If you want to make a larger quilt, who is stopping you from cutting a few extra strips from your stash and mixing them in with the other blocks? You can always “borrow” the inner border strips to cut up into more block backgrounds, and replace them with something else.

I want you to look at the kits as a starting point and explore your creativity (but only if you want to – there are no hard and fast rules here)! Who knows, I might even change up my own quilt a bit when I get to that point. 🙂

Here is this week’s “homework” for those of you cutting your own strips:

  • Cut out 36 assorted 2.5″ print strips for your blocks and pieced borders
  • Cut 23 – 2.5″ solid strips for your background and inner borders
  • Set aside 1/2 yard of coordinating solid for the binding and be sure to prewash it.

If you have any questions about this week’s homework, please be sure to join my flickr discussion or email me directly at christa@christaquilts.com.

Quilt Along Schedule – Links will go to each active post when published.


Christa’s Quilt Along 5.1 – Hugs ‘n Kisses Supply List

Free Quilt Pattern

New to my blog? Be sure to sign up for my email newsletter to get a free pattern!

Time for another fun quilt-along! My Hugs ‘n Kisses design is based on a quilt I made several years ago. If you look closely, it’s similar to the quilt shown on my blog’s header. Over the years I’ve had several requests for this quilt pattern, so I finally decided to make one!

Hugs 'n Kisses

Hugs ‘n Kisses

About This Quilt – Finished Size 48″ x 64″

I designed this quilt using EQ7  so that it will work with Jelly Rolls or precut strips.  Although I am making this quilt in the size stated above, you can easily double the yardage requirements, purchase additional kits, or add borders to make it bigger.

Kissing Booth Jelly Roll

Kissing Booth Jelly Roll

Kona Snow Roll Up Strips

Kona Snow Roll Up

Kona Solids Brick

Kona Solids Brick


Fabric Requirements (Hugs and Kisses Quilt Kits are available for a limited time.)

  • 1 Jelly Roll of print fabric. You may use any jelly roll or set of precut strips you like as long as you have at least 38 – 2.5″ strips.
  • 2/3 Jelly Roll of solid or background fabric,  or 24 – 2.5″ strips.  If you prefer to purchase yardage and cut the strips yourself, you will need 1.75 yards.
  • 1/2 yard fabric for the binding in a coordinating color – I prefer to use solid 2.25″ strips. Purchase a little more if you like wider strips.
  • At least 52″ x 68″ piece of batting; my favorites are high quality cotton or wool.
  • 3 yards of non-directional fabric the backing, or scraps and fat quarters to total about 3.5 yards if you prefer to make it scrappy like I do.
Machingers Gloves

Machingers Gloves

Supreme Slider

Supreme Slider

Superior Needles

Superior Needles


Supplies Needed


If you have any questions please be sure to join my flickr discussion or email me directly at christa@christaquilts.com.

Quilt Along Schedule – Links will go to each active post when published.

Sharing is Caring

Please share your work in progress in my facebook group: Quilt With Christa . 🙂

Christa’s Quilt Along 4.9 – Sea of Squares Binding by Machine

Machine Binding

Today I am going to show you a quicker way to bind your quilt – by machine. Sometimes when I am in a hurry (like this week trying to finish all my quilting tasks before heading off to QuiltCon), a machine binding is just what I need!

It took me a total of 2 hours to bind this quilt using my home sewing machine. I love how it looked outside today with the quilt against the cloudy sky. A cool juxtaposition…

Sea of Squares Finished

Step 1 – Trim Your Quilt (10 Minutes)

Before binding, you want to start with a nicely trimmed edge, flush with your quilt. I don’t leave any batting peaking out. My method ends up with a fully stuffed, flat binding.

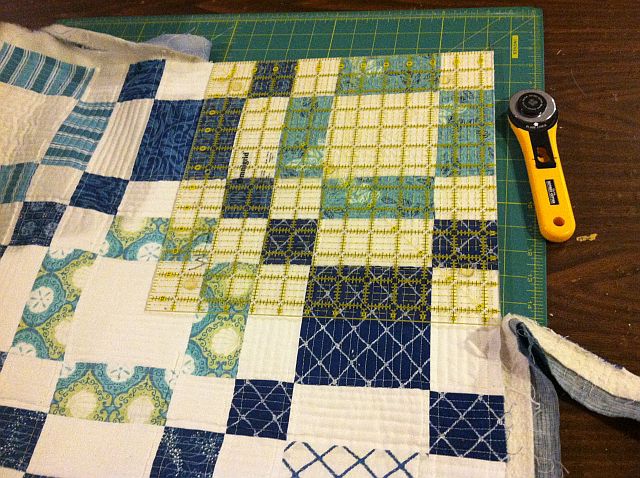
Using a large square ruler, I trim up all 4 corners first. If anything is out of alignment, I gently tug it back into place. Then I trim up all the sides with a long ruler.

Trim Corners FirstTrim the Sides


By starting with trimmed corners, I can match up the cutting lines so that things stay straight (as possible). You can throw your trimmings away or recycle them as pillow stuffing. 🙂

Step 2 – Calculate the Length of Binding Needed & Cut Strips (10 Minutes)

My favorite binding is called double fold straight grain binding, and it is super easy to make. You start off with strips of fabric, cut them on the straight of grain, then fold them in half twice to get the double fold. It holds up well especially on quilts that get a lot of use.

Measure the Perimeter

First, measure the perimeter of your quilt and add on 10 inches for corner folding, seams and “insurance.” In this case, my Sea of Squares quilt measures 50″ x 58″. It shrunk about 2 inches due to the intensity of the quilting on it.

I need a total length of 226 inches (50+50+58+58+10). If I divide this by 40 inches (the length of a fabric strip), I end up with 5.65 strips which I round up to 6 binding strips needed for this quilt. I cut all my strips 2.25 inches wide.

Binding Strips

Cut Six 2.25″ Wide Strips

For those of you sewing along using one of my Sea of Squares kits, binding fabric is included.

Step 3 – Sewing the Binding Strips Together (5 Minutes)

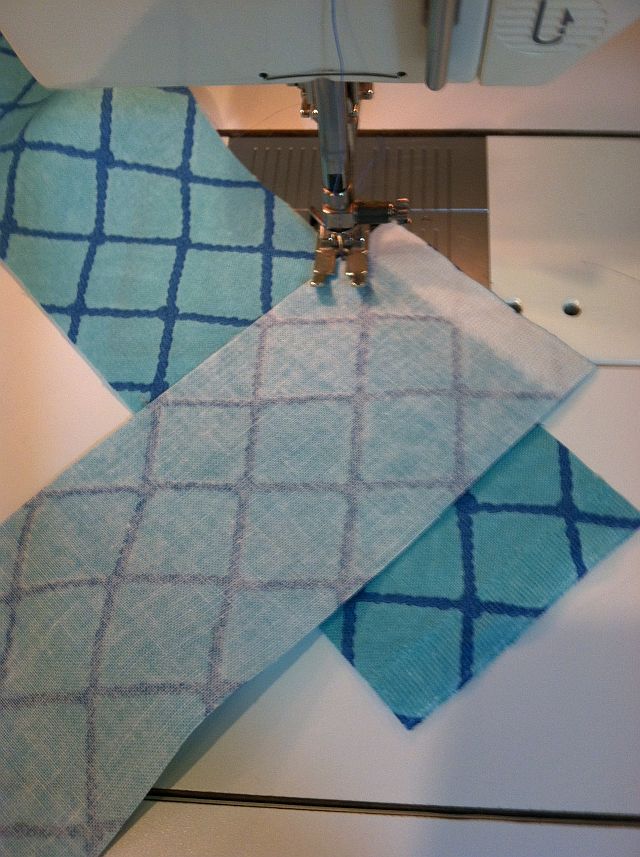
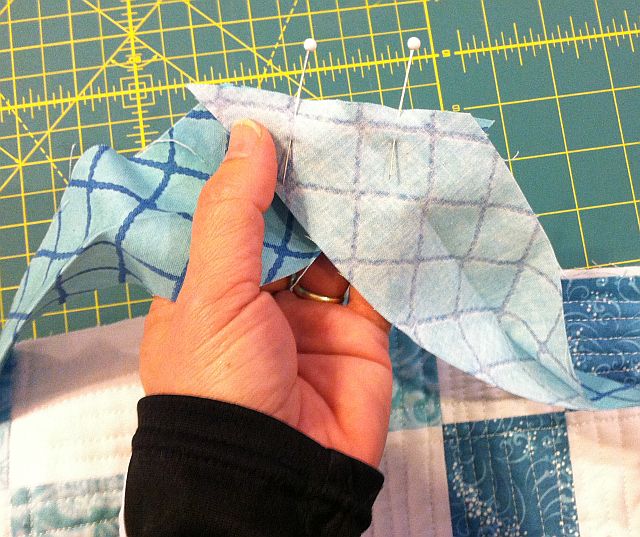
Join all of your binding strips into one long piece. Sew the ends on a mitered angle so that the bulk of the seam will be distributed more evenly. Be sure to cut one end of the binding on the same 45 degree angle. Fold the strips wrong sides together and press along the length with a dry iron.

Sew Continuous StripsFirst Fold

Before attaching to the quilt, I will pin part of the binding to one side, starting somewhere in the middle. Loosely walk the binding all the way around the quilt to ensure there will not be any mitered seams falling on the corners of your quilt.

Step 4 – Attaching the Binding to the Quilt (30 Minutes)

Sew from the front.Whether finishing the binding by hand or machine, this part is the same. Using coordinating or matching thread in top and bobbin, sew the binding to the front side of the quilt.

Starting with the binding on the angled end, leave a few inches of unsewn “tail” and use quarter-inch seams.

Be sure that you are sewing with the raw edges of the binding and the raw edges of the quilt in the seam. These will be covered with you flip your binding to the back.

You may wish to add a few pins to secure.

When you near a corner, be sure to mark a line 1/4″ away from the corner. Stop sewing at this line, then turn your quilt 90 degrees and sew off the edge.

Stop 1/4 inch from end.

Sew perpendicular to edge.


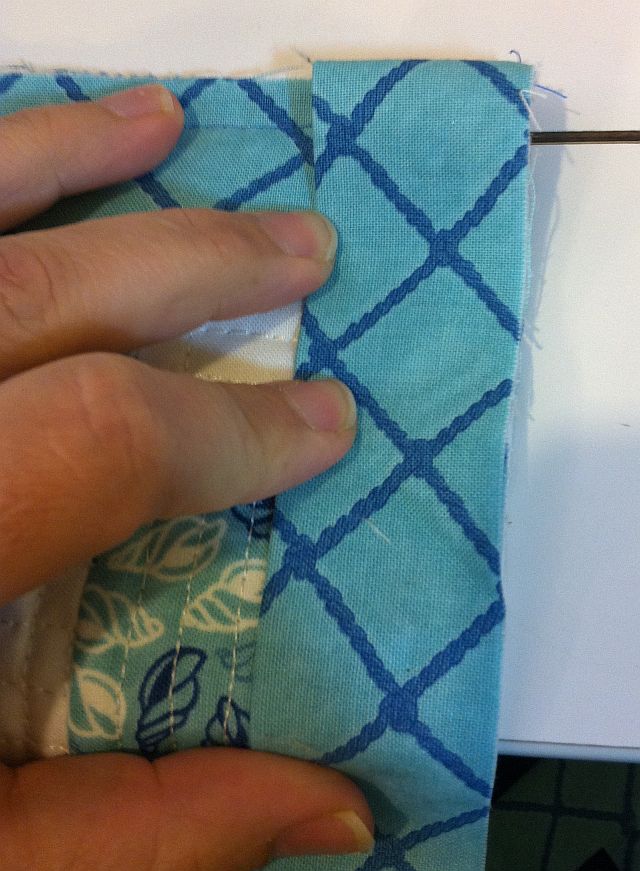
Flip the binding strip to create a 45 degree angle, pinch the excess, and then fold it back down. This creates the excess fabric allowing for a nice miter on both front and back of the quilt. Begin sewing the next side starting at the corner of your quilt. Repeat for all 4 corners.

Flip binding up.Flip binding down.


Leave about 6 inches of tail when you finish sewing. This will be joined next to create a continuous binding.

Step 6 – Joining the Ends Together (5 Minutes)

This is probably the trickiest part of the whole binding process. You want the ends to be joined with a nice miter seam that does not give any extra slack.

Leave a Tail

Open the Blunt End


Open both tail ends. Place the angled tail on top of the blunt tail and draw an erasable line along the edge of the angled tail where it meets the blunt end. You will need to account for both seam allowances, so cut 1/2 inch away from this line, keeping the 45 degree angle.

Trace the Angle

Now join the two ends together with 1/4″ seam. Use pins if needed and offset each of the triangle tips by about 1/4″. Finish attaching the binding to the front of the quilt.

Cut 1/2 inch wider.Pin ends and sew.


Step 7 – Binding by Machine (1 Hour)

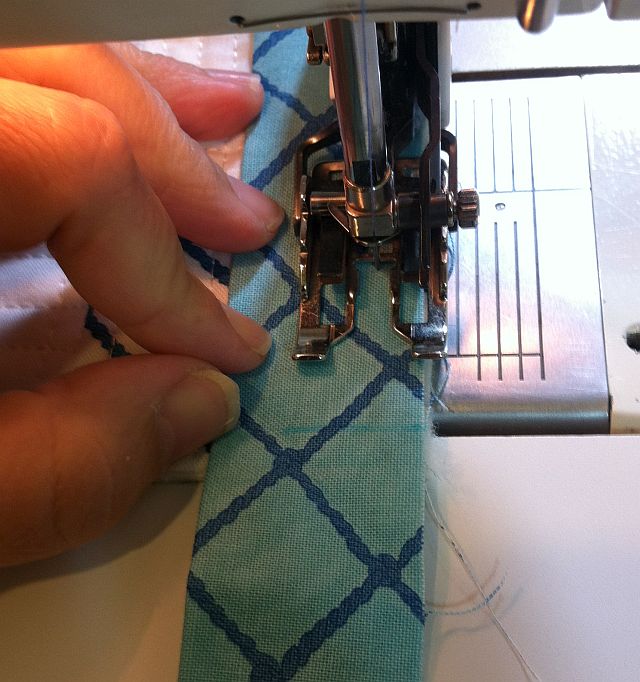
I have a tendency to pull on my binding as I’m sewing, stretching  it and creating a wavy edge that needs to be blocked. By pinning first, this can eliminate most of the stretching.

Pin Binding

There are several different ways you can finish stitching the binding on by machine. For example, you can stitch in the ditch from the front side but only if you are absolutely sure you are catching the binding on the backside, too. You can stitch using straight lines or decorative stitches. Just sew slowly and be sure to catch the corners as you go around the quilt. A decorative stitch can hide a lot of mistakes!

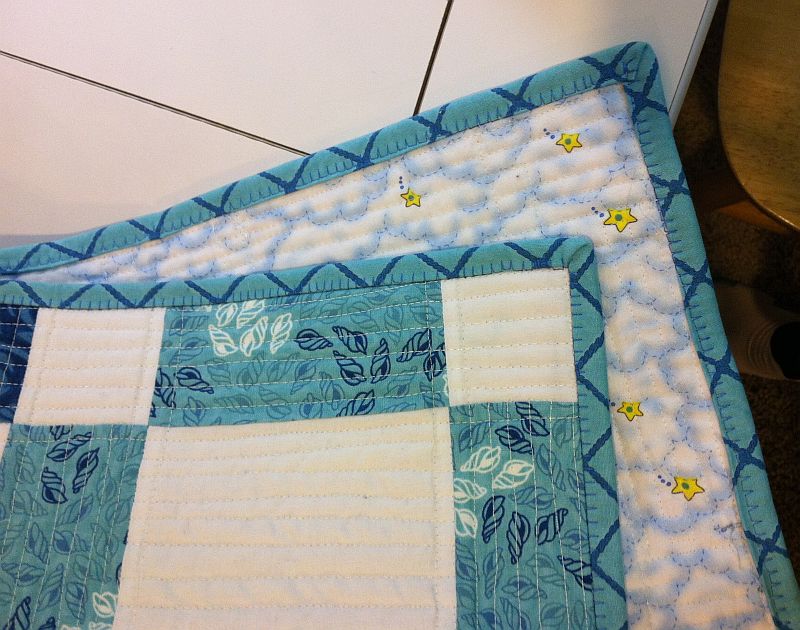
For Sea of Squares I chose to use a reverse blanket stitch (similar to the regular blanket stitch I used for my machine applique table runner). The stitching won’t line up perfectly on the back but if you use a blending thread it won’t matter too much.

Sea of Squares Binding

Often times I have finished by quilting a decorative stitch from the backside, too.The picture below shows the binding I did on my first quilt-along, the Jolly Jelly Roll Quilt. I used one of my favorite stitches on my machine, a wavy serpentine stitch.

Jolly Jelly Roll QuiltI hope you have enjoyed following along as I made my Sea of Squares Quilt. I learned a lot from it and I encourage you to give this quilt a try. If you are currently working your way through your own version of Sea of Squares, I’d love to see it! You can share photos of your work in progress on my flickr group: Christa’s Quilt Along.

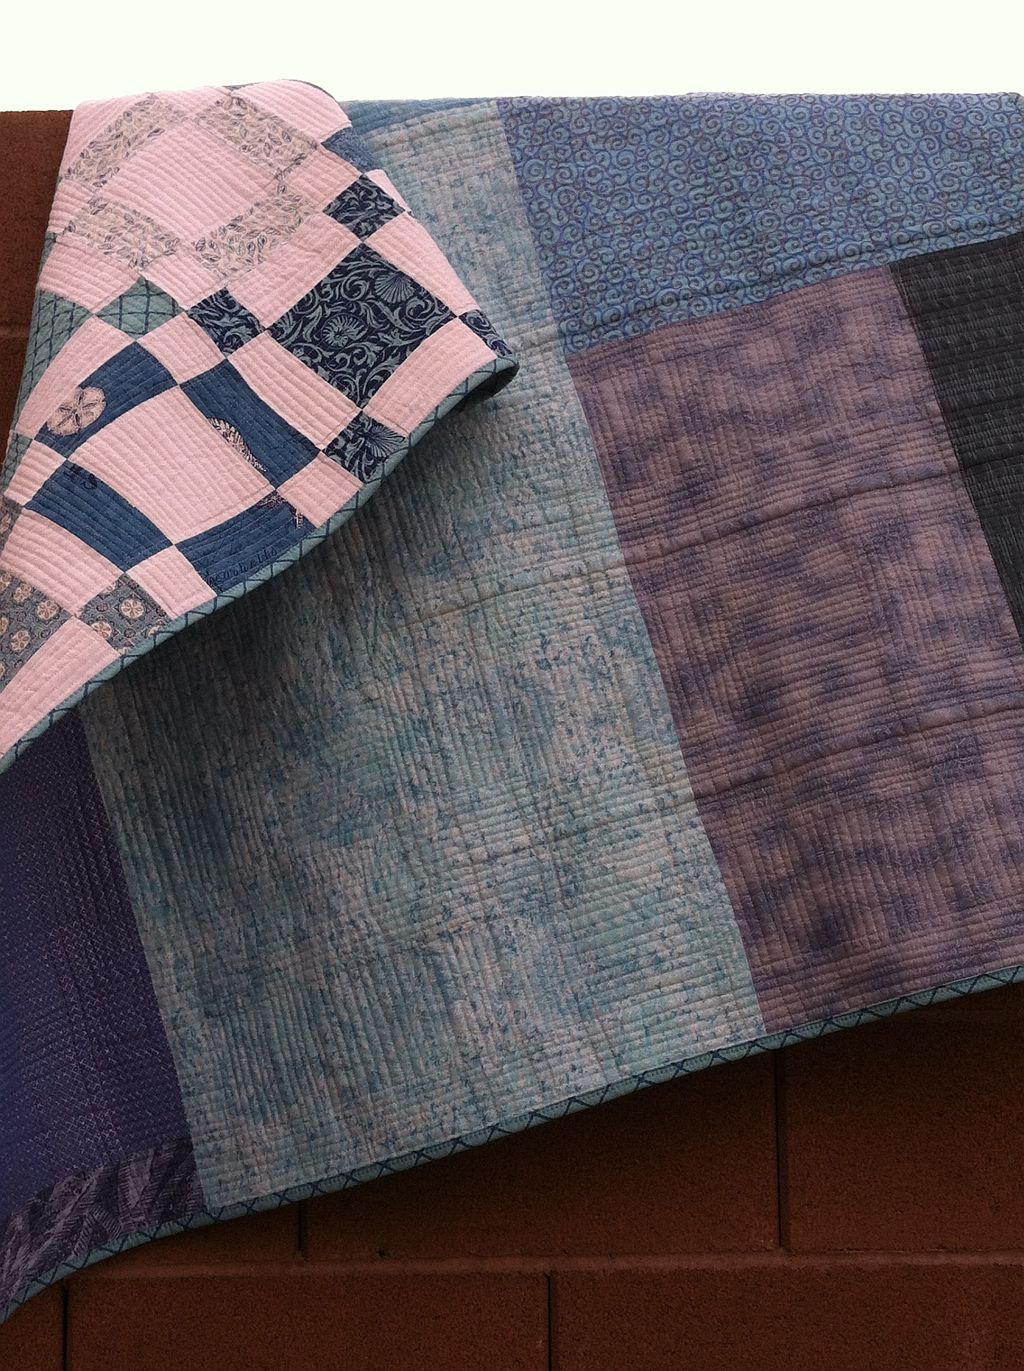
Here is a picture of the back of Sea of Squares, showing all that machine quilted texture.

Backside of Quilt


Complete Quilt-Along Schedule for Sea of Squares
Click any of the links below and follow along at your own pace.

Sharing is Caring

Please share your work in progress in my facebook group: Quilt With Christa . 🙂

Christa’s Quilt Along 4.8 – Sea of Squares Extra Quilting

Can you believe this quilt is almost done? Next week I will show you how to bind it by machine. The following week I will start all over with another brand new quilt-along. Here’s a hint for my next quilt: it requires 1 Jelly Roll and a 1 1/2 yards of background.

Extra Quilting

This week I added tons more quilting to my Sea of Squares quilt. I spent an extra 7 hours gleefully quilting along, adding loads of texture with straight slightly wonky lines using my walking foot. If I had planned ahead I would have quilted about an hour a day for 7 days. Instead, being the procrastinator I am, I did it all in one day, but it was still fun!

Step 1 – Quilting the Sash Rows (1 Hour 45 Minutes)

First I started with what was easy. I quilted parallel lines all going the same direction through all of the skinner sash rows. I worked my way across the quilt, one row at a time, flipping the quilt when there was too much bulk under the machine.

Quilt Parallel Lines

Step 2 – Quilting the Rest of the Rows (5 Hours, 15 Minutes)

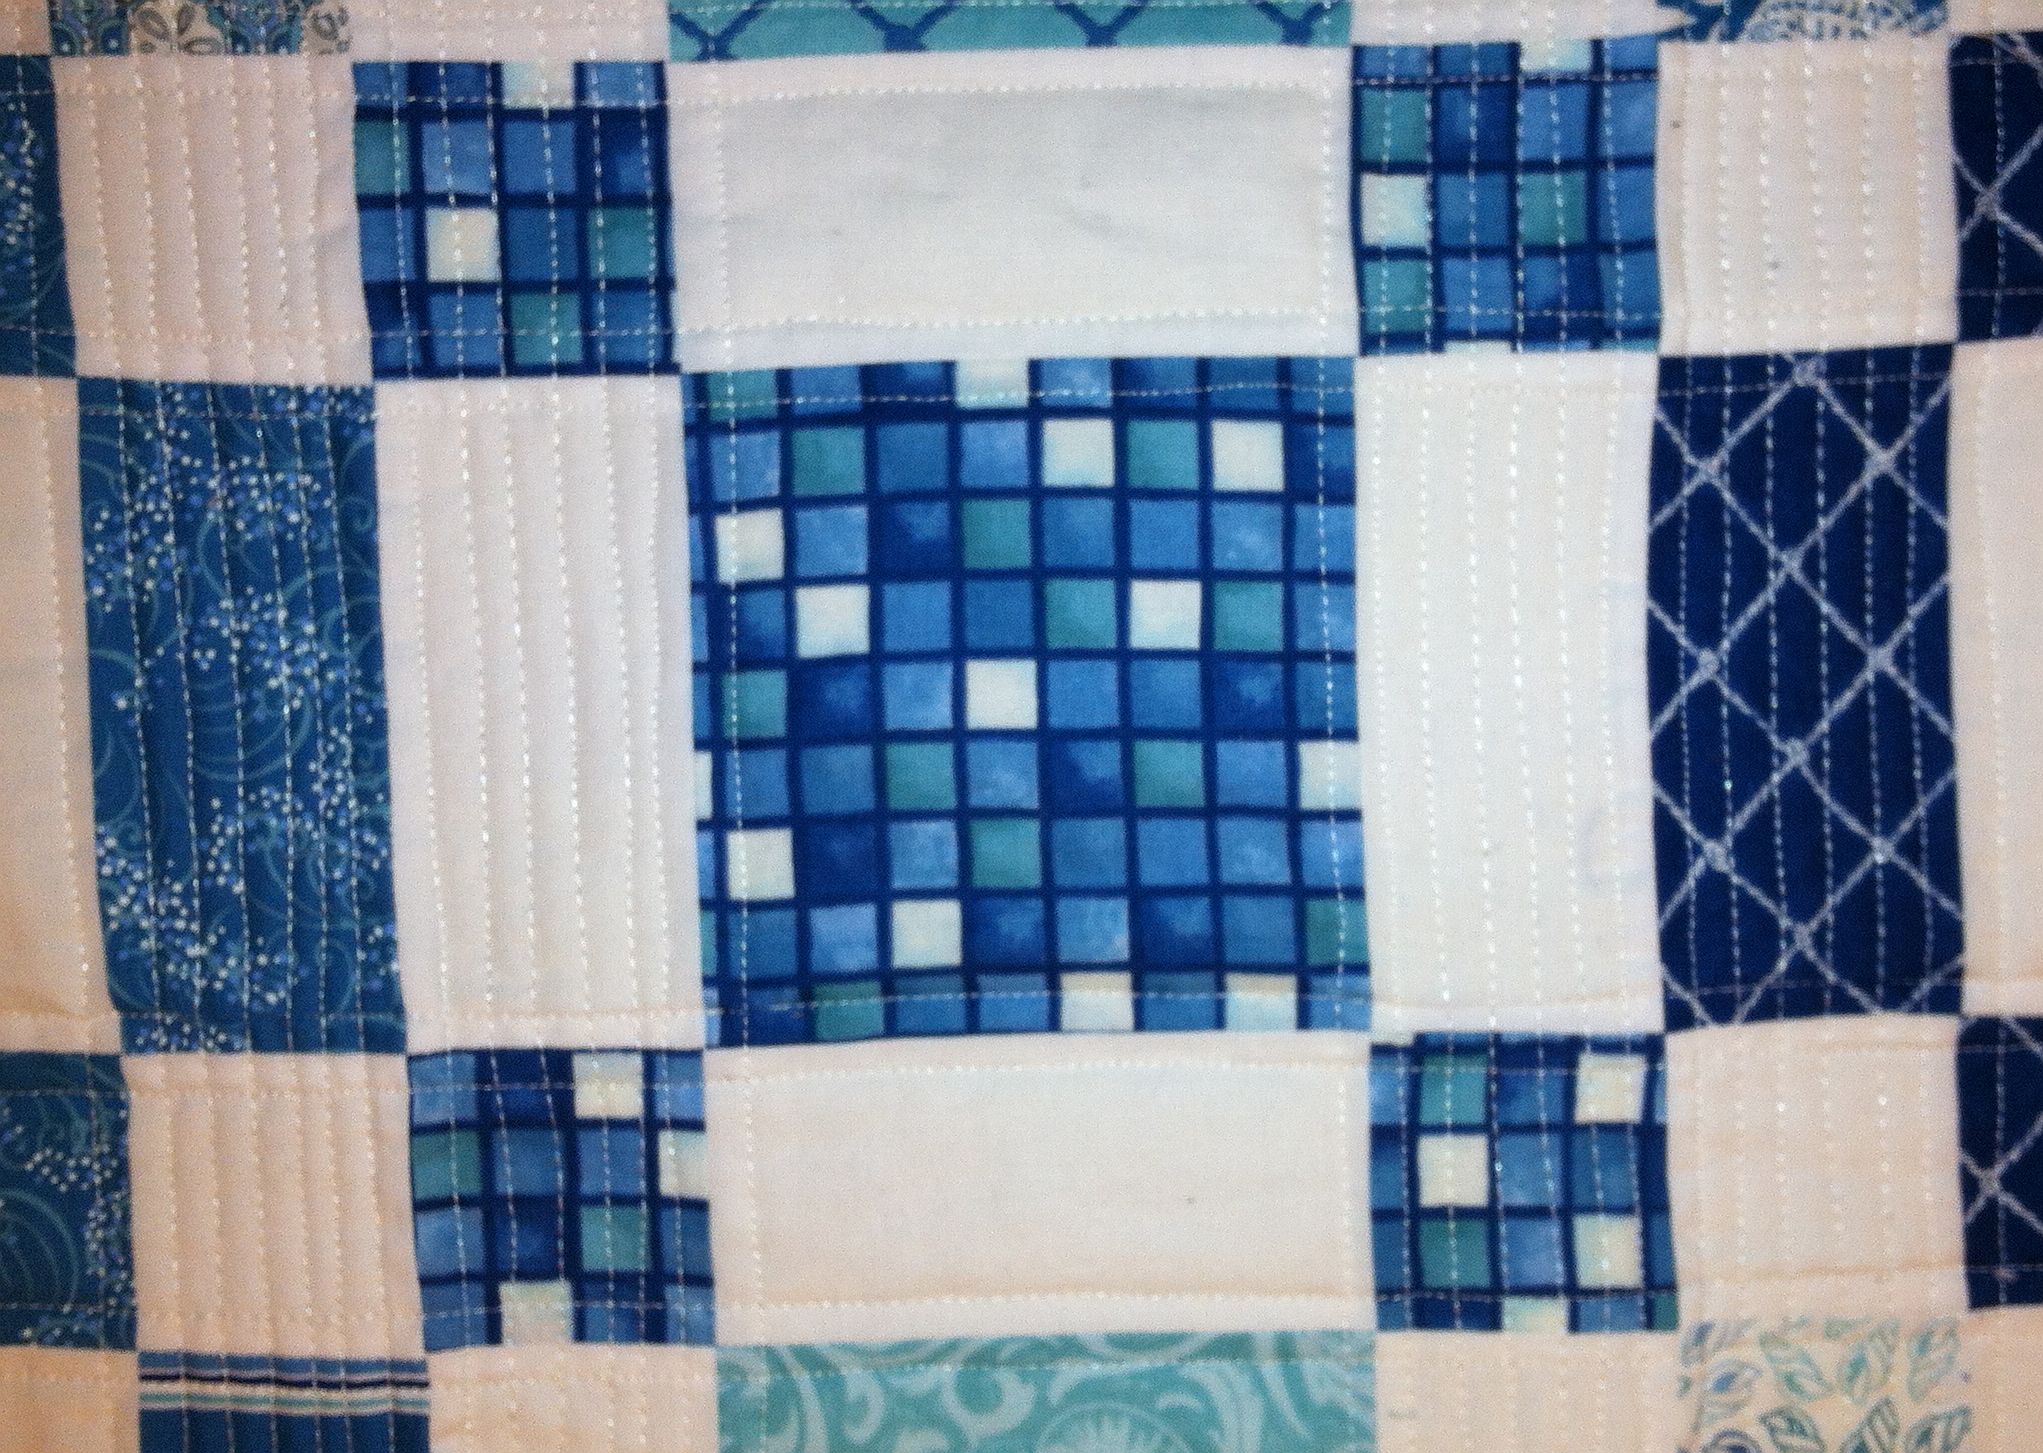
Now it’s time to fill in the rest of the space. I quilted the rectangles with lines running perpendicular to the previous quilting lines. For the big squares I alternated directions. I quilted the print squares all one direction, and the solid squares the other way.

Quilt Perpendicular Lines

It was cold that day so I bundled up while quilting!

I wanted to try out the continuous reverse feature on my machine. I can push a button once and it will sew backwards until I push it again to stop (and I don’t have to keep my finger on the button). So I would quilt one line of quilting, then push the reverse button and quilt a line backwards without having to turn the quilt all the way around. It was great!

Reverse Quilting

It took about 1000 yards (2 spools) of thread just for the top. I used the same color in a thinner weight for the bottom so I wouldn’t run out of thread.

Quilting this quilt was very liberating for me. I did not mark the quilting lines because I wanted to add a touch of modernity to the quilt with more organic-looking texture. Once I let go of my perfectionist tendencies and got into the “waviness” of the lines, it set me free to enjoy the process. Jason is always telling me to go bold and let out my inner artist. So now I’m giving you the same permission!

Quitling Makes the Quilt

Be sure to take a look at my flickr group so that you can see the wonderful quilts being made by everyone else. And if you are working through any of my quilt-alongs, I’d love to see your progress!

In fact, Judith shared her version of Sea of Squares in beautiful brown and cream. Notice the wonderful quilting she did with wiggly lines across the surface and quilting motifs in the blocks. I love it when you can really make your quilt your own. Nice job, Judith!

Judith's Sea of Squares

Please share your pictures here:

http://www.flickr.com/groups/christasquiltalong/


Quilt-Along ScheduleLinks are Active at the Completion of Each Step:

Sharing is Caring

Please share your work in progress in my facebook group: Quilt With Christa . 🙂

Modern Love Mini Quilt Along #3

This weekend I finished my Love table runner. Today I will show you how to applique and quilt it all at the same time! Scroll to the end of this post for links to the previous tutorials.

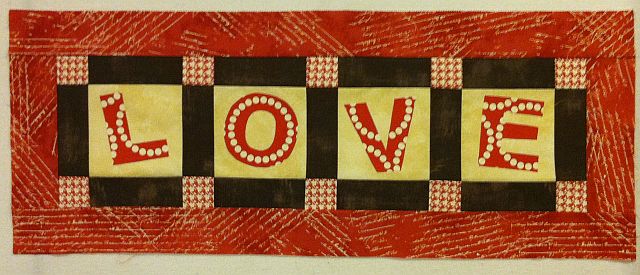
If you have followed along so far you will have a top that may look something like this:

Lover RunnerThe letters were traced and applied to the background fabric with  Steam-A-Seam 2, my favorite type of fusible web. Now it is time to applique them down.

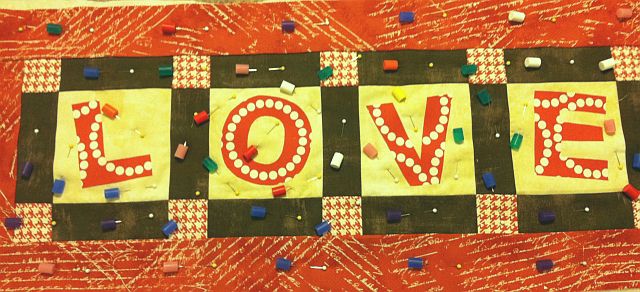
Step 1 – Baste your Quilt

You can use safety pins, or my favorite basting tools – straight pins and pinmoors. I chose a scrap of thin cotton batting (Warm-N-Natural) because it lies very flat which is what I want.

Pin Basting

Step 2 – Choose Your Thread and Decorative Stitch and Practice First

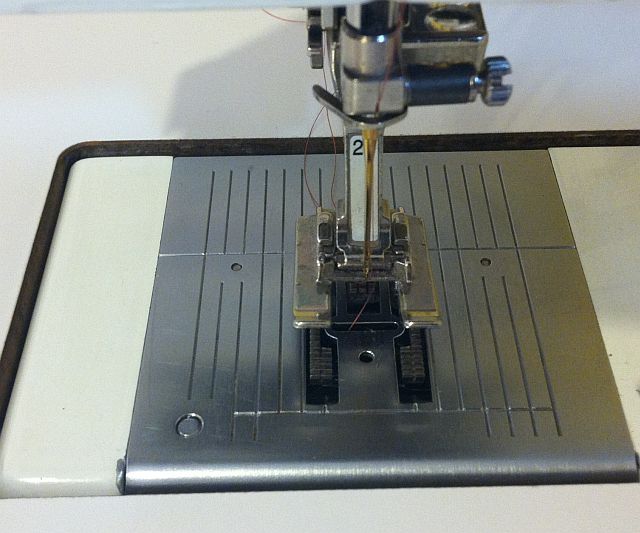
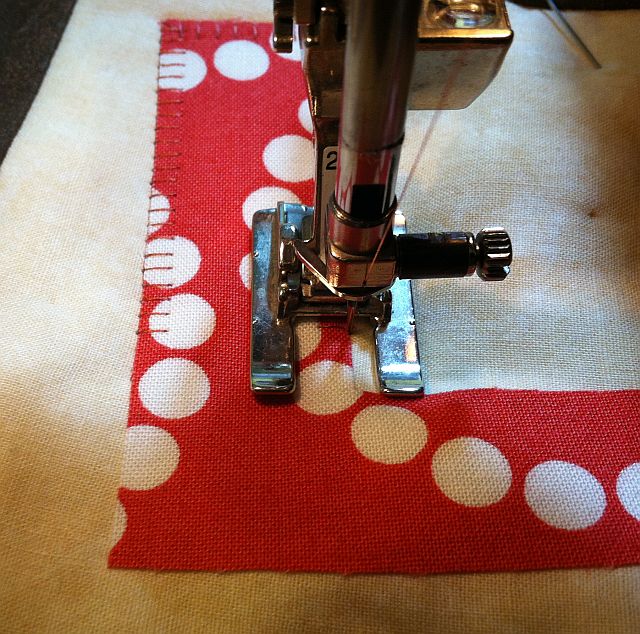
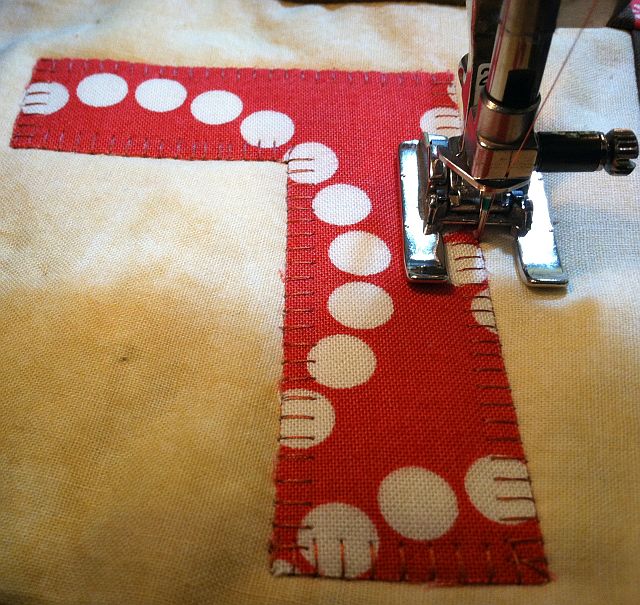
Open Toe FootI use an open toe foot with a wide needle plate. The open toe allows me to see my work so that I can be more precise.

I prefer to use silk thread in a color matching my fabrics for the applique. It is so thin that it nearly disappears into the fabric. A lightweight cotton works well, too. If you don’t have a thread color that’s an exact match, go with a darker thread color rather than a lighter color.

I like to use a buttonhole or blanket stitch rather than a thready satin stitch because it’s much lighter on the quilt and more forgiving to stitch out.

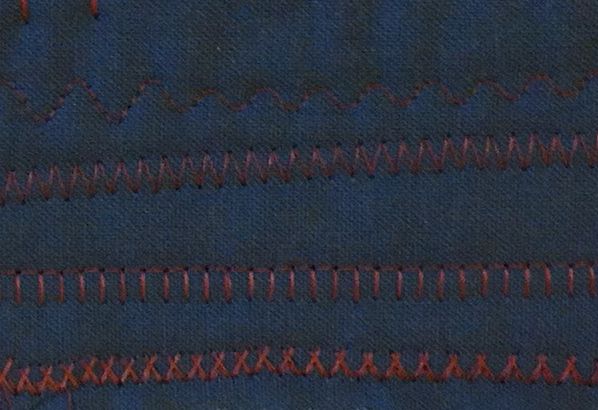
Practice Stitches

Practice with a few decorative stitches on scrap fabric until you find one you like. You can use a regular straight stitch, too, sewn closely to the edge of your fabric pieces. You need to learn the “rhythm” of your stitch so you can anticipate where the needle will next pierce your fabric. Sew slowly and “count” how many movements it takes to complete the decorative stitch.

Step 3 – Appli-quilt Your Letters

Since you will be stitching through all the layers of your quilt, you don’t need a stabilizer. I suggest using the same thread color in the bobbin as well as the top to hide any less-than-perfect stitching or tension issues.

Stitch the Letters

Start in the middle of your letter and bring the bobbin thread up to the top. Take a few small straight stitches to lock your threads. Then switch to the decorative stitch on your machine. You may need to scoot your quilt over so the needle position lines up correctly.

Pivot

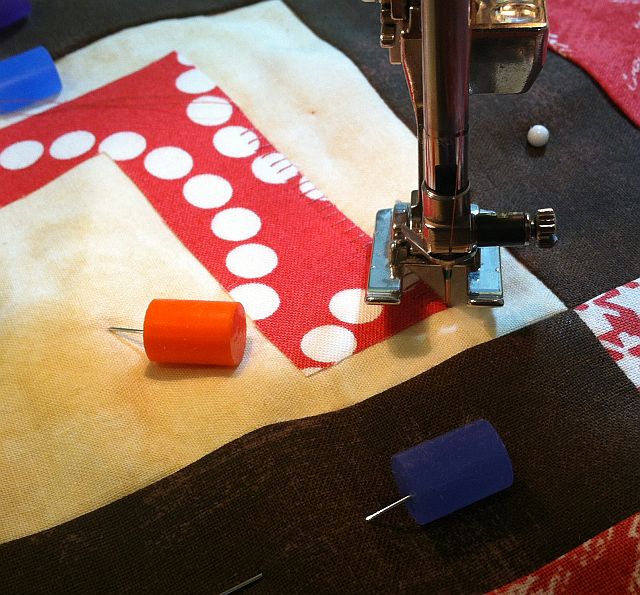
Anticipate where your needle will pierce the fabric on each movement of the stitch. Turn the top slowly and smoothly as needed so as to avoid stitching outside the letters into the background. If you have the “needle down” function on your machine, use it. Always stop with your needle down before turning your quilt. Pivot when needed.

Inside Angle

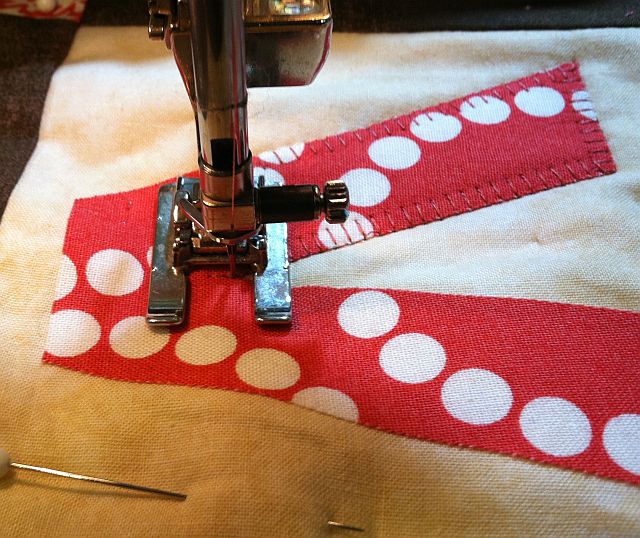
When you have an inside turn, try to land your stitch right in the middle. Don’t be afraid to pivot every stitch or two when needed to completely outline the letters.

Finished Letter

When you reach the beginning, change back to a straight stitch and end with a few small locking stitches. Clip your threads close. When you get to the ‘O’ stitch the inside first.

Finish stitching all of the letters the same way.

Step 4 – Finish Quilting Your Quilt

Now you can have fun quilting the rest of your quilt however you like. I like a lot of quilting, and the background fabric can give you a chance to add a lot of texture.

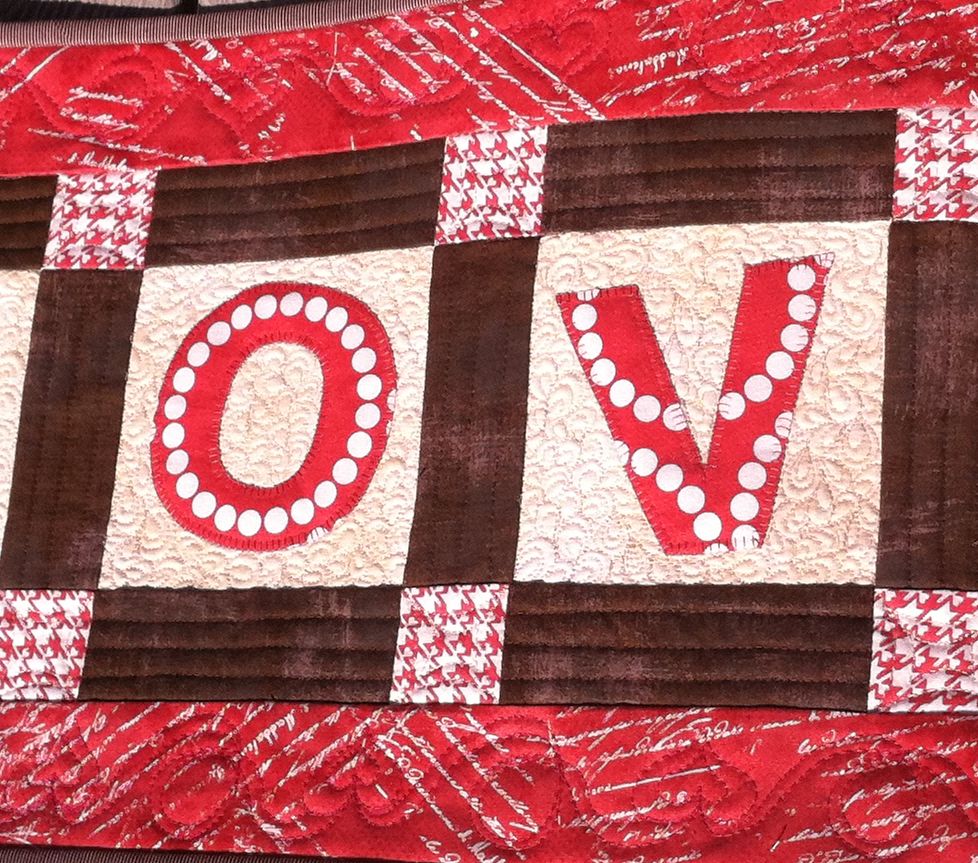
Quilting Detail

I stitched in the ditch with a thin matching polyester thread, quilted paisleys in the backgrounds with high-sheen polyester in cream, added a fun heart loop motif in the border with high-sheen heavy polyester and quilted the straight brown accent lines in cotton. I use whatever thread I have that will match best!

Step 5 – Bind Your Quilt and Check off Another UFO!!

Using your favorite method, bind your quilt and finish stitching either by hand or machine. Megan from Canoe Ridge Creations has recently put up a wonderful double-fold binding tutorial here on her blog.

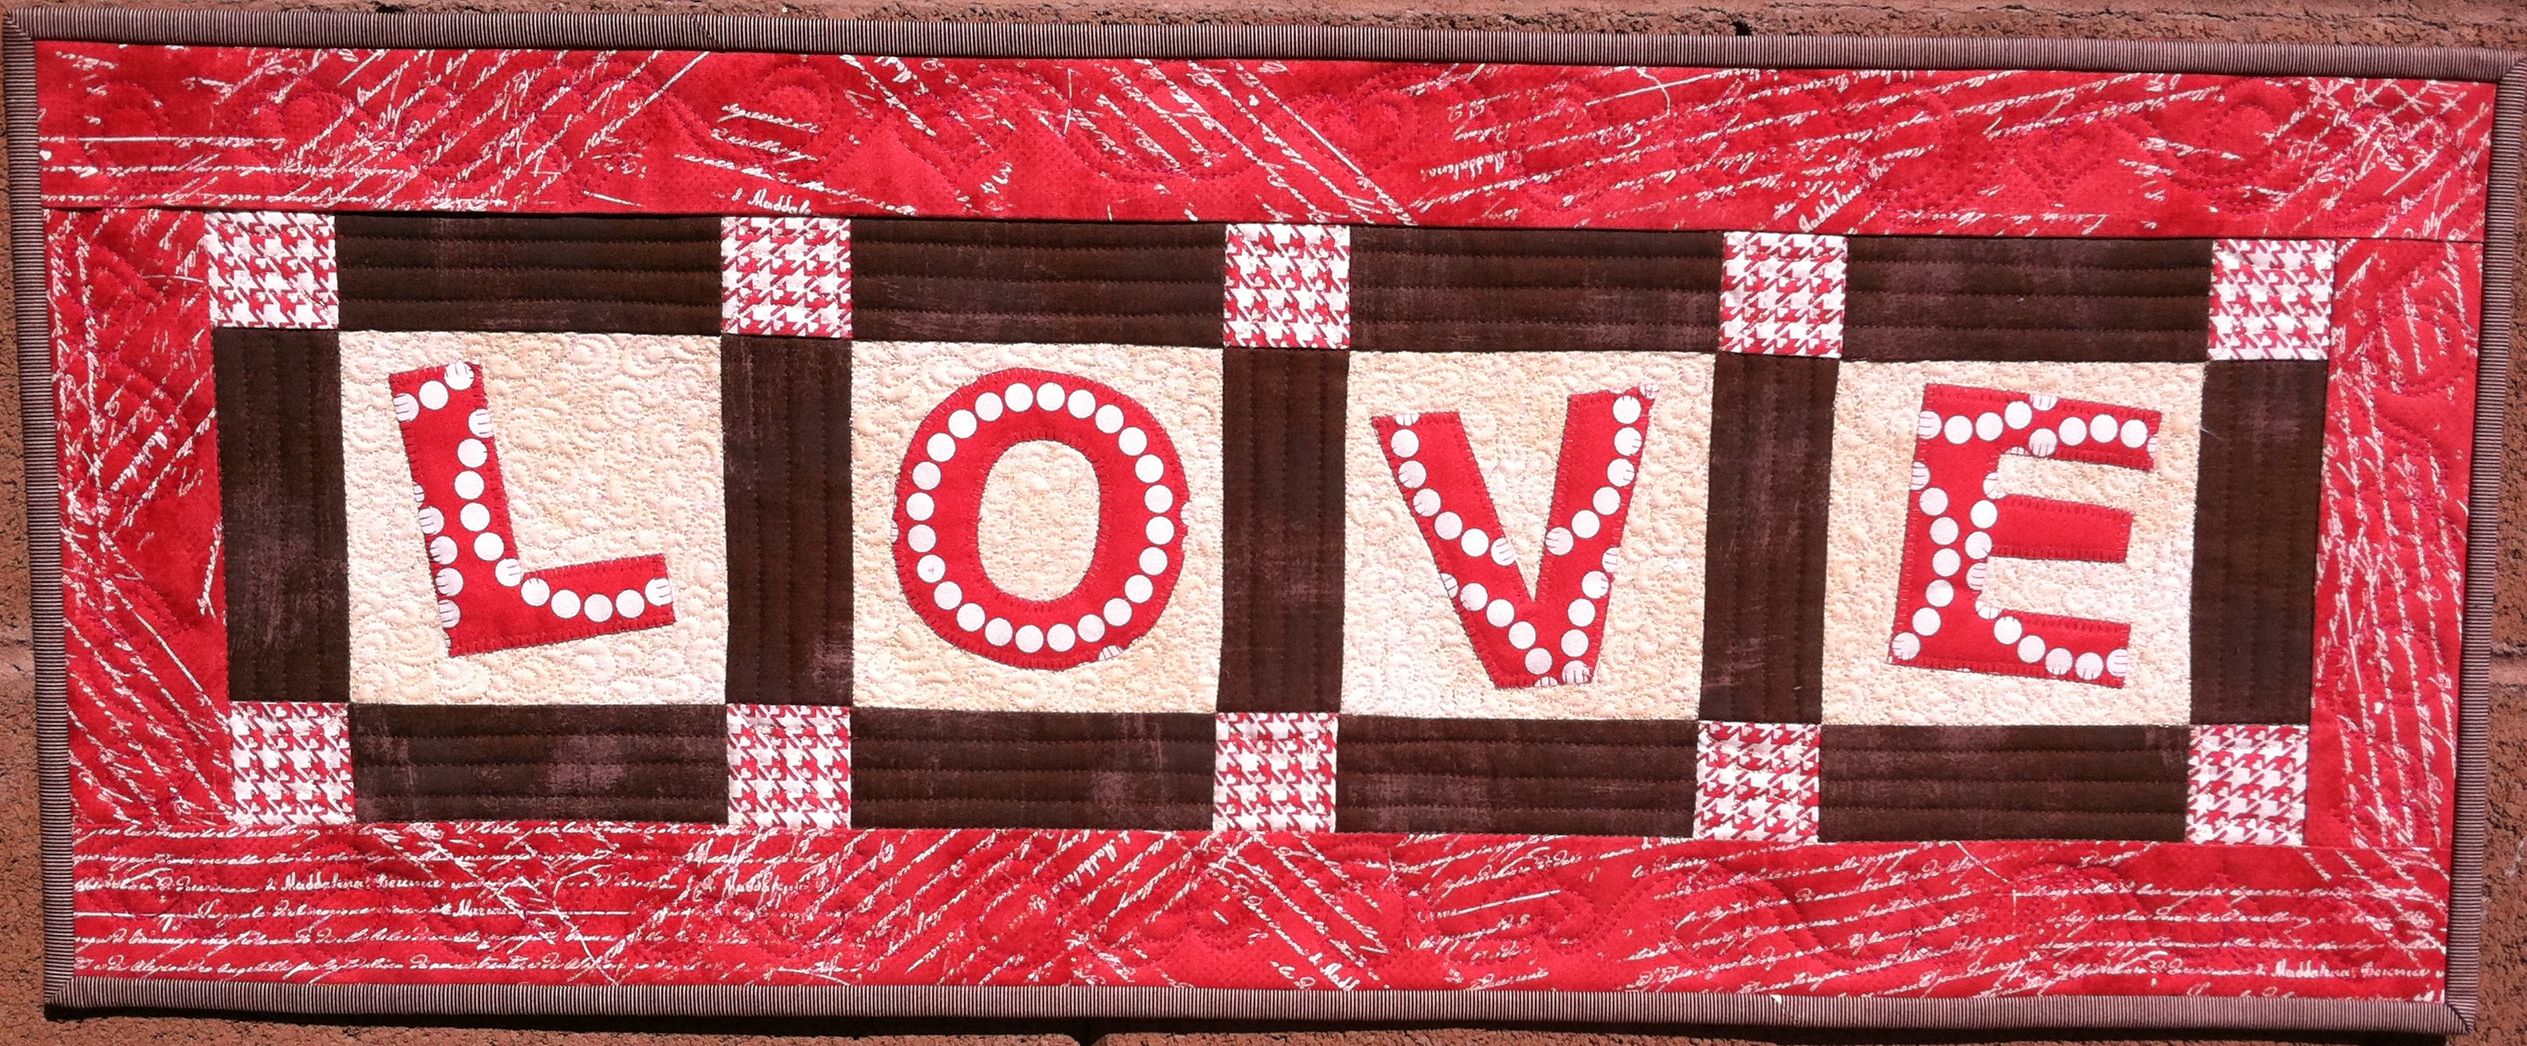
My table runner measures 12″ x 30″. I am pleased to add  a little more LOVE to my home!

Love Table Runner

For my fabrics I “borrowed” a few strips of BasicGrey’s Kissing Booth from a jelly roll I have set aside to begin my next quilt-along (starting in 2 weeks). I cut the letters from a fat quarter of Pearl Bracelets in watermelon. The binding and backgrounds were from my stash.

Here is the complete mini-quilt along schedule. Click the links to go to each section.

Please join my ChristasQuiltAlong flickr group to share pictures of your work-in-progress.

If you make any of the other arrangements below, or even a pillow or larger quilt, I’d LOVE to see it! Or if you are inspired to go in a different direction I’d love to see that, too. 🙂

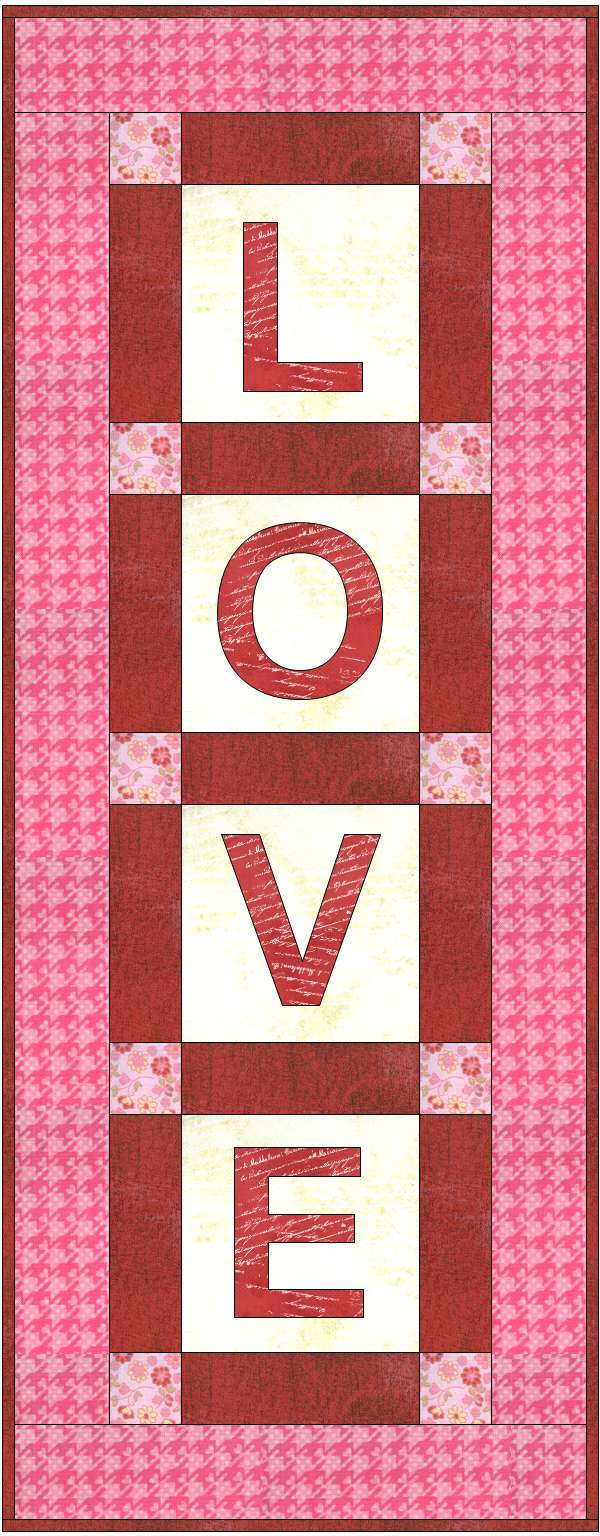
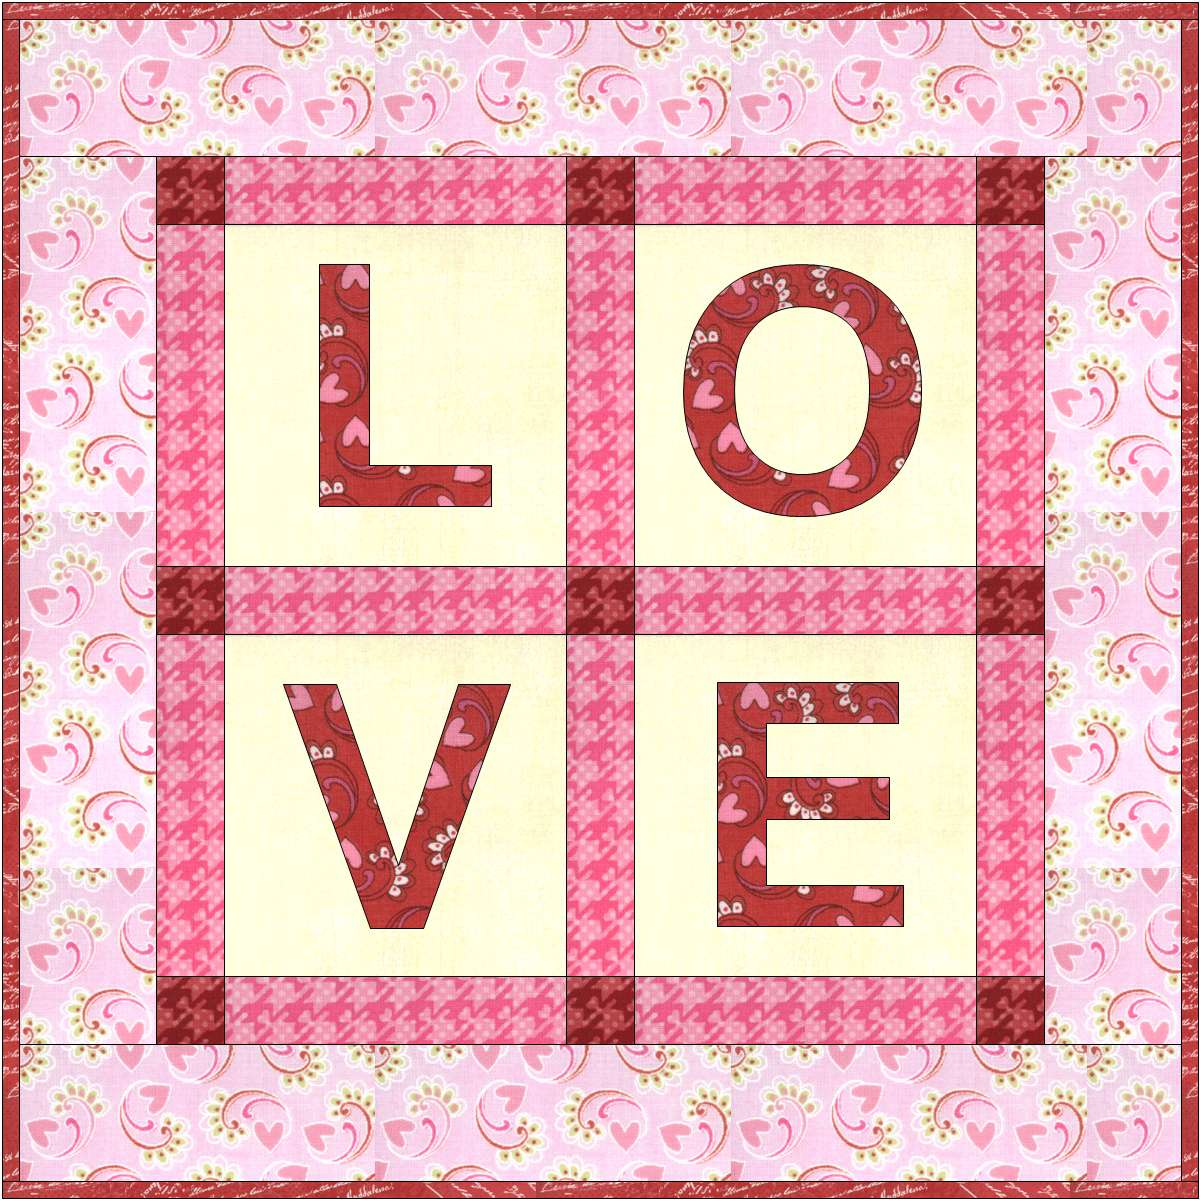
Love Wall QuiltLove Squared
The vertical love wall banner uses the exact same directions as the table runner except that the letters are arranged vertically instead of horizontally. The love block would make a great wall-hanging, pillow, or center of a larger quilt.

Christa’s Quilt Along 4.7 – Machine Quilting Sea of Squares

For today’s post I will be showing how to quilt this quilt with a walking foot and straight lines. This is enough quilting to hold the quilt together and give it some definition. It took me a total of 5.5 hours to quilt this part of the quilt

I will be adding more quilting to my quilts because one of my quilting mottos is, “Quilt the heck out of it!” I will show that optional extra quilting next week.

Thread Choice

Thread ChoiceFor this quilt, I would like my quilt to have some definition but I don’t want the stitches to stand out too much. I selected a little bit heavier weight thread – a 40 weight polyester with larger quilting needle (size 90) to go with it.

I wound my bobbins with the same color but in a lightweight 60 weight polyester. I chose a cream thread because there is so much white in the quilt. The cream will blend into the white but It’s not quite as “stark” as white so it won’t be too bright against the blue fabrics.

Warm UpStep 1 – Warm Up Session (15 minutes)

It’s a good idea to practice on a scrap quilt sandwich first, even when quilting straight lines.

This way you can check tension, stitch length, and thread color before you begin.

Step 2 – Anchor Quilting (1 Hour, 15 Minutes)

Before you get into any fancy-shmancy quilting, it’s a good idea to “anchor” your quilt first by quilting a few of the major seam lines. This will help stabilize your quilt. While doing this anchor quilting, you want to stabilize your quilt in all four directions. Think of this as a large grid across the top of your quilt. I can quickly and easily pull out the pinmoors as I quilt.

Begin Quilting

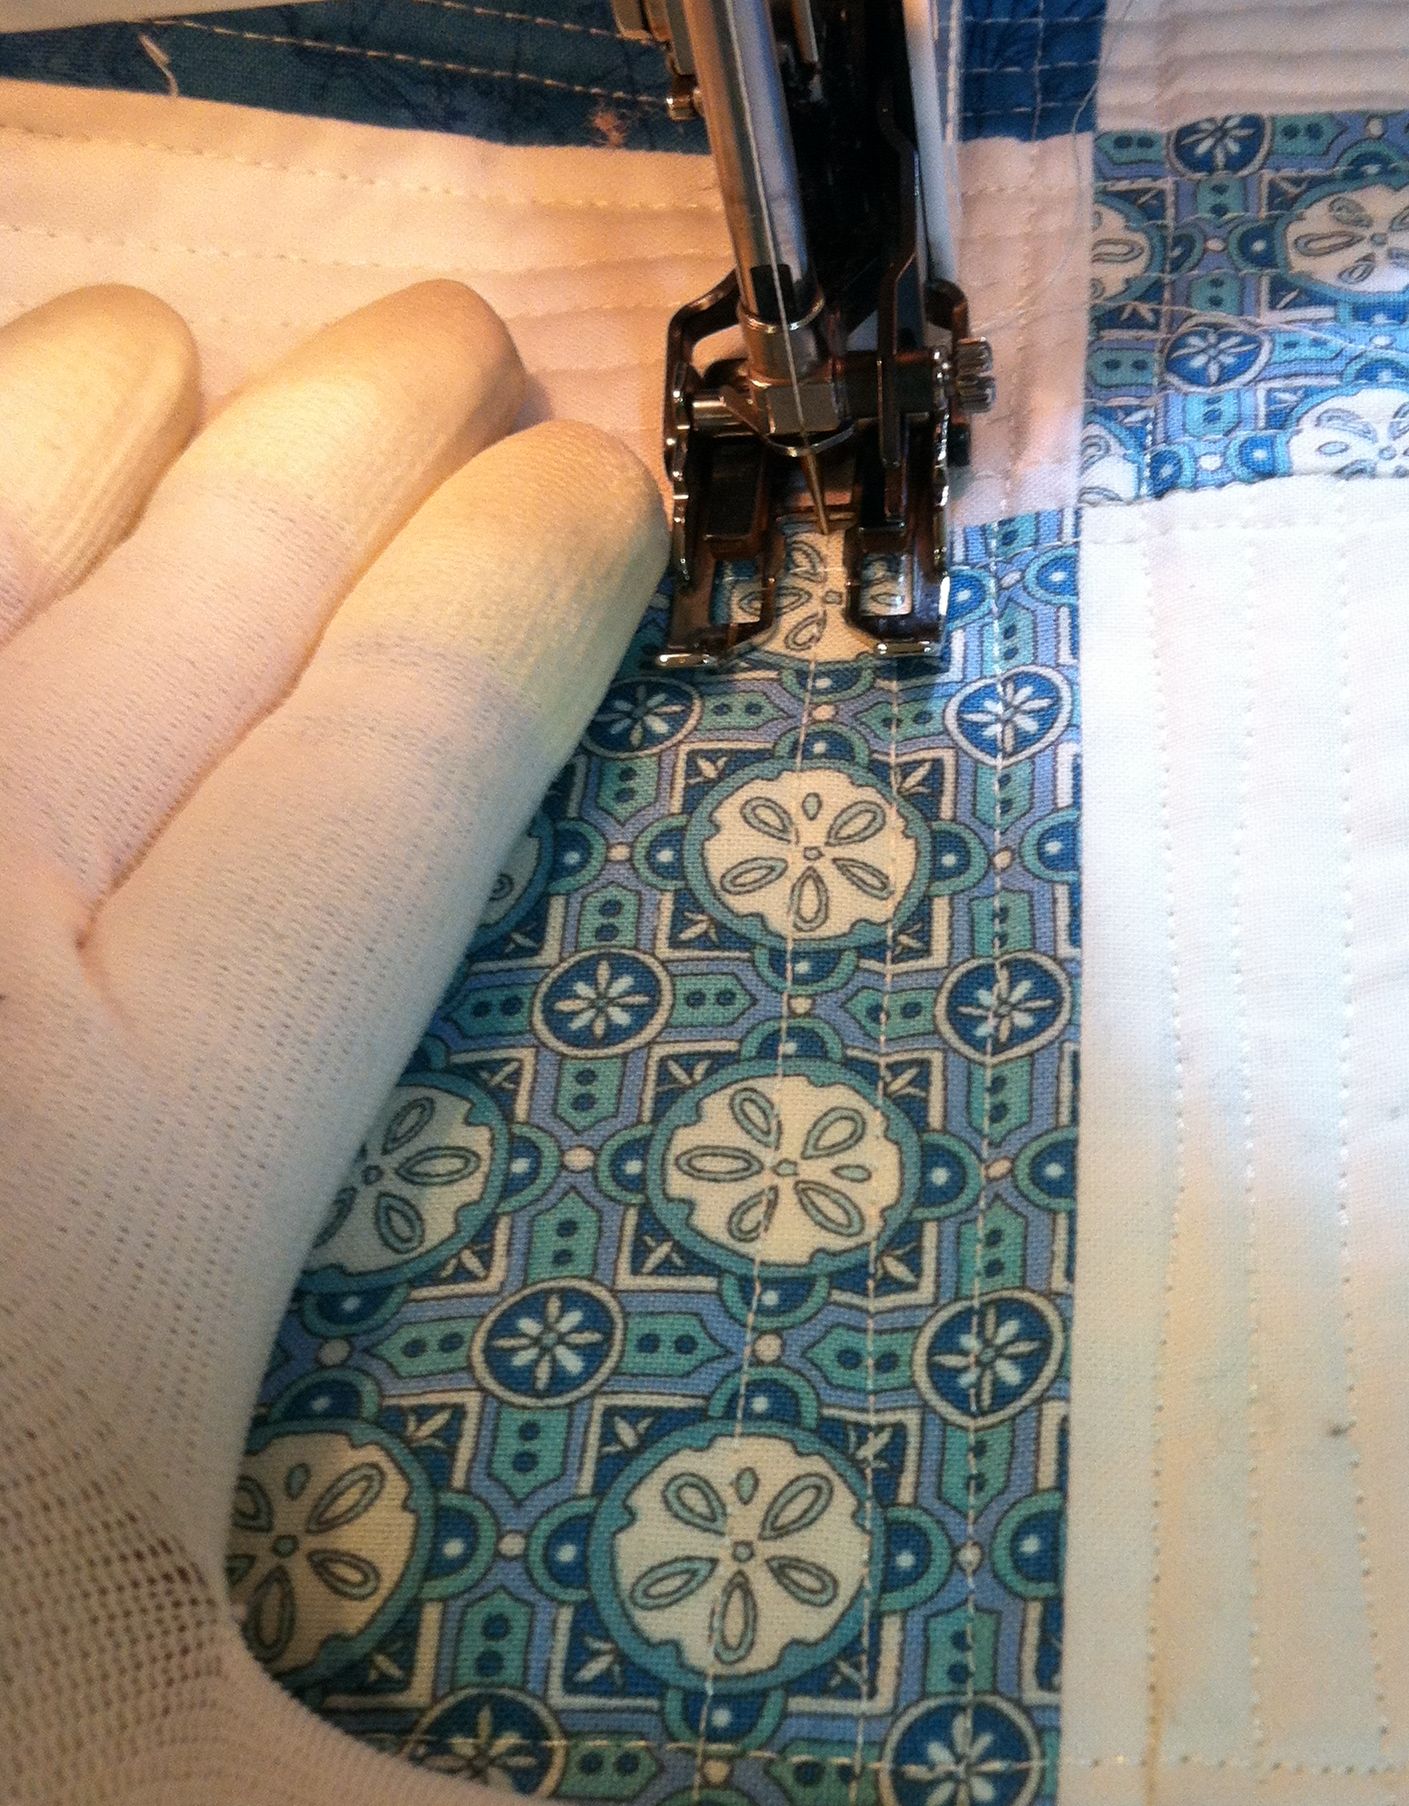
With the quilt laid out horizontally, I started quilting on one edge of the quilt. Using my walking foot as a guide, I stitched about 1/4 inch away from the ditch. I used a slightly longer stitch length and quilted continuously in one long row from the top of the quilt to the bottom. Because the lines go all the way across the quilt and the edges will be covered by the binding, I did not need to lock my stitches or tie them off.

Anchor Quilting

When I got the the end of this first line of quilting, I “scooted”  over a whole block width to the right (leaving less bulk under the machine). I quilted 2 more rows in the same manner.
Don’t quilt the very edges of the quilt yet; you can do that at the end.

Next, it was time to rotate the quilt 180 degrees and quilt some anchor lines on the other half of the quilt. Again, I quilted them about 1 block width apart. Now the quilt has been quilted in 2 directions. By the way, I love the Machingers quilting gloves because they provide a good grip on the quilt while moving and squishing it under the machine.

Anchor Stitching

It’s time to rotate the quilt 90 degrees and quilt all of the vertical anchor lines now. Again, start in the middle and quilt about 3 rows, one block width apart. Then rotate the quilt completely and finish off the other side.

The quilting is now ready to be finished.

Step 2 – Stitching all the Vertical Lines (1 Hour, 45 Minutes)

I like the “stitch near the ditch” pattern so much that I am outlining every seam about 1/4″ away from the center. I’m not too worried about whether my lines are perfectly straight so I didn’t worry about marking. My other quilt motto is, “Finished is better than perfect!”

Quilting Vertical Lines

Now I can start in the middle of the quilt and quilt all of the vertical lines halfway across the quilt edge of the quilt. When there is too much bulk under the machine, I rotate and finish the other side of the quilt.

Step 3 – Quilting all the Horizontal Lines (2 Hours, 15 Minutes)

This section took a little longer because there were more rows to stitch. Again, I quilted half of the lines going one way, then rotated the quilt to stitch the other half.

Quilting Horizontal Lines

On the very last row which was near the edge of my quilt, I actually quilted 1/2″ away from the seam line rather than 1/4″. This is to take into account the seam allowance which will be covered by the binding.

Edge Quilting

This is now enough quilting for this quilt, but as I said at the beginning, I will add more. Join me next week to see how I finish the rest of the quilting.

If you’d like to try something a little jazzier than just straight lines, why not play around with the decorative stitches on your machine?

Wavy Quilting

The picture above shows me quilting my Jolly Jelly Roll Quilt which was my first DIY Quilt Along. I used a wavy serpentine stitch which would also work well for Sea of Squares!


Quilt-Along ScheduleLinks are Active at the Completion of Each Step:

Quilt Kits are available from my shop for a limited time in these two colorways:

Apple Jacks

Apple Jacks

Sea of Squares

Sea of Squares