I’m so excited I get to share my review of a fantastic book with you today. It’s called Color Essentials by Amanda Murphy (author of Modern Holiday and recently featured on Quilty’s meet a modern quilter.)
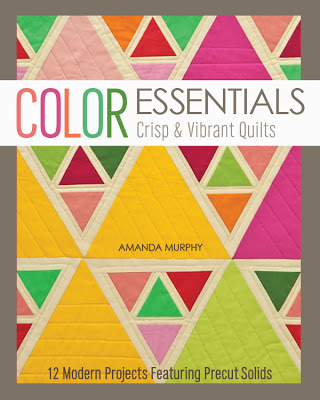
Color Essentials by Amanda Murphy
This is a book after my own heart. It features 12 crisp and vibrant quilts (3 smaller projects and 9 full-size quilts) made from precut solids. Need I say more? Don’t worry – I will!
Color Essentials starts off with a fantastic presentation on color theory using Amanda’s cleverly designed “Kona Color Wheel”. All of the quilts in this book were made entirely from Kona Solid precuts in three gorgeous coloways – Sunrise, Sunset and Bright. In fact, Amanda partnered with Robert Kaufman to create the first two palettes to go along with the book. How fantastic!

Kona Sunrise

Kona Sunset
Amanda divides the colors up into warm and cool hues and uses actual Kona Solid fabric swatches to illustrate examples of color play interactions. She offers suggestions on how to pick the colors for your projects and includes several pages of Kona color swatch charts for you to use.
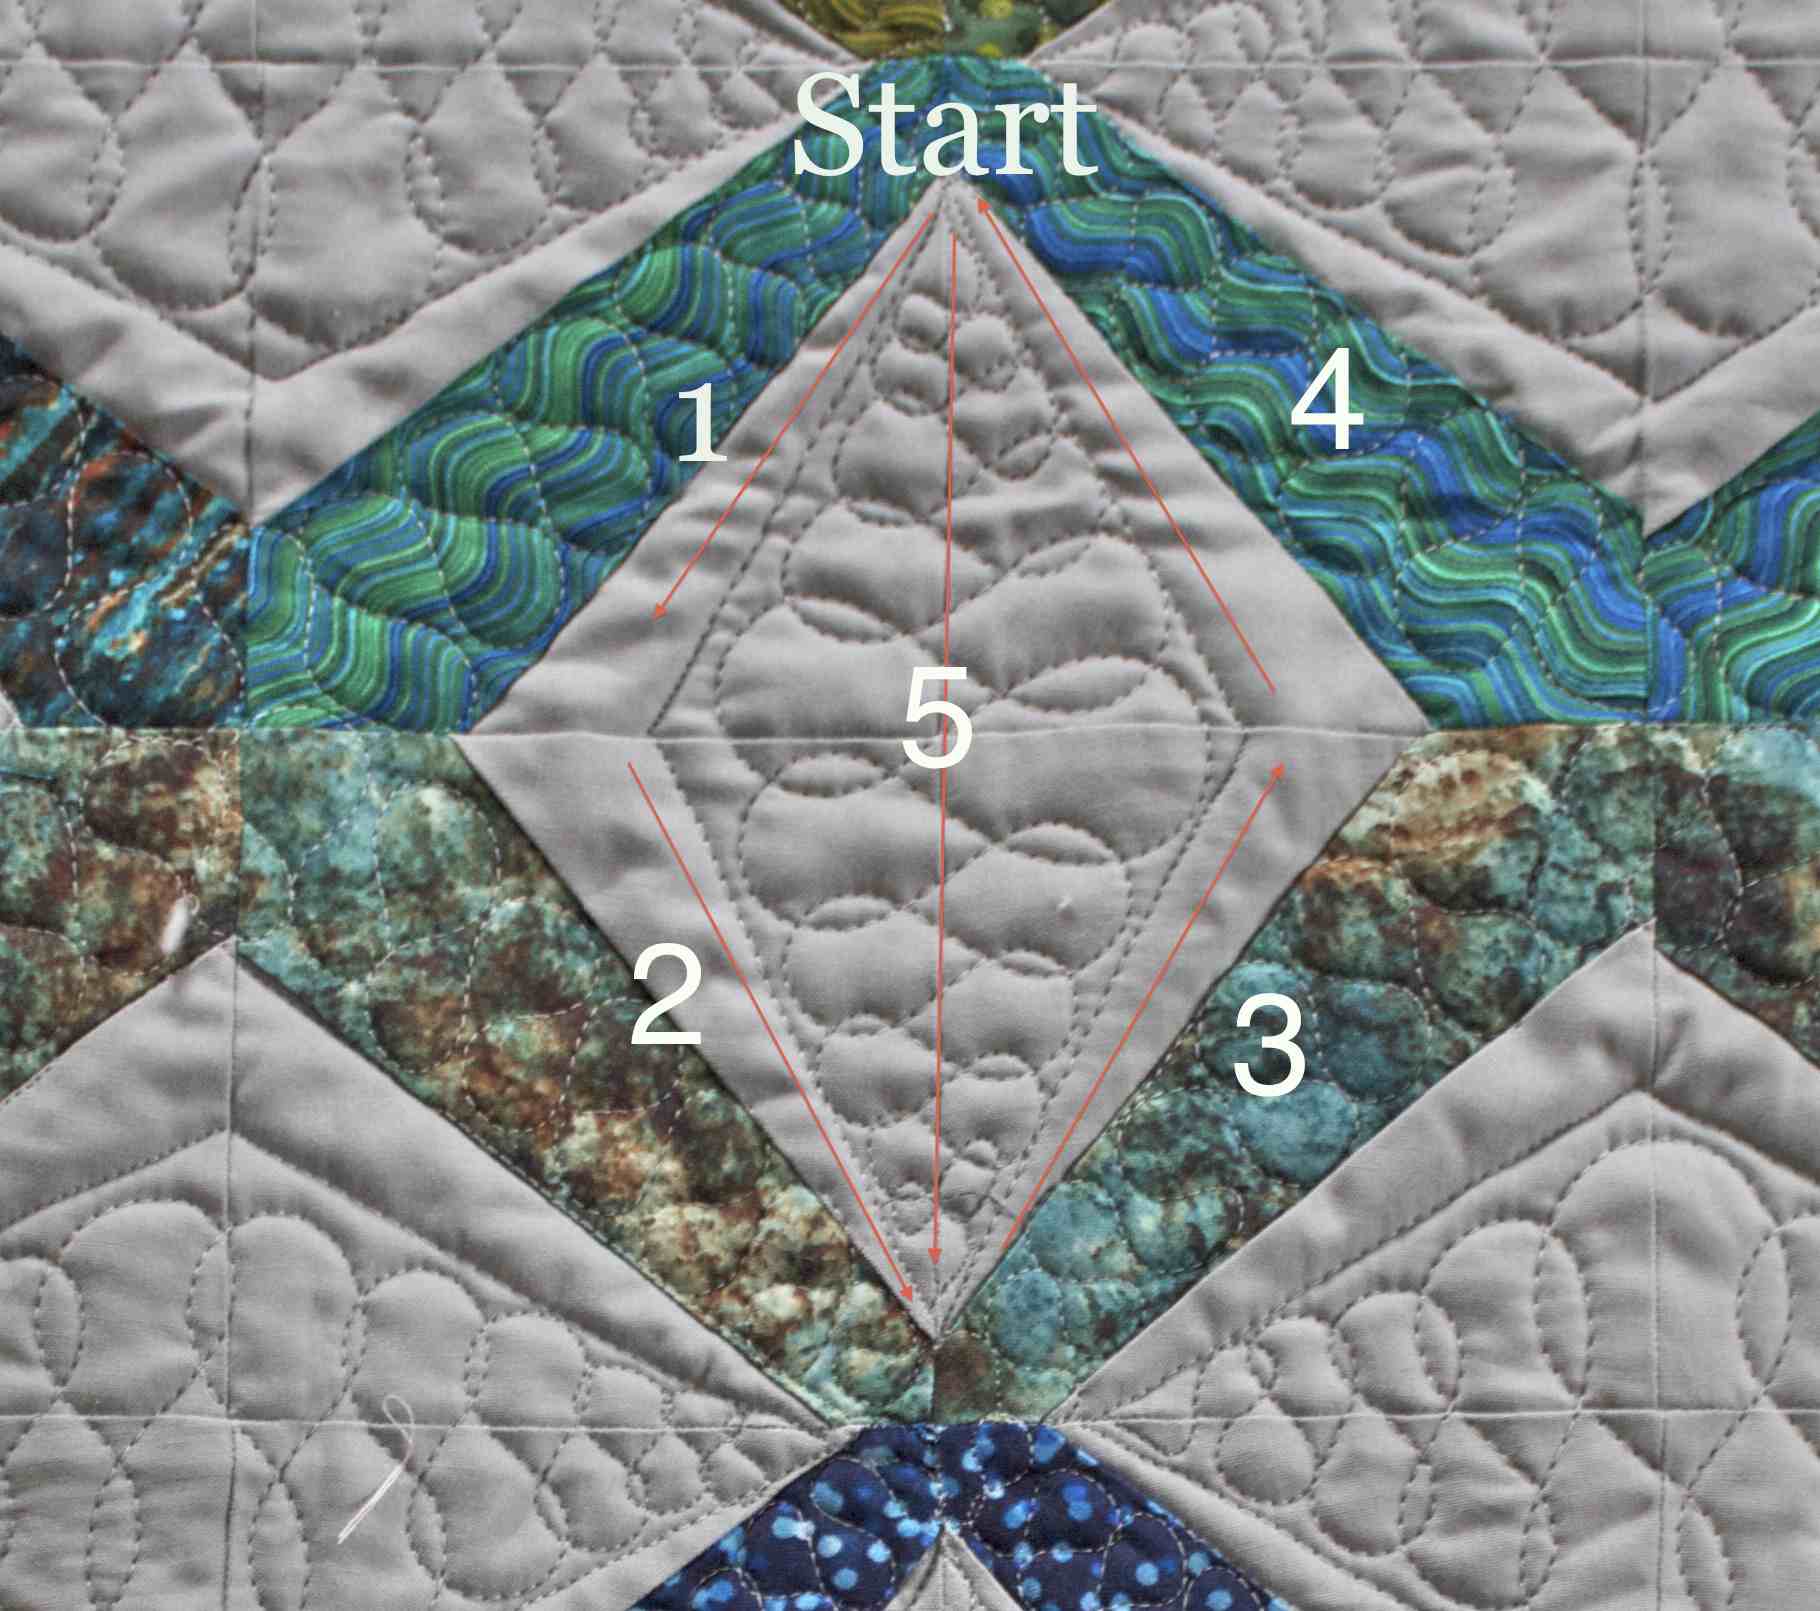
If you liked using solid fabrics before (like me), you will fall in love with them after viewing these gorgeous quilts. Amanda includes a wide range of skill levels and techniques in her book including strip piecing, machine applique, handwork, and non-traditional finishes such as prairie points and zig-zag bindings.

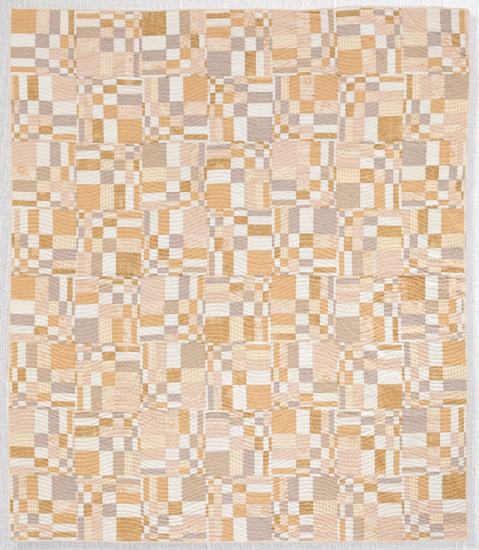
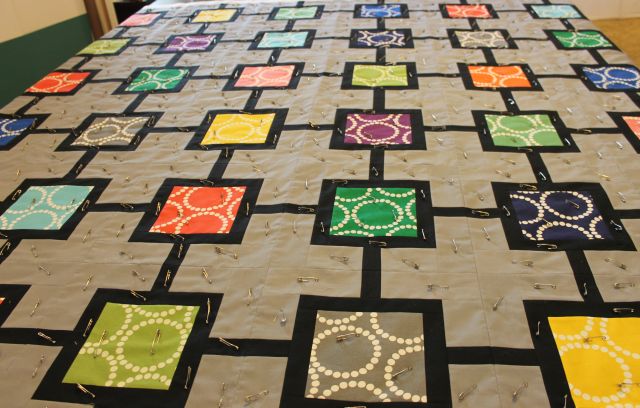
Color Essentials Quilts by Amanda Murphy
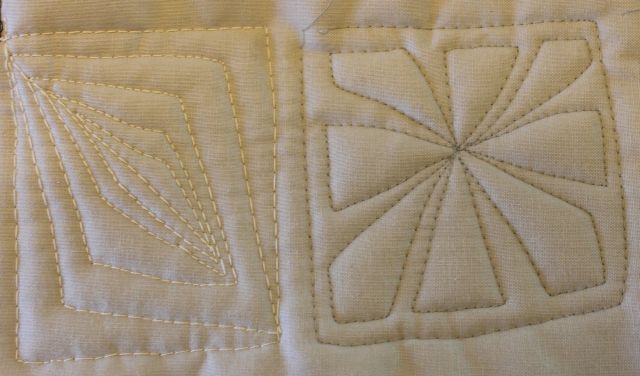
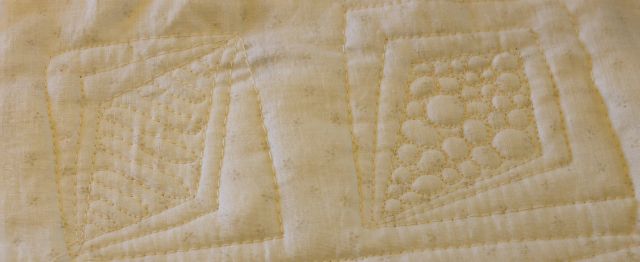
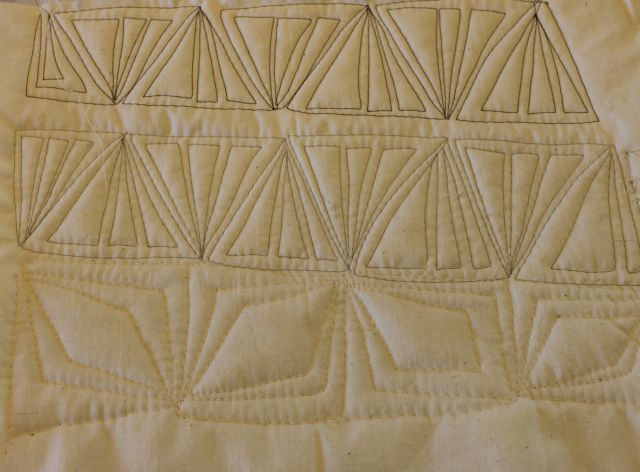
My favorite part of the book is where she shows 3-4 alternate colorway possibilities for each quilt! It really gets your creative juices flowing. There is plenty of machine quilting eye-candy for you to drool over and I was so proud to read that she even quilted a few of them herself!

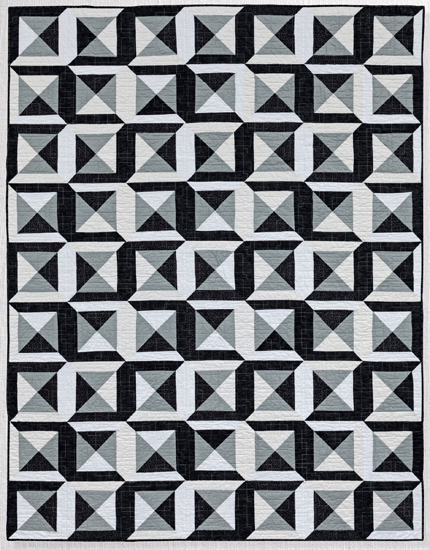
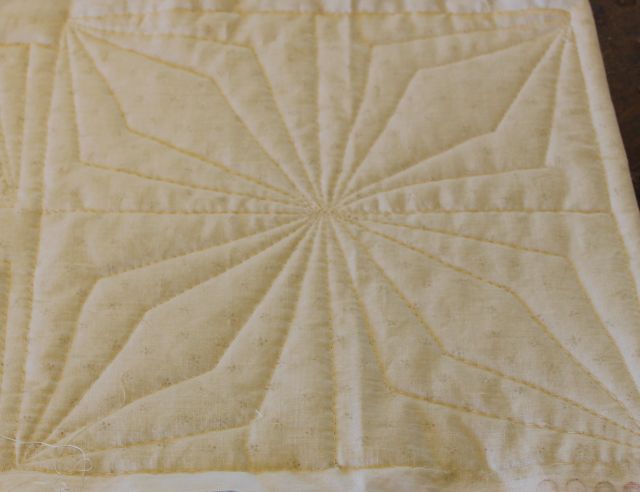
Illusion Pillow, Pieced and Quilted by Amanda Murphy
Throughout the book, Amanda encourages you to move outside your comfort zone and experiment with new color combinations that you may not have tried before. I think this is a wonderful approach to quilt-making which can yield beautiful results.
Color Essentials is published by Stashbooks (C&T) and it consists of a total of 143 gloriously illustrated pages with full-color diagrams throughout. You can purchase it on Amazon or at your favorite Quilt Shop!