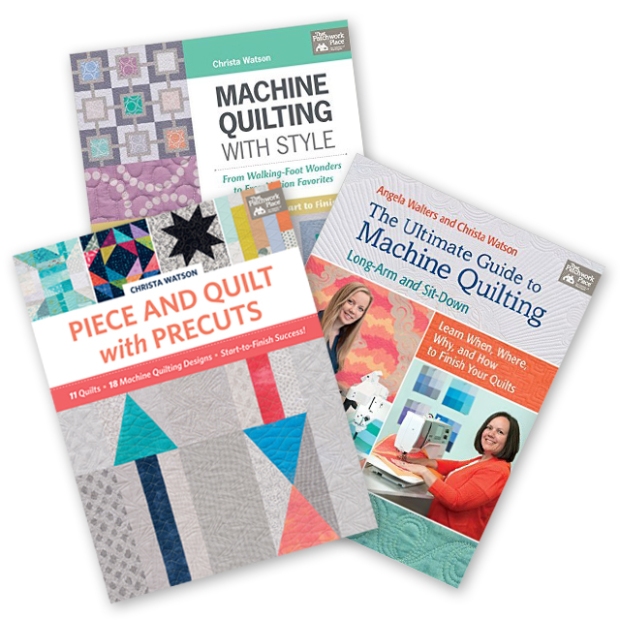
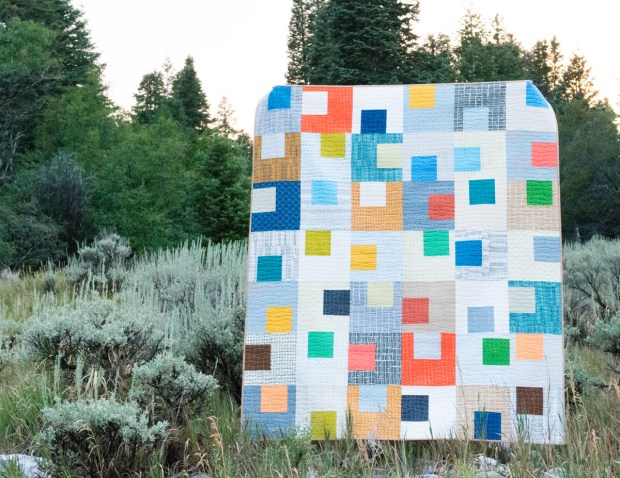
There are just a few more quilts to share before I’ve finished showing you all of the designs from Piece and Quilt with Precuts. Today, take a look at Windows, made from Tula Pink True Colors:
 Windows Photography courtesy of Martingale/That Patchwork Place and Brent Kane
Piece It
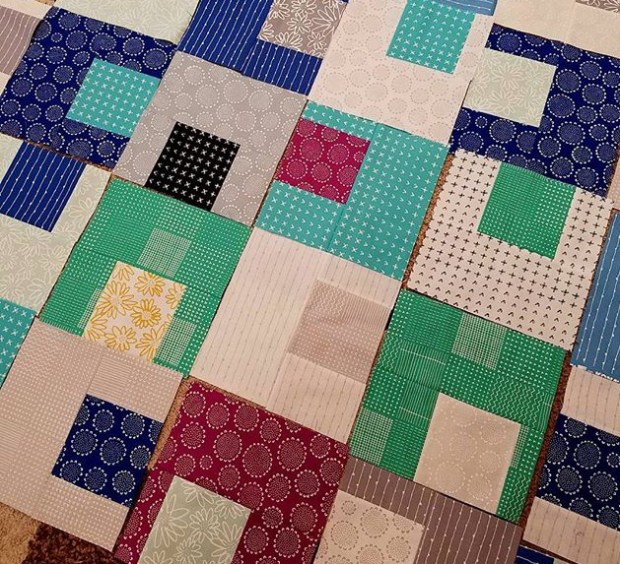
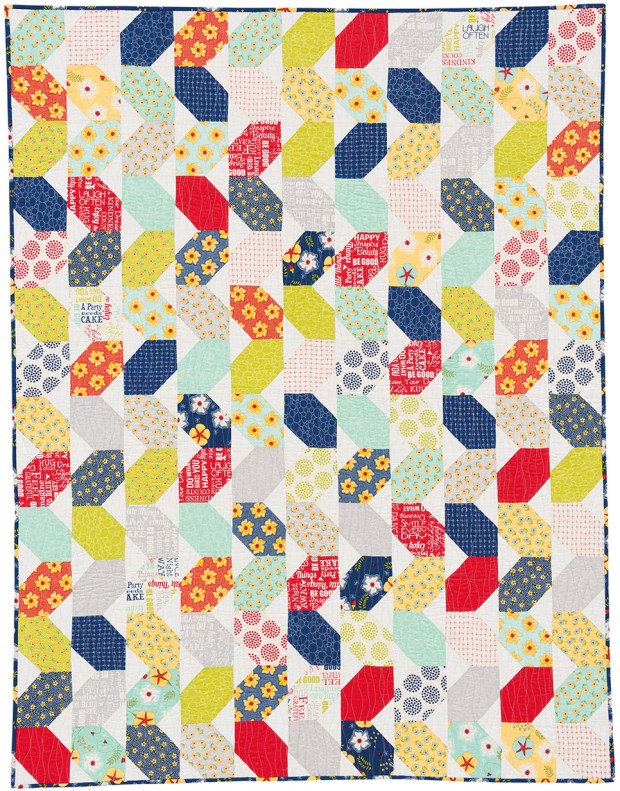
Windows is made from 2 1/2″ strips, 1 1/2″ strips and a lot of background fabric. It uses fewer 2 1/2″ strips, so here’s where a smaller bundle of your favorite prints can be used effectively. And of course it will look dramatically different just by changing up the fabrics. As long as you have a strong contrast between the window frames and the background, you’ll have success with this design!
I always have a hard time naming my quilts and thought of several possibilities for this one. If you rotate the quilt, the blocks look like elevator doors. You could even use the same two fabrics in each block to look like equal signs. I love it when there are so many ideas!!

The book includes my “no-mark” method of machine quilting. It’s all about the texture!
Quilt It
I recommend using a blending 50 weight Aurifil cotton thread with simple quilting for busy fabrics and save the “fancy” quilting for areas of the quilt where it will show. With my detailed diagrams and quilting plan, you’ll be able to quilt the blocks continuously, with only one start and stop for each row!
More Windows inspiration
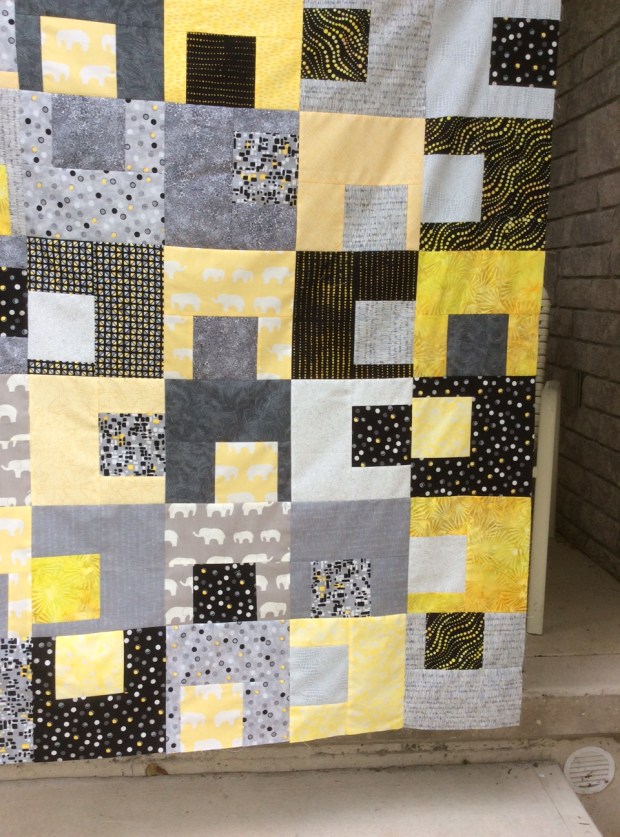
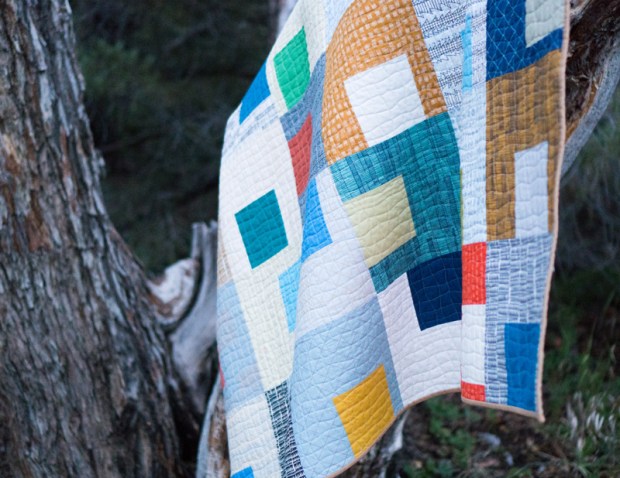
Think about other ways you can make Windows – what if you reversed the colors, or made it from solids, or chose a scrappy background? Clink the links below for even more ideas and be on the lookout for some bonus giveaways!!
Suzy Webster – Webster Quilt

Check out this scrumptious quilting by Suzy Webster. I love how she chose a solid red so that the quilting really shows up in the background. And look how she used “switchbacks” in both the frames and the border. It’s one of my go-to designs that I first introduced in my first book Machine Quilting with Style.
Head over to Suzy’s blog to read more about the making of her quilt and to see her final reveal! She’s hanging her quilt in a place I’d never thought of before, but it sure looks great!
Katie Joy Church – Wild Prairie Studio

You’ll be jealous when you see Katie’s studio view as she worked on her version of Windows. She’s also thrown in a few inspiration images and other eye candy. You’ll be able to see how large the quilt is when you see it in progress on a bed in a cabin by the sea – which is just lovely!
Be sure to visit her blog too see how she plans to finish.
Terri Vanden Bosch – Meanderings Along Lizard Creek

Look at this beautifully styled photo from Terri. It’s so easy to make the quilts in my book smaller or larger simply be sewing more or fewer blocks. Her soothing color palette is perfect for this pretty room.
Check out more about Terri’s quilt-making process plus more beautiful photos on her blog. She even told me her husband said it looked like “windows” before he even knew the name of the design!
Today’s Gift – Win Goodies from American Patchwork and Quilting
My friends over at American Patchwork and Quilting have been so supportive of my work! I’ve been in their magazines a few times and I’m always inspired by what they have to offer. Plus here’s a fun fact: I discovered modern quilting back in 2012 when I saw a modern quilt in one of the summer issues of American Patchwork and Quilting. I was so excited that I stopped everything to find out more about modern quilting and it totally changed my career path (for the better!!)

Today, they are offering up a nice prize pack – a copy of Better Homes and Gardens’ Complete Guide to Quilting, 3 of their latest magazine issues (notice a familiar quilt on the cover of American Patchwork and Quilting? Yep – that’s mine), plus 4 adorable quilting charms (not pictured.)
Due to shipping costs, this one will be open to US residents only. To enter, leave a comment on this post telling me how many magazines you subscribe to. (If you want to answer honestly, that’s totally up to you. I promise I won’t judge, LOL!!)

More inspiration will be given to one lucky winner at the end of the hop!
Truthfully, I rarely make an quilts from magazine patterns since I’m usually designing my own, but I love flipping through their pages for color and layout inspiration. I especially love reading technique articles, plus what’s happening in the quilty world. I’ll choose a winner the morning of Aug 31, the last day of the hop!!
If you are just joining me on the hop, click here to see all of the blog hop stops.
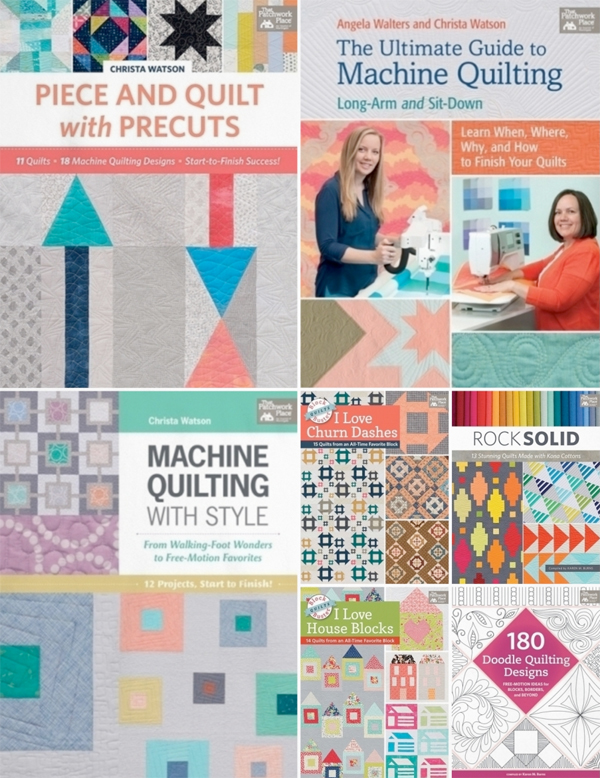
Then click here to pick up your signed copy of any of my books.
Update: Winner Selected and Comments Closed
Congrats to Ann O. who has been contacted via email.
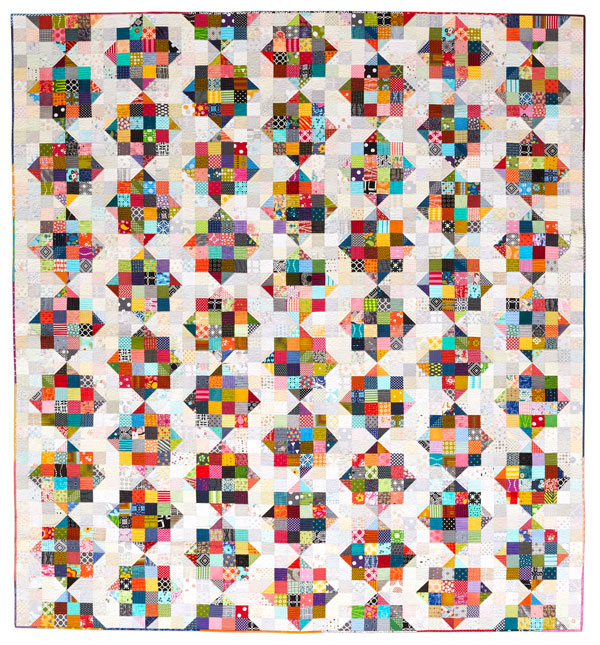
 Twinkling Diamonds Photography courtesy of Martingale/That Patchwork Place and Brent Kane.


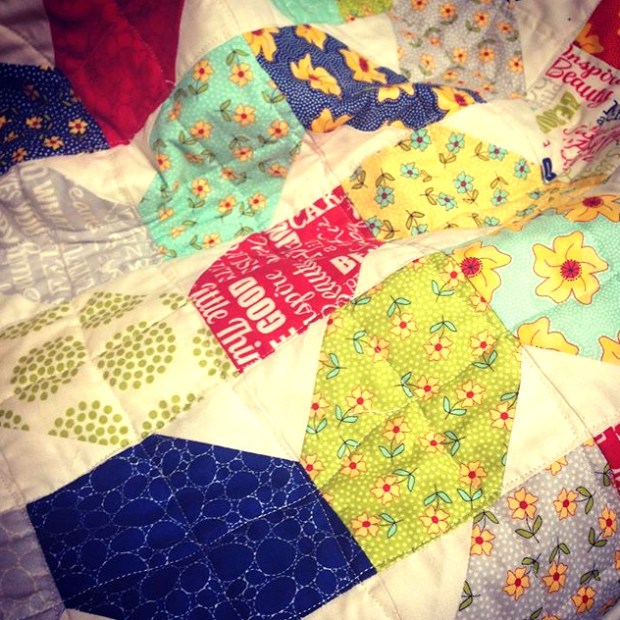


 I’m having fun trying out lots of different quilting motifs in the stars!


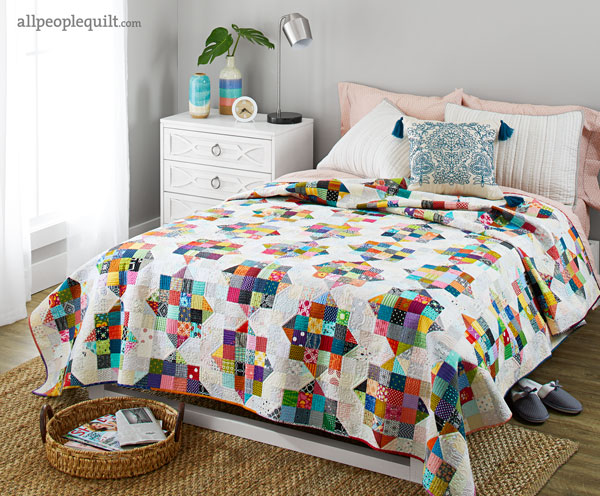


 Photograph used with permission from American Patchwork & Quilting® magazine. ©2017 Meredith Corporation. All rights reserved.