The new year is a great time to pick up a new hobby, or develop one you’ve been working on. Well I’m excited to say that 2025 is definitely the year to improv your machine quilting skills! My Year of Free Machine Quilting Tutorials has begun, kicking off with this in-depth introductory video. Click play below to watch:
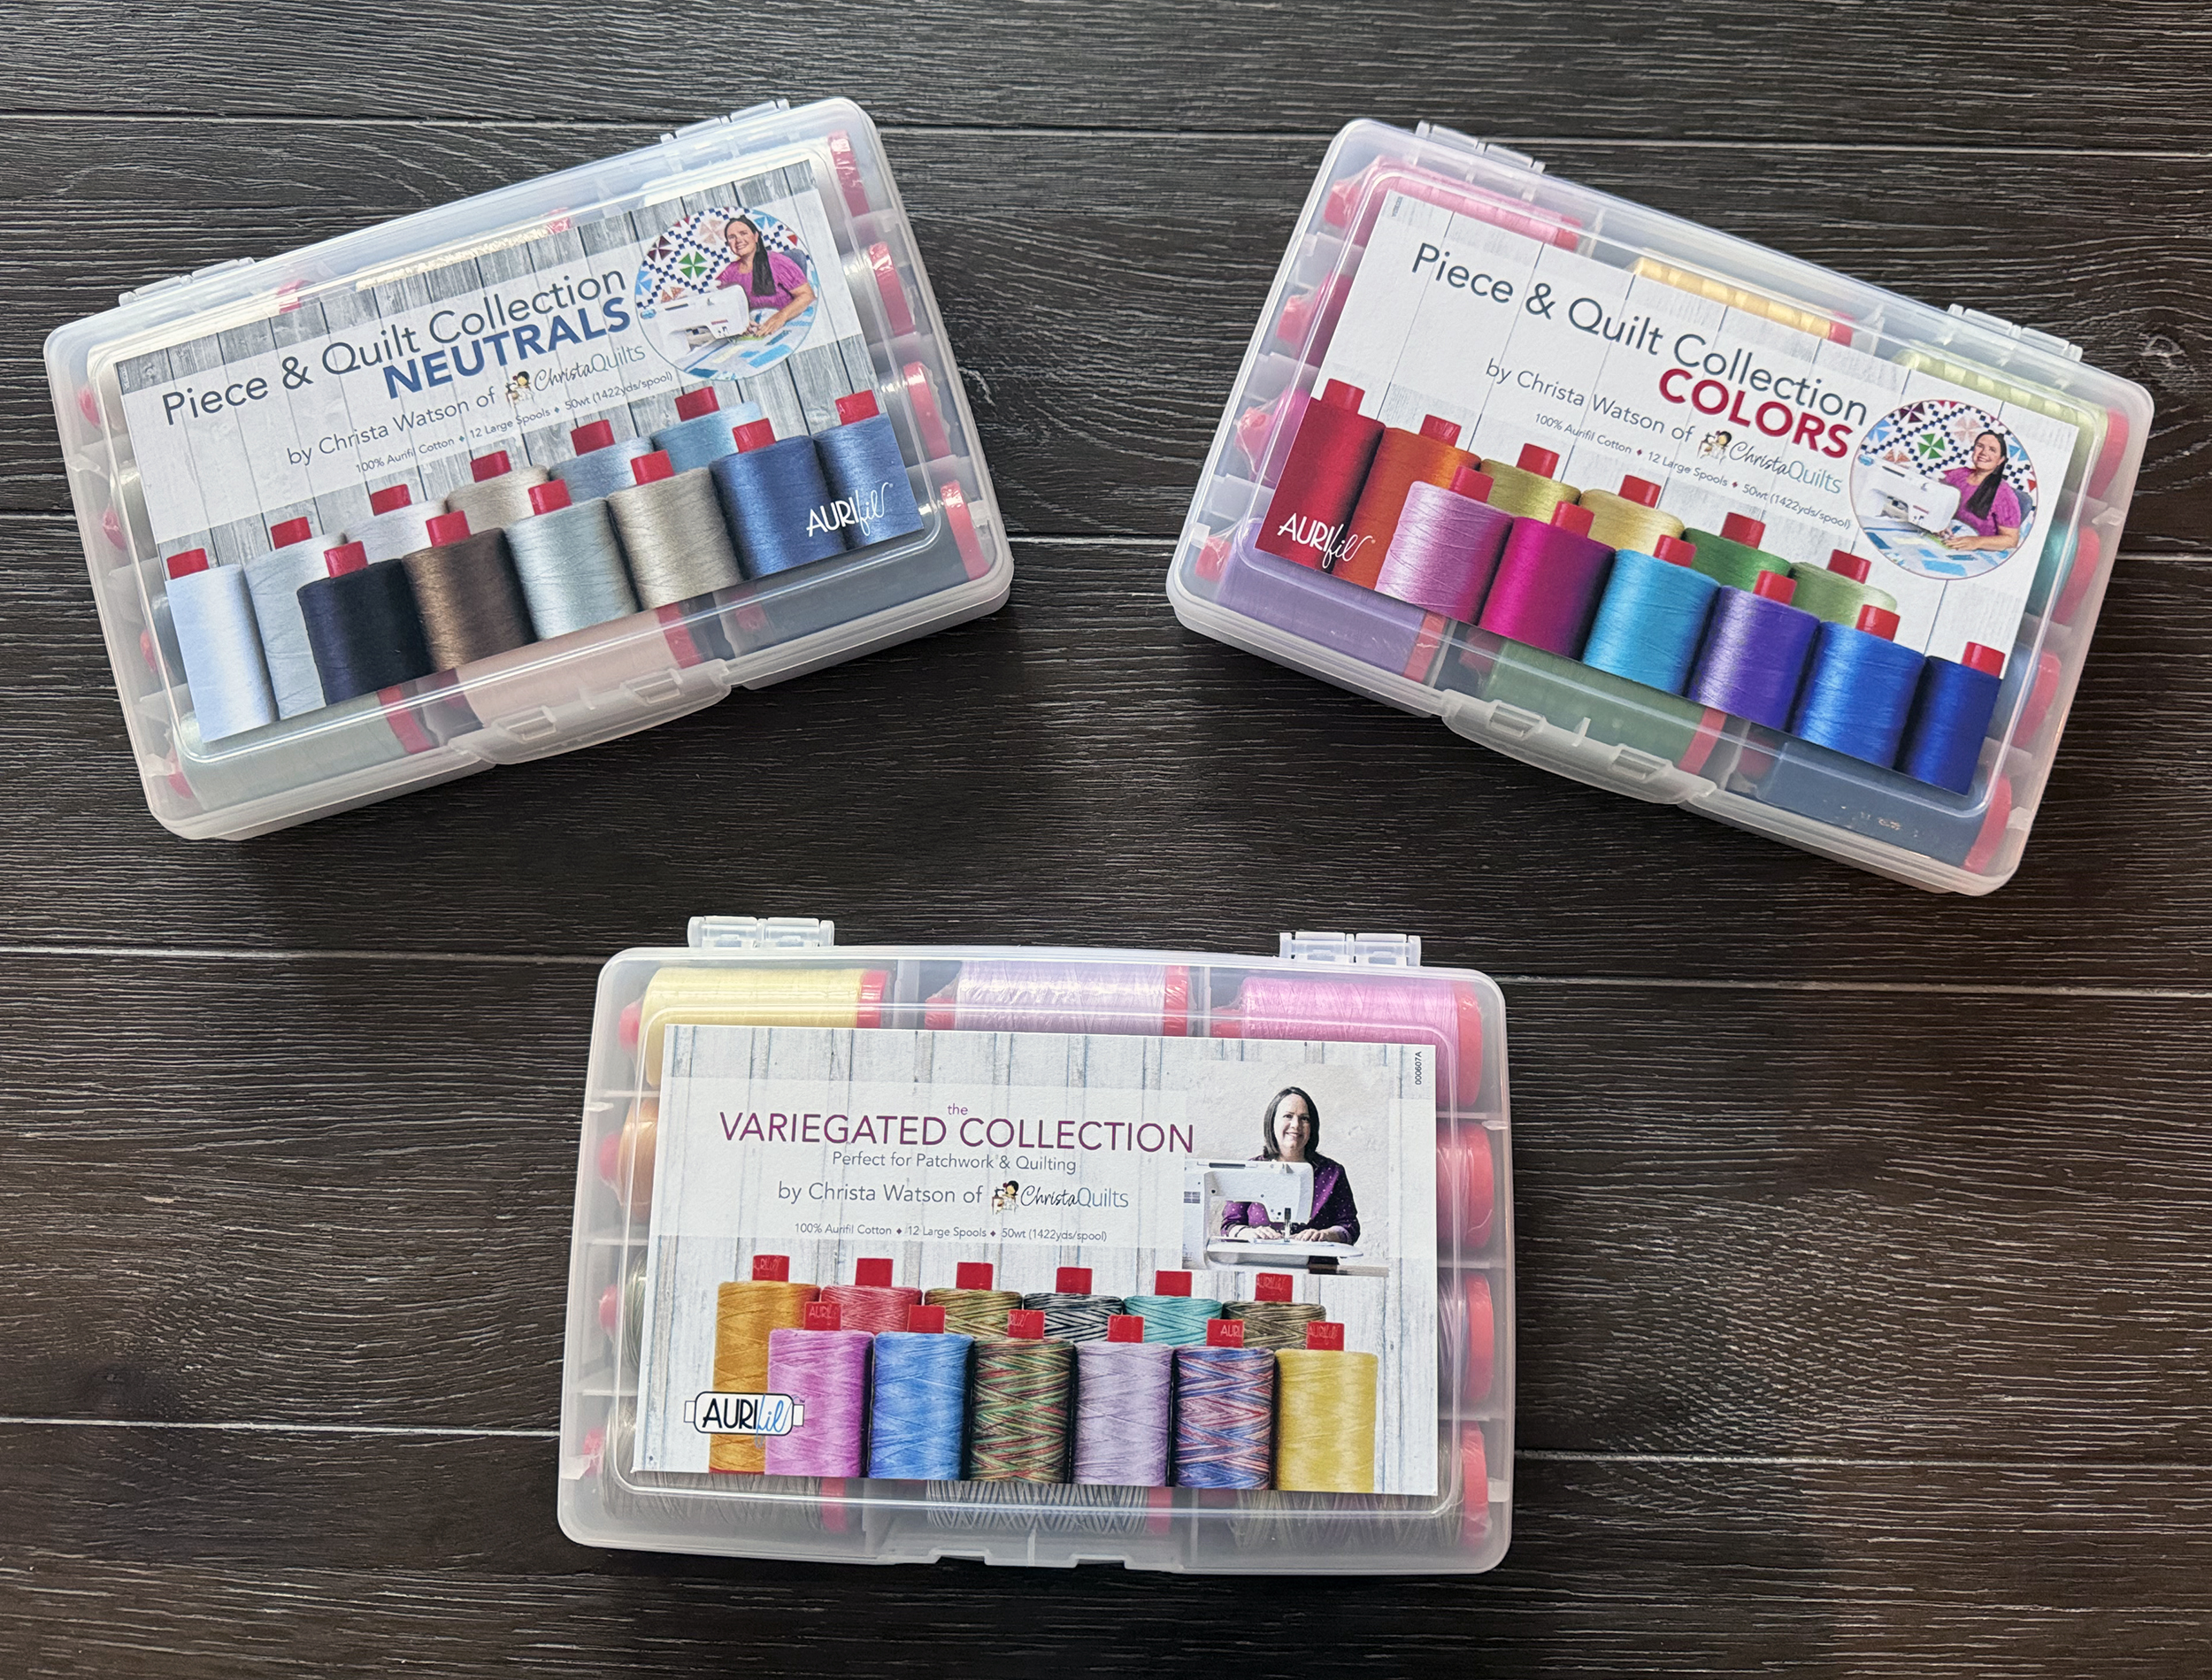
Before we get started practicing, it’s important to set up your machine and gather your supplies. To make it easy, here are a few of my recommended supplies that I mentioned in the video above.
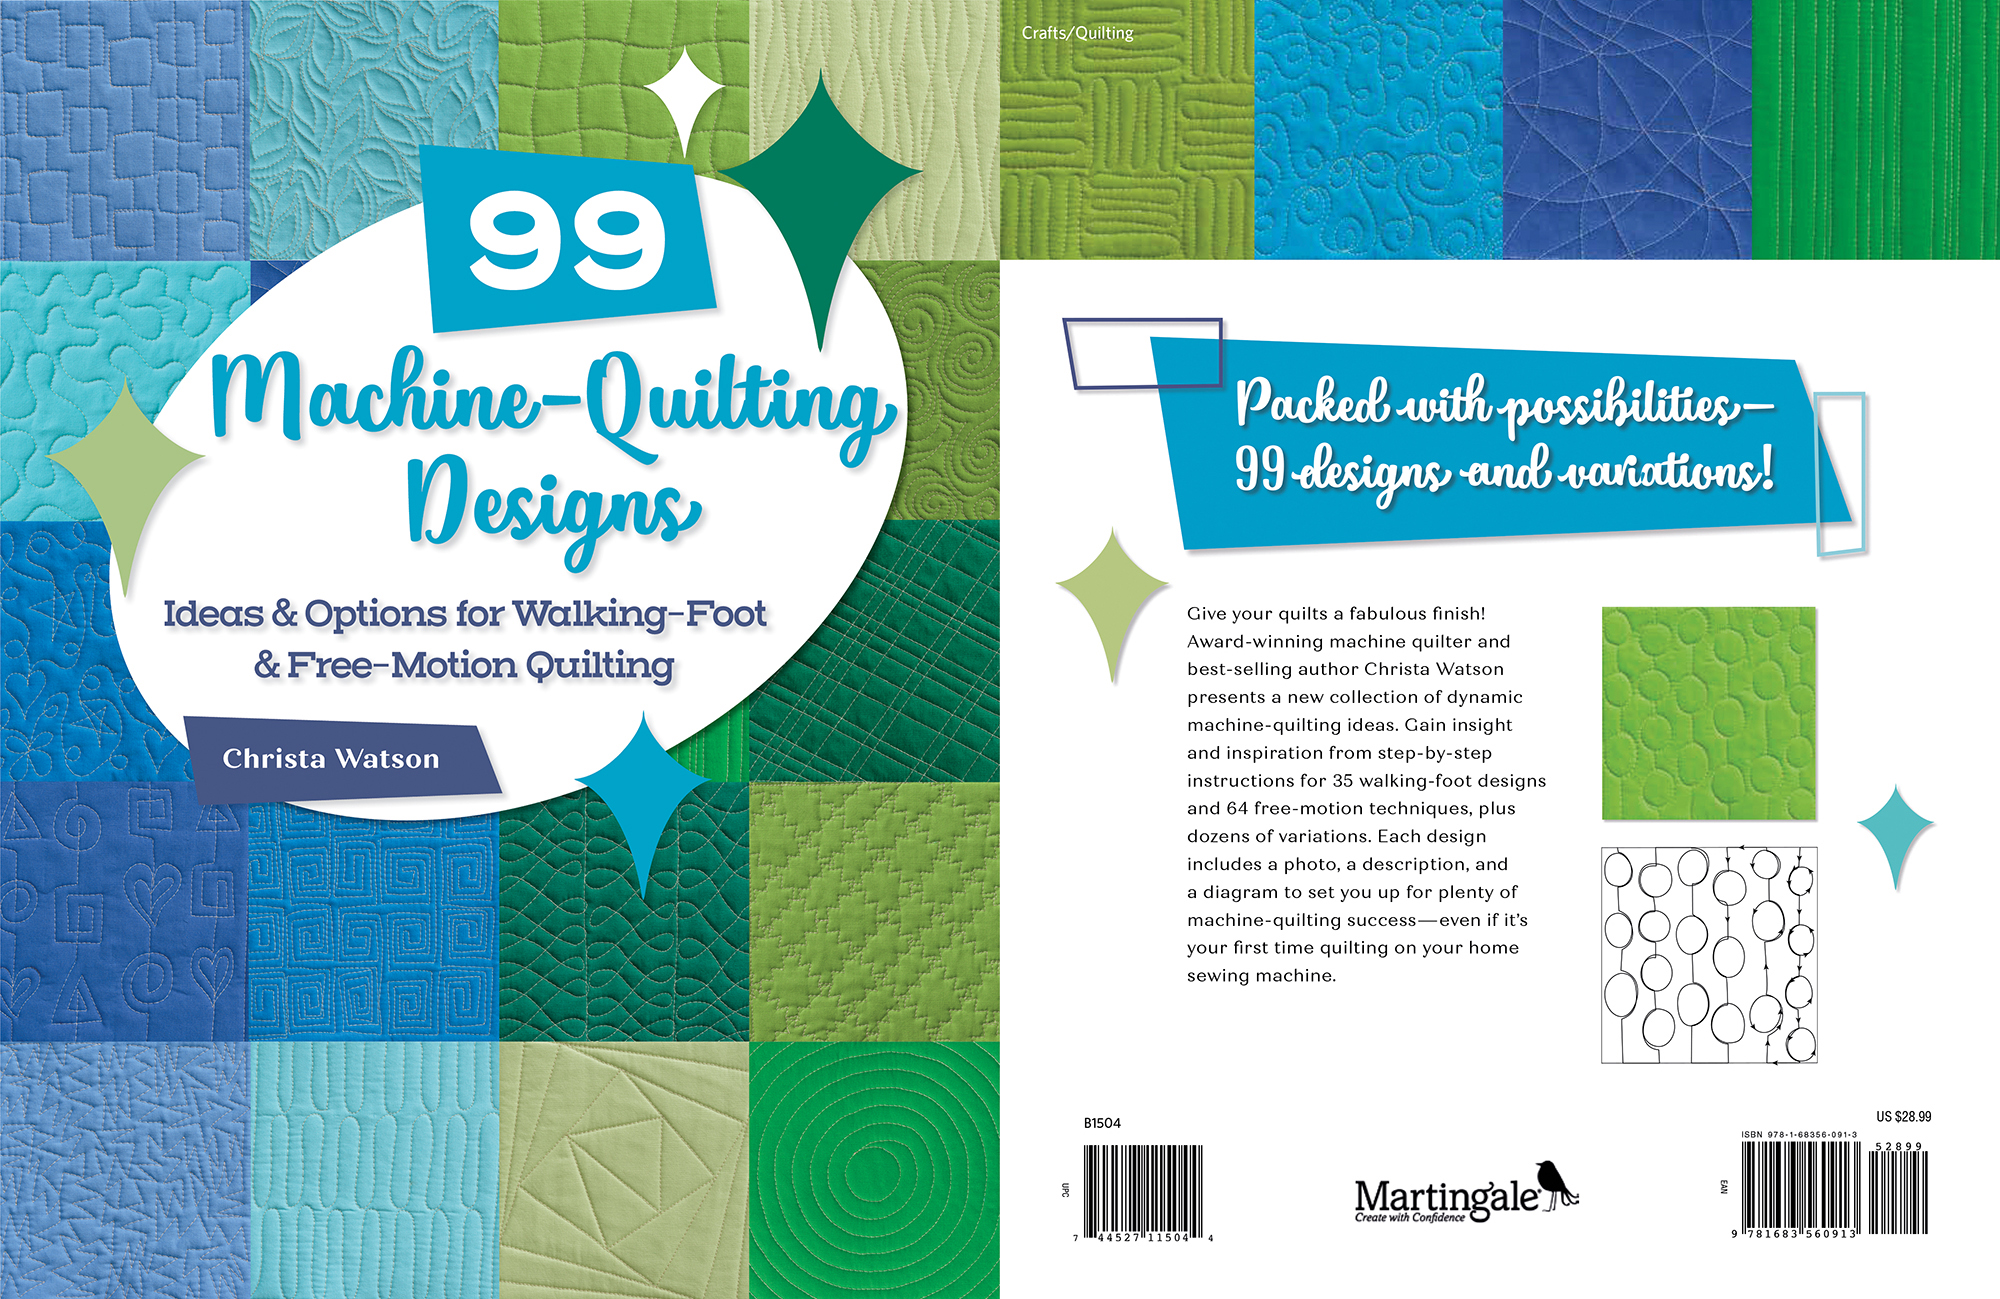
I’m so excited to demonstrate on a full quilting sample for every single design in my book, 99 Machine Quilting Designs. Although it’s not required to watch the videos, I highly recommend it as a great resource to follow along. Think of it as pre-written notes for the entire series.
Along the way I’ll share bonus tips and tricks using both walking foot and free motion motifs. My goal is that by the end of the year, you’ll see a vast improvement in your quilting skills. In fact, I’m sure you’ll start to notice smoother stitching in just a few weeks!
For example, here’s a bonus video I’m sharing along with the introductory video. It’s a longer sneak peak showing how I quilted my Daisy Chain quilt 3 different ways. This is the cover quilt from my book, How Do I Quilt It? Click play below to watch:
Each new video tutorial will post to my YouTube channel on Fridays at 8 AM Pacific Time. They are all pre-recorded and edited ahead of time, so you can watch them anytime, on *your* schedule! I’ll include a reminder blog post each Wednesday, just in case you forget. And you can subscribe at ChristaQuilts.TV so you don’t miss a thing. Watch the videos as much as you like. Pause and rewatch your favorite sections so you can work comfortably at your own pace.
In every video, I get down to the nitty gritty right away. And the comments section is lively and educational, too! I read and answer every single one. So rest assured, if you have any questions at all, I’m happy to help!
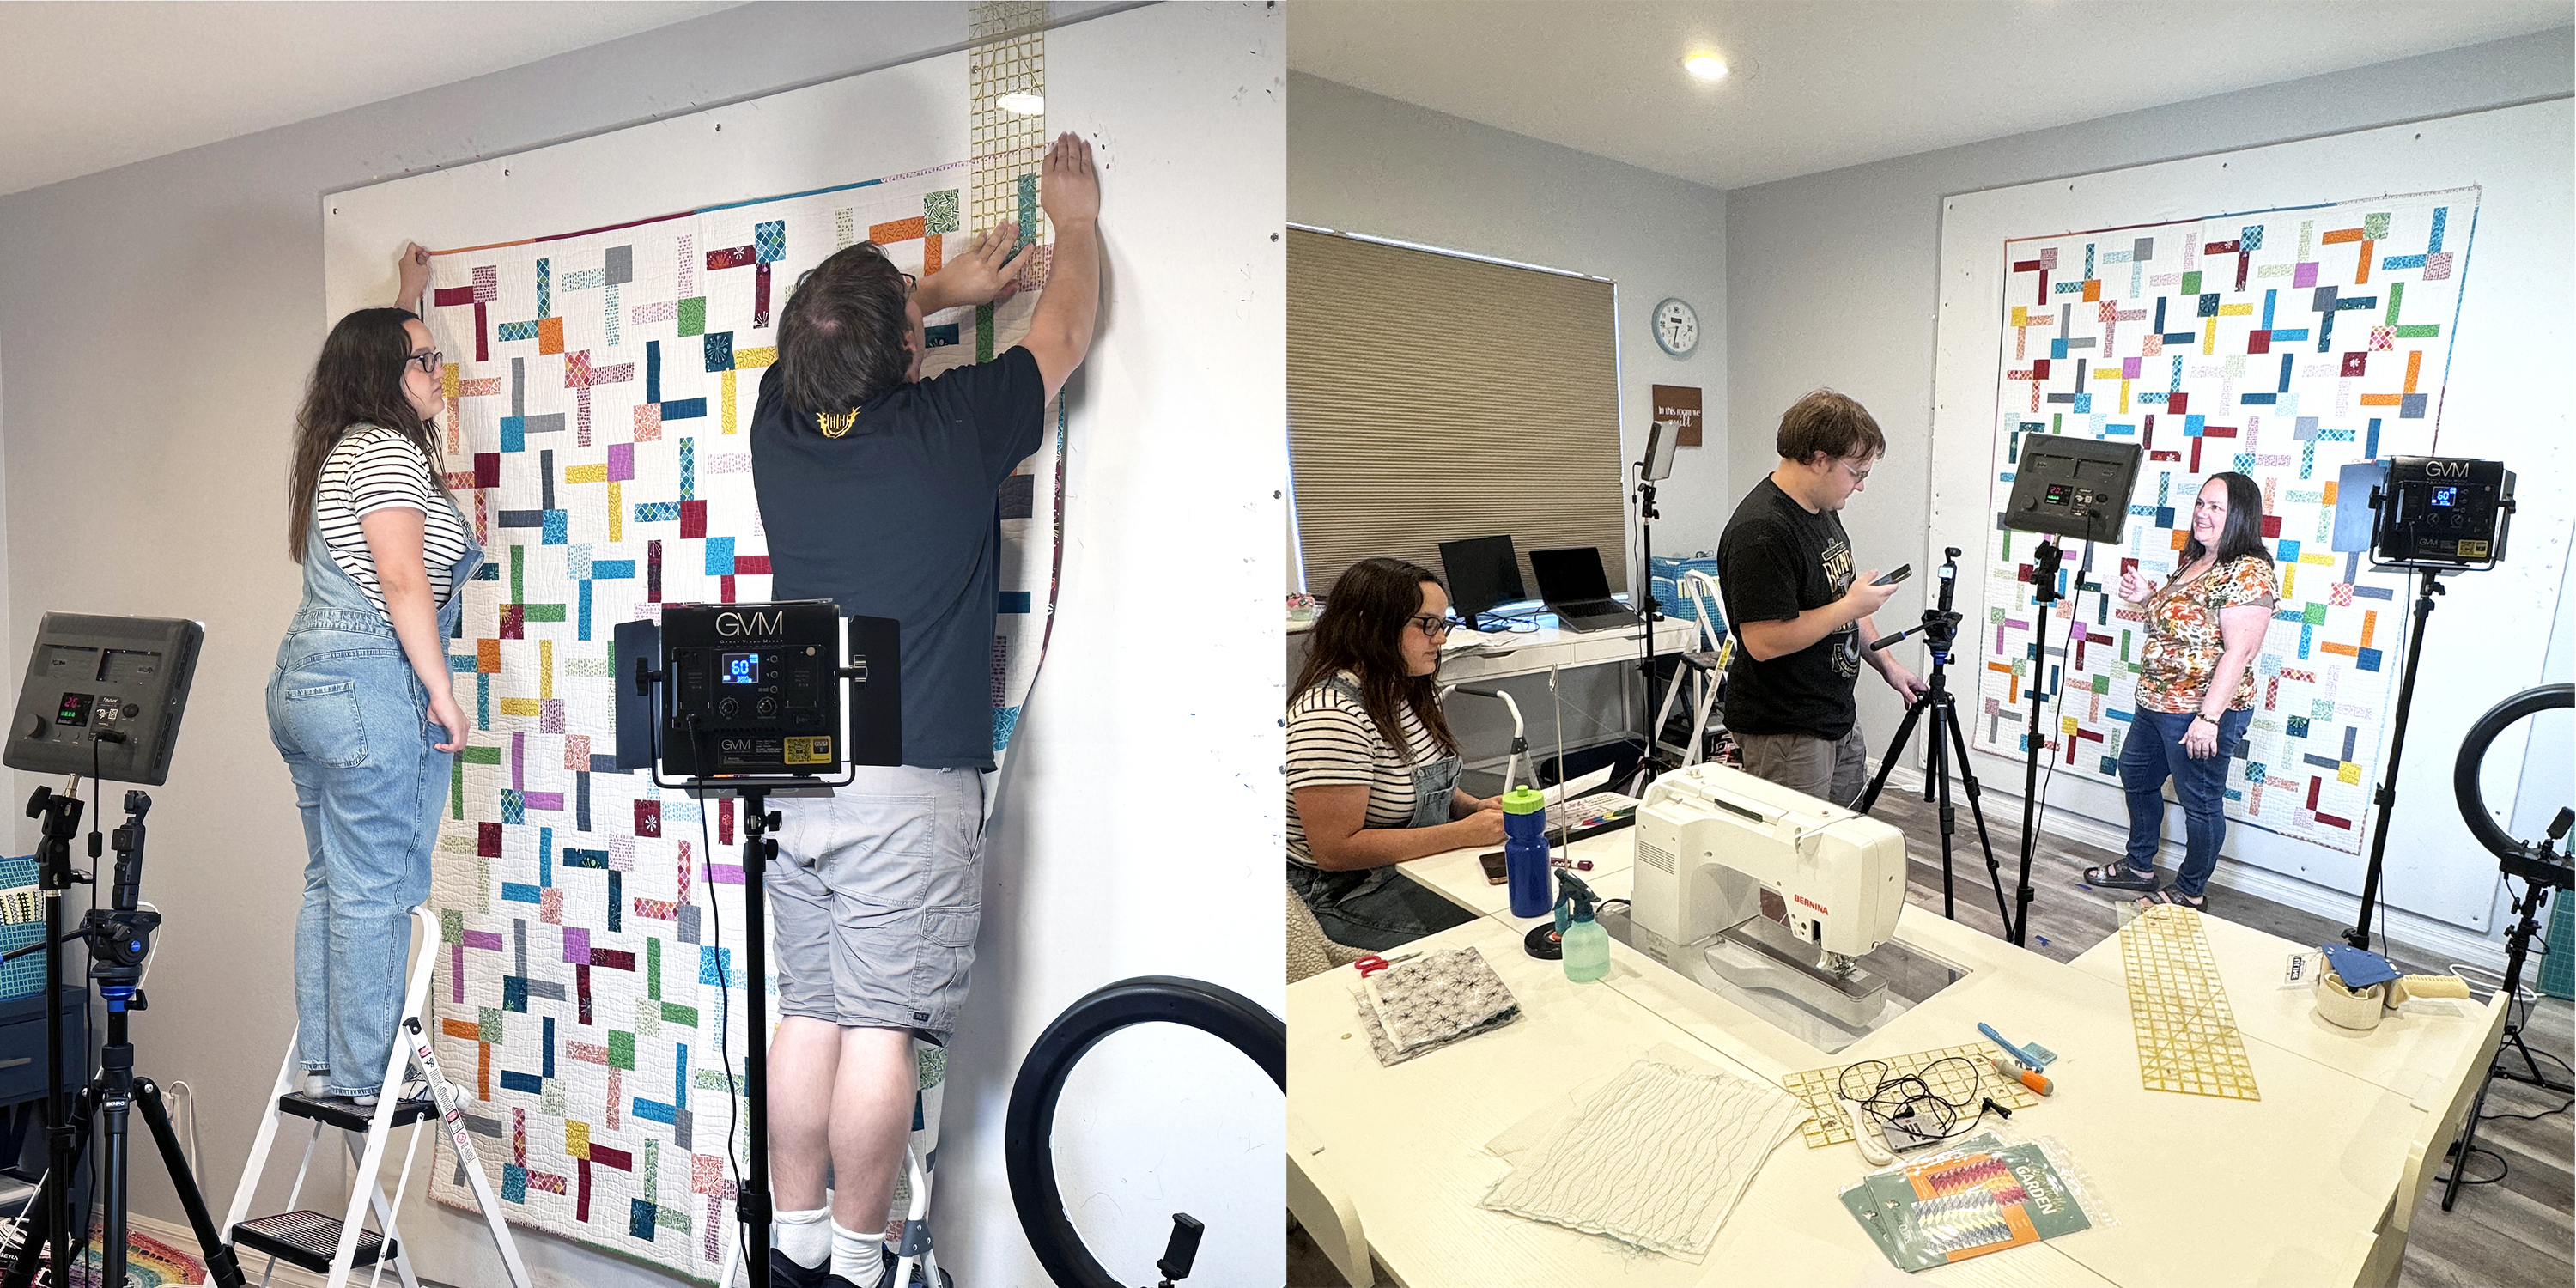
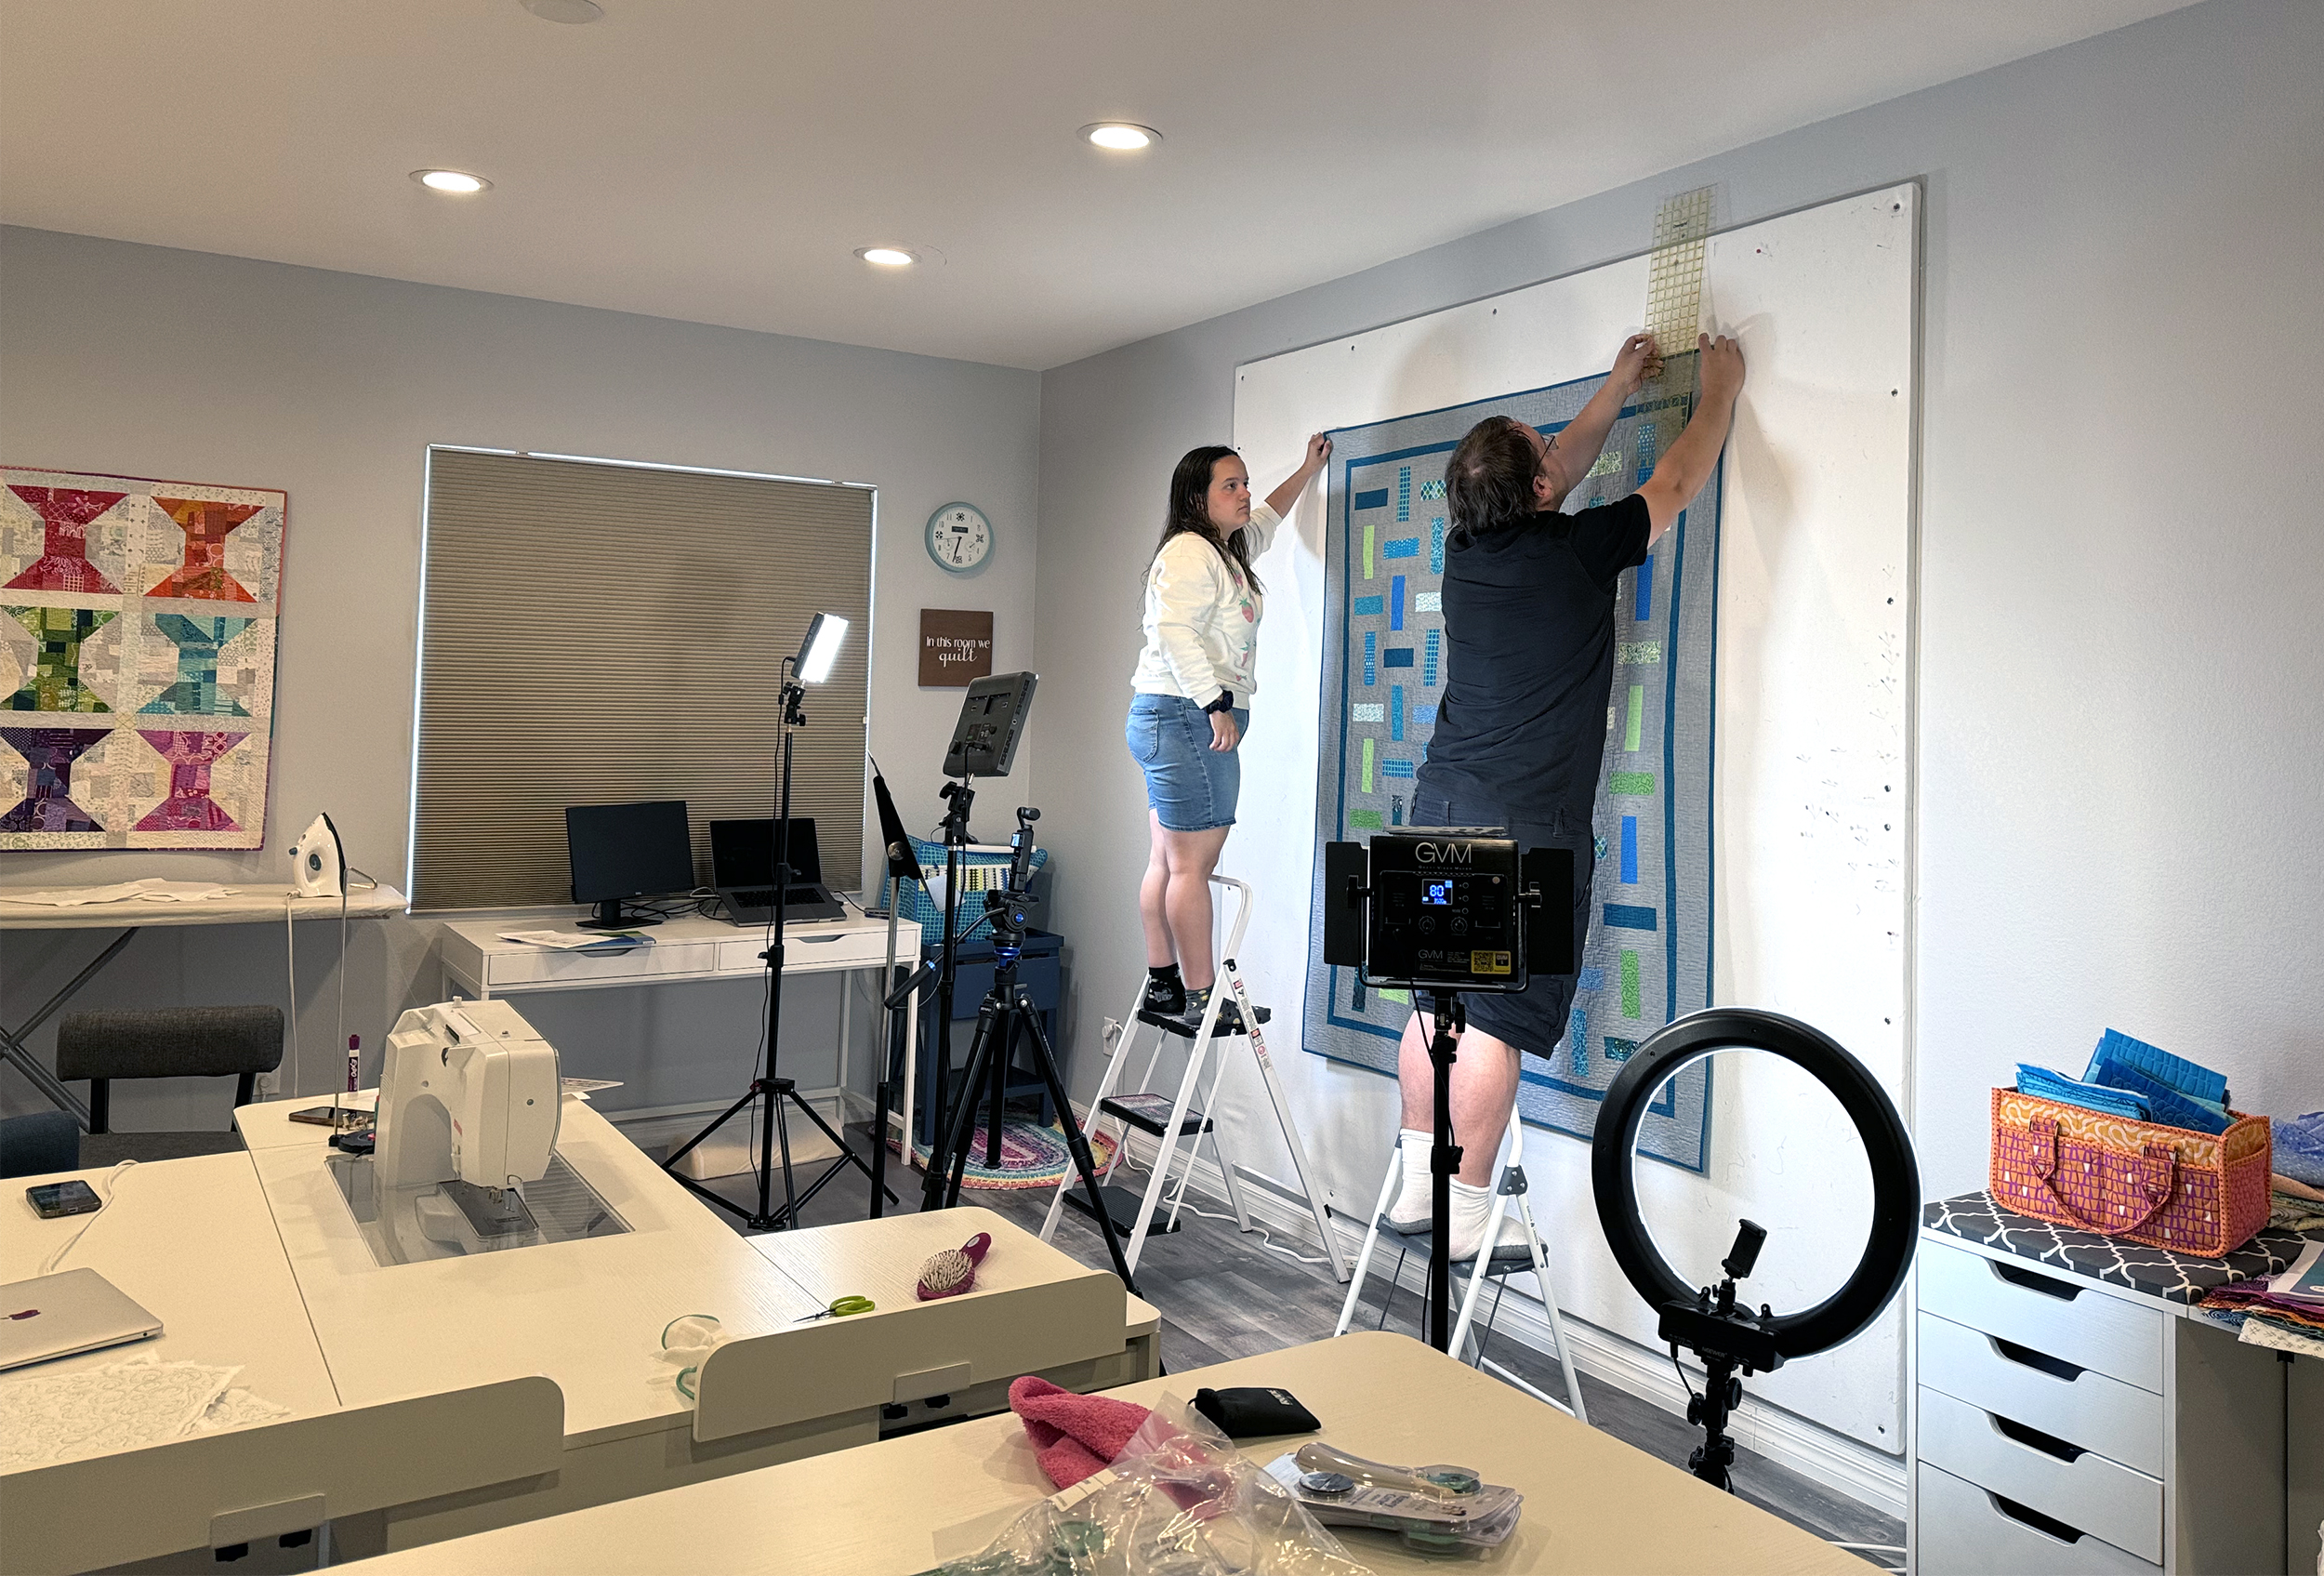
I couldn’t have pulled this off without the help of my college kids. They worked hard behind the scenes to help me hang quilts, edit all of the videos and generally keep me on track. I’m sure they enjoyed bossing their mom around to get this done, LOL!
I also have to thank *you* for supporting my little business over the years. It’s allowed me to work from home while raising the kids. I couldn’t be more proud of the education and career paths they’ve chosen, and I love that they enjoy working for me part time during their breaks.
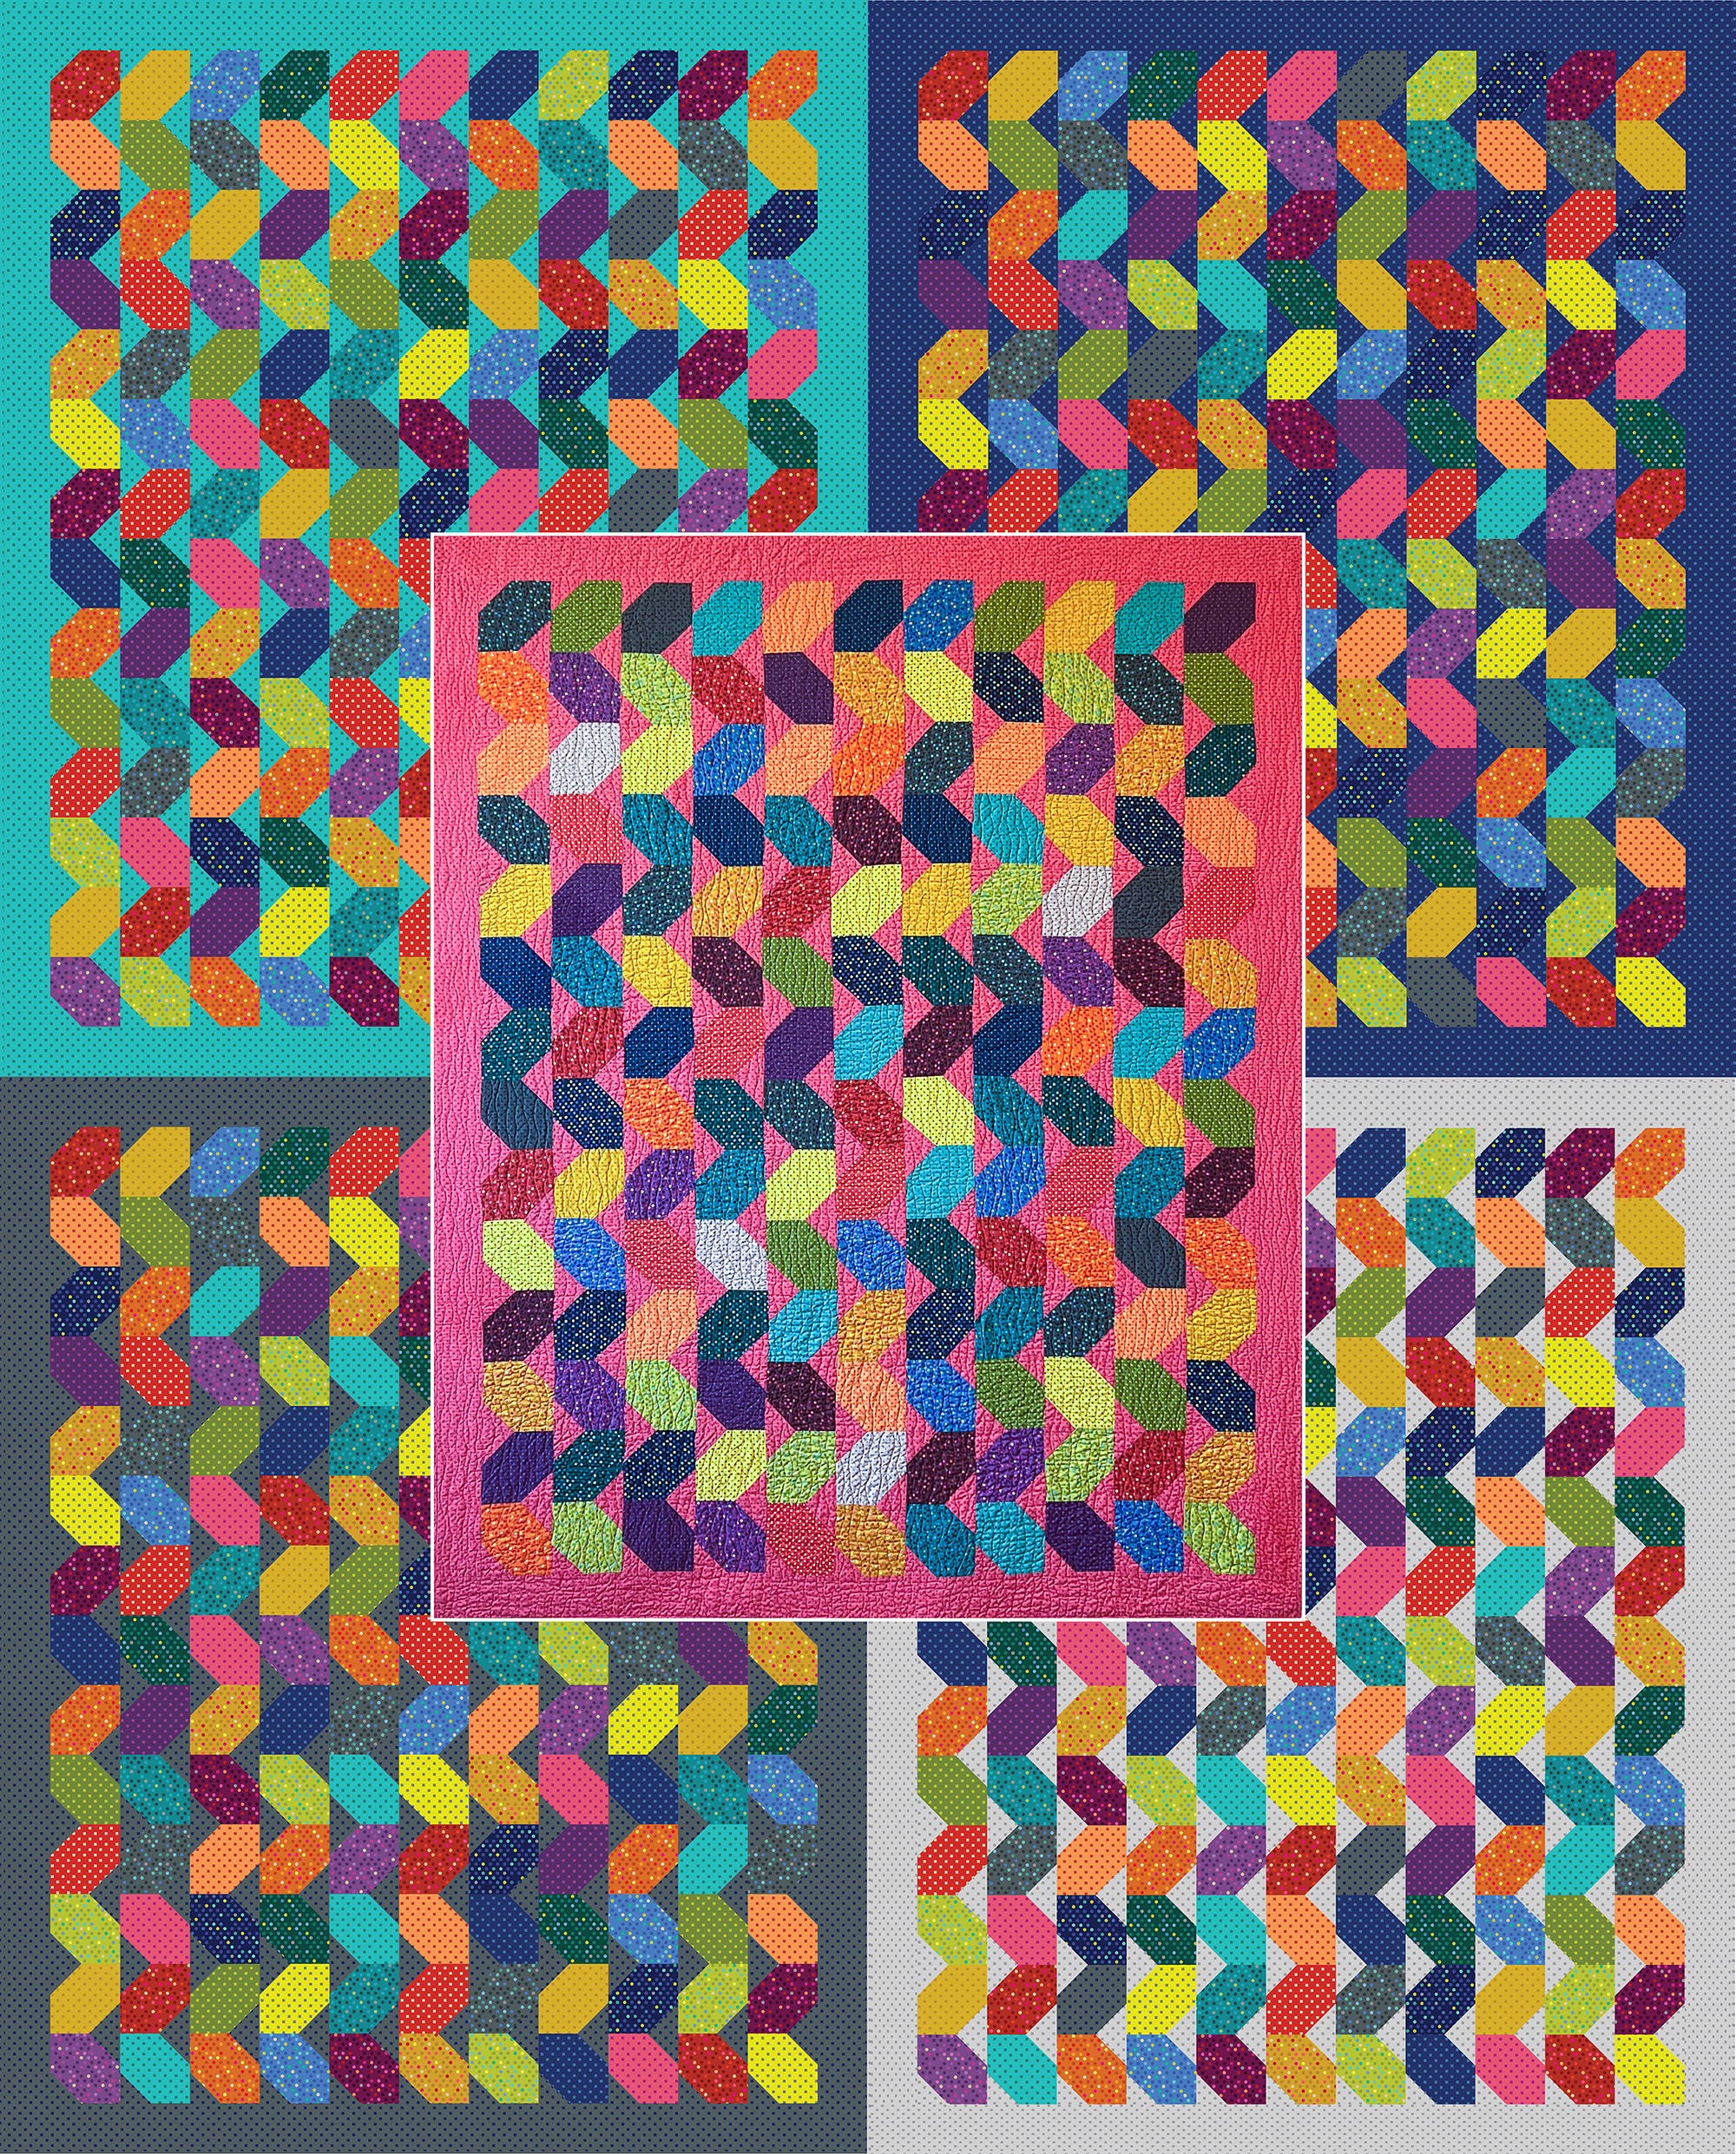
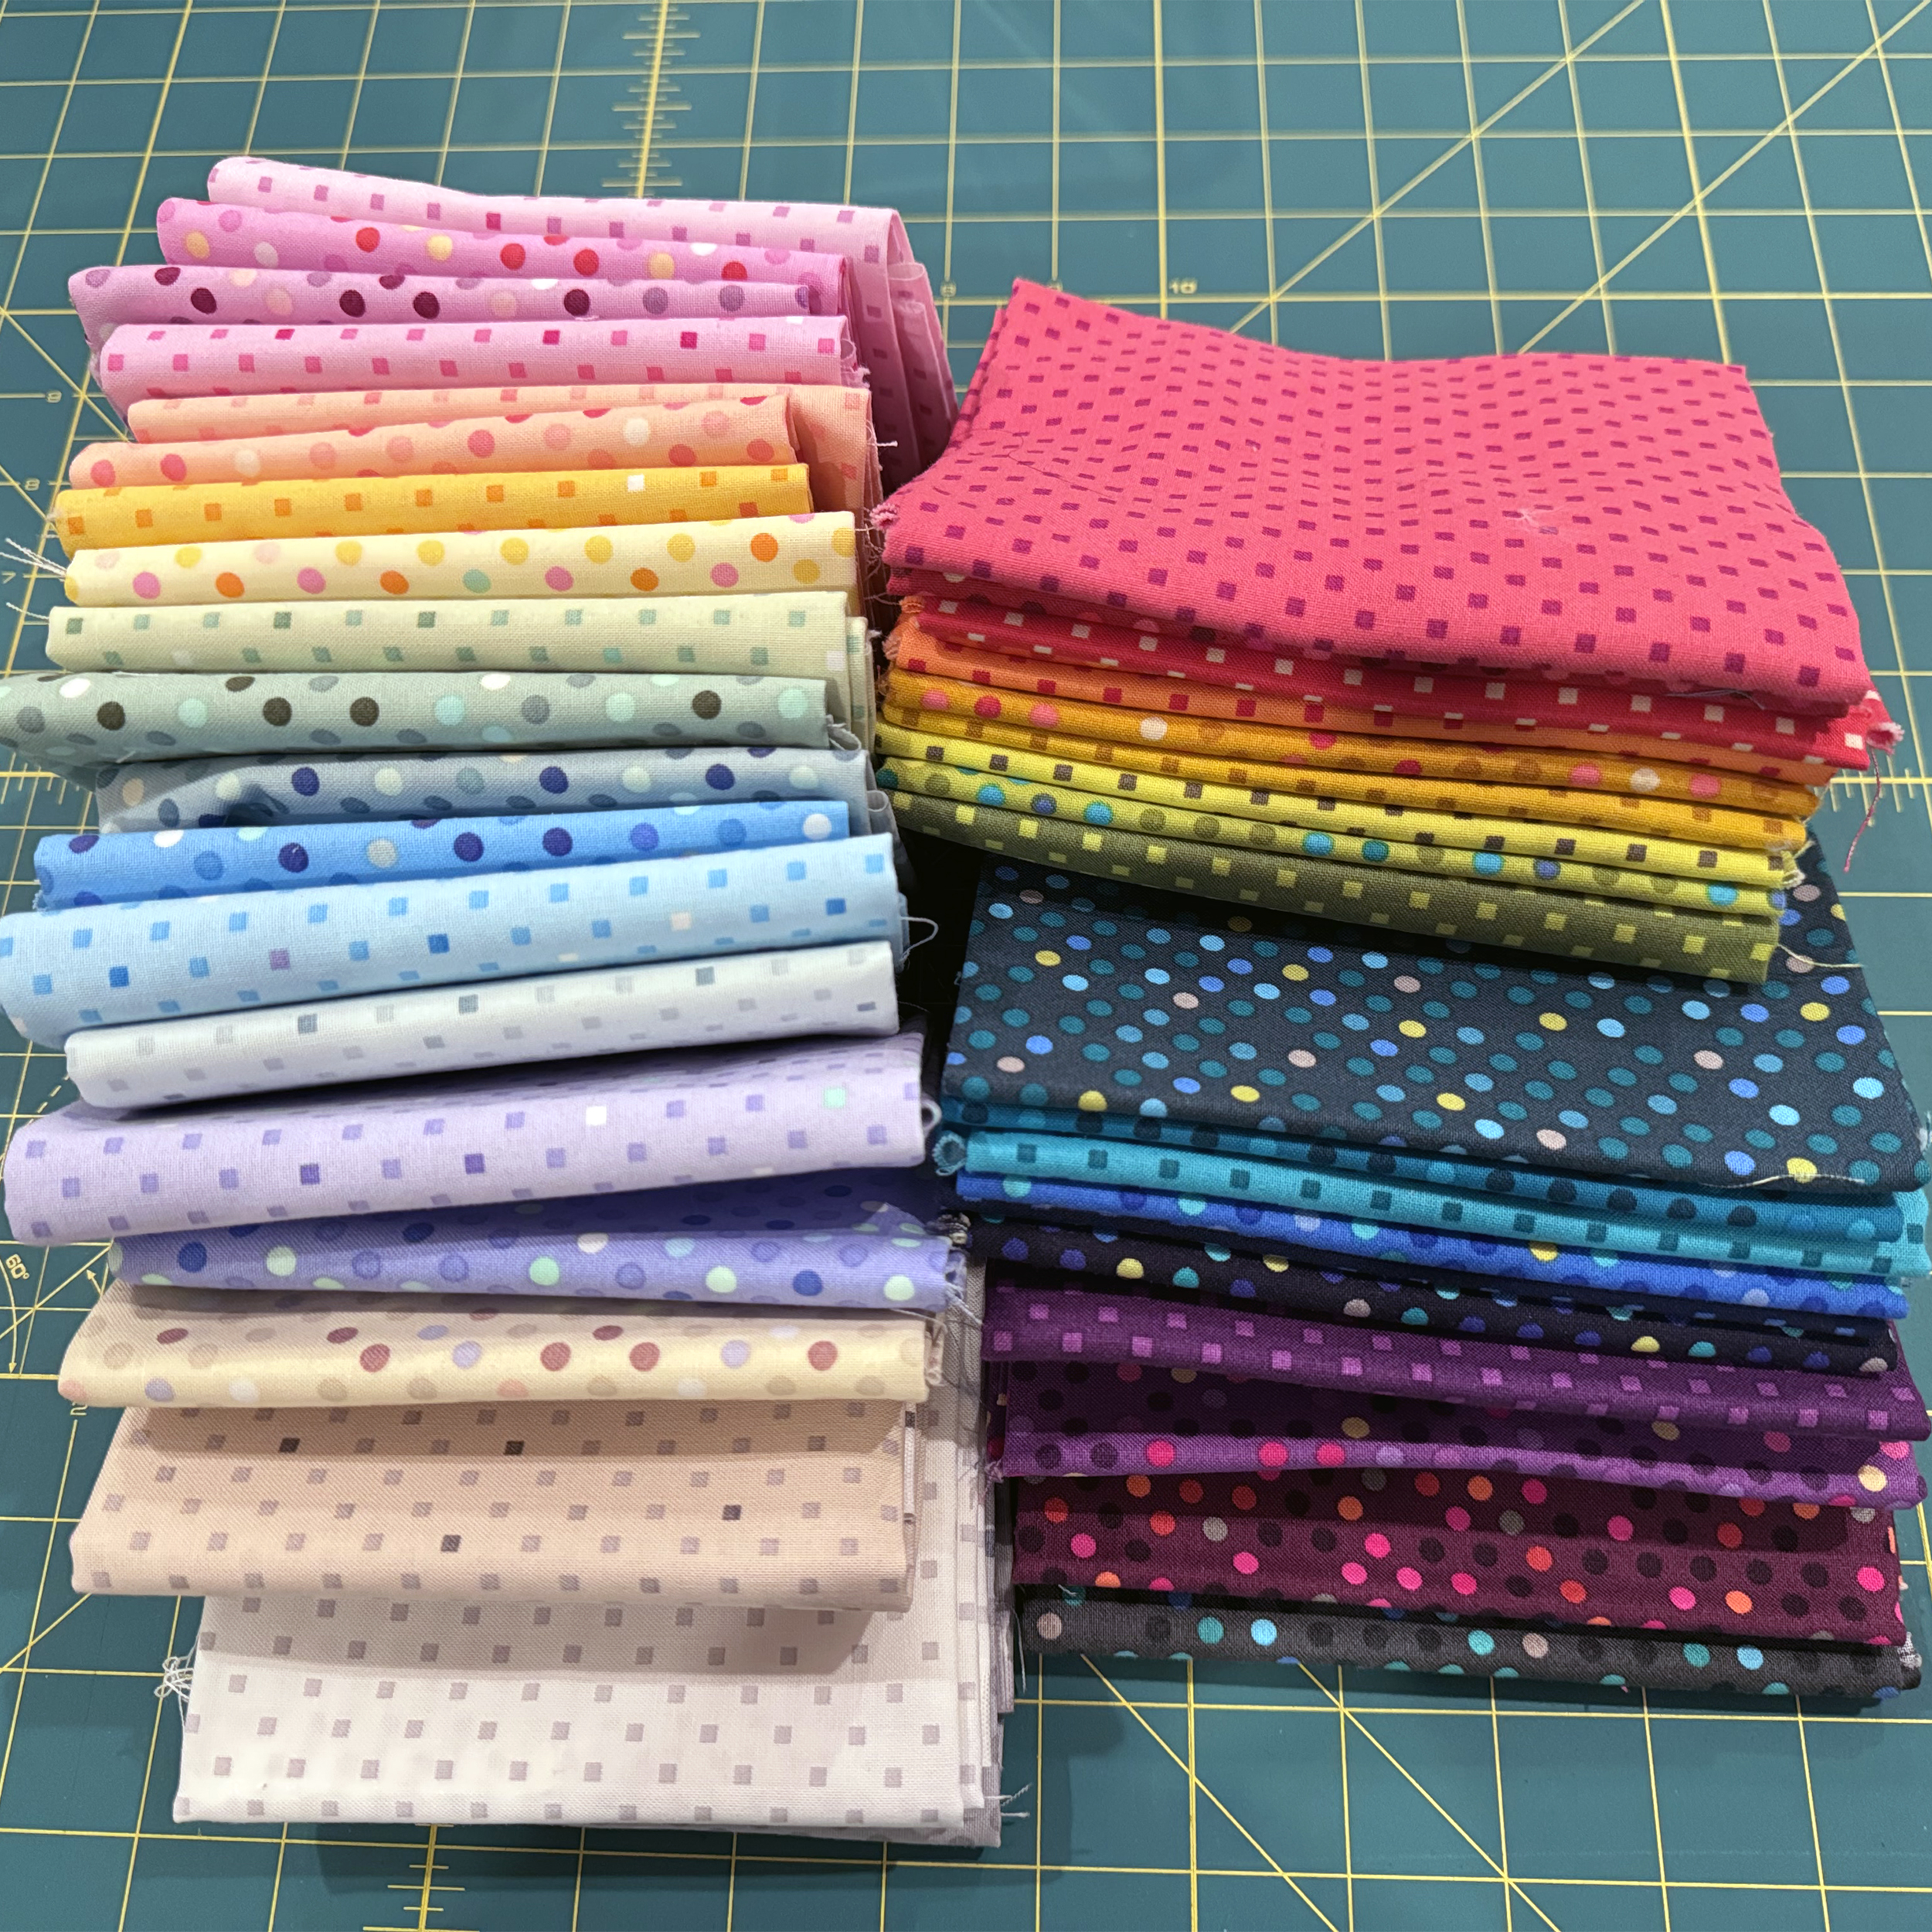
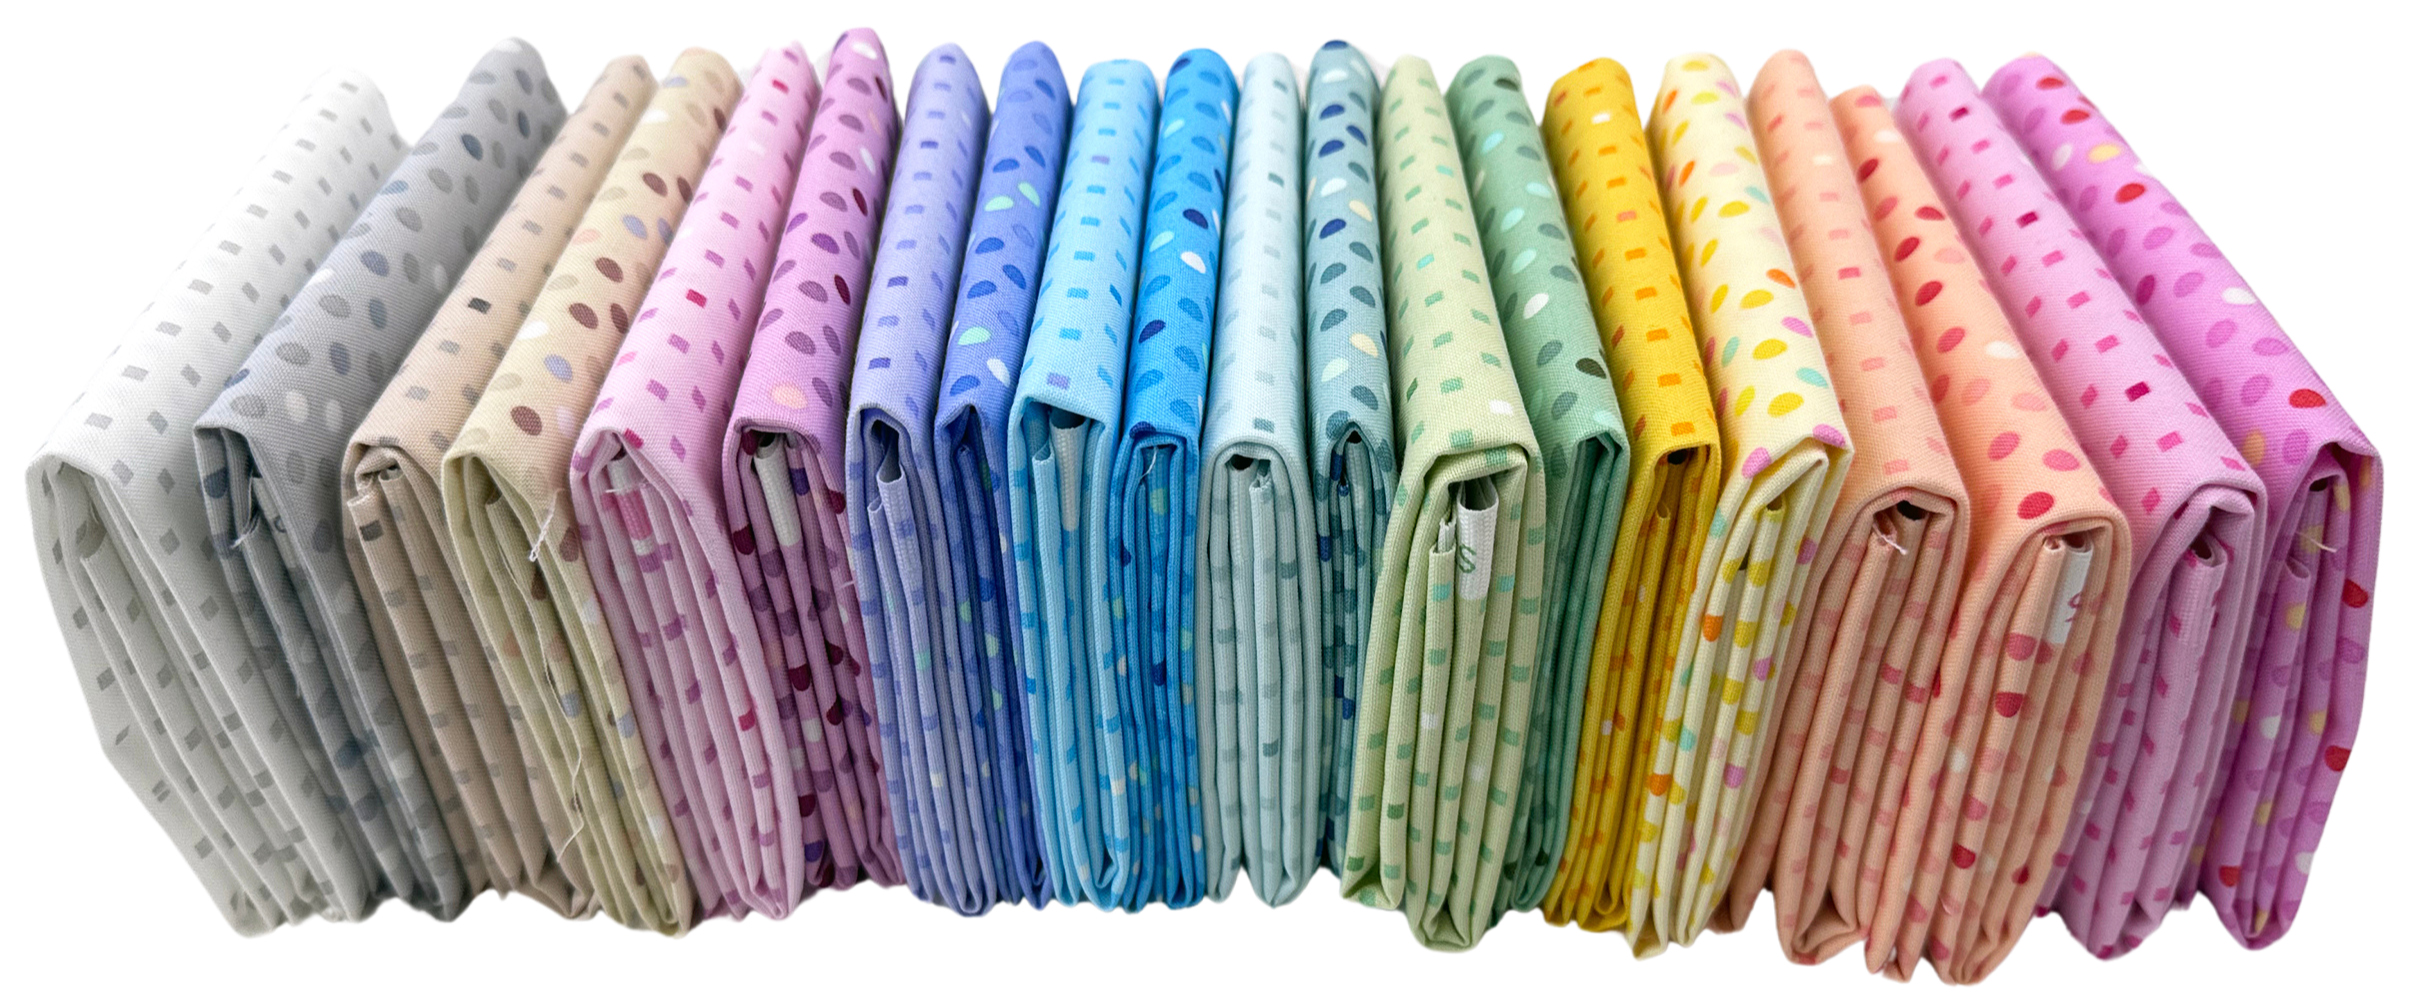
I’m excited to announce I got the shipping date for my newest collection (#10) – Dazzle Dots 2 from Benartex. It will be shipping late February to early March, so I can now open up pre-orders for this colorful group!
Just like my previous collections, I’ve put together custom bundles and kits, in addition to the standard precuts (strips, squares and fat quarter stacks). I’m also filming videos for each quilt I make from this fabric, and I can’t wait to share those with you, once the fabric hits stores. For starters, I made 2 versions of my Surplus Strips quilt, and I quilted them both with a different design I can’t wait to share!
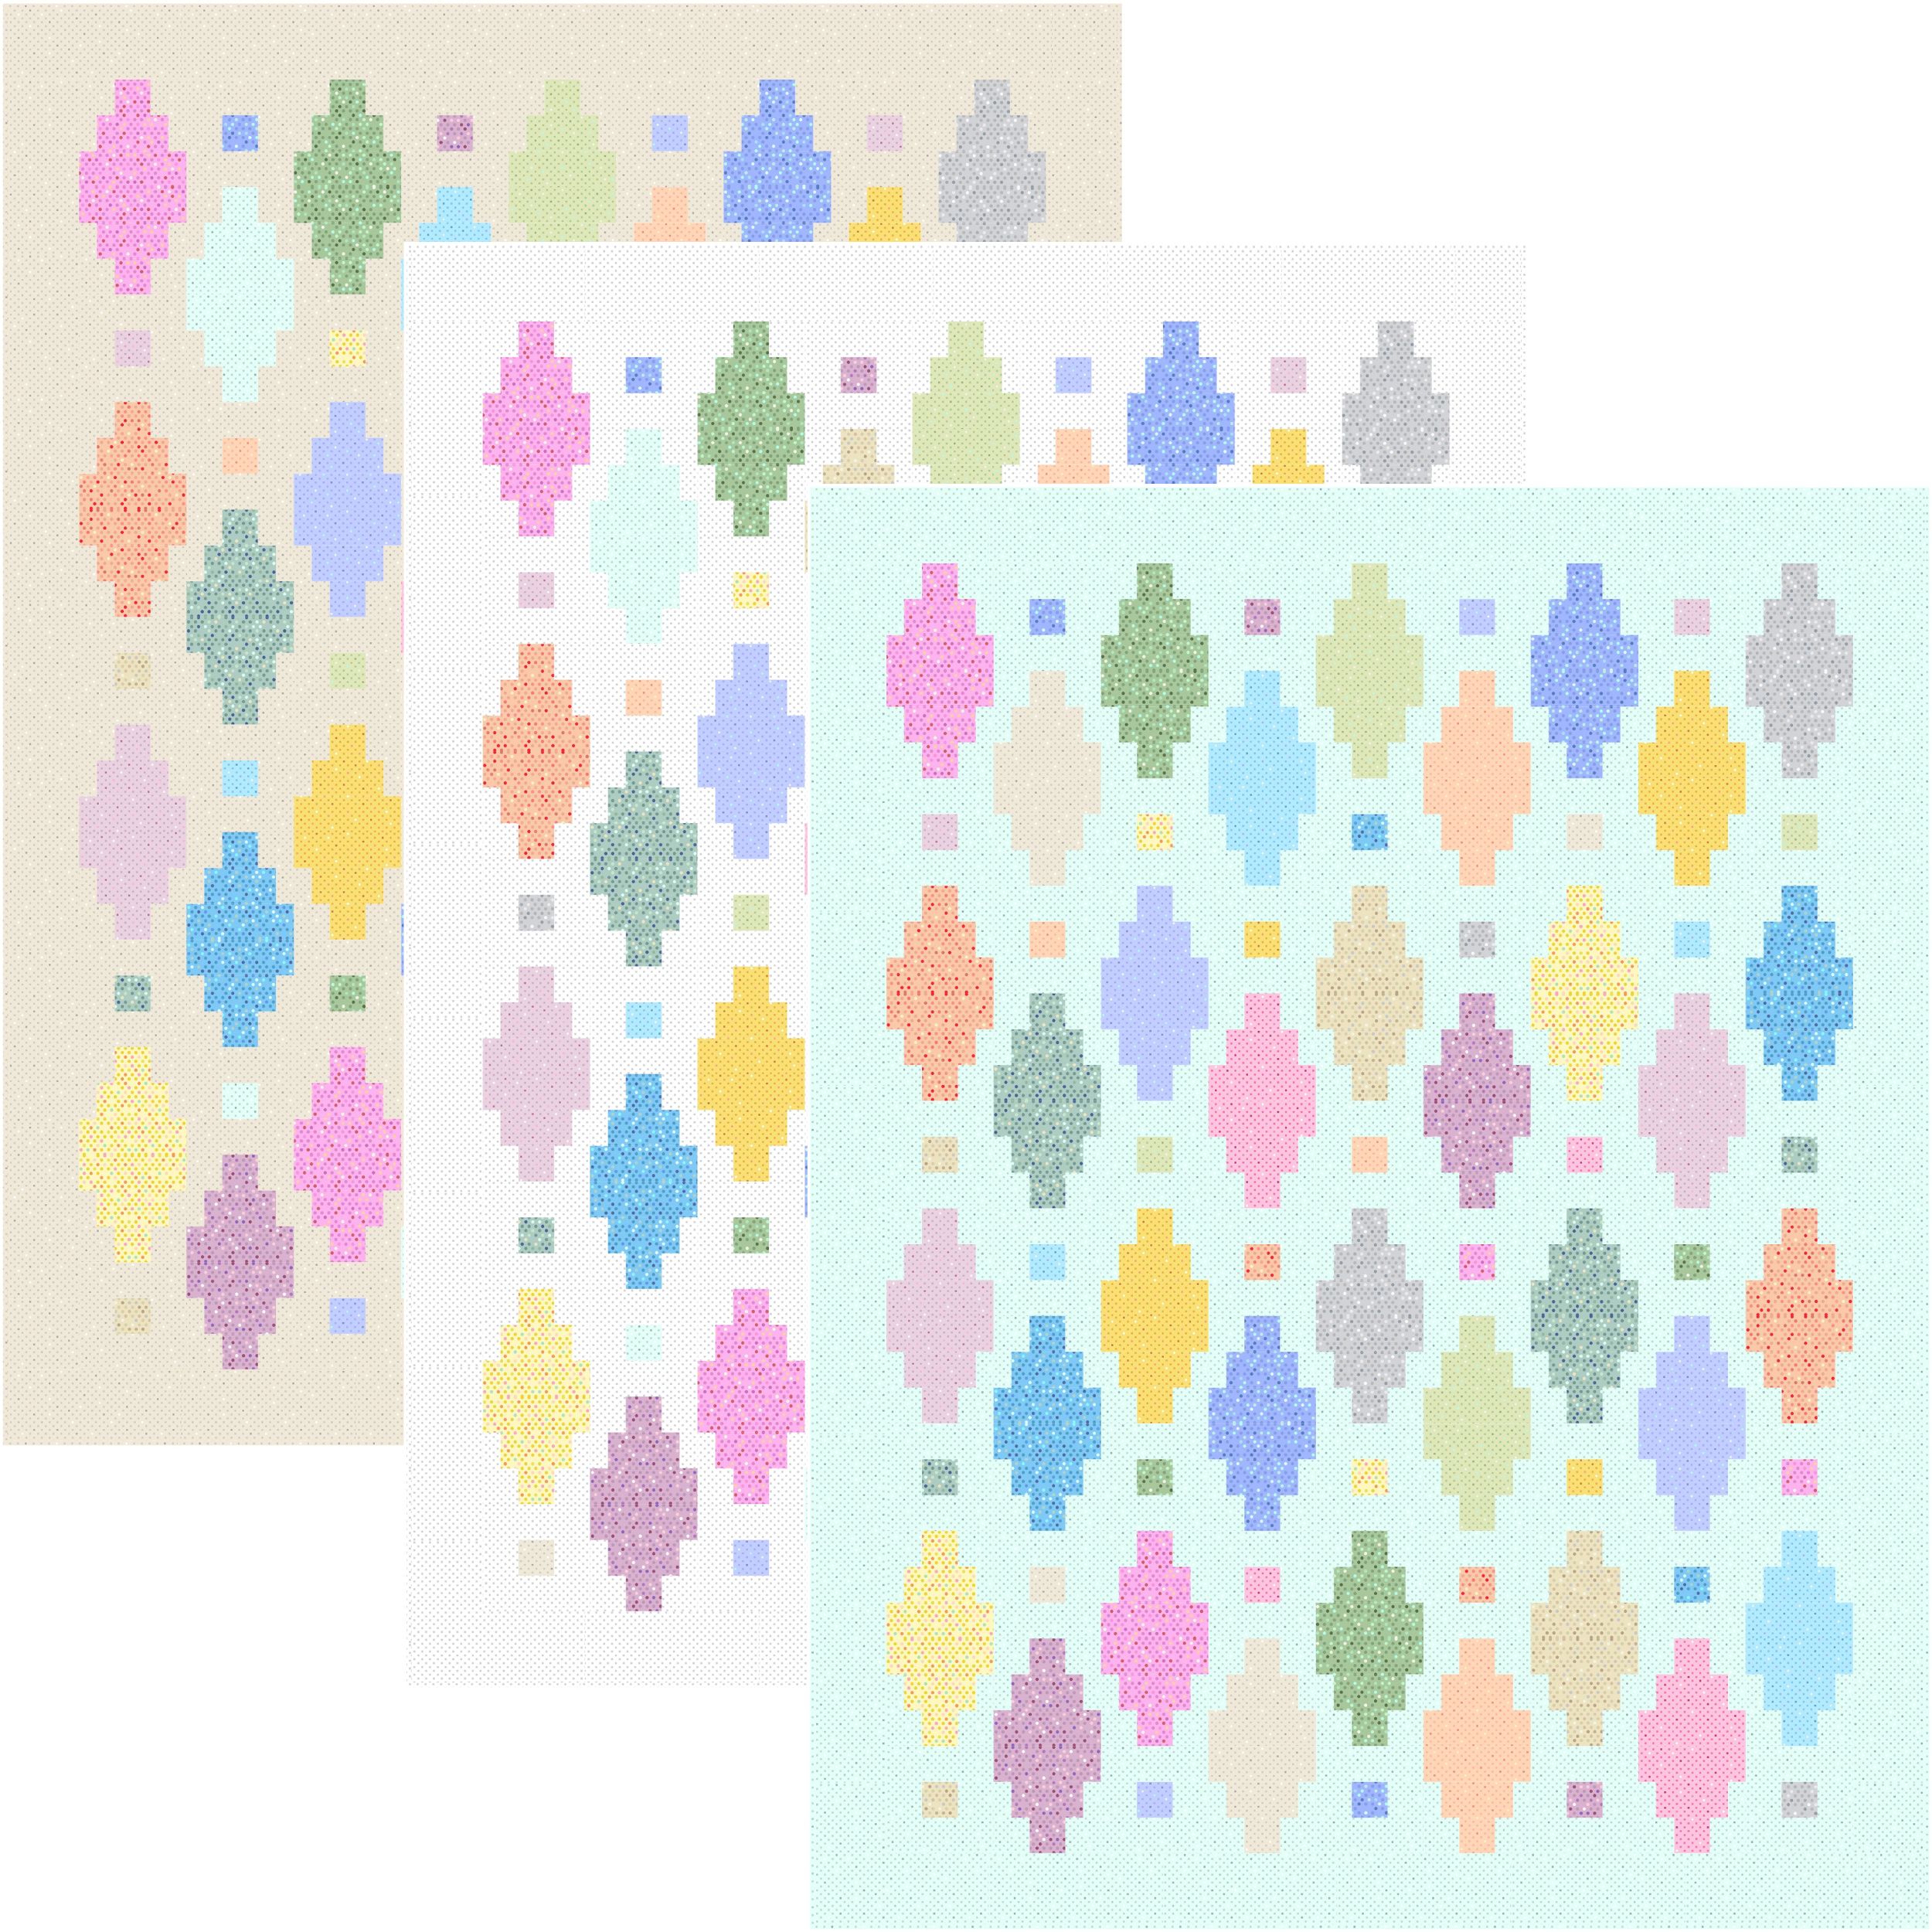
Isn’t it fun to see how the same pattern can look with different color combos?
I recolored my Free Beaded Lanterns quilt pattern to show what it would look like using different background colors. Personally, the Icy Blue is my favorite, what’s yours?
So if you’ve been eyeing this collection, go ahead and get your fabric pre-order in now. I’ll be ordering based on demand and it will be shipped on a first come, first served basis. Dazzle Dots 2 has a total of 20 soft colors including a few neutrals, so this will really round out your fabric stash!
Merry Christmas from the Watsons! This time of year I’m so very thankful for your support of our small family business. Jason and I have been full time entrepreneurs since 2006 and it’s been quite the journey! We’ve raised our kids to understand the value of hard work and know that (hopefully) they can achieve their dreams, even if they experience bumps along the way.
As empty nesters, it’s wonderful when all of the adult kids are home at once!
To Celebrate the end of this year and the start of the new one, I invite you to take a look at this short video I put together, highlighting some of my free quilt patterns. It includes Beaded Lanterns shown in my upcoming Dazzle Dots 2 collection, along with an in-depth explanation of how to quilt it.
Click the play on the image below to watch. It runs about 5 minutes:
I recently had the opportunity to be a guest on Annie Unrein’s Live YouTube show. We talked about how you can apply machine quilting designs to her cute bag projects and patterns. We discussed things to think about when using her fabulous product called Soft and Stable. The most fun part was getting to show off a cute project that my mom (Also Annie) had made using the fabric I had quilted the previous time I was on Live with Annie. (Click the images if you don’t see the play buttons below.)
Recent Episode 44 from Season 4 in 2024
Previous Episode 22 from Season 2 in 2022
My Fabrics Make Cute Bags and Totes!
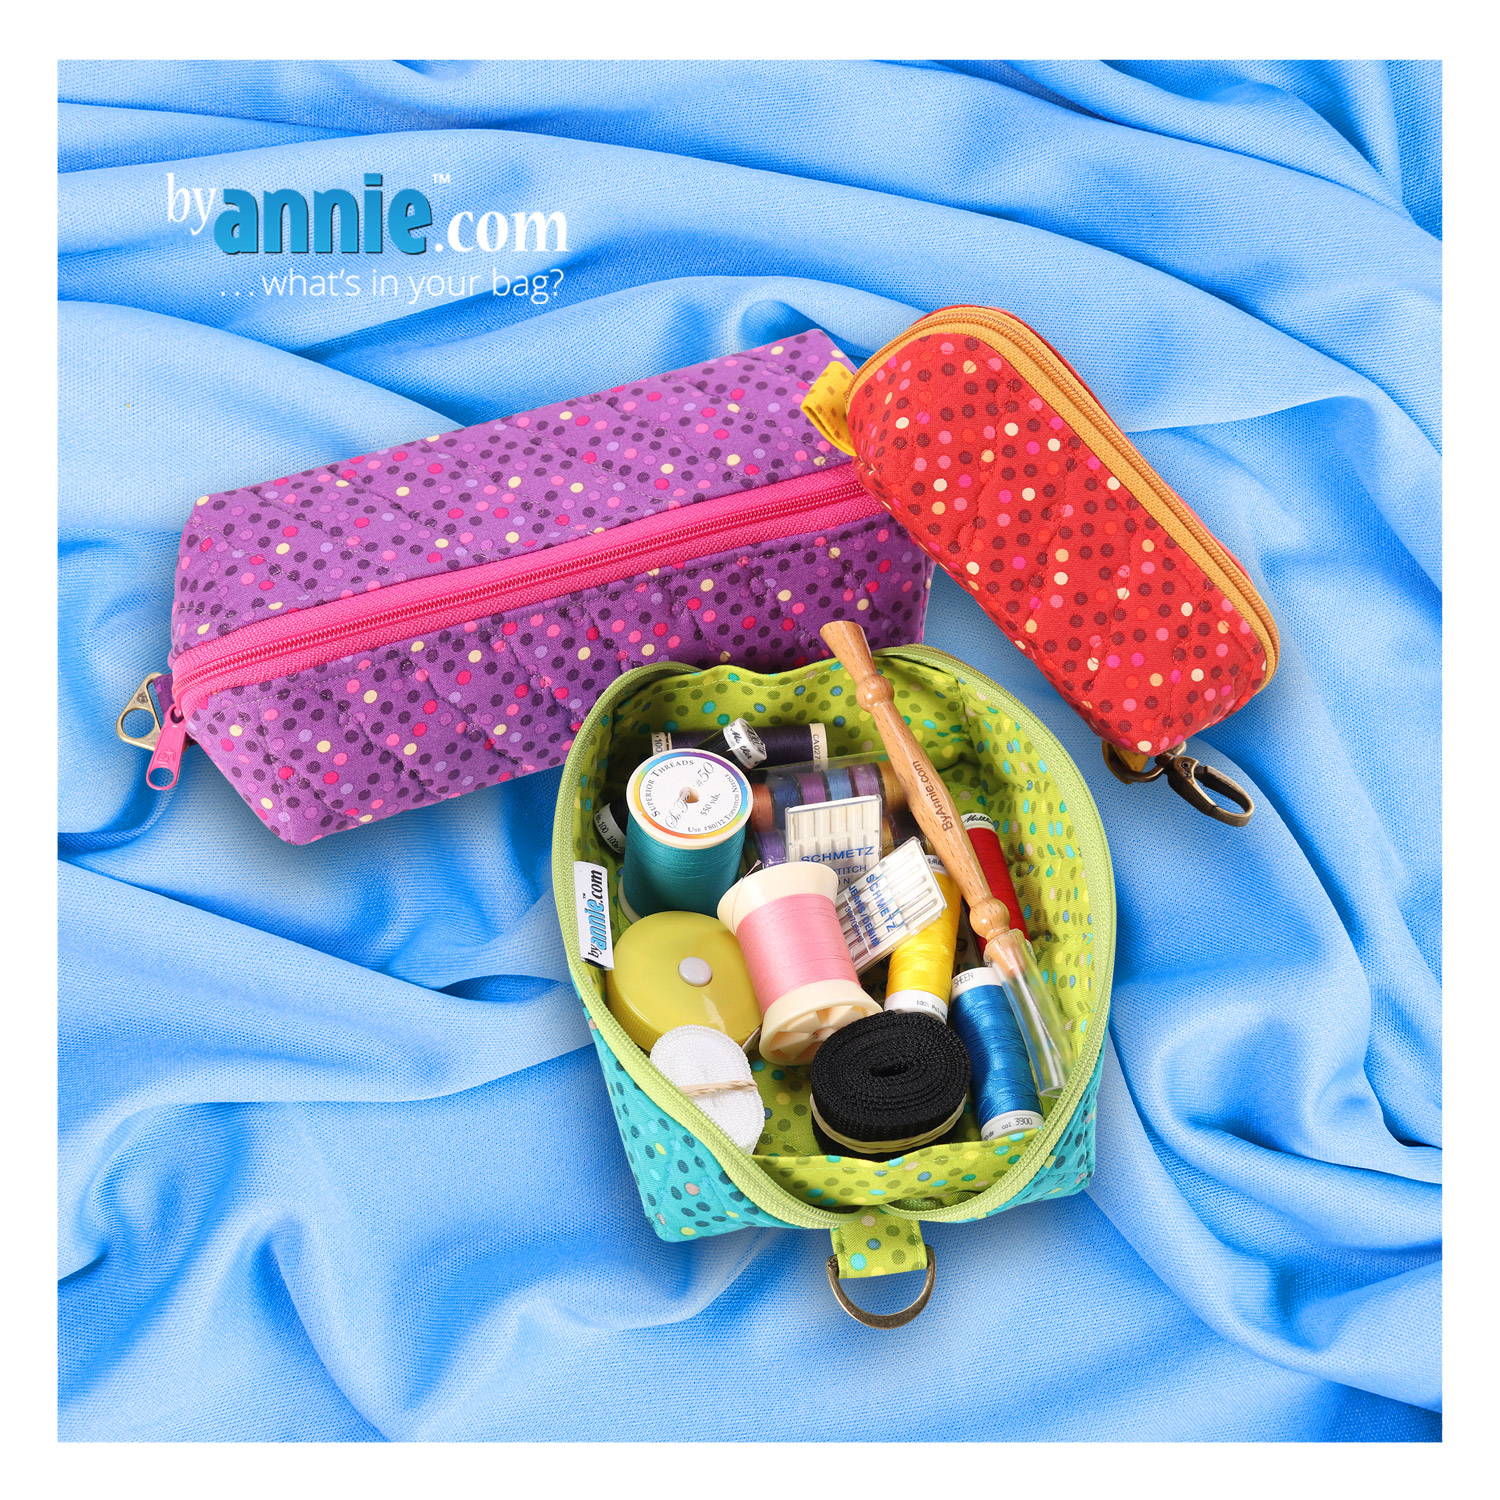
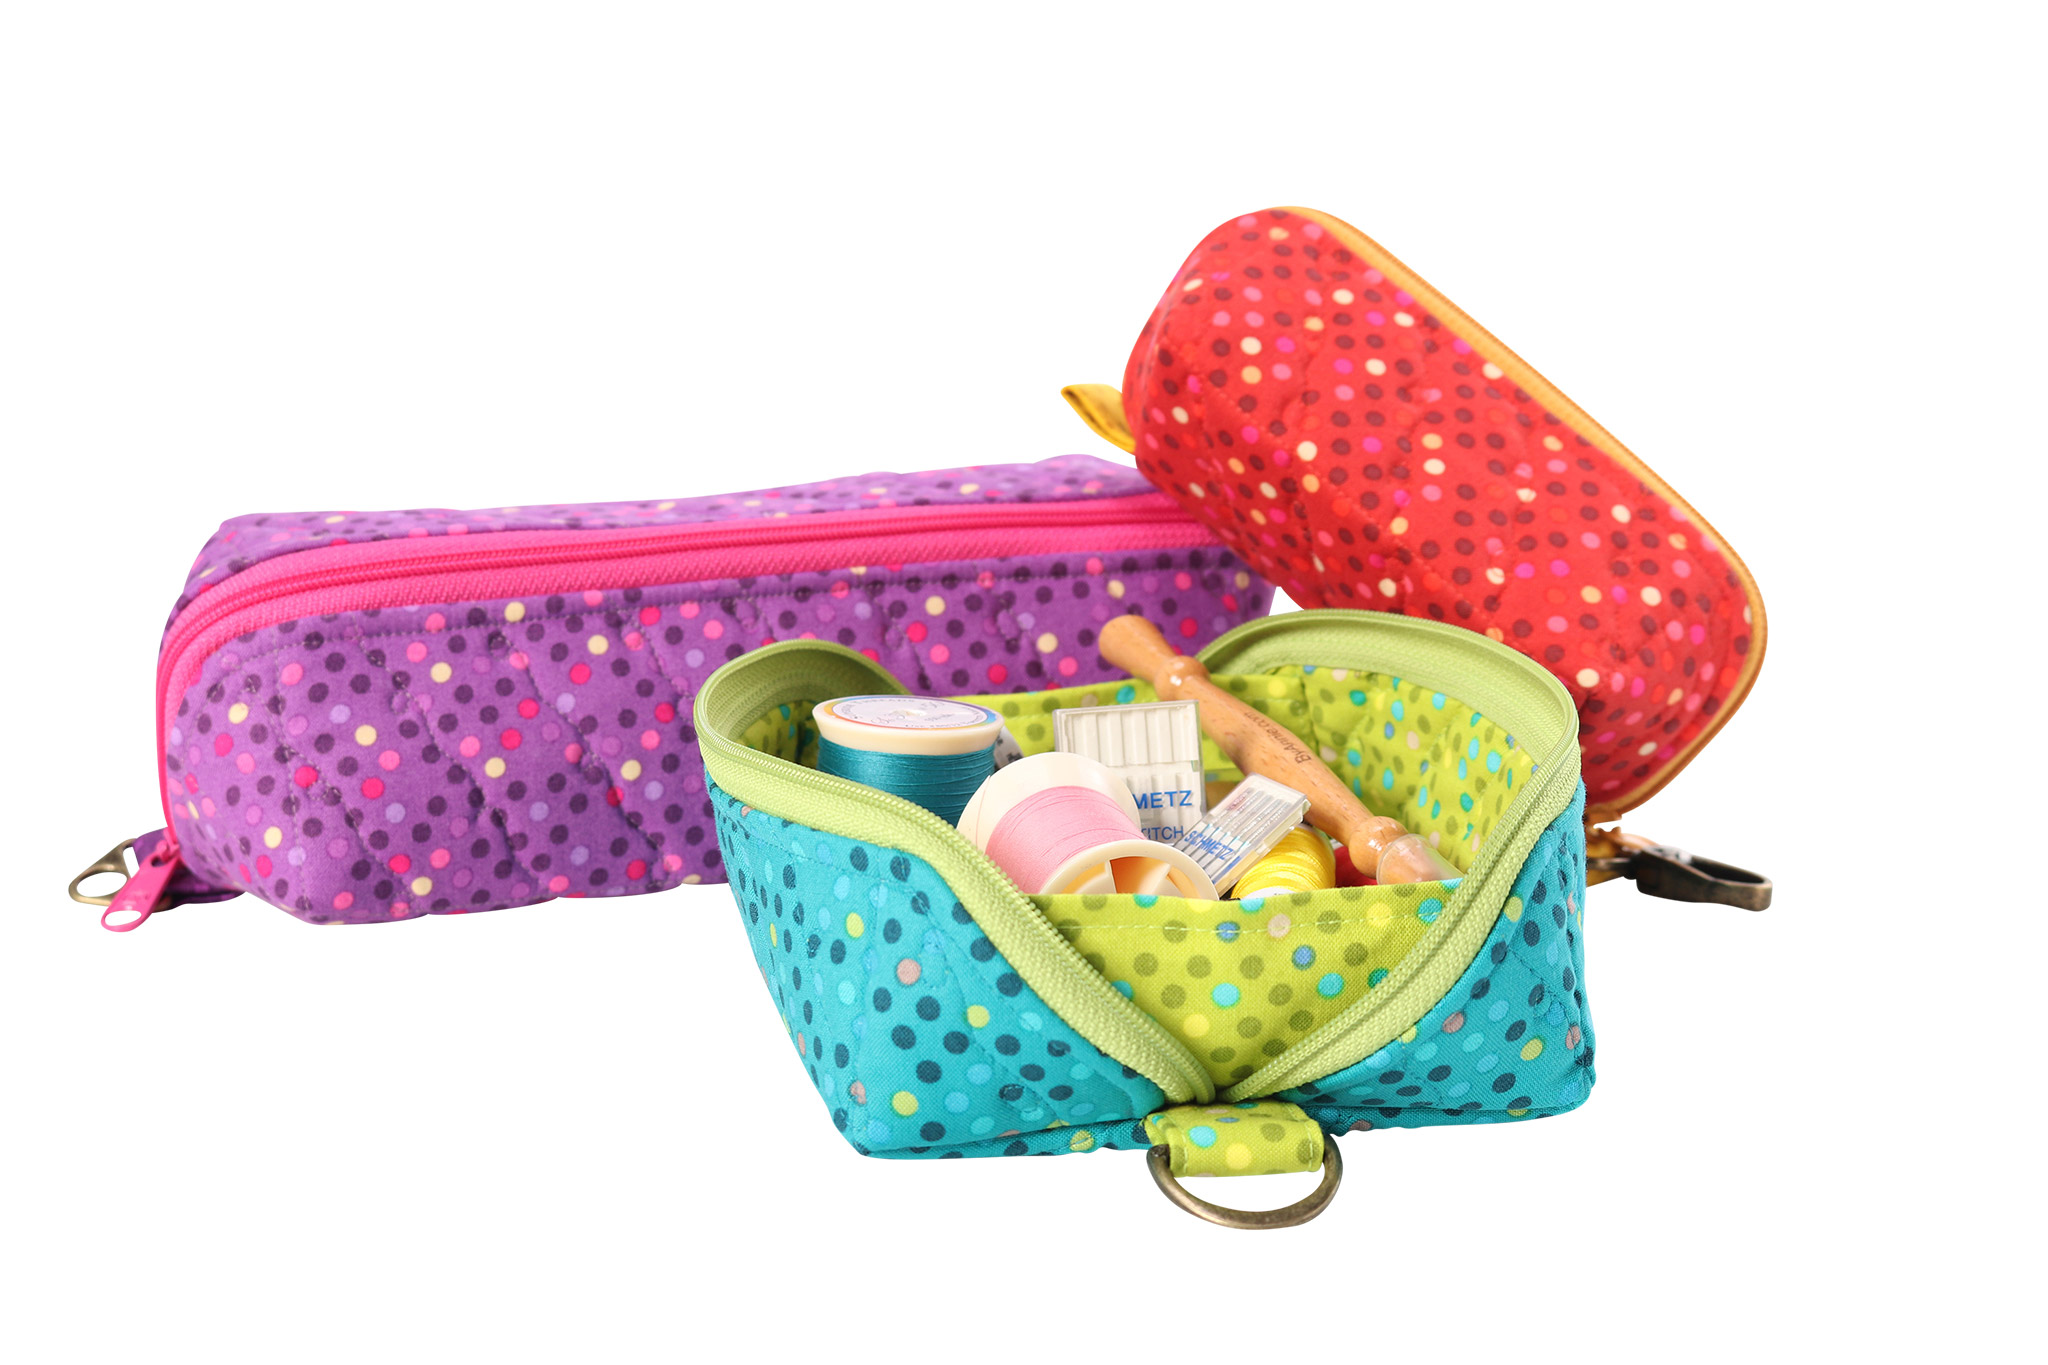
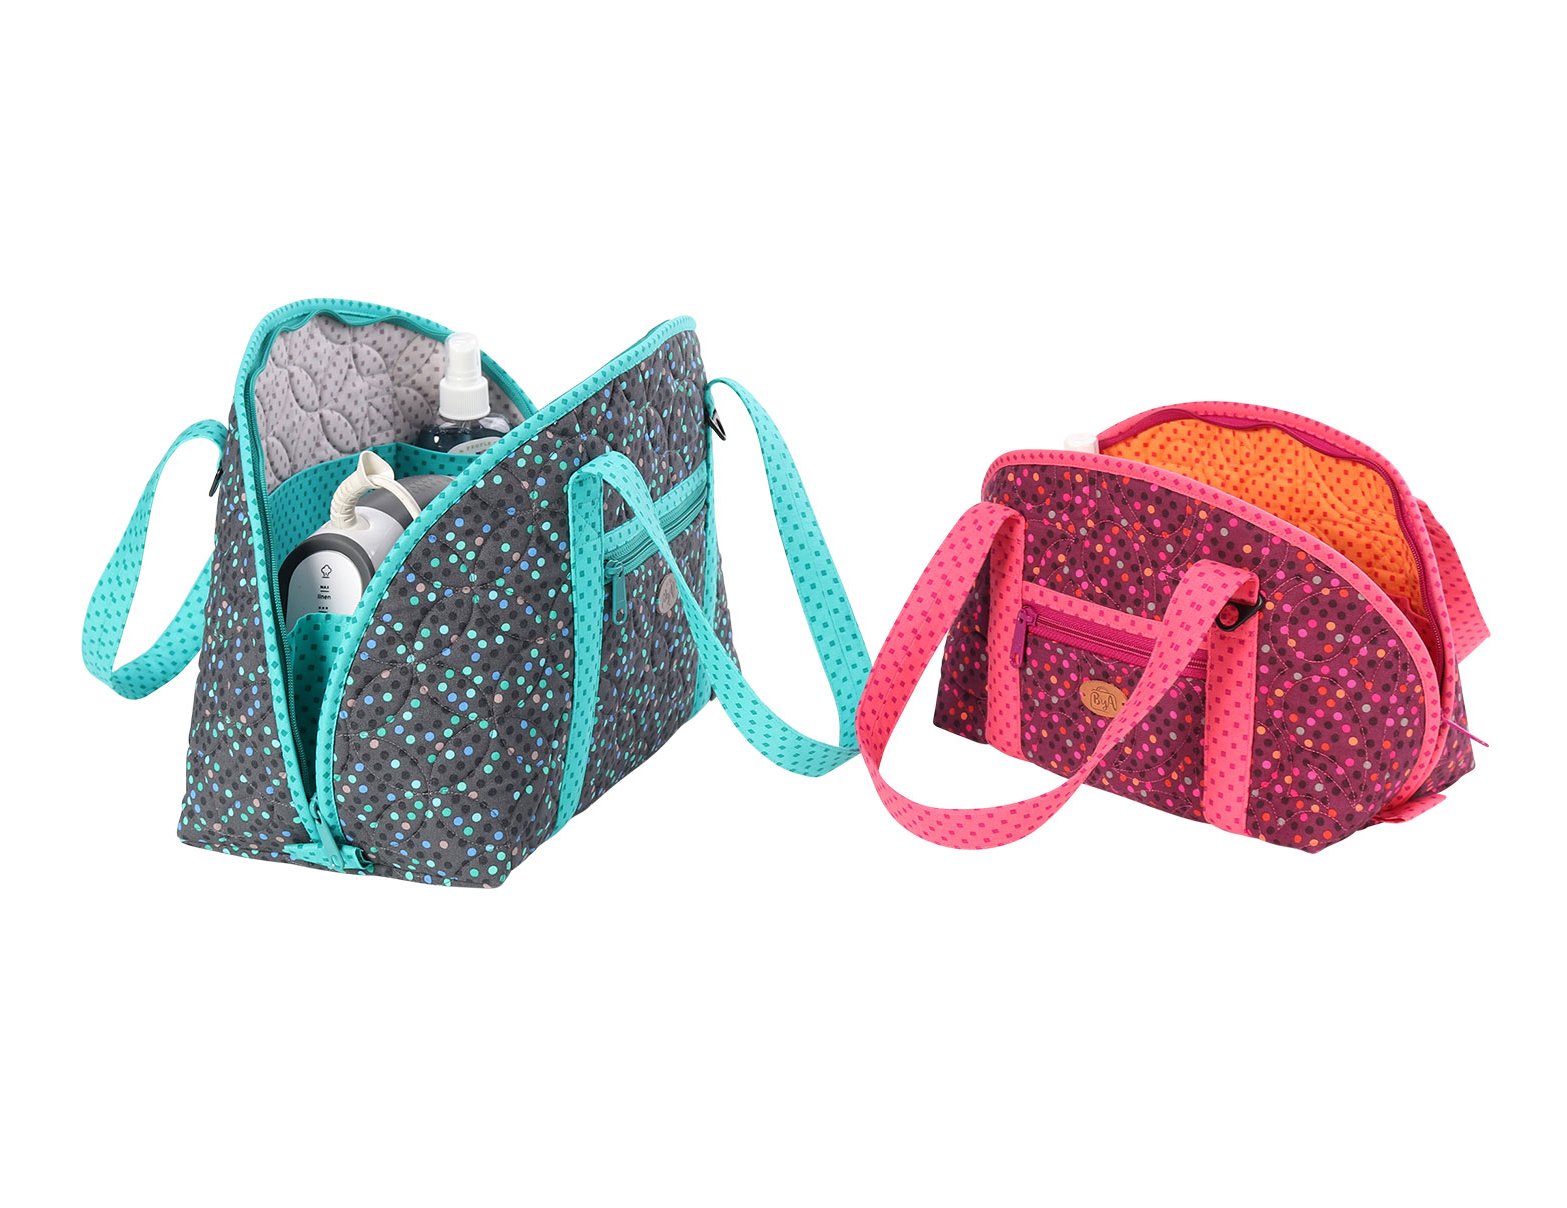
I’m always thrilled when Annie uses my fabrics in her cute bag samples. In both episodes her studio was filled with them. She’s also made a few projects from my latest fabric line, Dazzle Dots. Enjoy the eye candy below.
Starting in January of 2025, I’m excited to share an entire year’s worth of machine quilting tutorials over on my Christa Quilts YouTube Channel. This is something I’ve been wanting to do ever since I wrote my book, 99 Machine Quilting Designs. With the help of my tech savvy college kids, I’m finally making this dream a reality. Click the video below for a sneak peek of what’s to come!
Grab Your Quilting Textbook to Follow Along!
Although the entire series will be free to watch, I highly recommend getting my book to follow along. It’s the perfect textbook for independent study as you practice your machine quilting skills. It’s available as an instant PDF download which you can save to your computer for quick and easy reference!
We filmed about half of the series over the summer and the kids have spent the last few months editing them together so they are ready to go starting on the first week of January. That will take us through until about the summertime. Then, over the winter we’ve been working on the other half of the series which will run through the end of 2025 and a bit into 2026. I’m very pleased with how everything is looking so far and I’m excited to share it all with you!
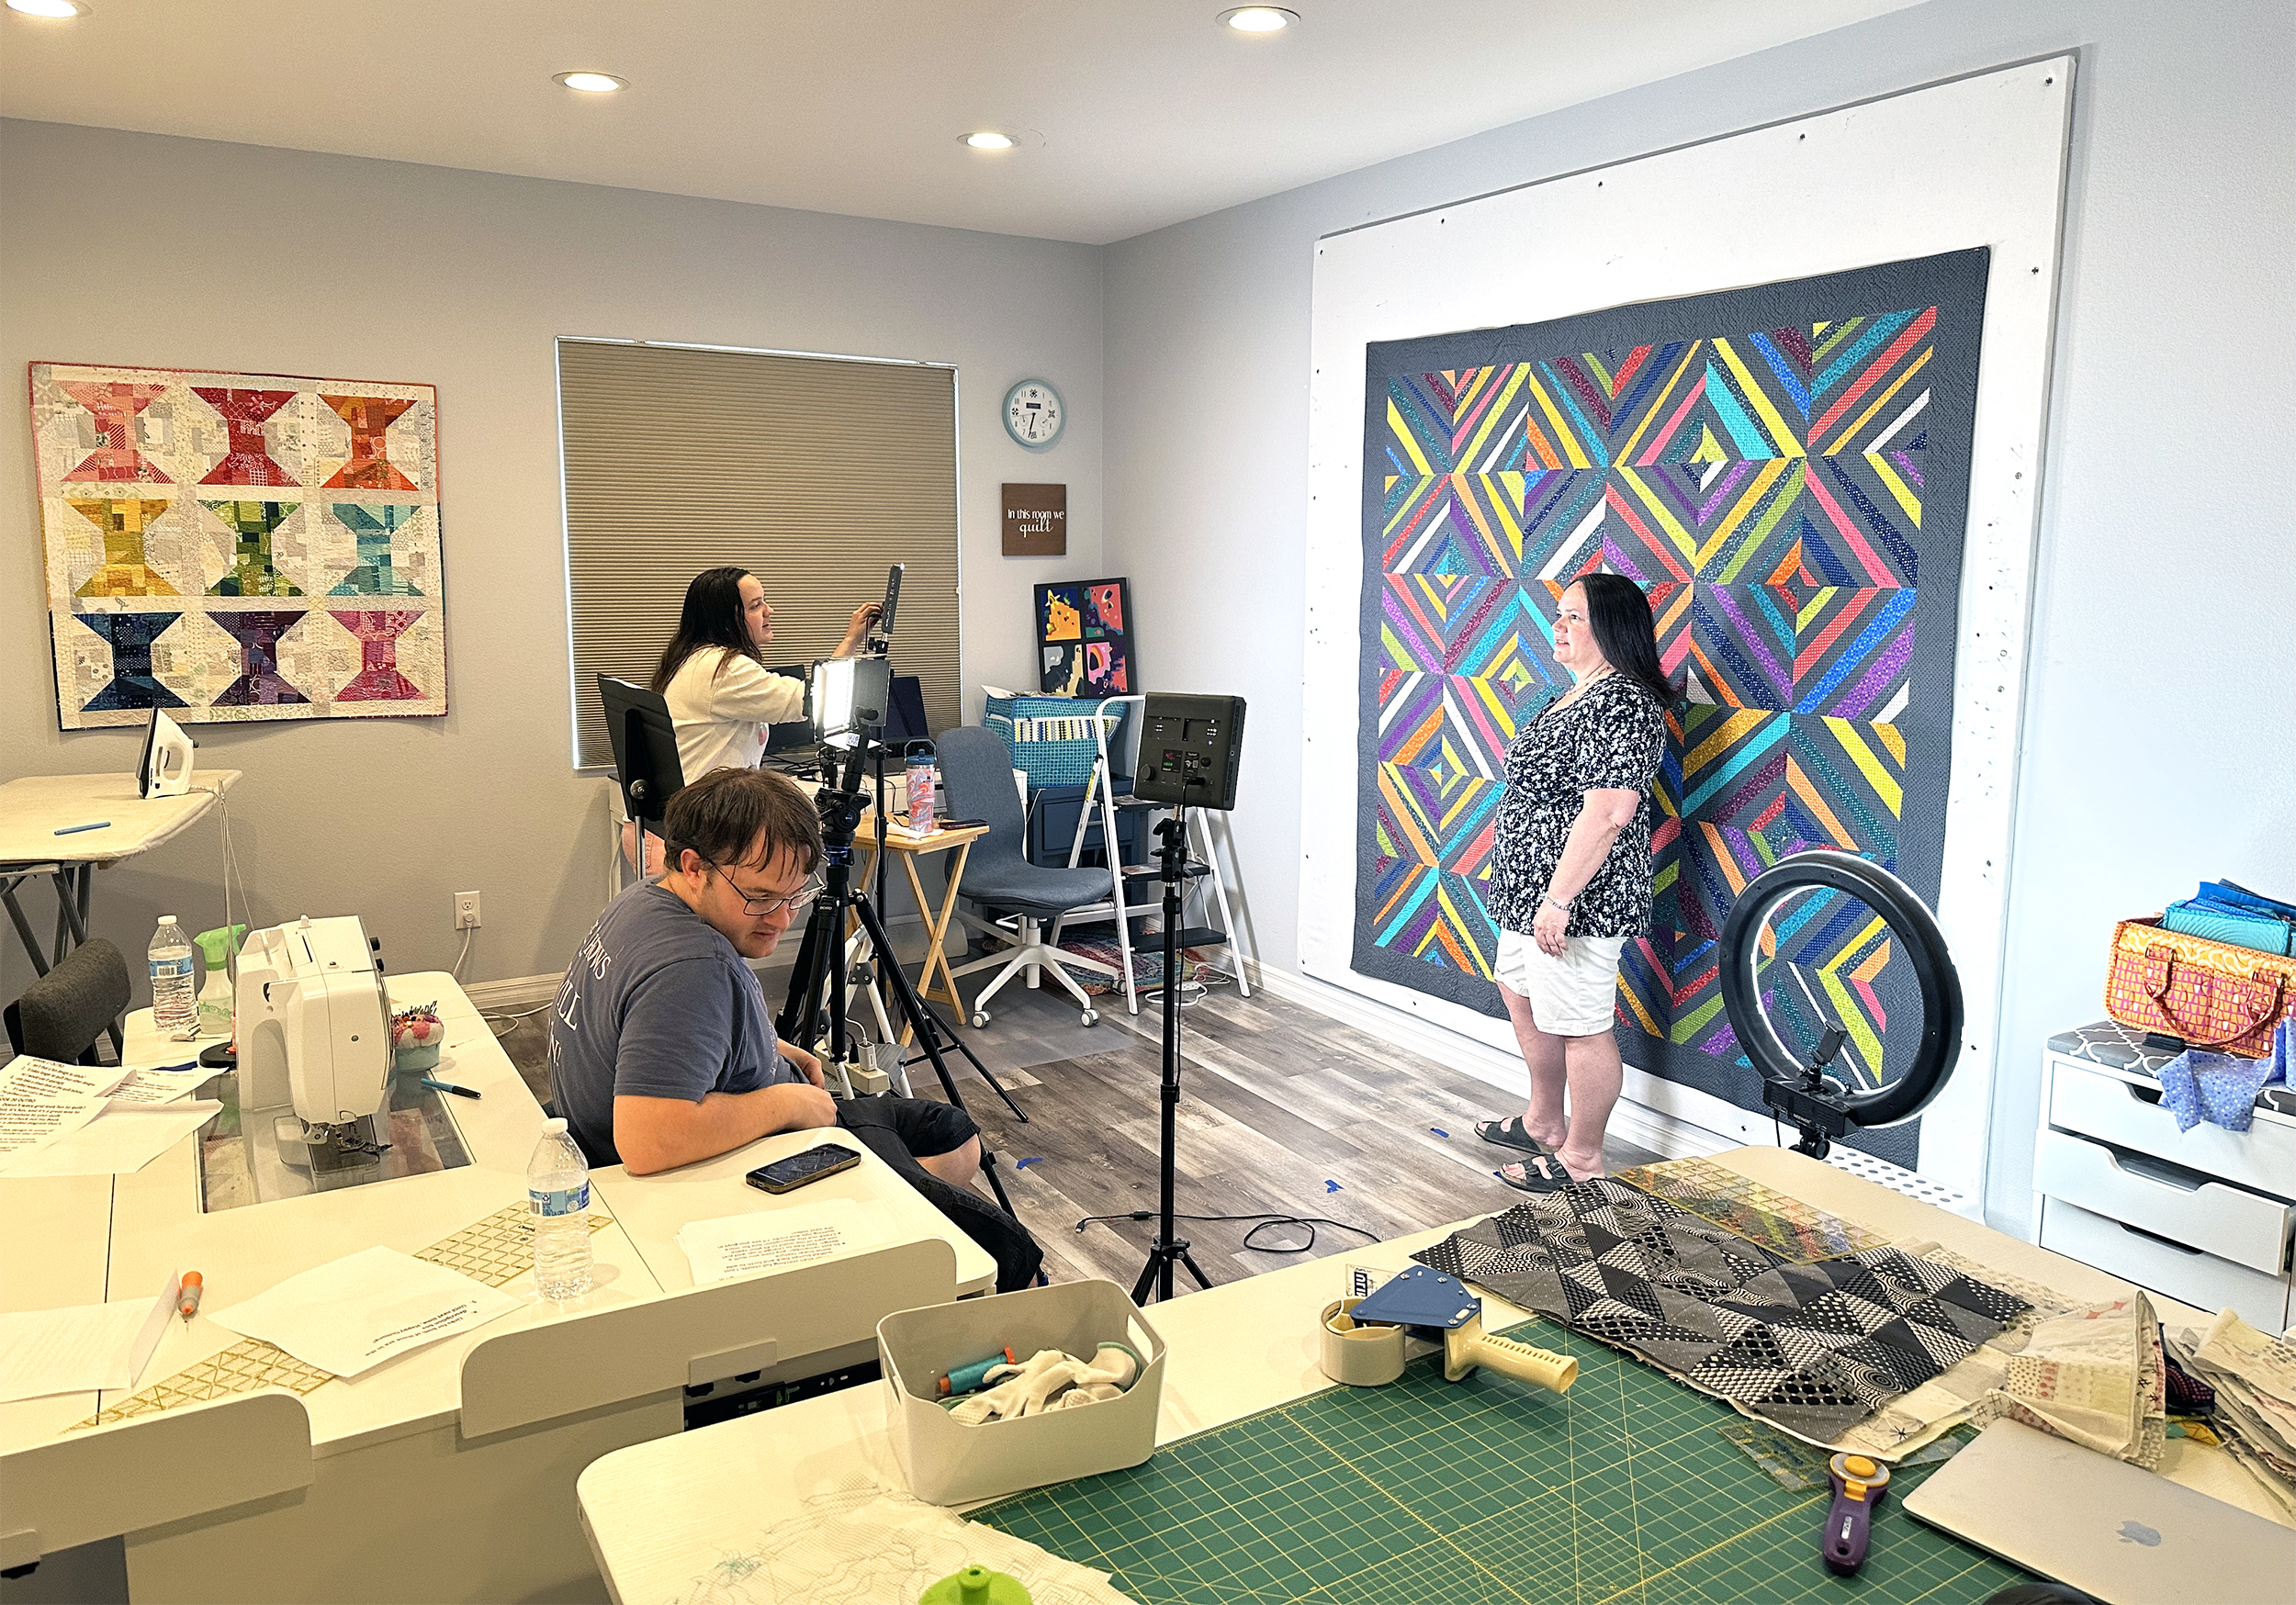
Here’s a bit of what my studio looks like when we are in the thick of it:
My kids did a great job hanging the quilts that served as my backdrop for each episode.
Making these videos has been a fun family affair. I hope you enjoy them!!
Bonus Machine Quilting Tutorials on “Real” Quilts
Throughout the year as I make more quilts, I’ll share bonus videos showing how I apply many of these motifs to an actual quilt. Here’s just one example from a previous quilt I made called Swanky Spirals. This is the quilt shown behind me in the preview video above.
Now I need your help. I’d love to know your biggest stumbling blocks when it comes to domestic machine quilting. Please leave a comment below letting me know any particular issues you have. I’ll incorporate these into the series as much as possible. Be sure to subscribe to my YouTube channel to join the fun!
I’ve been working on a remake of my popular Color Weave quilt. I realized that I don’t create a ton of new patterns each year and I really like remaking some of my classics! It’s been super fun to create it from my current fabric collection, Dazzle Dots (#9 if you are counting). Originally I made this quilt using my Abstract Garden fabric line (#3) which is shown on the pattern cover below. Don’t they look similar?
I spray baste all of my quilts, so I took the opportunity of creating a step-by-step video tutorial showing how I did this on my Color Weave quilt. Click the image below to watch:
For a limited Time, you can grab a complete Color Weave quilt kit if you’d like to make one exactly like me, using Dazzle Dots. Or you can grab the Color Weave quilt pattern and choose your own fabrics for a different look. You can make this quilt from pre-cut strips, fat quarters, or even scraps. The hard part is trying to make just one!!
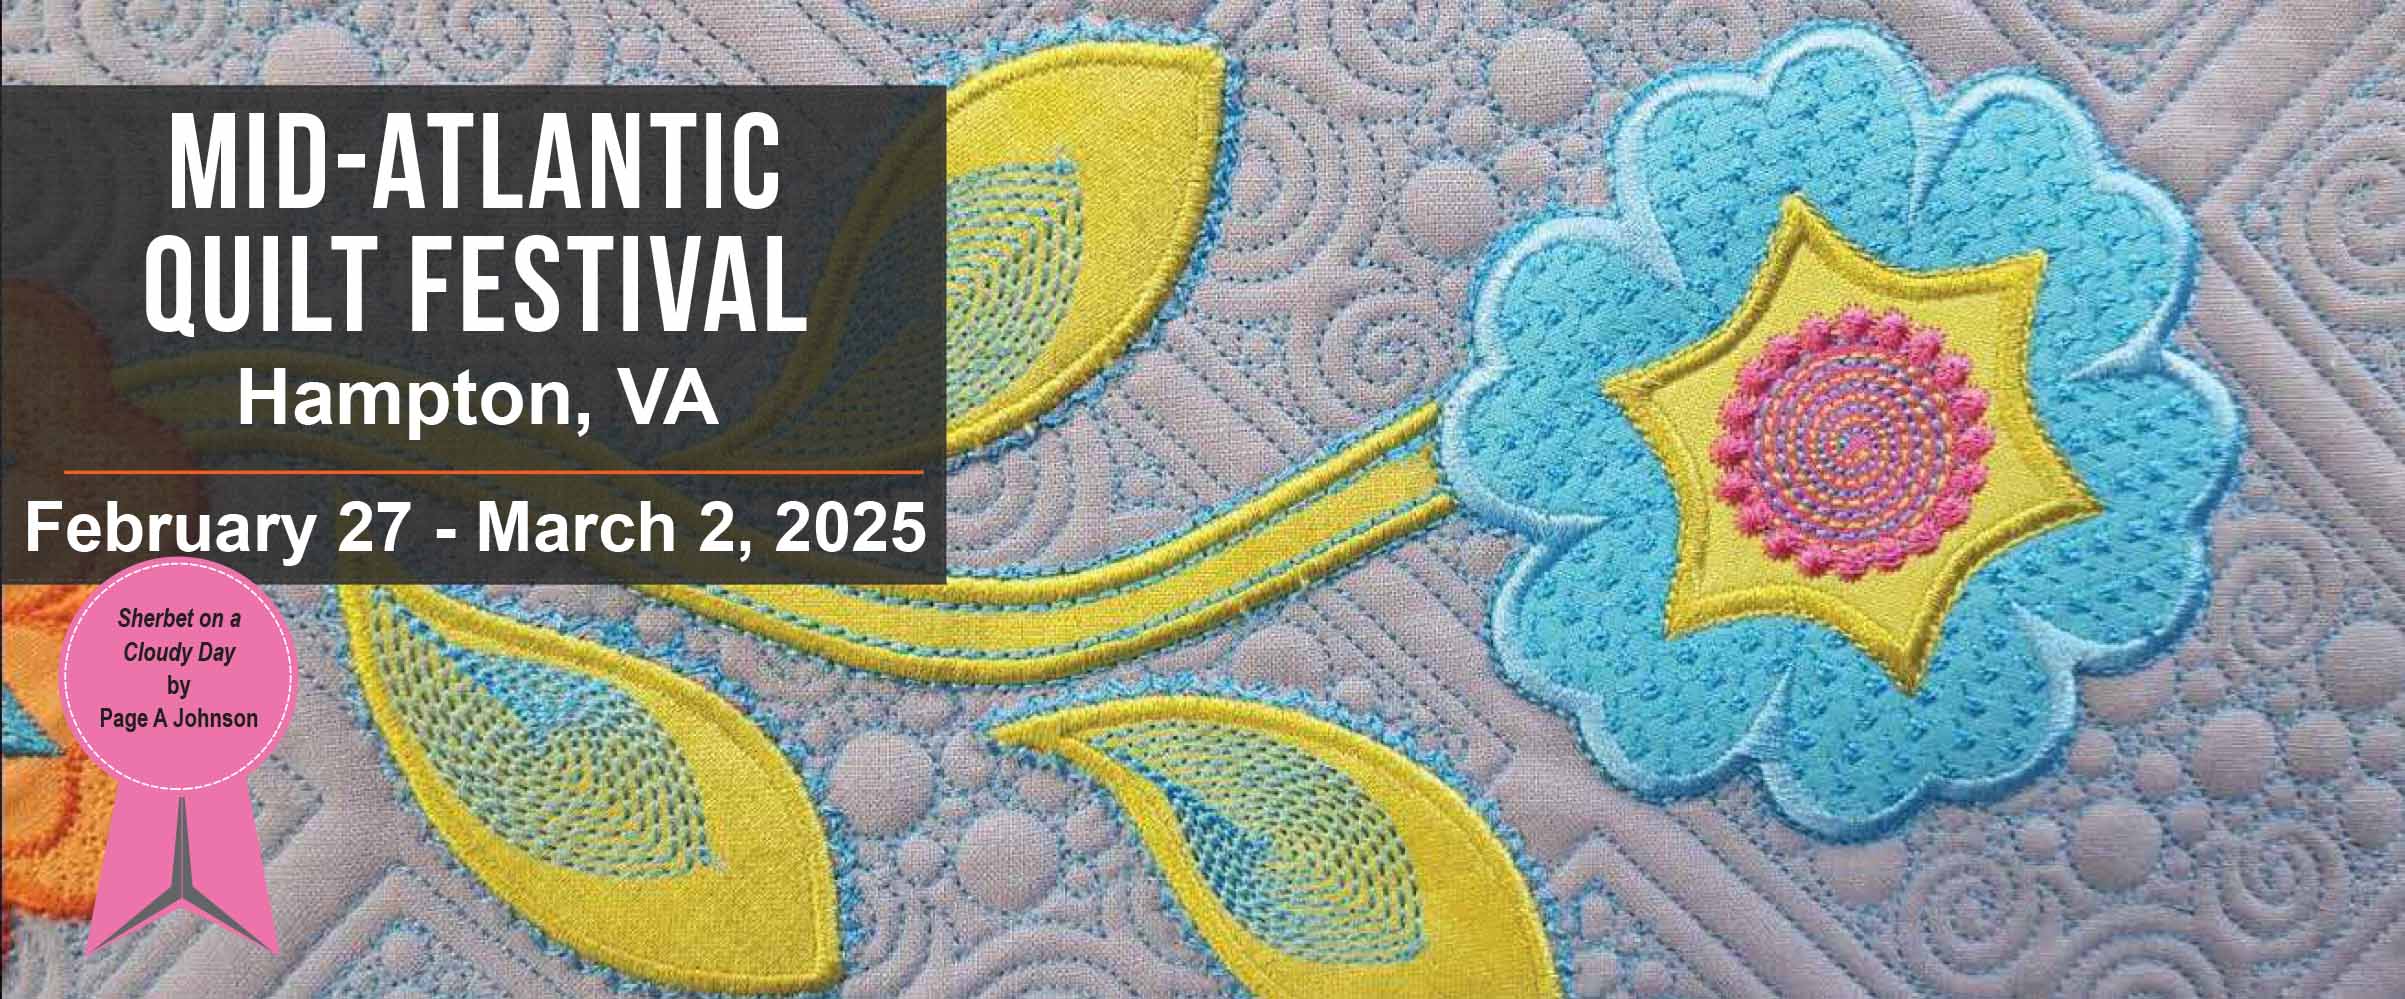
I’m excited to announce I’ll be checking off another show from my bucket list! Next February (2025) I get to teach at the Mid Atlantic Quilt Festival in Hampton, Virginia. I made a quick, 3 minute video chatting about what I’m teaching and other fun things I’ll be doing there. Check it out by clicking the screen below:
Here are links to register for any of the workshops and featured lecture I’ll be giving.
My lecture and workshops are based on my last 2 books, How Do I Quilt It and 99 Machine Quilting Designs. If you are unable to attend my workshops, getting my books is the next best thing!!
Just popping in with a fun giveaway this week! I’m excited to be the featured designer in December for Cotton Cuts, a fun business that offers all sorts of fun quilty subscription boxes. As part of this fun feature they are giving me a Modern Maker box that I get to give away to one of you (located in the US).
All you have to do to enter is leave me a comment letting me know which fabrics you prefer to work with: yardage or precuts. I’ll select a winner at random this Wednesday and notify them via email.
It’s that time of year again when fabric designers are prepping for their new fall/spring releases. I’m excited to announce a followup to my best selling Dazzle Dots fabric line. The new collection is Dazzle Dots 2 which a wonderfully soft complement to the original. I’ll be sharing sneak peeks at Benartex’ Virtual Fabric show next week, and the fabric will hit stores in the spring.
The Virtual Fabric Show is free to watch and will be recorded if you can’t view it live. However, for those who ARE able to watch live, there will be prizes and a chance for some designer Q&A. The entire event will run for 2 afternoons and you can watch it all, or pick and choose your favorite designers. The full schedule is below:
In my quest to explore the concept of geometric abstraction, I felt compelled to take a perfectly interesting quilt top and cut holes in it, then inset some circles.
It’s been very liberating to play with color, line & shape, without the need for my design to represent anything concrete. It’s a risky move for sure, but I just couldn’t move forward until I explored this idea.
Below are a few in progress pics while I was inserting the circles. It’s not a tutorial, but it was more of a journal exercise to write down my thoughts while making this top because it was bold and risky move for moe to even attempt to do something like this, LOL!!
First I started by making a sample circle. This obviously was not going to go in the quilt and I just grabbed some scraps I had lying around to test the technique (ahem… you may see more of these fabrics shown in the circle a bit later this year… just saying!!). I pinned it to the sewn top to see if the scale looked right.
The basic idea is to cut your focus circle 1/2″ larger than your finished size. Then cut a circle into the background that’s 1/2″ smaller than your finished size.
I wanted 12″ finished circles so I drew out 12 1/2″ and 11 1/2″ circles using EQ8 and printed them out on paper, then taped them together. I know there are templates and rulers for this, but since this is all one big experiment I just used the supplies I had on hand.
The hole in the peach background was cut 11 1/2″. The lilac circle was cut 12 1/2″.
By creasing both units you can match up the 4 quadrants and then sew with the background fabric on top. The hardest part is pinning the circle to the background. I used a million pins! There are tons of tutorials on youtube, google, pinterest etc. showing how to insert a circle into a block, using lots of different methods like using freezer paper, glue, etc, but I just went old school with pins.
It’s also super important to heavily press the back and front until it lies flat. With the successful test block complete, I was ready to dive in and start adding circles to my quilt.
I created a bunch of low volume improv units – way more than I needed, but I set aside any leftovers knowing I could probably use them up in some way on the back.
These are actually the wrong side of a bunch of low volume prints from my various collections. I really like the softer effect this gives to the fabric.
I traced out the circle shape onto the pieced background fabric, then very very carefully cut a circle with a super small rotary cutter. I made 3 circles like this with subtle shading. One was all light grays and whites (below), one had the light grays and just a little color (not pictured); the third was all light colors (above).
I pinned the circles roughly in place where I wanted them on the top; but then I needed to trace the smaller 11 1/2″ circle size using a paper template (NOT the 12 1/2″ cut unit), so that I could account for the seam allowances. Now the scary part – cutting holes in the quilt top!
This was a bit scary, but I wanted to take a risk and really explore this idea. The whole time I kept reminding myself it’s just fabric – I can get more!!! I only cut and sewed one hole at a time just in case anything went awry.
Oh no!! There’s a hole in my quilt top, LOL!! By the way there are no tutorials I know of showing how to insert a circle into a whole top, so I just sort of winged it and hoped for the best! I treated the whole top as the background or concave unit and folded it so that the circle was folded in half both ways, first horizontally and then vertically.
I used pins to mark the midpoints of the circle in 4 places. I’ll do the same for the inset circle so that I can match up the pins and they act as my registration marks for proper placement.
Can you see my crease lines? I’ll match up the background pins to circle pins.
Then it was just a matter of subdividing each quadrant evenly and adding more pins to distribute the bulk. I actually looked into the idea of using a freezer paper method as the circle template and sewing on the paper, but it looked way too complicated.
Even though this method used a ton of pins, it made more sense to my brain. Basically I’m sewing wrong sides together and matching up a concave (background) curve with a convex (inset circle) curve. The actual sewing just uses a straight stitch, sewing in a line, but very slowly.
Dealing with the bulk doesn’t bother me because I’m so used to moving a large quilt when I’m domestic machine quilting. It gave me similar happy vibes like that. 🙂
I wasn’t sure about this after I put in one circle, although I was pleased that the technique worked. But by the time I added the 2nd circle I knew it was going to be ok. So if at first you aren’t sure – just keep going!! More than anything I wanted to try out a technique that’s been on my bucket list for years (perhaps decades).
When adding the inset circles I didn’t overthink it. I let the orientation of the circles be random and I’m really pleased with how it turned out.
Thinking ahead to basting and quilting, I’m planning to use a Hobbs Silk batting to quilt it. I like the drape and texture this adds to the quilt. I took a picture of the finished top with the batting I plan to use so I don’t forget!
I have big plans to use up all the leftovers on the back, so stay tuned for the next step! The nice thing about sewing without a deadline is that I can make this quilt on my own time frame. Let me know what you think about my experiment so far. I’m loving inset circles and will definitely do them more in the future!