We’ve gathered our fabrics and cut everything out, so this week we finally get to sew those pretty star blocks together. This is the part I love – seeing all the different fabric combinations turn into actual stars!
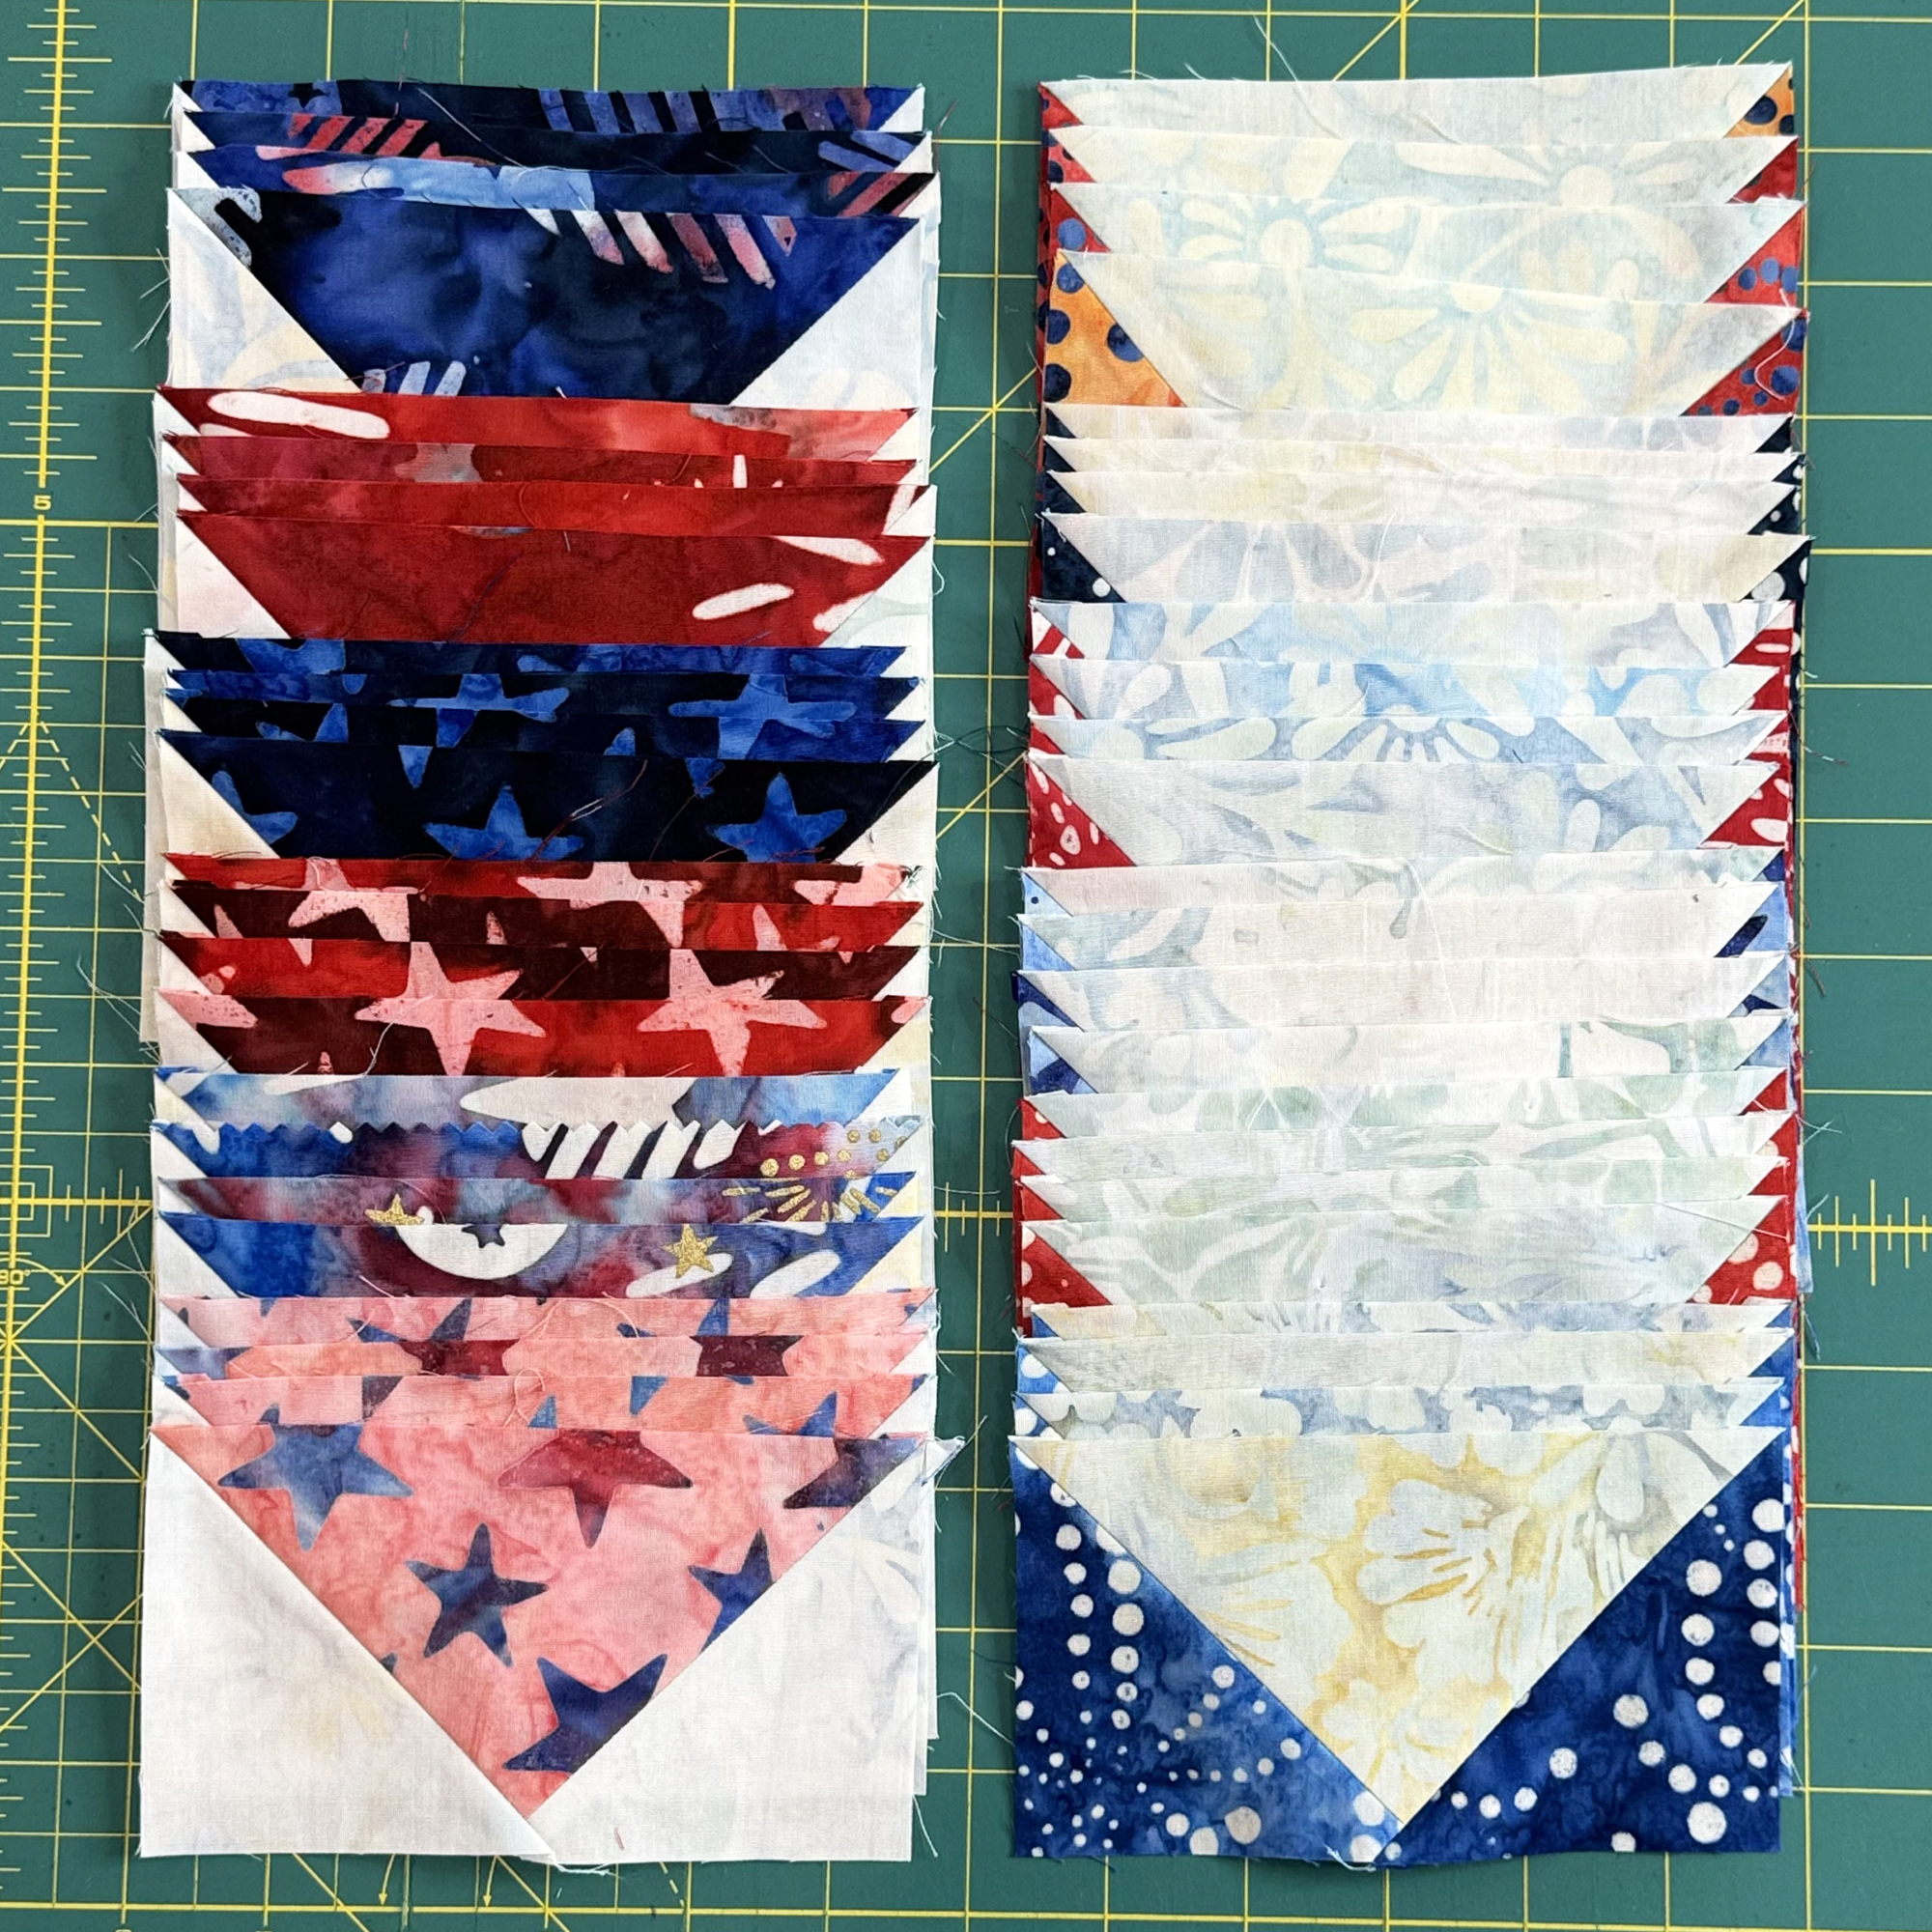
If you are still cutting, no worries. You can work at your own pace and jump into the sewing whenever you are ready. Keep your Dancing Stars pattern handy and follow the block assembly steps there. Today I’m sharing a peek at how both of my versions came together.
- Click here to get the Dancing Stars Quilt Pattern – Digital PDF
- Click here to get the Dancing Stars Quilt Pattern – Printed Hardcopy
Sewing My Americana Version with Riley Blake Batiks
I started with my red, white and blue batiks from Riley Blake Designs. Last week I had all of my light and dark fabrics separated into stacks. Now I could start pairing them up and watching the star points take shape. Before sewing a star together, I like to lay out the pieces so I can see the whole thing at once. Half of the stars will be light with darker backgrounds and the other half will be the reverse with darker stars and lighter background fabrics.
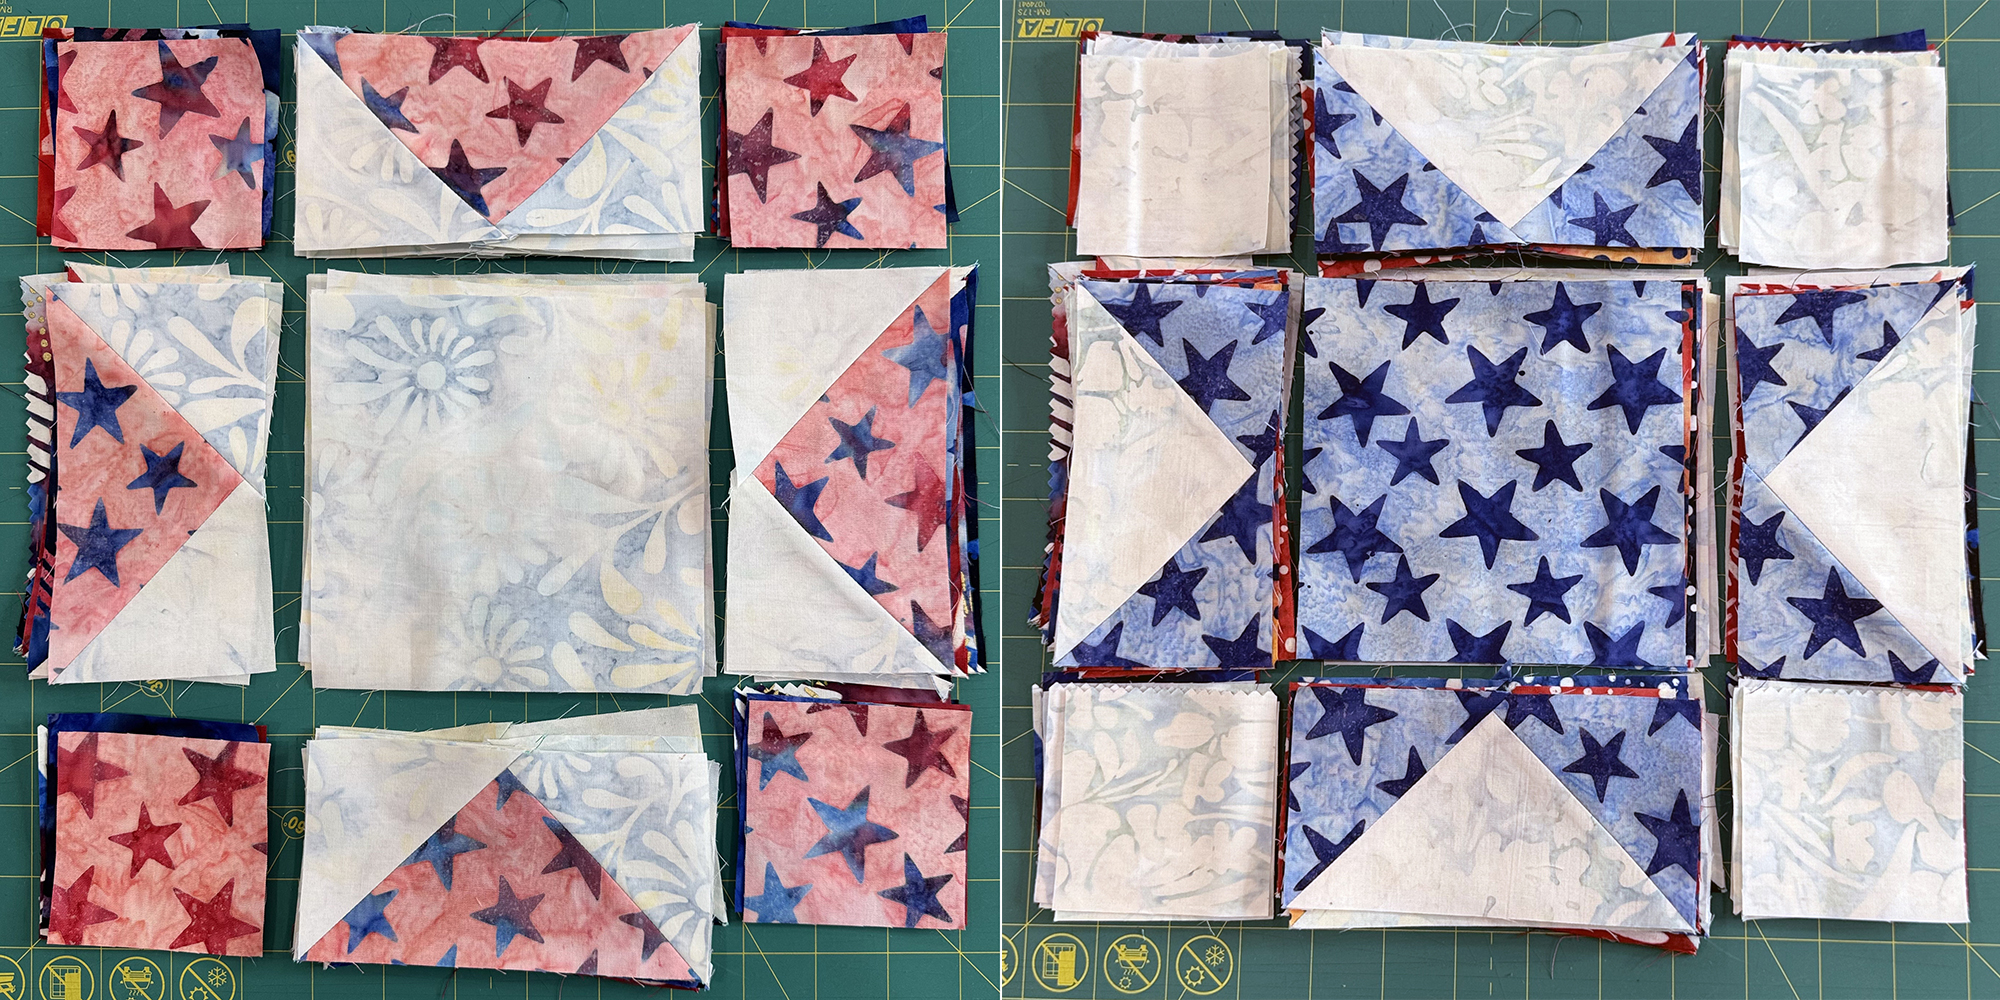
I like to assembly-line sew and press so that I can whip these out very quickly. I prefer to sew with a short stitch length (2.0 or less) and press all of my seams open so they lay nice and flat. But go ahead and use whatever cutting, piecing and pressing methods you prefer!
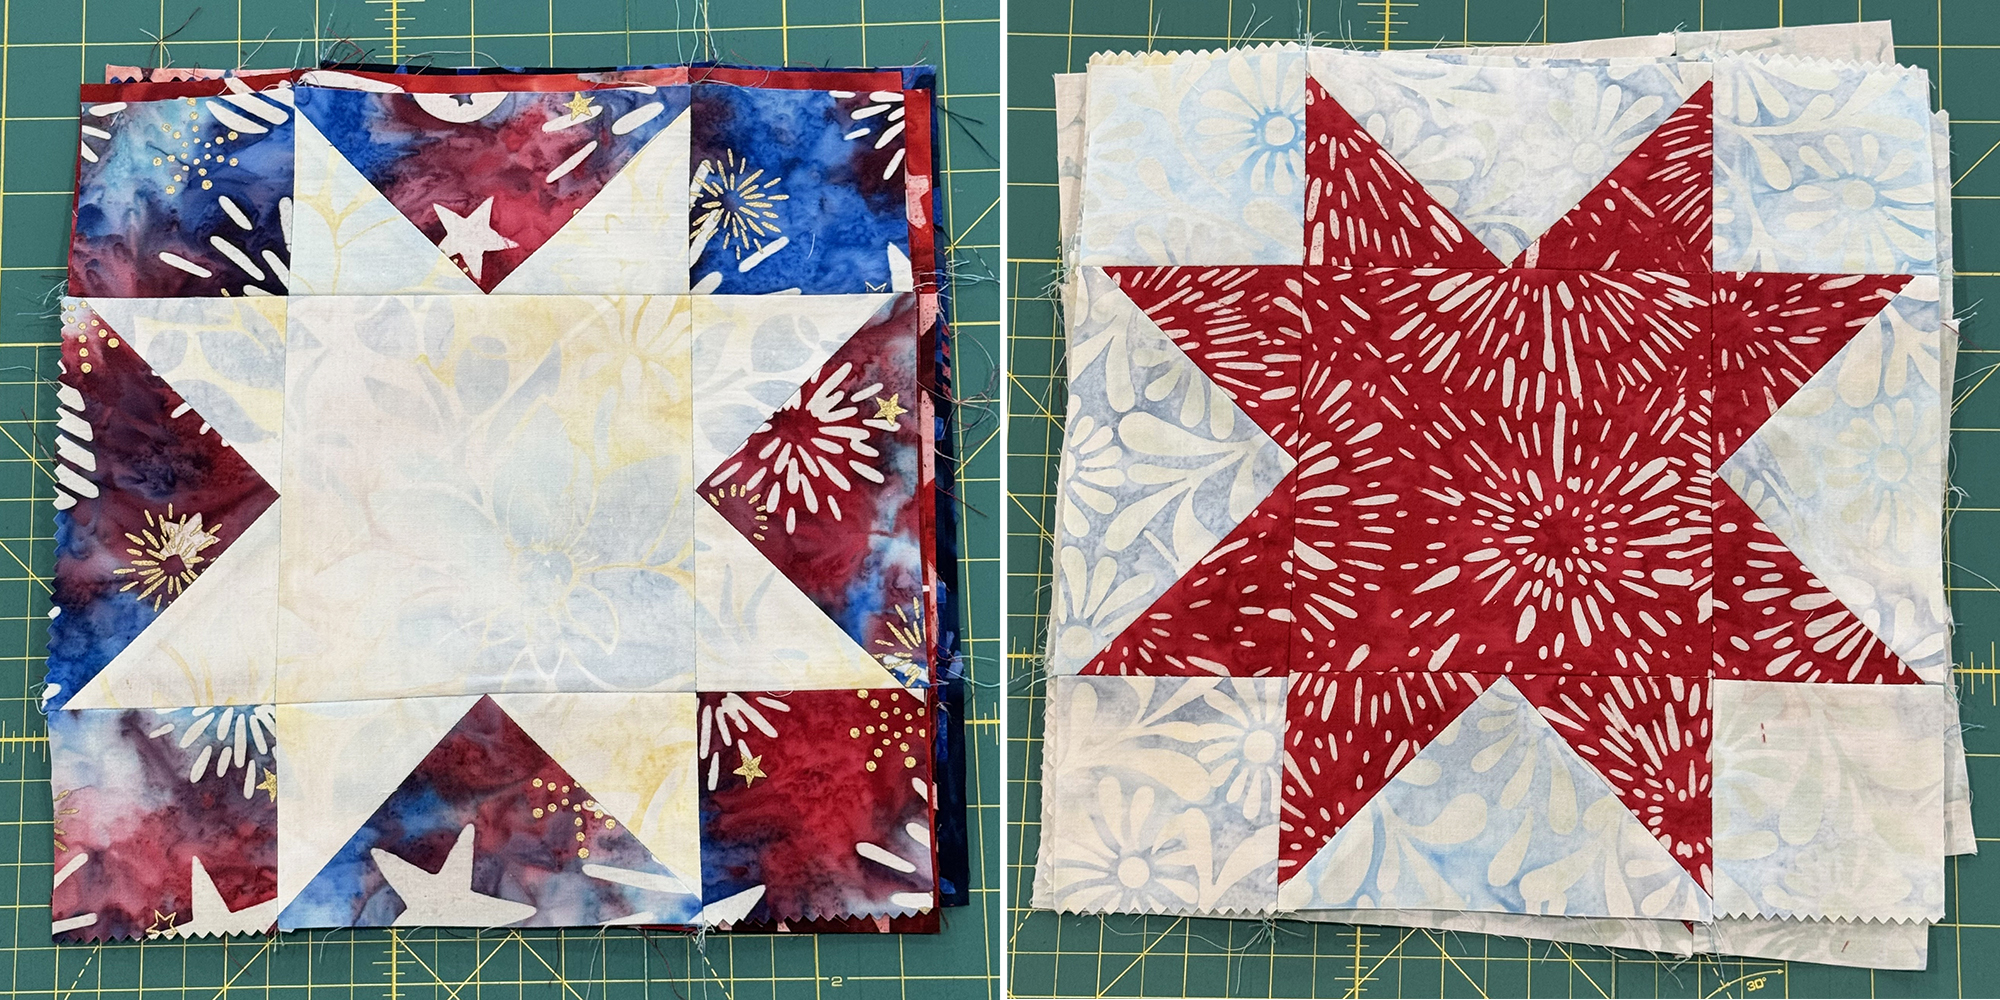
Bonus tip: you may wish to wait and add the extra pieces around the stars until you lay them all out on your design wall. You may decide to place your colors randomly, or do a light/dark/light pattern. And you can rotate the stars in any direction to make them spin once the other pieces have been sewn around the edge.
My Black, White & Grey Confetti Cotton Solids Version
I also made a second version with black, white and grey Confetti Cotton Solids from Riley Blake Designs. With these fabrics, the contrast is even more obvious, and you can really see the shape of each star as the pieces come together. I preplanned the exact color placement for this version so I know exactly where I want to sew each of the side units to make the stars “dance.”
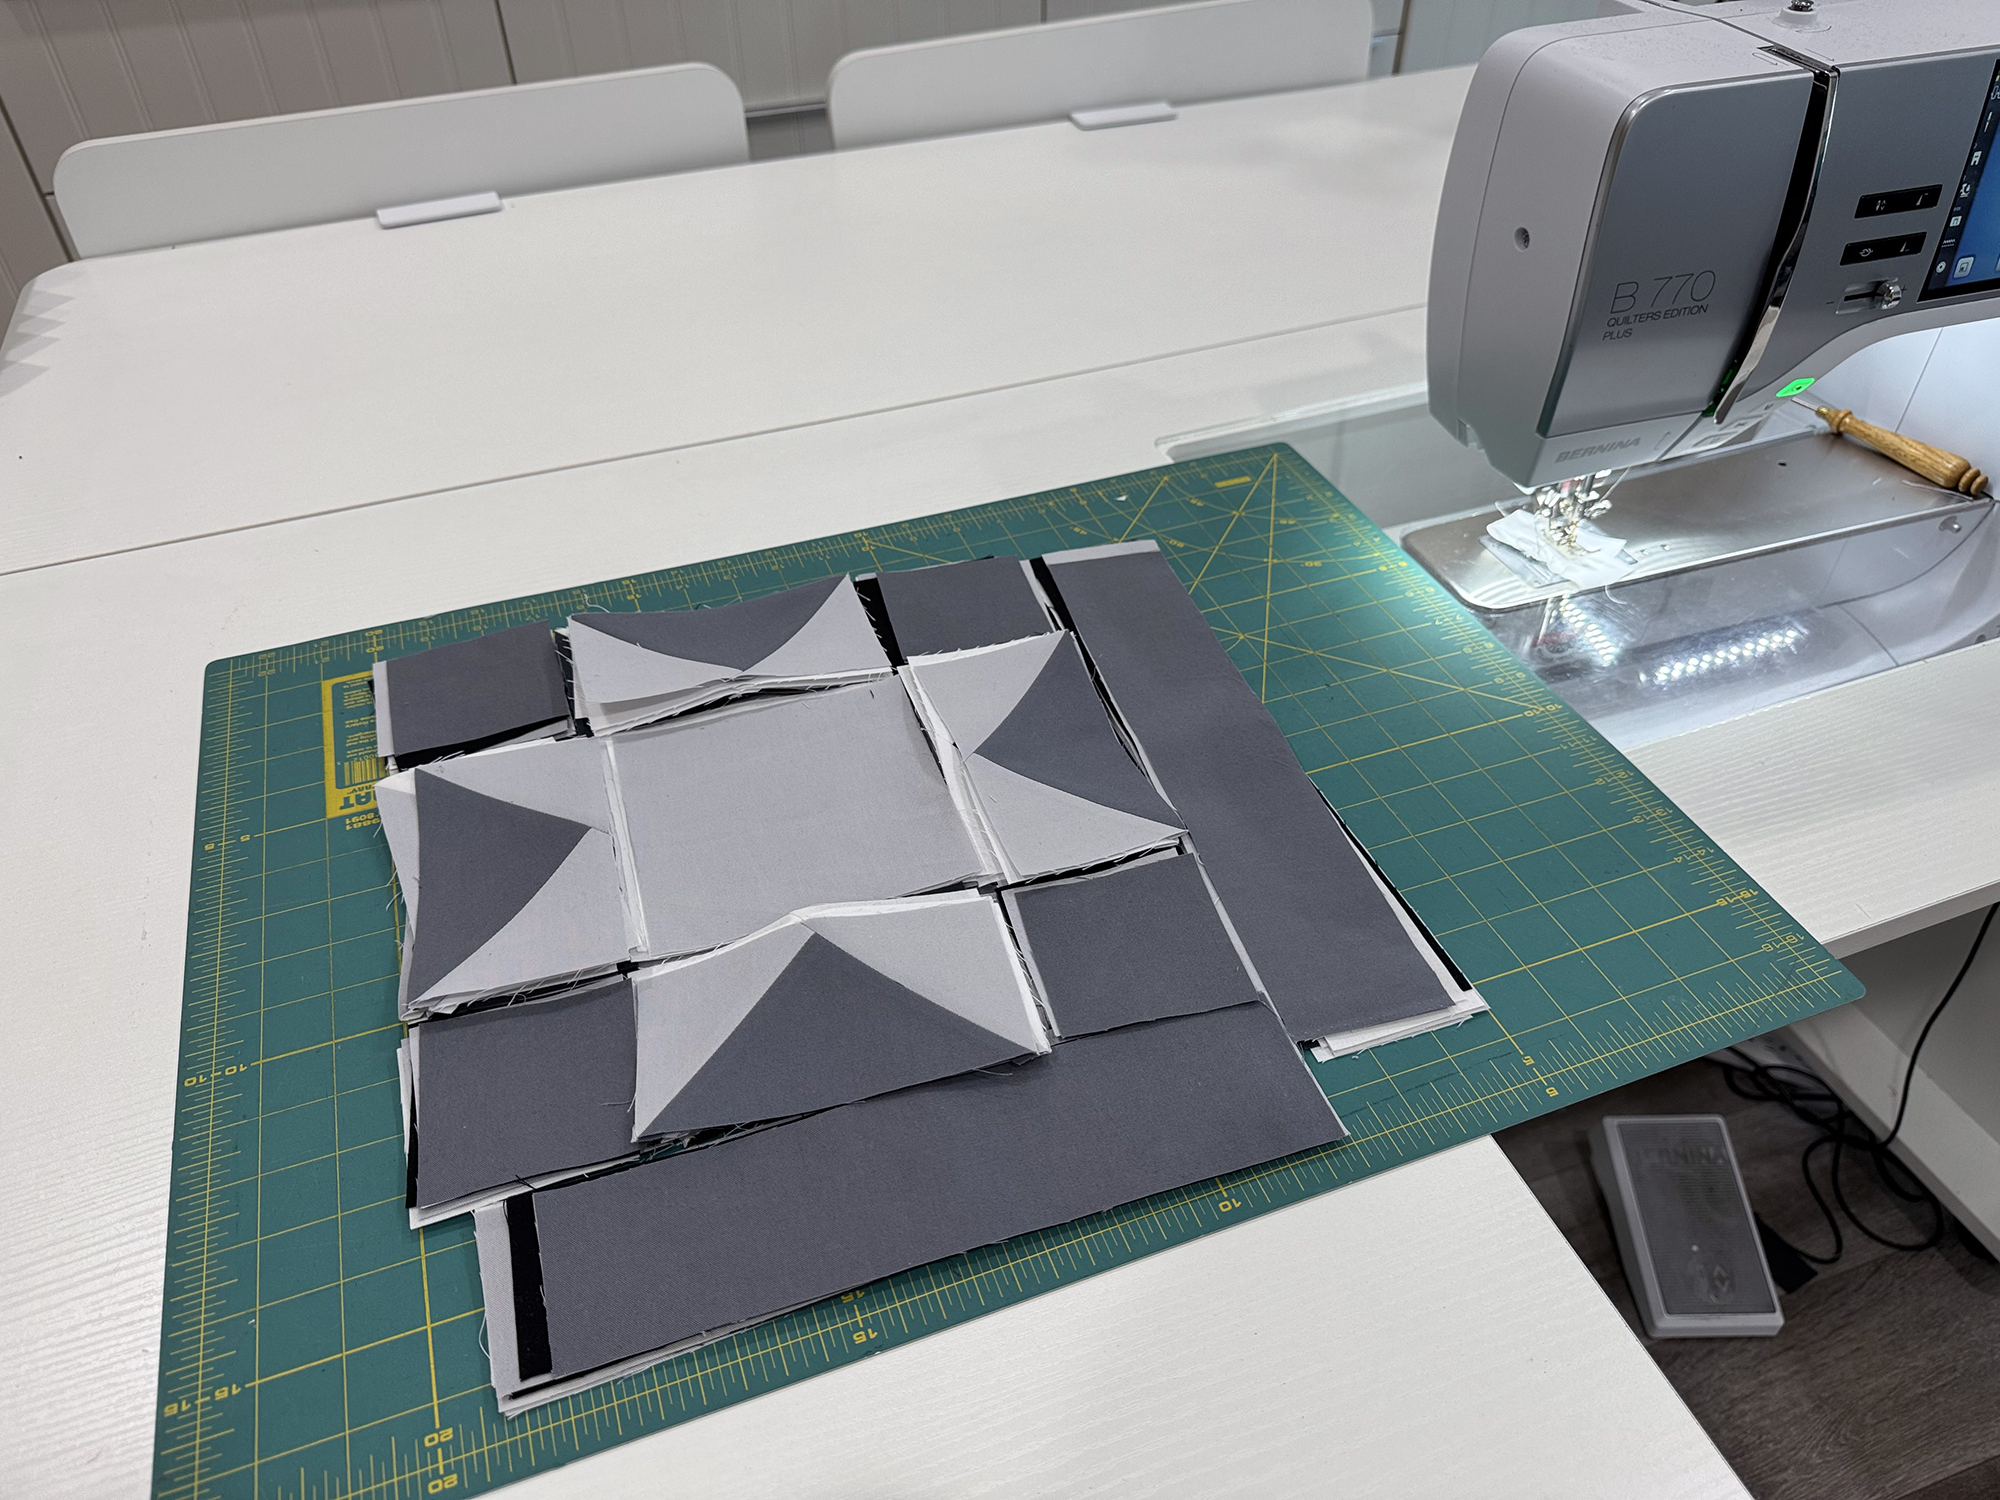
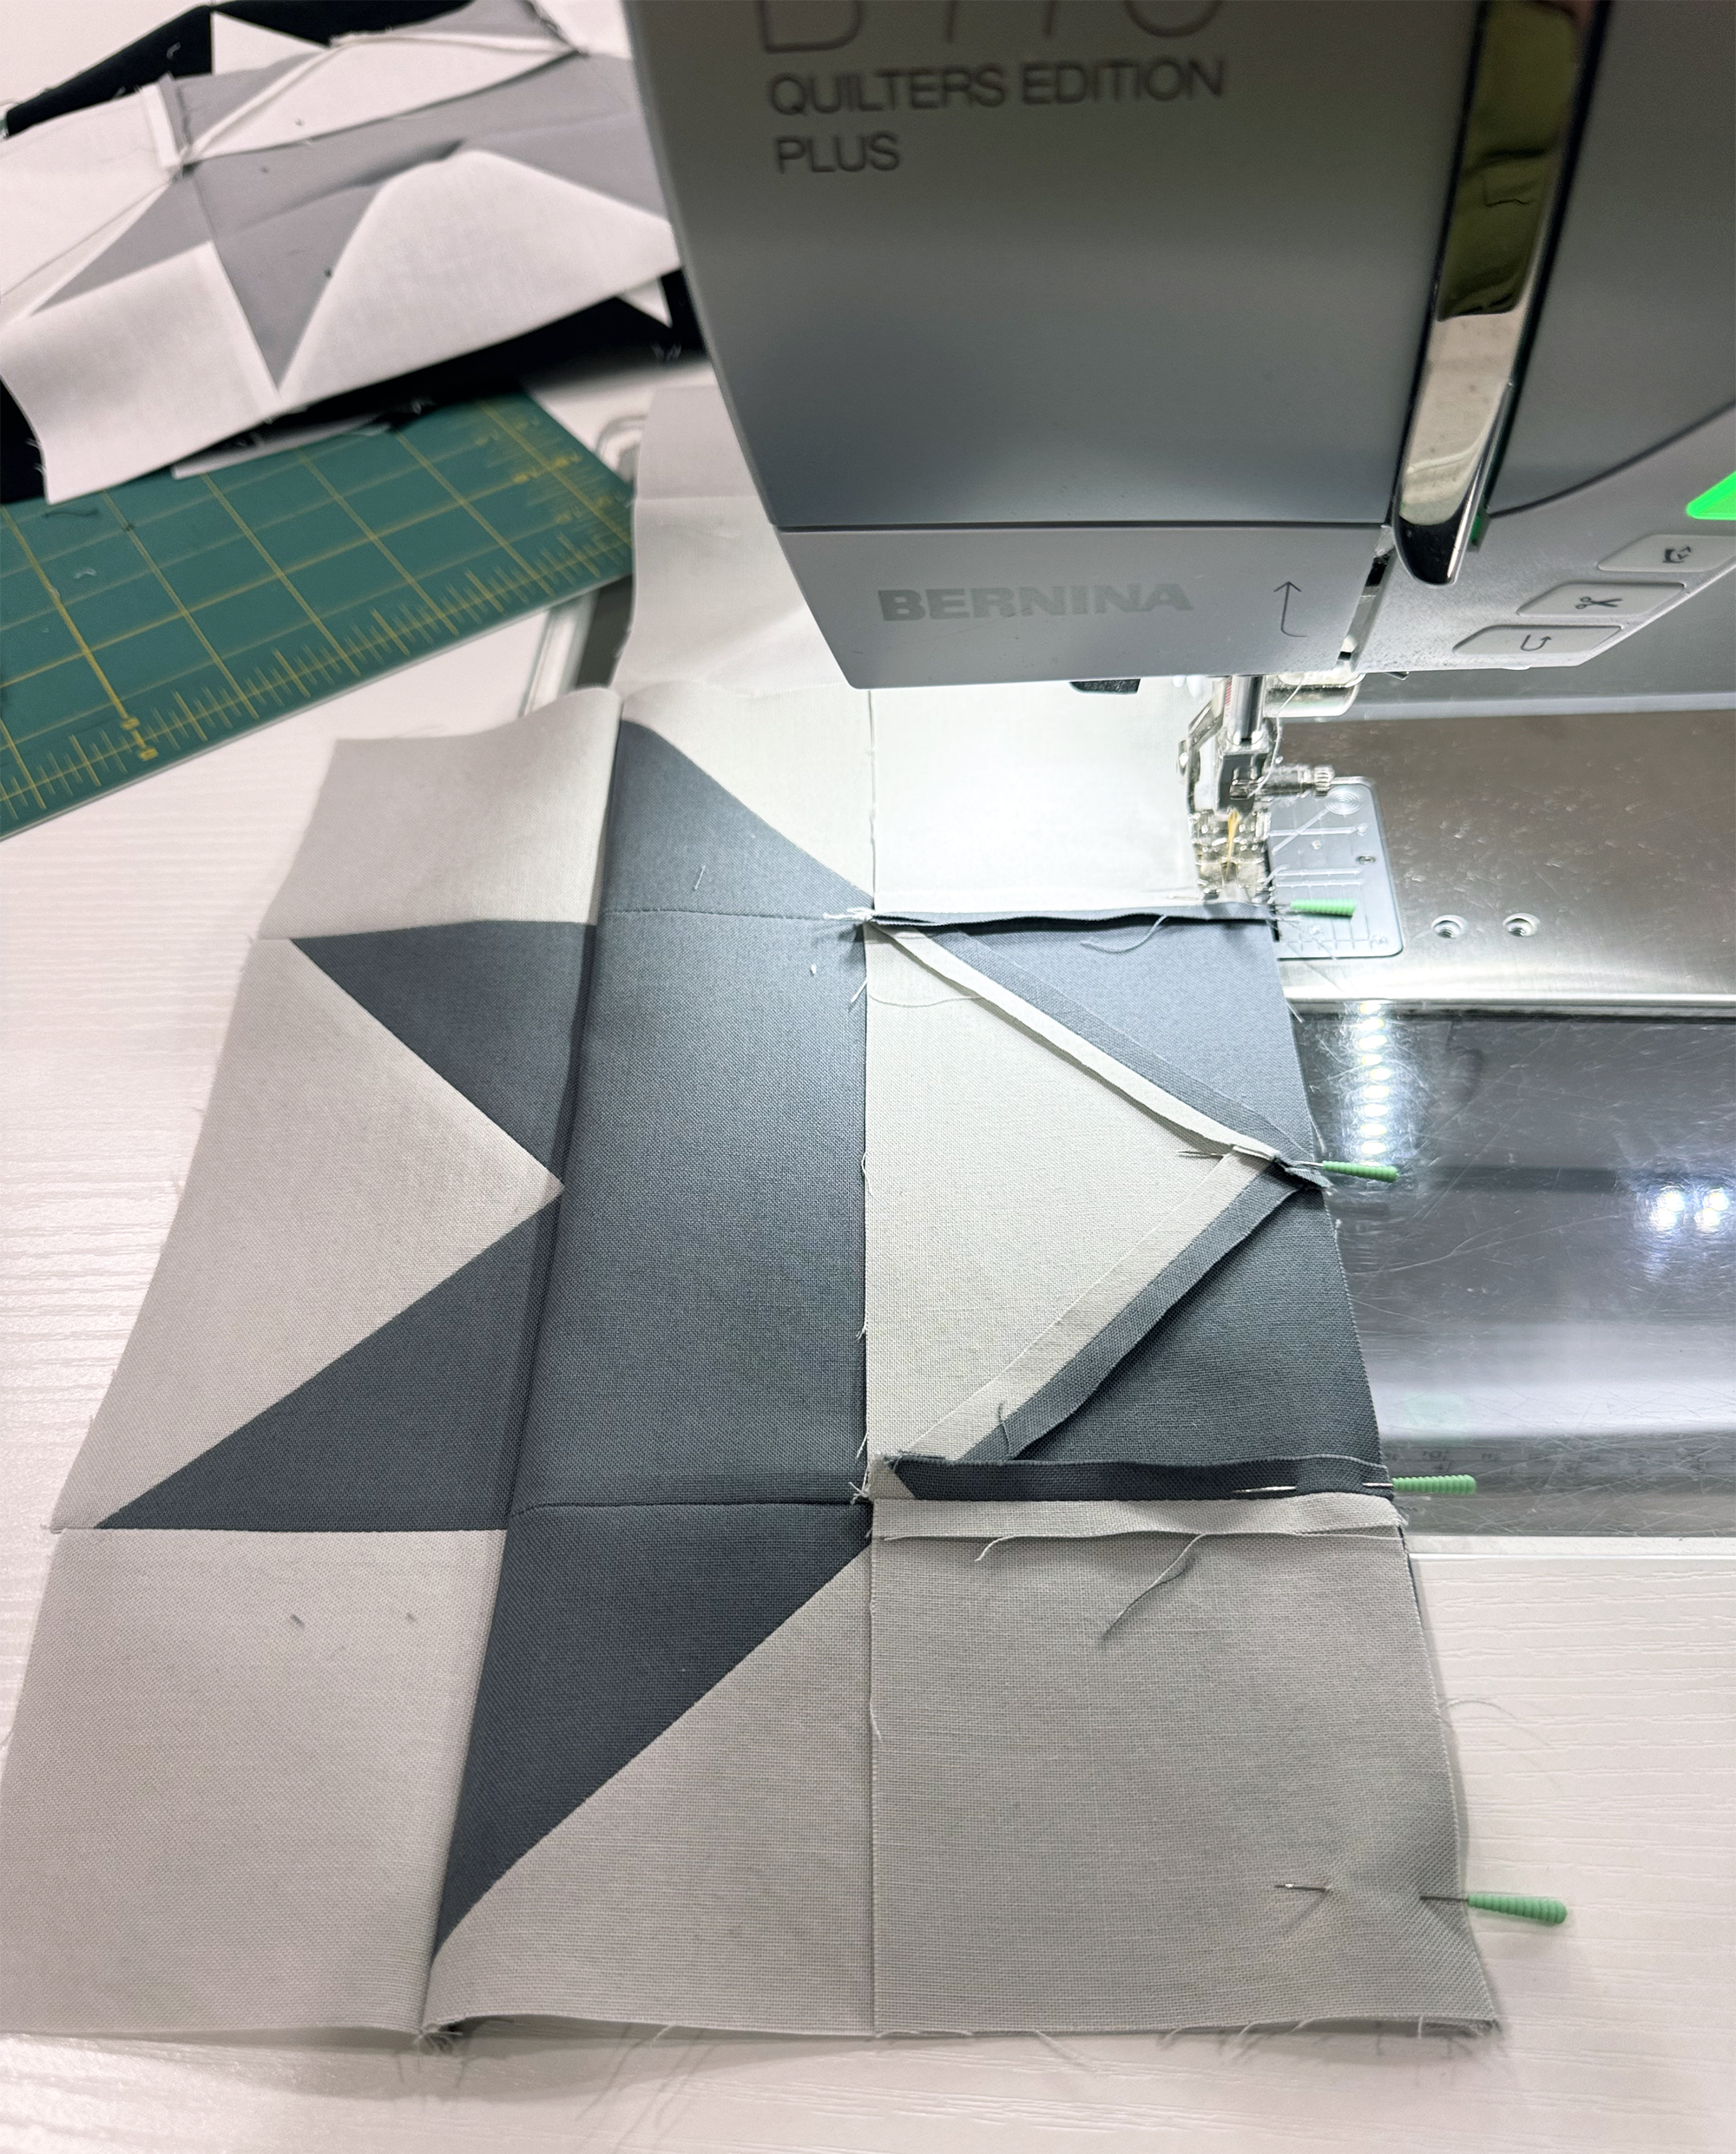
I like to keep the pieces for the next block laid out beside my machine. It gives me a quick visual check of the fabric placement, especially when I’m switching between different shades of grey. I also pin generously so that I can get perfectly matched points.
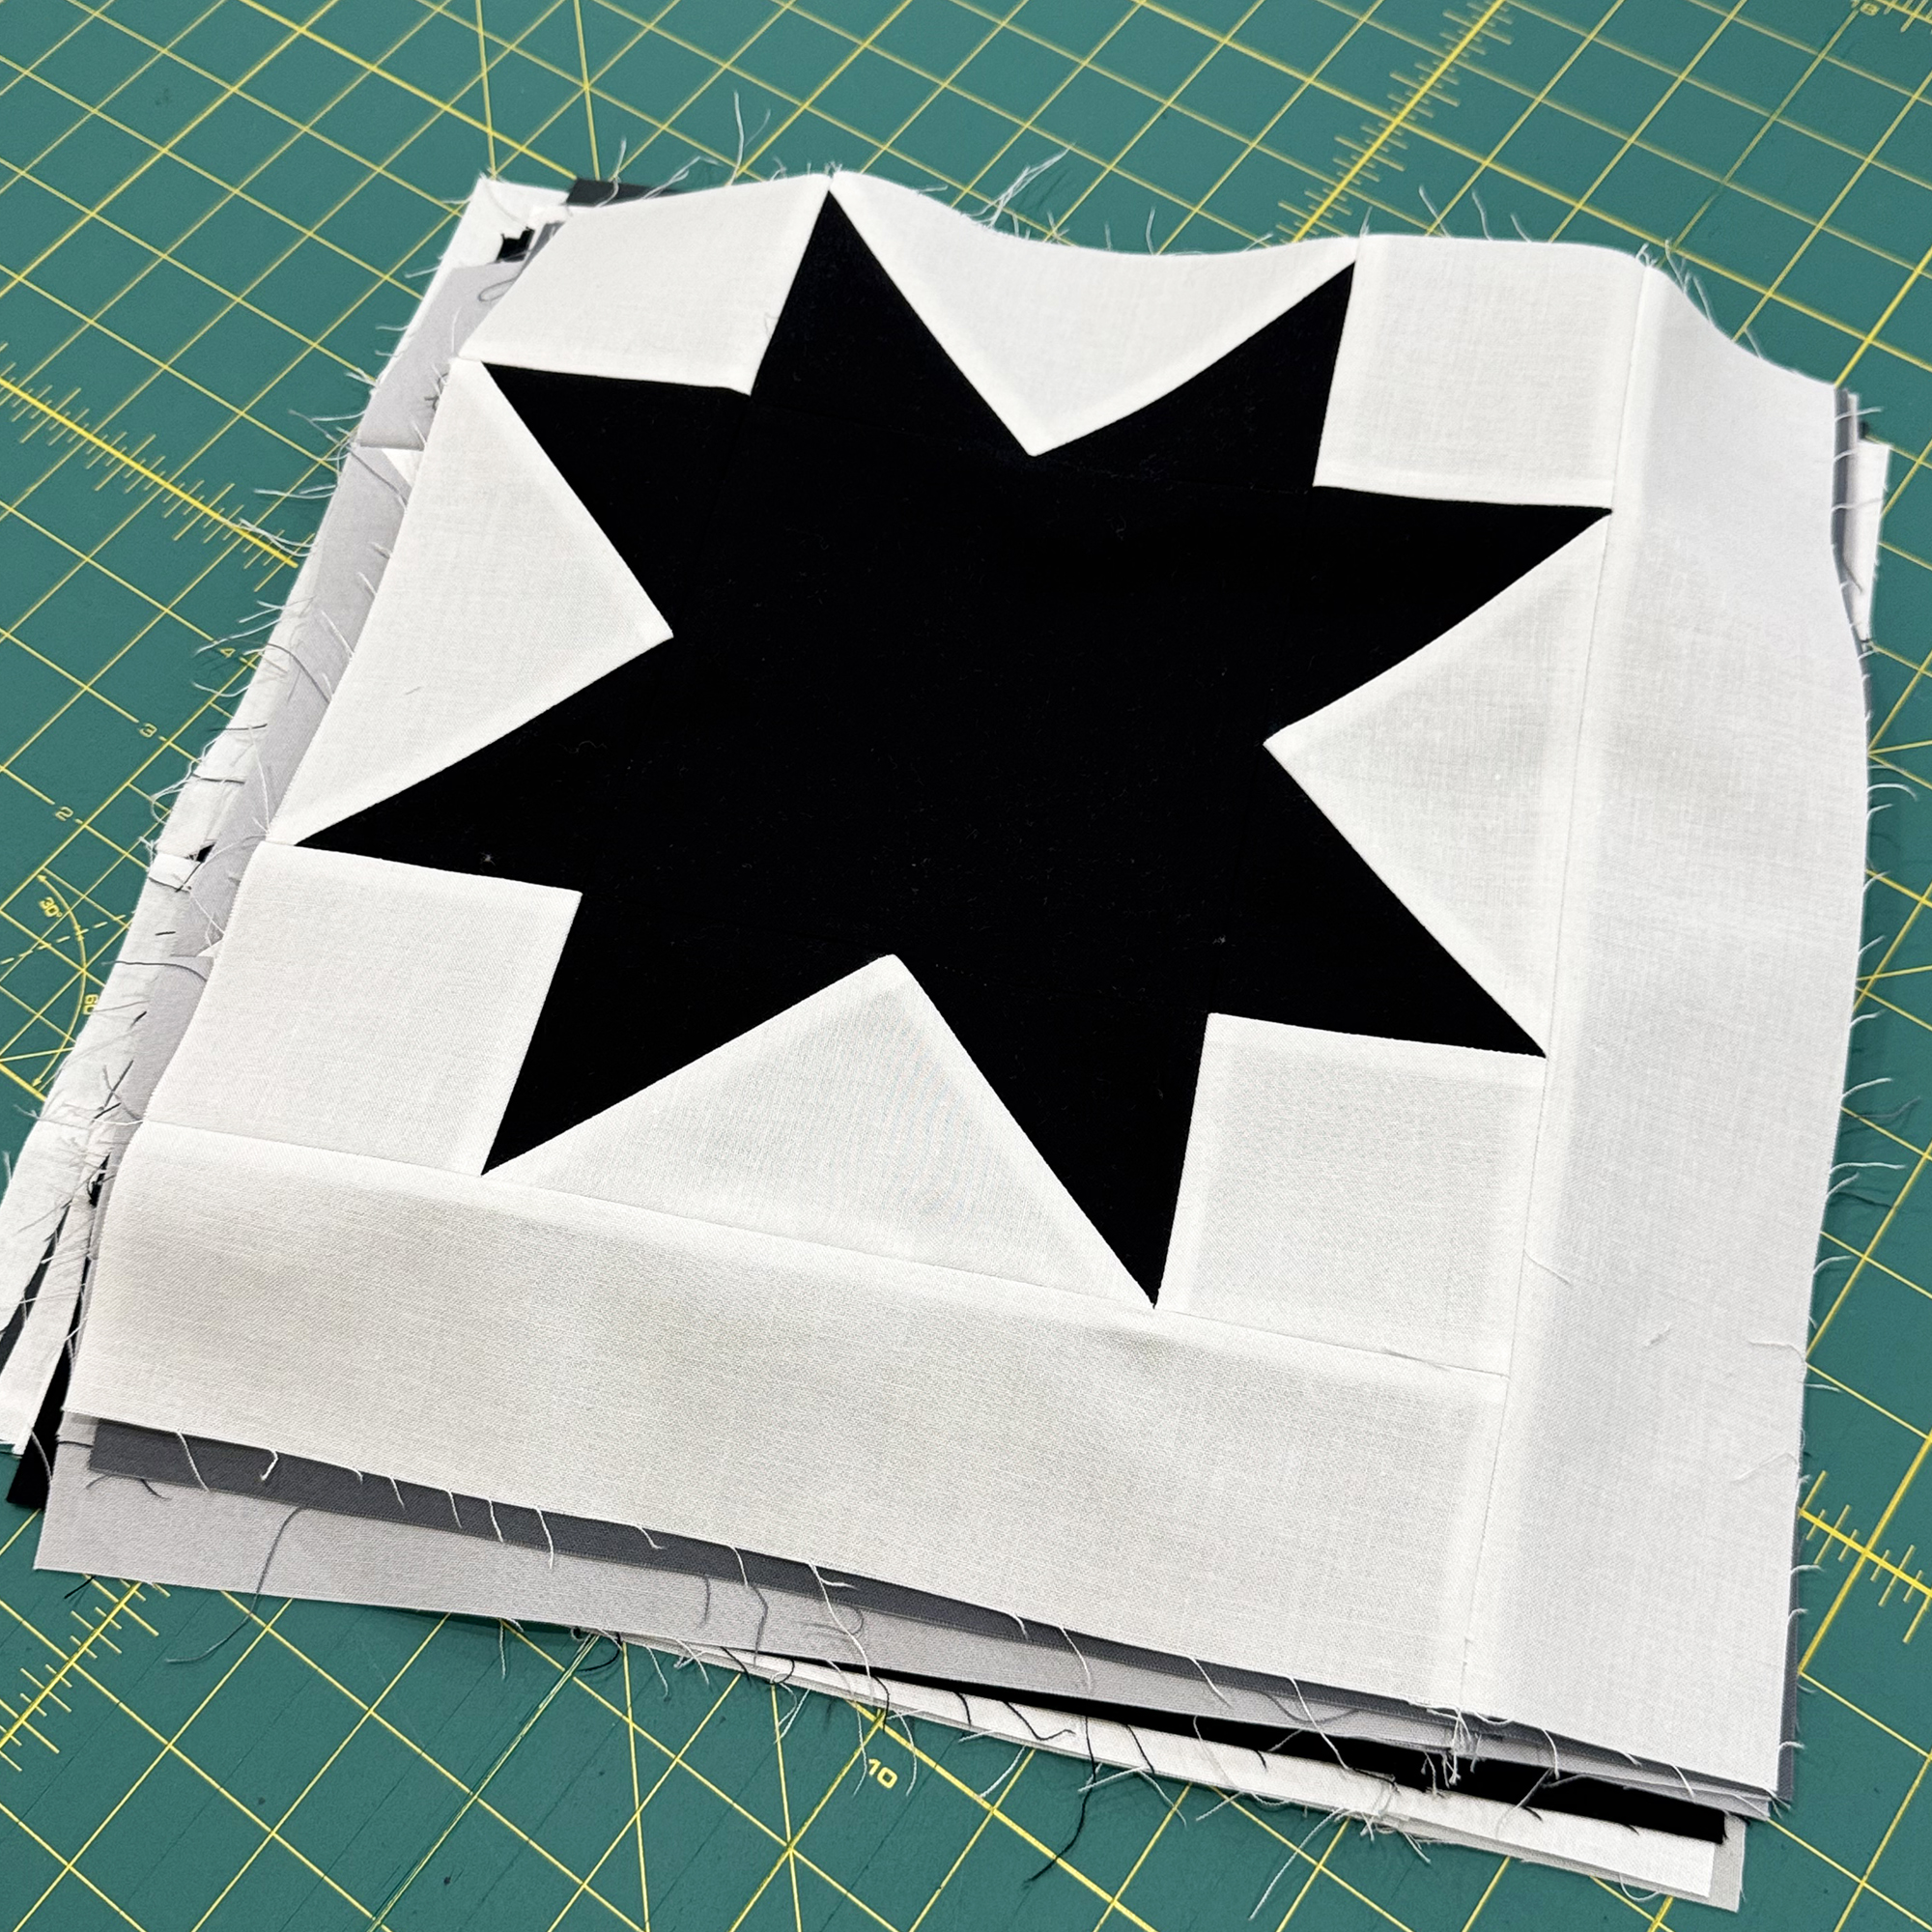
Now my blocks are finished and reasy to assemble into the quilt top for next week!
Share Your Star Blocks!
How are your stars coming along? Whether you’ve finished just one block or you’ve already made a whole stack, I’d love to see your progress. It’s always fun to see how the same pattern looks in everyone’s different fabrics!
Tag me on Instagram at @christaquilts, or click here to share your progress in my Christa Quilts Group on Facebook so I can cheer you on!
Next week we’ll arrange the blocks and complete our quilt tops. Get ready to see those Dancing Stars come together! If you are new to this quilt along, grab a copy of the quilt pattern in your favorite format below and join the fun!!

