Sewing Summit was such a fun sewing retreat/blogging conference and it’s so sad that it was over so quickly. However, I will be attending another retreat this coming weekend with my local guild, so I look forward to that, even though it will be another busy week!

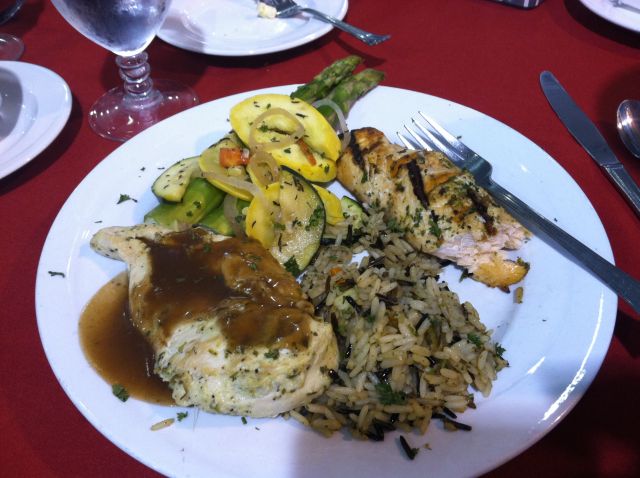
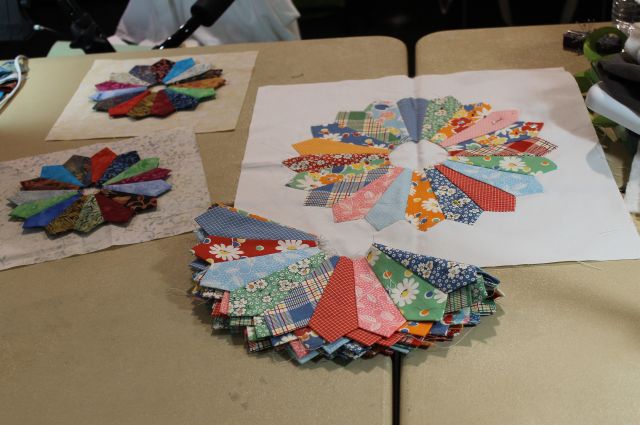
Lunchtime at Sewing Summit
You can read my earlier posts about Sewing Summit Day 1 and Sewing Summit Day 2.
On Saturday, I took business development classes all day. I came away more focused than I have been in a long time and I can’t wait to tell you more about my upcoming plans in future blog posts.

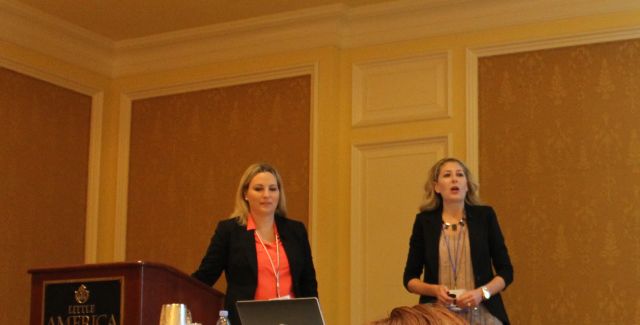
Branding and Berninas
I listened to a presentation put on by Bernina called “Bloggers, Brands and Bernina.” The moderators were Amy Gutierrez, the director of marketing for Bernina USA and Alice Voss-Kantor, Bernina’s social media manager.
They let us know how as bloggers, we can reach out to Bernina and other companies whose products we like to use. Many companies are willing to trade their products in exchange for content like blog posts, tutorials and general publicity to get the word out about them.
The Bernina gals had to be sure and state that while they don’t give away their machines, they are willing to loan them out if certain criteria are met. I will definitely have to think about that, seeing as how I already promote their brand for free anyway, LOL!
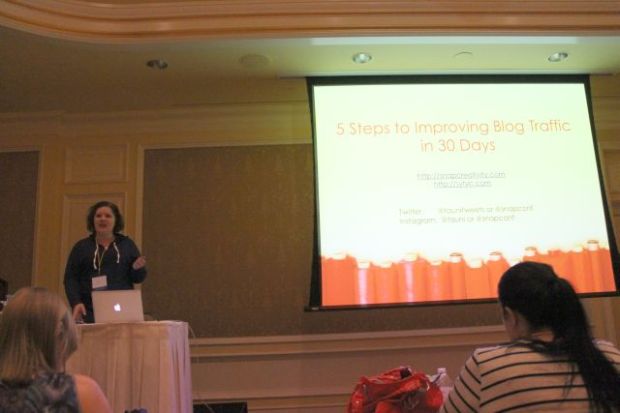
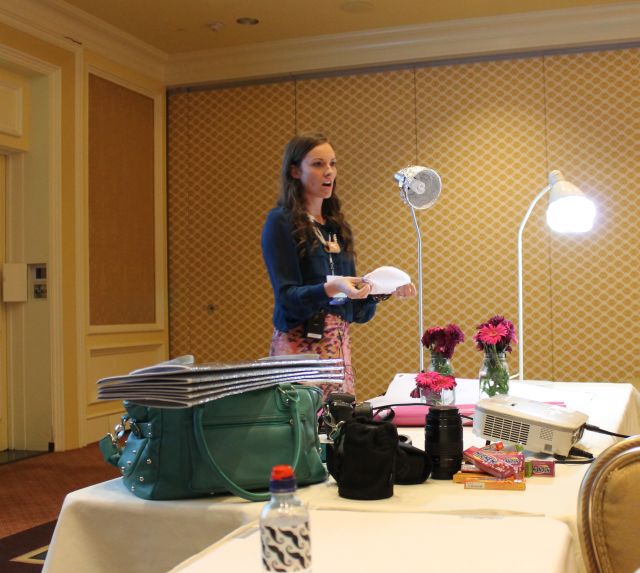
Blogging and Social Media
Sorry for the bad pics, but the lighting was not ideal for picture taking!
Next, I listed to Tauni Everett’s excellent presentation on blogging and social media. Here a few tips I picked up:
- A self-hosted WordPress site is the best platform for blogging.
- Purchase your name URL for several years into the future – this helps with SEO (seach engine optimization).
- Be sure to include a descriptive tag under your blog name to describe it better.
- Do what you promise on your blog – if you promise to host an event, be sure to follow through in a timely manner.
- Being who you are is good, but be wary of TMI (too much information!)
- My favorite – Be real, be kind, be charitable, be consistent, build others up. 🙂
She also mentioned that while being on Facebook and Pinterest are also good, Instagram doesn’t yet have a way to refer people back to their blogs so it may not be worth the effort as far as trying to promote your blog that way. That made me feel better because so far I have resisted jumping on the Instagram bandwagon!

Building Your Creative Business
After lunch I attended the best class of the whole weekend, Building Your Creative Business with Alicia Dirago. She’s a successful 33 year old entrepreneur who built her business, WhimseyBox from the ground up by being bold and courageous and in her words, “by moving quickly and not being afraid to break things.”
She spoke in a warm, humorous way while giving advice. This picture speaks for itself:
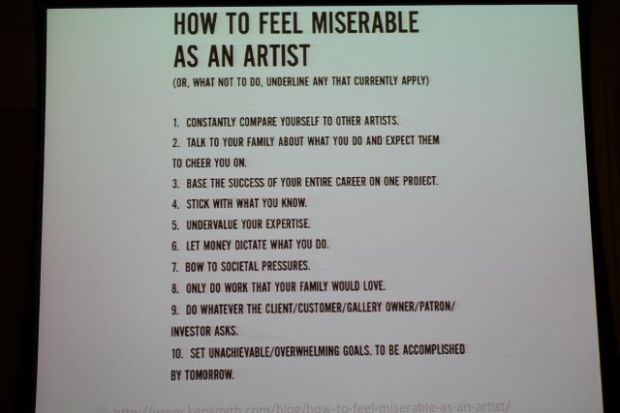
What NOT to do!
I was overcome by emotion when Alicia had us write down on paper what our dreams really were and what is standing in the way of our success. She encouraged those of us who were brave enough to share it aloud with the rest of the class.
Here’s what I finally admitted:
“I want to share my love of machine quilting with as many people as possible. I want to teach people that they can finish their own quilts and take pride in doing so. And I want to write books about it.”
And what is standing in my way?
“The fear of failure and thinking that if people don’t like my quilts, that means they won’t like me.” Silly, I know, but when Alicia asked the entire class if anyone else felt the same way, they all raised their hands in support. It was a pretty powerful experience.
Later that night at dinner, a fellow blogger from that class came up to me and said, “I have a friend I know that would buy your book.” I guess I’d better get on it then.
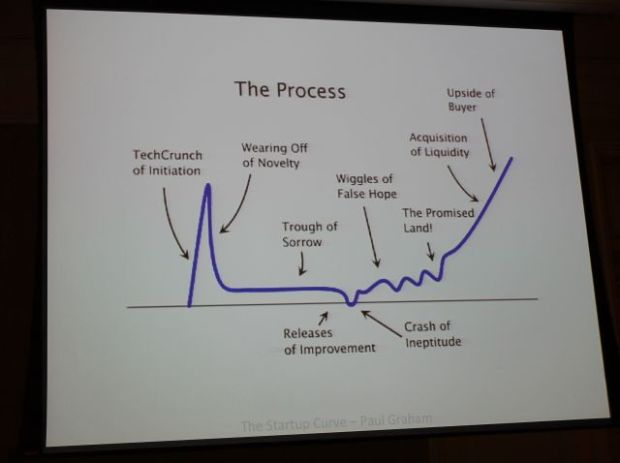
The Creative Business Process
Above is another excellent slide from the class. Alica also put up a graphic that I wasn’t able to get a picture of. It basically showed a straight line as people’s idea of how success worked. Then another scribbly line that twisted and turned and doubled back on itself before reaching the end as how success actually happens. Thanks Alicia – for keeping it real!
The final class of the day was about improving photography by Melissa Esplin. While much of the technical details were over my head (I’m still learning what ISO is), I did pick up a few pointers on lighting and still shooting.

Lighting Props
Melissa recommends a tri-pod with a ball head that gives flexibility with camera positioning. She also said you can get a car sunshade with foil on one side as a cheaper alternative to a professional diffuser. And by wrapping a couple of cheap lights in tinfoil with a home-made cloth covering, you can set up an inexpensive lighting system.
Finally, to cap off the evening, we got to hear Heather Bailey’s success story. She originally started off wanting to become a surgeon while taking creative classes on the side. She eventually came to the conclusion that having a creative career would allow her more flexibility and time to be a mom.

Heather Bailey Keynote Address
Heather was one of the early influencers driving the designer fabric market. Her “a-ha” moment was when she realized she could design fabrics and products that would appeal to her peers, and use the internet to communicate her ideas. Followers would then flock to fabric designer’s blogs to see what they were creating and be inspired. Do any of you do that? I know I do!
Heather left us with some sage words of wisdom: now that we are all excited and ready to take on the world of creative business, we need to pause and take a bit of time for calm, quiet reflection before we dive in.
Sounds like a plan to me. 🙂

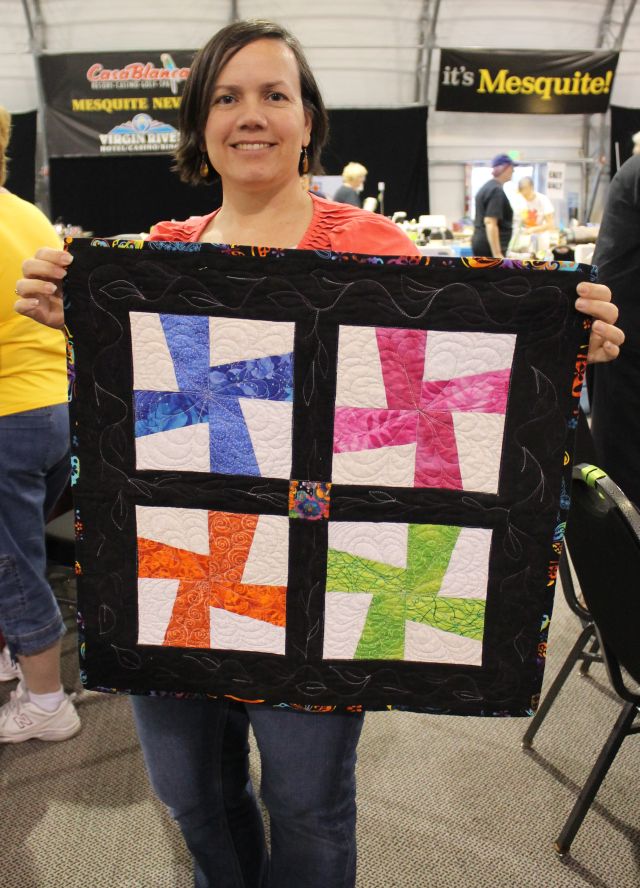
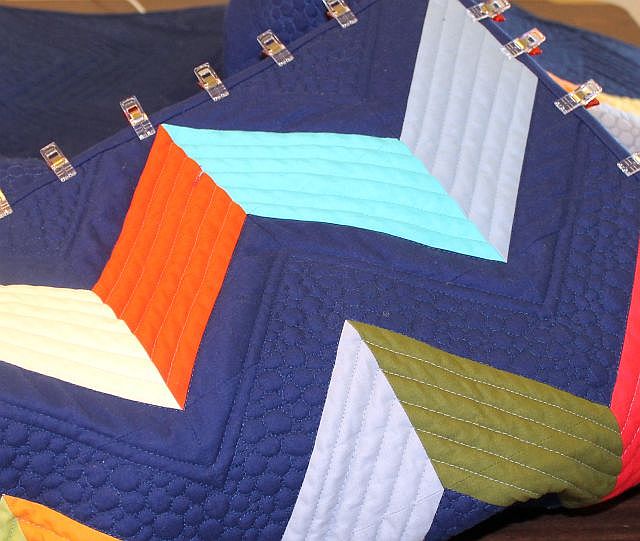 I was unsure how this would turn out, but once I flipped the quilt over to the back side, I was happy with how the texture was looking.