My good friend Jacquelynne Steves has been hosting a gorgeous free Block of the Month program she started over the summer, and I finally have a free minute to tell you about it! It’s a 6-part series called Maggie’s First Dance featuring 5 adorable blocks plus border and finishing instructions.

Click here to sign up and get all of the blocks that have been shared so far.
This month’s design is the setting block, and I thought it would be perfect to showcase one of my favorite free-motion quilting designs: spiral flowers. So I decided to make a cute mini from one of the blocks and take pictures of my process so I can walk you through how I did it. This block uses my no-mark method for free-motion quilting that I teach in both of my machine quilting books.

Step 1 – choose your thread
Look at your beautiful finished block and think about how you want to quilt it. I always like to audition several thread choices to see which one will look the best. In this case I chose to go with a light yellow, 50 weight cotton Aurifil. White or light gray would have looked nice, too. I’m going to quilt it with one color thread only so that I can custom quilt the entire block without starting and stopping.

Step 2 – Sketch Your Design
Print out a color copy of your block on paper and sketch out some design ideas. This allows you to plan out how you will move around the block quickly and efficiently before you try it on the real thing. I chose a large spiral flower in the center of the block surrounded by pebbles. I’ll repeat the flower petal design in the white areas, and add some more pebbles in the corners. This will allow me to quilt the entire design in one pass, traveling (backtracking) in the seams if needed to quilt each section of the design.
I only sketched enough of the design to give me a general idea of what I was going to quilt. Of course, you can draw the design over the whole block if you prefer. Doesn’t it look like I drew right on the block? Don’t worry, it really is just a color printout of the block. 🙂

Step 3 – Start the Center Spiral
Starting in the middle of the block, pull up the bobbin thread to the top and move it out of the way for now. You can go back and tie off the knot later and bury the thread within the batting. Or just start with a series of teeny-tiny stitches to lock your beginning threads in place.
Quilt a small spiral to start and then immediately turn the spiral into a series of small, irregular flower petals. It doesn’t matter which direction to stitch in, or how many petals you quilt as you spiral around. Aim for nice, smooth stitches, but they don’t have to be perfectly uniform in length.

Step 4 -Complete the Center Block
As you echo back out around the center spiral, quilt a series of petals that don’t quite touch each other. Fill in all of the space, backtracking in the seam if needed to get to any areas you missed. Again, notice that each petal is not perfect or uniform. You are aiming for texture over perfection.

Step 5 – Fill in the Rest of the Block
I quilted the area around the flower with pebbles, a dense texture that would allow the floral quilting to really pop. Because I used the same color thread, I was able to easily switch back and forth between quilting motifs as needed. To create interest in the block, I repeated the petal shapes in the outer portion of the block, with an extra pop of pebbles in the corners.
Although I’m only showing one block as an example, you can easily apply this design to all of the setting blocks. I like dense textural motifs that lend themselves well to any size block or quilt!
Ta-Da! Enjoy Your Finish

If you are new to machine quilting, I recommend making one or two practice blocks like I did to get the hang of it, or to try out different quilting ideas. You can always refer to your practice blocks as a stitch journal of your progress. I turn mine into class samples, so I don’t have to pack up a suitcase full of quilts when I teach. 🙂
Let’s Have a Giveaway!
To celebrate the release of Jacquelynne’s latest BOM installment, 7 other bloggers and I have teamed up to give away a fun prize pack of my PDF patterns, perfect for practicing your machine quilting skills! So that means that 8 people will win, one for each stop on the blog hop below.

Visit each of these blogs to increase your chances of winning. Leave a comment at each for your chance to win! The giveaway is open to everyone and runs through October 10th.
Christa Quilts – You Are Here!
New Around Here? Everyone’s a Winner!
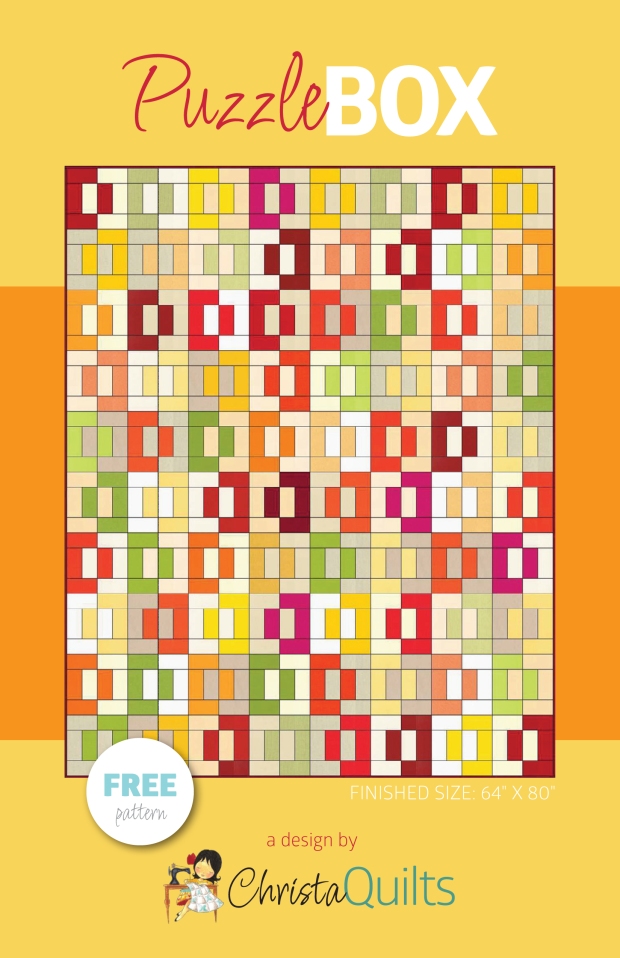
Click here to get my free Puzzle Box quilt pattern.
As an extra bonus for anyone new to my blog, be sure to check out Friendly Threads, my weekly email and get this free PDF pattern instantly. My Puzzle Box pattern uses two Jelly Rolls and goes together super quick!