If you missed it, click here for part 1 – tips on sewing the LatticeWork quilt top.

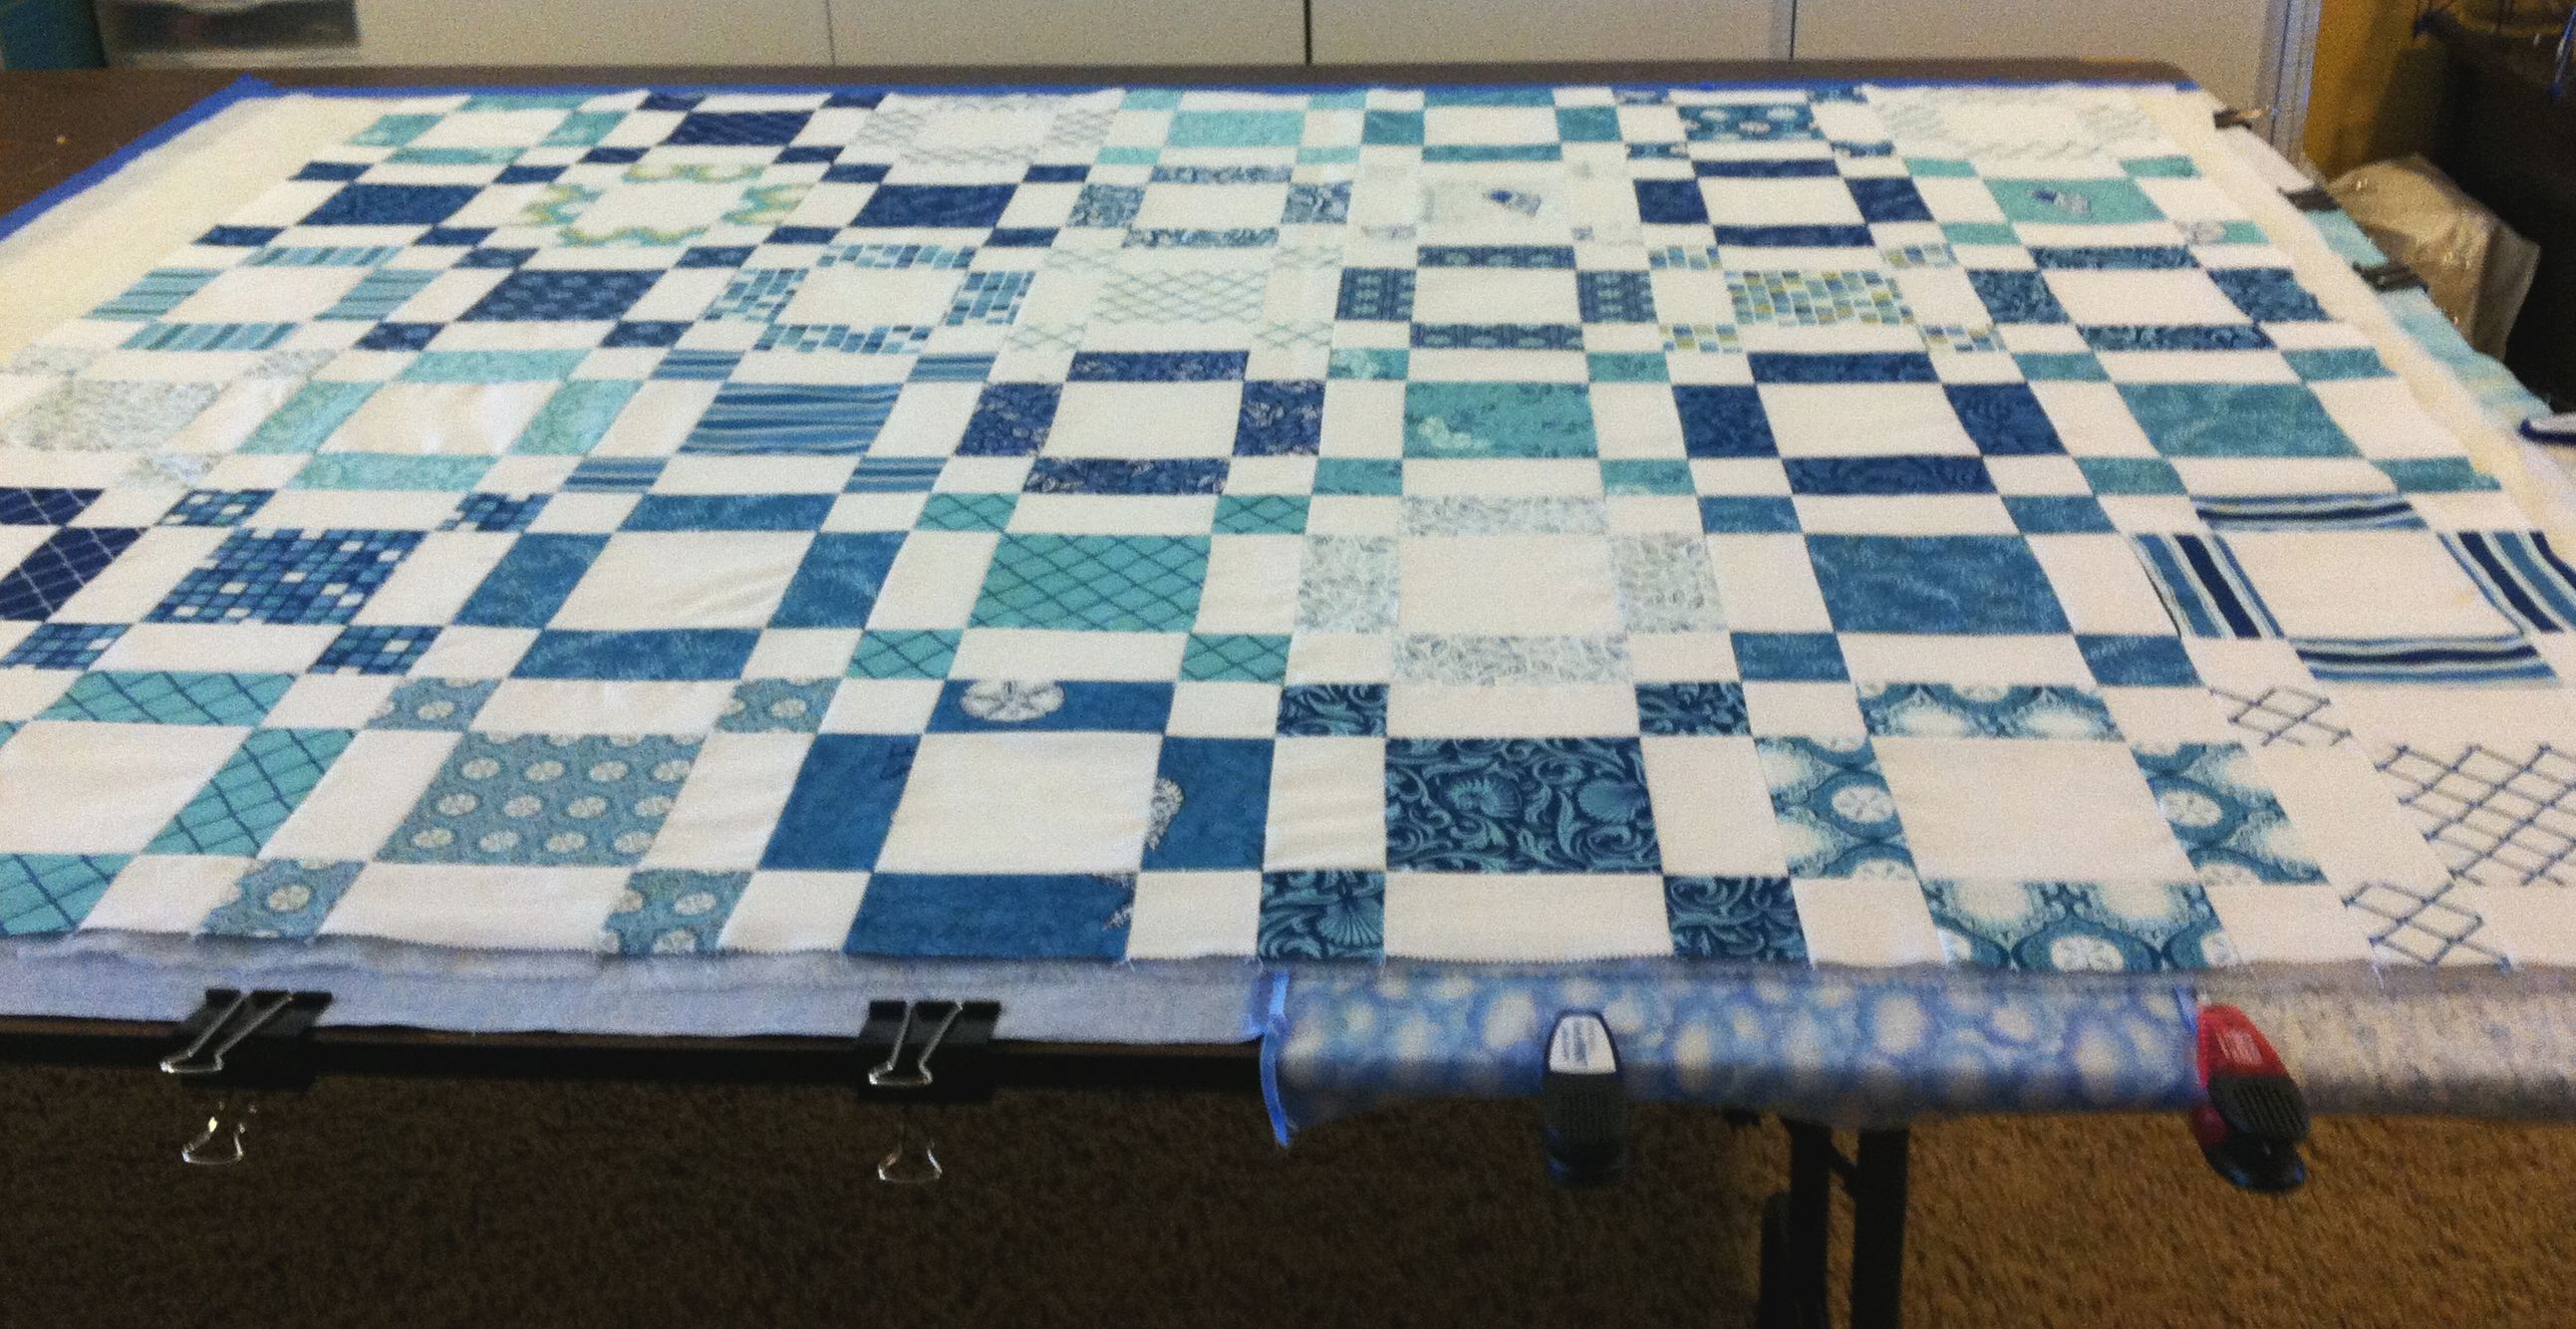
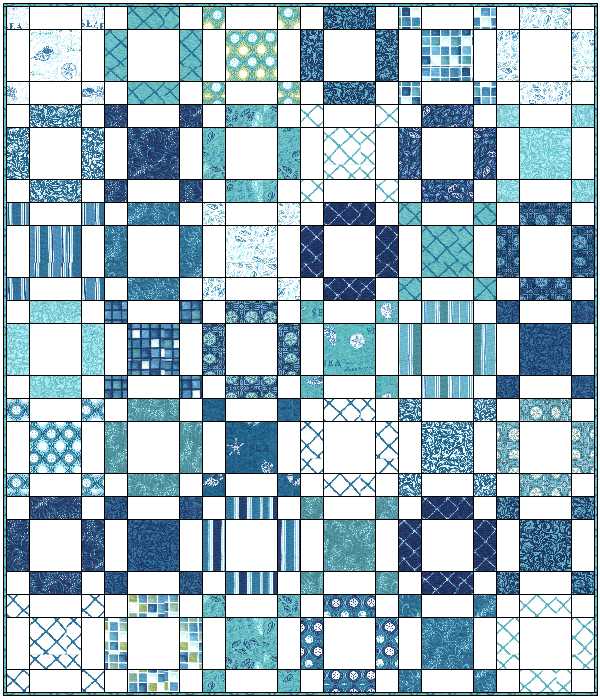
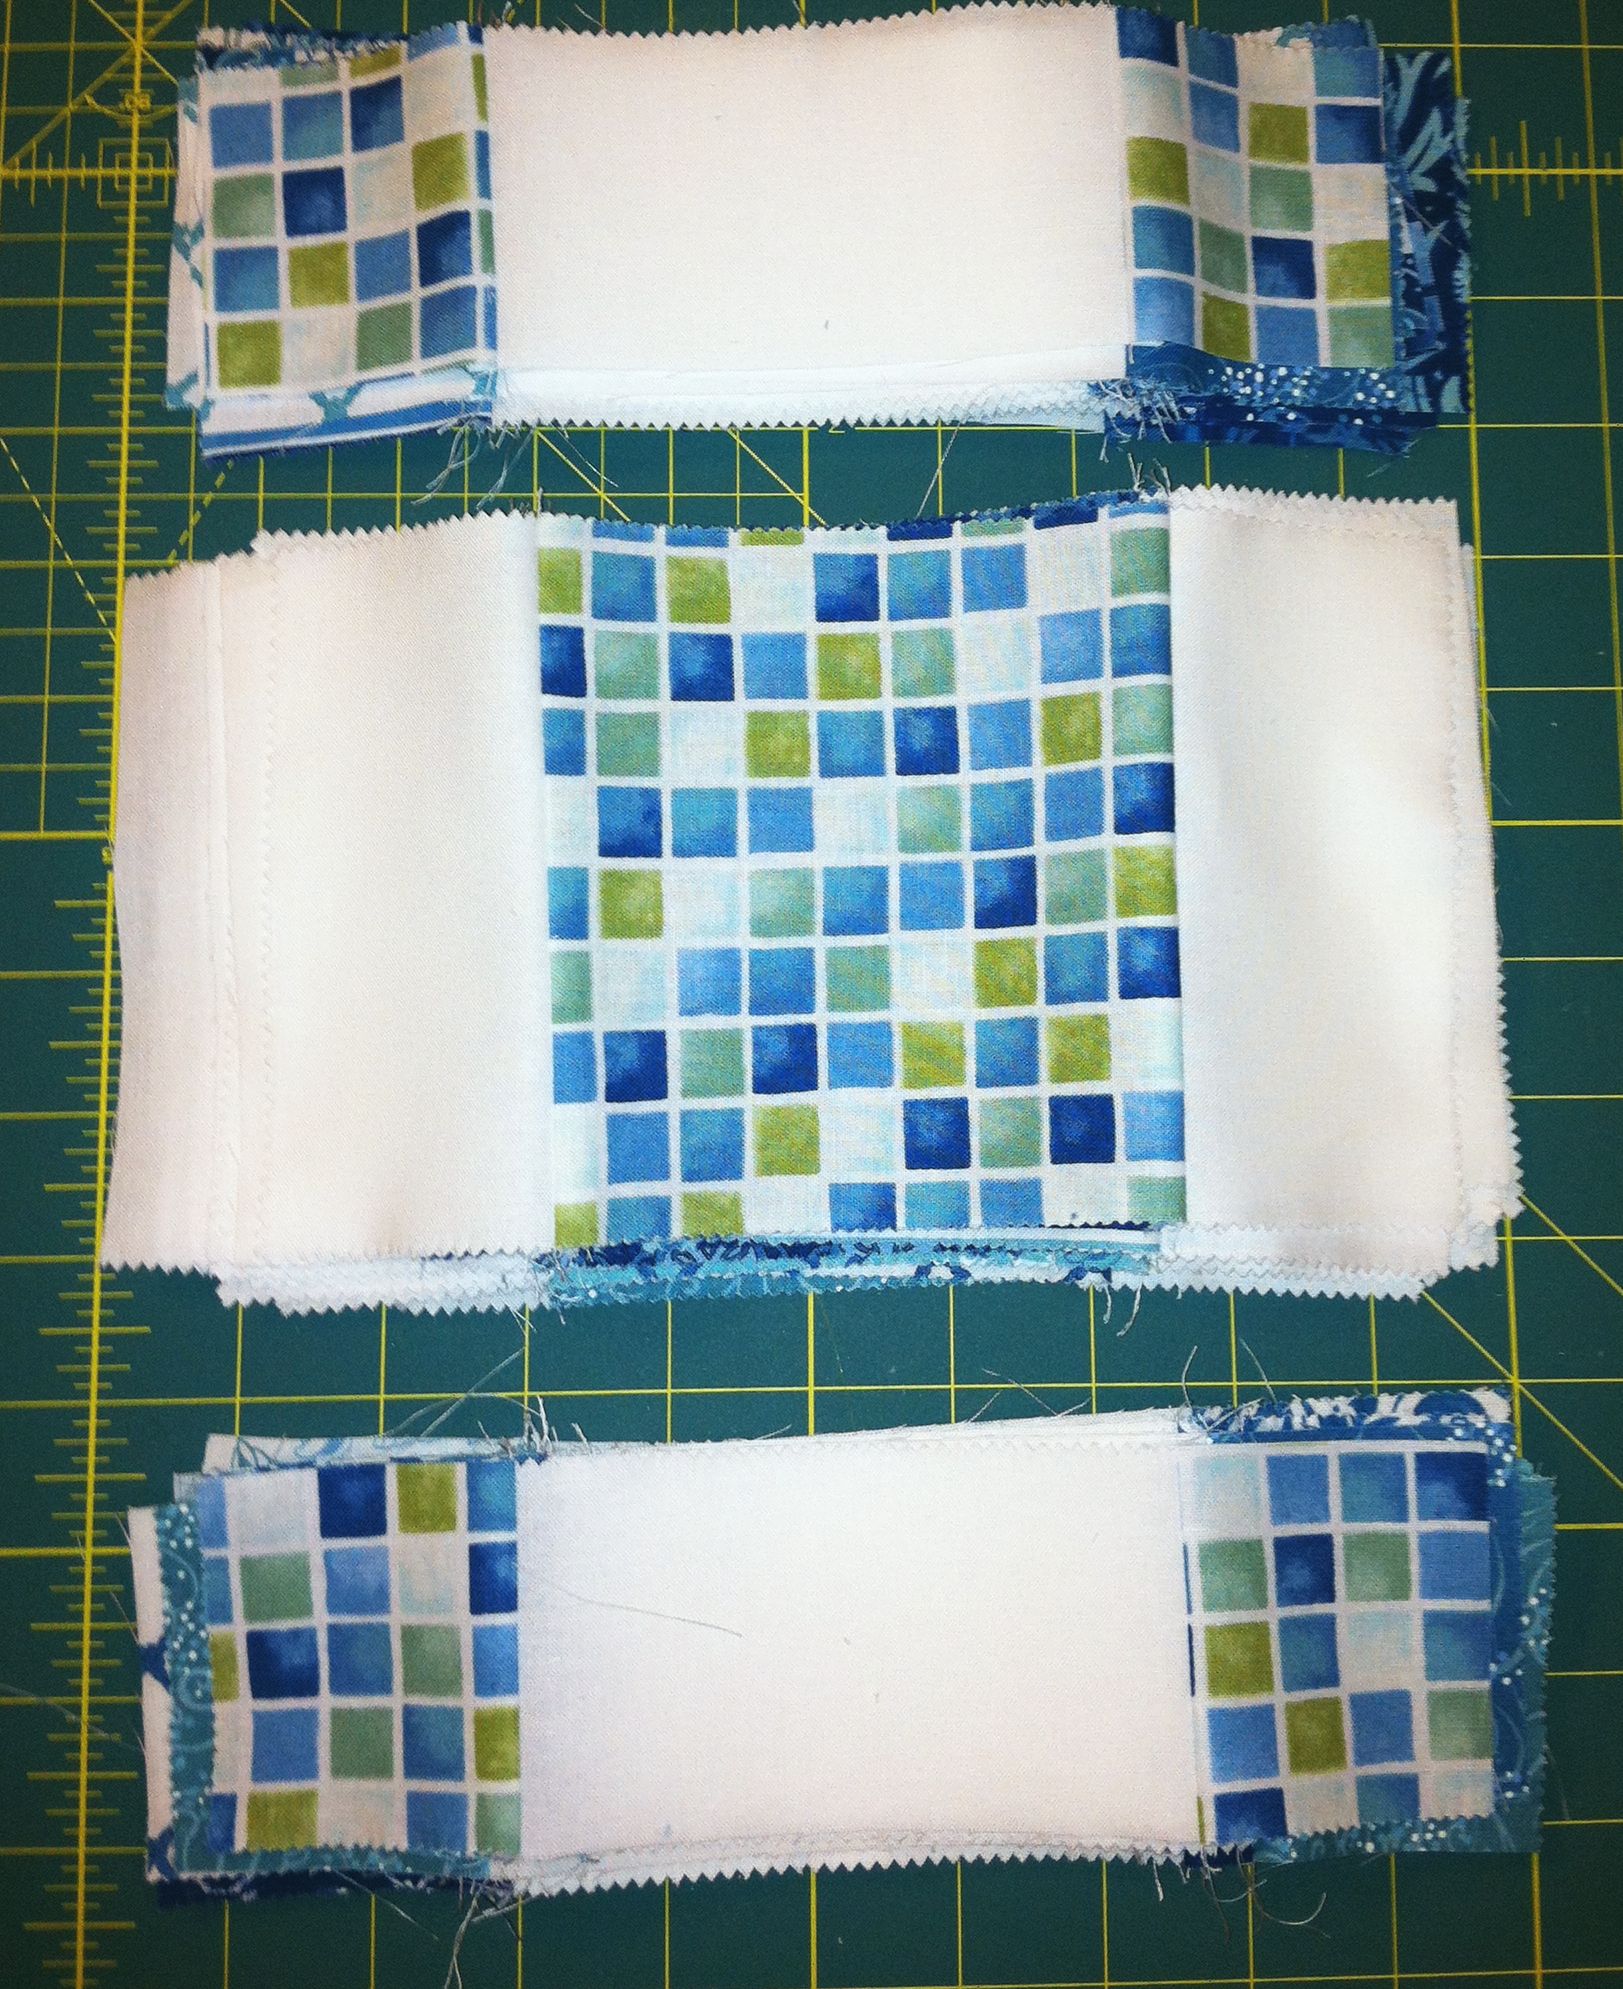
LatticeWork is made from charm packs; I used my Abstract Garden fabric line.
Today I’ll be sharing how I quilted my LattticeWork quilt using a super simple, fast and fun walking foot quilting design. It’s called “wavy grid” and it’s one of my fave designs when I’m on a deadline, so you’ll probably see it in lots of my quilts!
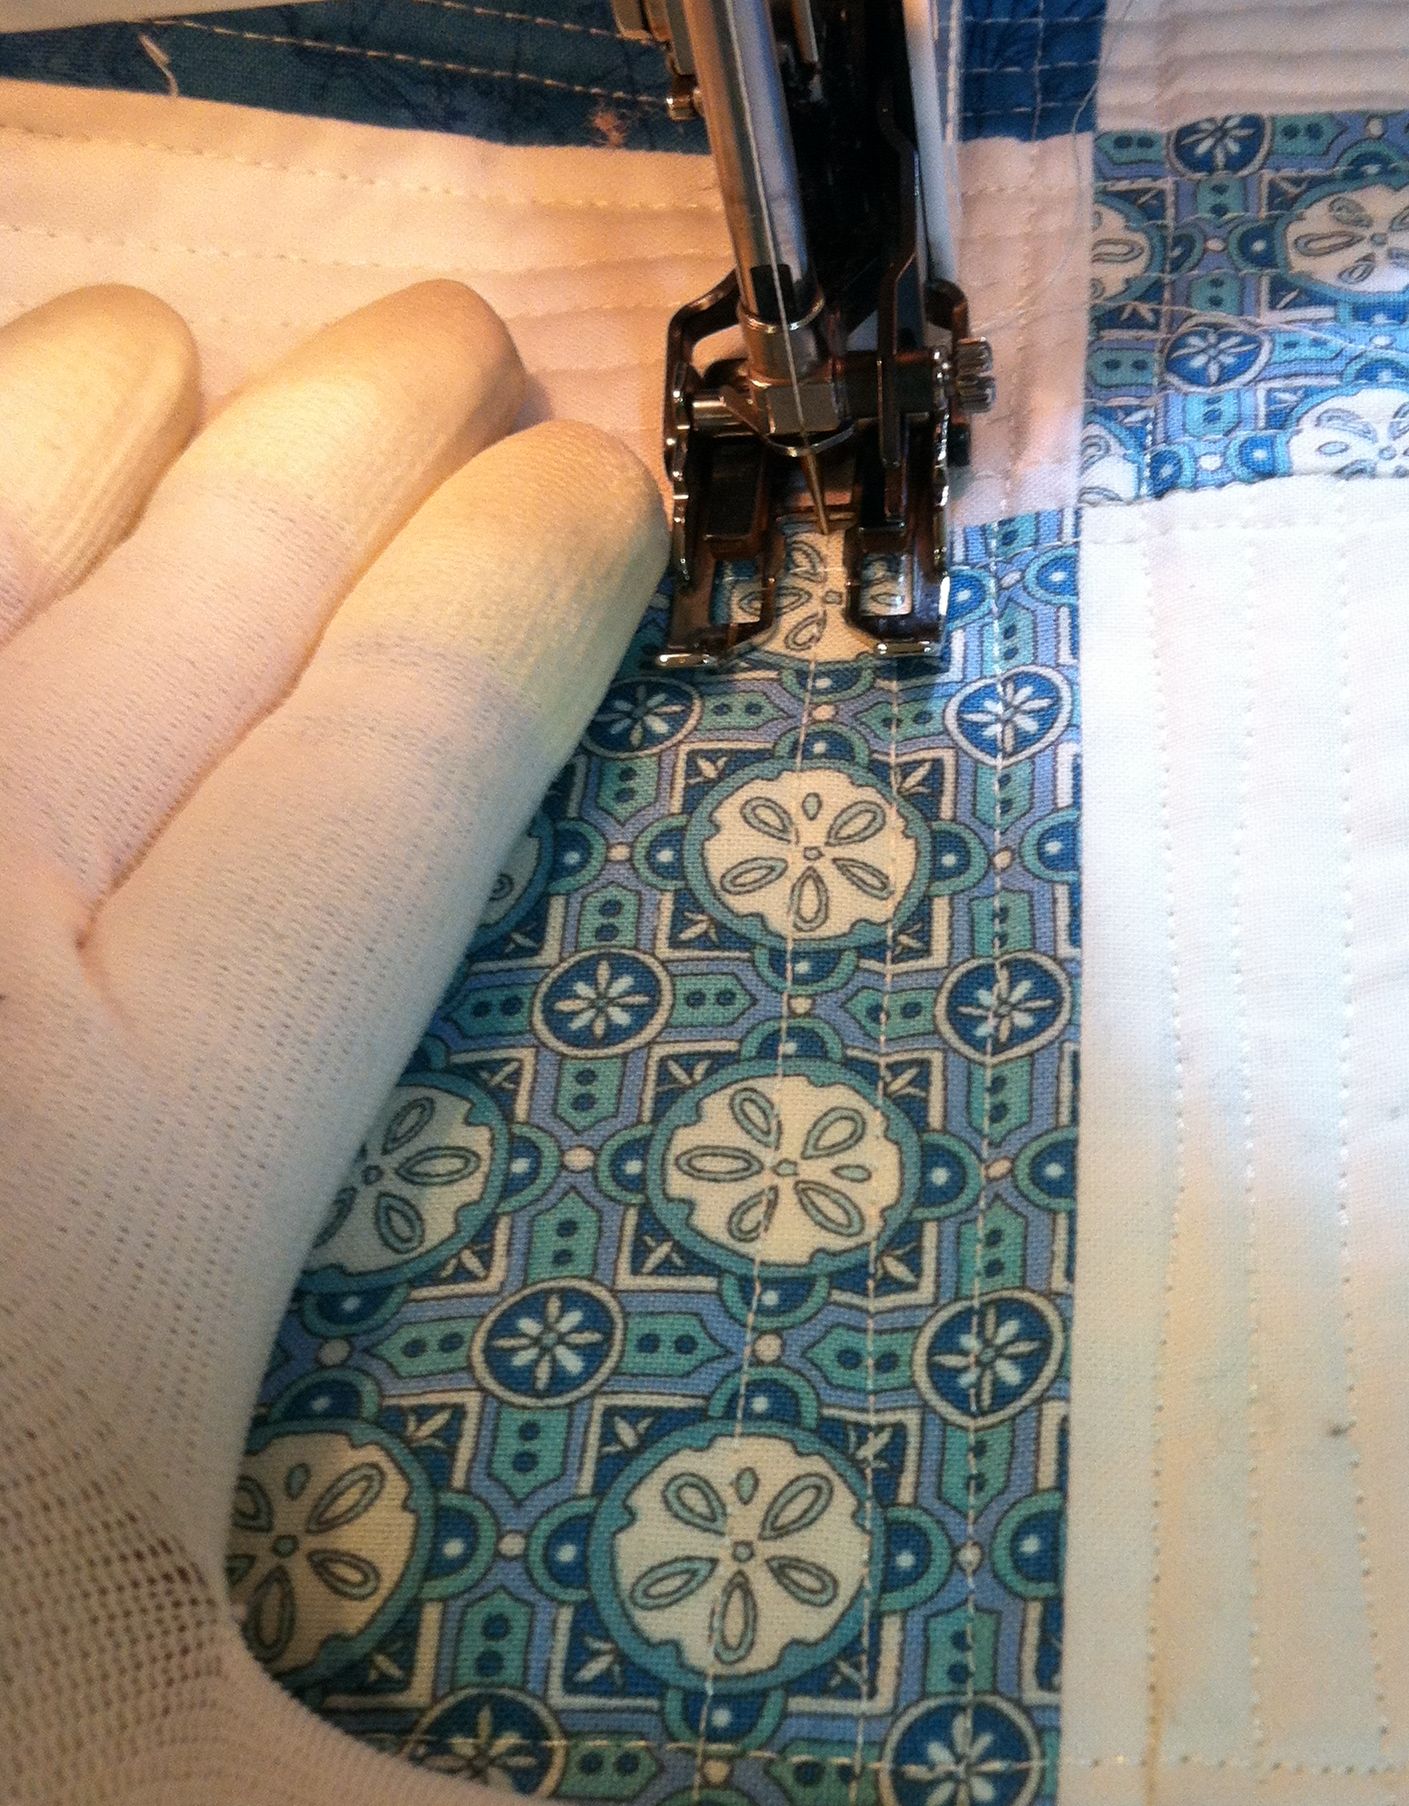
Here’s a close detail shot of what it looks like quilted with my Aurifil Variegated Thread collection. I love the funky modern texture it adds to the quilt, especially where the thread contrasts the most:

The most fun part about machine quilting is choosing which thread color I’m going to use to quilt it. Because this quilt was so colorful, I could have used nearly any hue and it would look great. Below are the colors in my Variegated Collection.


Click here to get my Aurifil Variegated Thread Collection.
I chose to go with the cheddar/orange color because the variegation is really subtle and it reads as one shade of orange. But I love the slight sparkle that the it adds to the quilt!

How to Quilt a Wavy Grid
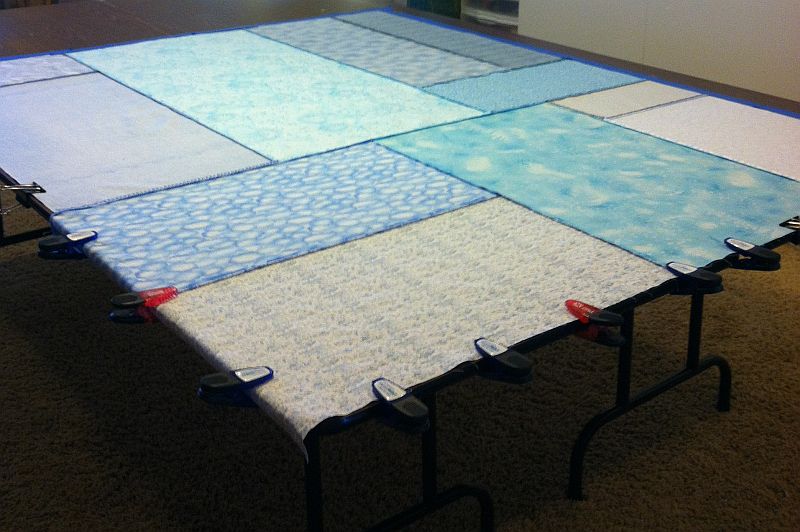
Because I’m quilting continuous lines all the way across the quilt from edge to edge, it’s easiest done with a walking foot (or a built in dual-feed system like I’m using on my BERNINA 770 QE). The idea is to quilt a “line” from one end of the quilt to the other and slightly rotate the quilt from side to side to form the wavy lines.
First I do what I call “anchor” quilting: stitching in or near the ditch along the major seam lines to secure the quilt. Then I made additional passes across the quilt in both directions, creating a wavy grid. With each pass across the quilt, the gap in between the lines shrink. You can quilt a 2″ grid, 1″ grid, 1/2 grid, etc. depending on the look you want. Notice that nothing is marked – I just eyeball the spacing and it ends up looking great!!
Here’s a 4 minute silent video of me quilting the wavy grid on my LatticeWork quilt. I’m still getting the hang of editing videos but this is a good start!! Notice how I make one path across the quilt in both directions, then keep subdividing the area until the grid gets to the size I want. I hope you enjoy it!!
In the video above, notice how I stop and shift a lot. I’m quilting the area near my hands which is only a few inches at a time. When I feel like I’m starting to reach, that’s when it’s time to stop and shift the quilt. But you’ll get the hang of quickly so it’s not too disruptive.
I’m also quilting from edge to edge into the batting so I don’t have to worry about tying off my threads. I’ll just trim the excess and cover it all with binding when finished.
If you’d like to make this quilt , click either of the links below to purchase the pattern in your favorite format. I appreciate your support of my small mom and pop shop!
- Click here to get the digital PDF version of LatticeWork quilt pattern
- Click here to get the paper printed version of LatticeWork quilt pattern

If you have any questions about this quilt in particular, or the machine quilting process in general, please ask them in the comment box. I’d love you to enjoy making this quilt as much as I did!

Happy piecing and quilting!!