Can you believe this quilt is almost done? Next week I will show you how to bind it by machine. The following week I will start all over with another brand new quilt-along. Here’s a hint for my next quilt: it requires 1 Jelly Roll and a 1 1/2 yards of background.

This week I added tons more quilting to my Sea of Squares quilt. I spent an extra 7 hours gleefully quilting along, adding loads of texture with straight slightly wonky lines using my walking foot. If I had planned ahead I would have quilted about an hour a day for 7 days. Instead, being the procrastinator I am, I did it all in one day, but it was still fun!
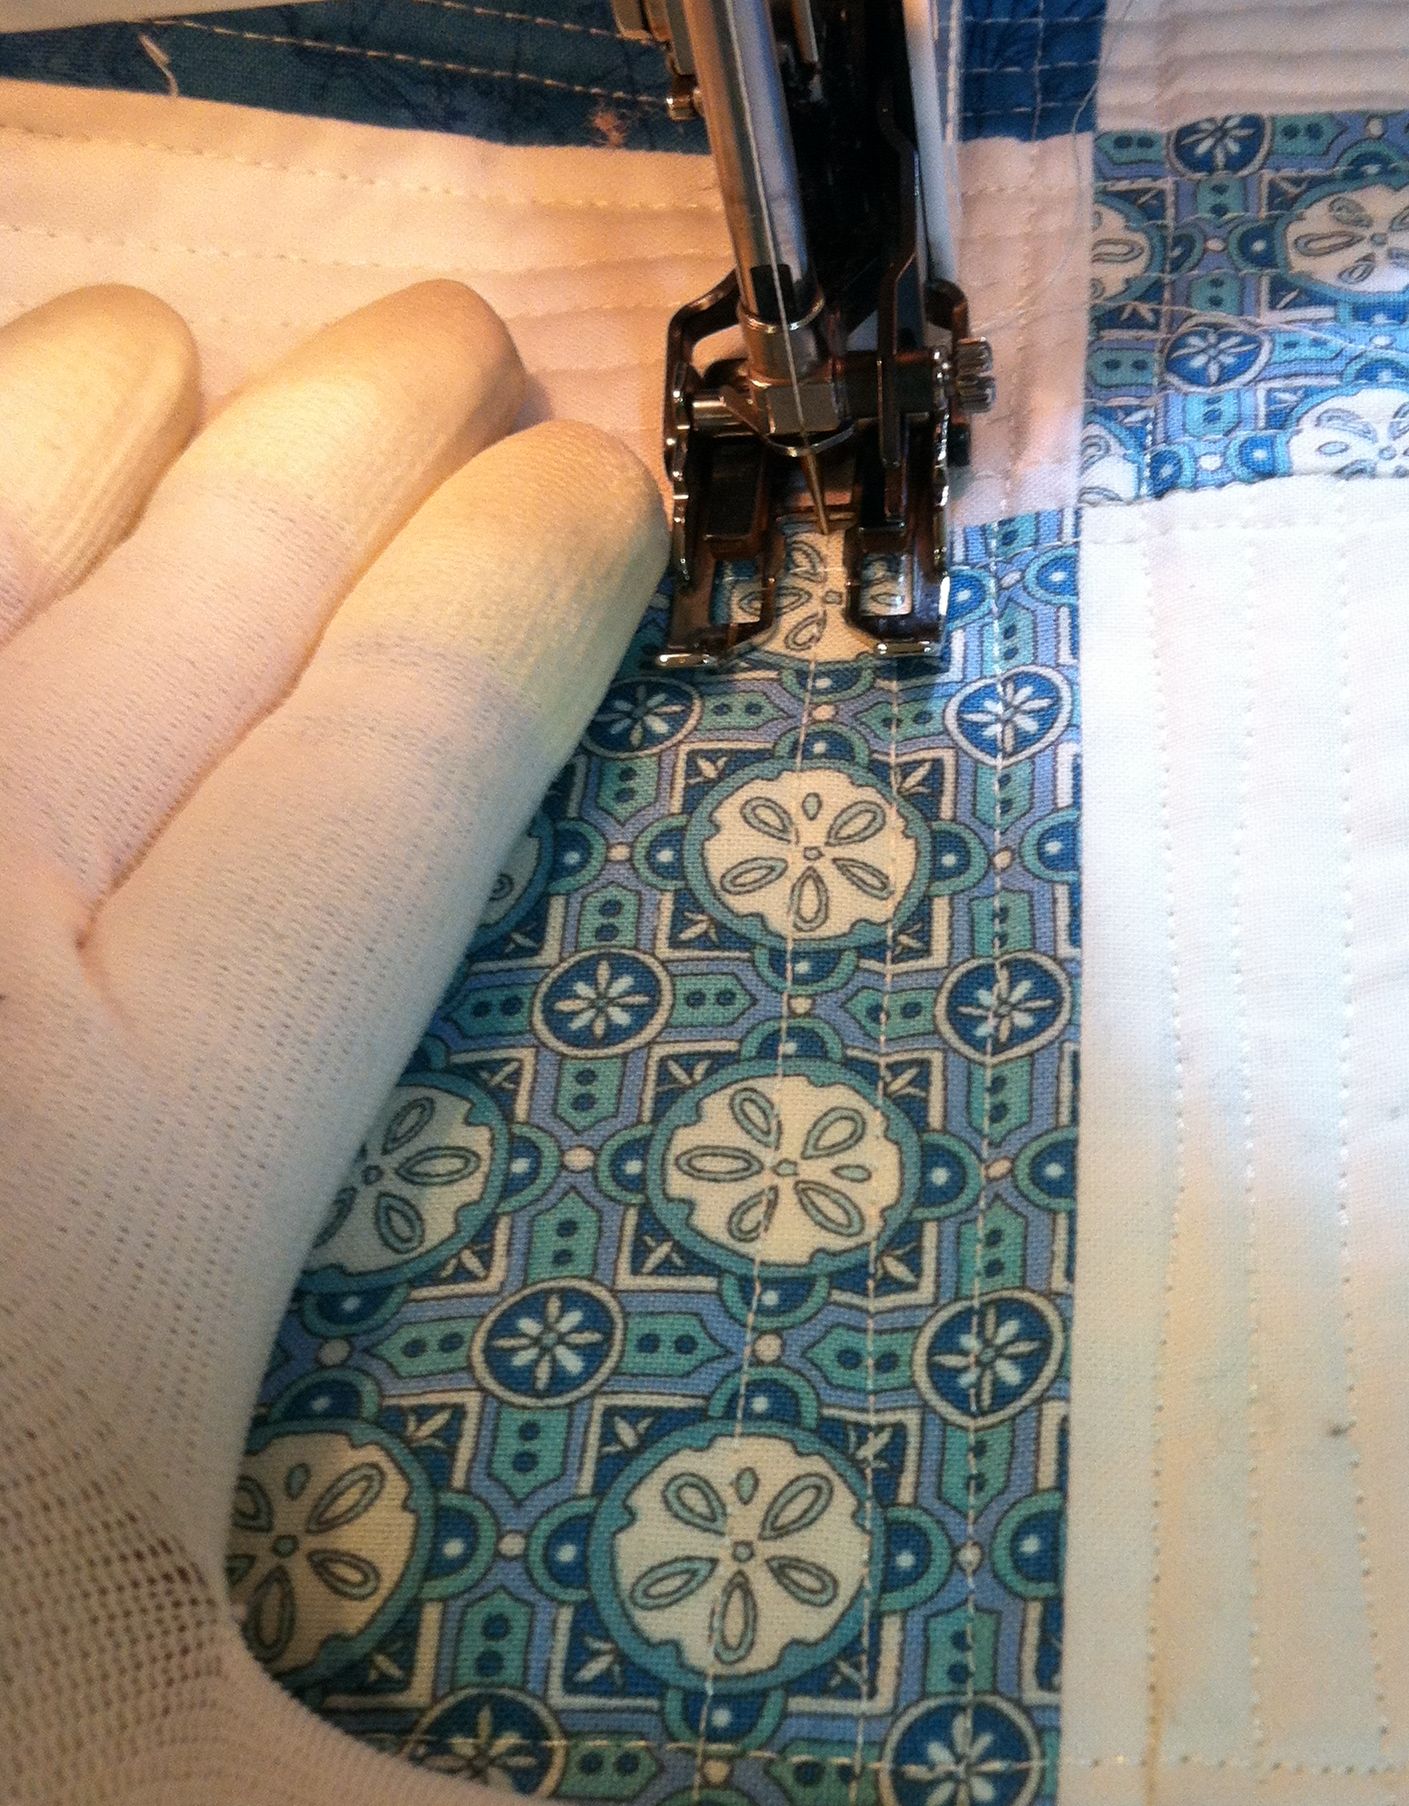
Step 1 – Quilting the Sash Rows (1 Hour 45 Minutes)
First I started with what was easy. I quilted parallel lines all going the same direction through all of the skinner sash rows. I worked my way across the quilt, one row at a time, flipping the quilt when there was too much bulk under the machine.

Step 2 – Quilting the Rest of the Rows (5 Hours, 15 Minutes)
Now it’s time to fill in the rest of the space. I quilted the rectangles with lines running perpendicular to the previous quilting lines. For the big squares I alternated directions. I quilted the print squares all one direction, and the solid squares the other way.

It was cold that day so I bundled up while quilting!
I wanted to try out the continuous reverse feature on my machine. I can push a button once and it will sew backwards until I push it again to stop (and I don’t have to keep my finger on the button). So I would quilt one line of quilting, then push the reverse button and quilt a line backwards without having to turn the quilt all the way around. It was great!
It took about 1000 yards (2 spools) of thread just for the top. I used the same color in a thinner weight for the bottom so I wouldn’t run out of thread.
Quilting this quilt was very liberating for me. I did not mark the quilting lines because I wanted to add a touch of modernity to the quilt with more organic-looking texture. Once I let go of my perfectionist tendencies and got into the “waviness” of the lines, it set me free to enjoy the process. Jason is always telling me to go bold and let out my inner artist. So now I’m giving you the same permission!

Be sure to take a look at my flickr group so that you can see the wonderful quilts being made by everyone else. And if you are working through any of my quilt-alongs, I’d love to see your progress!
In fact, Judith shared her version of Sea of Squares in beautiful brown and cream. Notice the wonderful quilting she did with wiggly lines across the surface and quilting motifs in the blocks. I love it when you can really make your quilt your own. Nice job, Judith!

Please share your pictures here:
http://www.flickr.com/groups/christasquiltalong/
Quilt-Along Schedule – Links are Active at the Completion of Each Step:
- Week 1 – Supply List
- Week 2 – Sorting and Cutting the Charms
- Week 3 – Sewing the Blocks
- Week 4 – Completing the Quilt Top
- Week 5 – Piecing the Backing
- Week 6 – Basting
- Week 7 – Machine Quilting
- Week 8 – Optional Extra Quilting – Today’s Blog Post
- Week 9 – Machine Binding to Finish
Sharing is Caring
Please share your work in progress in my facebook group: Quilt With Christa . 🙂

I love this quilt. I have a friend who is new to quilting and this would be perfect for her. Thank you for your step by step directions. And yes I’ll be making one too!
2 At the panel, turn the power off and consult the situation of your Air Conditioner is to
buy an Air Conditioner which depends on the quality of service.
How many different patterns are in the charm pack? I may use fabric flats instead. Thanks and what a beautiful quilt
Cindy – I didn’t count them but I want to say about 30 different fabrics. However, you could make it as scrappy or coordinated as you like 🙂
Beautiful quilt. I love the straight line quilting. I wish I had the reverse feature on my machine.
Looking forward to you post about machine binding.
Looking forward to seeing your binding method, Christa!
The line quilting is the icing on the cake of your quilt! Love the blues!
Found you through Sew Cute Tuesday….love this quilt and I really love the quilting….this will be one I make in the future 🙂
the “straight”lines give it a great effect, imperfection is the key!
Thanks Lauren! I will try to remember that and work on being more “imperfect” in the future, LOL!!
Oooh, I love it! All those lines add such a lovely texture 🙂
What a fun project this has been to see the progression on! I think its a great QAL. and I can’t wait to see what you do for the next one.
Your blue quilt looks “comfortable” like old blue jeans : ) Very pretty, and the straight lines are…restful.
I love blue and white quilts, and this one is a winner! The quilting design is perfect. I think those lines look pretty straight! Can’t believe they are freehand.
I love the extra quilting you’ve done! The alternating direction on the dark/light blocks looks fantastic. Another beautiful job!!
This is looking great! I love all those blues 🙂
I love blues – this turned out so nice! Love all the quilted lines.
Very nice. Love how you quilted it.
I enjoyed looking at your quilting photos here. I can’t imagine sewing bundled up like that, though! I think most of the Berninas have that feature for the backstitch. The 153QE has it for sure.
That is nice to know. I am looking for a “new” machine. Maybe I can find an older Bernina.
Love both of these quilts. Both are so attractive in color, and amazing in the quilting!
Curious what type of machine you own…the backwards feature is very intriguing to me. I have a Bernina 440 and think that I might have this feature too but have never used it. I do love your quilting!!
Thanks Christi! I have an older Bernina – 1630. It do all of my quilting on it.