I named this pattern “Bling” because the main part of the design is an abstract representation of a sparkly ring. Can you see it?? Last week we cut out our fabrics and this week it’s time to sew them together to make Bling blocks! I like to lay out all of my pieces stacked up in order next to my sewing machine.
I’m making the scrappy background version, so as long as there’s good contrast between my lights and darks, these are going to look great! You can also use all of one background fabric for a more consistent, cleaner look.
In the Bling quilt pattern, I give you a couple of options for arranging each Bling block. You can use all of the same fabric for each Bling like I did above. Or you can use more than one fabric for a bit of a scrappy look. It’s totally up to you!
I like to press my seams open so the blocks will lie super flat. I sew with a shorter stitch length (2.0 instead of 2.5) to add more thread to each seam for extra strength. Click the image above to watch a short video of me sewing the units together using pins to line everything up. I assembly line sew, aka “chain piecing” to make this process faster.
The pattern tells how many blocks you need to make for each size. So your homework this week is to follow the diagrams and instructions in the pattern on pages 2-3 to make your blocks. The be sure to share pics of your progress in my Christa Quilts group on Facebook!
If you are just joining us, you can grab a copy of the Bling quilt pattern and choose your own fabrics. Or you can grab one of the optional kits if you want to make one just like mine!
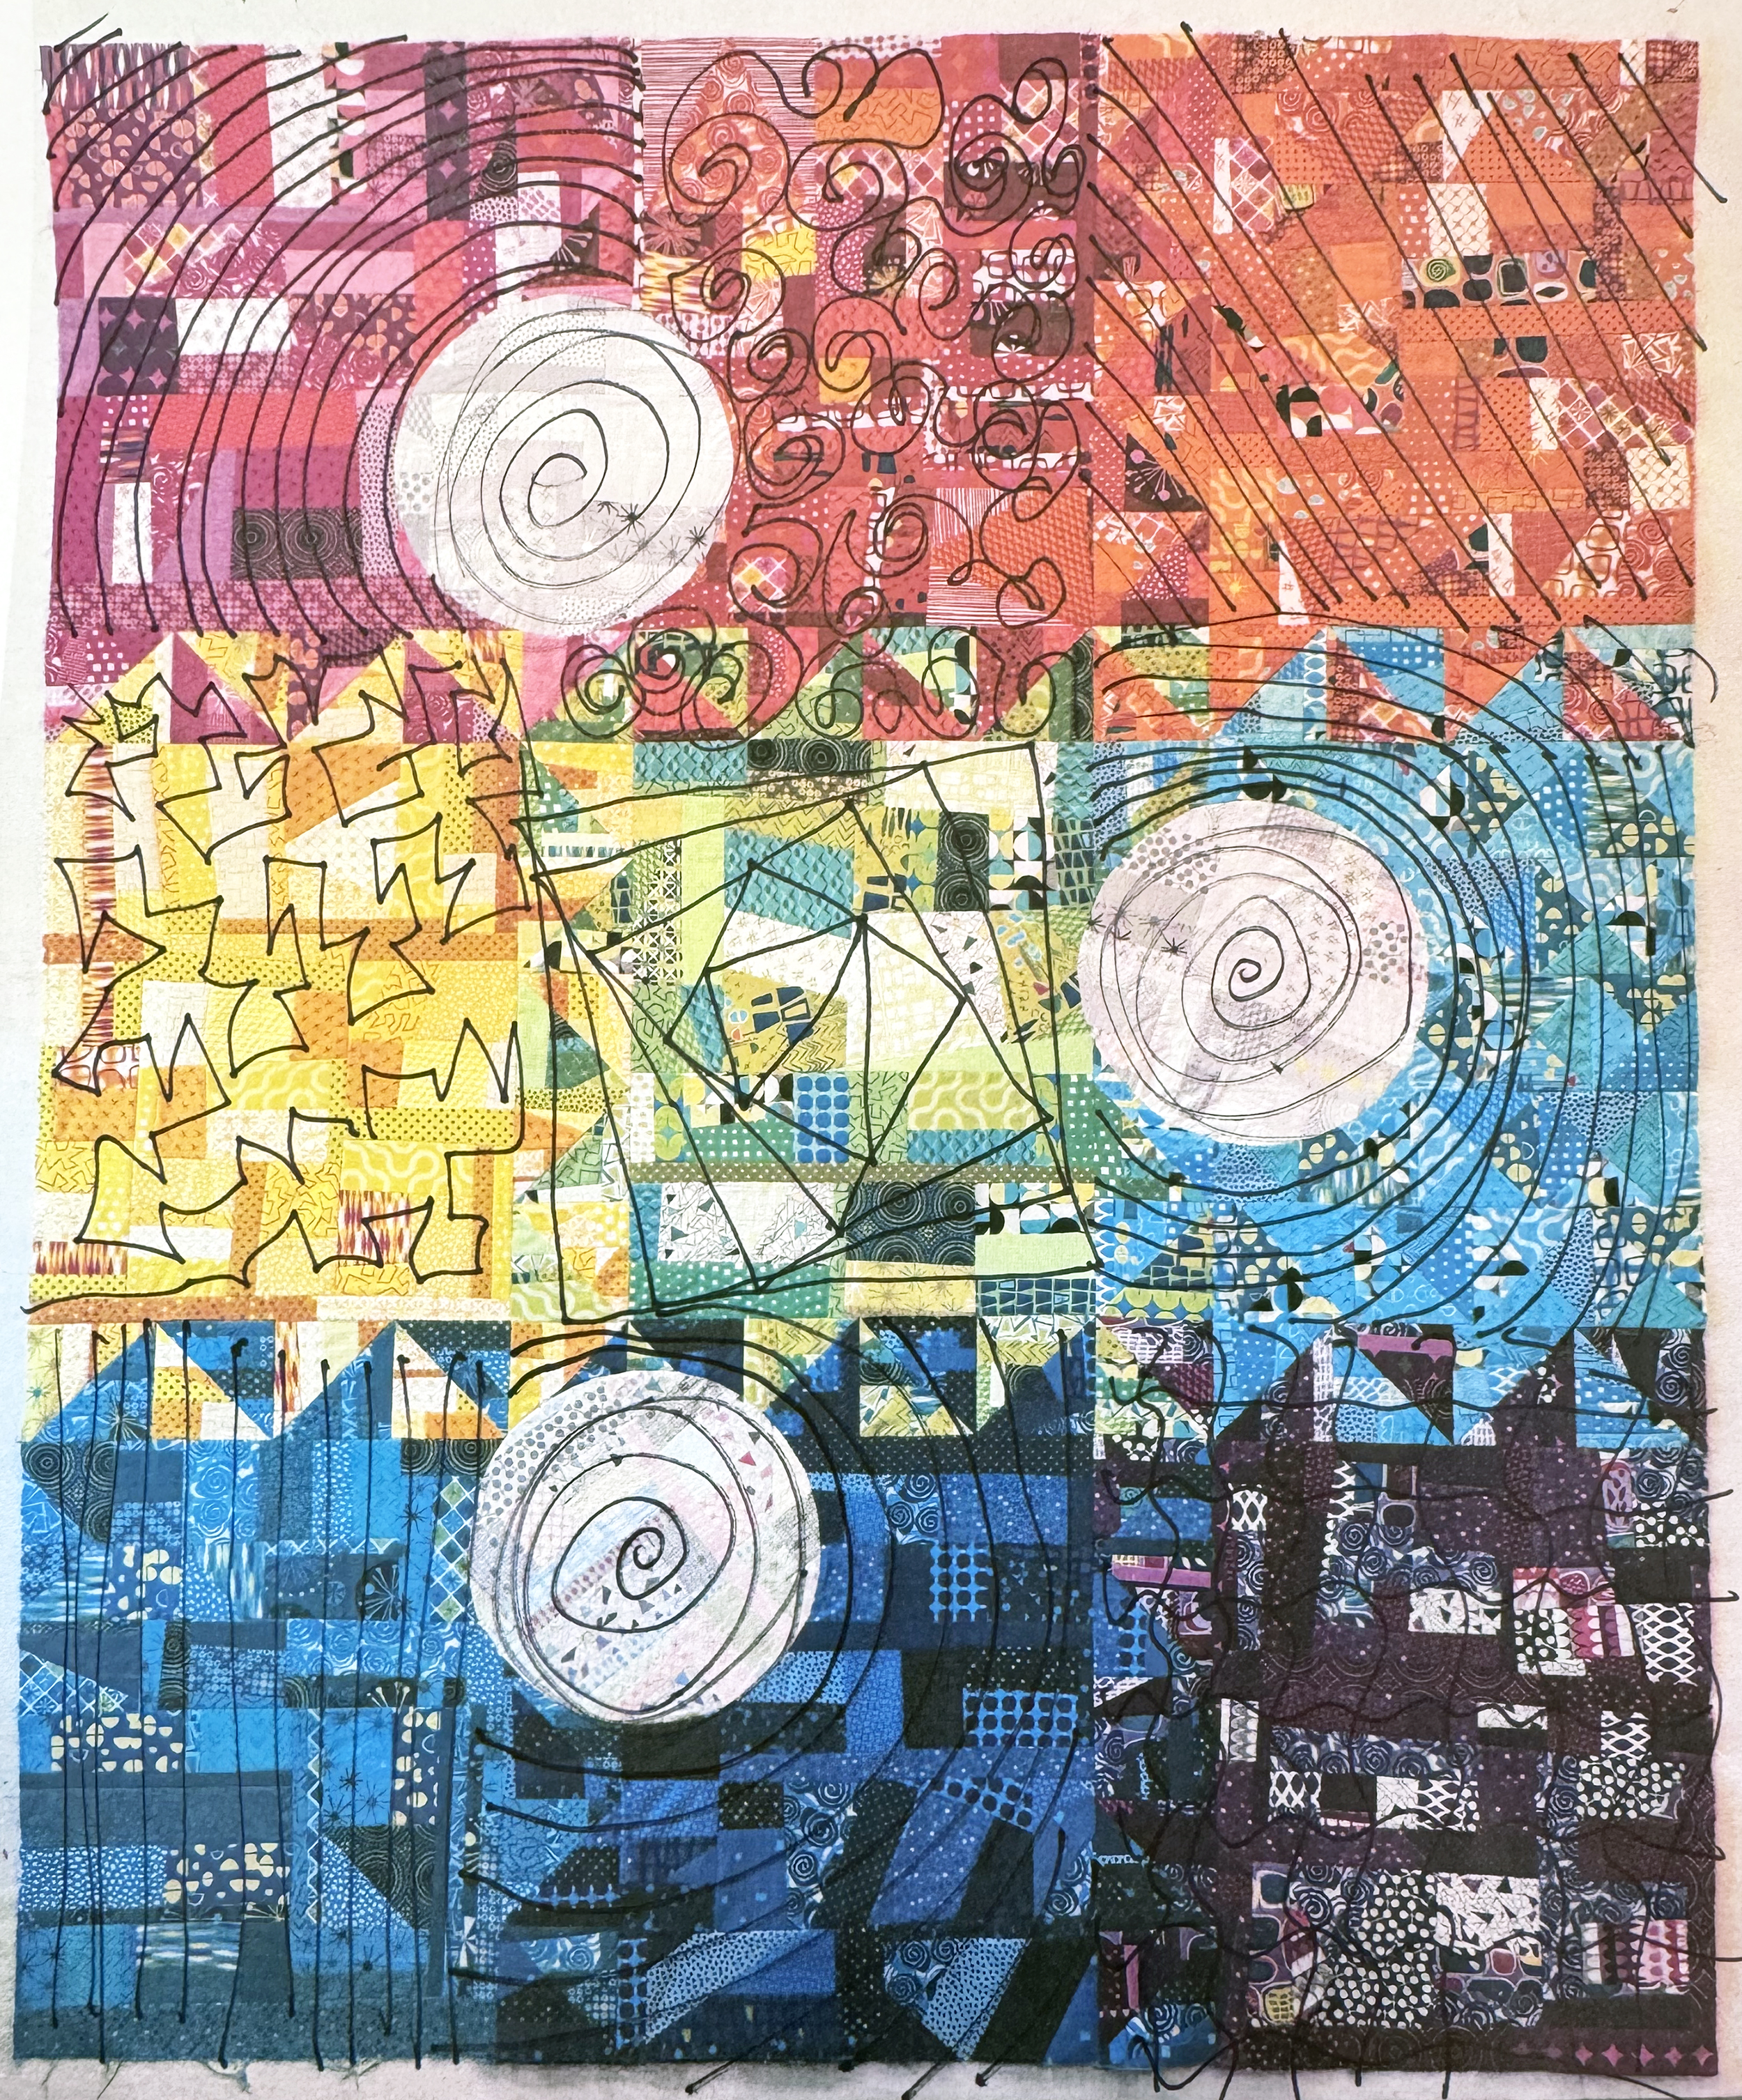
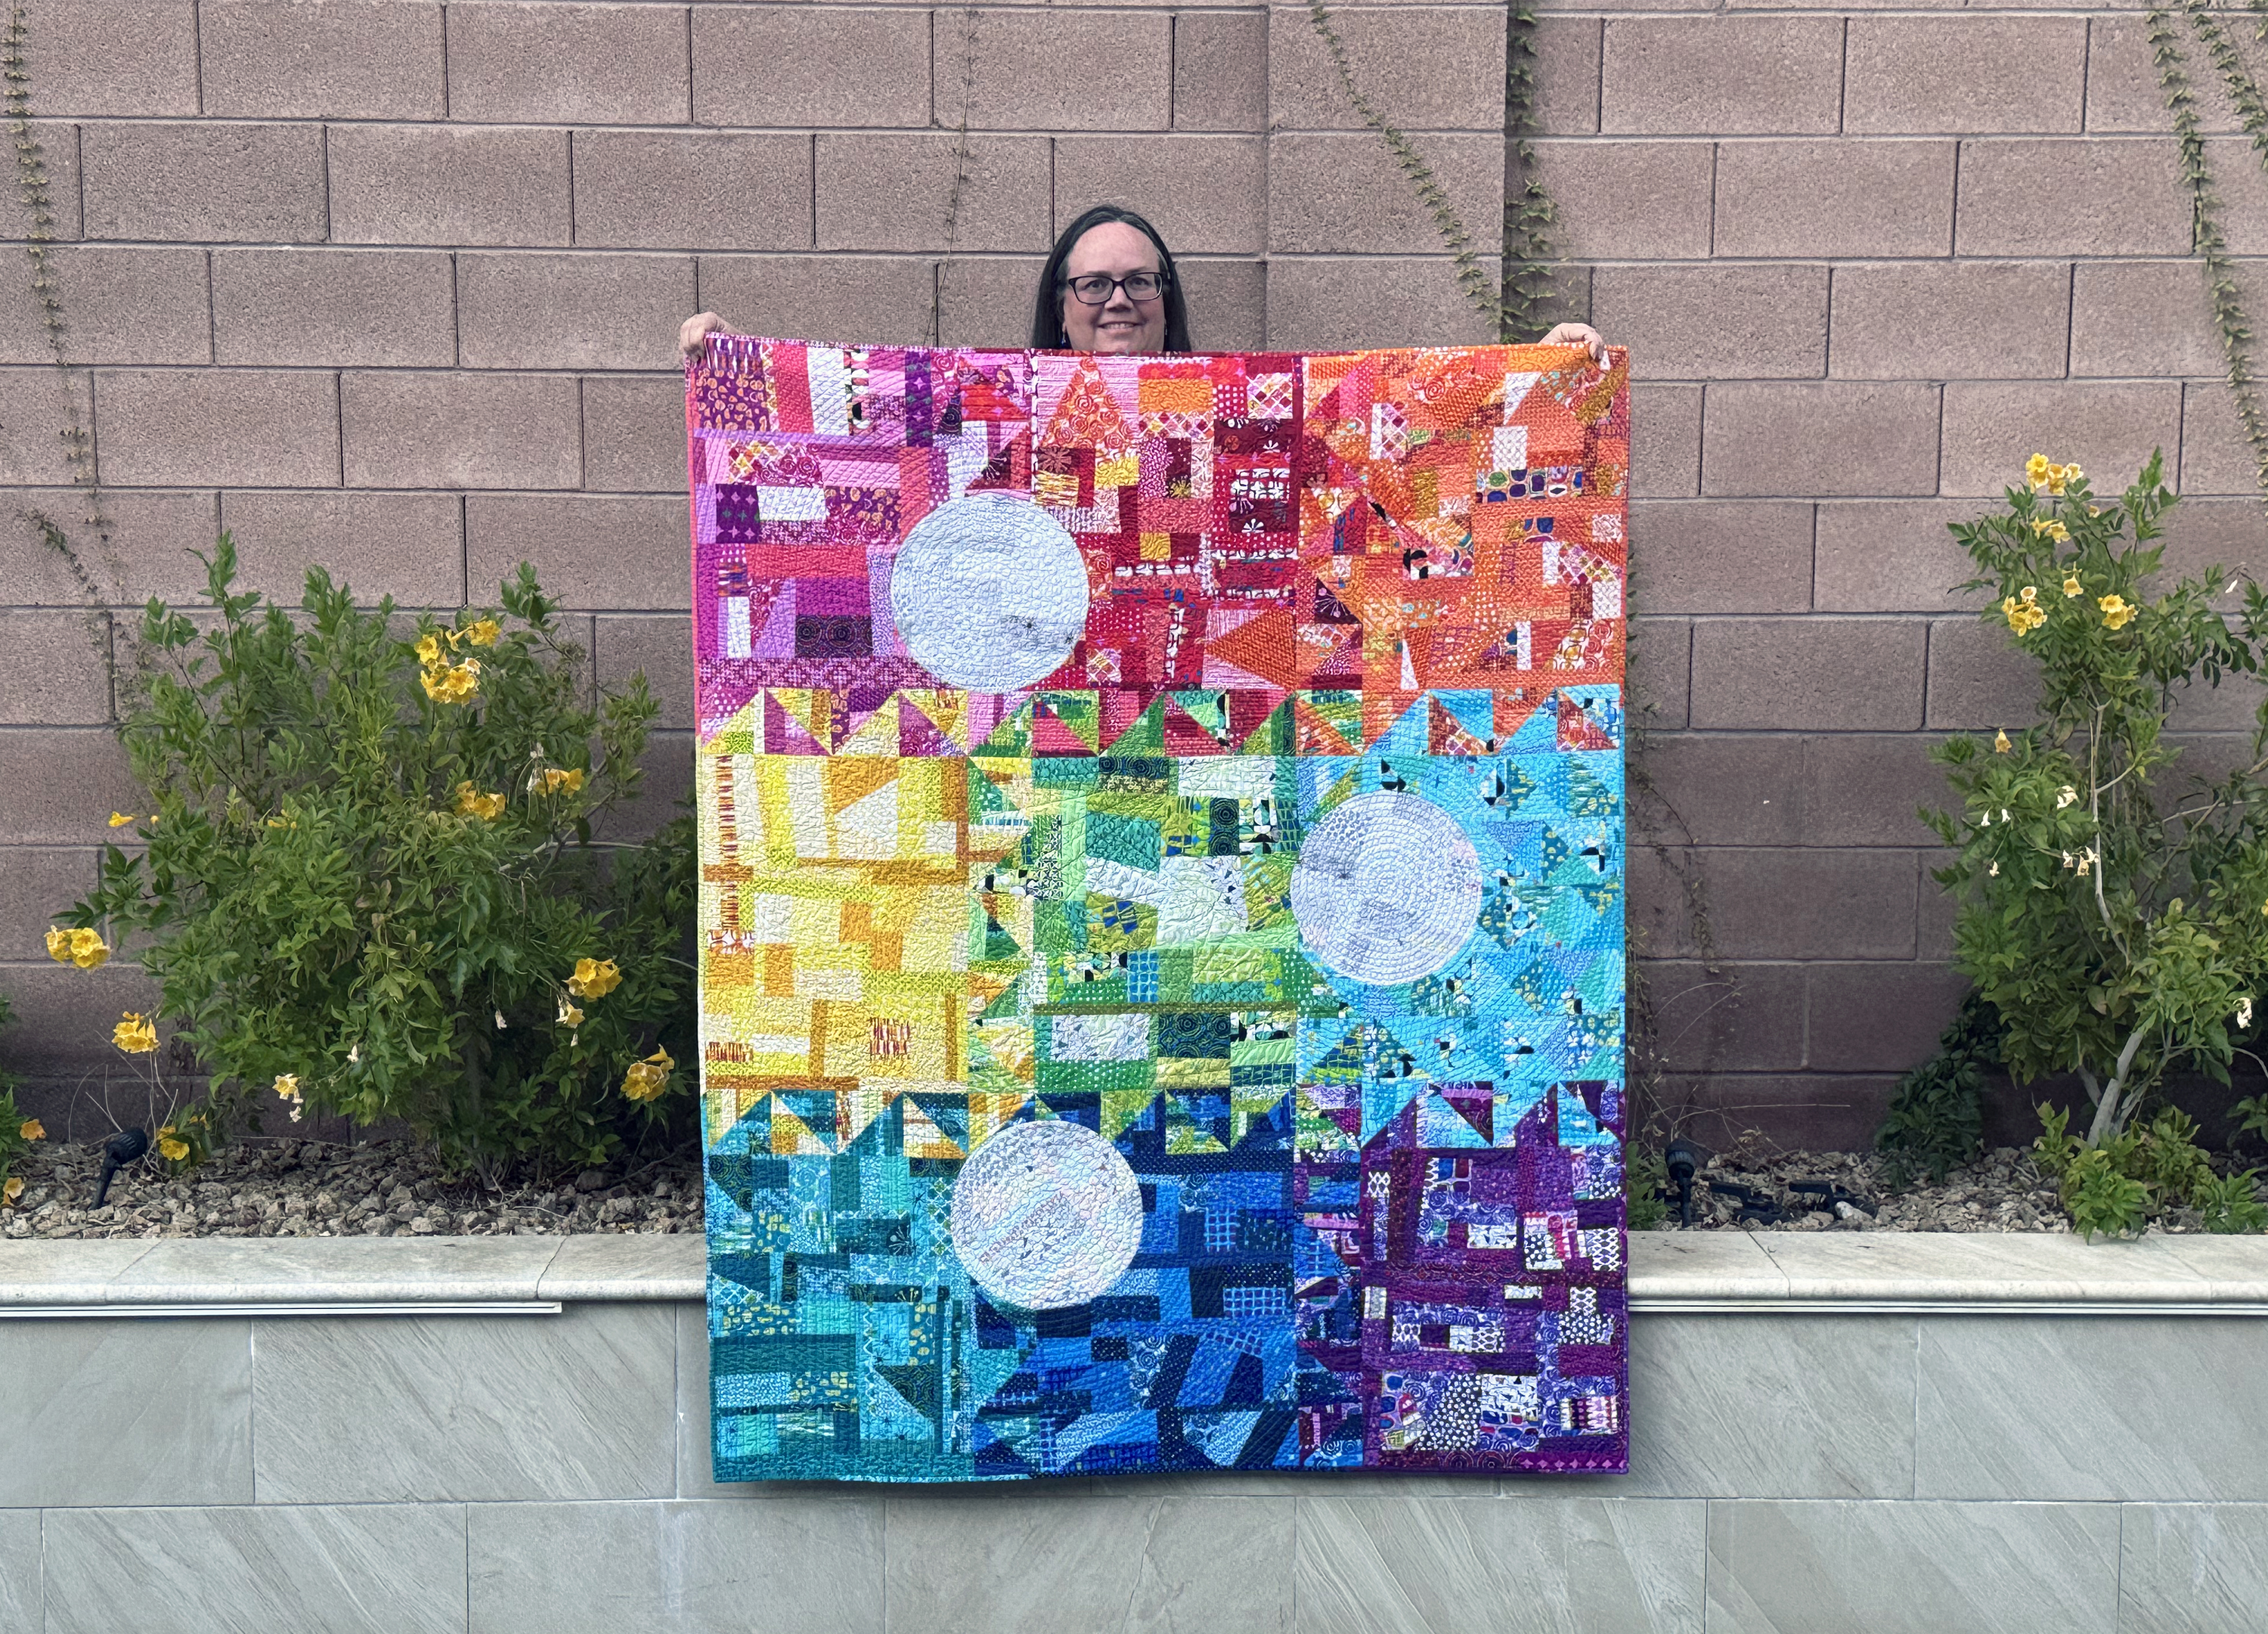
After a hiatus of entering quilt shows the last couple years, I just got the exciting news that Colorful Chaos was juried into the international quilt show in Paducah, KY!! There’s no pattern for this quilt because it’s part of my renewed push to make new and exciting experimental work that pushes me out of my comfort zone. I’m thrilled with how it turn out. Read more about it below….
In this post I thought I would share more about my machine quilting process and how I decided to quilt it. I hope you enjoy all the quilty eye candy!
Step 1 – Make a Quilting Plan
Before I begin quilting, I always start off with a quilting plan. I printed off a few color copies of my finished quilt top and then sketched out several different possibilities. These were simple pics I took from my phone and printed on a regular piece of paper. I wanted to emphasize the circles with the quilting and then fill in the other areas with some fun, geometric designs. This is just a roadmap, and I usually change it up a little when I get to the actual quilt.
I always make a quilting plan before quilting, and it’s totally ok to deviate from the plan!
Step 2 – Choose Thread Colors
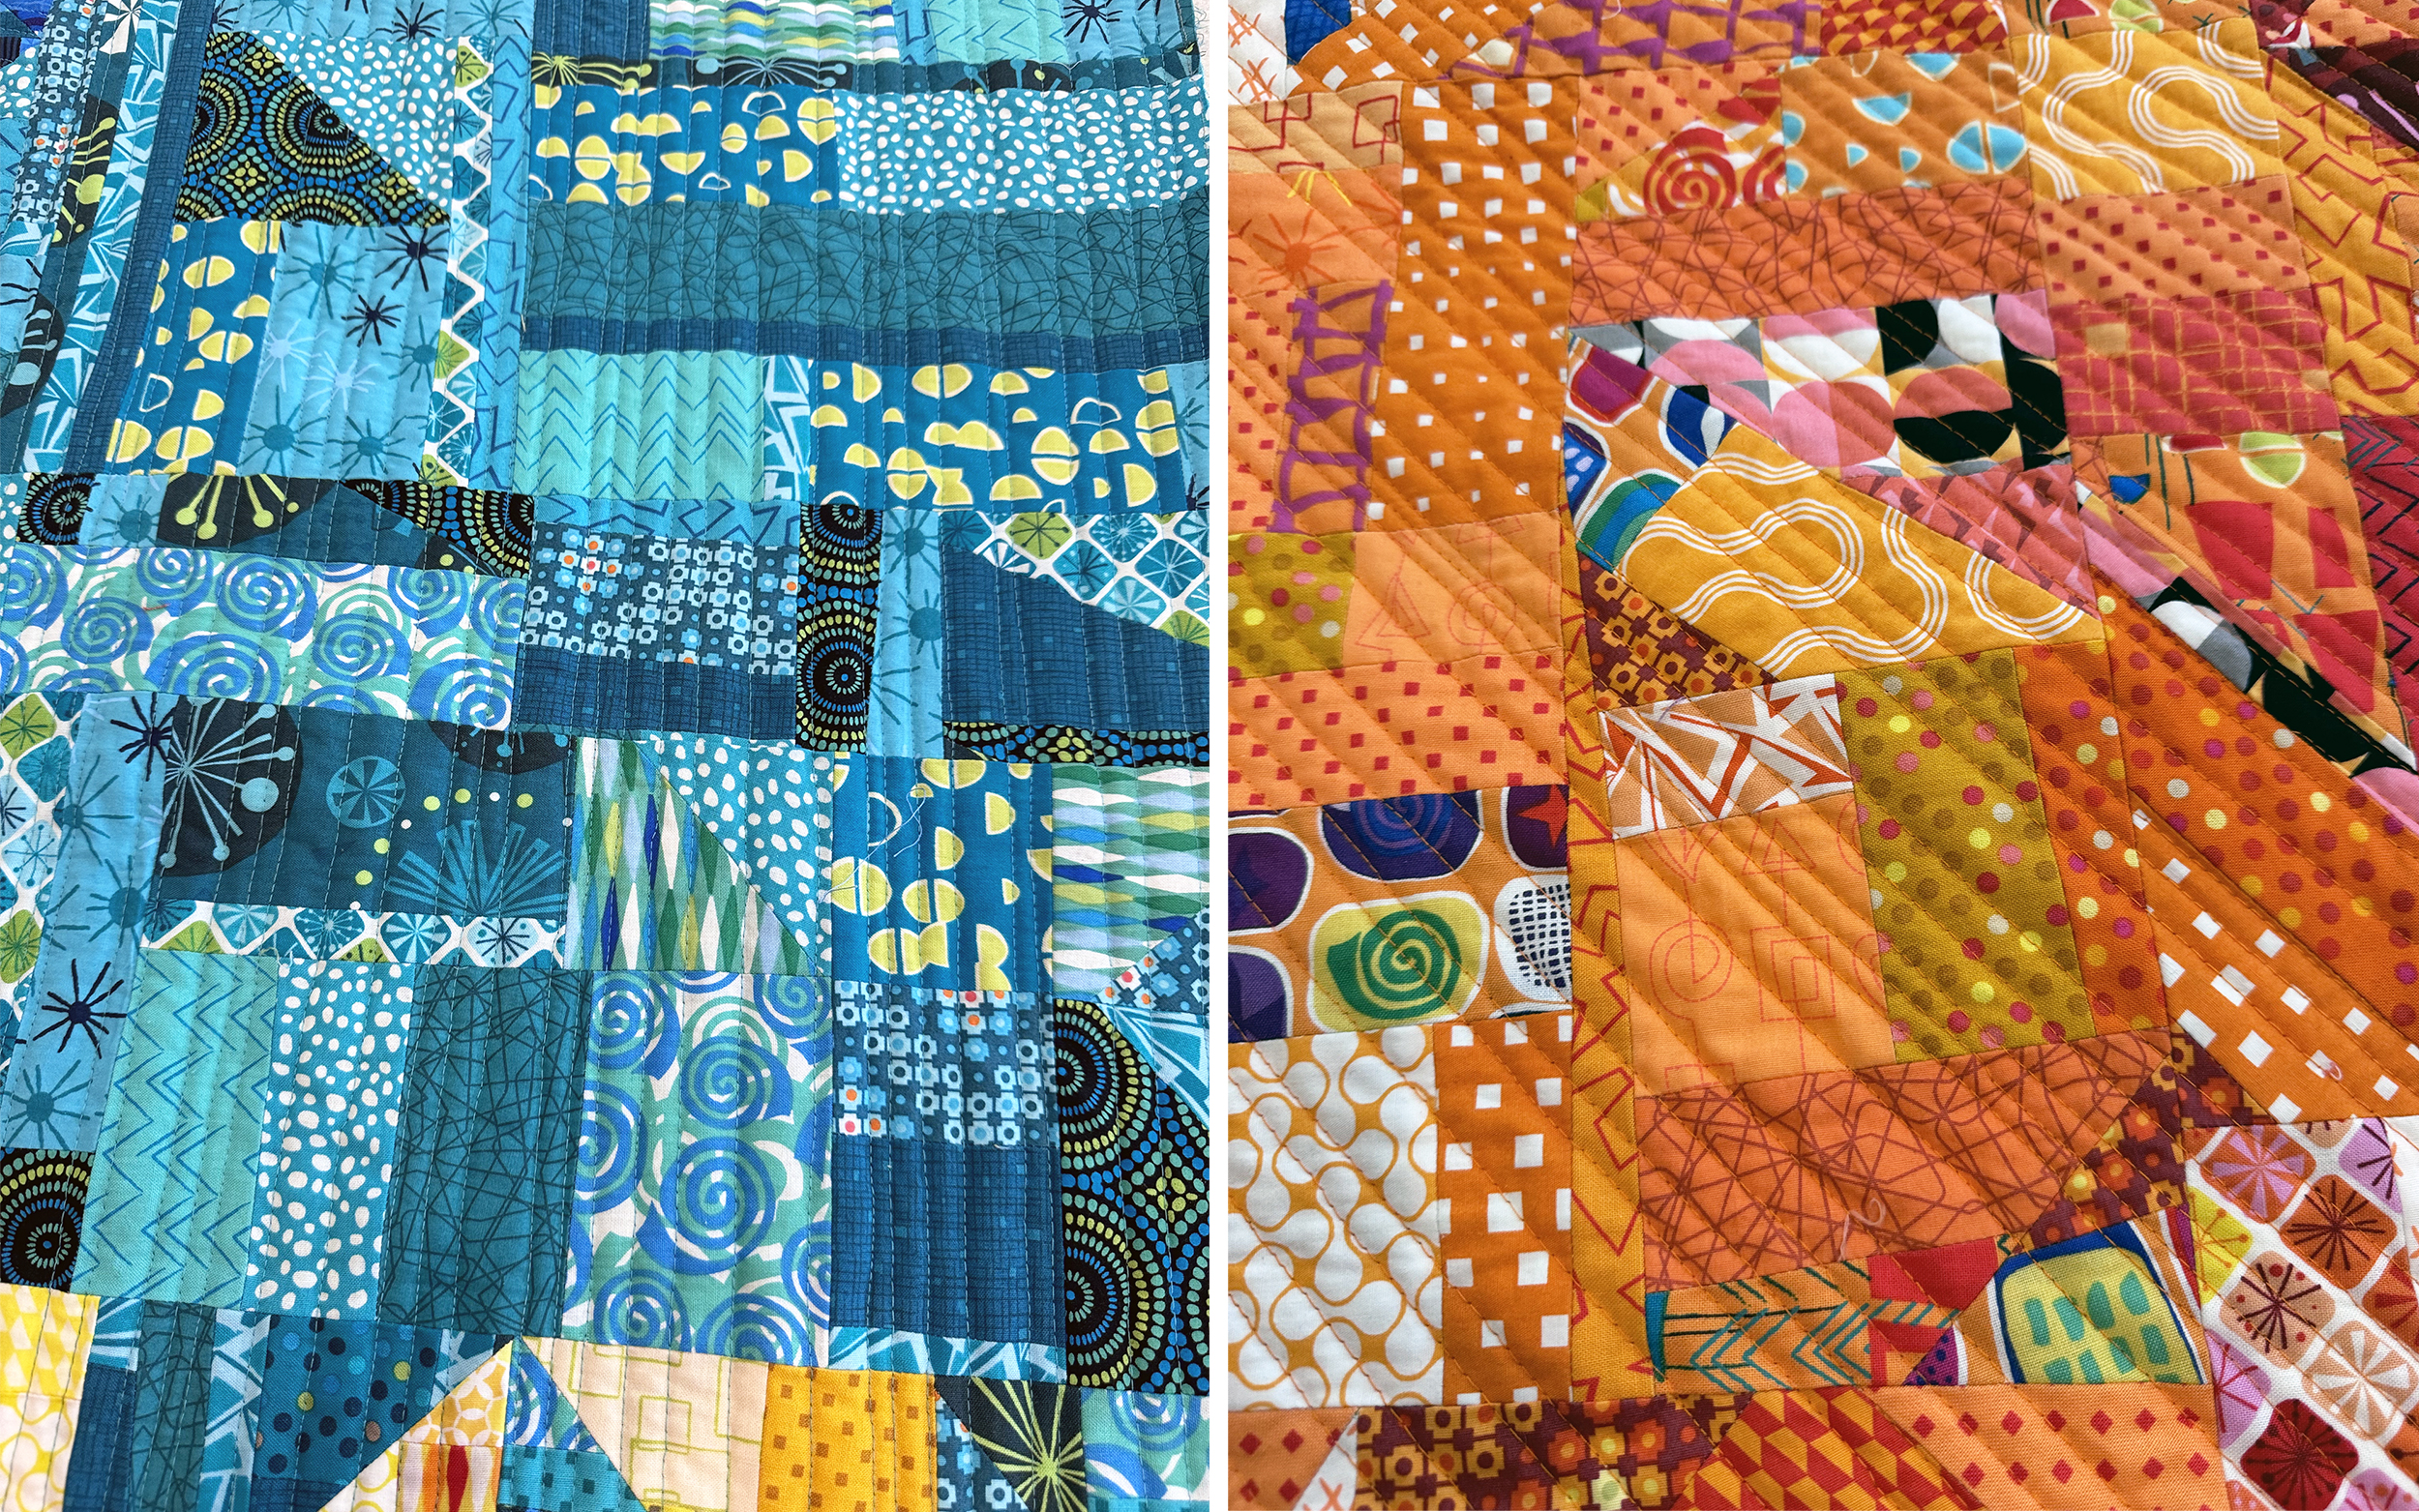
For most of my quilts, I usually just choose 1 or 2 thread colors, and I always use the same thread in the bobbin. For this colorful quilt, however, I wanted to quilt each colorful section with a matching thread color.
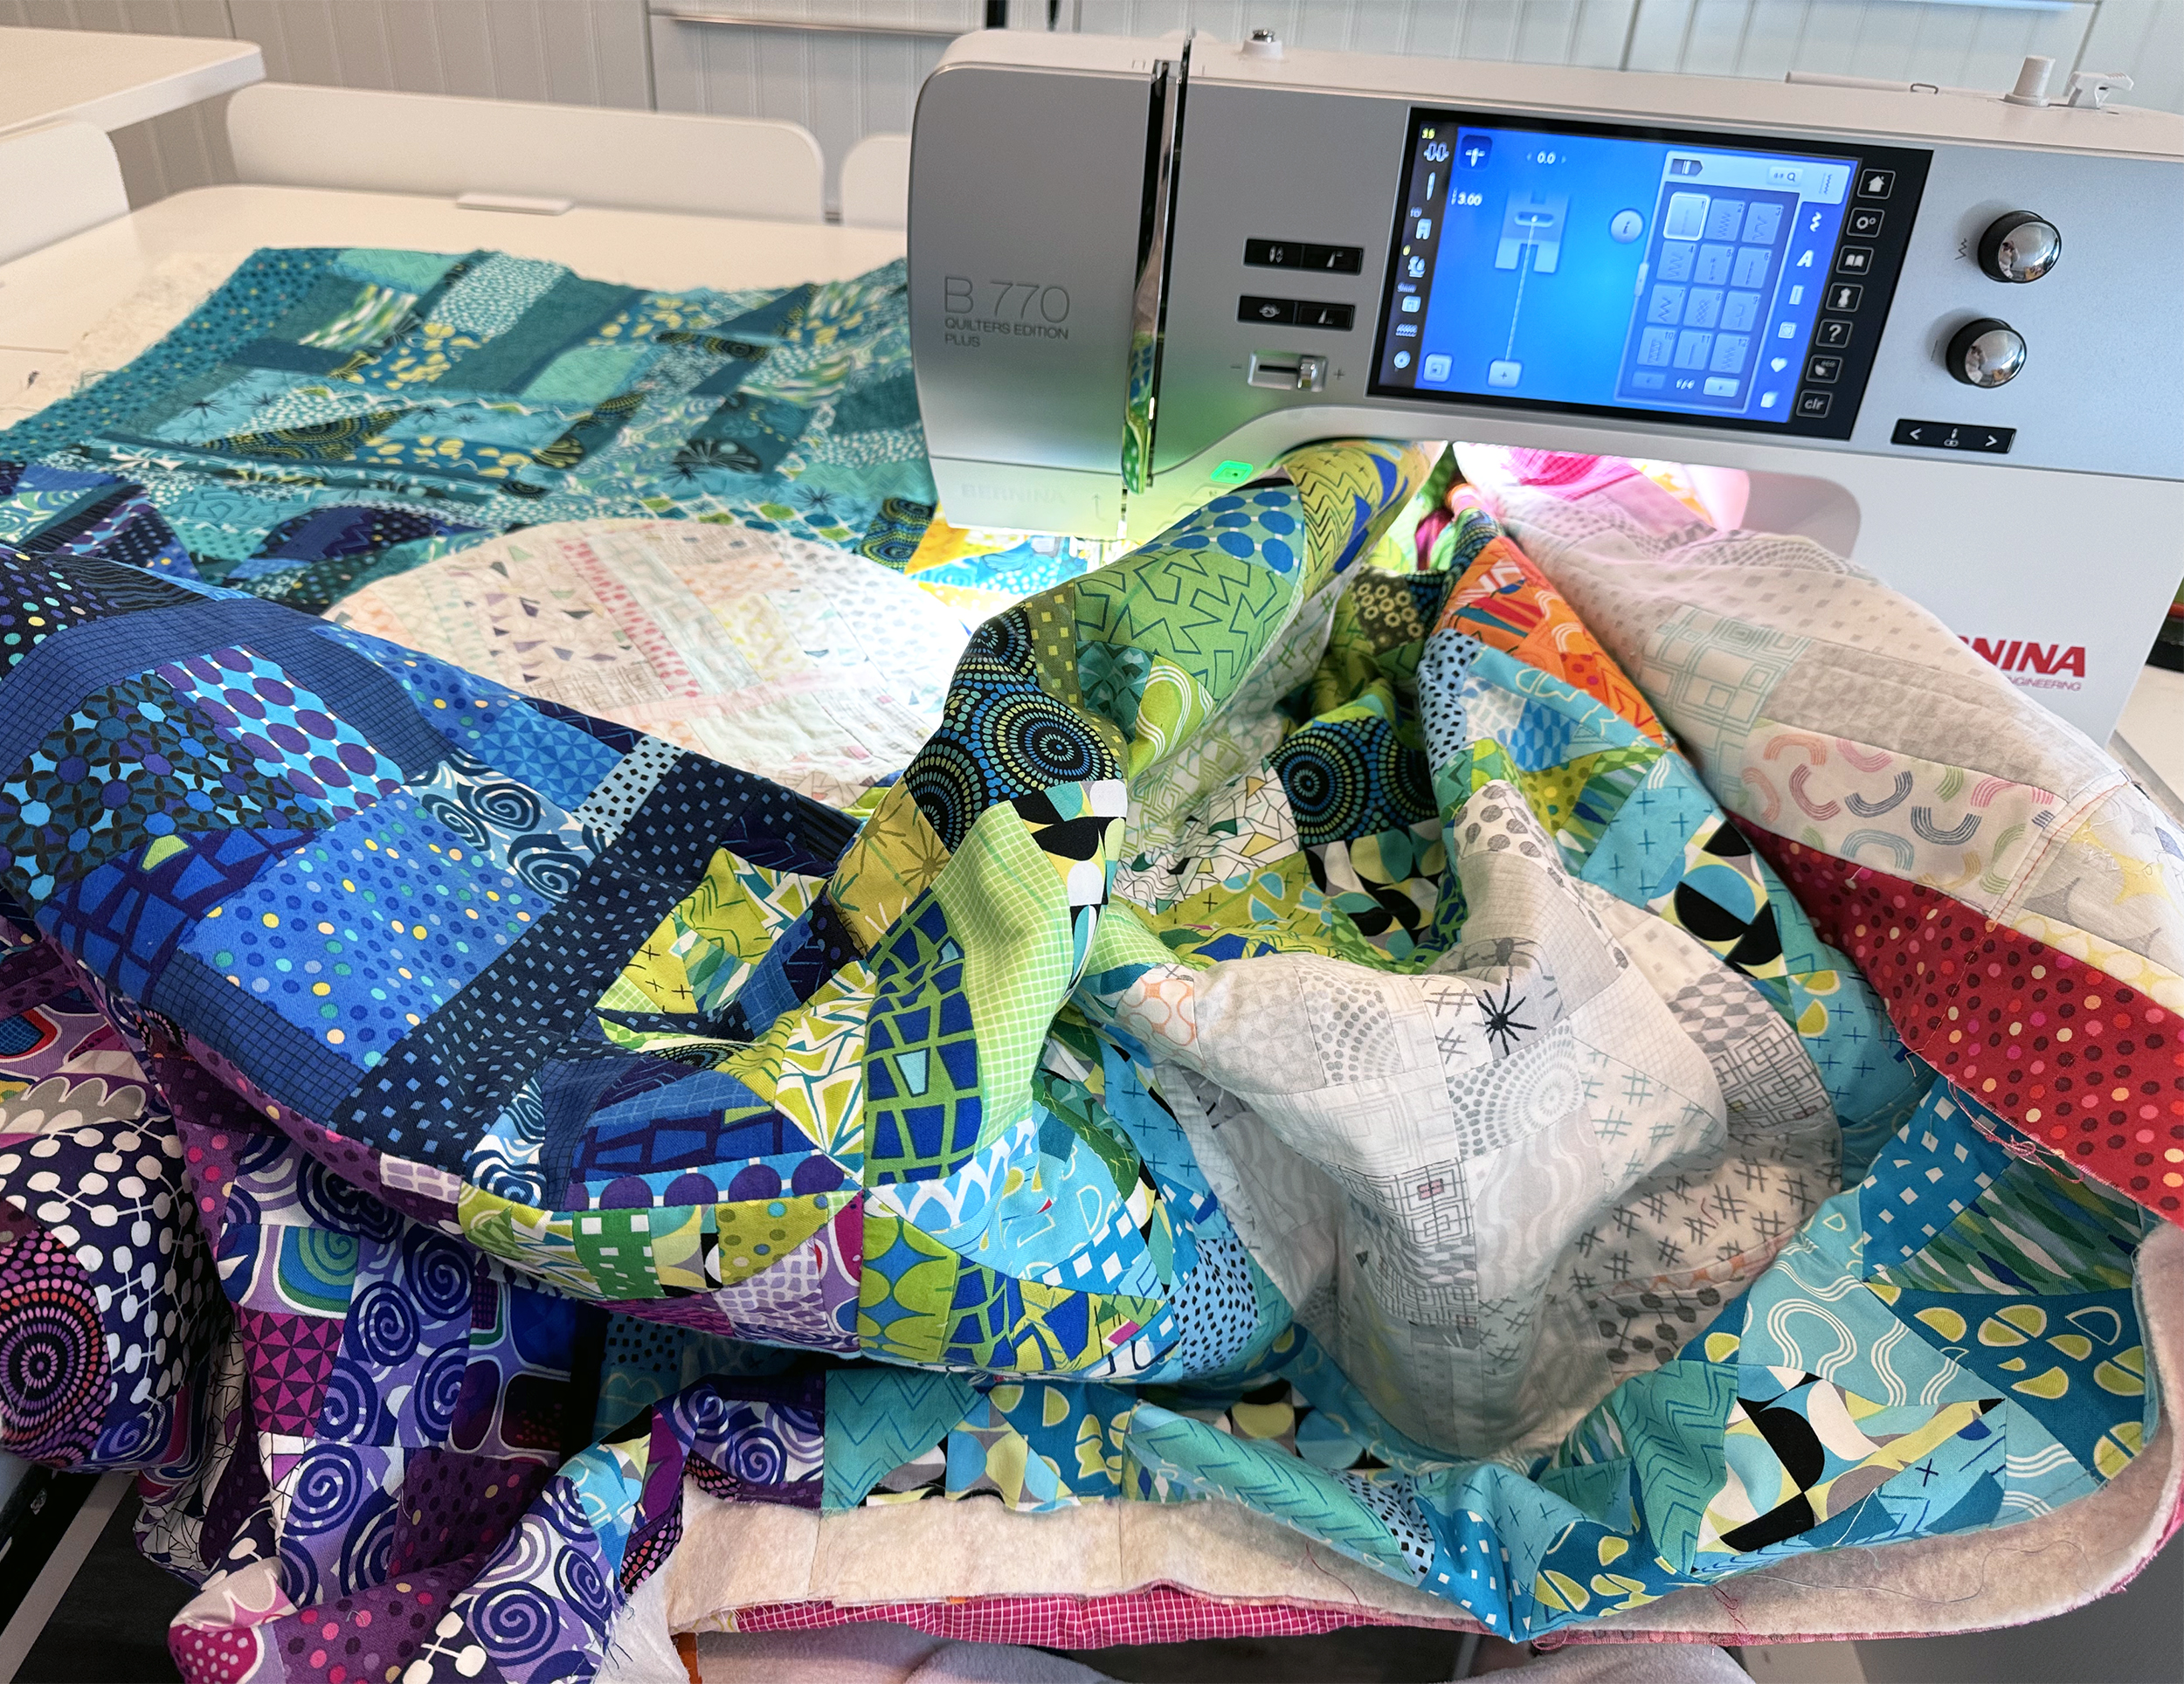
When I’m doing custom quilting, I take my time and focus on one area at a time. For this quilt I did some light stitching in the ditch between sections to anchor or secure the quilt. Then I went to town with different motifs in each colored area.
Above is what it looks like when I’m scrunching and smooshing my quilt under the machine. I’m using my Christa Cabinet to hold the weight of the quilt and it’s a game changer for domestic machine quilting!
Below I’m using pieces of painters tape to help me quilt straight lines using my dual feed system, which performs the same function as a walking foot.
Straight lines are super versatile because they can be stitched at lots of different angles, and they always look great! My secret is to quilt them in an irregular pattern rather than trying to have an even amount of spacing between the lines.
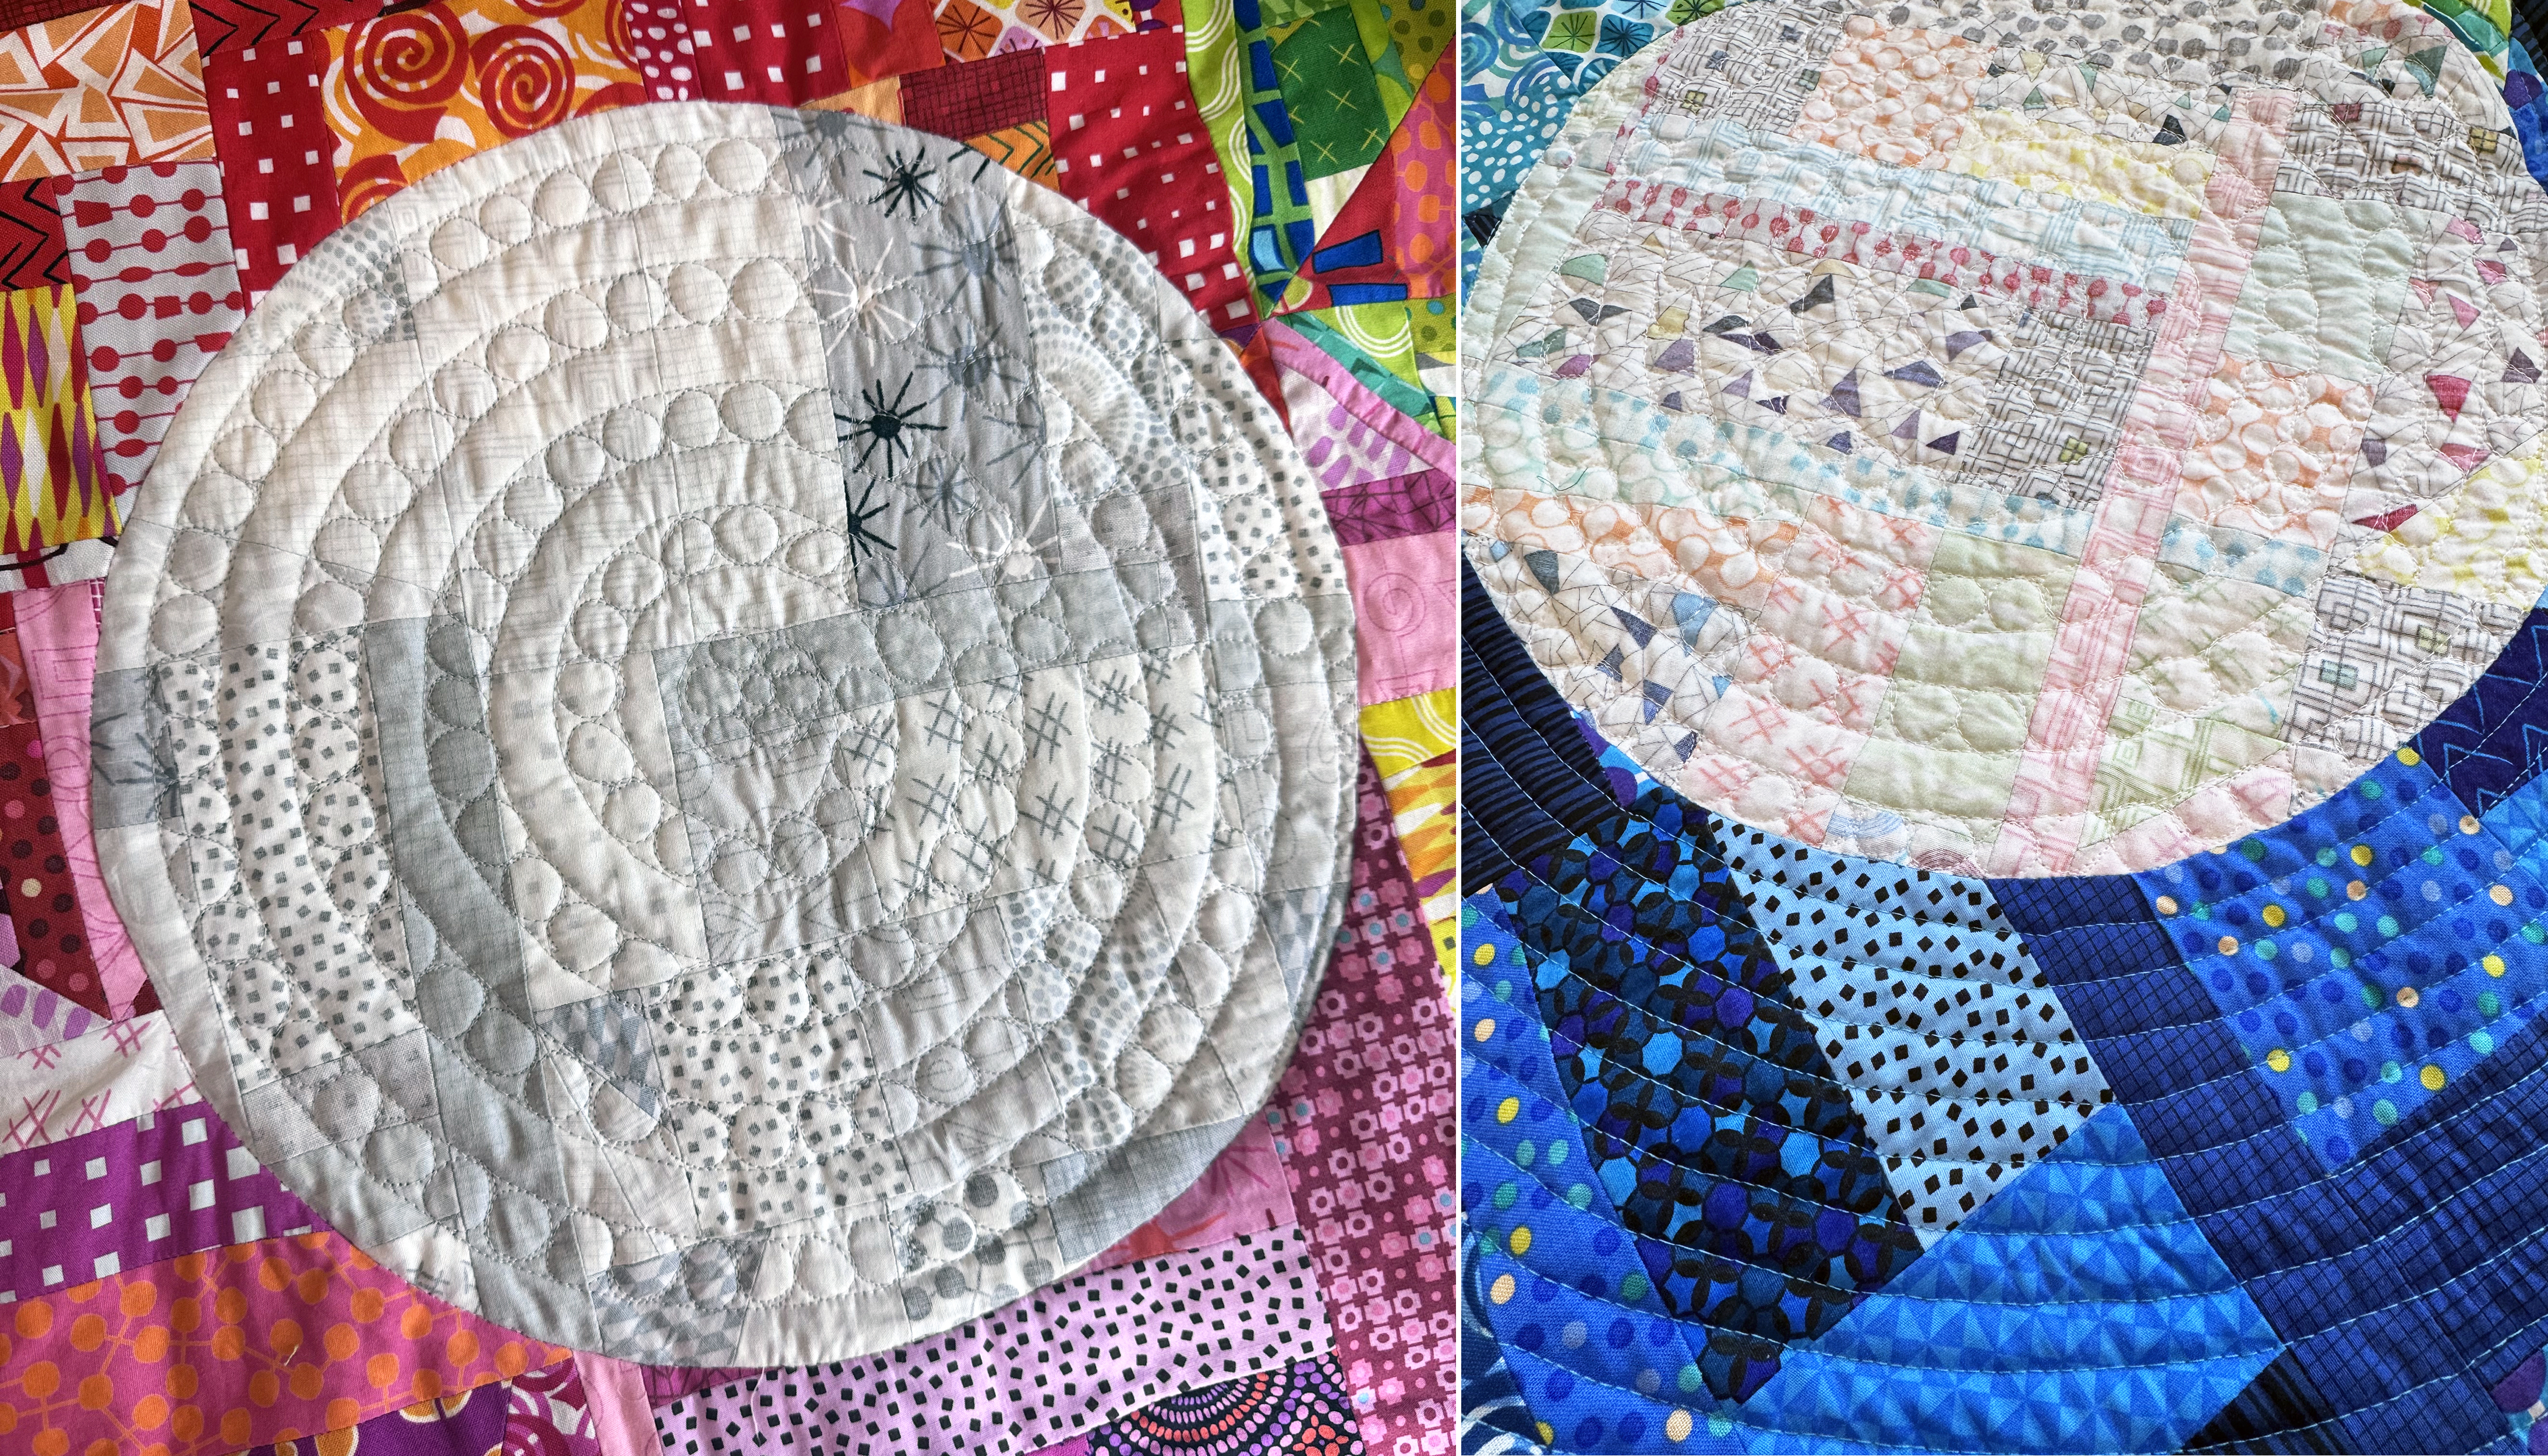
I also used walking-foot style quilting to stitch spirals inside and outside of each inset circle. To jazz them up a bit, I then went back and free motion quilting pebbles in between each of the spirals. It was a fun challenge figuring out how to make that work, but I love trying new things with every quilt I make!
This year it’s been my goal to work on what I call my “runway” quilts in between other projects. These are quilts that are a bit more edgy and push the boundaries of what I can do. There’s no pattern for them so that frees me from the need to be able to replicate everything I do.
But just like runway fashions inspire colors and style you’ll see at your local department store, my experiments will show up in bits and pieces, such as this practice sample that I’ve added to my “Spirals and Swirls” machine quilting workshop:
I continued the rainbow colors around the edges with matching binding. I pieced the binding in sections and then added one section at a time, splicing the seams together roughly were the colors overlapped.
Today I am just going to share a little bit of the work in progress that’s been happening this week. I can’t believe Christmas is so soon! It really is the most wonderful time of the year. 🙂
I have finished the design for my next quilting tutorial, which I’m calling “Sea of Squares.” I love the combo of crisp blue and white – especially in the winter. Now that I’ve finally gotten the hang of EQ7, I plan on designing all my quilts this way – the possibilities are endless!
I will post the supply list next week, right after Christmas, so you will have something to look forward to after your holiday festivities are over!
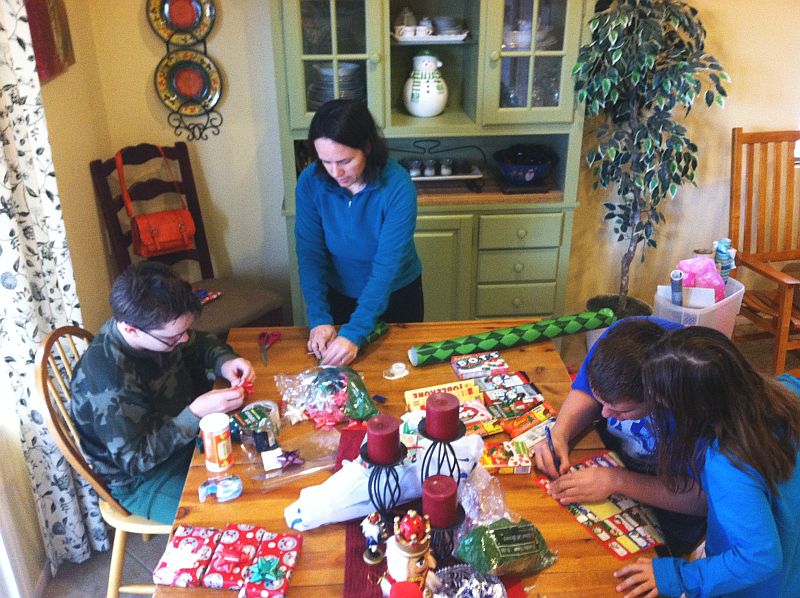
Next, we’ve been like busy little elves around here wrapping presents as soon as we get them. The kids helped me wrap for the first time this year and they quite enjoyed it. We made pretty good timing of it too, as we are usually doing this the night before, LOL!!
And finally, I just had to share a picture of this adorable Nativity Scene that my daughter made with her girls’ activity days group (sort of like girl scouts at church). It helps remind me of the reason for the season. 🙂
Yes – it’s made from graham crackers and candy and is quite edible – though she won’t dare let us think of it! (My favorites are the animal crackers and the licorice shepherds’ canes.)