
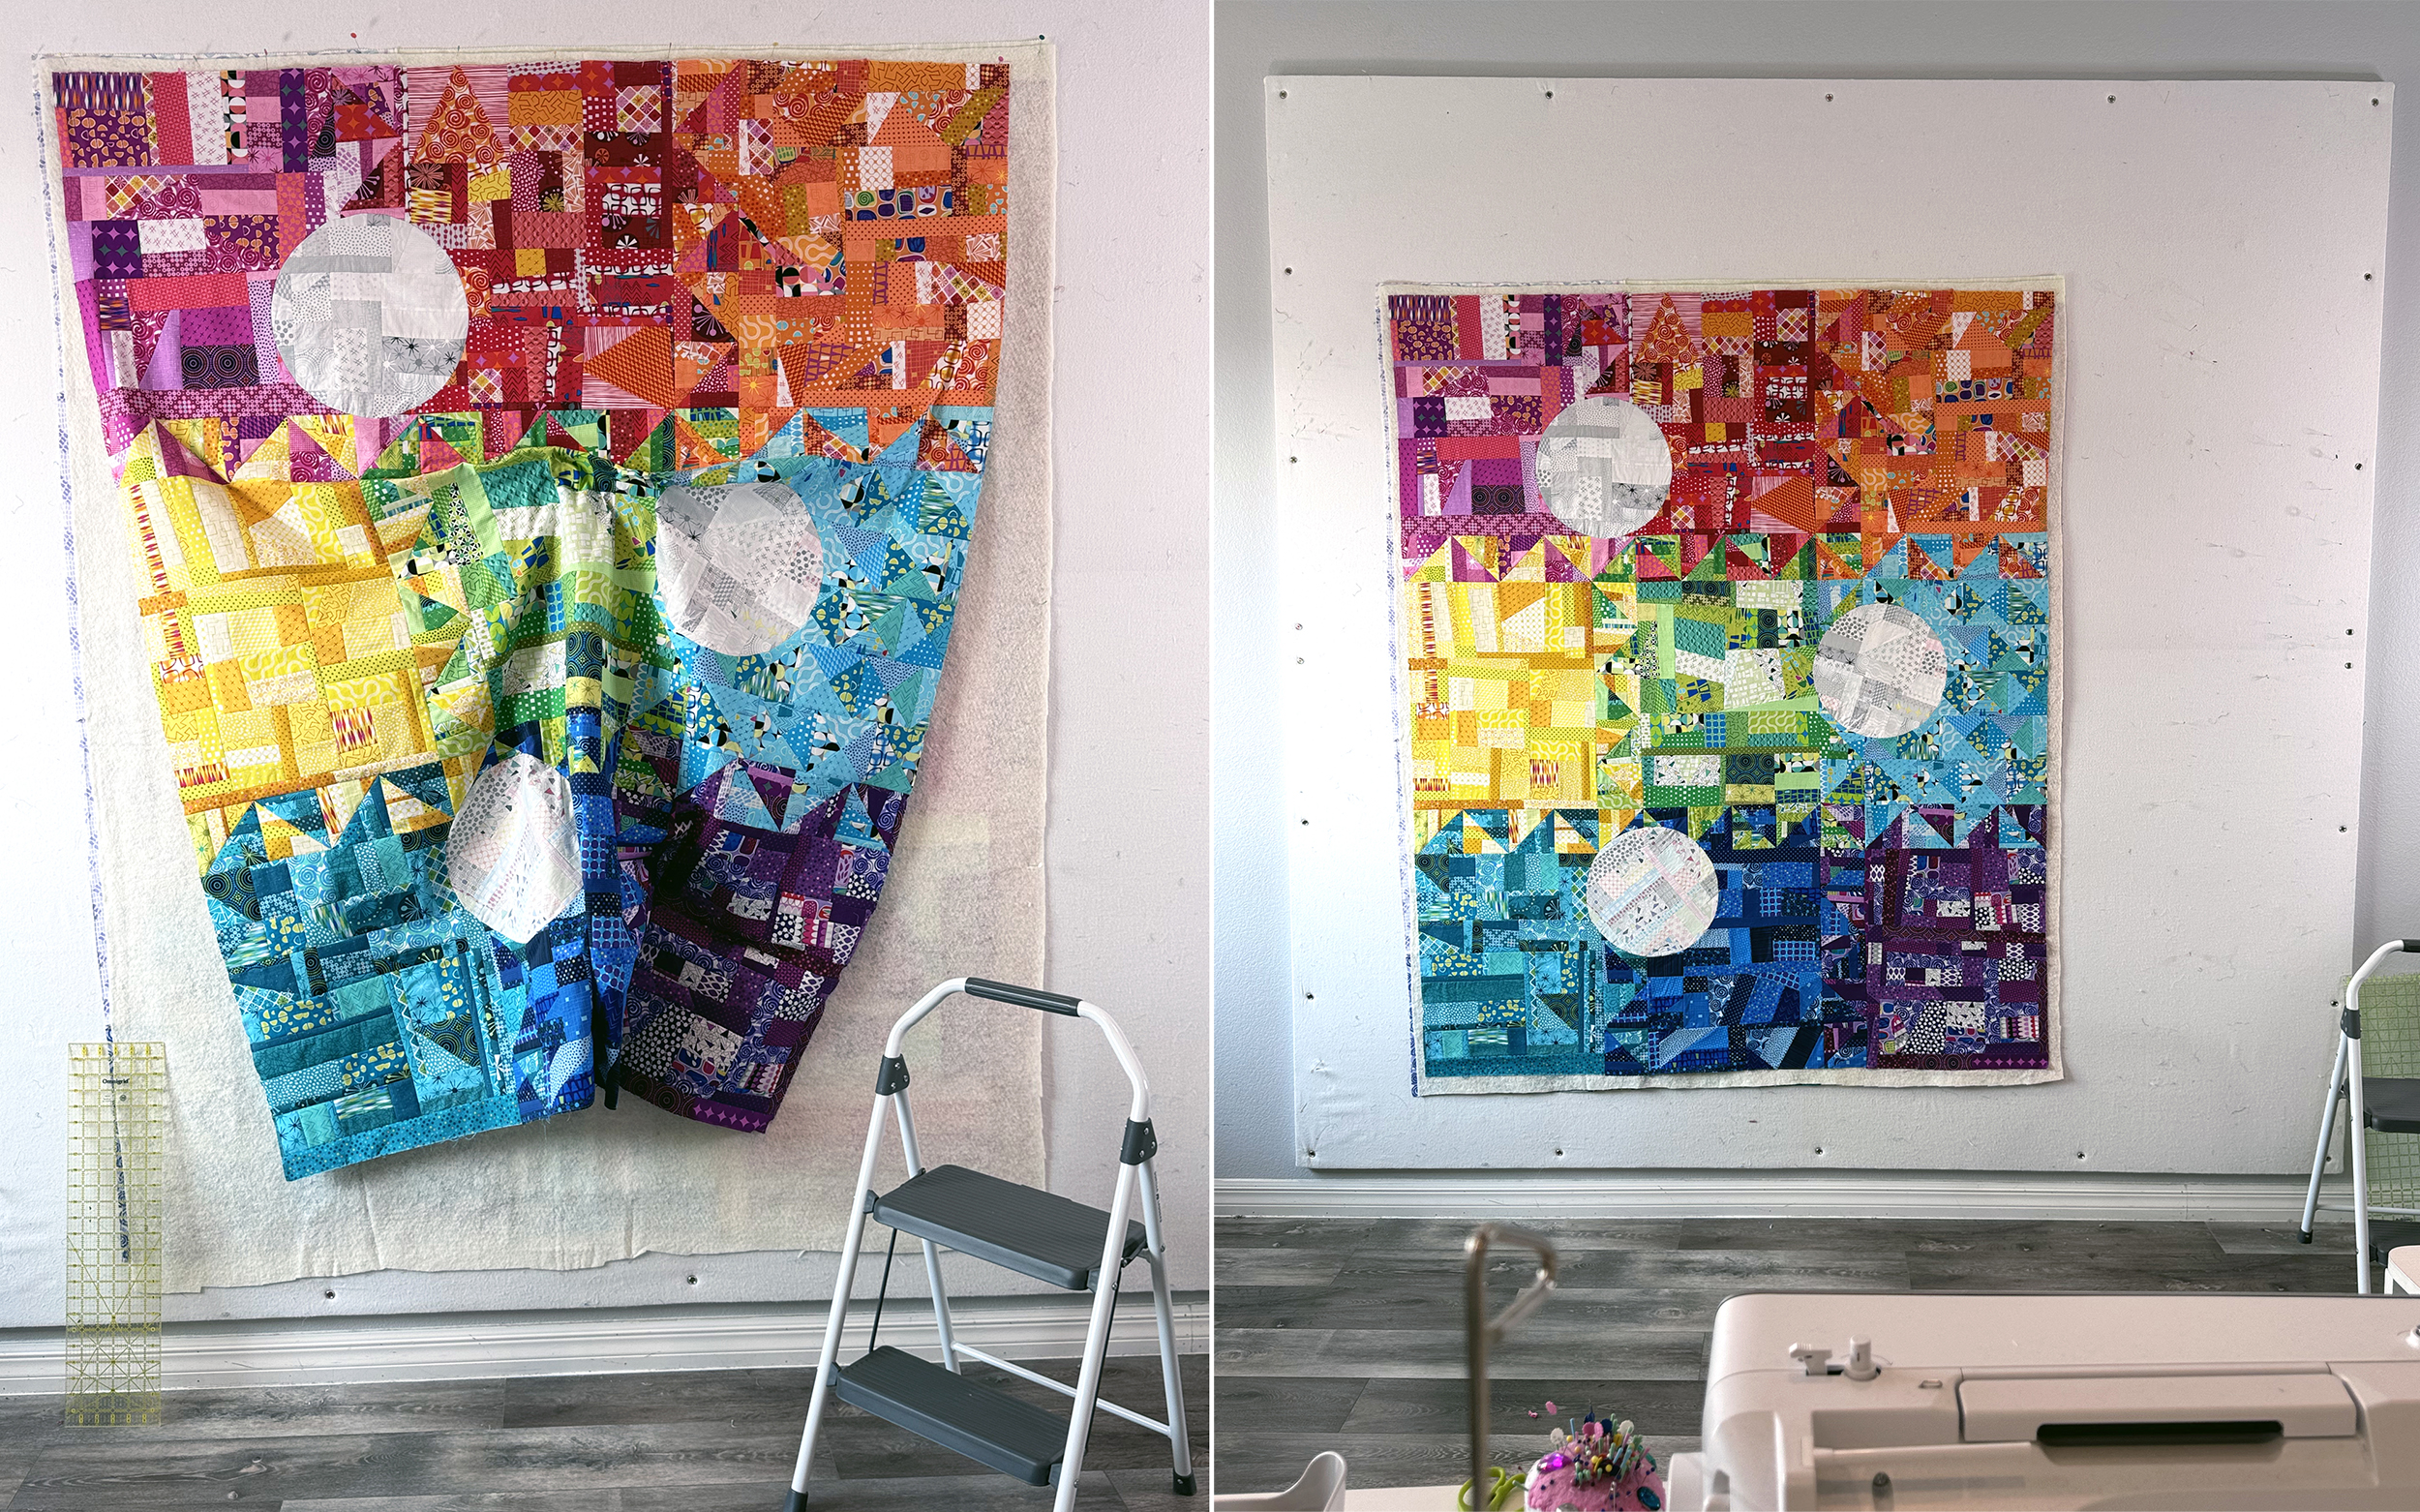
Front and back of Colorful Chaos ready to baste. I added a little bit more fabric around the edges of the back to ensure it was bigger than the front.
Are you enjoying following along as I make this quilt? If you missed it, be sure to check out my previous posts from this series:
Part 1 – Making Soul-Fulfilling Work
Part 2 – Piecing Inset Circles
Part 3 – Improv Quilt Backing from Leftovers
This week I’m showing how I spray basted Colorful chaos using my design wall and 505 spray. Something I do before I start is to take a picture of the batting with the quilt so I can remember what I used. For this quilt I decided to use some Hobbs Tuscany Silk batting. It’s so dreamy and drapey and because it’s a natural fiber, it clings to the cotton fabric which helps prevent shifting while quilting.

Whenever I baste a double sided quilt, folks ask how to line up both sides precisely. Well, the answer is that I don’t do that AT ALL! That’s way too much for my brain to think about. So all I do is make sure that the backing is at least a couple inches larger than the quilt top on all sides, knowing that the edges will get trimmed.
The next step is to spray an even amount of the 505 on the wrong side of my quilt top and backing. The nice thing about both sides being pieced is that it’s easier to remember which areas I’ve sprayed. I use a plastic table outdoors that’s been covered with a king sized sheet that acts as a drop cloth.

Next I assemble the layers inside on my design wall. First I pin the backing wrong side up and smooth it out with my hands and a long acrylic ruler. Then I add the batting that’s been trimmed larger than the quilt top but smaller than the backing. I take my time to make sure it’s nice and smooth before adding the top.

Click here for a bonus tutorial showing how I made my design wall!
Then I add the quilt top in the same manner. I ensure that there’s backing and backing sticking around all 4 sides of the quilt top, and then I trim it to only about 1-2″ sticking out. This is so that I don’t accidentally fold the extra underneath the quilt while stitching!
The final “magic” step in this process is pressing the quilt on both sides to secure the glue. This also gives me another chance to iron out any wrinkles, or smooth out any puckers that have formed on either side of the quilt. This will make machine quilting a breeze, especially when every inch of the quilt is sticking to itself.

Although there’s no pattern for my Colorful Chaos quilt, the improved pieced Spools quilt on the wall was made using a similar technique. That’s one of the patterns included in my book Piece and Quilt with Precuts which is available as a PDF download in my Etsy shop!
Now that it’s basted and ready to quilt, I can set it aside for awhile until I’m ready to quilt! If you love bright, bold colorful fabrics like I do, you can check out the latest fabrics I’ve designed over at my online website at shop.ChristaQuilts.com.
Bonus Spray Basting Video Tutorial!
Although I only took photo stepouts while making this quilt, I do have another video you can watch showing the same process on another quilt called Color Weave. Take a look below:
Have you tried this technique for spray basting your quilts? Let me know what you think, or if you prefer another way. There’s no right or wrong way to do things when it comes to quilting, only lots of options to choose!!
