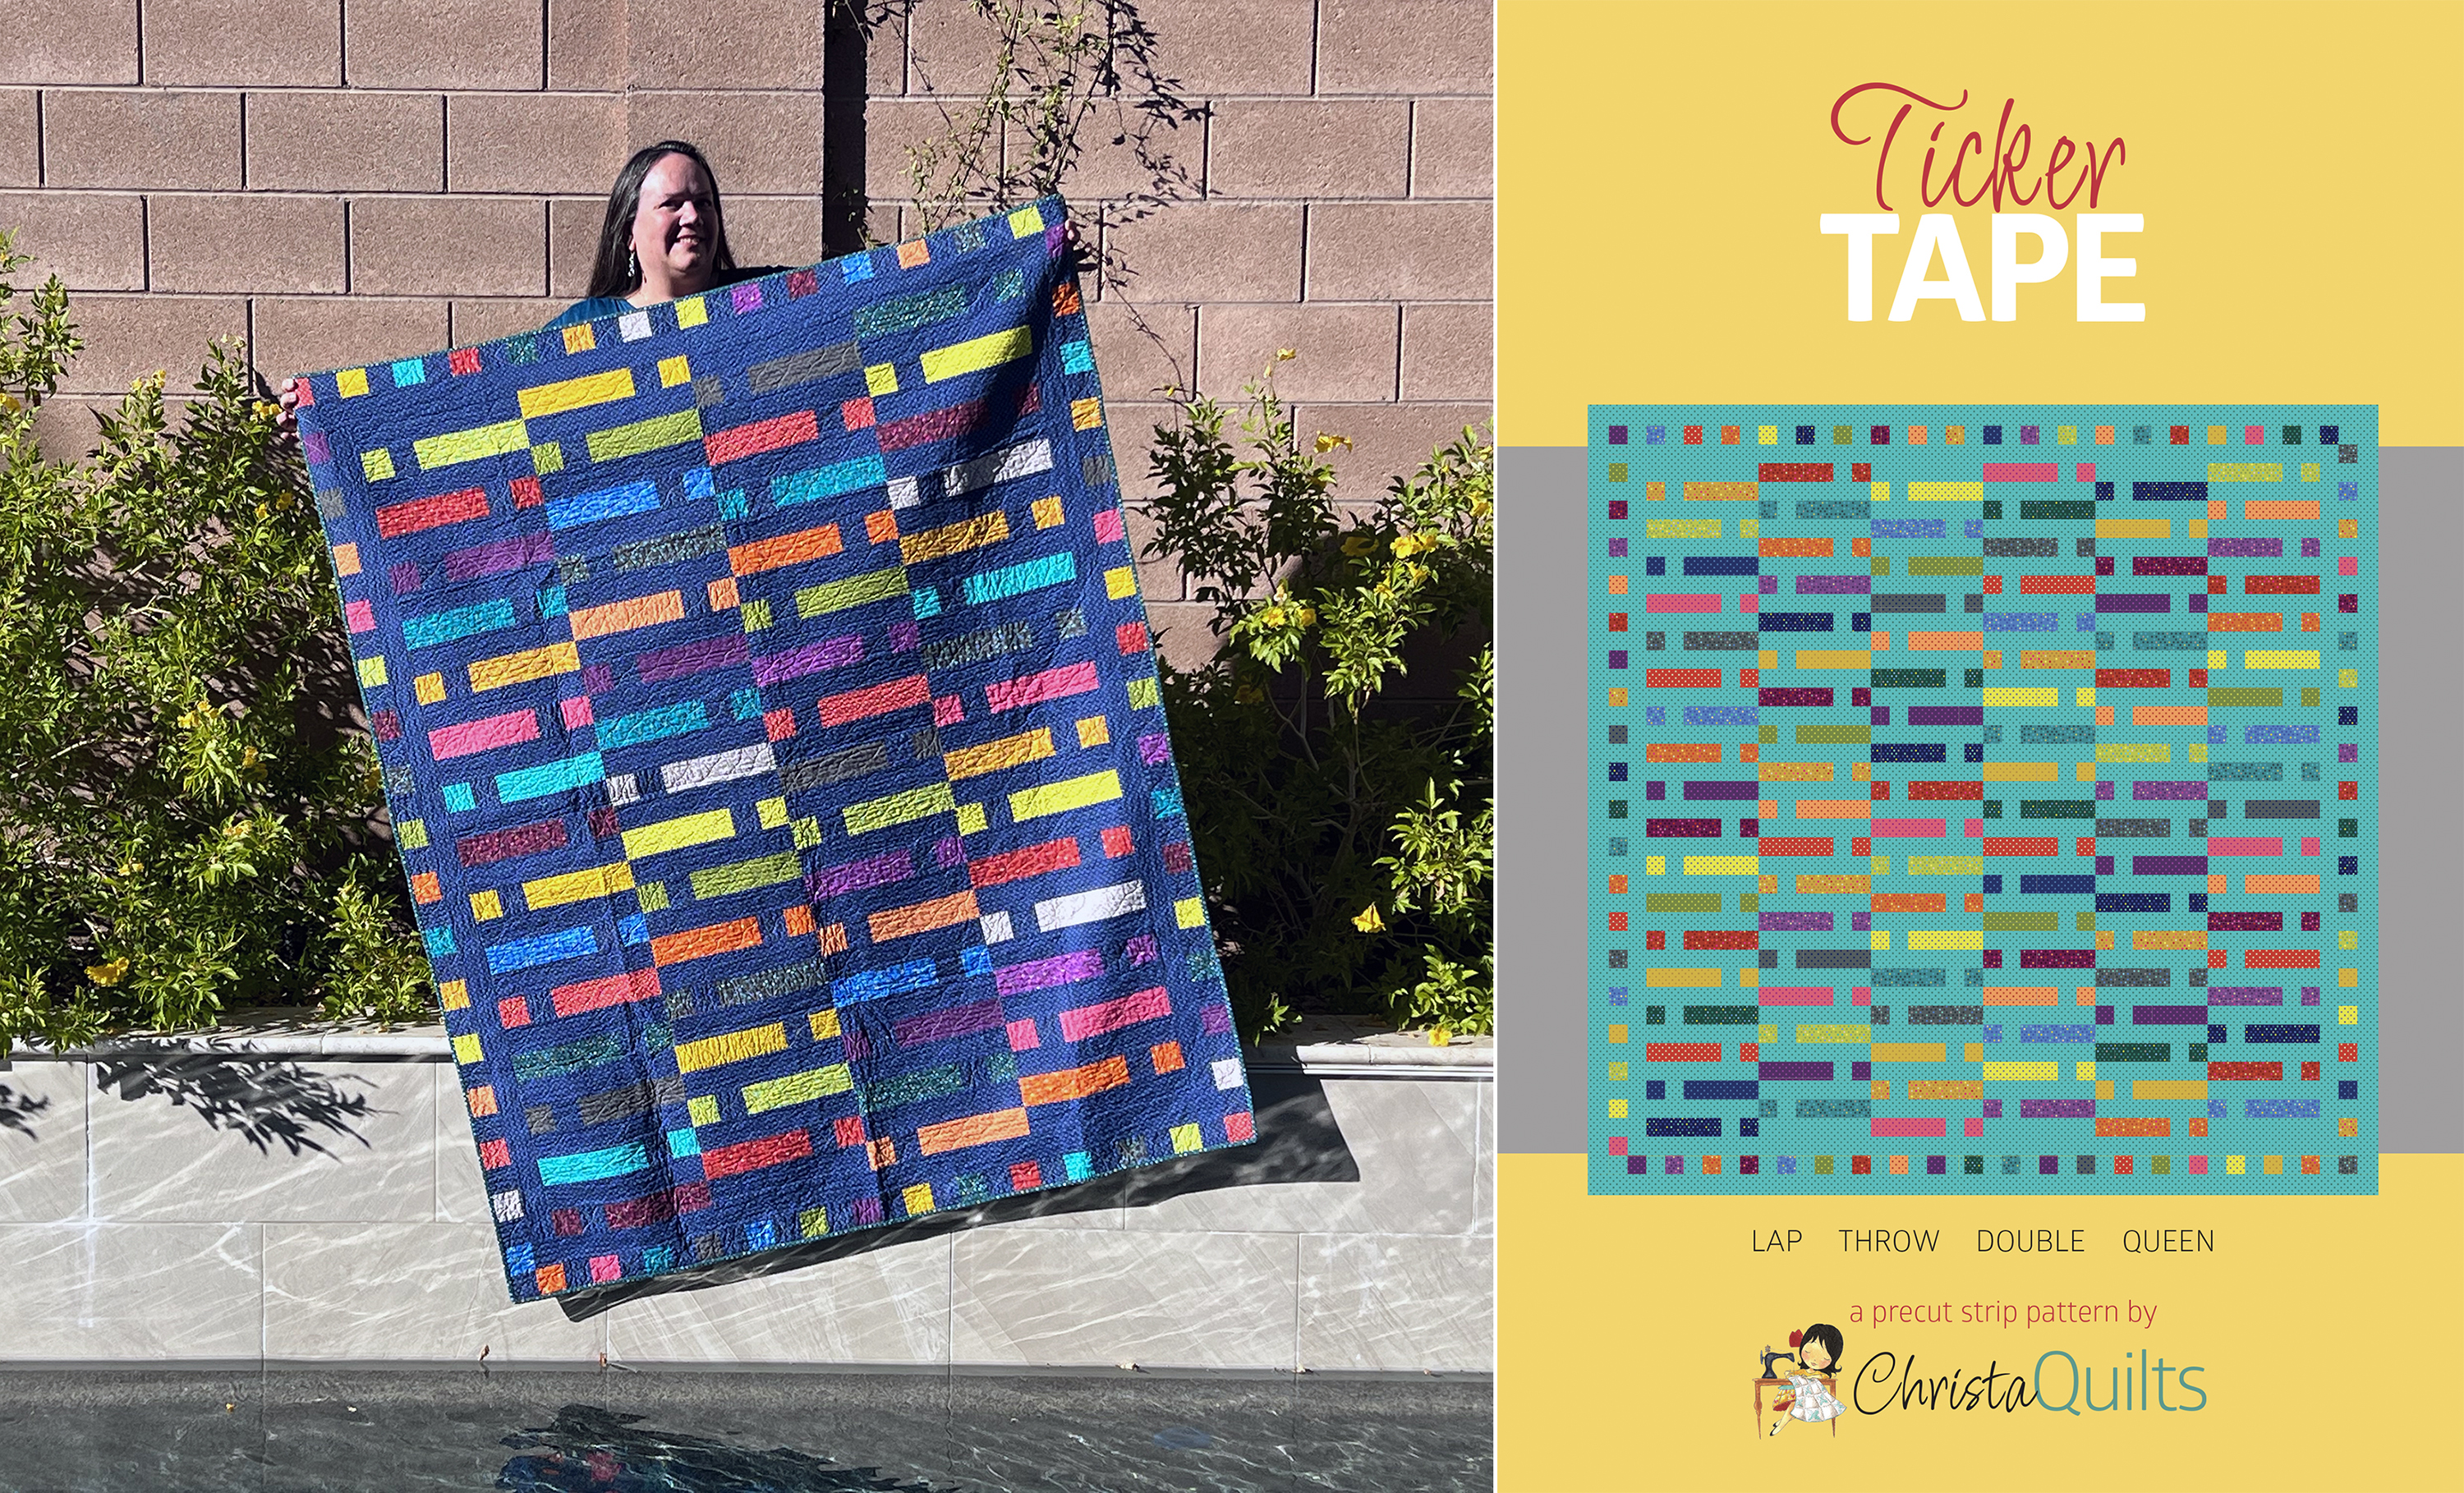
Christa’s Quilt Links – Valentine’s Edition

Since Valentine’s Day is just around the corner, I thought I’d share a few links showing adorable valentine’s themed quilt projects and tutorials. All links and pictures are re-posted with permission. 🙂

Twisting Heart TutorialFirst we’ll start off with Connie from Free Motion by the River with her wonderful Twisting Heart Tutorial.

She made her design into a mini-quilt with lots of gorgeous quilting texture. She says it could easily be made into a pillow as well.

I love it!


Heart PouchNext, the lovely Jennifer from Ellison Lane Quilts has this adorable drawstring pouch tutorial complete with an appliqued heart on it.

By the way, Ellison Lane Quilts is sponsoring SewSouth – a modern sewing retreat in the south. Too bad that I am too far away in the west for this one. 😦


Patchwork Heart BlockMegan from Canoe Ridge Creations has created a patchwork heart block to share with you.

It’s made from 2 1/2 inch scrap squares in a variety of pretty pinks and reds.

I can see this as the center piece of a larger quilt, but it’s cute enough to stand on its own, too!


Heart PillowFor those of you that would like to add a touch of Valentine’s Day home decor, here’s a sophisticated, yet easy to make reverse applique heart pillow tutorial by Kati From The Blue Chair.

I love the subtle piecing and the linen background.


Finally, I will share the Love with you as I complete my Love Table Runner this weekend. This is part of a 3-step tutorial series that I started last month. My final reveal will be posted on Monday so be sure to watch for it!

Love Table Runner

Here’s hoping you can spread the (quilty) love next week and all year long!

Sew and Tell and Giveaway Winners!

I quilted all weekend on my Charming Chevrons quilt and am really pleased with the progress so far. It was pure bliss to sew for hours on end while my hubby entertained the kiddos with movies and games. But more about that later. Here’s a sneak peek, and I’ll post more pictures on this week’s Do-It-Yourself Quilt Along.

Christa's Charming Chevrons

Diana, AKA Quilting Grandma sent me a picture of her version of Charming Chevrons, made from Berenstain Bears Charm Packs. Aren’t the colors just wonderful?? I love how she added the extra borders, and her choice of solid green for the background is just awesome!

Diana's Chevrons

And I couldn’t resist sharing this picture of Martha from Illinois, modeling her Machingers Quilting Gloves on her new Tiara machine. I have to say I’m a little bit jealous of all that quilting space under the machine!

Quilting with Machingers

That got me to thinking, wouldn’t it be fun to win some of my favorite gadgets and quilting tools I talk about? Since I just reviewed Machingers Gloves last week, I’m going to give two lucky readers each a pair of gloves to try out.

It’s easy to enter, simply post a comment (any comment) and you’ll be entered to win. I’ll randomly select 2 winners and post their names here on the blog. I’ll also notify them via email. Contest ends this Friday, November 30th at 9PM Pacific Time (Midnight Eastern).

Good luck!


Updated November 30th, 9:30 PM

Thank you all for participating. This was a fun contest to run and all of the comments were much appreciated! We now have our winners!

The first winner, drawn at random is:

Judith:

Right now, I’m using a pair of slightly textured gardening gloves. The disadvantage is that they’re fairly bulky and not particularly grippy. The advantage is that I can blame any quilting gaffes on the gloves ;-) Thanks for the great giveaway opportunity.


The second winner, also drawn at random is

Evelyn H:

I haven’t done your Chevron quilt, but I made the Jolly Jelly Roll. I love that pattern. I would love a pair of the quilting gloves, which are on my Christmas wish list! Thanks for doing this and for your fun tutorials.

Congratulations, ladies! I will be emailing you shortly with your winning prize!

Christa’s Quilt Along 2.7 – Binding Baby Bricks

To finish off both the girl and boy versions of Baby Bricks, I am finishing my bindings by hand. I’m always needing a hand project that I can stitch while watching TV with the family!

A limited number of Baby Bricks Quilt Kits are available, using these exact fabrics shown.

Girl Baby Bricks My quilts are trimmed and ready for binding. I think that binding by hand gives a tidy finish which helps the quilt to lie flat and straight; very important when being hung in a show!

Boy Baby Bricks

Step 1 – Securing the Binding to the Front of the Quilt by Machine

Please review my Jolly Jelly Roll quilt tutorial for step-by-step photos of this process. I show how to sew continuous binding strips using my favorite method called double fold, French binding. I also demonstrate how to complete it by machine, for a faster finish.

Step 2 – Pin Basting and Preparing Needles and Thread

I enjoy binding by hand if I am not rushed and everything is prepared ahead of time. I chose a heavier weight cotton thread that matches the binding. I like to thread several needles onto my spool so I can cut off a new length of thread and not have to worry about re-threading so many needles.

Thread Several Needles

Next, I use pins and Pinmoors to secure the edges while sewing. I usually pin one large section at a time (enough for one length of sewing thread). Then I repin and move onto the next section as I go.

Pinmoor Basting

Step 3 – Sewing by Hand

Cut off about 18 inches of thread and knot it on one end. Then slip the needle between the backing fabric and the binding. The knot will be hidden under the binding.

Beginning StitchHand SewingMake one stitch at a time, backtracking slightly as you enter the needle for each new stitch.

This is very similar to hand applique or a blind hem stitch.

Be sure to stitch the corners closed on front and back.

Corner FrontCorner BackYou can click on any of the smaller photos to see more detailed closeups of the sewing.

It takes longer to sew by hand, but it’s a very relaxing and enjoyable process!

Smaller needles make a tiny stitch.

When I get near the end of my thread, I simply make a knot, take a last stitch and pop the knot into the binding. Then I start the process again until the entire binding is finished.

Knot the Thread

I will finish up the binding on both of my quilts, then post photos of the finished quilts next week. I have decided to add on a bonus week to this project so that I can talk about blocking and labeling your quilt.

Here is the complete tutorial schedule below:

If you enjoyed these tutorials, please join me when I begin the next quilt-along series, called Charming Chevrons! I will post the supply list next week. Here’s a hint: it’s made from charm packs! (4 charm packs total – 2 of the same light/background and 2 of the same dark/print)

Christa’s Quilt Along 2.6 – Baby Bricks Option 2 FMQ

I love adding free-motion quilting to my quilts whenever I can. That is why I chose to enhance my girl version of Baby Bricks with some decorative double loops.

Baby Bricks - Girl VersionStep 1 – Securing the Blocks

Before getting to the fun part, the quilt needs to be secured with a little stitching in the ditch between all of the rows. This anchors the piece for more decorative quilting later.

Beginning the RowsStitch in the DitchWhen stitching to the end of a row, pivot and sew along the side to get to the start of the next row. I used my walking foot with an “open” toe so that I could clearly see where I was quilting.

Step 2 – Quilting the Loops

I quilted all of the white “negative space” with random double loops. To do this design, first quilt a row of single loops. I changed the direction of each loop for interest – think of stitching e’s & o’s in an alternating fashion.

Single LoopsWhen I reached the end of the row, without stopping, I went back the other direction, echoing the flowing lines between the loops and filling the inside of the circles with another loop. This created a ribbon look which I really like.

Double LoopsFor the FMQ, I used Isacord polyester thread in a Vanilla color which I bought from Leah Day. This was the first time trying that thread and I really like it. I need to get more colors!

Step 3 – Quilting the Blocks

At first I had planned on adding more free-motion quilting to the rectangular blocks, but then decided the quilt needed some geometric looking quilting instead. So I got out my ruler and washable marking pen and added registration marks, crisscrossing the blocks.

Add Registration MarksHad I planned this out more, I would have marked the quilt before I basted and probably quilted the straight lines first. But it just goes to show it’s ok to change your plans during quilting and it will still turn out great!

Straight Line Echo

With my walking foot and pink thread, I quilted lines 1/4″ away from either side of the marked lines. Then I spritzed the lines with water. (I will completely soak the quilt later.)

I marked an “x” design going in both directions on the center row of the quilt. Then each of the rows to the left and right accentuated the direction of the straight line quilting.

Quilting Detail

I pieced the back using some pink and green scraps from my stash. I like how much the quilting shows up on the back. (I used wool batting to give the quilting some body.)

Pieced Back

Here is the schedule of tutorial posts for my Baby Bricks do-it-yourself quilt along:

Christa’s Quilt Along 2.1 – Baby Bricks Supply List

Free Quilt Pattern

New to my blog? Be sure to sign up for my email newsletter to get a free pattern!

Baby Bricks

Welcome to my second Quilt Along! (Click Here for the first one). What makes my quilt alongs different and exciting? We will make the complete quilt from start to finish including machine quilting. I love to encourage do-it-yourselfers – no quilting by check here. 🙂

We will be making this Modern Baby Bricks Quilt measuring approximately 44″ x 48″.

Baby Bricks Boy Blue

I’m making this quilt in two color options, using the fabrics shown below:

Girl Baby BricksBoy Baby Bricks


These  colorways are Pretty in Pink and Baby Boy Blue and am going to make one of each! Have fun choose your fabrics using the supply list below and quilt along with me!

Sewing Schedule (All links will be active once each step has been completed.)

Supply List

  • 6 Fat Quarters of coordinating fabrics – use a variety of values and scales for interest
  • 1 1/2 yards of neutral background fabric; includes enough for binding
  • 2 yards of fabric for the backing; will be pieced
  • Rotary cutter with a sharp new blade for cutting through multiple layers.
  • General sewing supplies: machine in good working order, rulers, cutting mat, etc.
  • Neutral cotton thread for piecing (sewing the quilt blocks together)
  • Matching cotton or polyester thread for machine quilting
  • Walking foot for straight line quilting
  • Brand new sewing machine needles
  • Piece of batting at least 50″x55″
  • Tape or washable marking pen (test first and be sure to prewash your fabrics!)
  • Optional: Darning foot for free-motion quilting; supreme slider, quilting gloves, for FMQ

Note about washing your fabrics – I always prewash to make sure there are no surprises. If you are using small pieces like fat quarters, either wash them by hand in your sink, or use a mesh bag and machine wash on a gentle or hand-wash cycle. Wash light and dark colors separately until water runs clear and consider using a color catcher sheet with each load.

So take this week to gather your supplies and I’ll meet you back here next week for cutting!

Sharing is Caring

Please share your work in progress in my facebook group: Quilt With Christa . 🙂

Christa’s Quilt Along 1.6 – Machine Binding to Finish

Free Pattern

Be sure to sign up for my email newsletter to get a free quilt pattern!

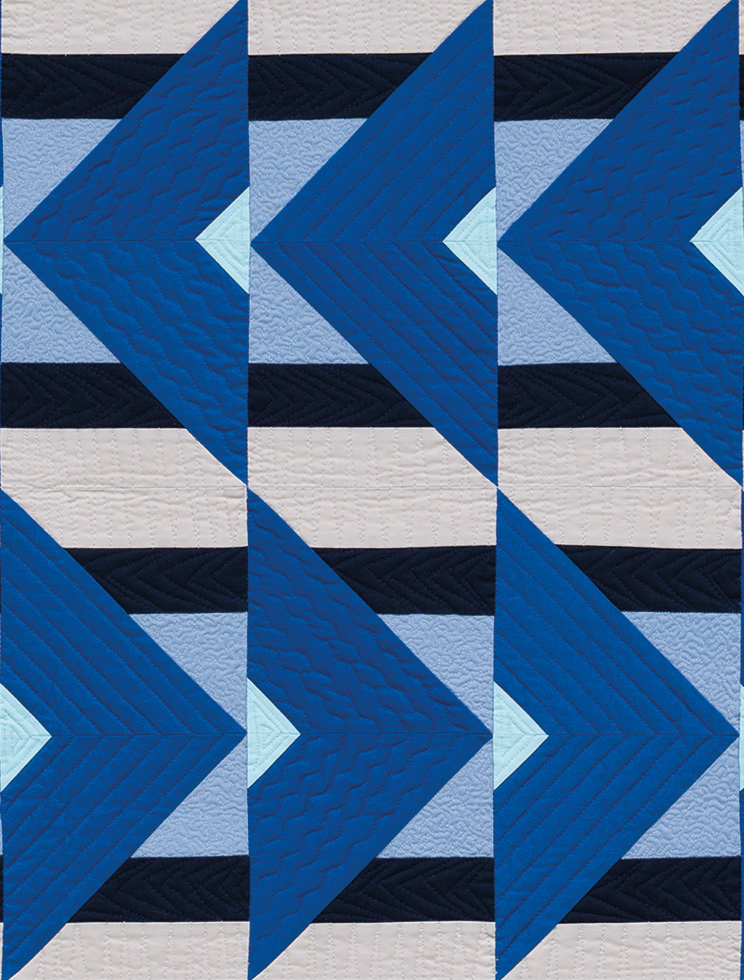
Jolly Jelly Roll Quilt Wrap Up


Here are all of the previous bog posts, if you are just now joining us:

Week 1 – Supply ListJolly Jelly Roll Quilt

Week 2 – Sewing the Blocks

Week 3 – Completing the Top

Week 4 – Backing and Basting

Week 5 – Machine Quilting

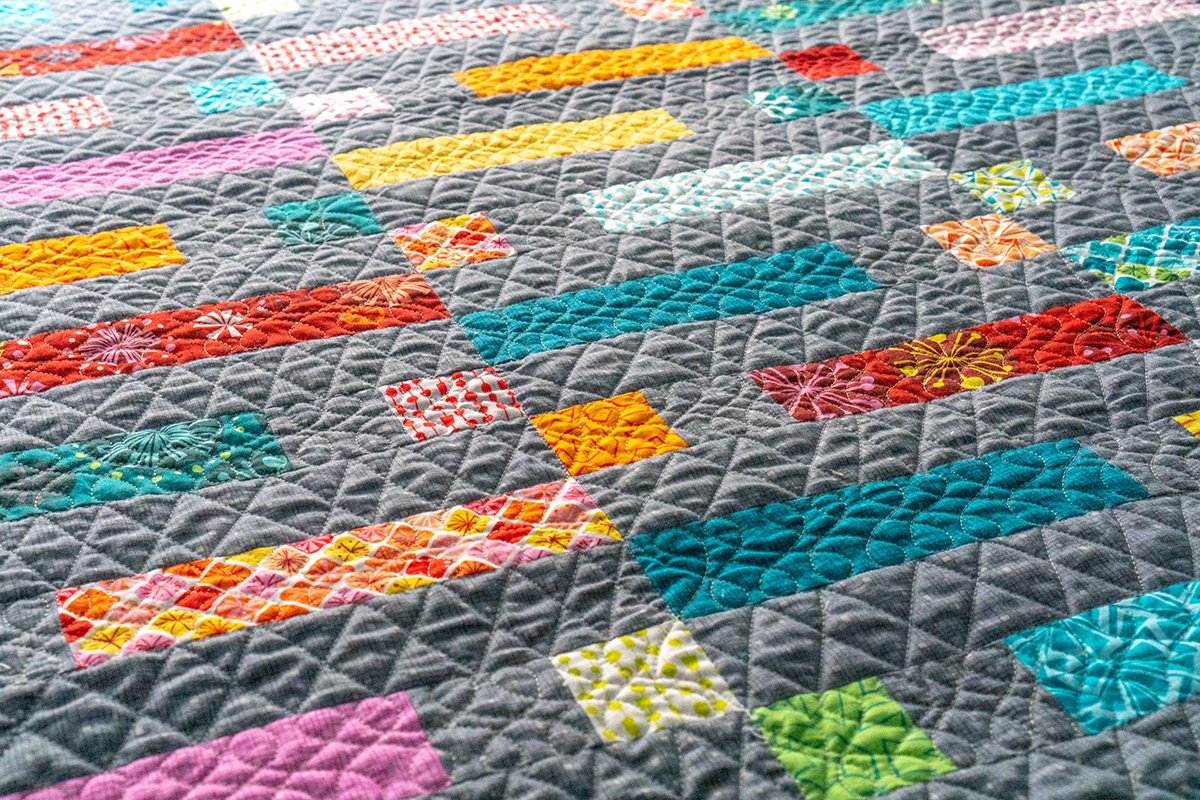
Remember, you can click on any picture to enlarge it. Now, onto the binding!

I use the same techniques to attach the binding to all my quilts, whether finishing by hand or machine.

Step 1 – Square Up the Quilt

Use a large square ruler to trim up all four corners of your quilt. The square will help you achieve a nice straight 90 degree corner. Trim up all four of the sides with a longer ruler.

Square Up the Corners

Trim the Sides

Step 2 – Measure the Quilt Perimeter and Cut Enough Binding Strips

Measure the perimeter of your quilt so you know how many strips to cut.  Lay it out on your cutting mat or use a measuring tape. I folded my quilt in half to make it easier to measure. Divide your perimeter by 40 inches (the useable length of one strip).

Measure the Quilt PerimeterCut 5 strips 2 1/4 Inches Wide

Round up to the nearest number of strips and cut them 2 1/4″ wide. I cut 5 strips for my quilt.

Step 3 – Make Continuous Binding

This method is called double-fold straight grain binding. Sew all of your strips together to make one continuous piece. Miter the strips by sewing on an angle to distribute the bulk of the seam. If you are using a solid fabric, be sure to sew them all together on the same side!

Join Binding StripsSew on an AngleYou can eyeball the seam.

Trim 1/4 inch seams to the right of your sewing line and press open.

With a small square ruler, cut off one end of your binding on a 45 degree angle. Make sure your binding strips have not been folded or pressed yet. Once the end is cut, then press your binding in half along the entire length, with wrong sides touching and right sides out.

Angle the BegninngPress Binding in HalfWatch your seams if using solid fabric!

Step 4 – Attaching the Binding to the Quilt

Begin sewing your binding to the quilt with a walking foot, leaving a tail of about 6-8 inches unsewn. Be sure to start on the side of your quilt, not at a corner and sew the binding to the front of the quilt. The folded side of your strips will be to your left. The open sides will be to your right. Use a quarter inch seam allowance and match your thread to your binding fabric.

Leave a TailStop 1/4 Inch AwayWhen you reach a corner, stop sewing 1/4 inch away from the end. Mark it with a drawn line or a light pencil mark if needed. Sew off the side.

Rotate the quilt and flip the binding strip up so that it is even with the side of the quilt. Then, flip it back down, forming a “pinch” of fabric at the corner. This will be the fullness that will flip around to the back creating a nice mitered corner on the front.

Sew off the Side at 1/4 InchFlip Binding UpThen Flip DownRepeat this technique for all four corners of the quilt. When you are nearly finished sewing the binding onto the front side, make sure to leave another tail of about 6-8 inches of binding so you can join the beginning and ending binding pieces.

Next Corner

Leave a GapNext, you will trim and join the ends so they fit together exactly.

If you have a lot of excess binding, you can trim some off.

Open up both binding ends and nestle your beginning binding piece (the angled cut end) on top of the ending piece so that it is flat and smooth. Mark an angle on the ending piece where the beginning piece rests on it – should be a 45 degree angle. Cut 1/2 inch away from this marked line. This will take into account the seam allowances for both pieces. Make sure your binding is not twisted and that both angled cuts are parallel to each other.

Mark the AngleCut 1/2 Inch Past Marked LineJoin the two ends by offsetting them slightly to create little tiny tips at each end. Where my pin is pointing, sew from the crevice of one triangle tip to the other, with 1/4 inch seam. Trim off the triangle tips, and press the seam open. It should be a perfect fit!

Joining the Beginning and Ending StripsFinishing the Front BindingFinger press the rest of the binding closed and complete your stitching on the front side.

Step 5 – Finishing the Binding with Decorative Machine Stitching

Pinmoors for BindingThe key to a really nice binding, whether finished by hand or machine, is to make sure it lies flat all the way around the quilt and that the corners are secure.

Once the binding is sewn to the front, simply fold it over to the back to stitch.  I like to use pins with Pinmoor anchors for safety to keep everything in place. Fold over the corners to create a nice miter and pin.

Binding by Machine
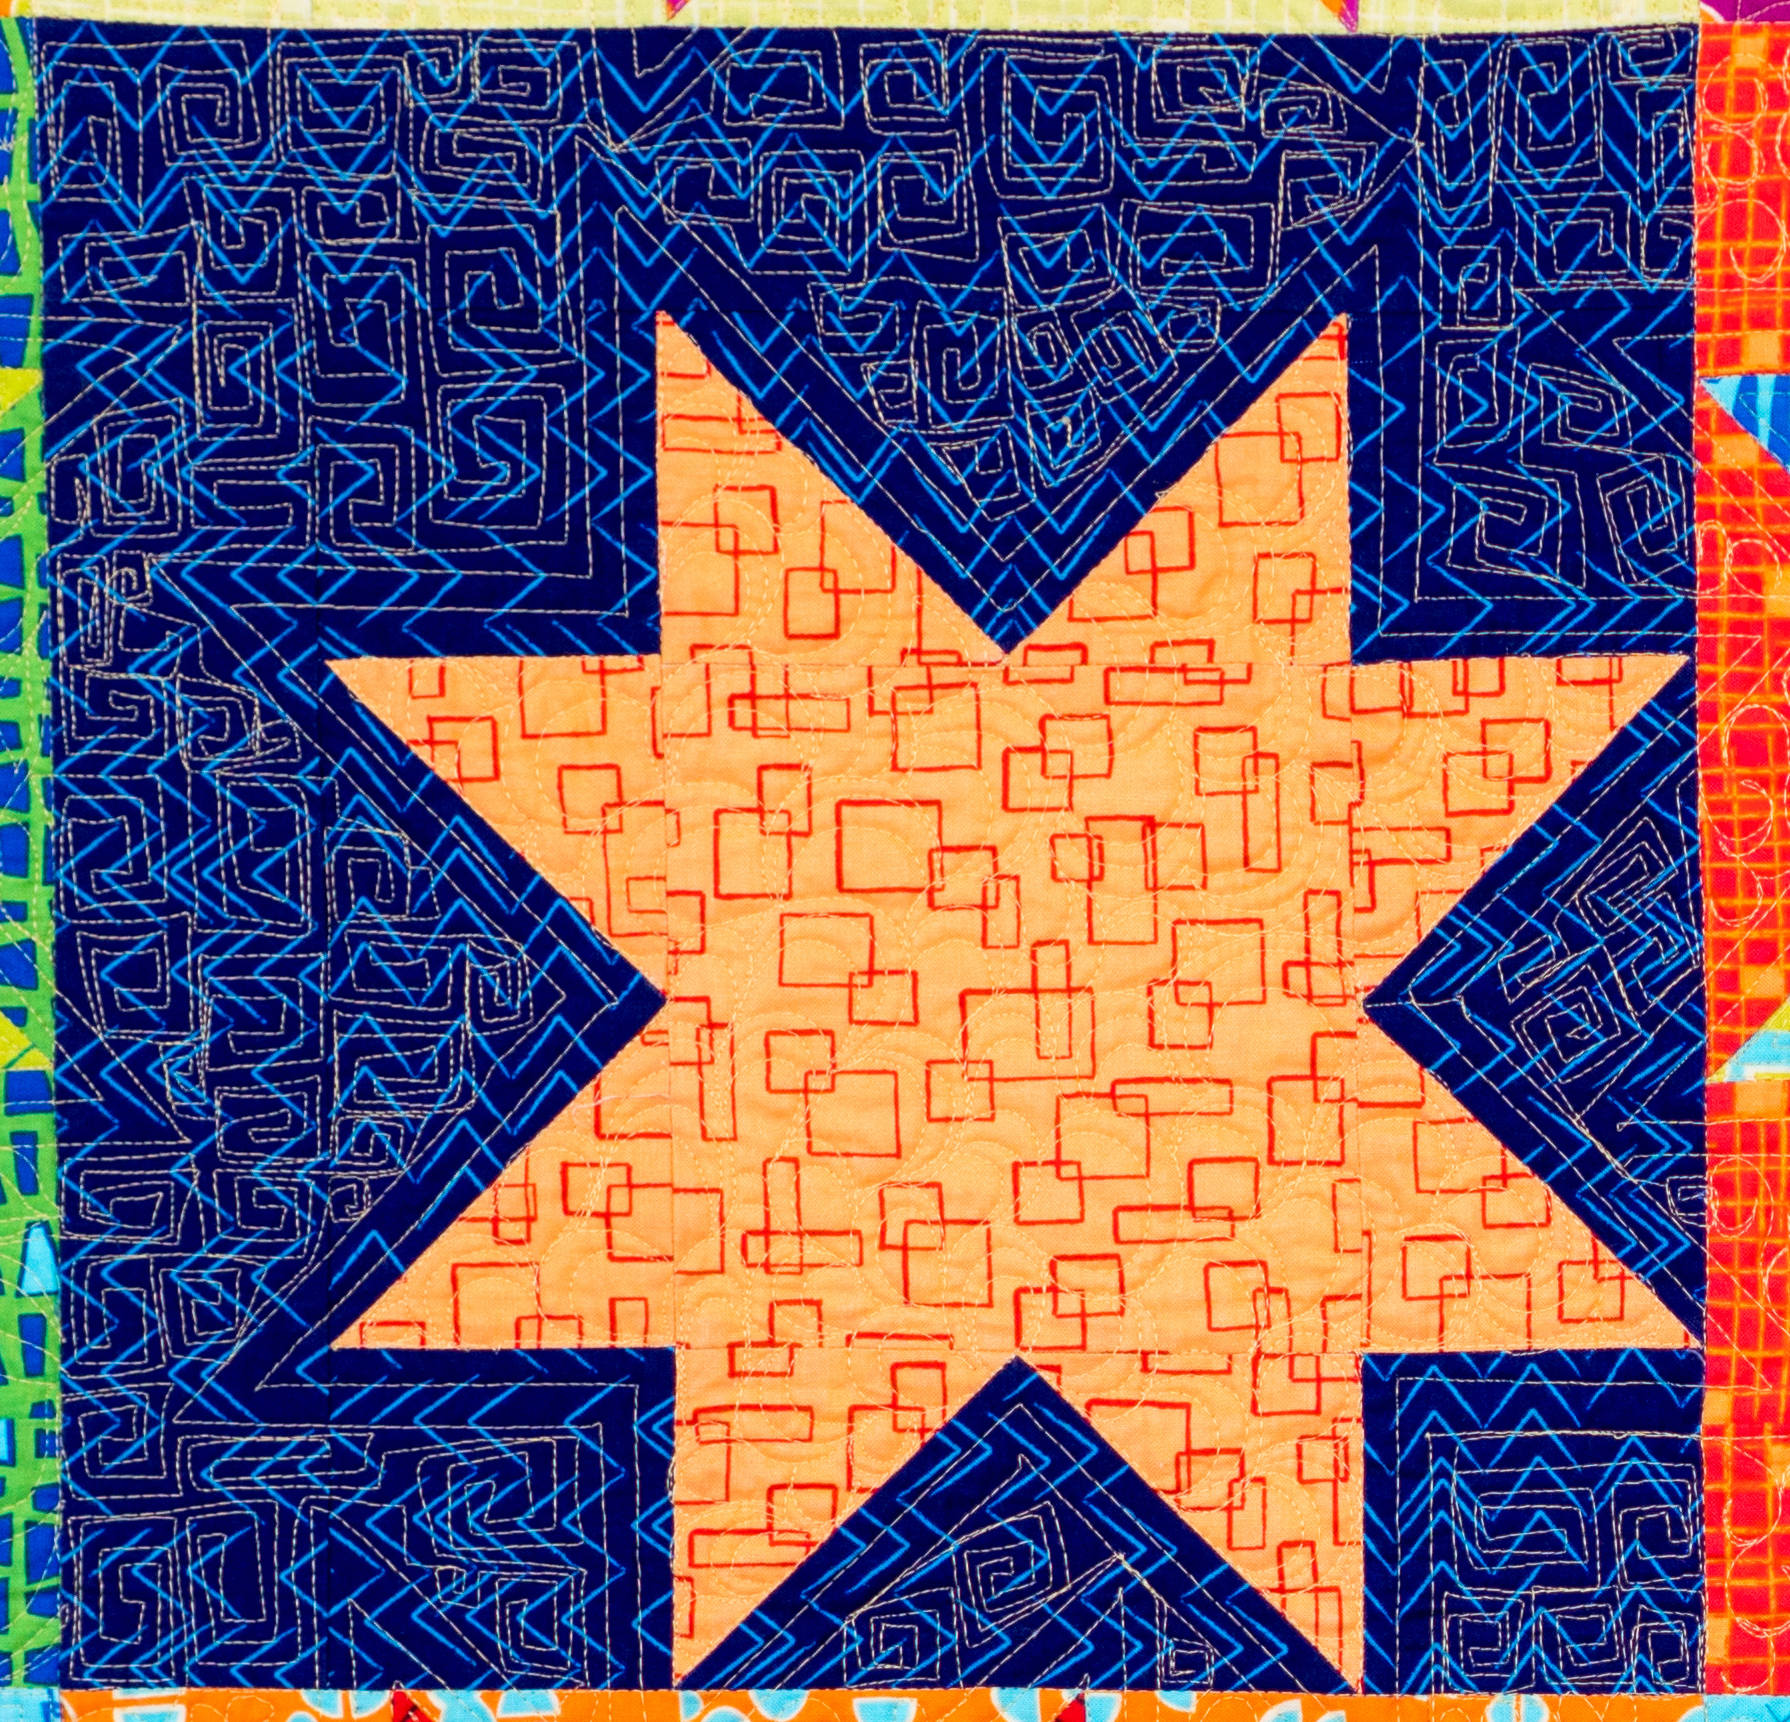
I used the same decorative serpentine stitch for the binding that I used for the quilting.

You will notice I am actually stitching by machine from the back side of the quilt. This seems to give me the best results and I can control how wide the stitching is so it shows up nicely on the front.

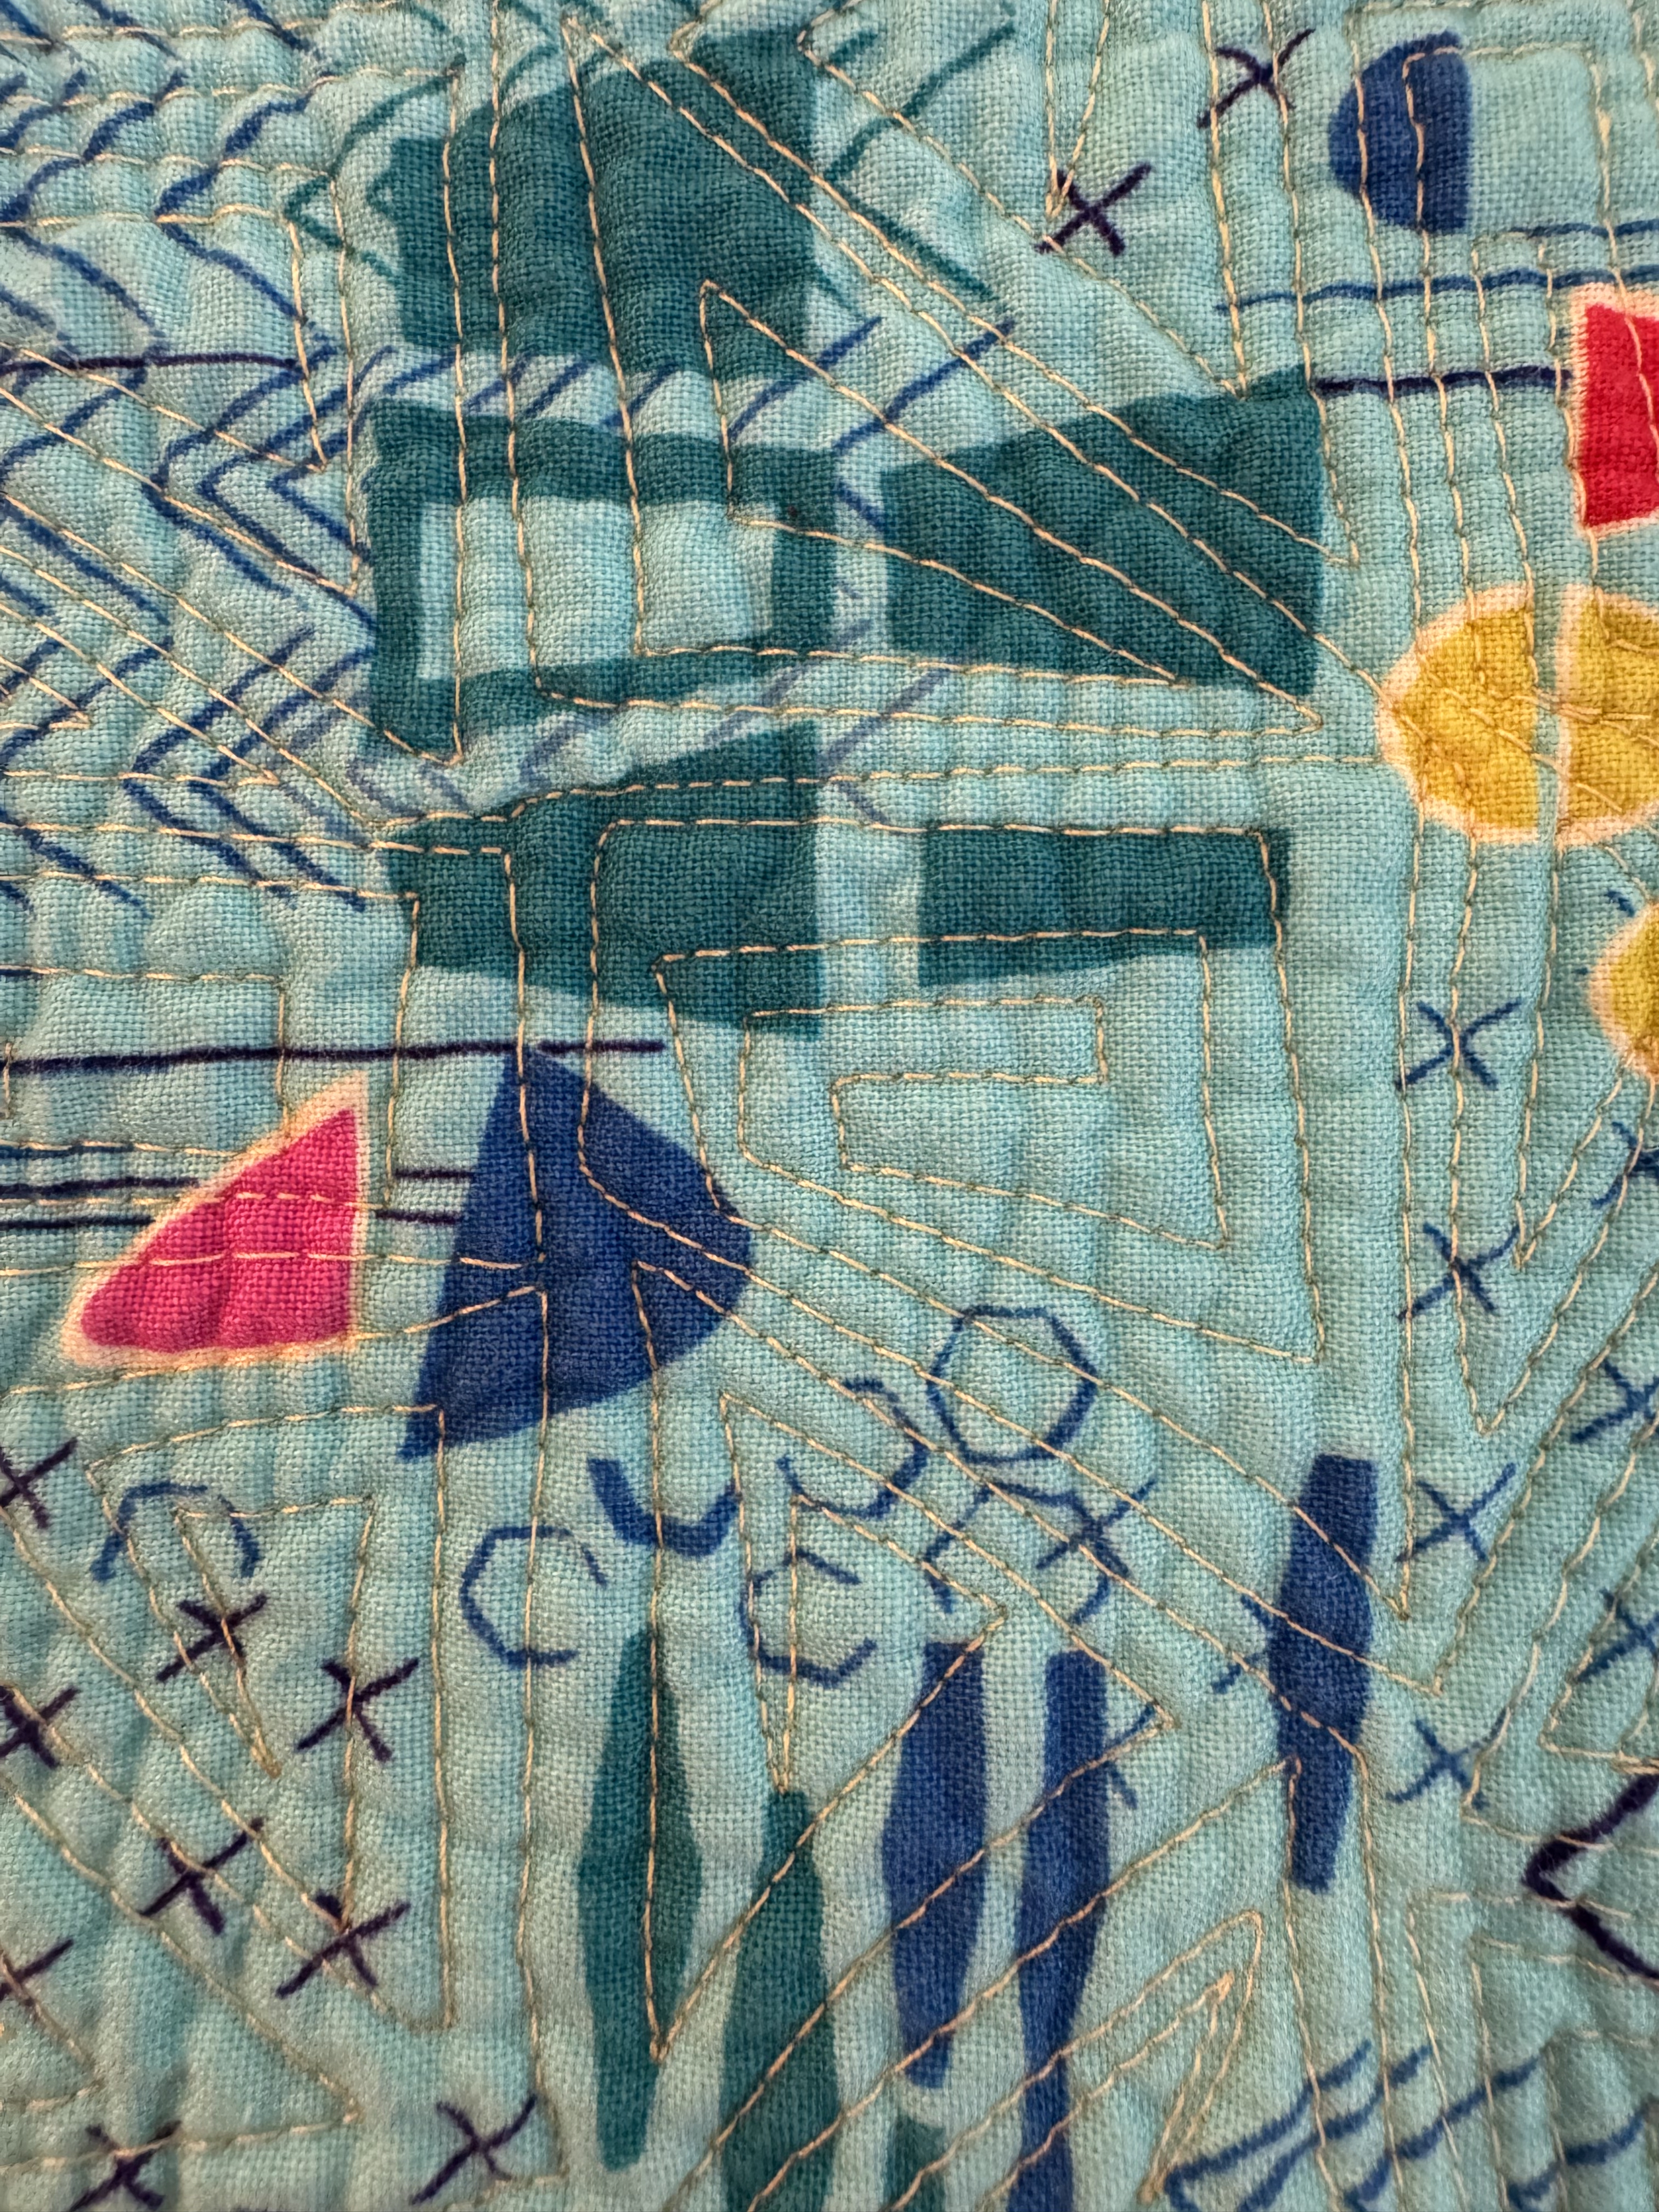
You can see where I’ve already stitched some of the binding.

On the back, be sure to cover the line of straight stitching that was used to sew on the binding  from the front side.

The binding is just as beautiful on the backside as it is on the front. Another finished quilt!

Another Finished Quilt!

Sharing is Caring

I’d love to see your version! Please share your work in progress in my facebook group: Quilt With Christa . 🙂

Sew and Tell Friday – 3 Jelly Roll Quilt Tops

For today’s show and tell we have a triple header! These three beautiful quilt tops come from Linda and Martha, a couple of friends who have been moving right along with my Jolly Jelly Roll do-it-yourself-quilt tutorial.

Linda & Martha's Jelly Roll QuiltsThese two gals love working with jelly rolls “sew” much! Martha sewed the two holiday quilts using Christmas Spirit and Trick or Treat, and Linda is making hers from the girl colorway of Meadow Friends. They will present their show and tell at their next “Strip Club!” Now they just have to quilt and bind their lovely quilts and they can move onto their next projects.

Speaking of finishing, I will present a machine binding tutorial to finish these quilts up next week and will then start another complete quilt project the week after.  I’m toying  around with switching up my blog software so that more of you can share your WIP’s! (Works in progress), so stay tuned for details. Also, be sure to subscribe to my blog if you haven’t done so already, so you can stay abreast of all the latest happenings.

Oh, and if you have any suggestions on what types of quilt projects you’d like me to demonstrate, please leave a comment. The next do-it-yourself-quilt tutorial will either use fat quarters or a layer cake (I’m designing it now). But I’d love to have more ideas, and I plan to offer these free tutorials on an ongoing basis. Eventually, I’ll offer patterns and kits to go along with them, too!

Christa’s Quilt Along 1.5 – Machine Quilting

This week’s post is the one I’ve been waiting for. I think machine quilting is the best part of making a quilt, so I couldn’t wait to get my Vintage Modern jelly roll quilt top finished and basted so I could start the fun! I quilted it using a serpentine stitch with my walking foot.

Machine Quilting 2" ApartBefore I started quilting, I tried out a few of my machine’s decorative stitches to see how they would look.  All of these can be done using a walking foot with the feed dogs engaged.

Stitch SamplesI used a 40 weight high-sheen polyester thread with a size 90 needle and used the same thread for both the top and bobbin.

This gives better results than using different colored threads.

Step 1 – Decorative Ditch Quilting

Quilting 4" ApartBe sure your needle plate has a wide enough opening to accommodate your decorative stitch and test it out first so you avoid broken needles.

Quilt along the seam lines in one direction in between your blocks, about 4 inches apart. The first pass took me 30 minutes.

This will secure the quilt and you can remove the pins as you go.

Next, make second pass in between each line of quilting. Now your quilting is about 2 inches apart and the quilt is starting to get some texture! I quilted parallel lines across the quilt. I did not mark any of these lines – I just used the seams as a guide and eyeballed it across the fabric where there was no seam to guide me. This is both liberating and fun!

Quilting Parallel Wavy LinesThis second pass took another 30 minutes so I’m just at 1 hour total quilting time. Not bad! At this point, this is enough quilting to hold your quilt together. However, I want more…

Step 2 – Adding More Quilting

Quilting 1 Inch ApartMy motto is that you can never add too much quilting to a quilt!

So I added another line of quilting in between each of the rows above. This was my 3rd pass and now the quilting lines are about 1 inch apart.

This took only another 30 minutes and I can’t believe how fast this is going!

There is still enough room to add another row of quilting and do a fourth pass, so I decided, what the heck?

The fourth pass took 1 1/2 hours because I had now doubled the amount of quilting on the quilt, but I loved every minute of it!

Half Inch Quilting Lines

I ended up with quilting lines about 1/2 inch apart over the surface of the quilt. Total quilting time was 3 hours and I used up a full 500 yard spool of Superior Highlights thread.

Textured QuiltingSuperior Threads Tri-Lobal Polyster

I love all the texture on the back!

Pieced Backing with Quilting

So next week, we will finish our quilts, can you believe it? We will trim them up and bind to finish. I really can’t wait to see how everyone’s quilting turns out. Be sure to email me pictures of your progress, no matter where you are,  so I can share with everyone else.


Here is the complete Jolly Jelly Roll Quilt-Along Schedule:

Week 1 – Supply ListJolly Jelly Roll Quilt

Week 2 – Sewing the Blocks

Week 3 – Completing the Top

Week 4 – Backing and Basting

Week 5 – Machine Quilting

Week 6 – Machine Binding to Finish

Favorite Tools #6 – Needles

Since we will be quilting our Jolly Jelly Roll quilts this week, I thought it was an appropriate time to talk about sewing machine needles. Needles are often the least expensive but one of the most important components of making a successful quilt!

If your needle is old, bent, or flawed, it will make quilting much more difficult. Often times when you think thread or tension is the problem, it may actually be your needle!

Superior Needles

My favorite needles to use for both piecing and quilting are Superior’s Titanium Coated needles. They come in a variety of sizes and work wonderfully. There are a lot of different types of needles out there – really more than you need.

The titanium needles are perfect for  sewing, piecing, machine applique, and machine quilting. They work well with metallic threads, too. So forget about having different needles for different purposes, ie: universal, ball point, sharp, or metallica needles. Just stick with the titanium topstitch needles for everything and all you have to think about is which size to use. They last much longer than most of the other brands, too.

So how do you know which sized needle to use? It depends on your thread. The titanium needles come in 4 sizes – 70/10; 80/12; 90/14; 100/16. They have a much larger eye which allows the thread to pass through with less tension and therefore fewer thread breaks.Needle Closeup

Size 70 needles are  for very fine threads such as 60 weight cotton or polyester, monofilament, #100 and silk threads. I use these with silk thread for machine applique that blends into my quilts.

Size 80 needles are for for fine threads such as 50 weight cotton or polyester. I use these for piecing quilts together and sometimes for allover stippling with cotton thread that blends into the top.

Size 90 needles are for medium threads such as 40 weight cotton or polyester. This is the also the needle I use for decorative threads and metallics. The thread does not shred!!

Size 100 needles are for heavier weight cotton or polyester threads. I’ve only used these needles once so far when I quilted with a 30 weight variegated thread. It worked like a charm with no thread breaks or skipped stitches!

I use the 80’s & 90’s most often in my everyday piecing and quilting. Since these needles last for a long time I can usually piece and quilt a medium throw sized quilt with just one needle.

I’m still not convinced that Superior Threads offers my favorite thread, however. You can read my opinion about the company here on my soapbox, but I do love their needles!

Christa’s Quilt Along 1.4 – Backing and Basting Your Jelly Roll Quilt

Welcome to part 4 of my do-it-yourself quilt along! So far we’ve gathered our supplies, sewn the blocks, and completed our quilt tops. This week we will piece our backings and baste our quilts so that our Jolly Jelly Roll Quilts are ready for machine quilting next week!

Step 1 – Piecing the Backing

Backing DiagramIf you use one fabric entirely for your backing, sew together two lengths of fabric so that your piece is at least 5 inches longer and wider than your quilt.

For a 52″ x 52″ quilt top you would need 3 1/2 yards of fabric for the backing. Cut that into 2 equal pieces, each measuring 63″ long by 42″ wide. Sew those together on the selvedge edges with a half inch seam and you’ll get one piece that is about 63″ x 80″ – plenty of room!

I wrote up a post a few weeks ago on how to make a pieced quilt backing. With more than one fabric. You can read about that by clicking here.

Pieced Quilt BackFor my backing, I chose to use up all of my leftover jelly roll blocks plus some other chunks of fabric, about 3 yards total, to make it a little more artistic.

I sewed two rows of leftover blocks, then filled in with strips of pink and grey fabric from my stash.

The pink on the sides is much wider so a bunch of it will be trimmed off later.

(Don’t mind the wrinkles – I finished it just last night!)

Step 2 – Layering the Quilt

Basting TablesThe most important thing you need for successful basting is plenty of room! I have two 8-foot tables set up in my sewing room at all times. I use them for cutting and basting.

First, you need to secure your backing; this is why you want it to be larger than your quilt top.

I do this by using office clips to secure the backing to the table. I use tape when the quilt backing does not reach the edge.

Clamp Down the BackingTape the EdgesNext, it’s time to spread out the batting. I used Warm-N-Natural cotton batting which does have a right and wrong side. The side with the flakes is the front side and the whiter side is the back side. Layer it right side up.

You can start with your batting folded up in one corner, then unfold the batting one step at a time if you are basting by yourself. Be sure to smooth it down so there are no wrinkles.

Batting 1Batting 2Batting 3You can click each of the pictures for a larger more detailed view.

Finally, it’s time to add the top! I don’t clamp down the top, but I do smooth it out and line it up as much as I can so that it is as straight and square as possible.

Layered QuiltStep 3 – Basting the Quilt

Now it’s just a matter of pinning the layers together so they won’t shift during quilting. My favorite basting tools are Pinmoor pin anchors. They are little  rubber tips that fit on the end of straight pins. You can use any types of pins with them and the pins can jab anywhere into the hard rubber piece. They last forever and are so much easier to use than safety pins.

Pinmoor BastingIt took me about 150 Pinmoors to baste this quilt in under 20 minutes. If you are not ready to buy enough for a whole quilt, start with one package and baste part of your quilt. Baste the rest of your quilt with safety pins. Then, when quilting, take note of how much easier the pins and Pinmoors are to remove and you will be converted!

Here’s a great video you can watch on how to use them, made by the makers of Pinmoors.

Next week  we will machine quilt this baby! That’s the best part of my do-it-yourself quilting tutorial; you are actually going to do it all yourself – no quilting by check here!!

Remember to send me pictures of your completed quilt tops. You can email me directly at Christa@ChristaQuilts.com. It’s “sew” fun to share!


Here is the complete Jolly Jelly Roll Quilt-Along Schedule:

Week 1 – Supply ListJolly Jelly Roll Quilt

Week 2 – Sewing the Blocks

Week 3 – Completing the Top

Week 4 – Backing and Basting

Week 5 – Machine Quilting

Week 6 – Machine Binding to Finish