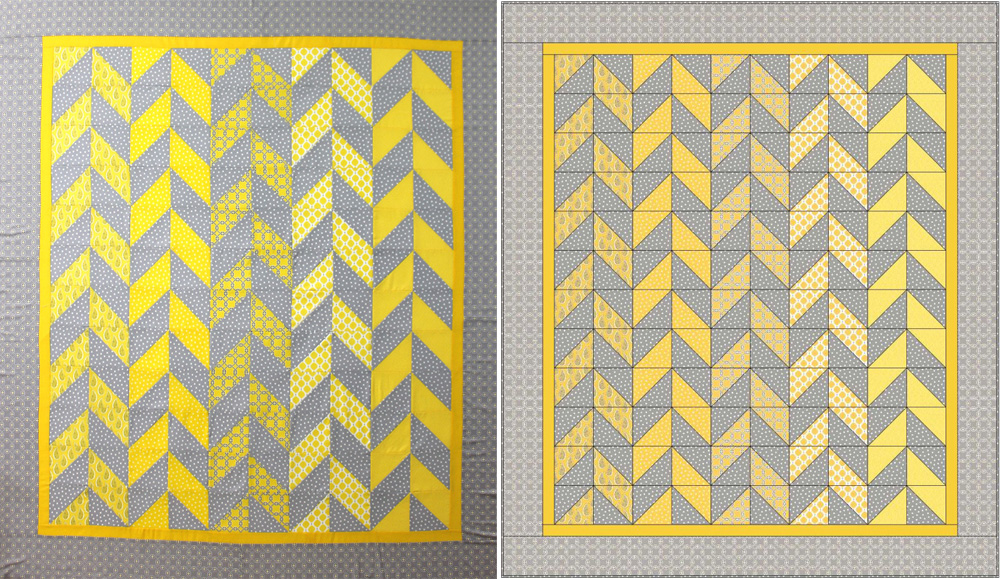
Today I get to share the big reveal: Herringbone is finished!
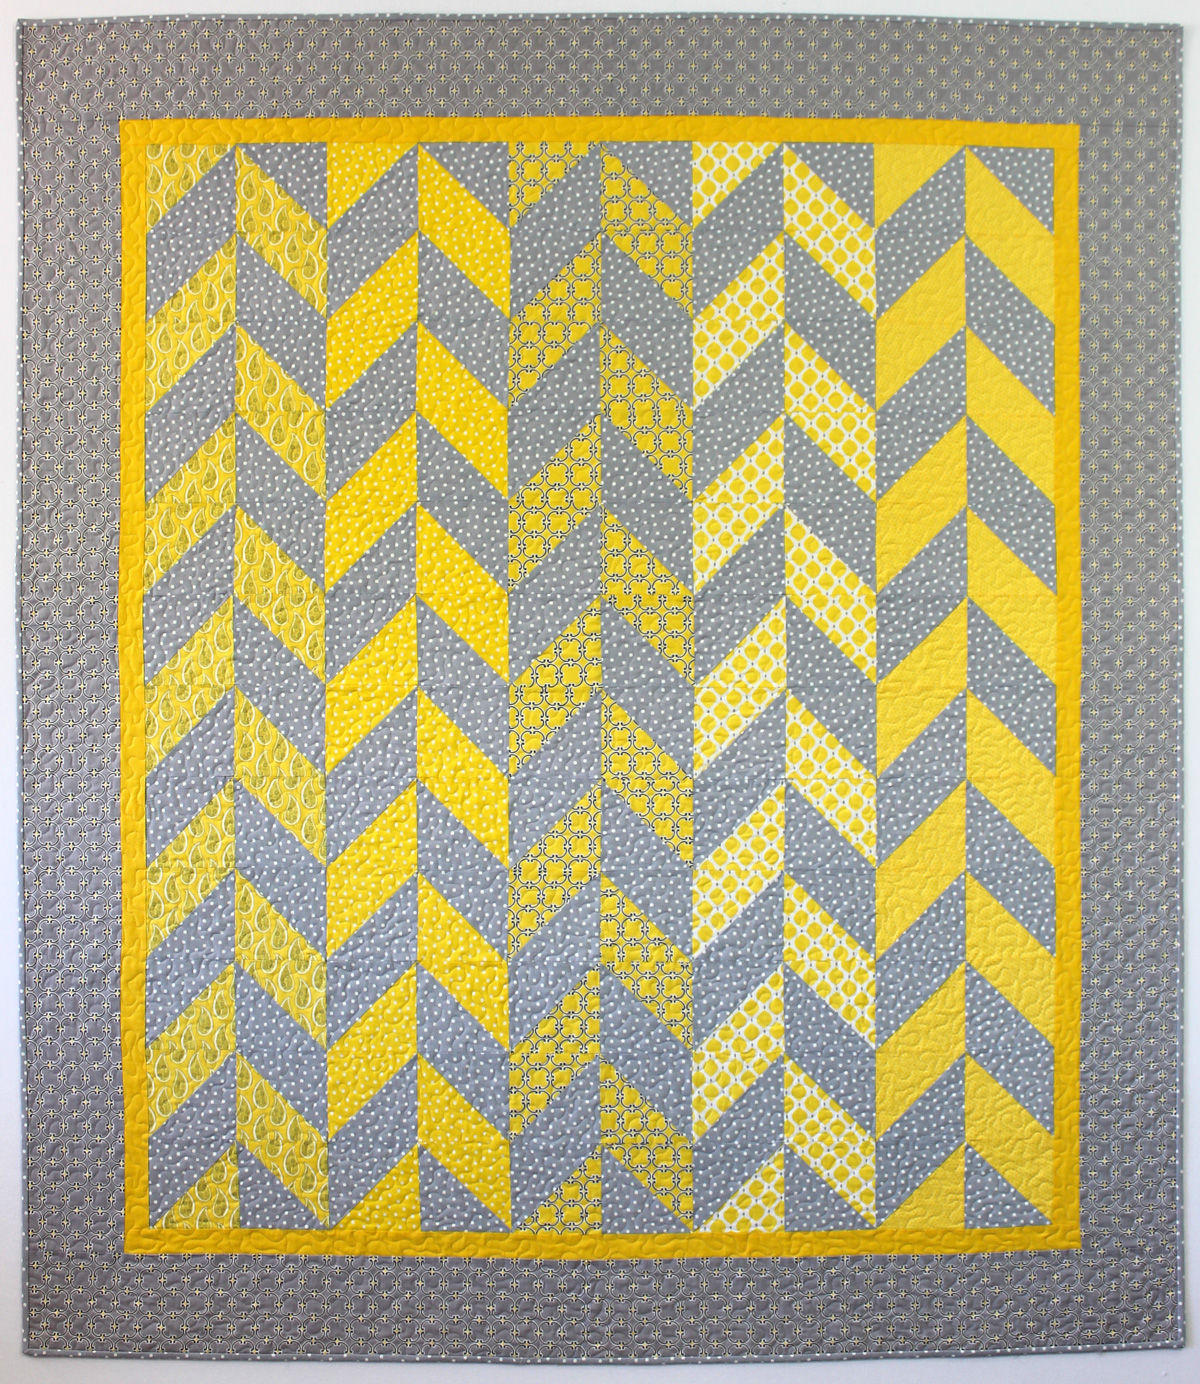 Herringbone, 63″ x 73″ designed and made by Christa Watson for Camelot Fabrics
You can click the links below to read my WIP process posts as I worked on this quilt:
Herringbone took a total of 25 hours to complete (13 hours to cut, sew and press the top; 12 hours to baste, quilt and bind by hand.)
I wanted to share a few tips for better binding that I practiced while finishing this quilt:
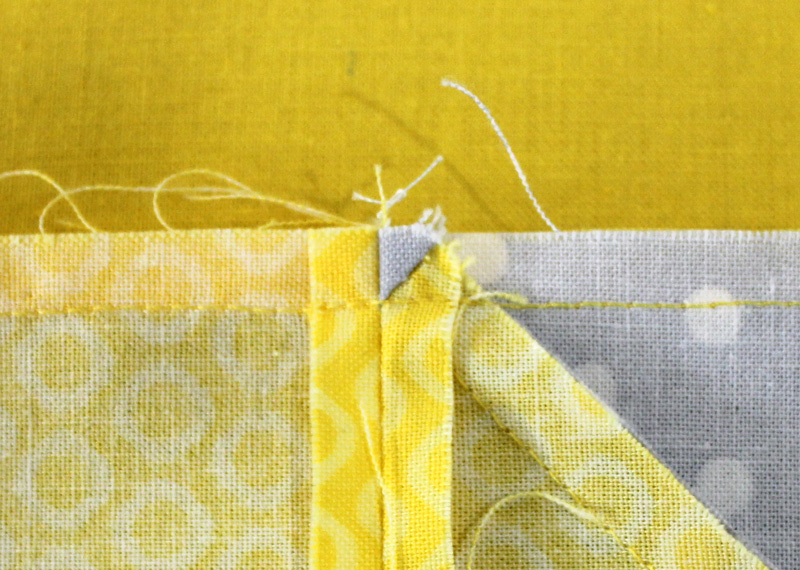
 When attaching the binding, I marked my stopping point with a water soluble pen so that I know exactly where to stop stitching at the corners. Whenever I “fudge” this part of the process, it always gives me problems.
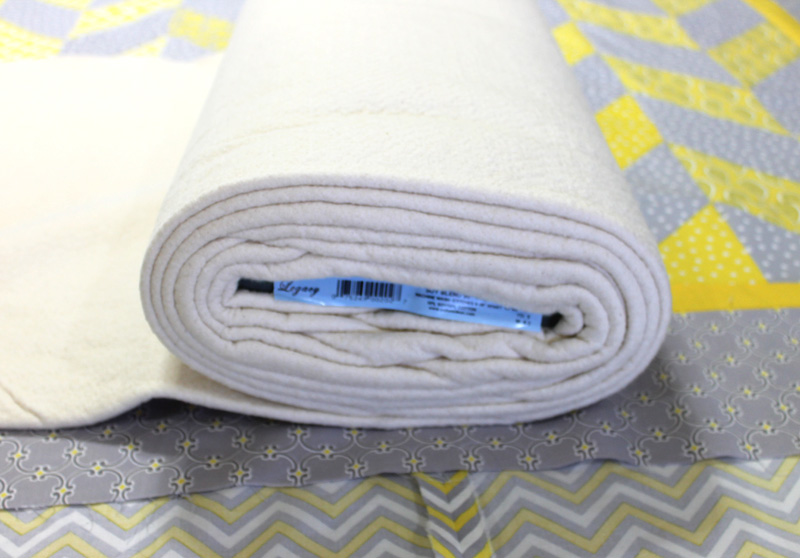
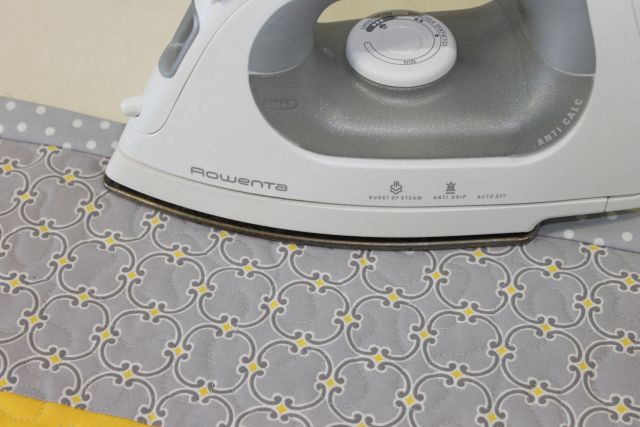 After the binding is attached by machine, I will iron it away from the quilt so that it’s easier to pull over to the back for hand sewing. (By the way, this is another reason I prefer to quilt with cotton thread and natural fiber batting, so I don’t have to worry about melting anything with the iron!)
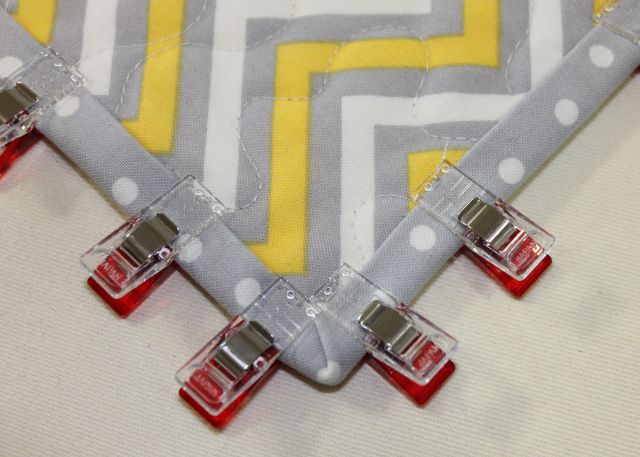 When I get to the corners, I fold them so that they match up evenly and use Clover Wonder Clips to secure the binding in place. I fold over the corners opposite from how they are folded on the front to reduce bulk. I also prefer to add clips so that the clear side of the clip is showing on the back. It seems less bumpy that way.
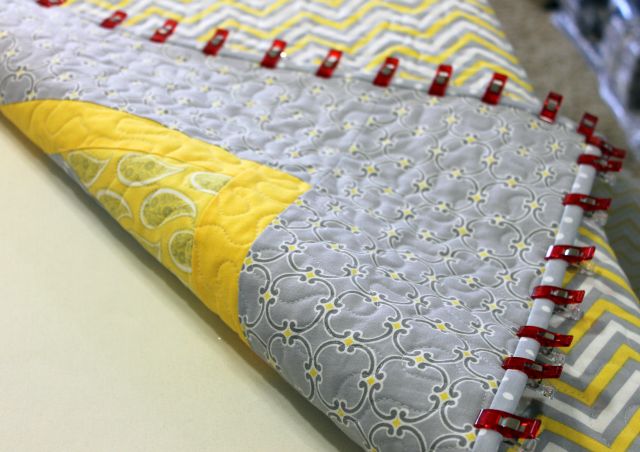 I use a liberal amount of clips and space them pretty close together. So far, I’ve invested in two 100 clip packs and am ready to order another set. I prefer to clip all the way around the perimeter of my quilt so that I can sew continuously without having to adjust the clips!
For more step by step pictures, click here for my indepth tutorial on binding by hand.
Herringbone is on it’s way to the Camelot Fabrics quilt booth at Spring Market. I won’t be there, so if any of you go – be sure to snap a picture of it for me, will you?