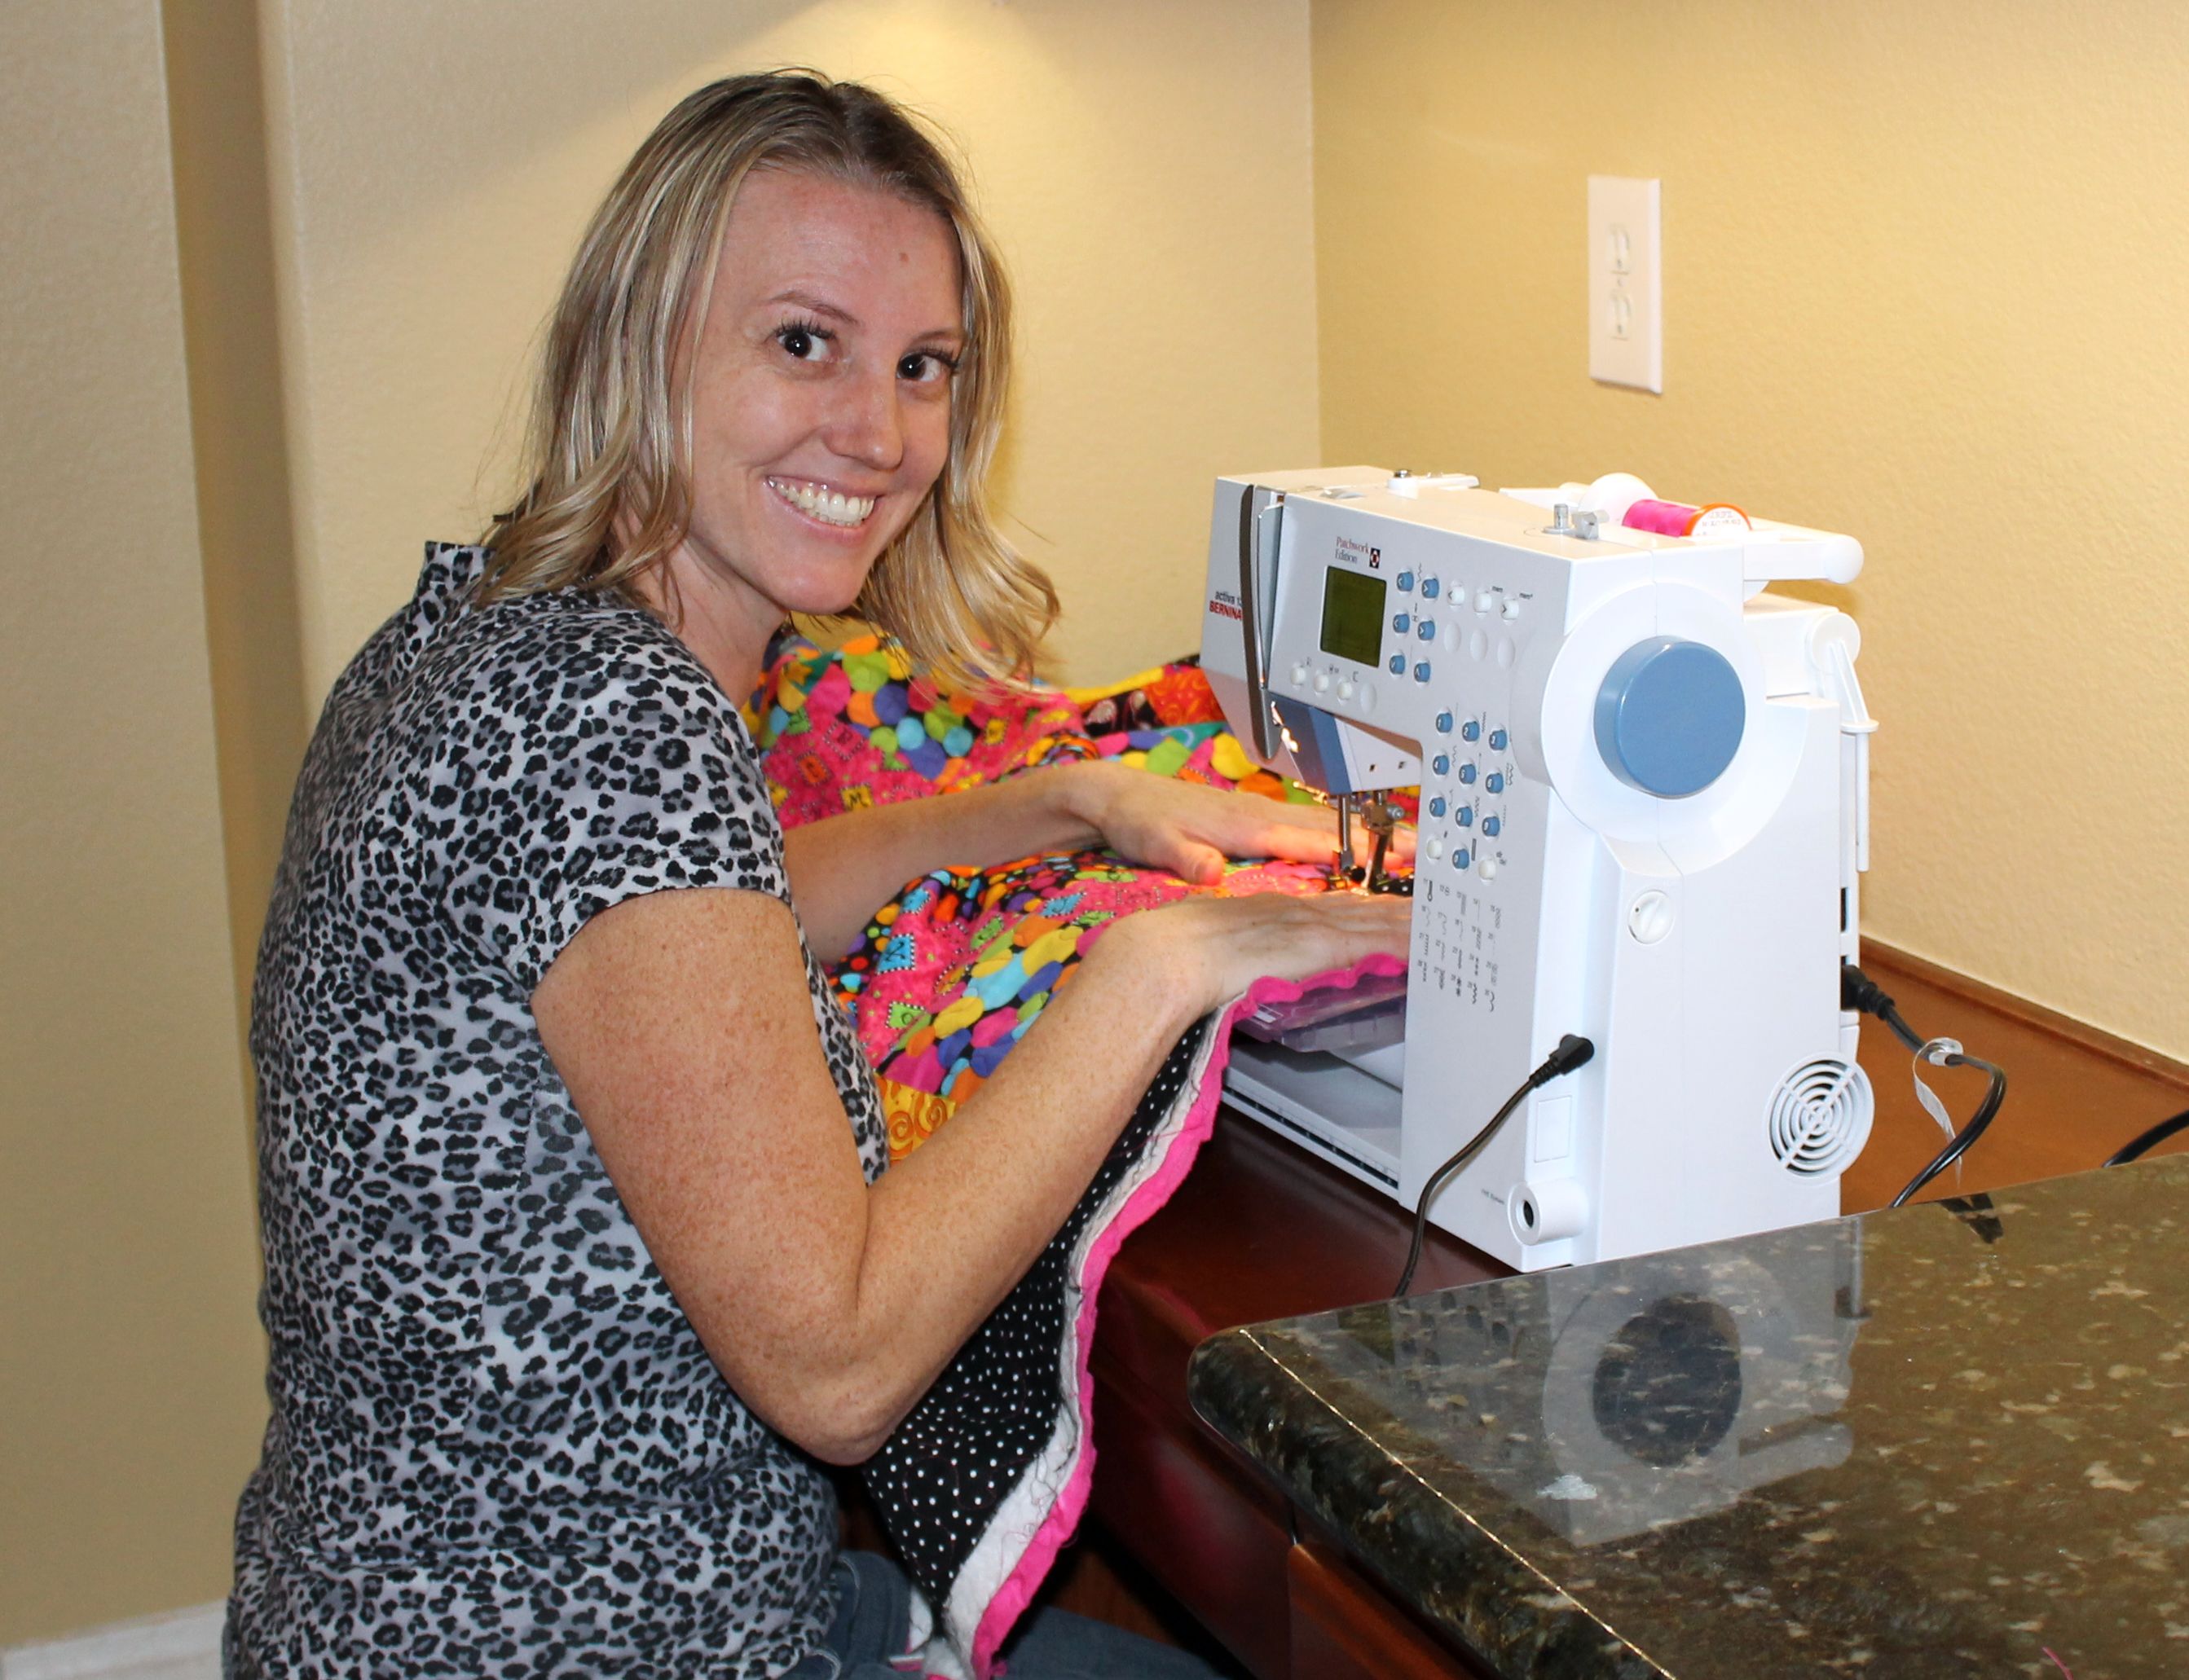
This past weekend I had the great pleasure of meeting quilting diva Cindy Needham and taking a fabulous machine quilting class from her, on how to quilt heirloom feathers and backgrounds. All photographs were taken by me and shared with Cindy’s permission.

Cindy Needham and Christa Watson at DQN Guild Meeting
Cindy’s specialty is turning vintage heirloom linens into beautifully quilted masterpieces! She is my hero because she find joys in extensively quilting her quilts and encourages others to conquer their fear of free-motion quilting. I love this quote from Cindy, shared on the back of one of her beauties:
 It reads, “Take the time to quilt something beautiful. Your work will speak to generations to come about your passion for quilting, and give your quilt a voice to speak to those who choose to listen…” Isn’t that lovely?
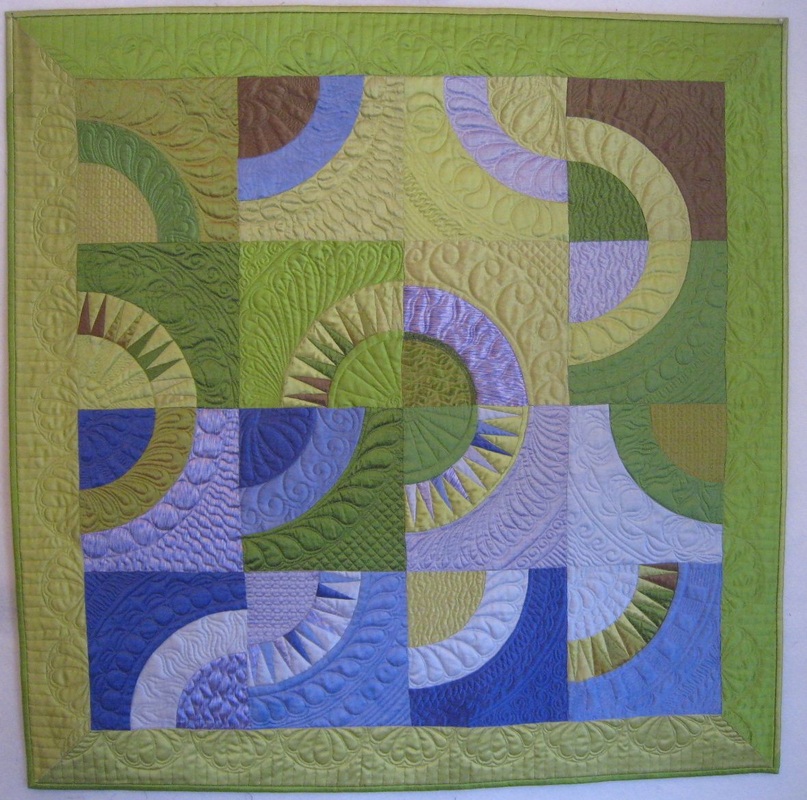
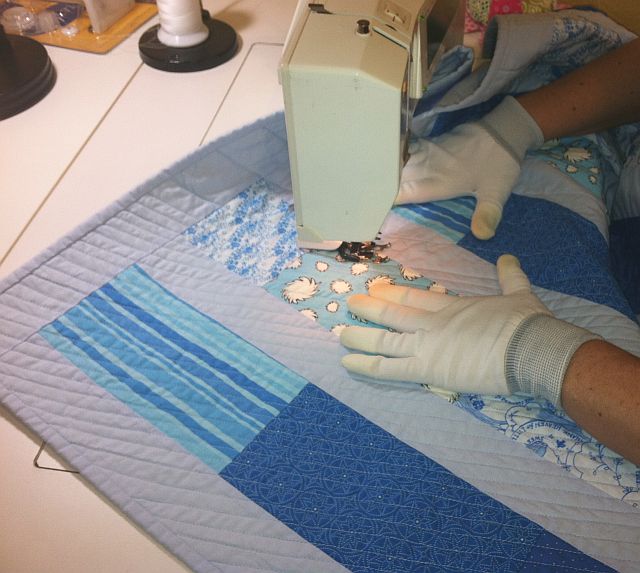
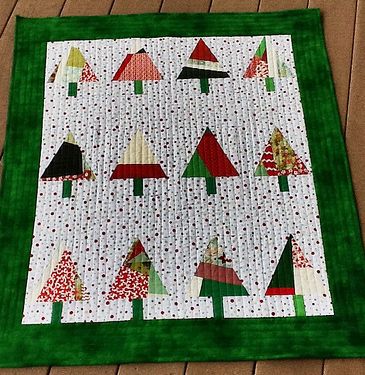
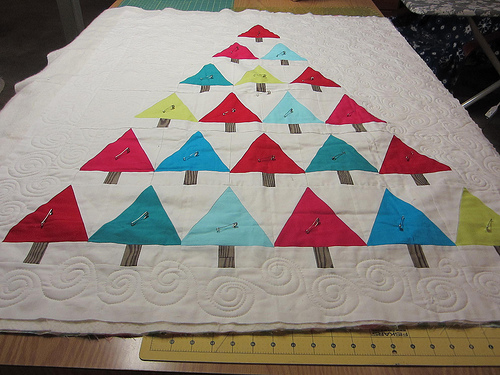
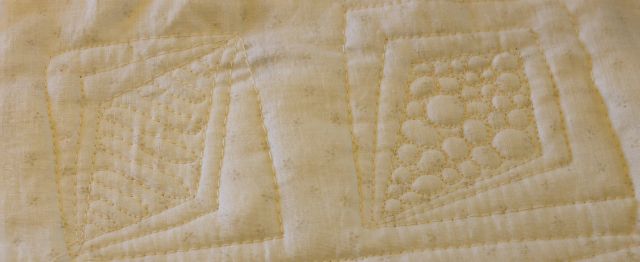
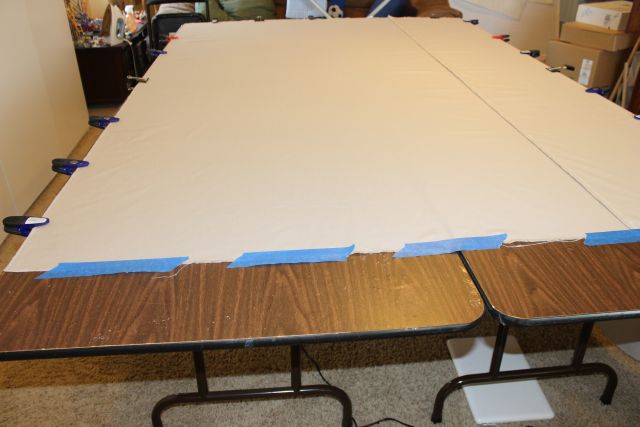
Click on each of the pictures shared below to enlarge and appreciate the details!

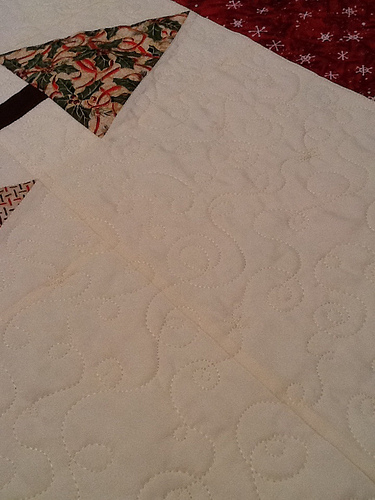
Heirloom quilting by Cindy Needham.
Although Cindy’s quilting style is beautifully vintage, with heirloom quality stitches machine quilted on a breathtakingly small scale, I was able to learn so much from her and contemplate how I might apply her techniques to my modern quilts.
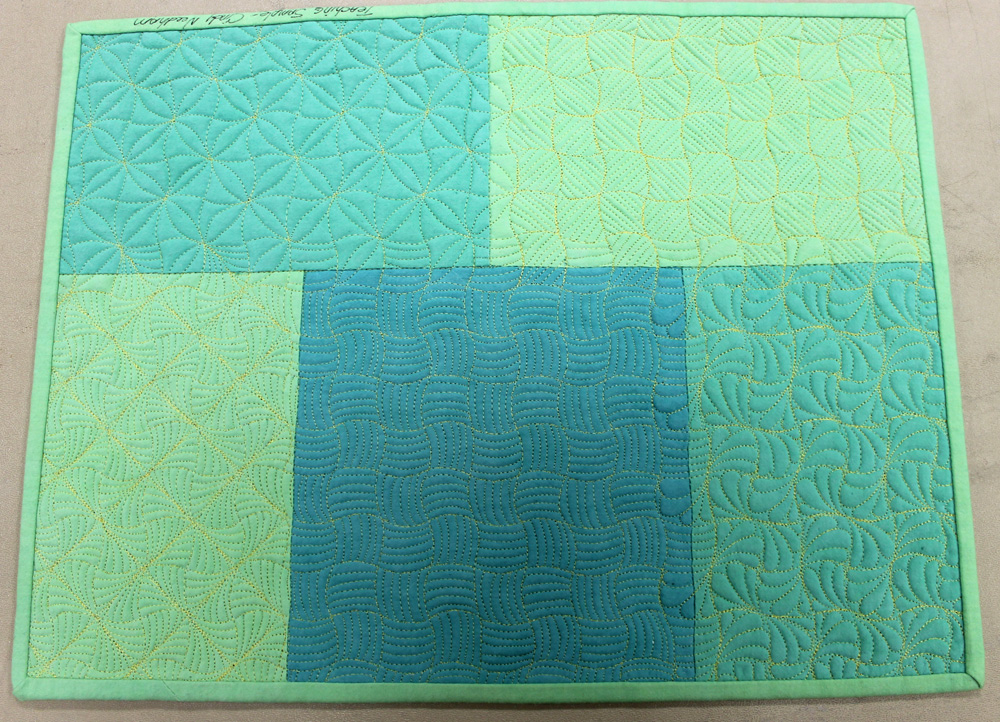
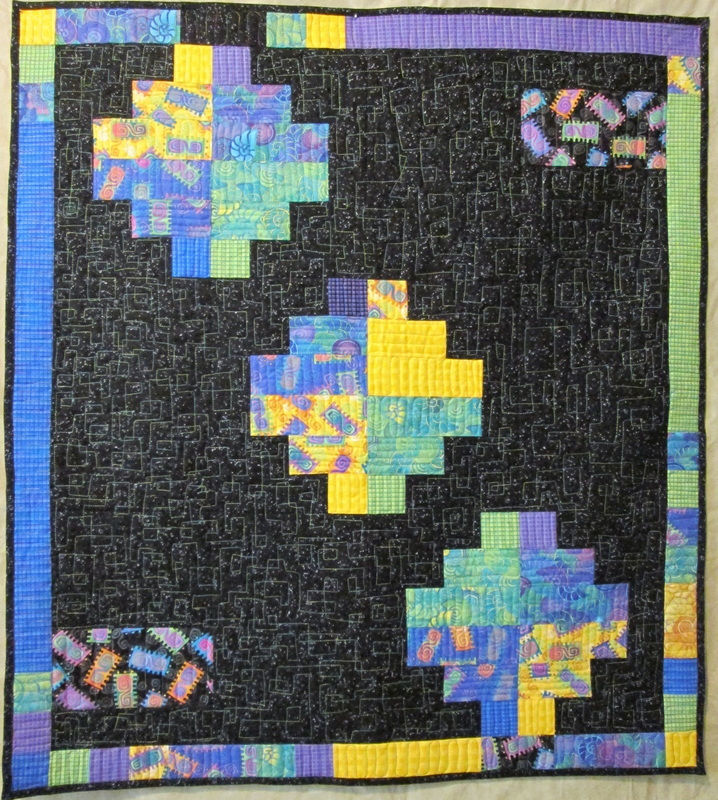
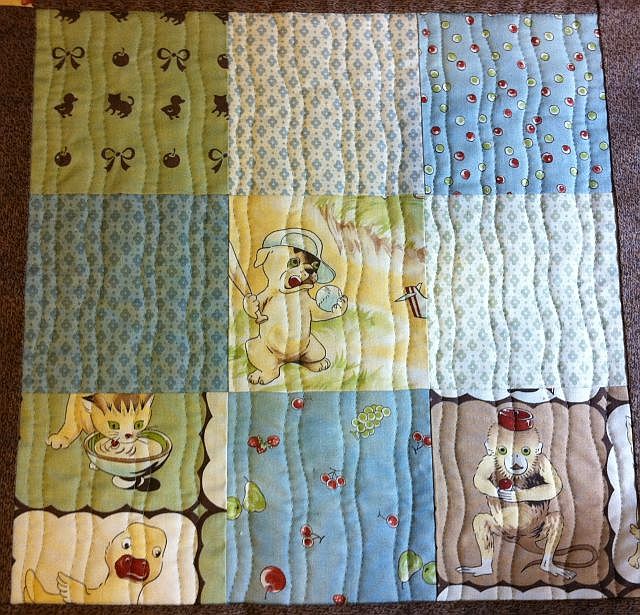
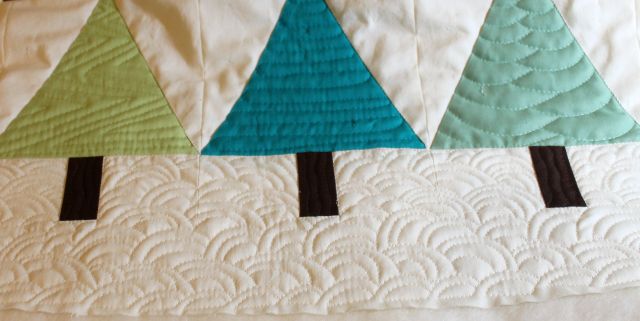
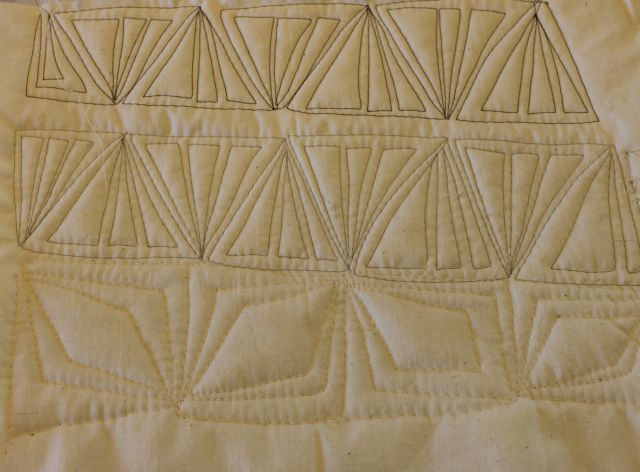
Cindy’s quilt sample. Imagine what a beautiful, modern wholecloth this would make!
In fact, during class I kept laughing to myself whenever she would show samples of her “larger scale” designs. I mentioned that her large scale is my small scale. 🙂 I think that a good way to describe the differences in motif size could be called be “Heirloom Scale” and “Modern Scale” – both equally beautiful and appropriate for their quilting styles.

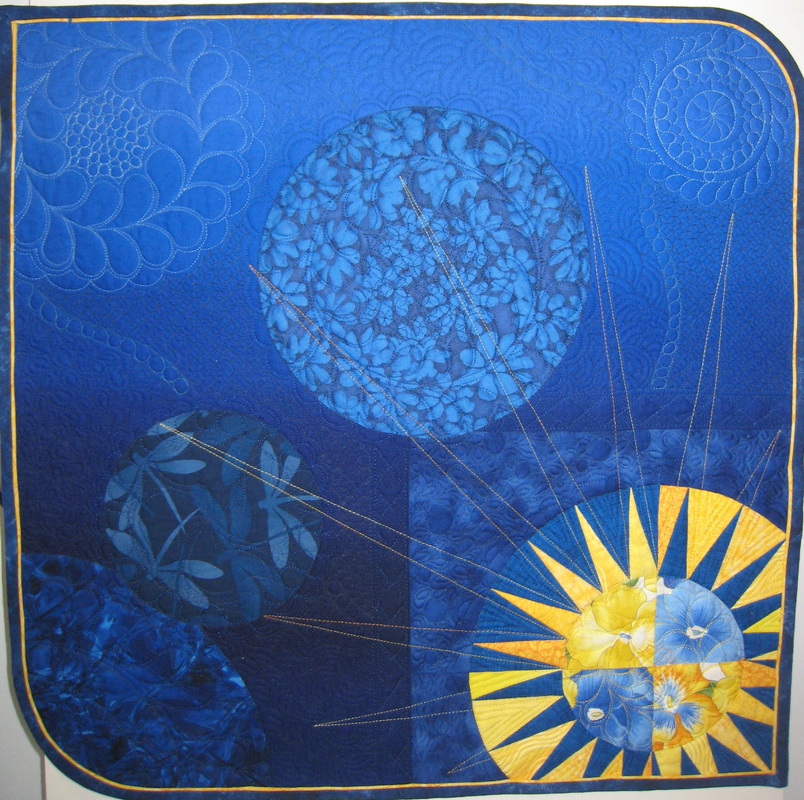
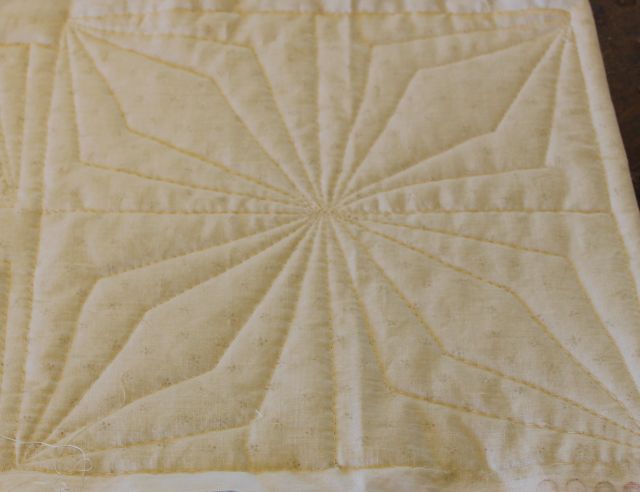
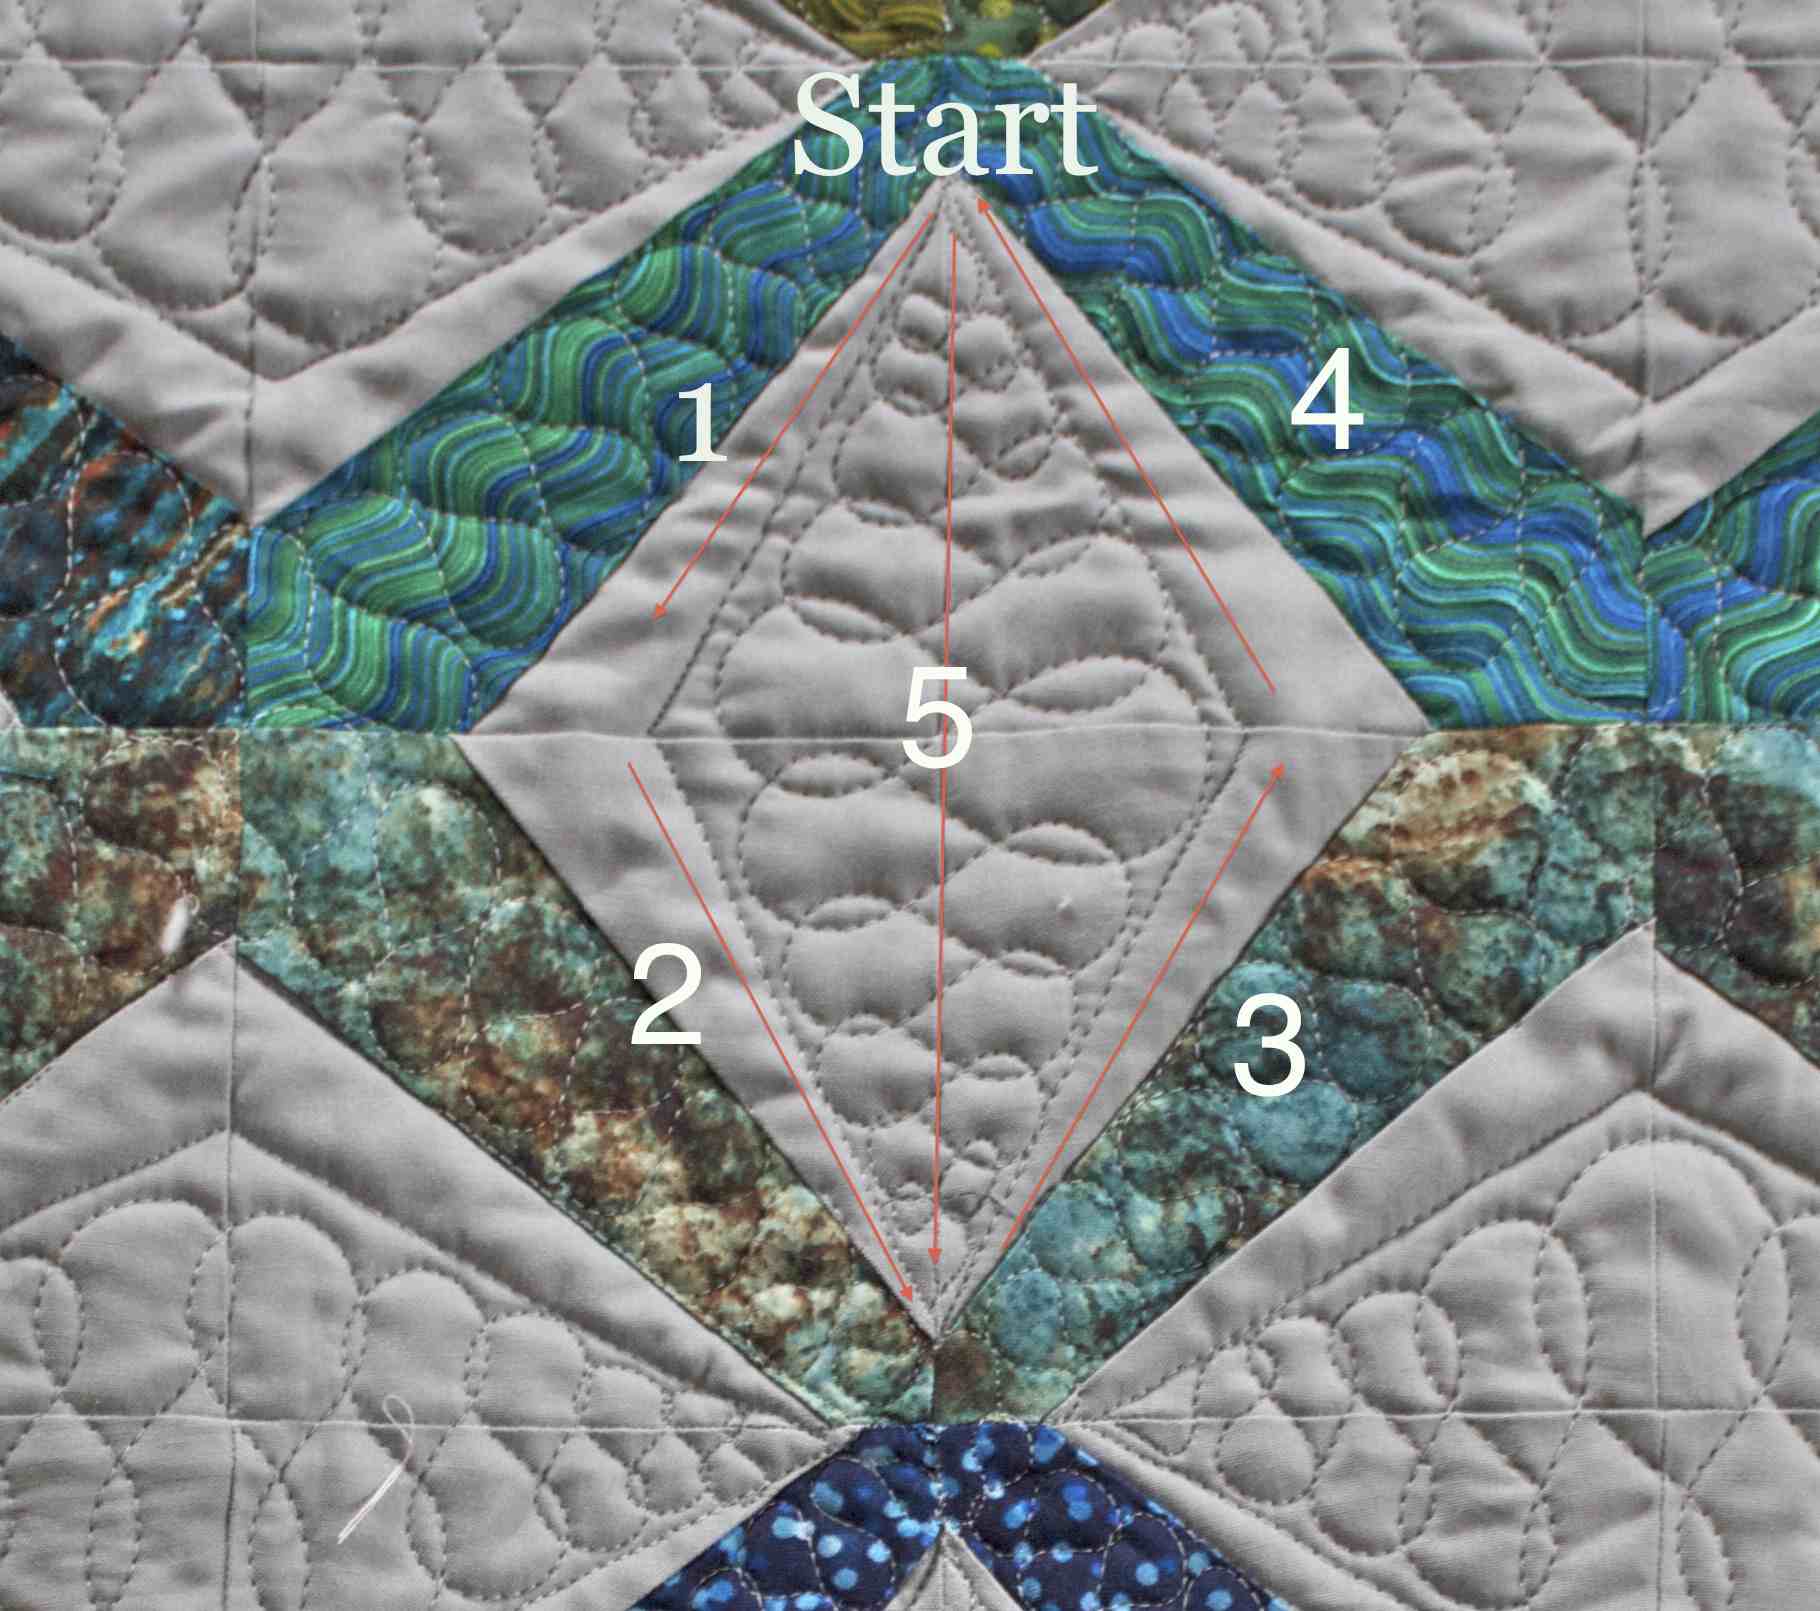
Cindy’s Feathers
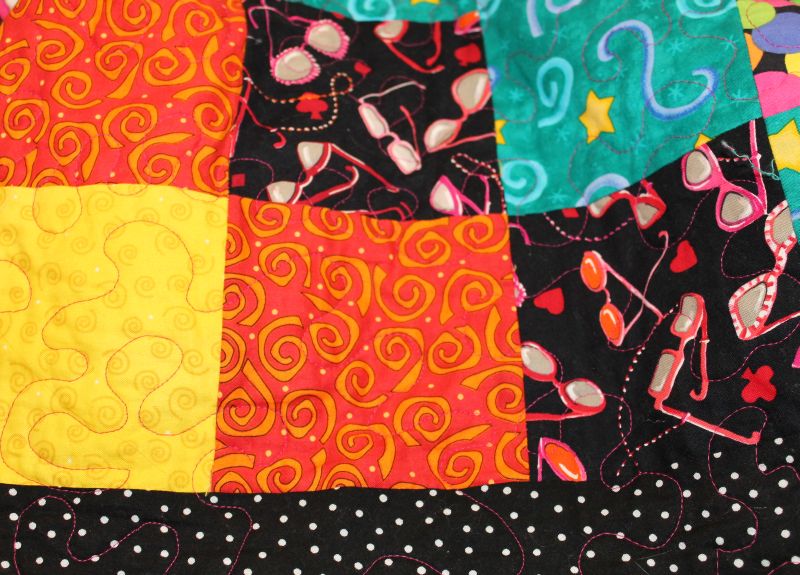
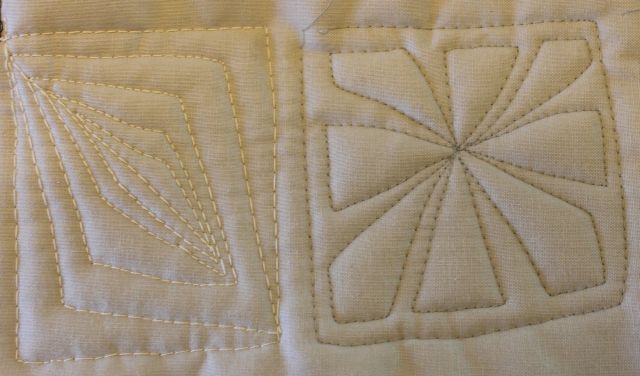
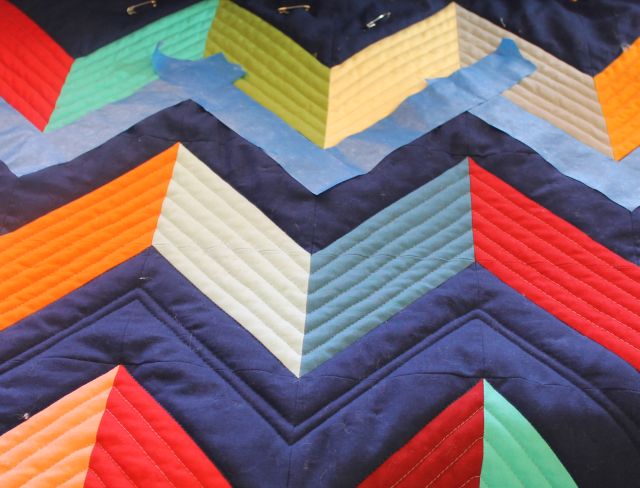
Cindy reminded us that it was okay to be “consistently inconsistent” and that perfection in quilting is over-rated. Words to live by. The sample below is one of my favorites. I love her nod to asymmetry in this piece! I think it’s a touch modern, don’t you?

Quilting Sample by Cindy Needham
If you ever get a chance to take a class from Cindy, or listen to one of her lectures, I highly recommend it! She also has a couple of machine quilting classes on Craftsy, one of which I reviewed previously on my blog. Now I’m off to doodle… and dream sweet machine quilting dreams….