Free Quilt Pattern
Be sure to sign up for my email newsletter to get a free pattern!
I’ve come to the end of my Charming Chevrons tutorial and it’s kind of sad. I really loved every minute of making this quilt! Today I will demo binding. Scroll to the end for links to the previous steps plus my announcement for my next DIY quilt-along starting next week!
Christa’s Charming Chevrons
If you like this quilt and want to make one just like it, Charming Chevrons quilt kits are available from my shop for a limited time.
Step 1 – Trimming The Edges (10 Minutes)
When the quilting has been completed and all of your basting pins removed, it’s time to trim the extra backing and batting and square up your quilt.
![]()
![]()
Use a large square ruler for the corners and a long 6 to 8 inch wide ruler for the sides. The markings on the ruler help keep things nice and even. I use the long lines to make sure I am cutting straight.
If the quilt seems a little wavy, I will block it at the end after binding by soaking it in the washing machine, and laying it out flat on a table to dry. (I do this only if I know for sure the fabrics won’t bleed when wet – I’ve had way too many “accidents.”)
Step 2 – Making the Binding Strips (15 Minutes)
![]() I sew continuous double fold straight grain binding strips that I make myself.
I sew continuous double fold straight grain binding strips that I make myself.
Cut enough 2 1/4″ wide strips to go around the perimeter plus about 10 extra inches.
For this quilt I cut a total of 7 strips that measured 2 1/4″ by the width of the fabric (40″-42″).
Join the strips together on a mitered (45 degree) angle to smooth out the seam formed by sewing the strips.
Join all the strips together so that you have one continuous piece with the joined seams all going the same direction.
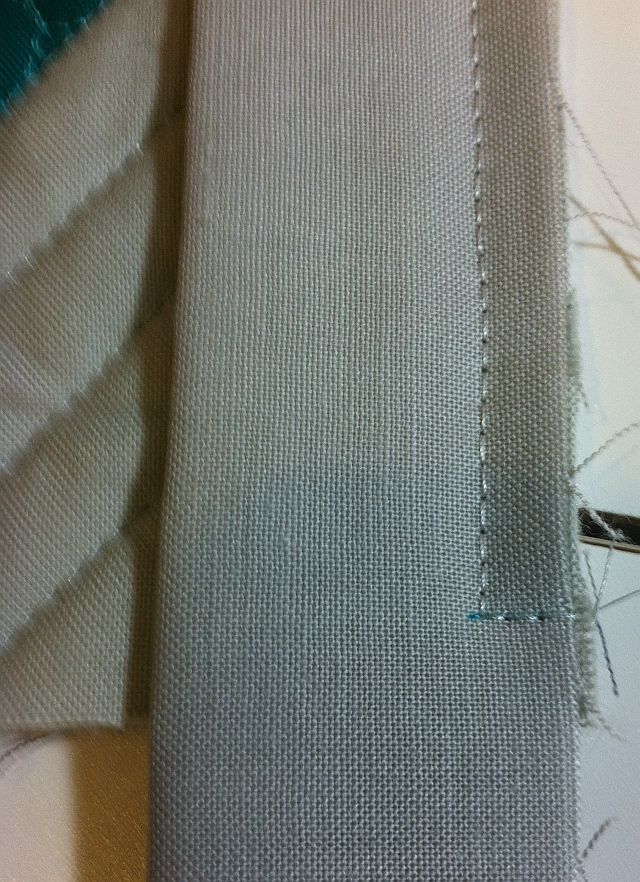
At the beginning of the binding, cut off one end at a 45 degree angle. Then press the binding in half lengthwise (press seam allowances open).
![]()
![]()
Step 3 – Attaching the Binding to the Quilt by Machine (35 Minutes)
![]() Leave a few inches of a “tail” unsewn when you begin.
Leave a few inches of a “tail” unsewn when you begin.
Do not start at a corner, and quickly measure your binding around the perimeter of the quilt to ensure it is long enough.
Try not to end up where you have any of your seams in the corners. Adjust your start if needed.
Use a matching cotton thread in the top and bobbin and use the same thread to finish your binding (whether by hand or machine).
Using a walking foot, sew with 1/4″ seam allowances and stop when you reach exactly 1/4″ inch from the end of your first corner. Take the quilt off the machine and fold the corner like the pictures below. This will create nice crisp mitered corners when you fold them over.
Click on the pictures below to see a larger version for more detailed closeups.
![]()
![]()
Repeat for all corners of the quilt and leave a few inches of “tail” when you near the end.
![]() Open up both folded ends and with a pen, mark where the beginning meets the end.
Open up both folded ends and with a pen, mark where the beginning meets the end.
Cut off the excess 1/2″ away from the marked line (for seam allowances) and join the two ends together.
You can see I cut off a full extra strip’s length of binding but just barely!
It’s better to have too much length than not enough!
Once your ends are joined, finish sewing down the binding completely to the front of the quilt.
Step 4 – Hold the Binding in Place With Pins or Glue (30 Minutes)
To baste the binding in place on back, I usually use pins and Pinmoors. However, for this quilt, I wanted to try a glue pen to temporarily adhere the binding to the back of the quilt. It worked like a charm and I got to see what the quilt looked like before it was done. I was even able to glue the corners in place to form a pretty miter. That will be much easier to sew!
![]()
Step 4 – Finish by Hand or Machine (Hand Sewing 5 Hours)
Whether I finish my binding by hand or machine, the above steps are still the same. Because I finished this quilt for QuiltCon (and possibly other quilt shows), I chose to sew by hand. So I got nice and comfy on the couch and watched a couple movies while I stitched away.
![]()
For more info on both types of finishes, you can read my post about hand-binding and my machine binding tutorial.
Charming Chevrons Tutorials. Click the links below to go to that post.
- Week 1 – Supply List and Introduction
- Week 2 – Marking and Sewing the Charms
- Week 3 – Cutting and Trimming the Triangle Squares
- Week 4 – Sewing the Chevron Blocks
- Week 5 – Assembling the Quilt Top
- Week 6 – Marking and Basting
- Week 7 – Machine Quilting Straight Lines
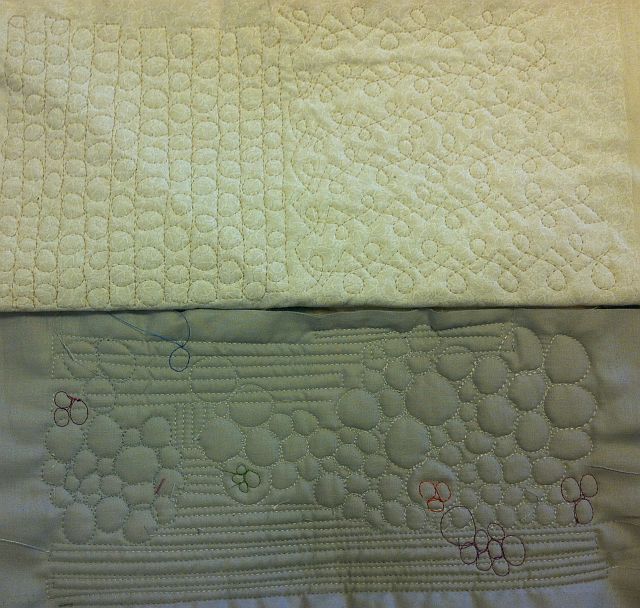
- Week 8 – Free Motion Pebble Quilting
- Week 9 – Binding and Finishing Your Quilt (today’s post above)
Here are Charming Chevron’s Vital Statistics
- Original design, pieced and quilted by Christa Watson
- Finished size 46″ x 54″, completed November 2012
- Finished block size 8″, 42 blocks total
- Made from 4 packs of Kona Cotton charm squares (2 New Classic colors, 2 Ash grey)
- Pieced backing, shades of grey with pops of color
- Double batting (Warm-N-Natural and Legacy Wool)
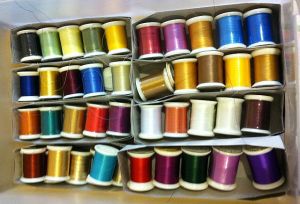
- Superior Highlights trilobal polyester in top and bobbin for pebbles (18 colors)
- Isacord Sterling polyester in top and bobbin for chevron outlines
- Total piecing time: 9.5 hours
- Marking and basting: 2.5 hours
- Total quilting time: 28 hours
- Total binding time: 6.75 hours
Sharing is Caring
Please share your work in progress in my facebook group: Quilt With Christa . 🙂