I’m excited to revisit a quilt that I designed and made many years ago called Positive Direction. I plan to share updates about this quilt in real time, so there’s no telling how many posts it will take until I finish! But I’ll share my progress and answer any questions you have, each step of the way! My original version is shown below, made from fun fabrics that I chose before I became a fabric designer:
The Positive Direction quilt pattern is still available as a pdf download and it includes instructions in multiple sizes. The version shown above is Lap Size. Over the years I’ve always had it in the back of my mind that I would remake this quilt once I had designed enough red, white and blue fabrics. I started by recoloring the larger version using a more limited color palette and I think it looks pretty cool:
Click here to download the Positive Direction PDF quilt pattern.

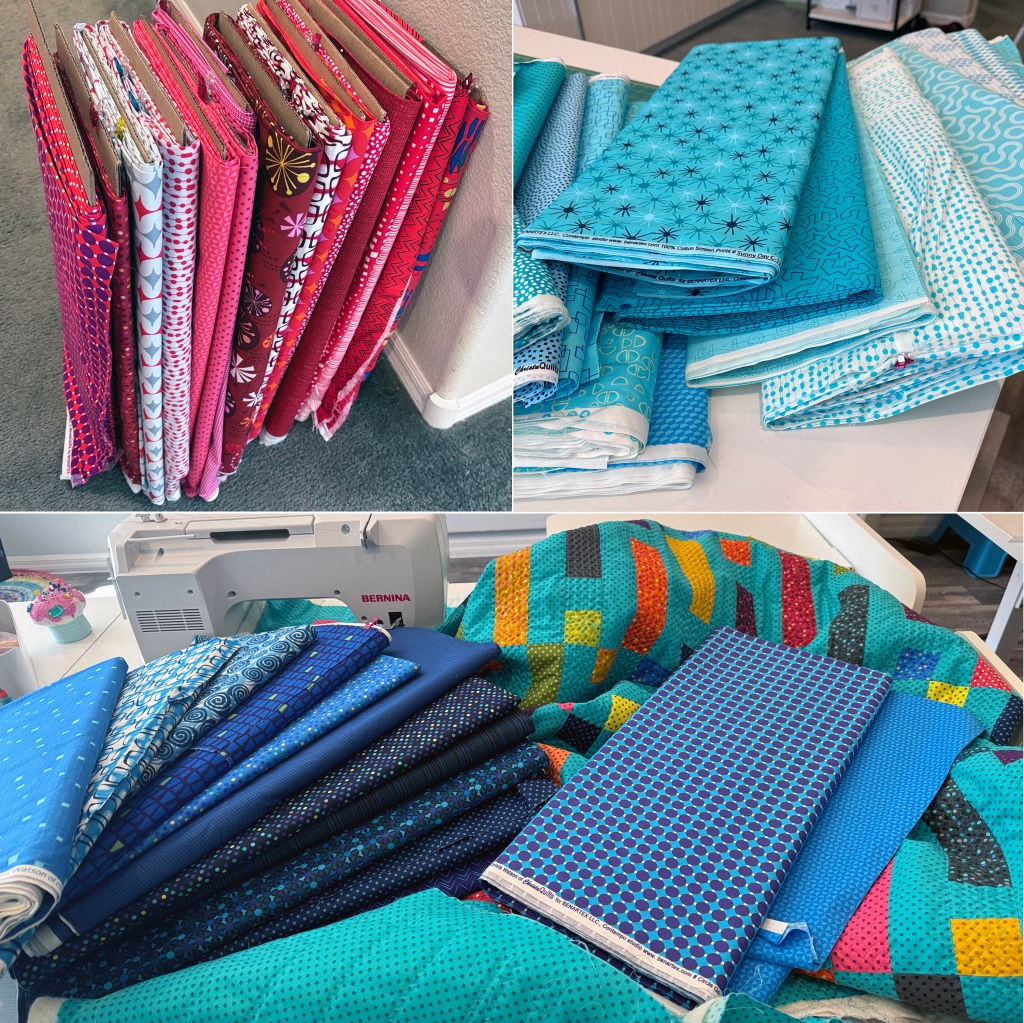
Fun Fabric Pull
However, the more I thought about remaking this quilt, the more I decided that I wanted to go with the overall scrappy look like I did before. After all, my philosophy is why choose one red fabric when 20 will do??
I had a blast combing through my fabrics to find as many different prints that would work. After designing 9 collections (and counting) for Benartex, it was fun to see how many different fabrics I could pull from my personal stash.

And just so you know how my mind works, I got super excited about this fabric pull right in the middle of quilting my turquoise Ticker Tape quilt, so I had to stop what I was doing *right then* and set these fabrics aside until I was finished with the quilt under my machine. I’m sure I’m not the only one that does that, right??
Scrappiness = Happiness

I shared a few pics on social media as I began cutting and sooo many people wanted to know why I didn’t use strip piecing for this quilt. The answer is simple: I get much better results if I cut all of my units to the correct size *first* and then sew. Your mileage may vary, but I find that if I sew first, press, and *then* cut, my pieces tend to get a little wonky. Besides, it’s hard to do a lot of strip piecing when working with scrappy units.
Making the Quilt Blocks
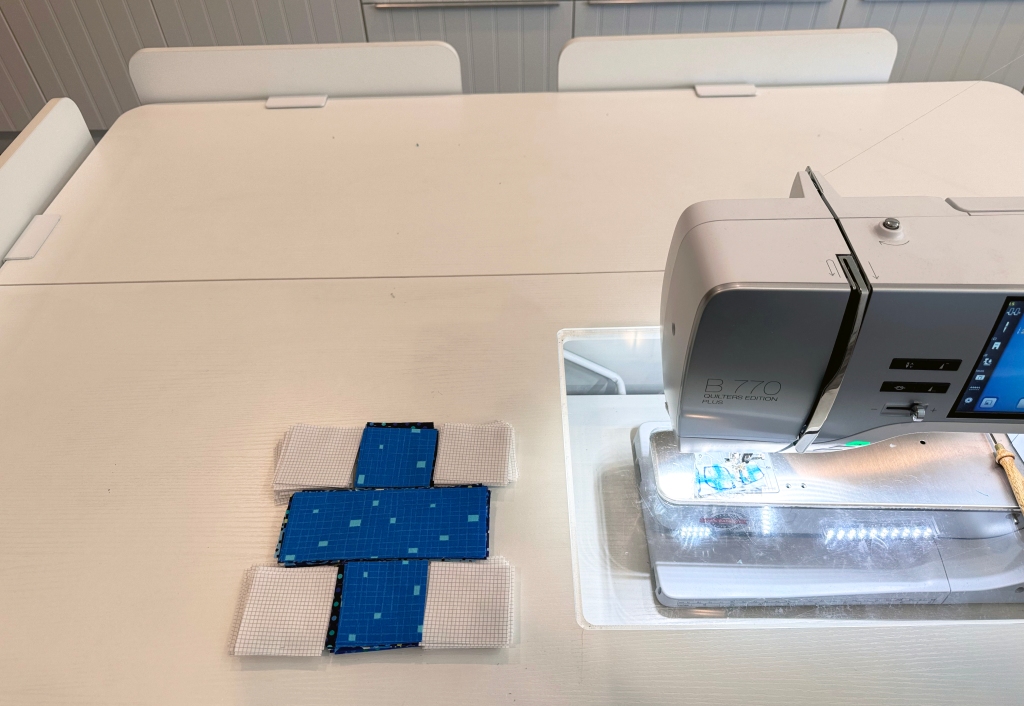
I love to work in batches and assembly line sew. So I’ll lay out all of the blocks for one colorway right next to the machine and chain piece them all together to save thread. Then I’ll press and move onto the next set of blocks. It’s more efficient and makes me feel like I’m getting a lot done!

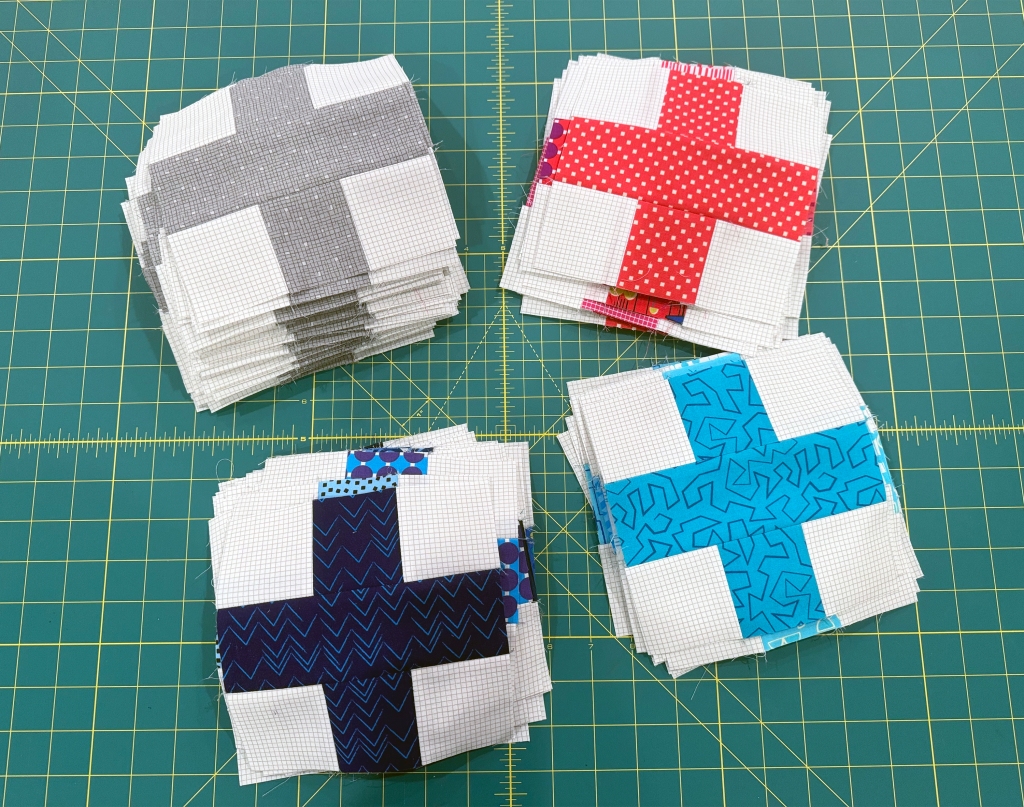
Ta-da!! Here are all of my finished blocks, waiting to go up on the design wall. In real time, it took me about 2 weeks to prep and cut all the fabrics, then sew and press all the blocks. It’s kind of nice that I’m not on any deadline for making this quilt so I can really enjoy the process. I’m making the Throw Size which will finish 66″ x 78″ so that’s a nice beefy size that will be perfect for cuddling on the couch!

Although this is not an “official” quilt along, I’ll continue to share my process as I make this quilt. If you’d like to make a version of this quilt for yourself, click here to grab a copy of the PDF quilt pattern.

Get a copy of my Positive Direction quilt pattern to follow along!
Neutral Background Fabrics
Because many of the fabrics I used are now out of print, you’ll be able to create your own unique look by gathering lots of different fabric prints in similar colors. However, I did stock up on the neutral backgrounds because those *always* come in handy! Click the links below to grab some of my faves, while they last:
- Click here to grab Confetti Crosshatch in Light or Dark Grey.
- Click here to grab Square Grid in White/Gray or Black

