New around here?
Click here to join my email newsletter for more free tutorials, inspiration, fabric deals and fun quilt alongs!
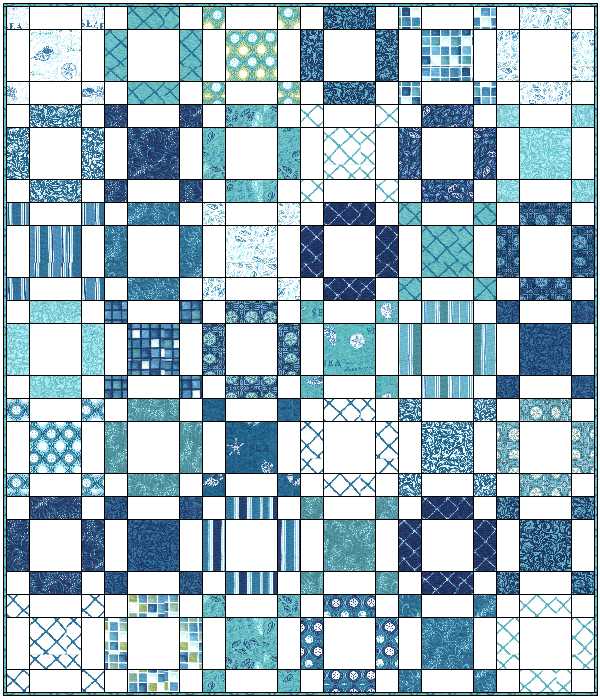
Today it’s time to sew all of the cut pieces and charms together to make our Sea of Squares blocks. We will sew a total of 21 “X” blocks and 21 “O” blocks. It took me 4.5 hours total.


Step 1 – Sewing the X blocks (2.5 Hours)
I like to chain piece as much as possible. This means sewing the pieces together in an assembly-line fashion without cutting your threads in between pieces until you are done.
Chain Piecing
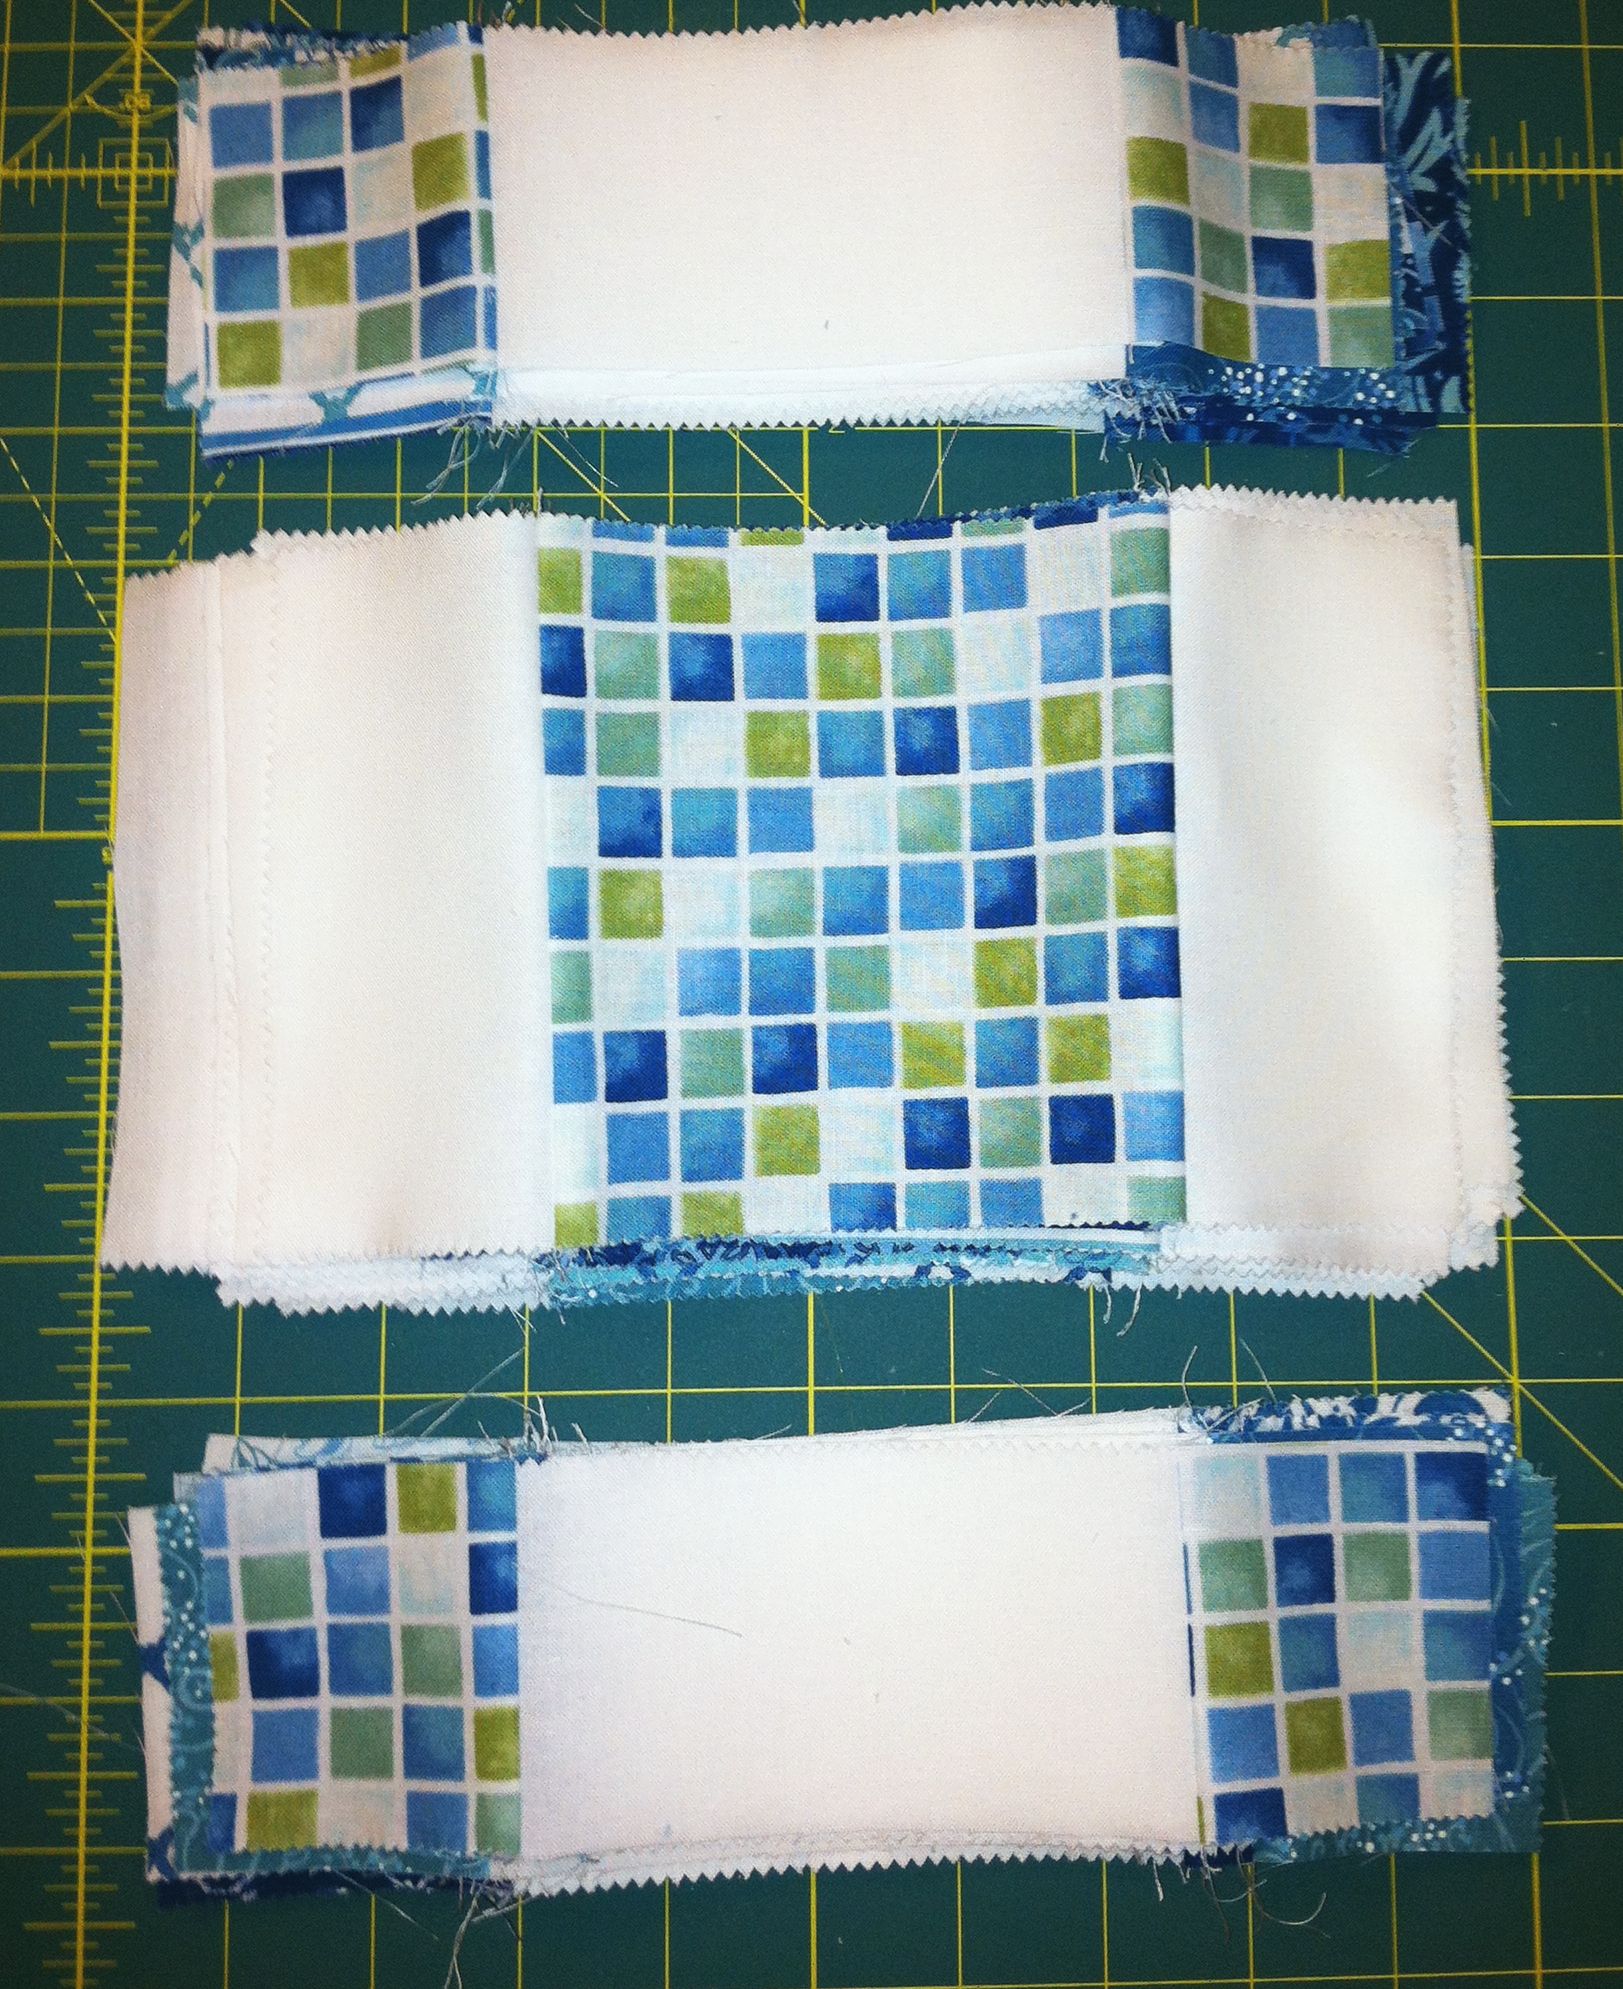
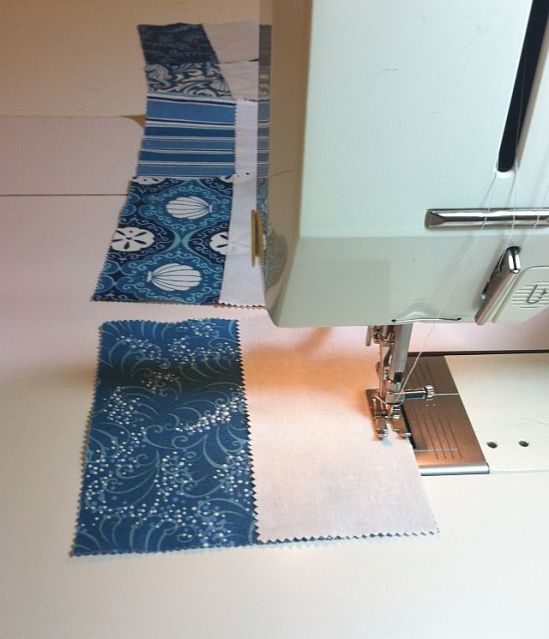
Start with the middle section of the X block which is composed of one dark 5 inch charm and two white (light) 2.5 x 5 inch rectangles. Use 1/4 inch seam allowances at all times.
To chain piece this section, sew 21 white rectangles to one side of all 21 dark charms. Then go back and add 21 white rectangles to the other side of all 21 charms.
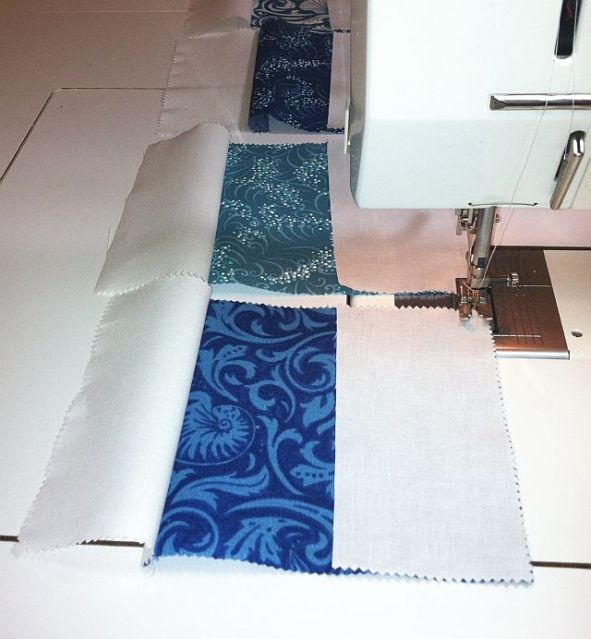
Sew white rectangles to either side of each charm square.
You should have a total of 21 completed “middle” sections. Finger press your seam allowances open or to the darker fabric. I like to use a wooden seam roller for this.
I prefer to use a seam roller whenever I can, especially when working with white fabric. I use the iron as little as possible to reduce the chances of scorching or distorting my fabrics. If you press nice and firmly with the seam roller, the seams will lie down nicely. Then I give the blocks a final pressing with an iron at the end.

Seam roll the back.
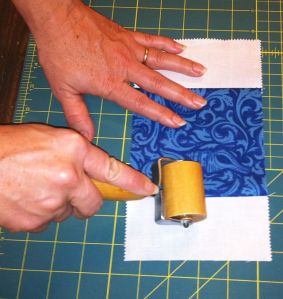
Seam roll the front.
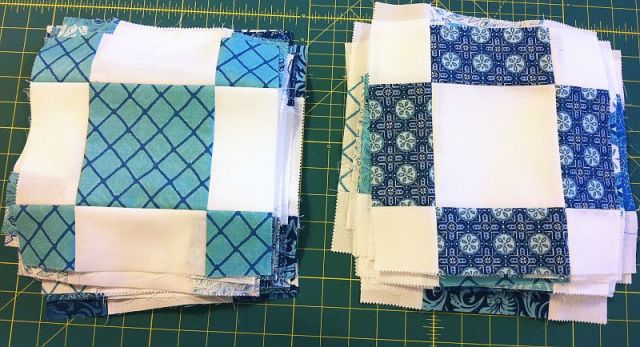
After the middles are complete, sew all of the tops and bottoms. I like to sort all 4 of each smaller dark square together so it’s easier to stay organized and sew each as needed.

Sew a small dark 2.5 inch square to either side of a light 2.5 x 5 inch rectangle. Repeat this for a total of 42 units (21 for the top and 21 for the bottom). Press toward the dark fabric.

X Block Units
Pinning at intersections, join the top part of your block to all of the middles. Be sure to take out your pins as you go so you don’t sew over them.

Add the bottoms to all of your blocks in the same manner and press seams open.

Step 2 – Sewing the O Blocks (2 Hours)
The O blocks are sewn together in the same manner but with reversed fabric placement. It took me a little less time to sew them because I was in my groove!
Again, starting with the middles, add the same dark rectangle to either side of a white (light) charm. Repeat this for 21 middles.

Moving on to the tops and bottoms of the O block, add one white square to the end of 42 dark rectangles. Then repeat for the other end of the rectangle until you have 42 sewn units.

Add a top and bottom unit to each side of your middle. Again, pin and chain piece all of the top units; then go back and chain piece all of the bottom units.

Press all of the final seams open so that you can eliminate the shadowing of the darker fabric through the white background. Do this with an iron, but be careful not to scorch the fabric.

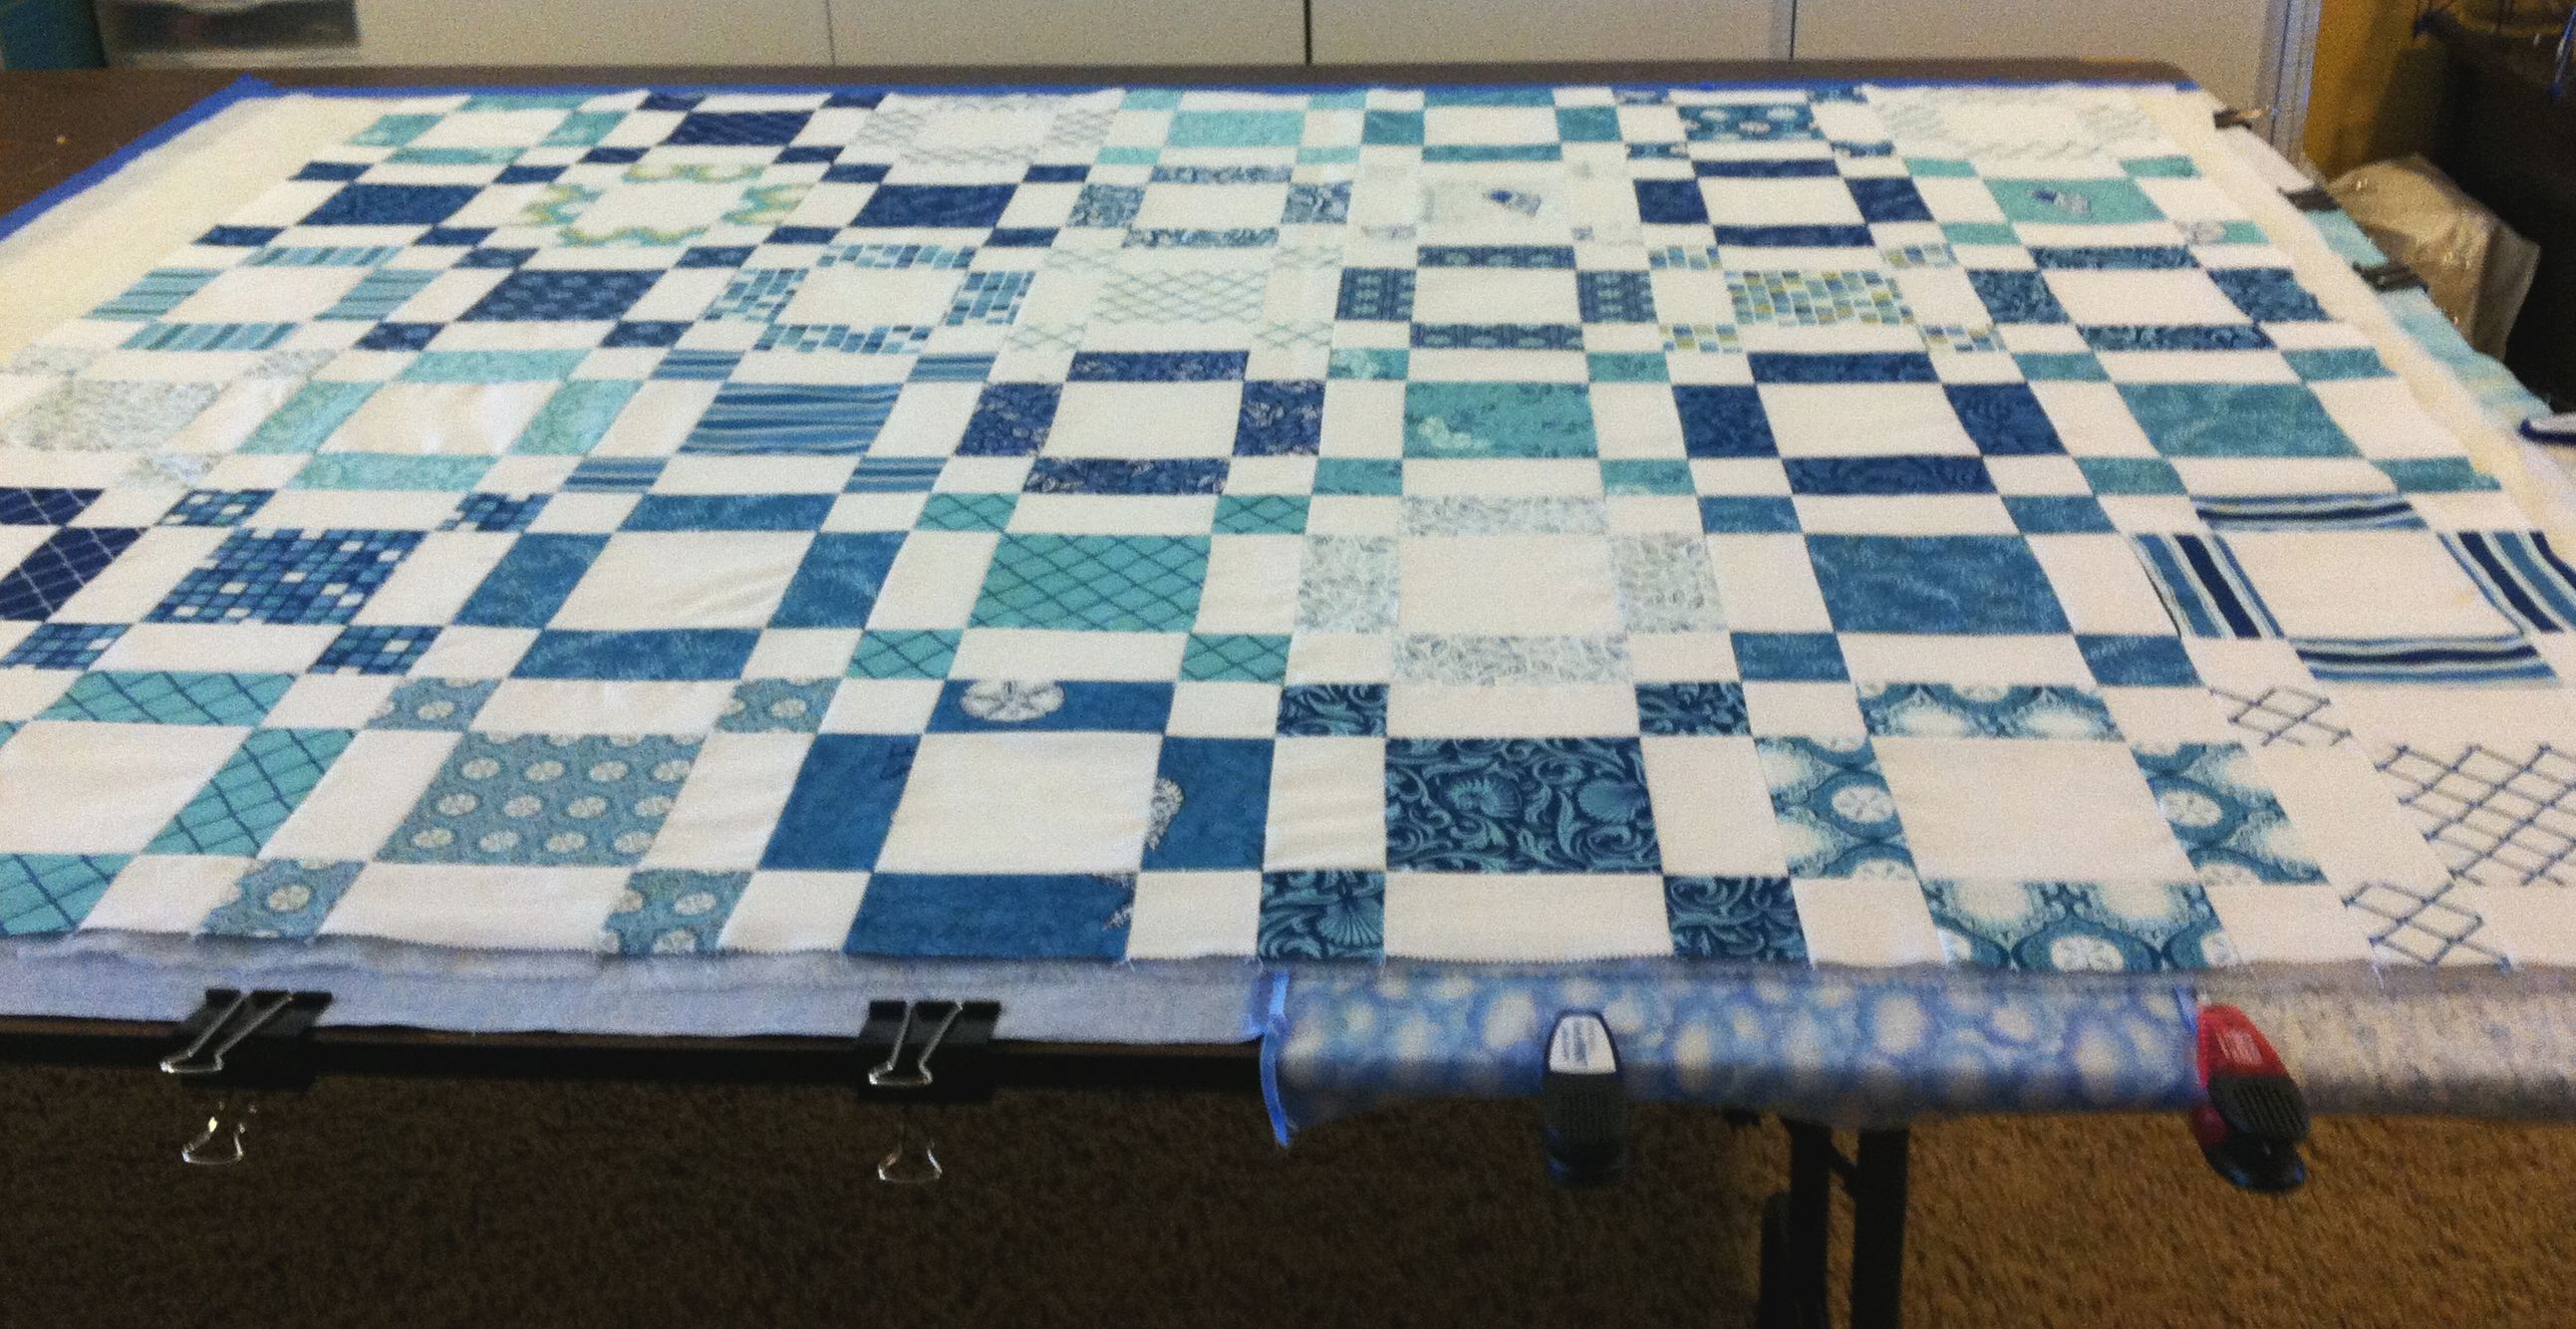
You should have a total of 42 blocks, half X’s, and half O’s. They should all measure 9 inches from raw edge to raw edge. The finished size of these blocks will be 8.5 inches. If your blocks are larger or smaller, it’s ok. As long as they are all the same size the design will work.
 That’s it for this lesson! Next week we will put them up on a design wall and “play” to find a pleasing arrangement.
Quilt-Along Schedule – Links are Active at the Completion of Each Step:
Please email me pictures of your progress on this quilt or any of my previous tutorials! You can reach me at christa@christaquilts.com.
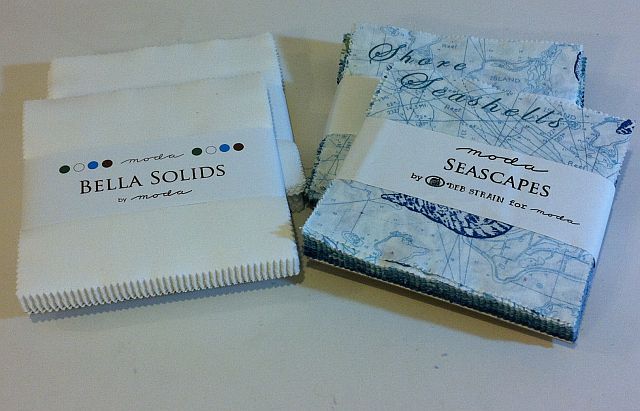
Quilt Kits for Sea of Squares and all of my other blog tutorials are available in my shop for a limited time.

 I started with the idea of “plates” or “wedges” radiating out from a center. But instead of classic curves, I wanted to keep my design straight and angular. So I played around with lines and angles in EQ and this is what I came up with.