Last year I hosted a really fun quilt along as part of my BERNINA Ambassador obligations. (It’s a fun gig by the way – I travel the country letting folks know how much I love my machine which is something I did anyway before I became it became “official.”) So today I thought it would be fun to revisit the quilt along for those of you who are new to my blog, or missed it the first time around.

Links to the Simple Strips Quilt Along
The quilt tutorials are all hosted on the BERNINA blog at We All Sew and they’ll be there indefinitely, so you can make this quilt on your own schedule, any time you want. Just click the hotlinks below to get each set of instructions for this quick and easy quilt!
Week 1 – Materials List and Cutting
Week 2 – Pieced Quilt Top Tutorial
Week 3 – Wall Basting Tutorial
Week 4 – Decorative Stitch Machine Quilting
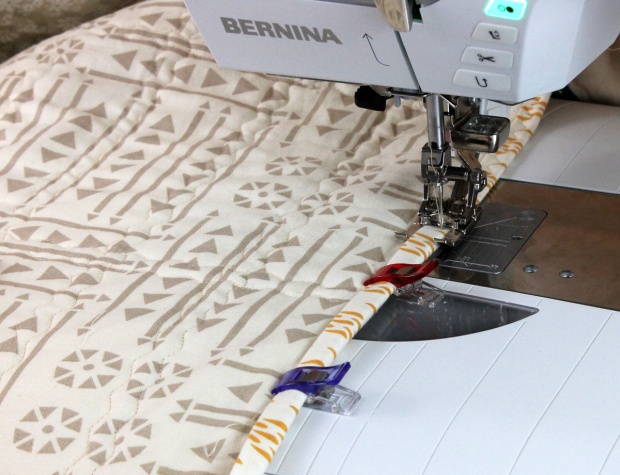
Week 5 – Machine Binding Tutorial
I made this quilt before I started designing fabric and it works well with any fabrics you choose, whether coordinated or scrappy. Fabric selection is super simple too – it just requires 20 strips (or 1/2 of a jelly roll) of print fabric and the same amount of background/light fabric.
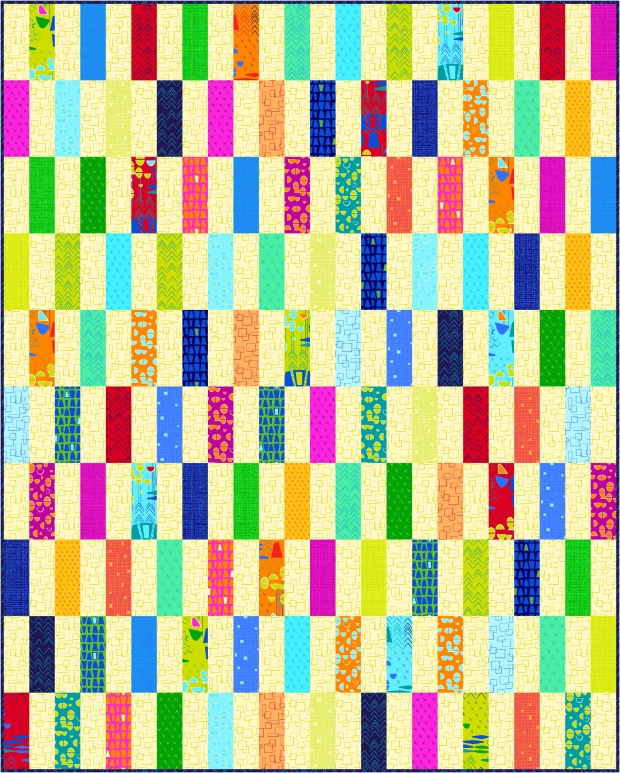
Simple Strips – Modern Marks

And just for fun, I wanted to see what it would look like recolored in MY fabric – because as a fabric designer, I wish I had time to make ALL the quilts in my prints, LOL!! The recoloring shown above uses a bundle of the Modern Marks prints plus 1 1/2 yards of the cream/lime Boxes print for background and 1/2 yard of the Navy Herringbone for binding.
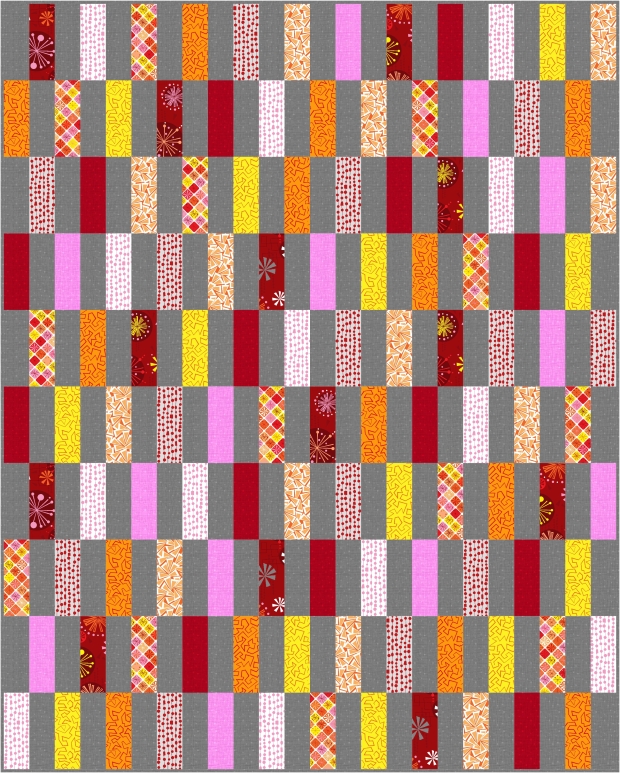
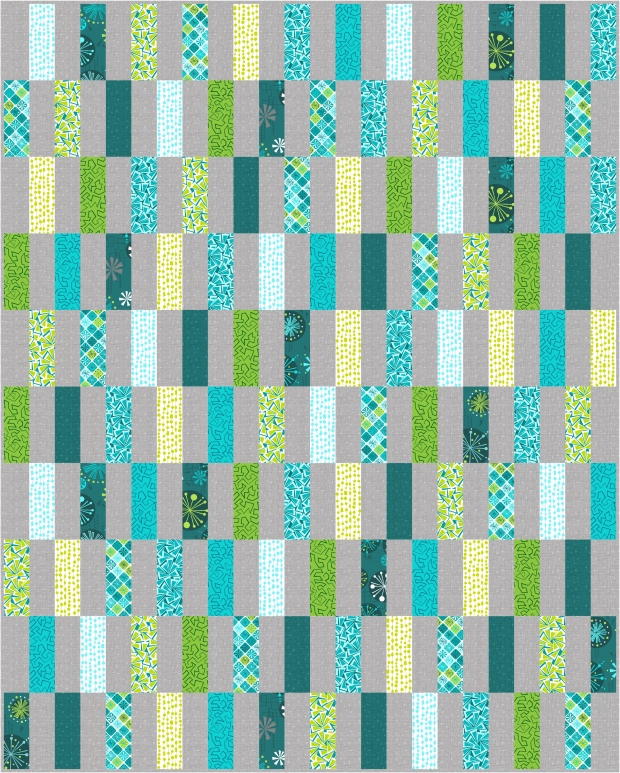
Here’s what it looks like recolored in Fandangle, my newest fabric collection. I thought it would be fun to separate the warms and cools for a more curated look:
Simple Strips – Fandangle Warm and Cool

This coloring can be made from a fat quarter bundle of Fandangle in warm plus 2 yards of Confetti Crosshatch dark gray for the background and binding.

This coloring can be made from a fat quarter bundle of Fandangle in cool plus 2 yards of Confetti Crosshatch light gray for the background and binding.
Although the instructions for Simple Strips are written using precut 2 1/2″ strips, you can totally make your own bundles from your stash, scraps, or even fat quarters.
Do You EQ? (Bonus Download)
Here’s a bonus for those of you who like to work with Electric Quilt software:
Click here to get the Simple Strips EQ download file to resize or recolor this quilt. (It only works if you have the software installed on your computer.) Because I don’t have all the time in the world to make all the quilts, recoloring them virtually gives me the satisfaction of seeing what it would look like “in the cloth!”
Sharing is Caring
Remember, if you make this quilt or any of my designs for that matter, I’d love to see them! You can email me pics to christa@christaquilts.com, include a link to your own blog or social media in the comments, share pics in my ChristaQuilts Facebook group or tag me @christaquilts and #christaquilts on Instagram.
I hope you enjoy making this quilt!!

