I think this is my favorite of the three Pure charm pack quilts I’ve made. This one was for a really good friend so I wanted to do something very special with the quilting.

 Before I begin the machine quilting process, I first select a stencil that I want to use. I then decide what tool I need to use to mark the quilt so that the lines show up.
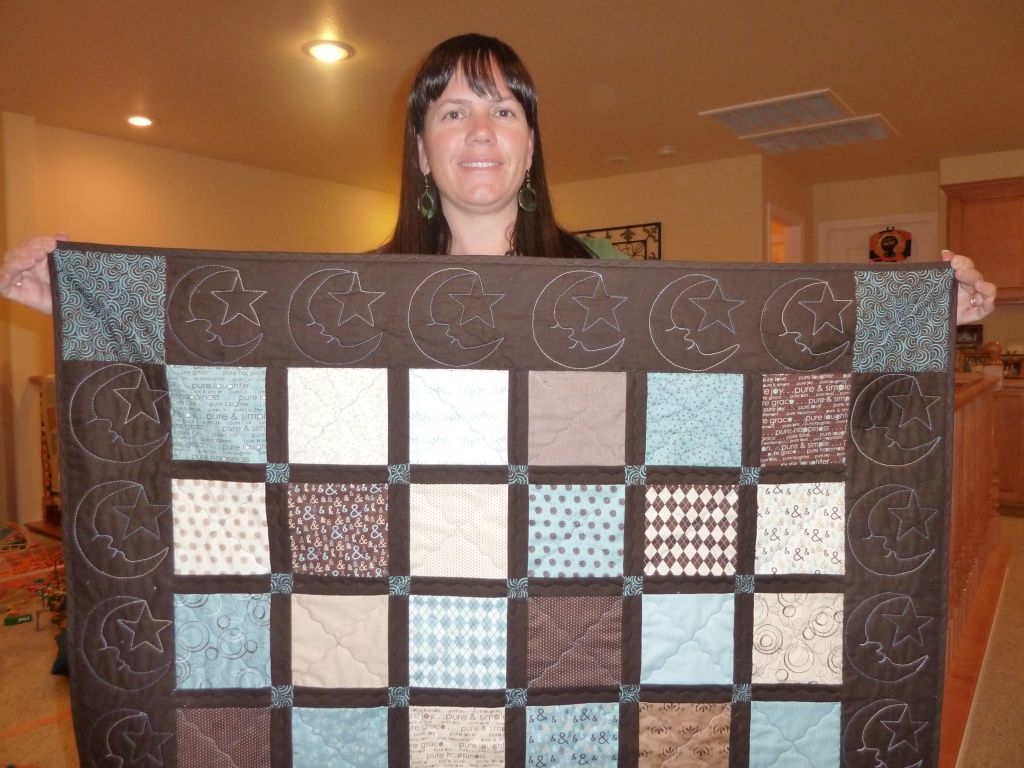
For this quilt I selected a stencil of a moon with a star. It’s really easy to mark and quilt and I’ve used it many times before. I figured out how many moons I’d need to mark around the borders. Then I went back over each one to make the lines a little darker and easier to see while quilting.
 I can sometimes get lost in the marking, just like many people do when piecing. For this dark material, I used a white washable marker with a thick tip.
If I’m not stressed with a deadline, I can really take my time with the marking process and it can be very relaxing!
I like to go over all the lines and fill in the stencil lines for a complete outline.

 Here’s a closeup of the machine quilting with a free motion foot and contrasting thread.
 Compared to the fist charm quilt I made, I think I like this one best with the dark brown sashing.
I used little squares between the sashes to help the rows line up straight. It looks like more work, but actually it’s easier than trying to match up rows with no intersecting seams.
I used the same squiggly quilting pattern across the blocks, like I did for Pure Quilt #2. It’s a super fun way to quilt across the blocks. Now on to the next quilt!

That’s a great idea. I’ll be sure to add quilt sizes in my next post. The charm quilts are usually about 36″ x 36″ or 40″ x 40″ depending on the width of the borders. I love it because then it only takes about 1 1/4 yards to do the backing with no seams!
I like the idea of these charm square quilts, are you able to include finished sizes