Show Report – My Trip to Paducah 2024

If you haven’t had a chance to travel to Paducah, KY for the AQS quilt show, I thought it would be fun to share a few highlights from my week of teaching there. It was my first trip to this amazing show and it certainly won’t be my last!

From Las Vegas, I flew to Charlotte, NC and then took a smaller commuter plane to the Paducah regional airport. Once there, we were greeted by the Paducah ambassadors and then taken over to the host hotel to settle in. The next day kicked off a 4 day frenzy of lectures, workshops, food, friends and fun!

Here’s a short little clip of excited students eagerly awaiting my first lecture. There’s nothing like a room full of quilters to get me all amped up!! Click the image below to play.

I taught a total of 5 machine quilting workshops, demonstrating a variety of walking foot and free motion techniques. At a large show like this, the students don’t even have to bring in machines because each room was sponsored by a different sewing machine manufacturer which is really nice.

Pro tip- the best place to test drive a new machine is in a workshop at a major quilt show – and that’s usually the best way to get a great deal on a new machine!

Above is a few images of the practice samples that students created in class. In between trying out the different motifs from my books, I sprinkled in plenty of ideas showing how students could apply these designs to actual, full sized quilts.

During the break in between classes, I was able to squeeze in a few minutes each day to see the quilts at the show and they did not disappoint! Of course, I’m partial to the modern quilts, so I put together a little montage below, showing just a few of my faves. I took a photo of each artist credit as well. Click the image below to play.

On the last day of teaching which was Saturday, I finally had time to head over to the National Quilt Museum which was in walking distance of my hotel. The whole downtown area is adorable and there’s even a scenic river walk which adds to the charm!

I ran across a time capsule on the front lawn of the museum which was placed back in 1993. That’s just 2 years before I made my first quilt in 1995 at the ripe young age of 22!! The time capsule will be unearthed in April of 2043, 50 years later. I realized I will be 70 years old at that time, so I decided right then and there, if I’m (hopefully) still around, I’ll make plans to be there for the opening. How fun will that be???

The museum hosts a collection of over 600 quilts they’ve acquired over the years, and they just have a partial display of quilts on display at any one time. While I was there, they had several curated exhibitions, including a fun display of 1920’s themed Art Deco quilts, along with several quilts shown from teachers and other notable attendees who were there at the show. How fun would it be to walk into the museum and see your quilt hanging there. (I may need to add this honor to my bucket list of goals….)

Here’s a short 2 minute video showing a quick overview of 2 of the exhibit rooms along with some of my personal faves. Click play below to watch:

Seeing all of the beautiful quilts at the show, and also at the museum has caused me to reflect deeply upon my current work. While I love all of the quilts I make for patterns, books and to promote my fabrics, I’ve realized it’s been awhile since I’ve made a quilt specifically to enter into a quilt show. So I plan to set aside more time to do that in the future. Of course I’ll continue to share my journey and I hope you’ll continue along for the ride!

Get This Book by Heather Black: Design, Make, Quilt Modern

My BQF (Best Quilty Friend) Heather Black of Quiltachusetts just wrote her 2nd book, Design, Make, Quilt Modern and I enjoyed reading it from cover to cover!

Design Make Quilt Modern by Heather Black

The book includes wonderful explanations of her design process including how the quilting can affect the look of the quilt, plus so much more useful info, especially if you enjoy designing your own quilts.

As a bonus, the book also includes 4 modern quilt patterns for you to make. They are:

#1 Grounded – I love how Heather explains her reasoning on why this quilt only has borders on 3 sides. At first you don’t notice it but when you read her explanation it makes total sense. When you see the step-by-step process she used to design this quilt, you’ll be amazed at how and why it looks so fabulous!

Grounded Quilt by Heather Black

#2  Moving Through – Heather always constantly amazes me with her color choices in her quilts. And the machine quilting is always superb. I love her trick of quilting a different machine quilting motif in each color of the quilt! But it’s done with purpose rather than random which results in a truly stunning quilt!

Moving Through by Heather Black#3 Misprint – This is one of my all-time favorites and I learned so much about design from this quilt. In her book, Heather goes over the rule of thirds and clearly explains how to effectively achieve an asymmetrical design. It’s all about balance!

Misprint by Heather Black

#4 Around Town –  This is another knock-your-socks-off modern design that uses tried and true design principles such as odd numbers of groupings and a hidden grid layout to achieve incredible results. Heather has a style that I really gravitate towards and I just love her bold, geometric designs!

Heather also includes a bit about binding and backing choices which can really make a difference in the overall success of your design.

Around Town by Heather Black

Aren’t these just stunning? Here’s a quote  from Heather that I really like:

“One of my favorite topics to teach on is quilt design and one of the themes I try to communicate in both my lectures and in my new book is that anyone can design a quilt that is uniquely them. All it takes is a curiosity about design. My book takes you through finding what you like and exploring design in your everyday life to applying that design to your inspiration and finally making the inspiration reality.”

I highly recommend Design, Make, Quilt Modern not only for the patterns, but also for the fabulous lessons in design.

Design Make Quilt Modern by Heather Black

Click here to preorder your signed copy from Heather Black which releases on February 25, 2021. You won’t be disappointed!

Machine Quilting Tips and Tricks Part 3: Preparing the Quilt

When I’m prepping a quilt for machine quilting, I do everything I can to get a nice, flat quilt sandwich. This is especially helpful when quilting on a domestic machine because of all the quilt wrestling, scrunching and smooshing that happens during the process.

Scrunching and smooshing to machine quilt

“Scrunching and Smooshing” in progress!

In order to make my quilt as flat as possible, I press ALL of my seams open. I know this can be a bit controversial, but contrary to popular belief, it will NOT weaken your seams. After all, dressmakers have been pressing seams open forever, and clothing certainly gets a lot more wear and tear than a quilt.

Seams Pressed Open

Seams pressed open on my Color Weave quilt.

In order to ensure that the seams don’t split apart, I recommend sewing with a shorter stitch length (such as 2.0 instead of my default 2.5). This has the added benefit of hiding the piecing thread in the seam, so you don’t have to worry about perfectly matching your thread to your fabrics while piecing. Another reason I love Aurifil 50 weight cotton thread is that it really seems to sink onto the seams!

This is my default setup. I reduce the stitch length and usually lower the tension.

When it comes to preparing my fabric for quilt making, I do prewash any fabric that’s a fat quarter or larger. Sadly I’ve seen too many issues with fabric bleeding to leave it to chance. If I’m using precuts, I don’t prewash since that will shrivel them up. However, I DO wash the finished quilt with dye magnet sheets such as Color Catchers. This grabs any excess dye in the wash and makes a huge difference in protecting your quilts!

Shout Color Catchers

I also starch my fabric yardage after washing and before cutting into it. This makes a huge difference in how well the fabric sews together without stretching, and it’s an important step when sewing together larger lengths of fabric for a quilt backing.

Click the short video below for my starching tutorial on a small piece of fabric. This works well for larger pieces, too!


The other thing I’ll do to get my quilt layers nice and flat is to iron the quilt batting if it has any wrinkles. I prefer to use natural fiber battings (cotton, wool, or silk) rather than synthetic battings because they are more breathable AND ok to iron.

I’ll spray a bit of water on the batting, then iron it directly. If I’m worried about damaging the batting with my iron, I’ll cover it with a piece of fabric first. As with any new technique in quilting, be sure test on a smaller pice first to ensure you get the results you are looking for.

press batting

I use a “big board” that fits on top of my regular ironing board.

Once all 3 layers are nice and flat, it’s time to baste them together. I’ve written several basting tutorials over the years, but my favorite method is to use basting spray and my design wall.

Click the clip below for my most recent spray basting video tutorial.

Just for your reference, here are several links to other basting tutorials I’ve shared over the years. Feel free to pick and choose which techniques resonate with you.

Just remember there’s no “right” or “wrong” way to quilt – just different techniques that work for your particular situation!

If you’ve enjoyed these hints, Click here for my full series of Machine Quilting Tips and Tricks.

shop.ChristaQuilts.comTo continue supporting my sewing and sharing, you can pick up any of my fun fabrics, patterns, thread and books on my website at shop.ChristaQuilts.com.

Happy quilting, friends!!

My Newest Book is Now Available: 99 Machine Quilting Designs!

I’m thrilled that my 4th book has now officially been released and I have a signed copy waiting for you! Take a look at my newest pride and joy called 99 Machine Quilting Designs from Martingale/That Patchwork Place.

99 Machine Quilting Designs

Click here to get your signed copy of 99 Machine Quilting Designs

As an author, it’s been great fun to open up boxes and boxes of my brand new book and get it out into the world.

99 Machine Quilting Designs includes a detailed photo, illustrated diagram, and step-by-step instructions on how to quilt 99 different machine quilting motifs, using walking foot AND free-motion techniques. I wrote the book from the perspective of a domestic machine quilter, but most of the designs will translate well to longarm quilting, too!

Here’s an example of one of the walking-foot designs from the book:

99 Machine Quilting Designs by Christa Watson

And here’s an example of just one of the dozens of free motion ideas in the book:

99 Machine Quilting Designs by Christa Watson

Each of the 99 designs also includes a variation to try, so it’s really like 198 designs in all! Plus there’s space on each page for you to practice your doodles and take notes right in the book! My hope is for you to get better at machine quilting by practicing as often as you can.

Here’s a video sneak peek of the book:

To make things even more fun, I created a bunch of cute buttons to promote the book, and I’m including one with each order, along with a signed message from me.

Machine Quilting buttons

Click here to get your  bonus button + signed copy of the book!

So what are you waiting for? If you haven’t already snagged your copy, you can click here to order 99 Machine Quilting Designs. Leave a note with your order if you’d like it personalized with your name, or as a gift for a friend. I PROMISE it will make you a better machine quilter!!

99 machine quilting designs

As always, thanks for your support, and happy machine quilting!!

Machine Quilting Tips and Tricks Part 1 of 9: Introduction

Today I’m excited to kick off a 9 part series on Machine Quilting Tips and Tricks. This is something I’ve been wanting to do for a long time, especially since I’ve written and taught on this topic extensively over the last few years. This week’s post will serve as an introduction to the series, and also as the landing page where I’ll update each of the links below as they are written.

Christa Quilts

I’m also happy to answer your machine quilting questions. So don’t be shy – ask you questions in the comments and I’ll include answers in a future post! So first off all here’s the schedule:

  • Week 1 – Introduction
  • Week 2 – Tools of the Trade
  • Week 3 – Preparing the Quilt
  • Week 4 – Practice, Practice, Practice!
  • Week 5 – Make a Quilting Plan
  • Week 6 – Easy Walking Foot Designs
  • Week 7 – Easy Free Motion Designs
  • Week 8 – Custom Quilting
  • Week 9 – Wrap up and Your Questions Answered

Sewing Machine – Longarm vs. Sit Down

The very first question you’ll want to decide is whether you want to quilt on a regular home sewing machine (like I do), or if you want to purchase a specialty machine like a sit-down free motion machine or a stand up long-arm machine.

I like the feel of “scrunching and smooshing” my quilt through a regular machine, so that’s what I’m most comfortable with. Also, I like the freedom to quilt “walking-foot” designs with my feed-dogs up, or “free-motion” designs with my feed-dogs down. A free-motion only machine can be limiting, but it provides more room to quilt and can usually quilt a lot faster than a domestic home machine.

Domestic Machine Quilting
Christa Quilts

This throwback pic is from 2013 just after I got my first upgraded machine, but I still quilt the same way – in my studio while listening to music or a quilting podcast!

My recommendation is to try out both and do what feels most natural for you. Many quilters start quilting on their regular home sewing machine, then upgrade to a larger machine as they improve their skills. I’ve tried both and I prefer the feel of domestic machine quilting, so that’s mainly what the rest of this series will be about. However, if you are a longarmer, stick around – many of my tips and ideas can be easily adapted to your situation!

A great place to try out sit down “domestic” machines is at your local sewing machine dealer. I recommend visiting all of the dealers in your area and bringing in your own practice samples (or even a full sized quilt) to try out. Although I am a BERNINA ambassador and that’s my machine brand of choice, a good reliable dealer will go along way towards helping you be successful with home machine quilting. I don’t recommend buying a machine online or at a big box store, because you’re just not going to get the level or service you’ll need.

Long Arm Quilting
Vicki Ruebel Orchid Owl Quilts

My friend Vicki Ruebel of Orchid Owl Quilts in her longarm shop in Las Vegas

For long-arm machines, I highly recommend testing out all of the major brands at local or national quilt shows. They’ll usually have a full-size machine set up that you can test out, and it will be prepared with a quilt already on the machine that you can practice on. Most shows will also have great deals on machines if you purchase it at the show. So keep that in mind and don’t be afraid to attend multiple shows until your mind is made up.

Many local quilt shops now offer longarm rental service so that’s also a great way to get your feet wet before making such a large purchase.

If you want further reading on the differences between machine quilting with a longarm versus a domestic machine, be sure to check out mine and Angela Walters’ book The Ultimate Guide to Machine Quilting. It’s where we get to share the best of both worlds!The Ultimate Guide to Machine Quilting by Christa Watson and Angela Walters

Click here to grab a signed copy of our book, The Ultimate Guide to Machine Quilting.

Here are  two other fabulous longarmers I recommend following on social media: my friends Heather Black of Quiltachusetts and Vicki Ruebel of Orchid Owl Quilts. Check out their websites and instagram accounts for some fabulous long-arm quilting eye candy!

In next week’s Tools of the Trade segment, I’ll share about the specific features I prefer to have on my domestic machine that make it much easier to get the job done, so stay tuned!

Featured Designer: Charisma Horton

I’m having a ball seeing what everyone makes from my fabrics so I thought I’d share some of the amazing quilts my good friend Charisma Horton from Charisma’s Corner has made from my prints. She’s a prolific and talented pattern designer and chances are, you have one of her patterns in your stash! I’ll let Charisma tell us a little bit more about these beauties in her own words….

Charisma Horton

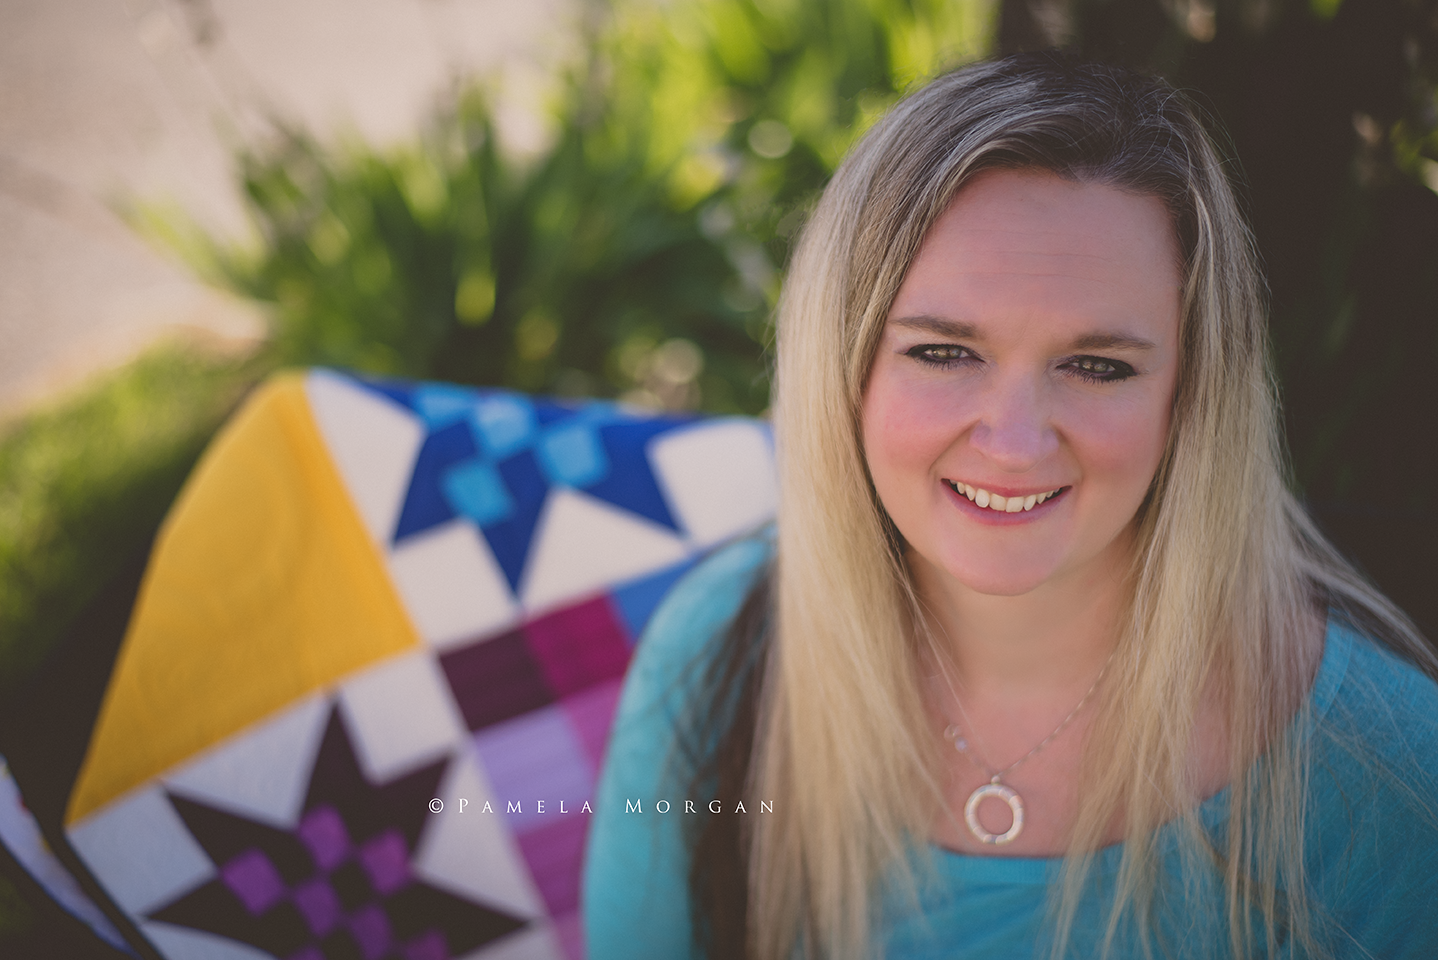
Hi Everybody! I am so excited to share a little about the quilts I have designed using Christa’s fabrics. I met Christa a few years ago in a design group. She has always been so generous with sharing information and collaborations.

I was a really new designer when I originally contacted Christa to use her fabrics. Since then I have designed several quilts using her lines of fabric. I love working with her lines because they are so versatile. You will find that many of my designs are based upon color as a feature design element.

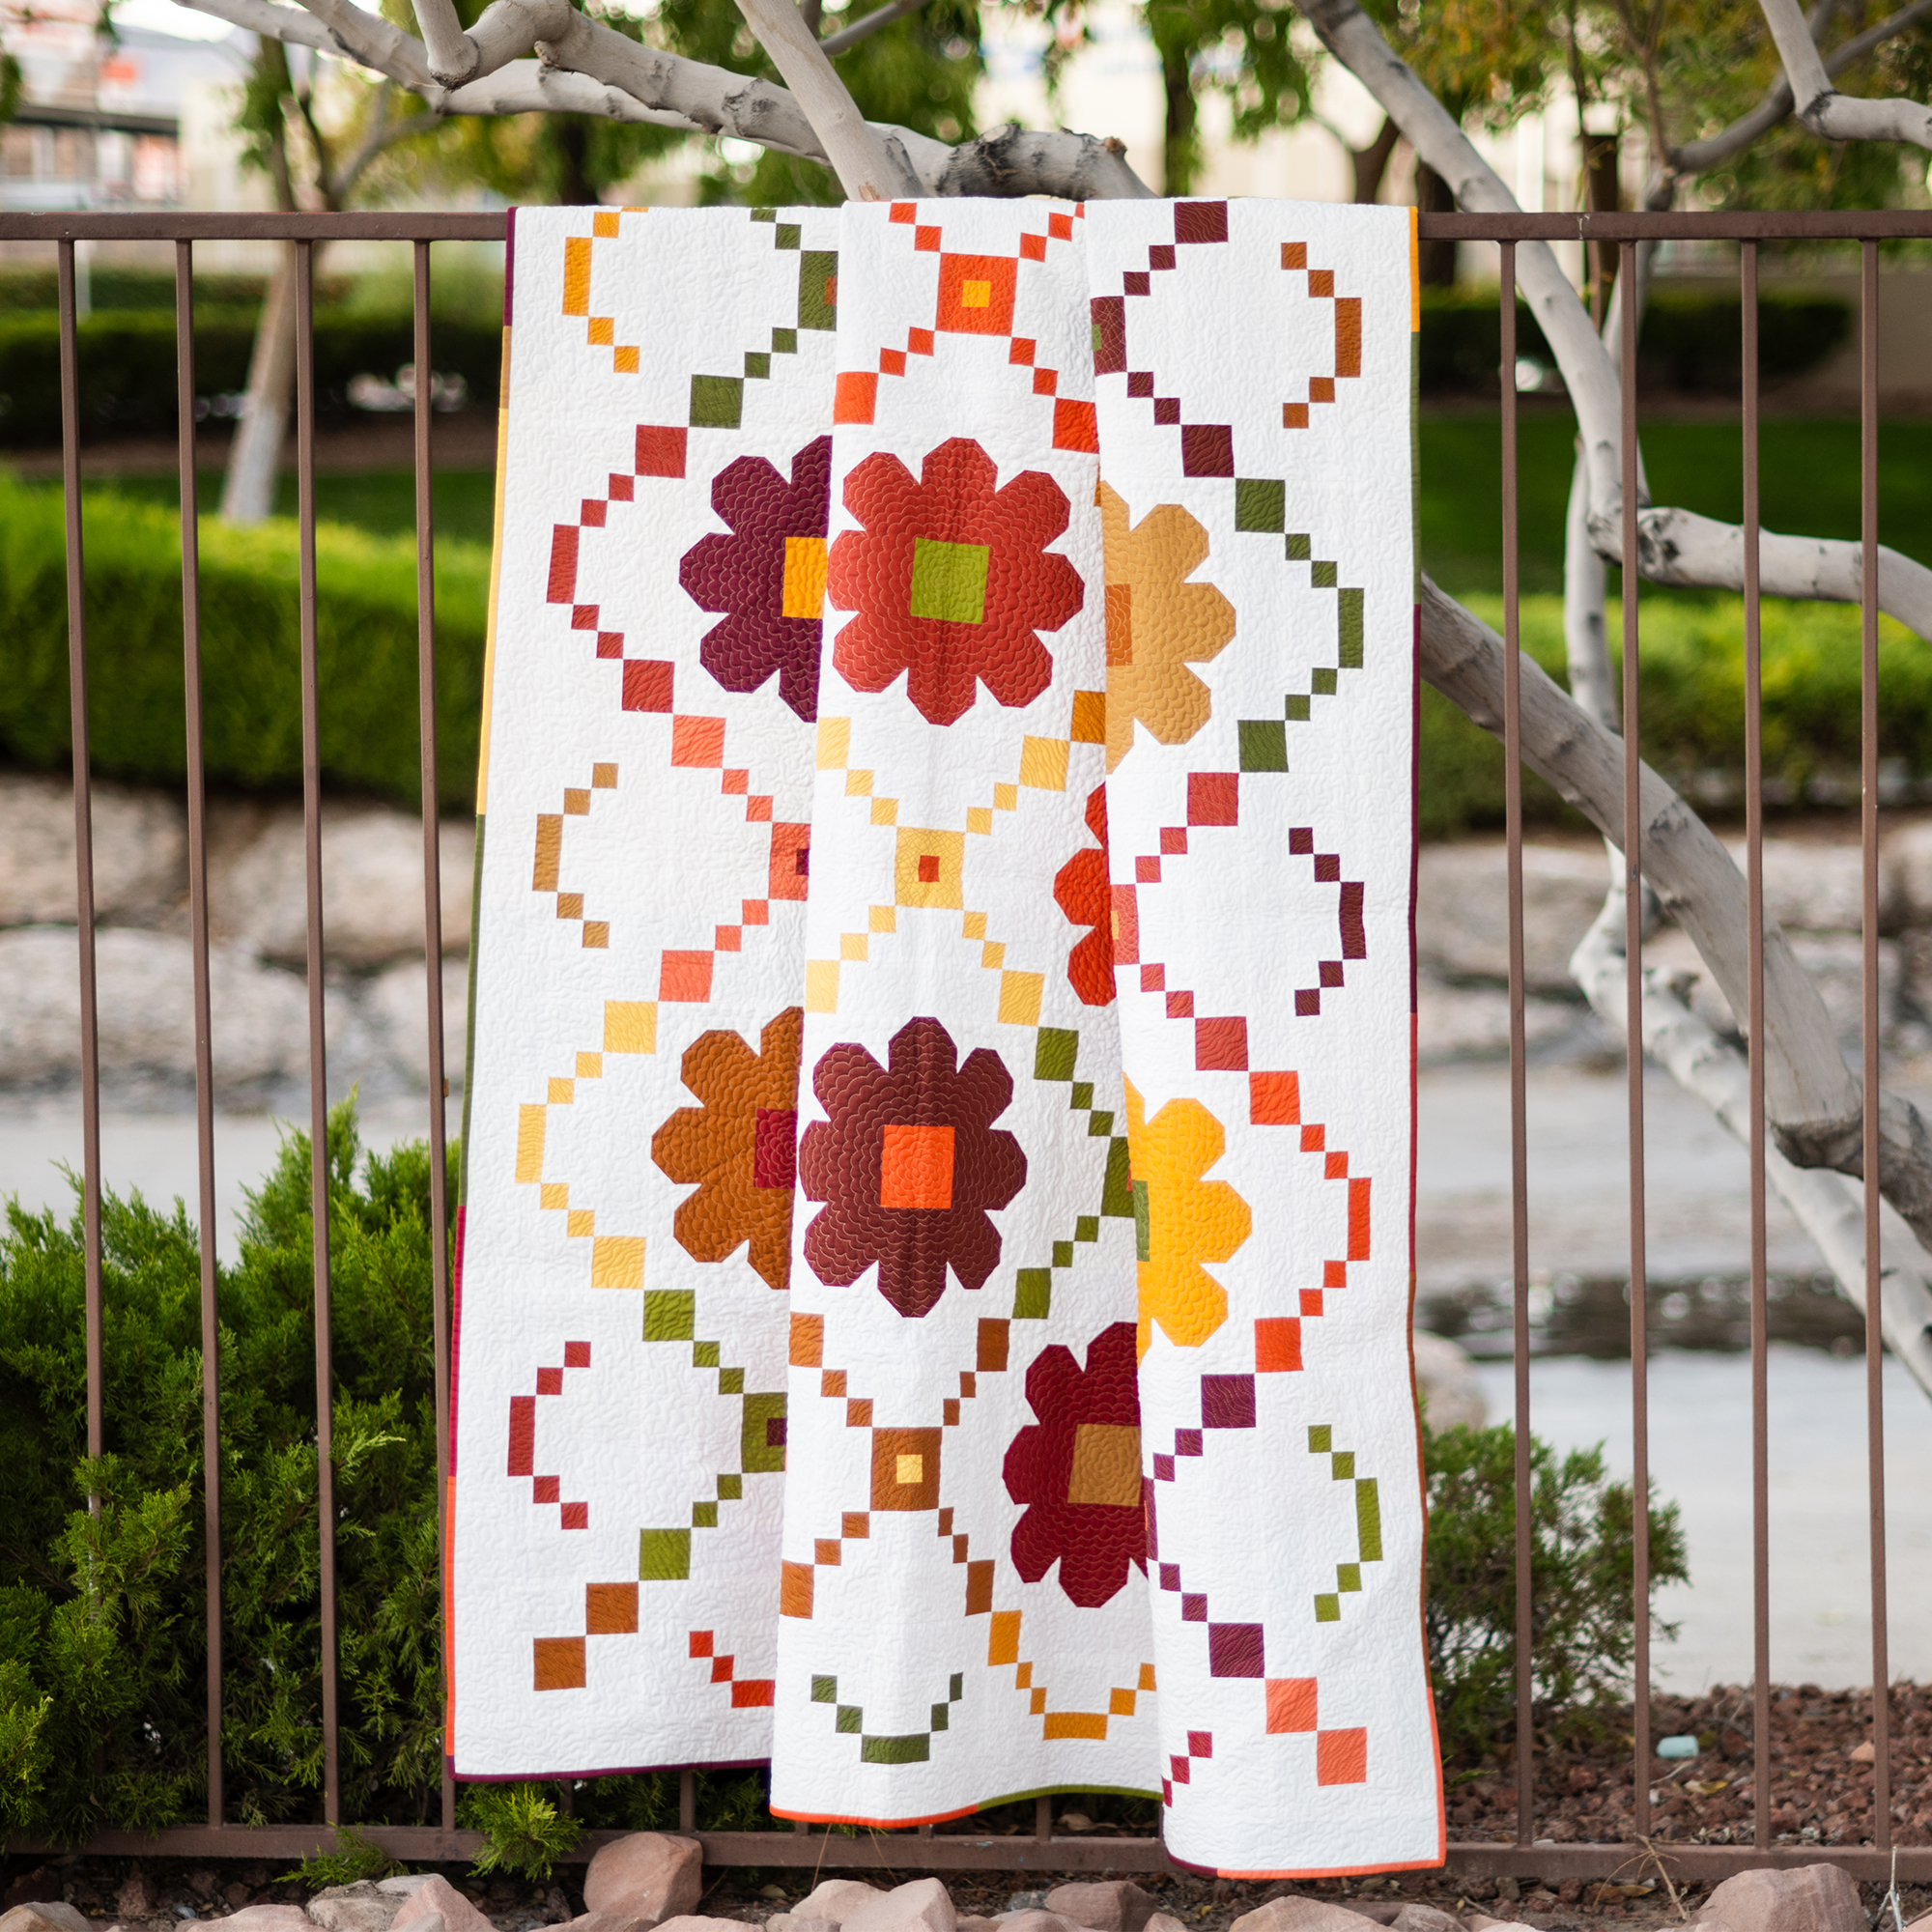
Check out The Hive made from geo pop:

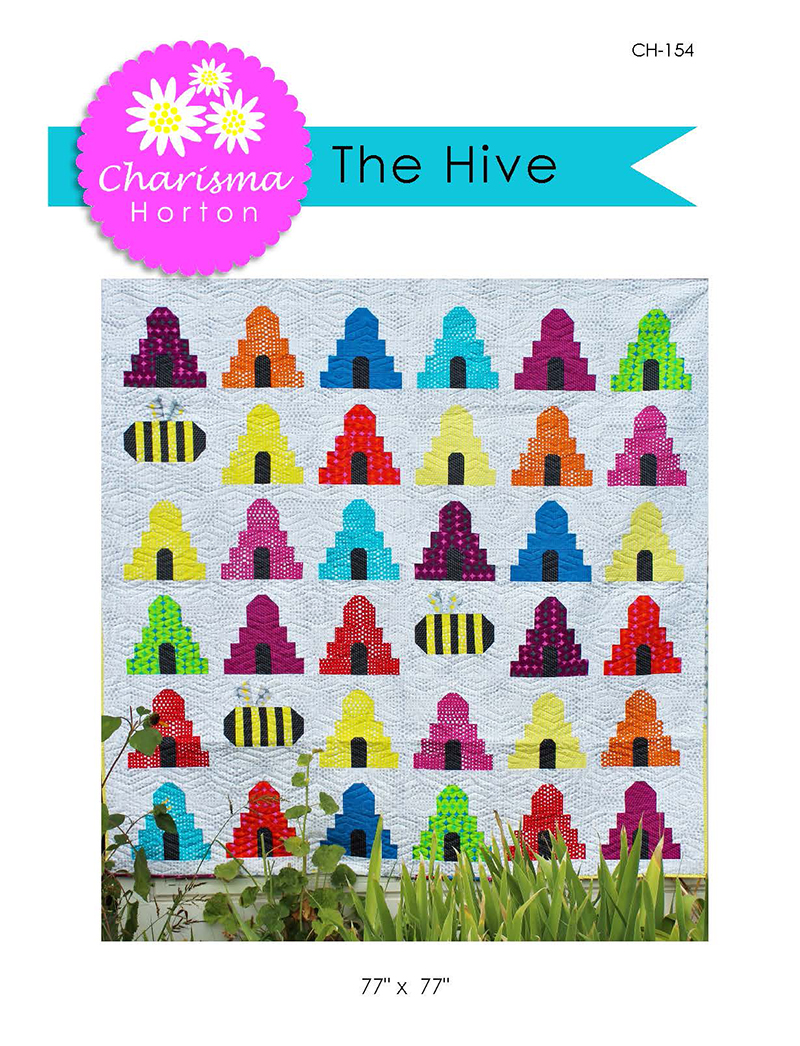
Click here to get The Hive quilt pattern from Charisma’s Corner on Etsy

“The Hive” was designed and waiting for the perfect line of fabric to come along and bring it to life. That was Geo Pop.  I was so excited that Christa loved my design & displayed it in her booth at quilt market last year:

The Hive made from Geo Pop

The Hive pattern with the white background looks great next to Christa’s Bling pattern in Black!!

All the rest of the quilts that I have designed using Christa’s fabrics were a direct result of seeing her lines. Meaning that I designed the quilts specifically after seeing her fabric swatches.

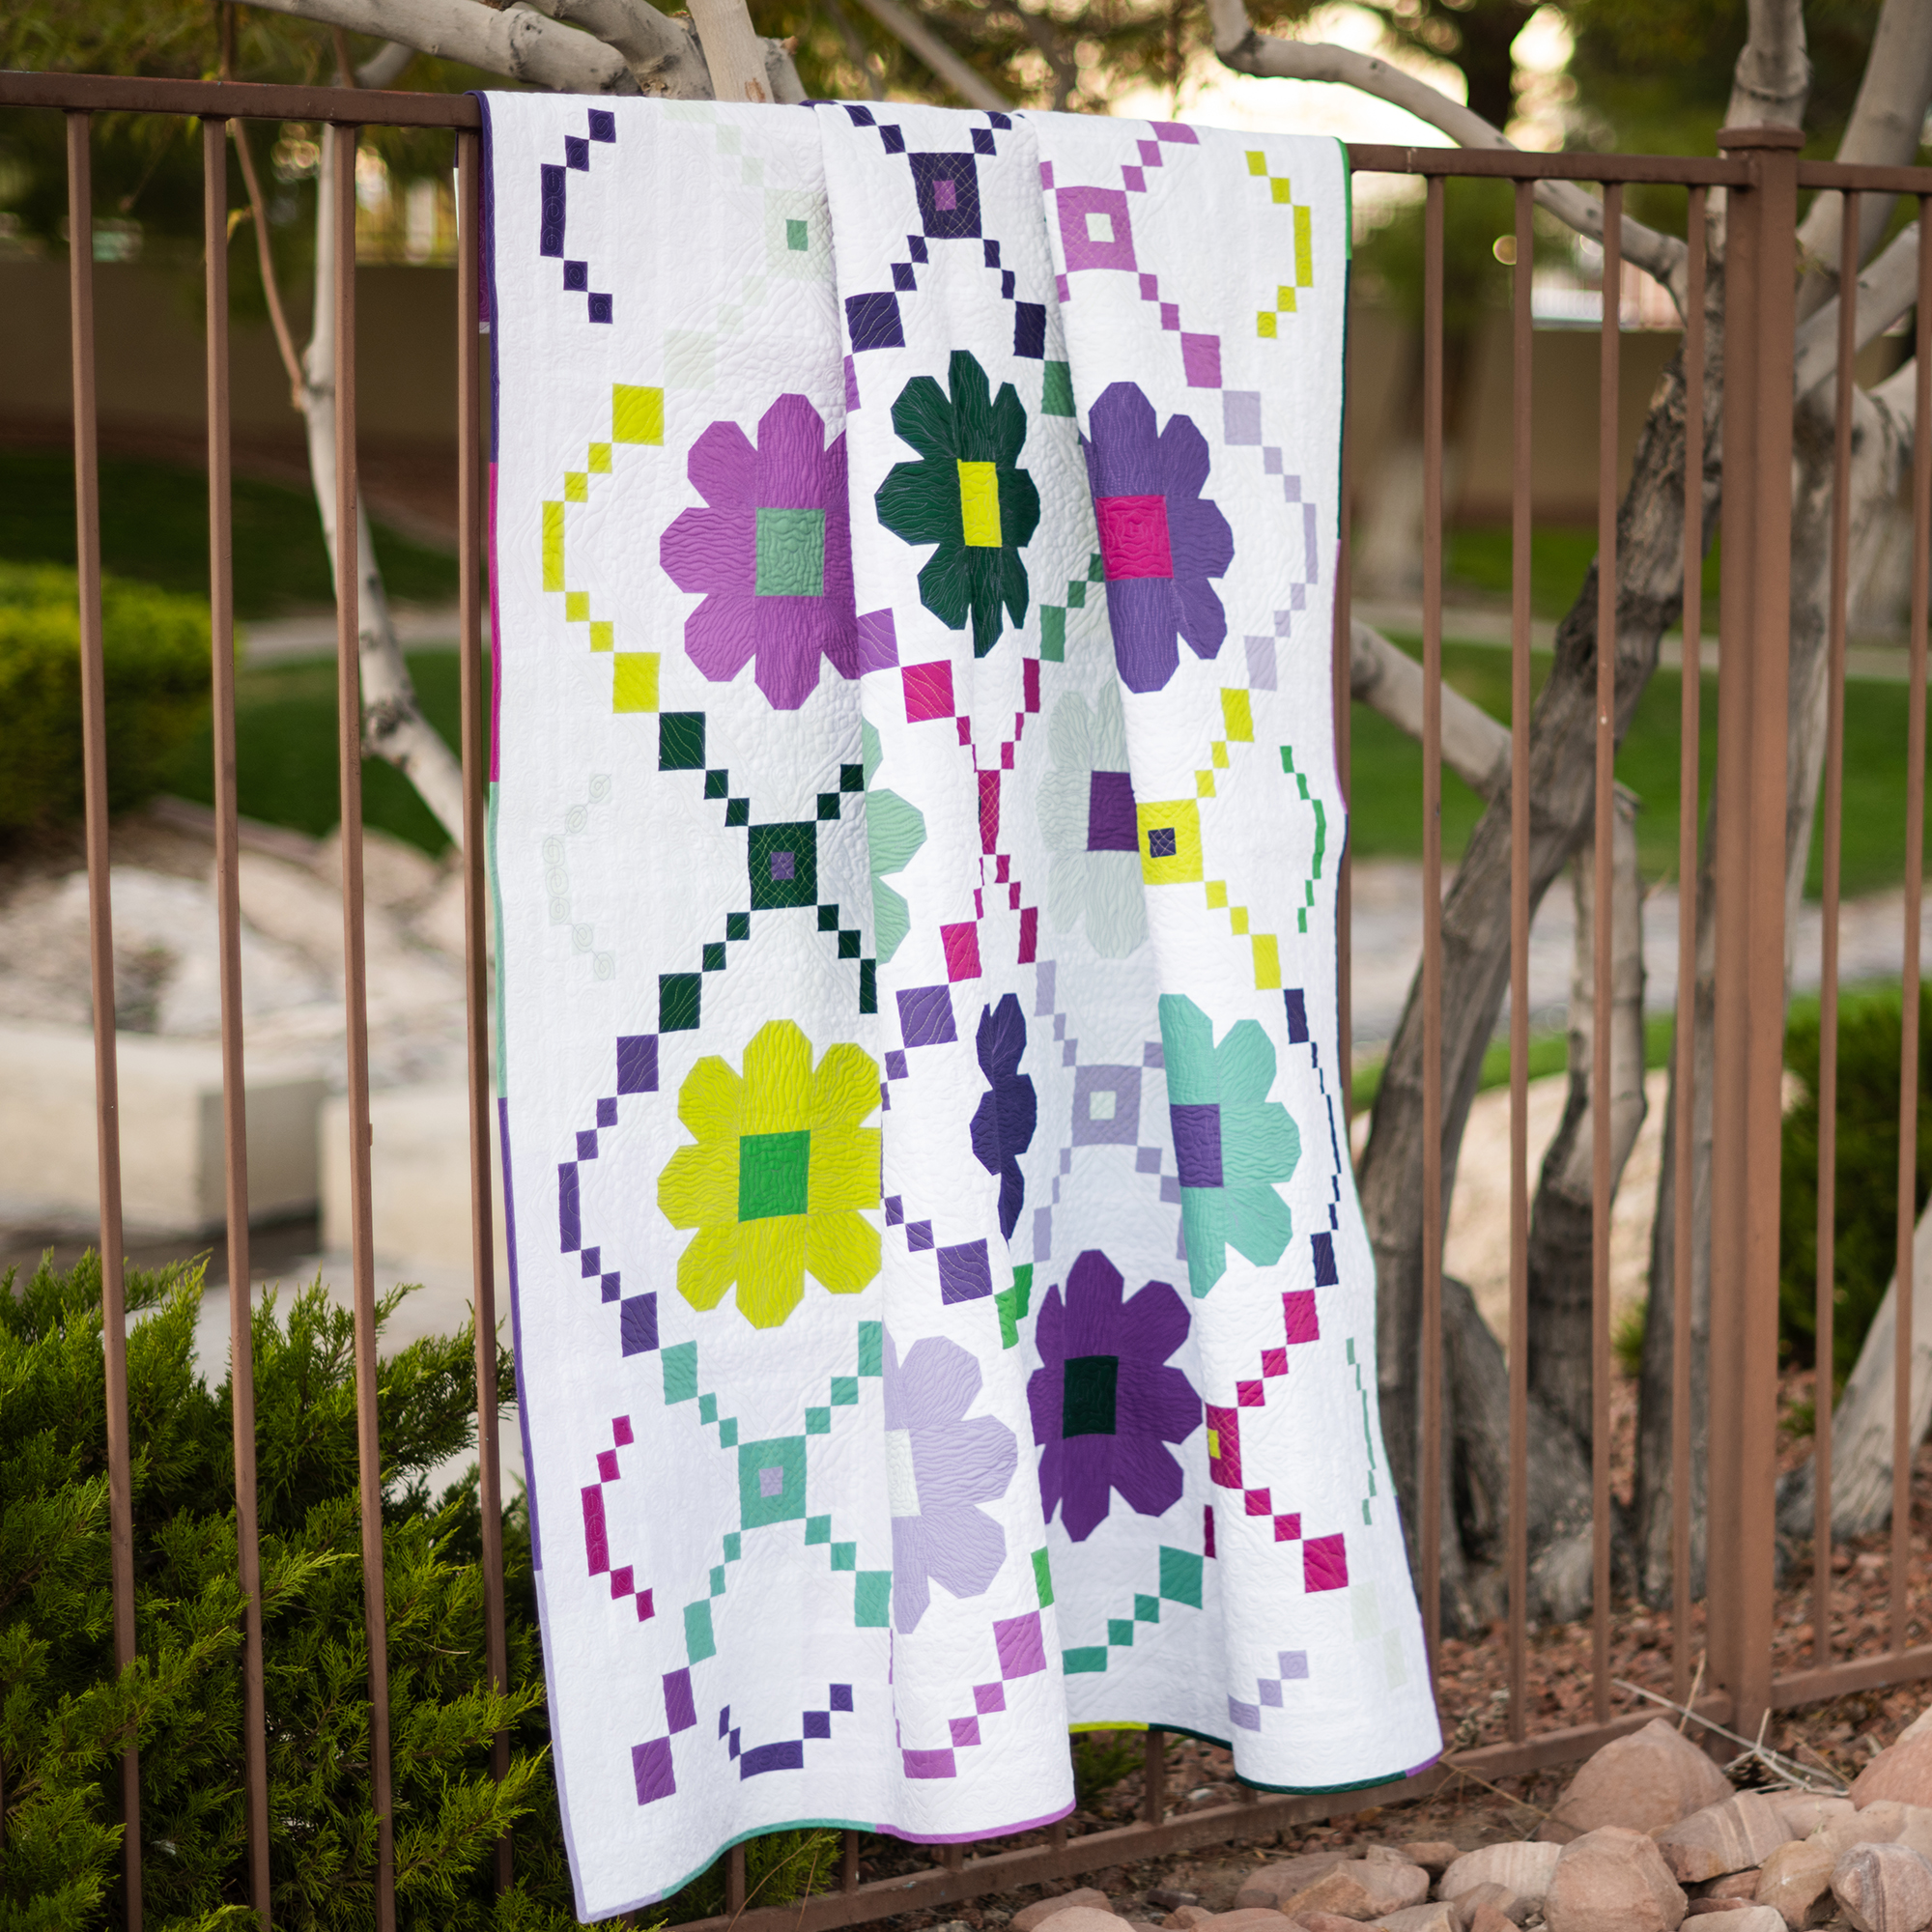
Mid Mod was designed with Gridwork:

Mid Mod by Charisma Horton

Click here to get Mid Mod quilt pattern from Charisma’s Corner on Etsy

First of all, I have to say that I LOVE-LOVE Gridwork. I made 2 published projects with this line and I have another coming out in a magazine that I can’t share yet. But it’s a very special quilt and I can’t wait to share that one as well. I am a HUGE fan of this line because I love the colors, the grids and all of the lovely textures.

Mid Mod is my take on Mid Century modern art. I wanted to create a quilt that was easy to complete but looked random and freeform. I think many people are pleasantly surprised when they make this pattern. It’s WAY easier than it looks. I also have these blocks mocked up in several different layouts. There are so many ways to arrange these blocks and make the quilt your own.

Before I was a pattern designer, when I bought patterns, I treated them as a jumping off point. I wanted to make them my own. This pattern can easily be changed to fit your own style.

Nate and Tate Pillows Made from Gridwork

I am one of those quilters that loves all styles. This next pattern looks vastly different than the Mid Century modern one that I just shared!

Nate and Tate PillowsClick here to get Nate & Tate pillow pattern from Charisma’s Corner on Etsy

Can you get any more cutesy than these gnome bench pillows? I had some scraps left from my Mid Mod project and I didn’t waste one inch! LOL. I keep my Christa fabrics in separate bags, away from the rest of my scraps so that I can save them for something special.

Who else does that? Haha! I can’t help it!  I just knew I could use them for something else and I whipped out these pillows. They have been a great addition for the seasons. They are also great gifts.

Groovy Chutes from Good Vibes

Groovy Chutes by Charisma Horton

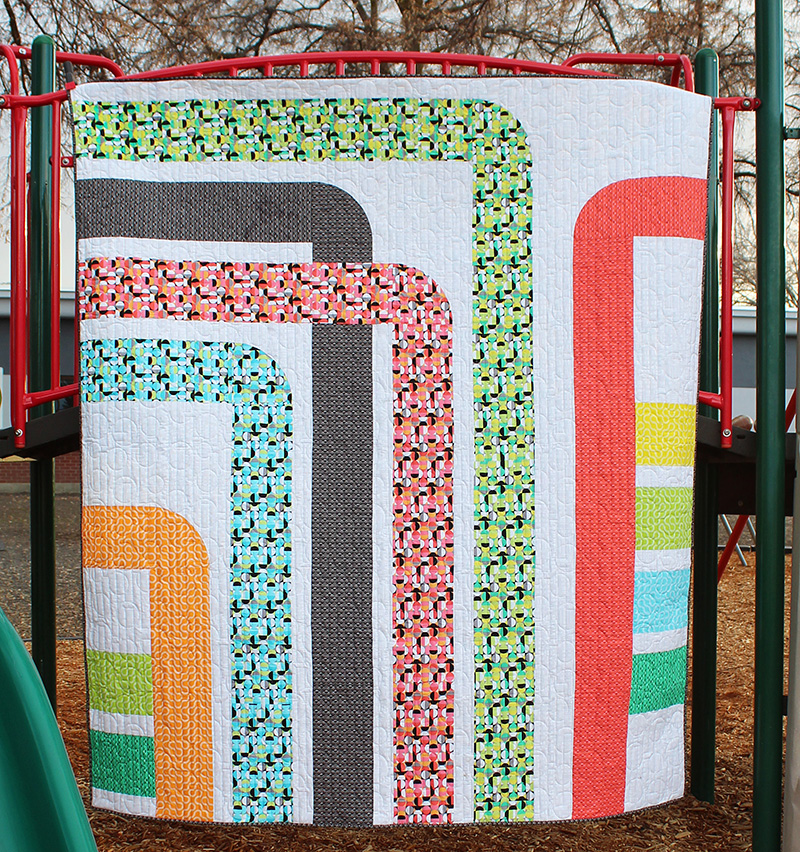
Click here to get Groovy Chutes quilt pattern from Charisma’s Corner on Etsy

Since Christa and I have been working together on these projects we have become great friends, even though we’ve never met in real life!! We realized we were about the same age and we are both 80’s kids. So when she released her next line, Good Vibes, it was like totally, radically, awesome! Haha!

I immediately channeled my spiral perm, mall bangs, watermelon Bubblicious and thought about the times I carried my boom box to the playground to listen to my tunes. Yes! I actually did that! D batteries were in high demand in the 80’s!

Groovy Cutes is clean, simple and takes us back to simpler times. Little things made us happy or maybe I was just intoxicated from all of the aqua net? Haha! Either way, good times.

I am so blessed to get to work with Christa. Whether her fabrics help bring my designs to life or whether her designs spark creative designs from me I feel like we are a great team! I am anxiously waiting for the next set of swatches! *hint-hint*

From Christa:

Thanks Charisma – I sure hope everyone loves your fun, colorful quilts as much as I do. And here’s a hint… I’m working on my next fabric line right now – you’ll be one of the first to see it before anyone else!!

Modern Logs Inspiration

The Modern Logs Quilt Along is in full swing, and that means everyone has started to post their blocks, tops and finishes. This is one of my favorite parts! And I want you to explore your own creativity so I’m thrilled when you add stash fabrics or play around with the setting or otherwise add your own special touch.

Today I’m sharing a variety of other people’s Modern Logs in different stages so you can appreciate the versatility of this design. I hope you enjoy them! Be sure to check out my facebook group and #modernlogsquilt on instagram for more great examples!!

Modern Logs by Barbara F

Barbara F. used one fat quarter bundle of Good Vibes as she grouped similar colors together in each block. She also chose a straight set instead of the offset design shown in the pattern. Those random bits are fabulous, and I love it when you all make this design your own!

Modern Logs by Laina L

Laina L. used a variety of colors from all my fabric lines.  Isn’t her finish beautiful?


Modern Logs by Michele H

Michele H went for an earthy look with rich batiks that  feel like a gentle autumn morning. Well done!
 
Modern Logs by April S

I often say that prints from my collections over the years work great together, and April S took me at my word. I see Abstract Garden, Gridwork, Modern Marks, Fandangle and Good Vibes for sure. What a lovely mashup!

Click here to shop all of my fabrics!

Modern Logs by Judi H

I love the patriotic look chosen by Judi H for her Modern Logs. Classic red, white and blue with a touch of gold, maybe for a yellow ribbon?! She wondered if they were too wonky, but I think not. The beauty of improv is that everyone’s quilt comes out differently!

Modern Logs by Sharon C

Sharon’s working on her version of Modern Logs made from the Modern Logs quilt kit. You can can choose to orient the rows horizontally or vertically – the choice is up to you!

Although Sharon has used the exact same fabrics as my version below – notice how different they look. That’s the versatility of this design and I can’t wait to see more!

My version of Modern Logs

Shop my Good Vibes fabric collection!

Modern Logs by Jo O

Jo O’s version of Modern Logs really makes me smile. Notice the cats? I can almost see their tails swishing. I love the pops of dusty pink. And the deep gold is heavenly! So much to love right here.

Modern Logs 1 by Ellen A

Ellen went for a graphic quality with bright blues and yellows. It’s a winning combination! And she didn’t stop there.

Modern Logs 2 by Ellen A

She used just four blocks and some ingenuity to create another improvisational design. Both quilts are headed to a NICU. That’s pretty heartwarming!

As you have seen, this quilt can take on any personality. Your stash can make it totally unique, or it looks terrific in my fabrics, too.

My thanks to all the makers above for joining me for the QAL and sharing their work. It inspires me and I hope it does the same for you!

Modern Logs Quilt Pattern

If you still need the pattern:

And remember that the Quilt Along steps will remain up, so you can jump in and sew at your convenience any time.

Modern Logs by Christa Watson

Sneak Peek of My Next Book; Grab my Current Books on Sale!

I’m so excited to share with you the cover art for my brand new book, 99 Machine Quilting Designs, coming soon! I don’t have a release date yet, but once I do, I’ll open up pre-orders with some bonus incentives and freebies for those who order early. So stay tuned for more info!!

99 Machine Quilting Designs

Get my Current Books for just $19.95 Each!

While supplies last, I’m giving you a chance to stock up on my previous books to complete your machine quilting library. I’m offering these for a price way below the retail price, AND I’m happy to sign a personal message to you – just leave me a note with your order!

Click here to purchase my other 3 books on sale, while supplies last!Machine Quilting Books by Christa Watson

Over the years, I’ve hosted several quilt alongs from my books to help you gain confidence in making a quilt from start to finish. Here’s a roundup of some of them that you can still access anytime, on your own schedule. All you need is a copy of the book for the pattern and I’m here to cheer you on every step of the way!

Facets from Machine Quilting with Style

Facets Quilt

Get the pattern for Facets from my book Machine Quilting with Style.

If you loved trying out Improv Piecing while making Modern Logs, you will love this take on it, too! Use up your smallest scraps to create this gorgeous quilt! I was thrilled that it won a ribbon in a national show a few years ago, and it’s still one of my favorite quilts!

Click here for links to the Facets Quilt Along

Dot ‘n’ Dash from Piece and quilt with Precuts

Dot 'n Dash quilt by Christa Watson

Get the pattern for Dot’n’Dash from my book Piece and Quilt with Precuts.

Dot ‘n’ Dash is my modern version of a jelly roll quilt! I used precut strips of my Fandangle fabric line for this remake version, but you’ll find a different inspiring colorway in my book, Piece and Quilt with Precuts. No matter how you slice it, it looks great every time!

Click here for links to Dot ‘n’ Dash Quilt Along

Squiggles from Piece and Quilt with Precuts

Squiggles by Christa Watson

Get the pattern for Squiggles from my book Piece and Quilt with Precuts.

I really enjoyed remaking Squiggles from charm packs of my bold and colorful prints. The original pattern in the book uses a softer color palette which just goes to show this design looks great no matter which fabrics you choose!

Click here for links to the Squiggles Quilt Along

I sure enjoy being a cheerleader for do-it-yourself quilting and can’t wait to share more about the new book. In the meantime, I hope the projects above will keep you busy!!

Introducing Nancy Messuri Designs and Her Hypnotica Quilt Pattern!

You all know I love to see what you create using the fabrics I’ve designed for Benartex. Well every now and then a quilt comes along that really makes my heart sing! So today I wanted to share more about this fabulous quilt called Hypnotica by my talented friend Nancy Messuri who is a relatively new quilt pattern designer.Hypnotica Quilt by Nancy MessuriClick here to get Nancy’s Hypnotica Quilt Pattern PDF

I’ve invited Nancy to come on the blog to tell you more about this fabulous quilt in her own words…..

From Nancy Messuri:

I am honored Christa gave me the opportunity to guest blog as I am a huge fan all her fabric lines, books, and easygoing teaching style, so I was very excited when she asked me to guest  post, as there is lots to share about this quilt!

Hypnotica Black and White

Hypnotica started off as a study in black and white and I had no intention of making it into a quilt. It was simply a personal design challenge in Electric Quilt 8 (EQ8). After playing with some initial coloring though, I found the design quite interesting. I saw it had potential to be very striking. My geometric quilt designs often mesh with Christa’s sense of line and color, so I placed a few of her fabrics into my design. And wow, did it ever come to life!

Hypnotica in progress

I started thinking about possibly piecing Hypnotica, but the fact that all 34 wedges meet at the center point was daunting. However, I continued playing with fabric placements in EQ8 using Christa’s fabrics. When I found a grouping that really stood out I decided I had to give this quilt a try.

Fabrics in the quilt are a mix of Geo Pop, Gridwork, Abstract Garden and Fandangle

Construction of the quilt center was actually easier than I expected it to be. The entire circle is made up of only two different wedges which alternate around the quilt. I printed patterns for the foundation paper pieced wedges from EQ8, then did a few test runs of sewing patches into wedges and sewing wedges together.

After I felt confident with the tests, I was ready to use Christa’s beautiful fabrics and pieced together the two semi-circles. I quickly learned not to sew too fast over multiple layers of fabric as wedges were added; especially when nearing the center of the quilt. Hypnotica is definitely a “slow and steady wins the race” kind of quilt!

The two background pieces are sewn to each semi-circle before sewing the two halves of the circle together. If you are new to curved piecing, this is an easy curve to start with as the seam is sewn in a long, gentle curve. A few test runs of curved piecing with scrap fabric can give lots of confidence!

Hypnotica Quilt Center
The moment of truth arrived; matching up all the points of the two halves while dealing with all the layers meeting up at the center point. I listened to my own advice and sewed very slowly and I am happy to say I nailed it on the first try! (There may have been a happy dance or two after that.) At that point, I knew a pattern had to be created for Hypnotica.Hypnotica Quilt patternClick the image above to enlarge.
Click here to order Hypnotica Quilt Pattern.

I quilted Hypnotica with a continuous spiral that turned out wonderfully. It was quick, easy, and looks fantastic! If you have not tried this before, Christa has a great YouTube video tutorial, “How to Machine Quilt Continuous Spirals.”

Spiral Quilting on Hypnotica

Click here to view Christa’s spiral quilting tutorial.

Spiral Quilting Close Up

I would love to see your interpretations of Hypnotica on my Facebook page, Nancy Messuri Designs! The pattern is available on my website, NancyMessuriDesigns.com. There are new patterns in the works, so I hope you pop in from time to time. Or better yet, sign up for updates so you won’t miss a thing!

Hypnotica Quilt by Nancy Messuri

Thanks so much Nancy for sharing your beautiful quilt!!  Now I can’t wait to see what she creates next. 🙂

Bling Quilt Along Part 5 – Binding to Finish and Ta-Da It’s Done!!

Have you been enjoying following along to make Bling? Scroll to the end for links to the entire quilt along. This week we will be binding our Bling to finish it up!

Bling Quilts with Geo Pop

Roundup of binding tutorials

Because I pretty much bind my quilts all the same way (either by hand or machine), I have a LOT of binding tutorials that I’ve shared over the years. So here are 3 for you to try – use whichever method you like best!

Bonus Binding Tips

When I first began my binding adventures, I cut my strips 2 1/4″ wide. However, that meant that if I attached my binding with 1/4″ seams, it would be bigger on the back than the front. So over the last couple of years, I’ve started cutting my strips 2″ wide and that gives me a more even finish on both sides.

To avoid ending up with a seam in the corner, I will roughly “walk” my binding around the quilt and if any seams fall in the corners, I will adjust the whole binding by and inch or two before I start sewing. If worse comes to worse and I STILL get a seam on the corner, I’ll simply cut off part of the binding and sew a new seam to move it!

Homework

Finish quilting and binding your version of Bling and share it in my ChristaQuilts Facebook Group. I can’t wait to see your fabulous finish!

Bling Quilt Pattern by Christa Watson

QUILT ALONG LINKS

Bling Quilts White or Black

Bling Finished Stats

  • Finished size: 67″ x 83″
  • Designed using Electric Quilt 8 software
  • Pieced and quilted by Christa Watson on my Bernina 770QE
  • Fabric collection: Geo Pop by Christa Watson for Benartex
  • Pattern: Bling  by Christa Watson
  • Batting used: Hobbs Cotton/Wool
  • Thread used: Aurifil 50 weight cotton in black/white variegated and bright pink
  • Quilting designs: wavy grid (white) and straight line grid (black)
  • Completed: May of 2019