The biggest hangup I see in my free-motion quilting workshops is students’ fear of not knowing where to go next. However, after getting comfortable with some warm up exercises, and with permission to just have fun, the vast majority come out of class loving free-motion quilting and that really makes me happy.
In a nutshell, practicing one design edge to edge over the entire quilt is the best thing you can do to improve your skills. So that’s what this week’s video focuses on. Take a look by clicking play below:
My other big tip is to practice on real quilts (and then give them away)! In my Jewel-toned version of Terrace Tiles I showed how to quilt one of my modern go-to designs called Jagged Stipple. It’s my answer to those who want to quilt something more interesting than regular stipple, but still want to get ‘er done quickly.
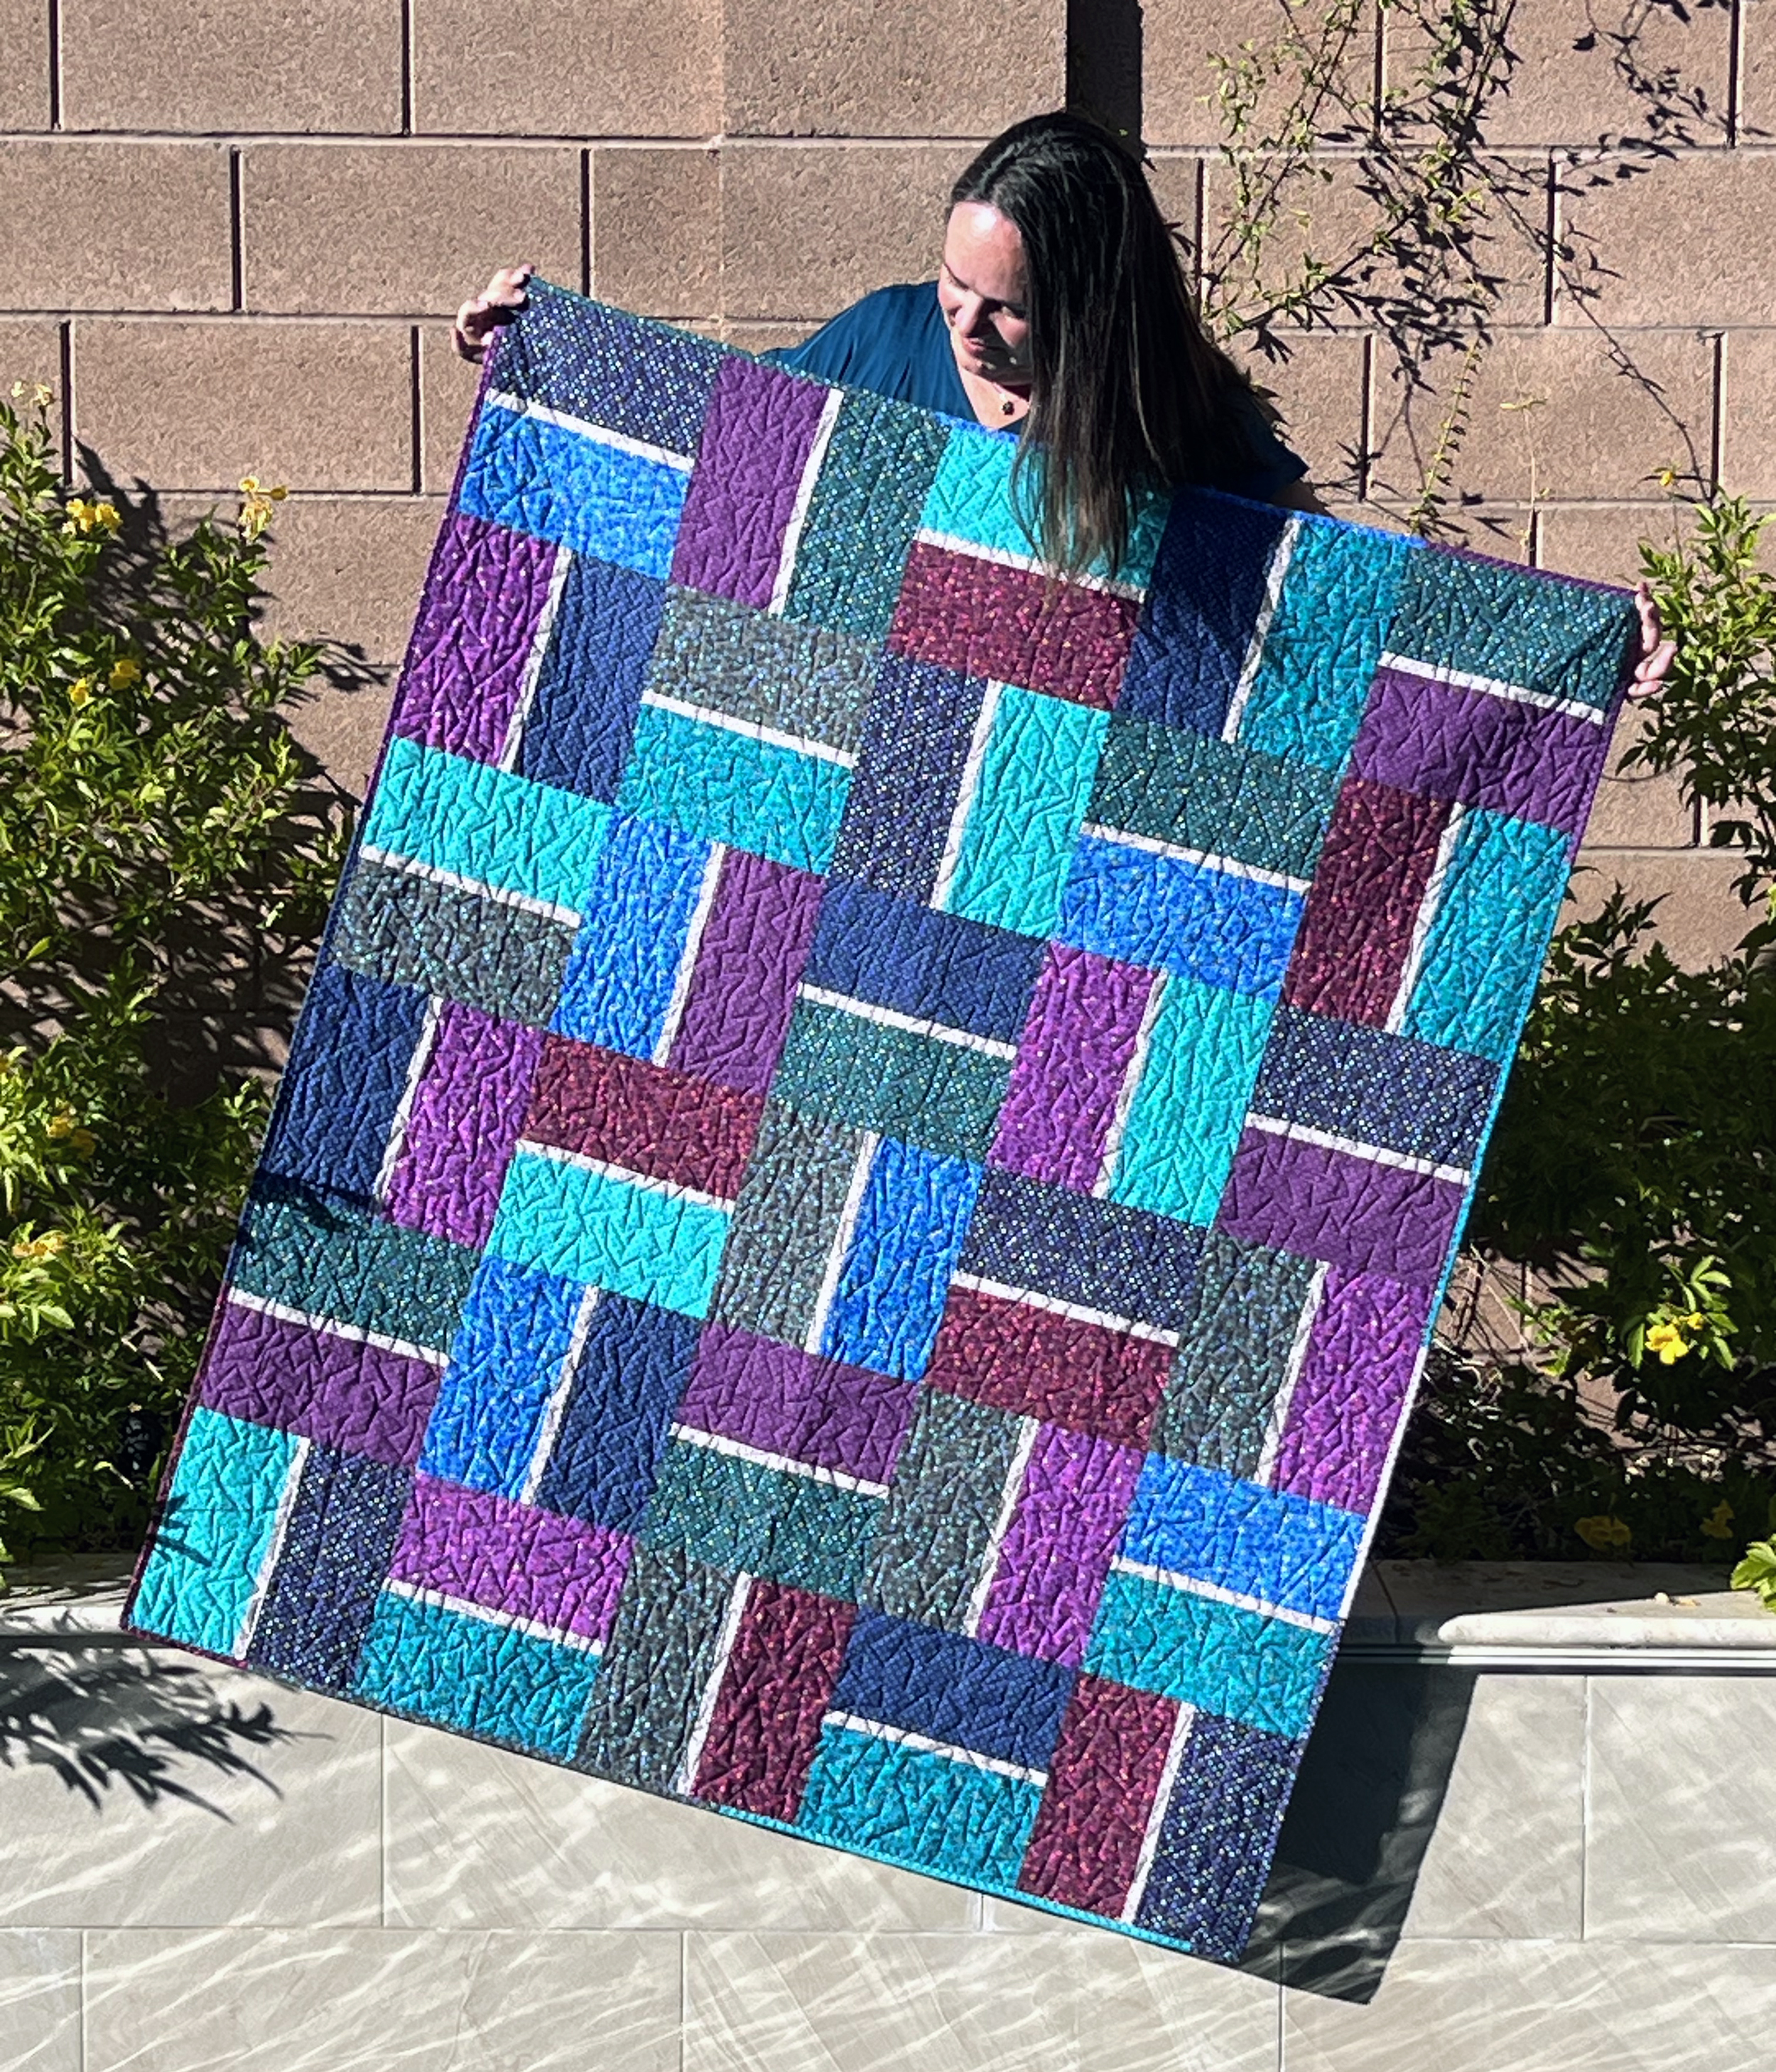
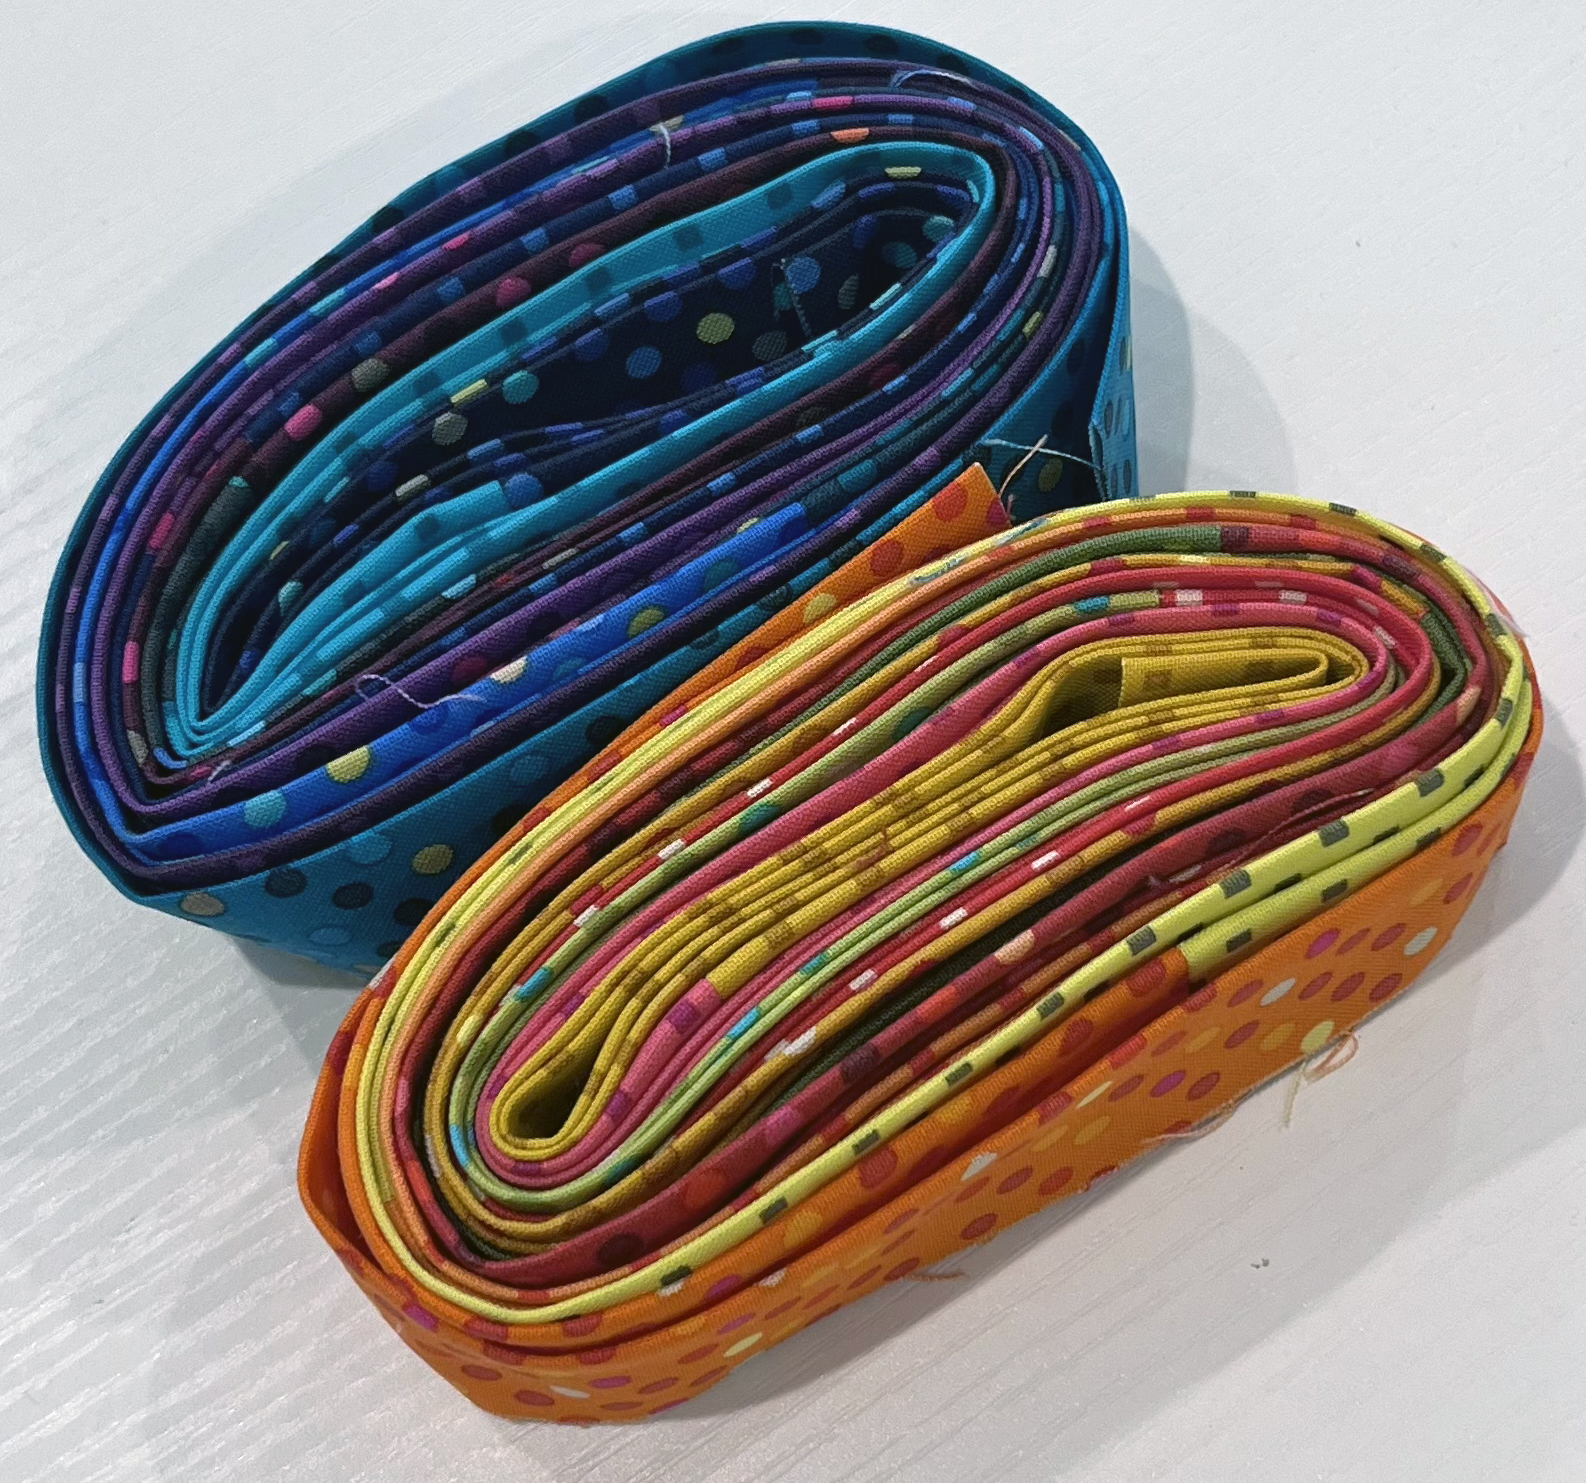
For a limited time, you can grab the Jewel colored quilt kit in addition to the Citrus kit that I introduced previously. (Check out the Terrace Tiles Citrus video if you missed it earlier – it has a completely different quilting plan!)
In addition to showing details of my basting and quilting progress, I included a bonus section on machine binding in the video above. Sometimes when I’m in a hurry, it’s a great option. I also love using up leftovers to make a scrappy binding.
Let me know if you plan to make this quilt (or have done so in the past). Can you believe I’ve made six of them so far?? It really is one of the fastest & easiest quilts you can make!

This was amazing!! Best tutorial ever. Everyone always shows how to quilt on a small piece.
Now I know how to handle a full size quilt. Thank you.
Kris Chapman