This week it’s time to cut into your yummy fabrics as we begin to make Beaded Lanterns. If you haven’t done so yet, be sure to download my free Beaded Lanterns Quilt pattern to follow along. Now, let’s get started!

- Click here to grab my Free Beaded Lanterns quilt pattern.
- Click here to grab the Beaded Lanterns Quilt Kit (while supplies last).
Cutting Beaded Lanterns Fabrics
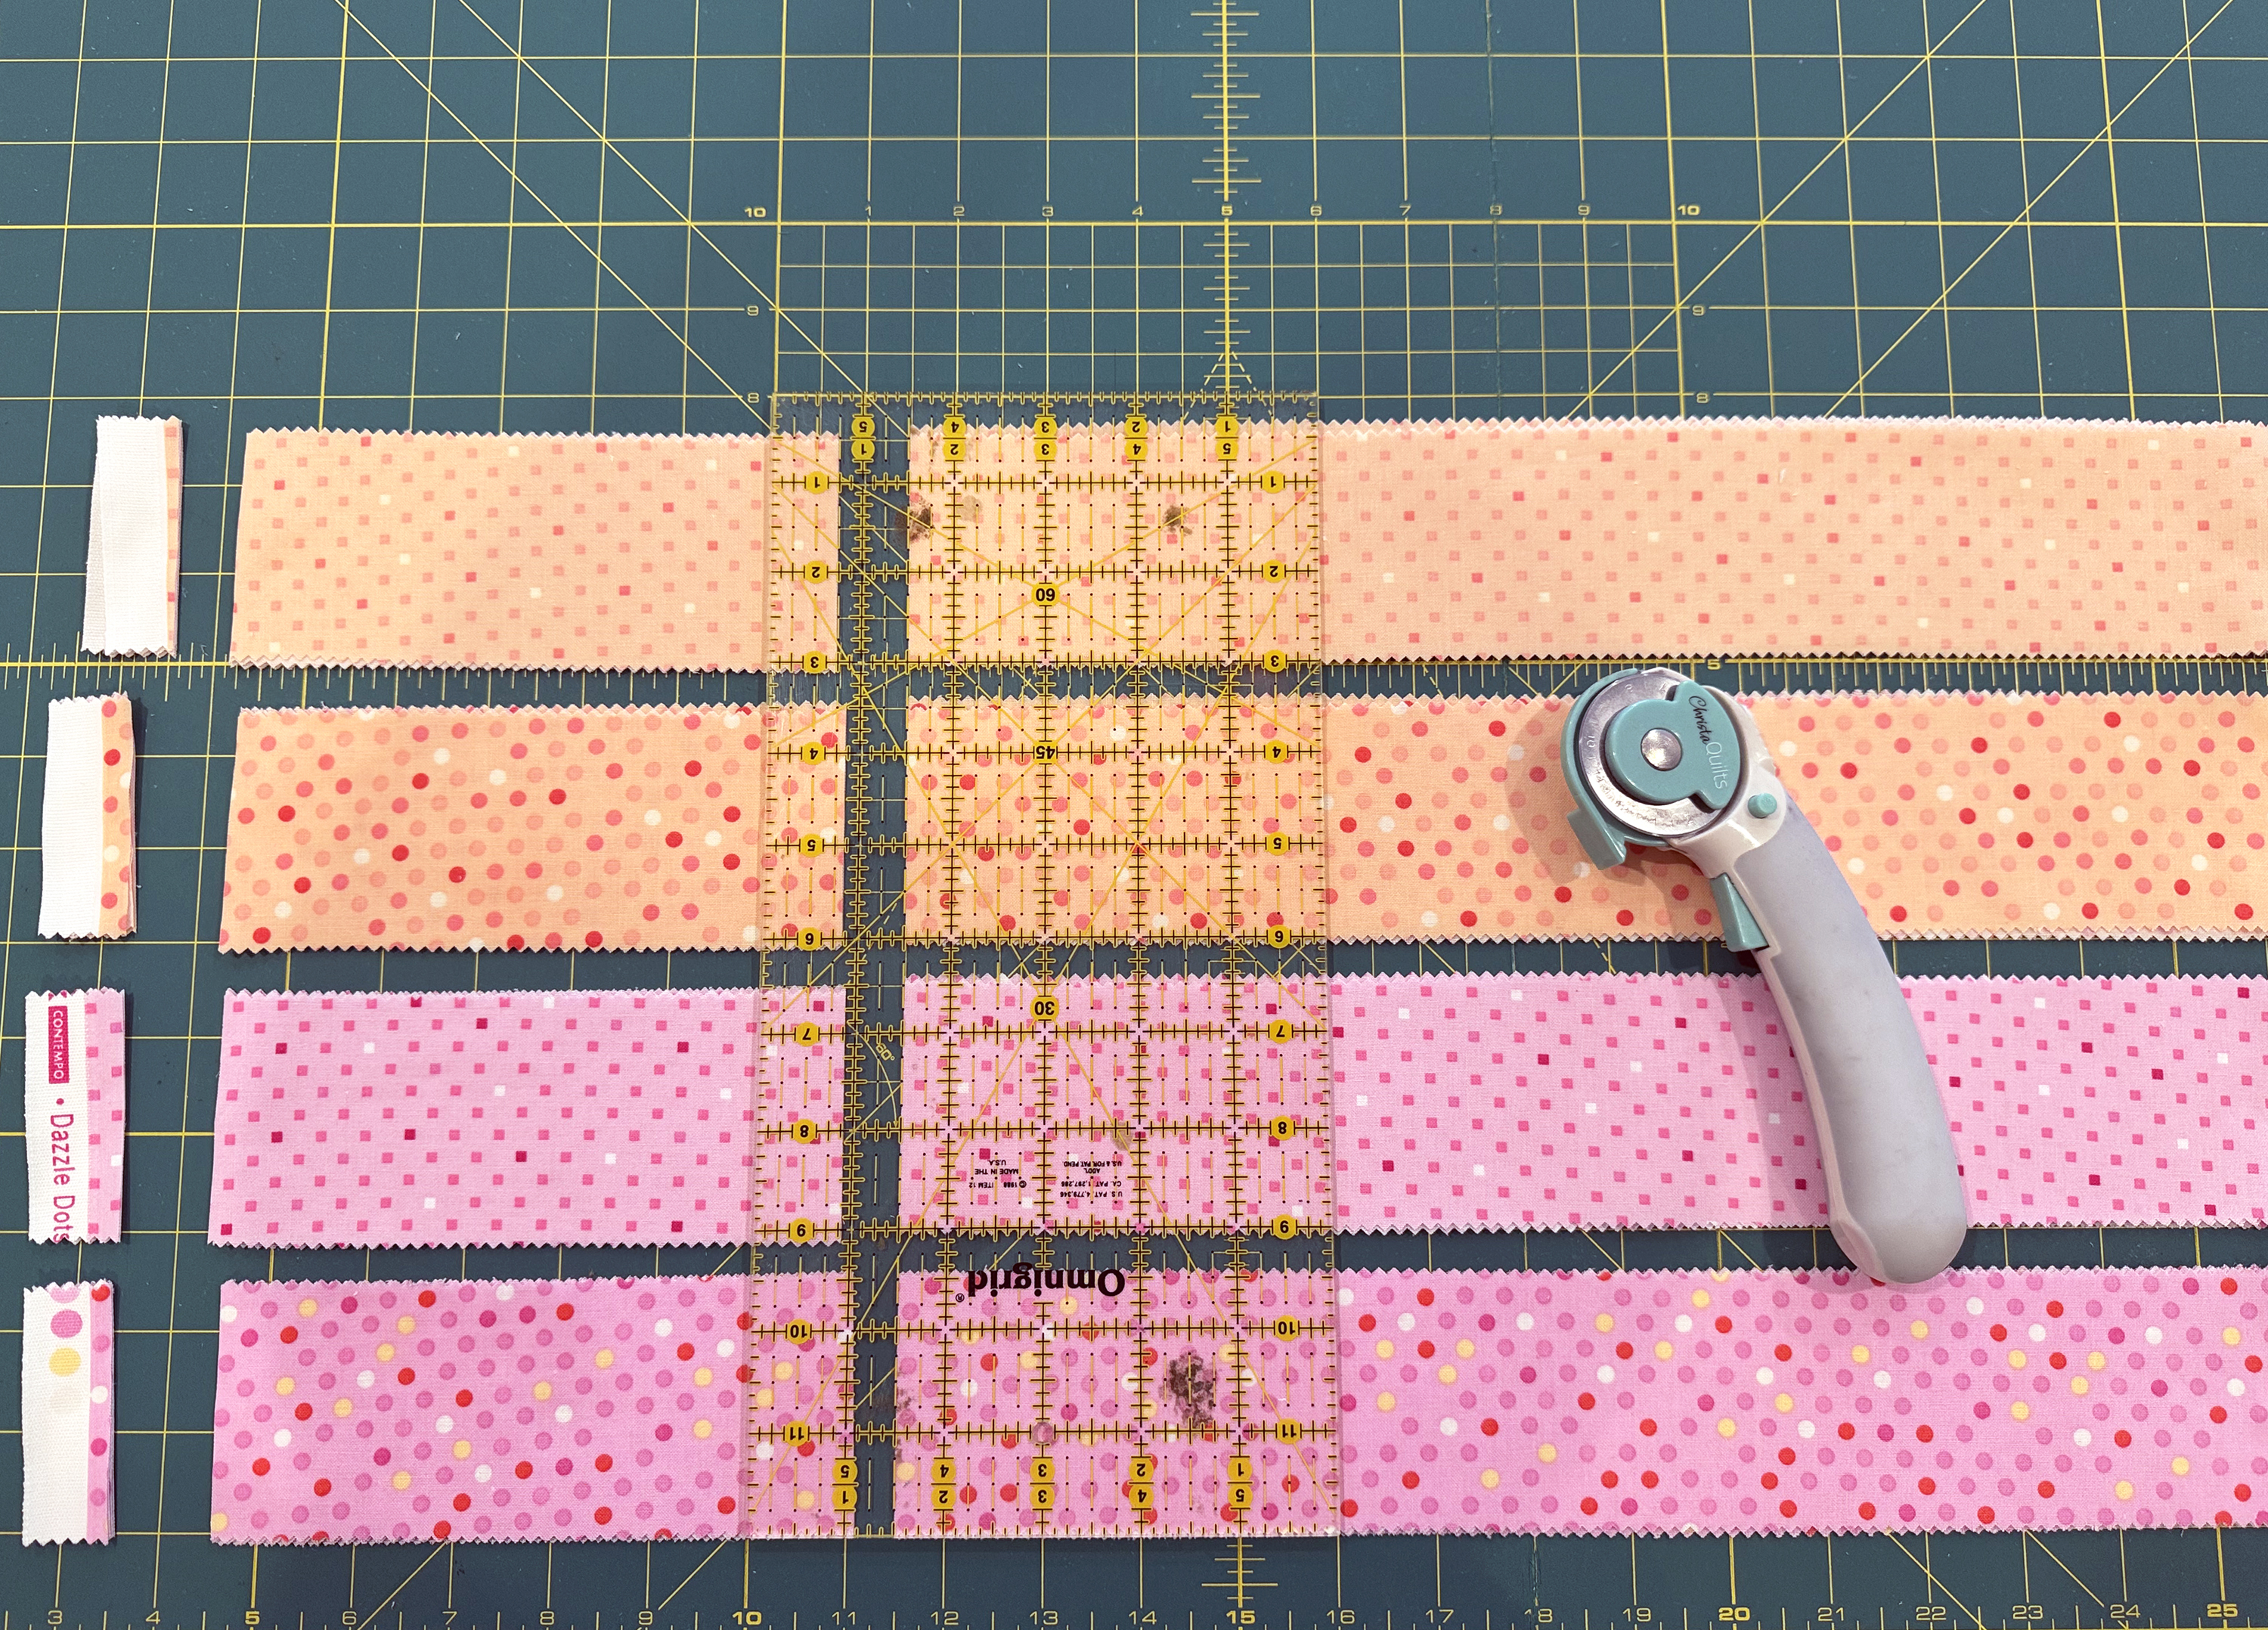
You’ll need a total of 36 precut strips from a standard sized strip roll. Using my Dazzle Dots 2 roll shown above, I took out 2 strips of the ice blue color because it was the same as the background and I didn’t want a “hole” in my quilt. I also took out the 2 white strips since it had the least amount of contrast. That left me with a total of 18 colors, 2 strips of each. Perfect!
Click here to get my Christa Quilts Rotary Cutter (on sale while supplies last).
It includes my special “magical” pixie dust which makes you a better quilter, LOL!!
Follow the pattern instructions on page 2 to cut out your individual units for each block, plus cutting up the 4 yards of background fabric (which includes the binding). To speed up the cutting, I layered 2 strips of each color (4 layers of fabric), and cut through several stacks of strips at one time.
I prefer to cut out all of my units to the correct size first, before sewing. After many years of trial and error, I’ve found that my units are much more accurate this way.
I plan to set aside the leftovers after cutting, and then piece them into the backing. This is totally optional, but it’s a fun way to personalize your quilt!
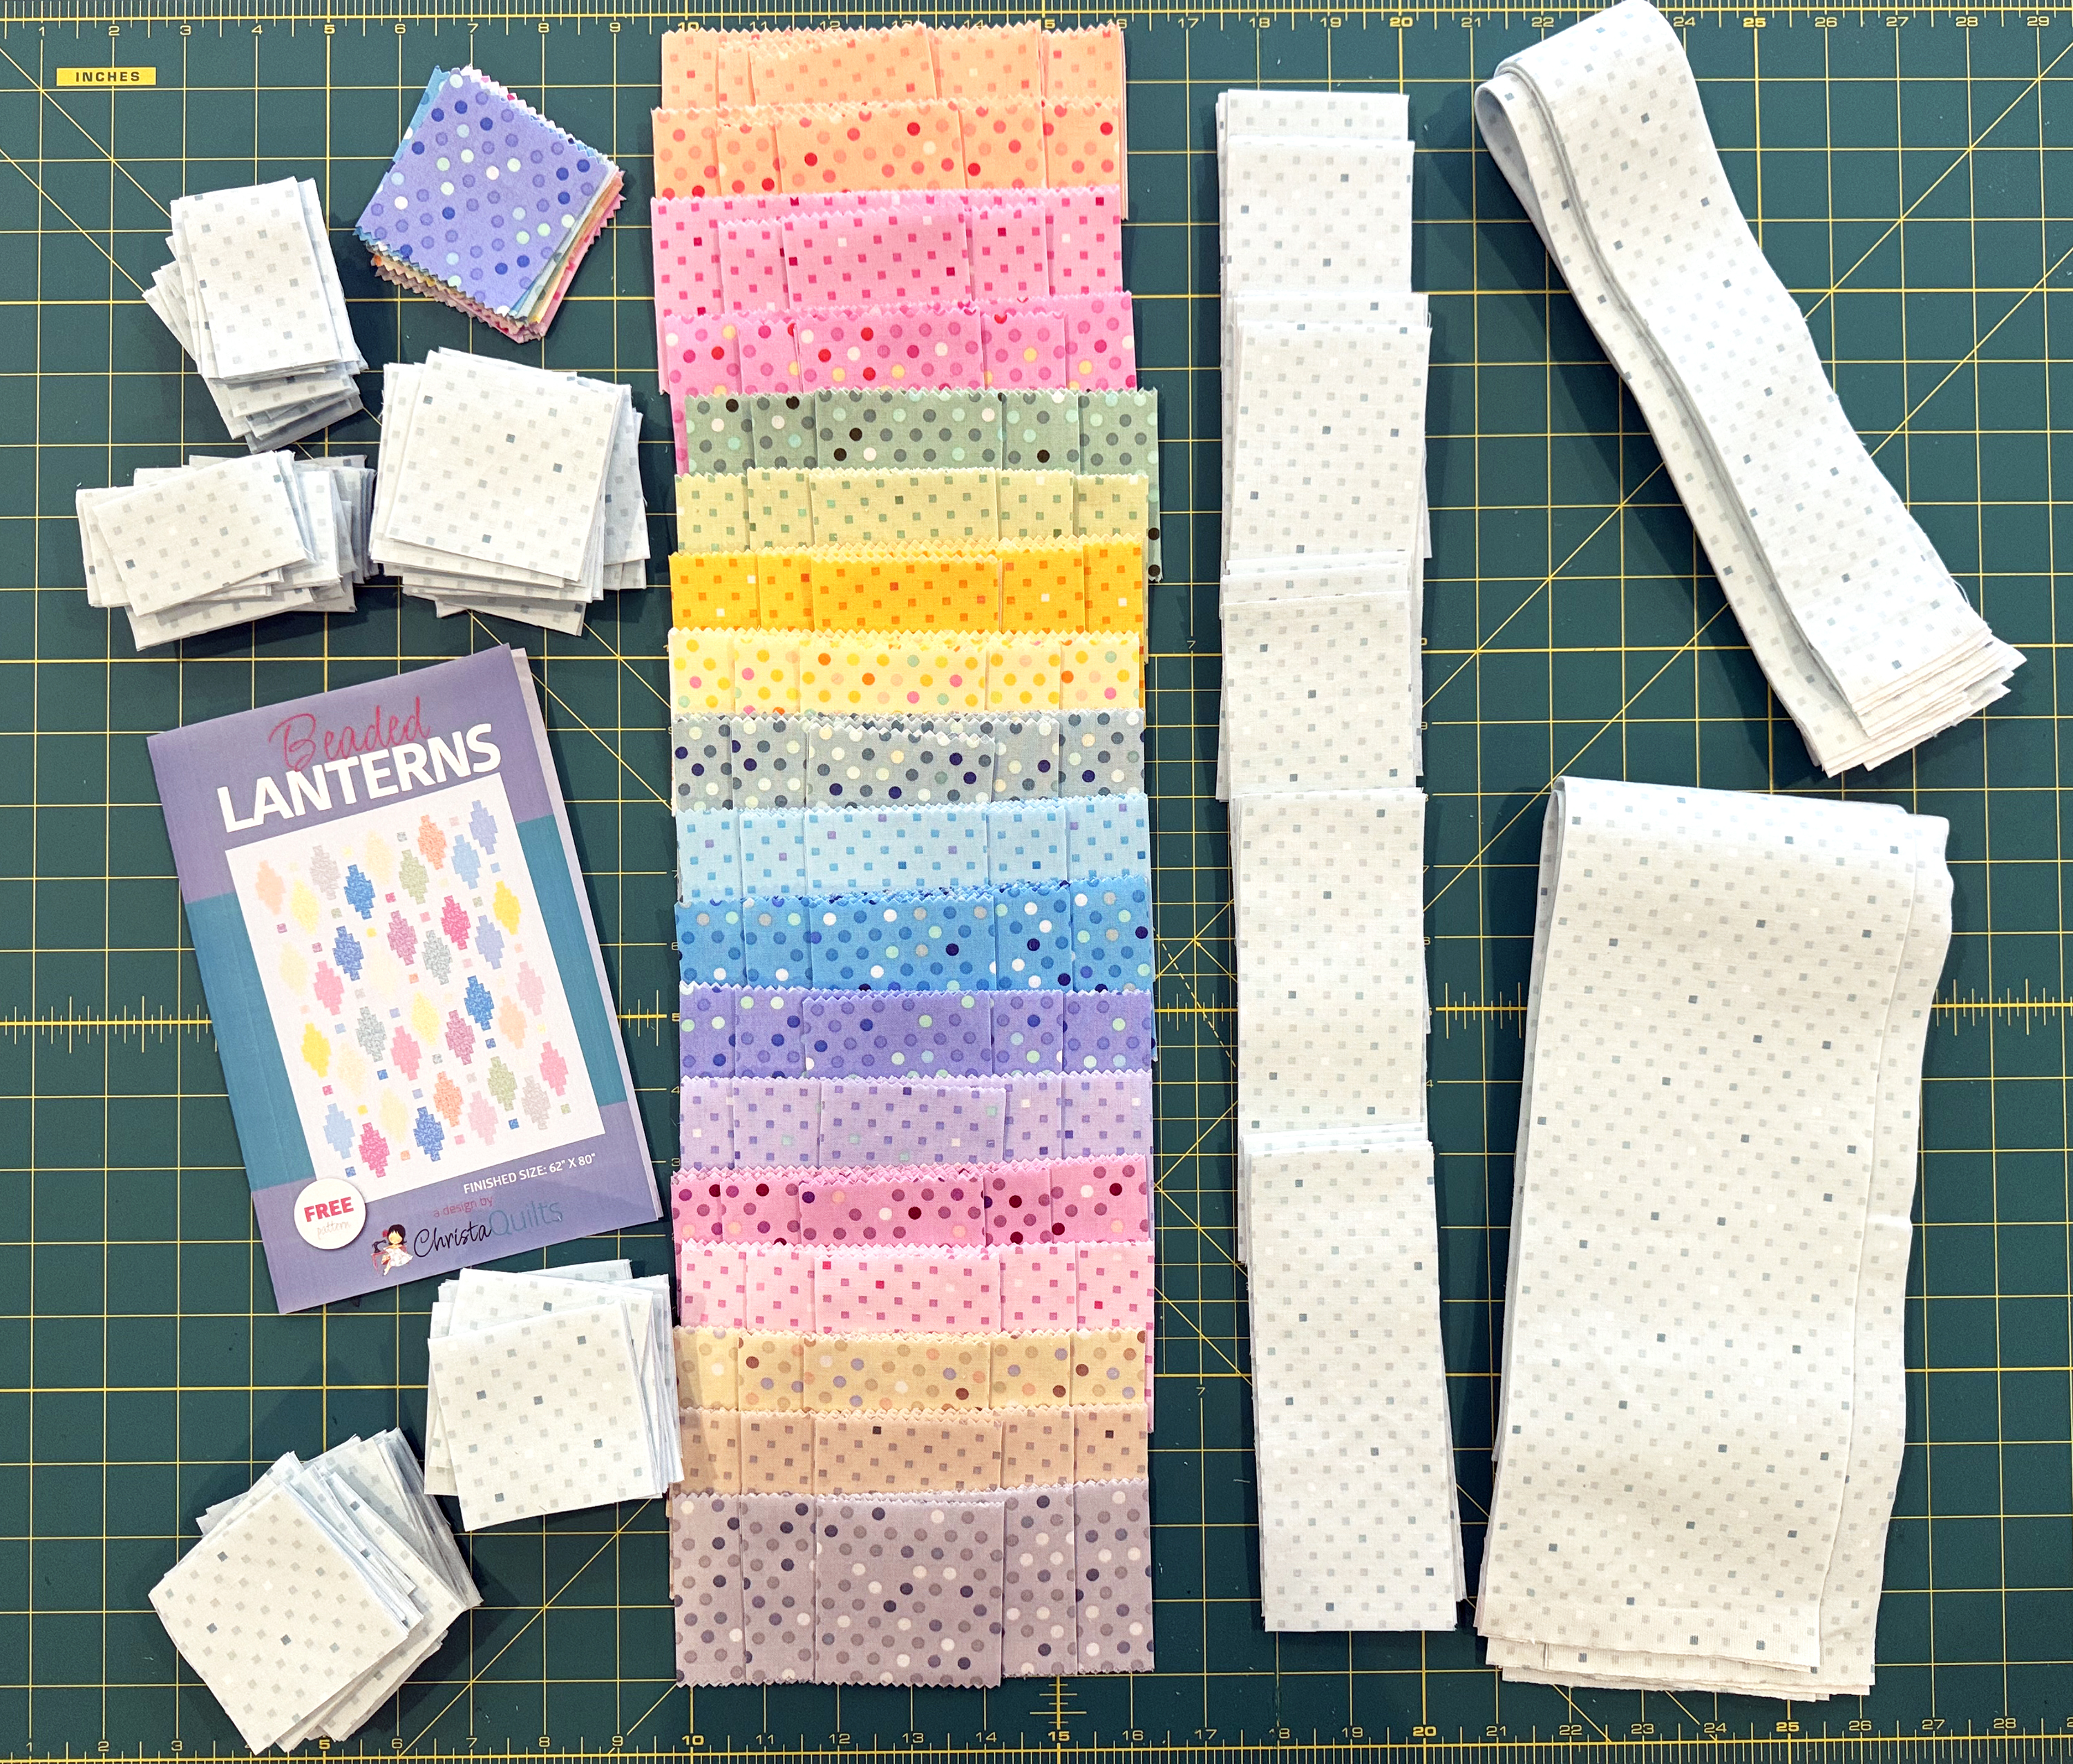
Ta-Da! All of my pieces are cut and ready to sew into blocks for next week!
Now it’s your turn to share. You can share your work in progress on social media using #beadedlanternsqal. Or you can post pics and ask questions over in my Christa Quilts Facebook group.
