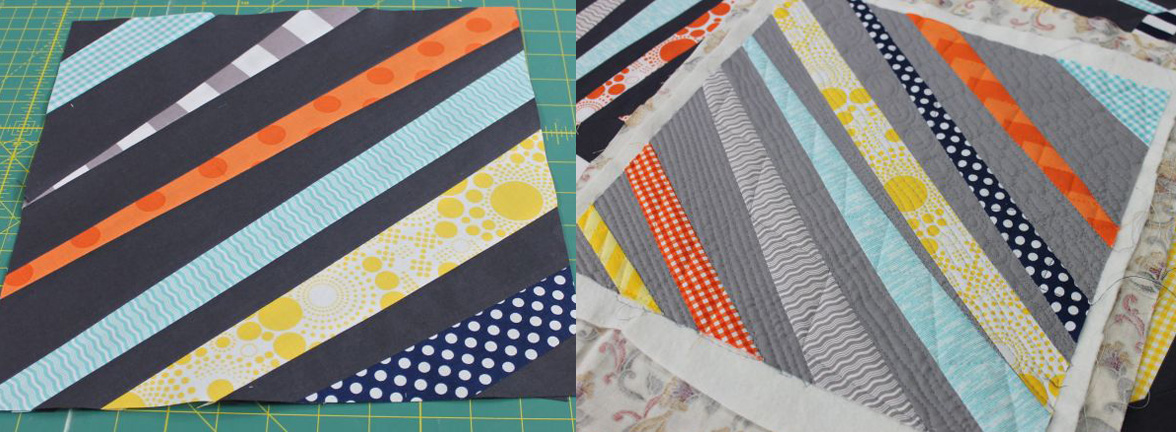
Herringbone WIP – Simple Stipples and FMQ Tips

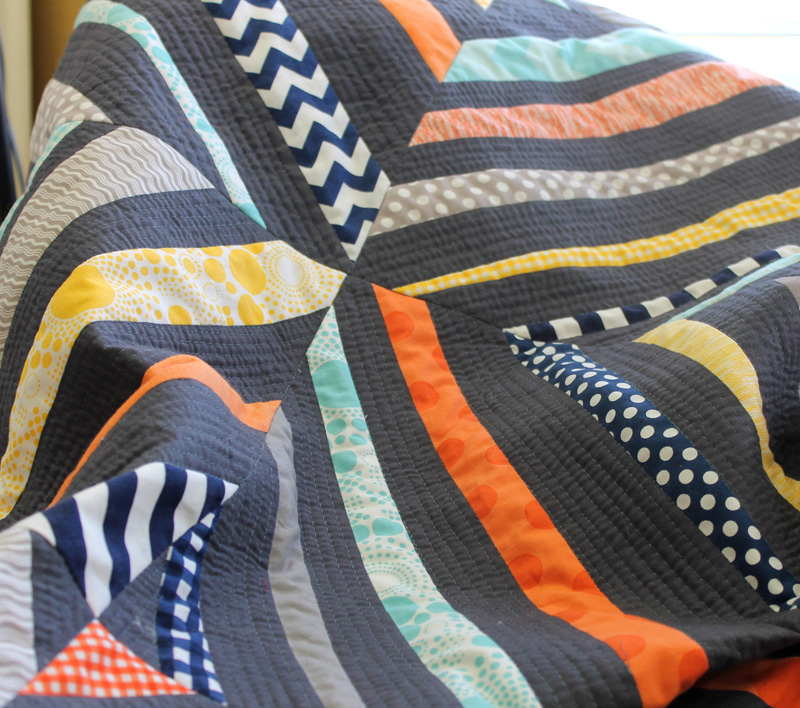
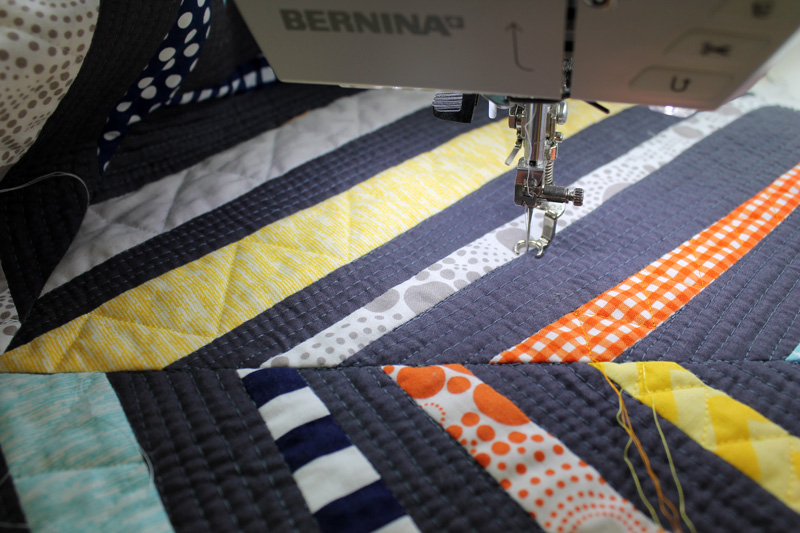
Today I’ll share with you how I’m quilting my Herringbone quilt. Just call me the stipple queen. 🙂 I did all piecing and quilting on my Bernina 710 without a stitch regulator.

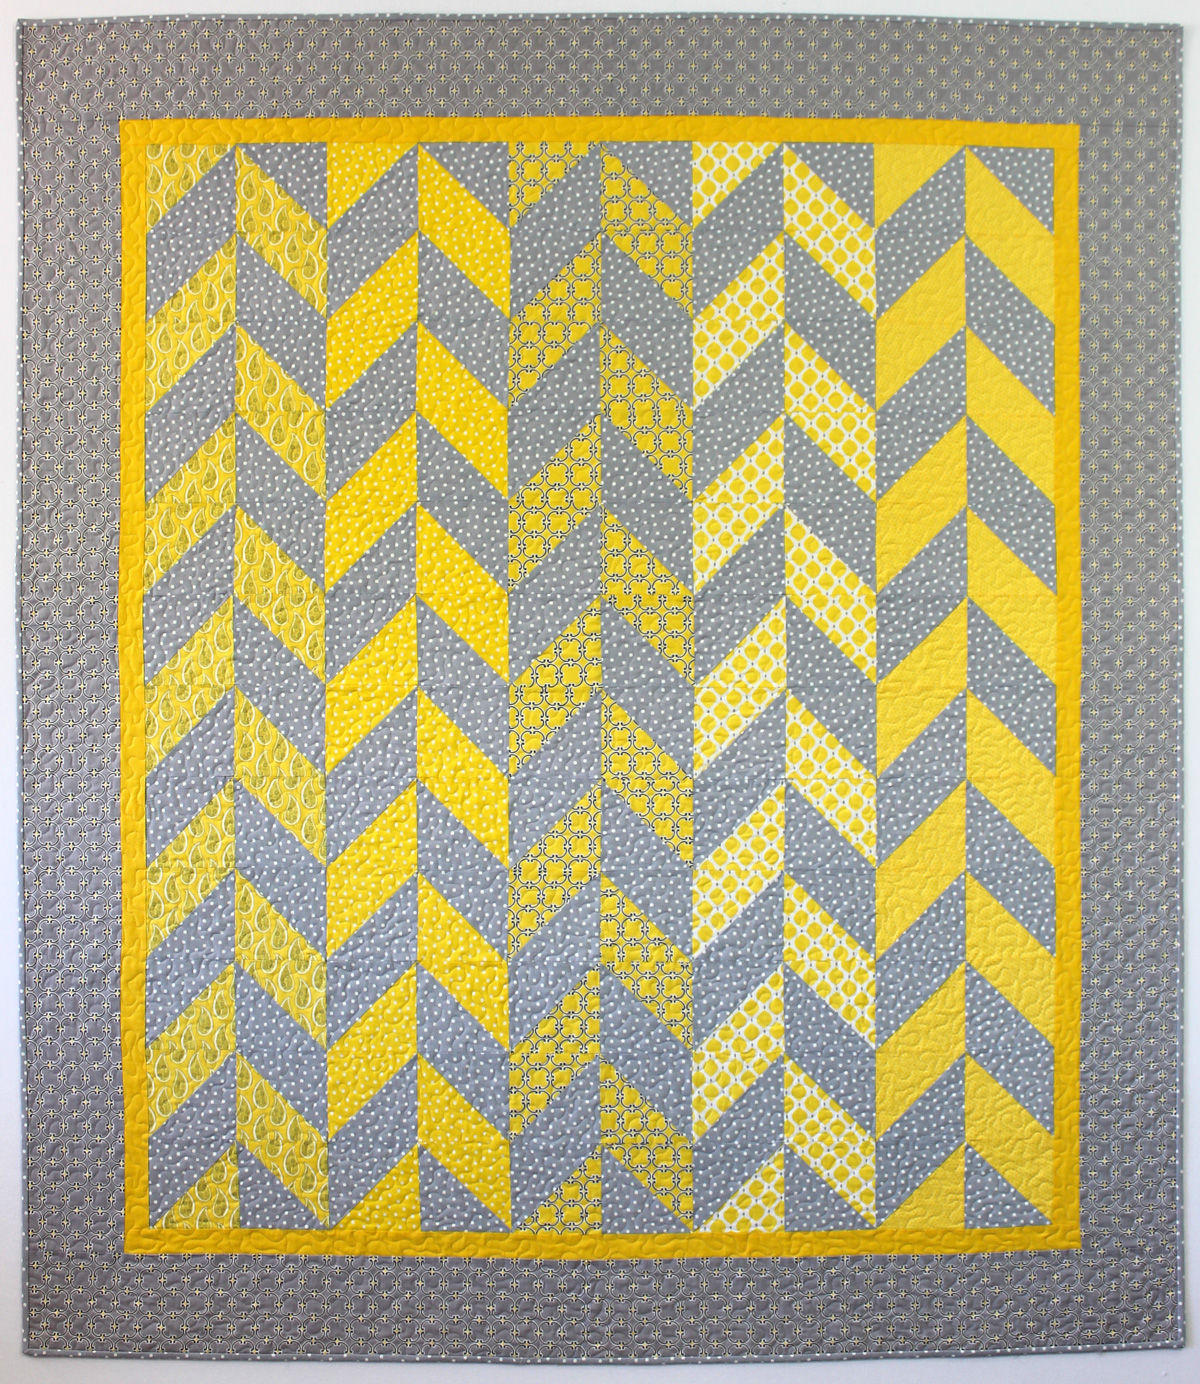
stipplingHerringbone by Christa Watson; free quilt pattern designed for Camelot Fabrics

I spent the first 10 years of my quilting career stippling everything I could get my hands and needle on! Then I took a break due to stipple burnout and starting spending way too much time quilting more labor intensive custom designs on my quilts. However, for Herringbone, I returned to my favorite go-to allover motif: stippling!

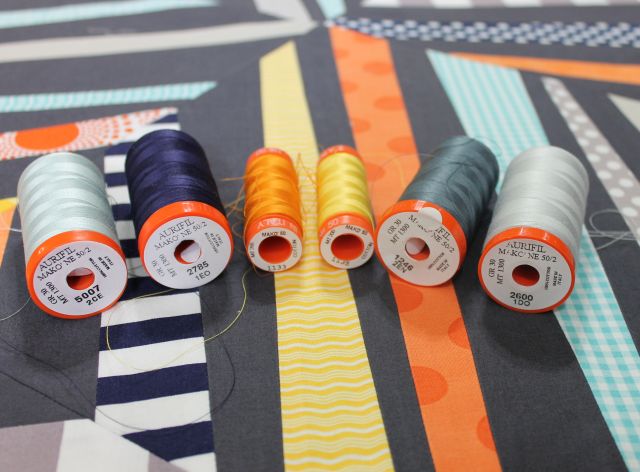
Since I wanted the quilting to enhance the graphic nature of the design rather than steal the show, I chose to go with a thin, 50 weight Aurifil thread in both top and bobbin. I tried out several colors to see which would blend in the most with both the yellow and grey fabrics.

aurifil_thread_choicesTip: audition thread colors before you begin quilting. The grey blends best!

I ended up going with Aurifil #2600-Dove which I think is just the perfect shade of light grey! It surprised me how well it seemed to disappear into the yellow fabric – providing scrumptious texture, rather than a heavy, “thready” appearance.

For this quilt, I practiced on a few scraps first (like I always do) and tested my machine’s tension. Here’s a quick tip: if your machine has really nice tension when you are sewing regular seams, it shouldn’t need to be adjusted too much for free-motion quilting.

herrinbone_quilting_glovesI usually quilt with flat hands forming a hoop – gotta love those Machingers!

Don’t be afraid to experiment a little until you get a pretty stitch! For some reason, the day I quilted it, I was able to achieve more consistent stitches with the feed dogs engaged, but covered with a Supreme Slider. I didn’t fret about why, I just went for it. I’m very pleased with the consistency of my stitching on this quilt and I think slowing down just a little helped, too.

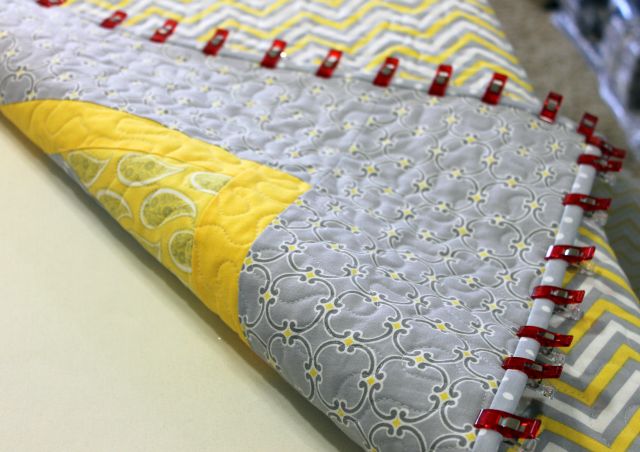
I made a label ahead of time and ironed it to the backing fabric with fusible web before I quilted it. Because I am using a thin blending thread, the quilting stitches will hold the label in place nicely without too much distortion of the writing.

herringbone_label

I chose to use a coordinating chevron print from the line for the backing – “sew” fun!

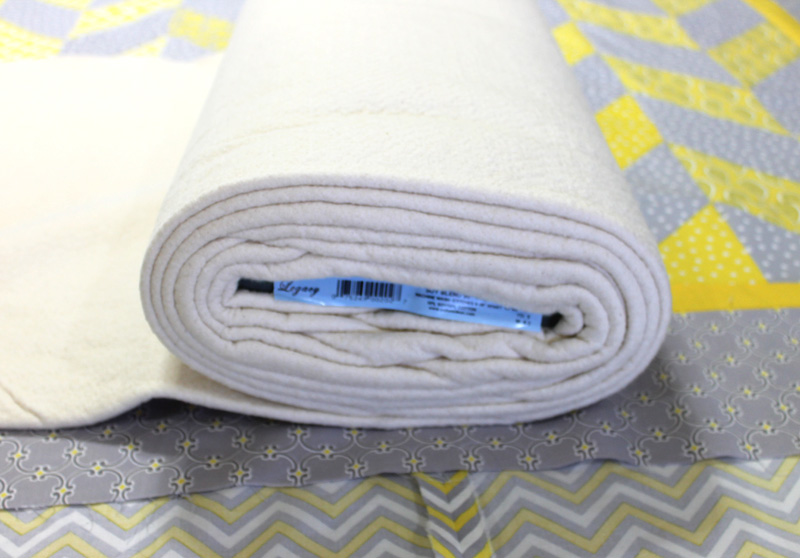
I also tried Soy batting for the first time with this quilt and I really like it. It stuck really well to the quilt while spray basting, and I like the drape and heft of it. I reminds me most of quilting with a nice cotton batting (like Warm ‘N Natural) but with a little more loft to it. Now I need to see how it washes up!

bamboo_battingSoy Blend batting given to me by my friend Cory. It was fun to try!

I timed myself like I usually do, and it took less than 4 hours to completely stipple this baby. After spending over 40 hours intricately quilting my last quilt, that was like a speed record for me! (Hmm – I need to seriously quilt more quick and fun allover motifs for the next few quilts….)

Now I’ll go get the binding put on and share the final reveal next time!

Roundup of Machine Quilting Blog Posts I’ve Written:

I’d like to leave you with links to several blog posts I’ve written about machine quilting, both here on my blog and for Craftsy. Some of my tools and techniques have changed slightly and a few things may be repeated, but I’ve covered a lot of basics:


Christa’s Soap Box – Learning a New Skill

I think it’s great to learn new skills, especially when it comes to quilting. After all, how do you know whether you will like something or not unless you give it a try? I recently had the chance to try painting on fabric, and even though I ultimately decided it wasn’t my “style,” it was still fun to learn a new technique!

20140401_cory_paintingChrista and Cory painting away!

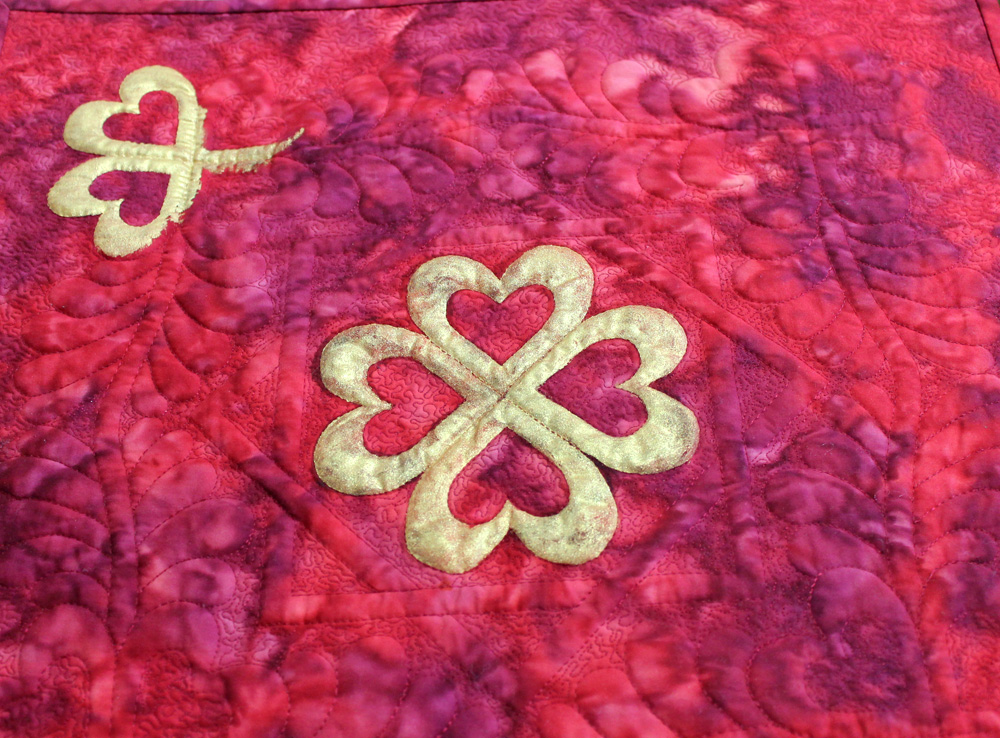
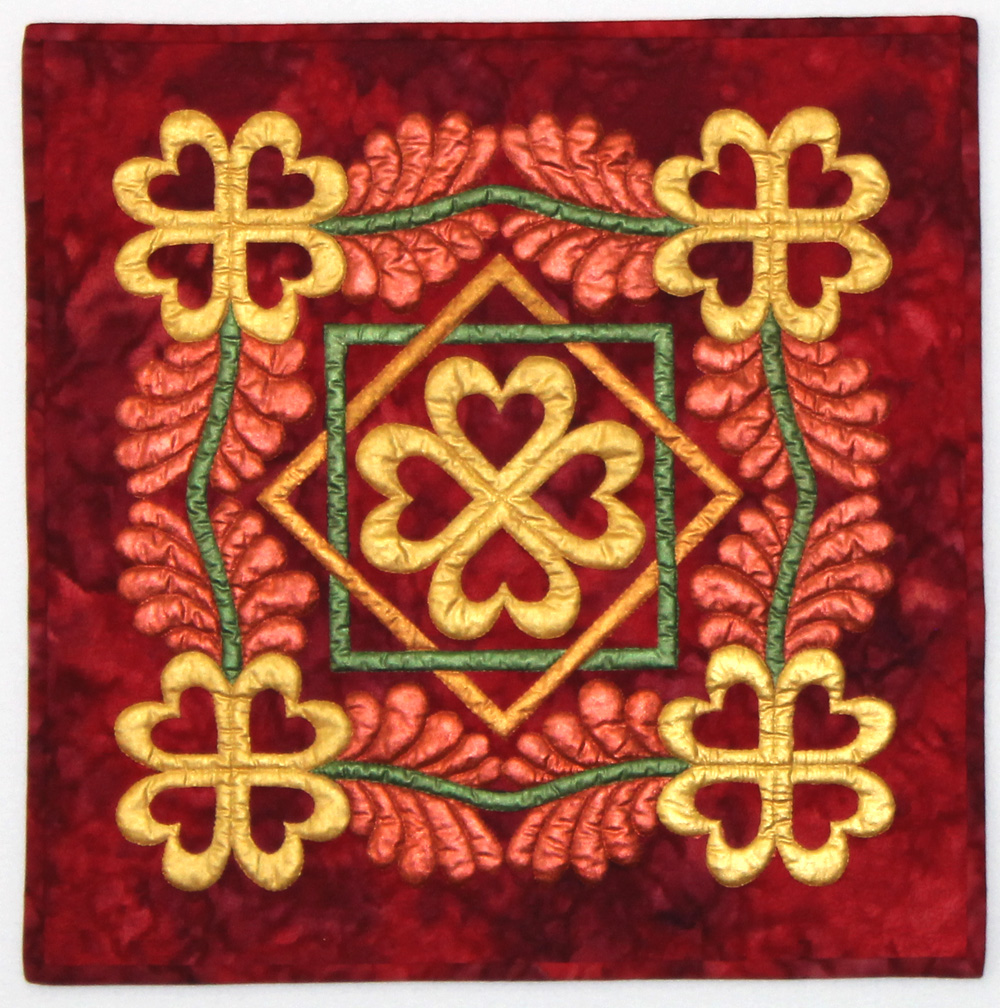
My friend Cory came over recently and showed me how to use Setacolor paints to add a little life to this wallhanging I made a couple of years back (before I found modern quilting).

hearts_feathers_wholeclothHearts and Feathers Wholecloth. Free pattern courtesy of Leah Day.

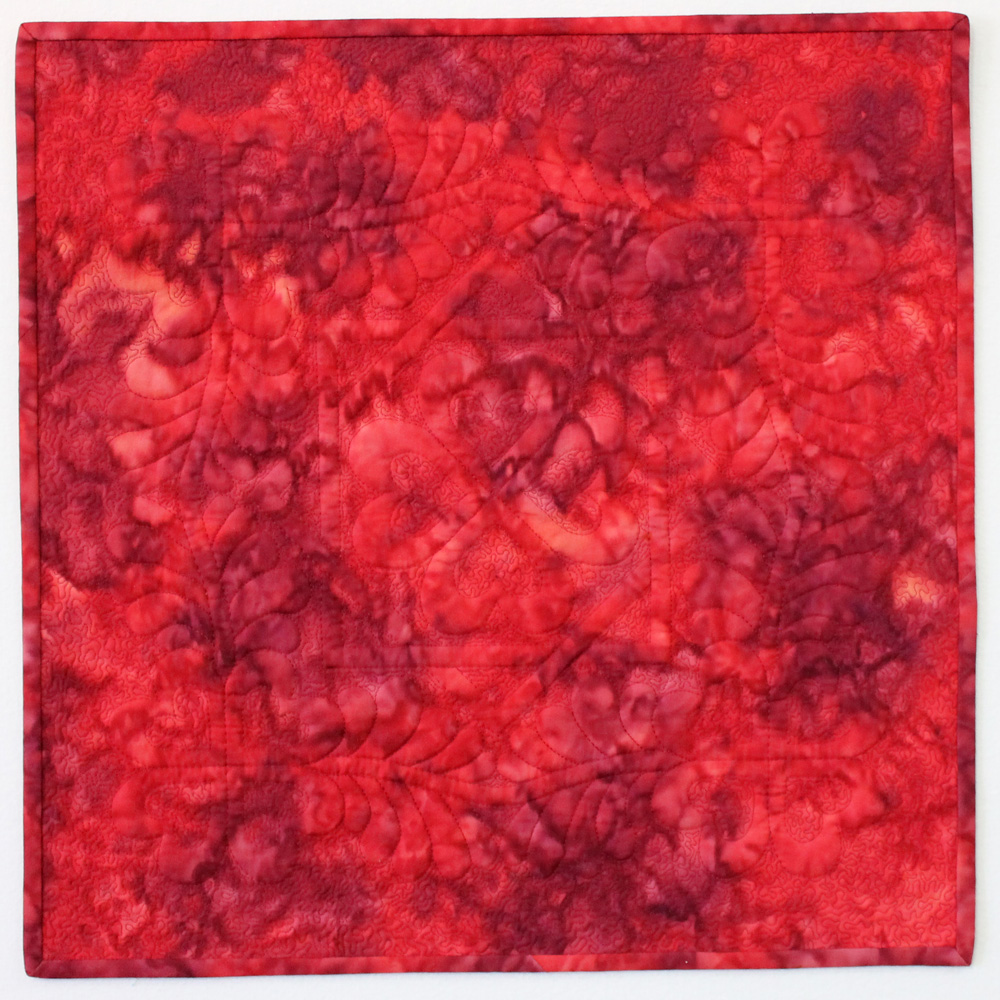
It’s a gorgeous free-motion quilting design from Leah Day. As you can see in the “before” picture above, you can hardly see the quilting. This is where my “matching threads” philosophy perhaps went a little too far.

The mottled batik fabric I used was so busy that you can’t really see the stitching. I thought about going over the quilting again with a contrasting metallic thread to make it stand out, but Cory suggested paint instead. So I figured, what they heck, I’ll give it a try. 🙂

hearts_paintingFabric Painting in Progress

It took a few coats to get a nice even application of color and it about drove me crazy trying to keep the painting inside the stitching lines, but overall, I’m pleased with how it turned out. The only thing I don’t like about fabric painting is how it makes the surface rough and scratchy rather than soft and supple (leading to my preference for modern utility quilts).

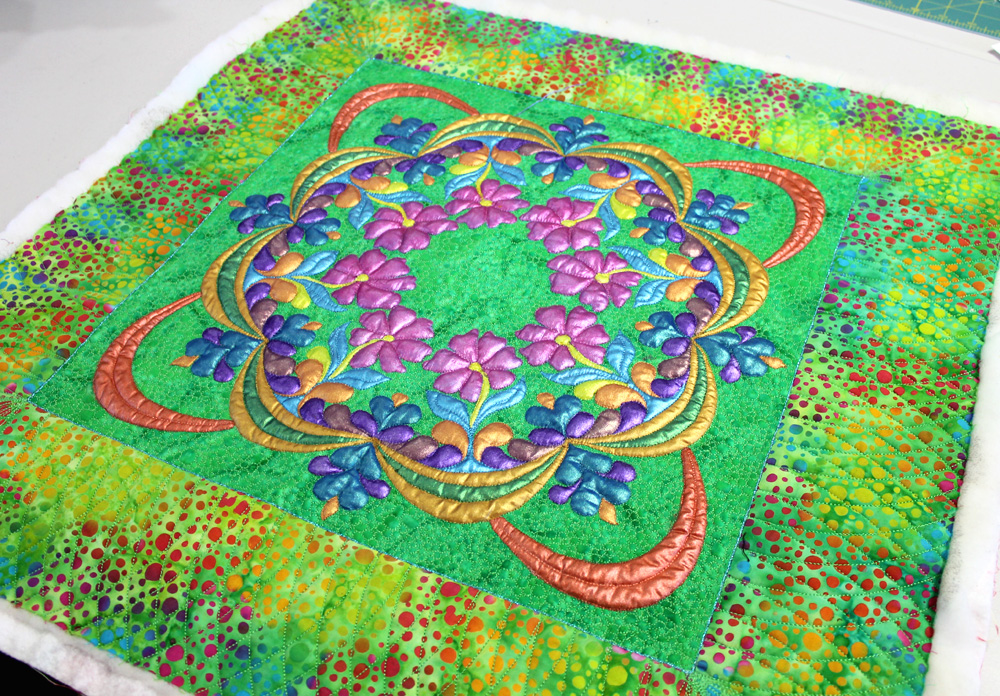
hearts_feathers_finishedAnd not to be outdone, here’s a shot of a gorgeous piece that Cory’s currently working on:

20140331_cory_paintingHave you ever tried painting on fabric? If so, what are your thoughts about it?


Herringbone WIP – Tips on Working With Directional Fabric

I finished sewing my Herringbone quilt top this week and I wanted to share with you a few new things that I tried while making it.

herringbone_top_closeupHerringbone quilt top, using the free pattern I designed for Camelot Fabrics.

Herringbone is made from a plethora of HST’s (half-square triangles). Usually, the fabric direction doesn’t matter, but in this case, I wanted to figure out how to line up the directional fabrics I was using so that they all went the same way.

herringbone_cut_fabric_squaresI used Gray Matters More fabrics in yellow and gray – so yummy!

I started out by cutting all of the squares like I normally do. My favorite method of making HST’s is to draw a line down the middle on the wrong side of my background fabric, match it up right sides together with the main print, and sew on either side of the line. Cutting the squares apart on the lines will then yield 2 half-square triangles each.

herringbone_hst_stackDon’t you just love a stack of yummy HST’s? They look like little triangle sandwiches!

For my “experiment,” I flipped the background squares so that half of the lines were left-diagonals, and half were right-diagonals. I then matched up each background square with a print square, keeping the print squares oriented in the same direction.

herringbone_diagonal_lines

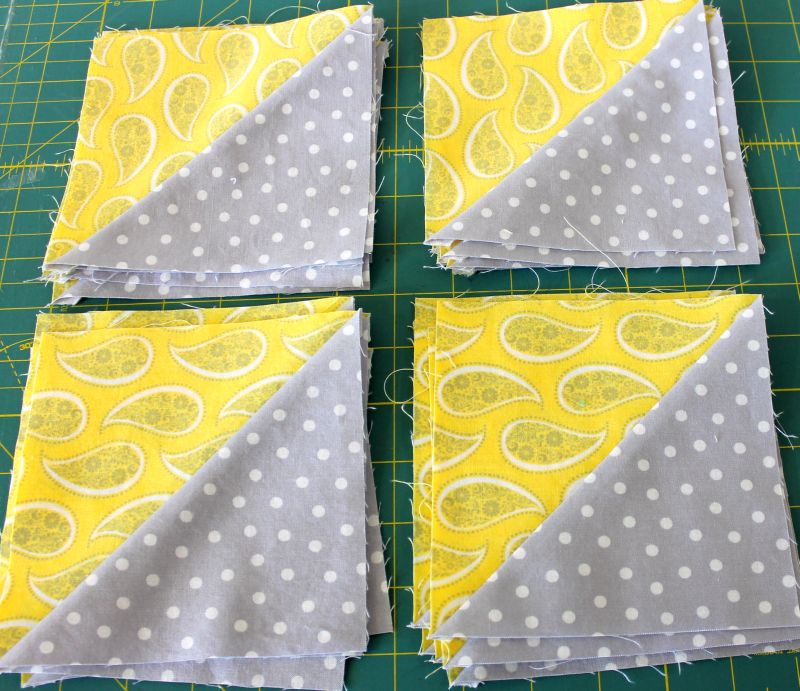
After sewing and cutting apart, I ended up with 4 stacks of HST’s with the prints running in 4 different directions, exactly what I wanted for this pattern. Each half of the squares shown above produced two different orientations below.

hst_paisleyI’m very visual, so I had to constantly refer back to my pattern to line up all the pieces in the correct block position. (I’m not sure how the directional shift will look with other HST configurations, but you can test it out and see.)

herringbone_block_diagramThe fabric shown below is one-way directional rather than two, so I just needed to separate them into 2 different directional stacks, rather than 4. Do any of you math geniuses out there remember what type of asymmetry that’s called? I forget!

hst_directional_fabricI still had to mark and sew diagonal lines going left and right for these 2 piles!

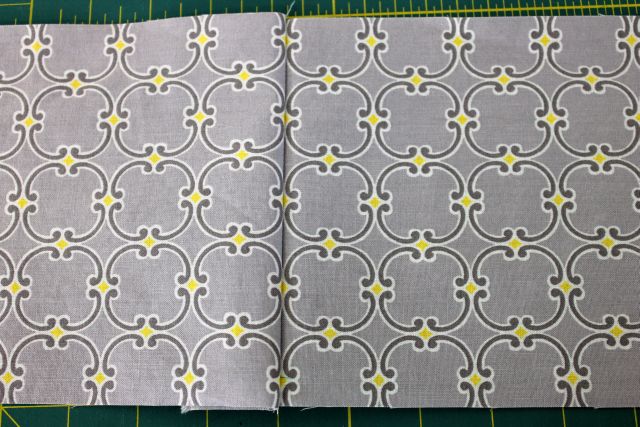
Since I decided to get carried away with lining up the prints in my blocks, I decided to match up my border seams as well. To do this, I cut out strips that were the exact same width, following the same design repeat. I then sewed a seam between the motifs, trying to match up the design as best I could. I trimmed the seam allowance down later.

border_match_seamsThe picture below is how it looks on the front. The key is to match the print where it will be less noticeable, like in between rows of design motifs.

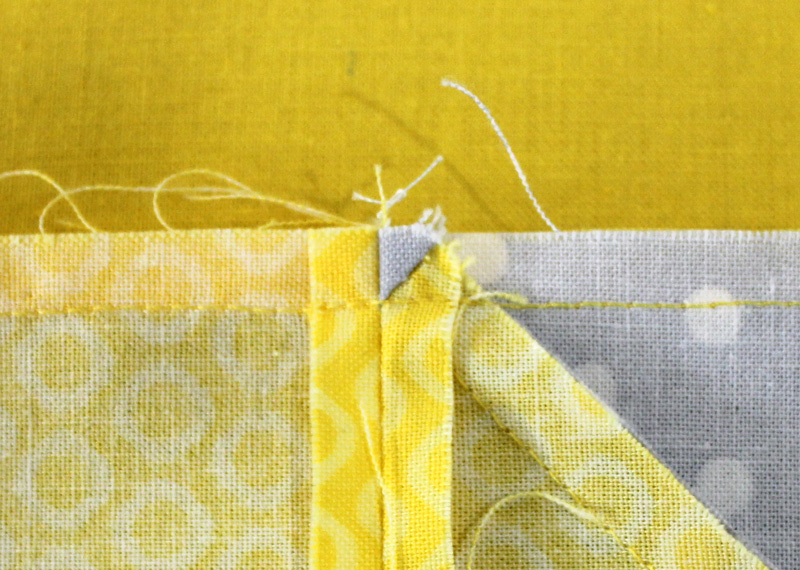
border_motifMy final top tip is for joining seams that cross over your triangle points. Sew on the side where you can see the tiny triangle in the seam below. This will help you achieve nice, crisp triangle points. 🙂

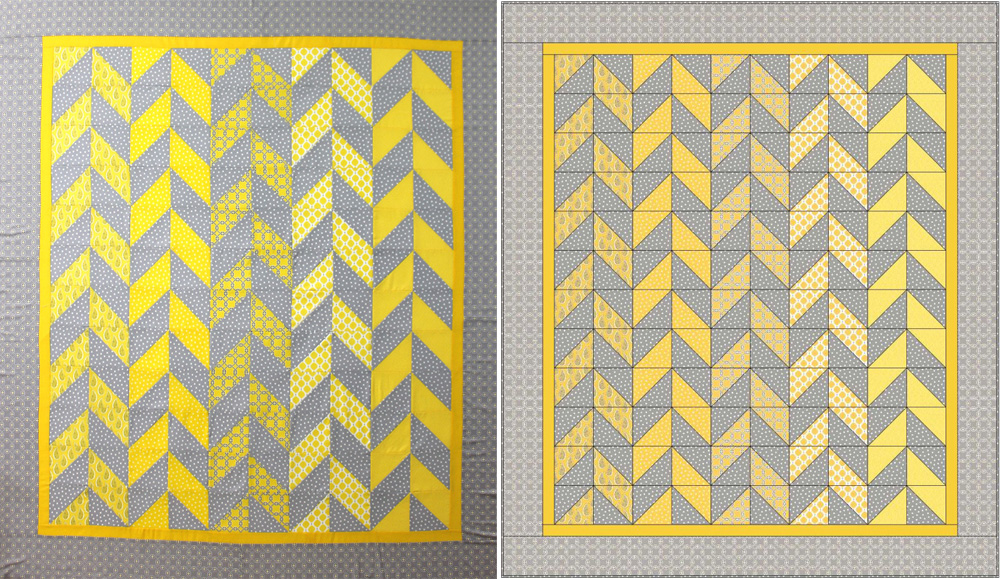
seam_intersectionIt feels great to have a finished top – or as some would call it, a “flimsy.” I love how it looks exactly like my original EQ7 design (minus the design wall wrinkles and bad lighting). Next time I will share with you how I quilted it.

herringbone_combinedOn the left is my finished top. On the right is my EQ7 sketch. I love it when they match!


Christa’s Soap Box – Modern Quilting Validation

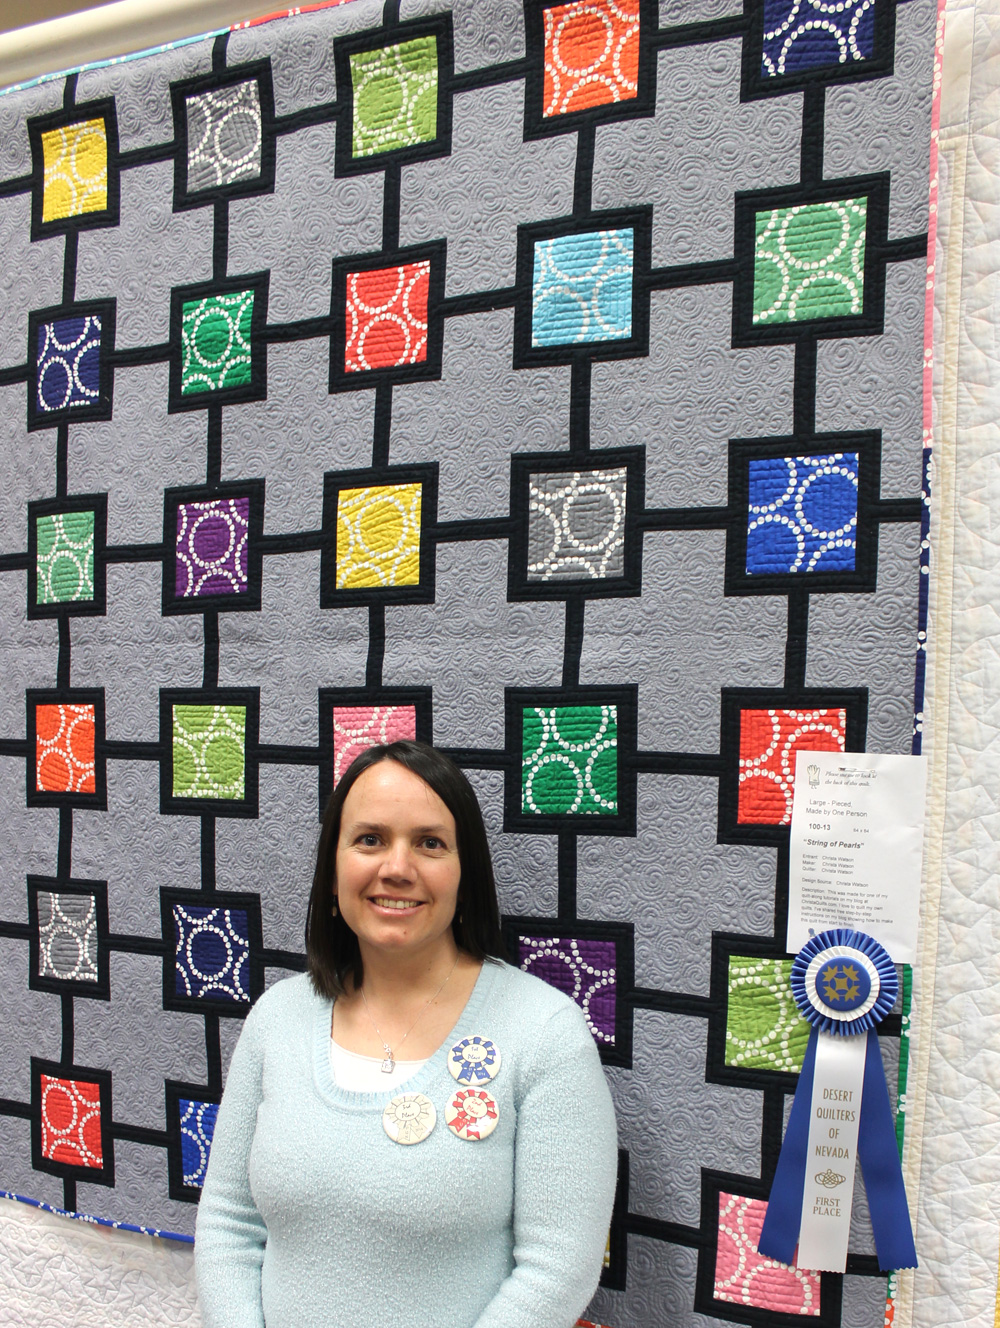
It’s no secret I’ve fallen head over heels for modern quilting and the community that surrounds it. Because of this vibrant movement, I’ve probably made more meaningful quilts in the last year than I have in the previous ten years combined! This weekend my tastes were validated when 3 of my modern quilts took 1st, 2nd and 3rd place ribbons in my traditional guild’s annual quilt show. 🙂

20140404_ribbon_buttonsRibbon winners got to wear these buttons of pride while walking around the show!

I’ve been a member of the Desert Quilters of Nevada going on 18 years now. It’s a lively group, full of encouragement and support. Even though I’m one of the youngest of the 400+ member group (and have been ever since I joined nearly 2 decades ago), the guild has offered me a place to share my quilts, practice my teaching skills, and attend amazing workshops and events.

20140404_stringofpearls_dqnString of Pearls by Christa Watson, 1st Place – DQN Pieced Category 2014

DQN is very open minded when it comes to the latest happenings in the quilt world. They have a very healthy art quilt subgroup and they’ve even recently started a modern “circle.”

I’m super excited that they’ve invited me to teach String of Pearls at this year’s annual quilting retreat. But I’m even more jazzed that the theme of the retreat is going to be “It’s a Modern World.” I mean, how cool is that??

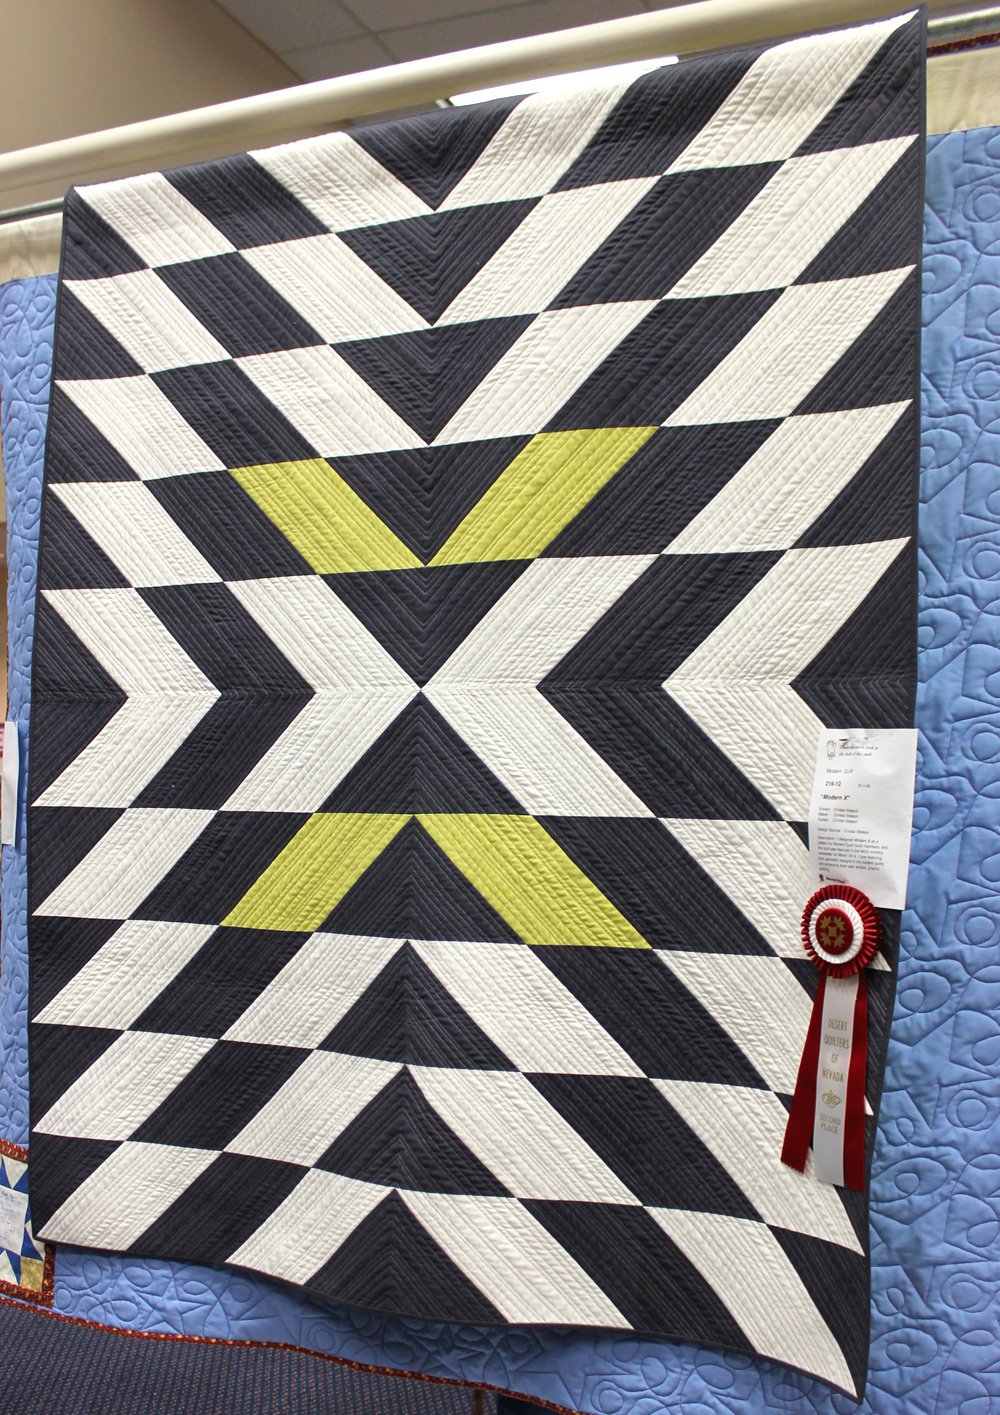
20140404_dqn_modern_x_2ndModern X by Christa Watson, 2nd Place – DQN Modern Category 2014

At the show it was fun to see people walk by Modern X and do a double take. One gentleman I spoke to, a long-arm quilter by trade, couldn’t figure out where I started and stopped my lines of stitching.

When I told him I quilted long lines from one edge of the quilt to the other on my Bernina, he said you couldn’t really do that type of uninterrupted straight-line quilting on a long arm. (Score one for the domestic quilters!)

20140404_dqn_spiralling_3rdSpiraling Out of Control by Christa Watson, 3rd Place – DQN Modern Category

And I have to admit, it was super validating when Spiraling Out of Control took a 3rd place ribbon. This is probably my most favorite quilt to date and one where I really stretched myself doing stuff I’d never tried before. I always try to remind everyone (including myself) that I don’t enter my quilts in shows to win ribbons, but it sure is like icing on the cake when they do!

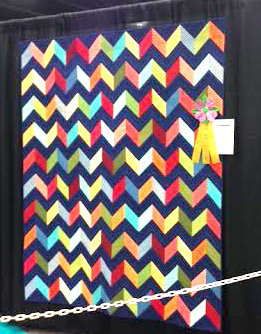
I have to give a final shout out to this fabulous quilt below which is NOT mine. It was made by one of my students who began it in my Charming Chevrons class last year. I couldn’t have been more proud to see that ribbon hanging on it!

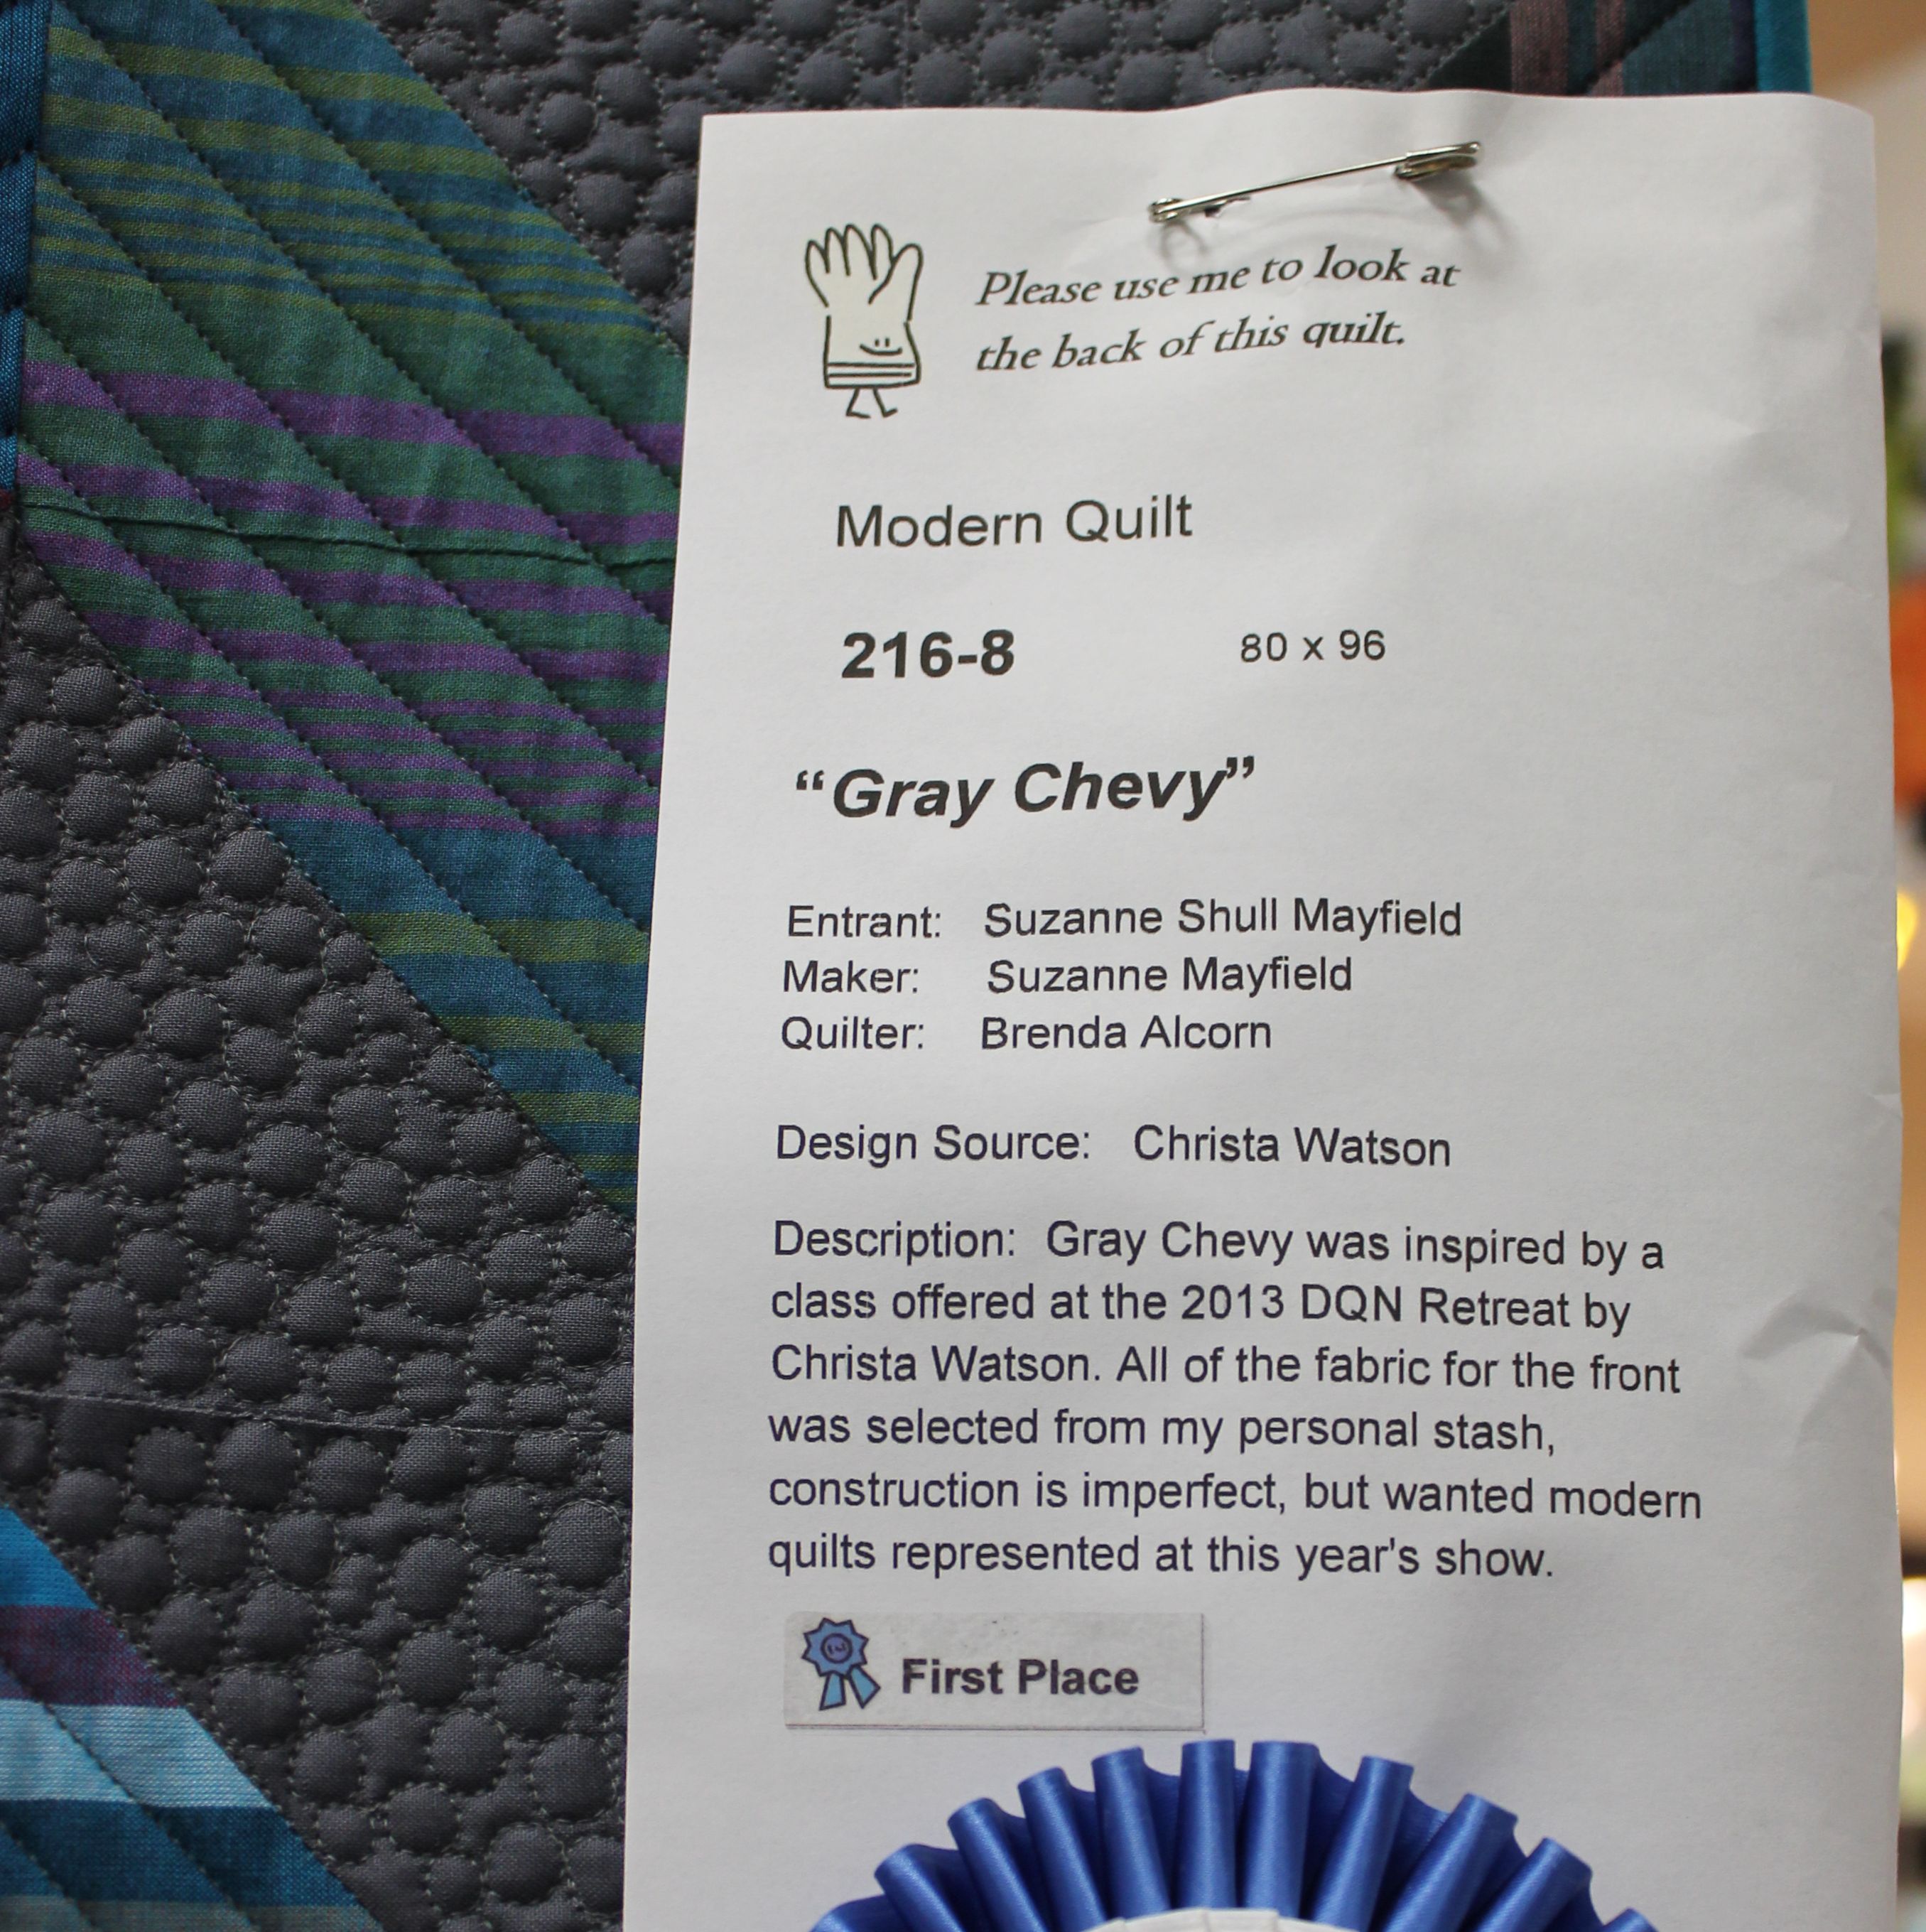
20140404_dqn_grey_chevy_stuGray Chevy by Suzanne Mayfield, quilted by Brenda Alcorn, 1st Place – DQN Modern Category

Suzanne kindly credited me in her description as the pattern designer, so in some small way, I even got to be a part of this award-winning quilt, too!

20140404_chevy_tagWell, now you know what this means – it’s time to go make more quilts!

Tips for Getting Started with Modern Quilt Design

My latest blog post for Craftsy has been published, and I’m rather pleased with the subject matter. It’s called 7 Tips for Getting Started with Modern Quilt Design and I really enjoyed writing it.

20140221_chevrons_backThe back of Colorful Chevrons – I think it’s more modern than the front. Tutorial here.

Suffice it to say, I had fun gathering pictures and examples of modern quilting, and emailing their makers to obtain permission to share. It was really just a great excuse to get to know more amazing designers, and this is just the tip of the iceberg! I could have included dozens more if I had the time and space to write about them.

Another “modern” backing I designed. One day I’ll make something like this for the front!

So don’t be surprised if modern quilts are all I can think about for awhile. I have to make up for lost time!

Modern X – A Free Pattern for Modern Quilt Guild Members

I’m pleased to share with you my latest quilt finish – Modern X.

I made it for the Modern Quilt Guild as a free pattern for their members. One of the benefits of being a MQG member is getting a free pattern with each of their monthly newsletters in 2014. I got selected to be “Miss March.”

modern_x_cquilts_mqgModern X – designed, pieced and quilted by Christa Watson – 56″x 70″

All of the quilts of the month will be shown at a special exhibit at QuiltCon next year, so it will be exciting to see them all presented in one place.

If you are not a member of the Modern Quilt Guild (why not?) I also have this pattern available for sale in my Craftsy Pattern Store. It runs 7 pages in length and also includes diagrams on how to machine quilt it, if you are so inclined.

I used Kona Cotton Solid fabrics for the quilt and it is pieced and quilted using Aurifil threads in 50 wt. cotton. Here’s a detailed shot of some of the quilting:

aurifil_quiltingBe sure to come back later in the week as I’ll share a couple of basting and binding tutorials I put together for this quilt. 🙂

You win some and you lose some and it all works out in the end!

Thanks to all of you for your kind words and good wishes on my Spiraling out of Control quilt. As I said previously, no matter how the competition turned out, I was happy to be a part of the challenge and thrilled that someone would think my quilt deserved to be among the top 10 out of hundreds. Besides, now I have a finished quilt ready for the next show!

Be sure to click here to see the top 3 winners. They are all amazing and kudos to their makers! They are all truly deserving. 🙂

Modern Quilt

Spiraling out of Control by Christa Watson

As I’ve said before, I absolutely love entering challenges and competitions, even if I don’t win. It helps me become a better quilter, and it allows me to share my quilts with a wider audience. Besides, if I didn’t have deadlines to strive for, I wouldn’t get anything done, LOL!

A couple hours after I read the final MQG challenge results, I got a notification from AQS that my Colorful Chevrons Quilt has been juried into Paducah. That made my day!

colorful_chevrons_finished

Colorful Chevrons by Christa Watson

So you know what they say – on to the next quilt!

Christa’s Soapbox – I am not a fan of polyster batting.

I recently tried using a high quality polyester batting for one of my quilts because a few professional quilters I admire recommended it. However, this is one of those instances where quilting on a domestic machine versus a long arm is quite different.

On a long arm, the 3 layers of the quilt are held in place separately and evenly while the quilter rotates the machine over the surface of the quilt. However, on a domestic machine, there is a lot of shifting and bunching of the quilt, to scrunch it underneath the arm of the machine. Here’s the backside of a polyester batting disaster in progress:

Polyester Batting - Too Slippery!

Before with 100% polyester batting – it’s too slippery!

Unfortunately, the polyester batting is so “slippery” that it migrated and bunched while quilting. I originally pin basted the quilt but decided to rip all of it out and start over with new batting and basting spray instead.

While I am definitely not a perfectionist, this amount of wrinkling was just too much for me to handle, especially for a quilt that is going to be shared in public. I actually quilted it a lot more than what the photo shows above, but in order to keep my sanity, I couldn’t bear to take any more pictures!

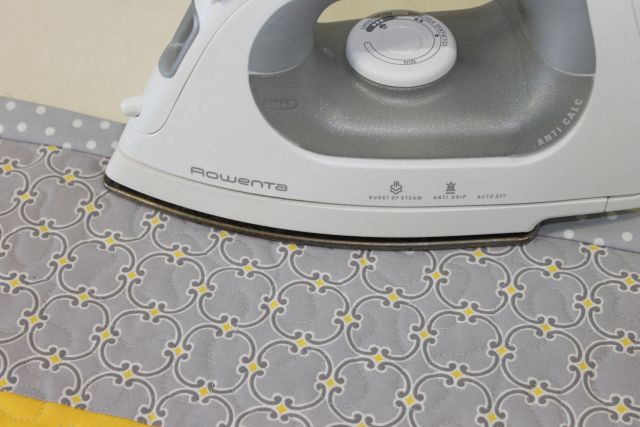
So after a few tears, an evening of Downton Abbey, and a healthy dose of tenacity, here’s the newly quilted back. I ended up going with a blend of 70/30 cotton/poly and I utilized Ann Petersen’s tip of ironing the quilt after spray basting with a natural fiber batting.

Still a few wrinkles, but  much much better!

After with a cotton/poly blend – still a few wrinkles, but much much better!

There is still a small amount of wrinkling but I”m adding a lot more quilting in between each “anchored” section and it’s quilting out nicely. However, I think I’ll stick with zero % poly in my quilts from now on. (The Quilter’s Dream Orient batting I used in my last quilt had no puckering at all!)

This sneak peek shows a much happier quilting session after I fixed most of the puckering!

Machine Quilting Bliss

Machine Quilting Bliss

A word to the wise on batting – the only way to truly know how a batting will perform is to test it on a real quilt. 🙂 Now I just have to finish the binding and wait for the big reveal!

Riley Blake MQG Challenge Quilt Post #3 – The Finish

I have finished my entry for the Riley Blake/Modern Quilt Guild challenge.
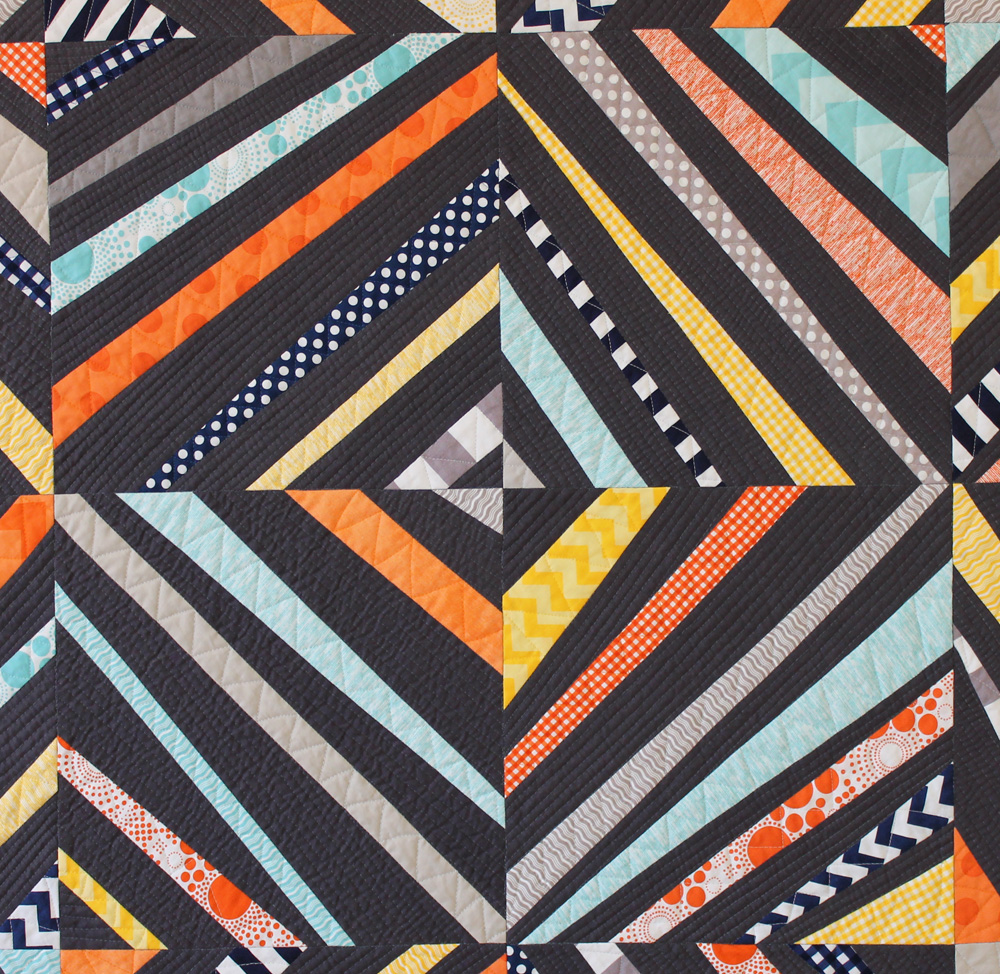
It’s called Spiraling Out of Control and it finishes 70″ x 70″.

Modern Quilt

Spiraling out of Control by Christa Watson

I love the explosion of line and color against the charcoal background. The fabrics were fun to work with and I enjoyed every step of the quilting process. I quilted the background areas with “industrial” straight lines, and I quilted the rays of color with free-motion ziz-zags in matching colors of Aurifil 50 weight cotton thread.

Quilting Detail

Spiraling Quilting Detail

I tried several experiments while making this quilt which were fun to explore.

The block is very similar to an oversized string pieced block, yet all of the angles are wonky, and no two blocks are alike. The inclusion of background fabric between every other strip really helps the colors pop. I didn’t want to paper piece it or use foundations so I pieced them improvisationally, then used a ruler to square them up.

Improv Block

Trimming the Improv Blocks

It took me awhile to finalize the layout. Because of the movement of the blocks, there are a variety of designs that could be created. I had the toughest time deciding if I should contain the boxes formed by the rays or let them stick out on the edges. My gut said to go with “points out” as I call it rather than “points in.” I think that added to the “out of control” look and feel of the quilt!

Points Out

Points Out

Points In

Points In


I tried basting spray which I really liked. No pesky pins to remove while quilting! I also used Quilter’s Dream Orient batting for the first time and absolutely fell in love with it. It’s a mix of silk, bamboo, botanic tencel and cotton. The quilt is so soft even with a ton of quilting on it, and it drapes very nicely. I think this is my new favorite batting!

basting spray

Use basting spray outside or in a well ventilated area with open windows.
I sprayed the top and bottom of the quilt rather than the batting.

Another experiment I tried was quilting it entirely with my free-motion foot, including stitching in the ditch. While it was more work to push through the machine, I liked the freedom of movement and I didn’t get any of those puckers that often happen along intersecting seam lines.

Quilting Detail

Quilting Detail

I quilted the negative space with closely spaced lines using the edge of my foot as a guide. I didn’t mark any of the lines or worry about making them perfectly straight, which was also a nice experiment in letting go of perfection!

Loose Threads

Loose Threads to Tie Off Later

My next experiment, which was a little crazy, is that I tied off all of the starts and stops from the colored threads. (Not for the backgrounds though – I didn’t even want to go there!) I did this mostly to see if was an insane idea or not. While it took a long time and I thought I would hate it, it was actually very relaxing.

Aurifil Threads

Aurifil Thread Colors Used

I finished the quilting and left long tails of colored threads until the end. Then I used a needle and a thimble to basically hand quilt one stitch of every stop and start, made a knot and popped it into the batting so there wasn’t a mess of thread on the back. This gave me the chance handle the quilt quite a bit. I can now see the value of hand work, but only if you are not rushed! I also finished stitching the binding by hand.

spiraling_back

Quilting Detail on the Back

A final experiment is that I timed myself during every step of the process to see how long it would actually take from start to finish. People are always talking about how many weeks or months it takes to make a quilt, but that never makes sense to me because I don’t know how many hours a day they spend quilting. The number cruncher in me likes keeping track of these things!

Here’s a breakdown of the time:

  • Prewashing fabrics – 1.5 hours
  • Starching, pressing and cutting – 7 hours
  • Sewing the blocks – 14 hours
  • Starching and squaring the blocks – 1.5 hours
  • Deciding on layout of blocks – 2 hours
  • Sewing top (including pressing) – 3.5 hours
  • Piecing the back – .5 hour
  • Basting & smoothing – 2 hours
  • Stitching in the ditch – 1.5 hours
  • Quilting the negative space – 22.5 hours
  • Quilting the colored strips – 12 hours
  • Tying off knots – 6 hours
  • Sewing binding to the quilt – 3 hours
  • Finishing binding by hand – 5 hours

It took a whopping 82 hours to make this quilt! I guess you could say the time spent creating spiraled out of control. 🙂 However when comparing it to quilts where makers sometimes spend hundreds of hours on their competition pieces, I didn’t feel so bad. After all, it was an experiment!

Modern Quilt

Spiraling out of Control by Christa Watson

Final Stats:

  • Spiraling Out of Control – 70″ x 70″- designed, pieced and quilted by Christa Watson
  • Riley Blake Basics fabric in aqua, navy, yellow, orange and grey
  • Riley Blake Basics Charcoal Solid for the background, backing and binding
  • Aurifil 50 weight cotton thread for piecing and quilting, in colors to match
  • Quilter’s Dream Orient Batting
  • An insane 82 hours to create
  • A joy to make from start to finish!

For more in-process shots, see challenge post #1 and challenge post #2.

Thanks to Riley Blake and the Modern Quilt Guild for hosting this challenge!

What I’m Working on Wednesday

I thought I’d share a couple of pics of quilts I’m currently working on, you know, to prove that it’s not all about blogging and fabric around here. I actually do take time to quilt when I can, LOL!

Quilting Away!

Quilting Away!

Please ignore the messy hair, but this is my favorite thing to do – listen to a quilting podcast while losing myself in the joy of machine quilting. I’m finishing up a quilt that I’ll get to share with you pretty soon.

Riley Blake Challenge

Quilting my Riley Blake Challenge

And I’m frantically quilting away on my Riley Blake/Modern Quilt Guild challenge to get it done in time. There’s nothing like a deadline to light a fire under me and get me moving quick!

Quilting is also great for weight control. The more time my hands spend stitching, the less time they have to grab munchies! 🙂