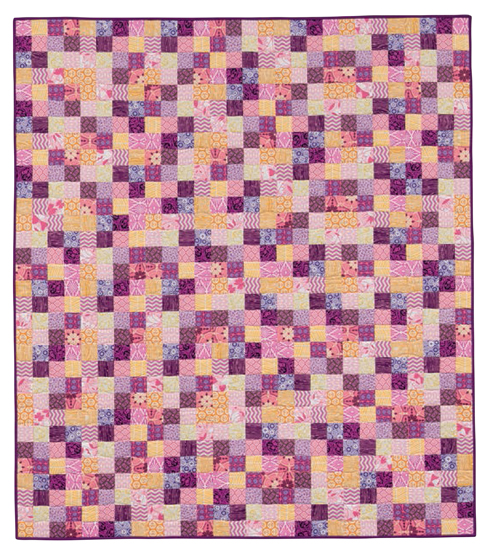
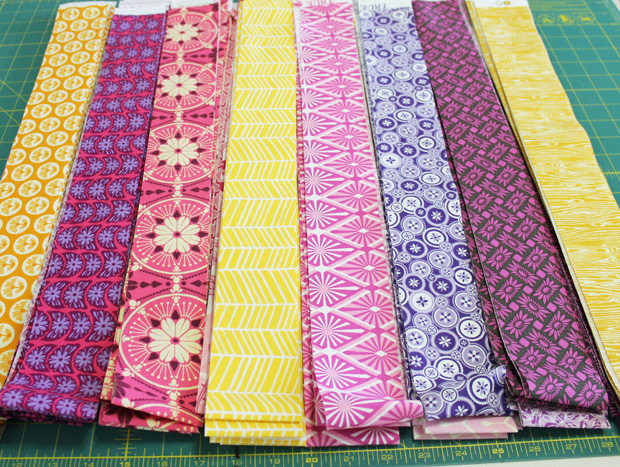
If you love the fabrics in Facets, be sure to sign up for my weekly email newsletter, and get a free pattern showing them in a different way. (Of course you can choose your own fabrics, too!)
Facets – The Background Story
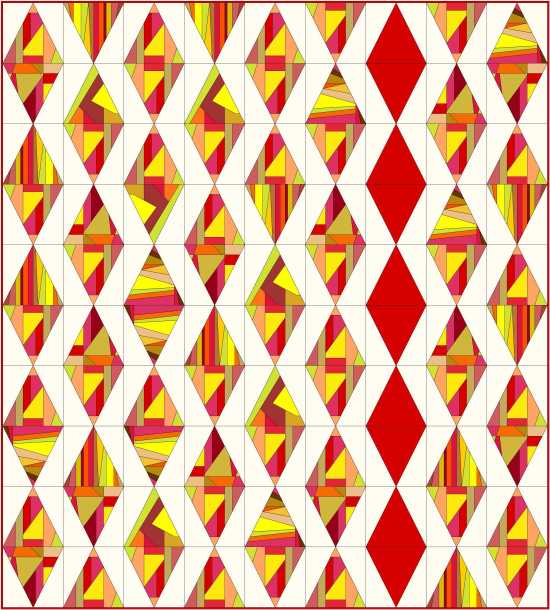
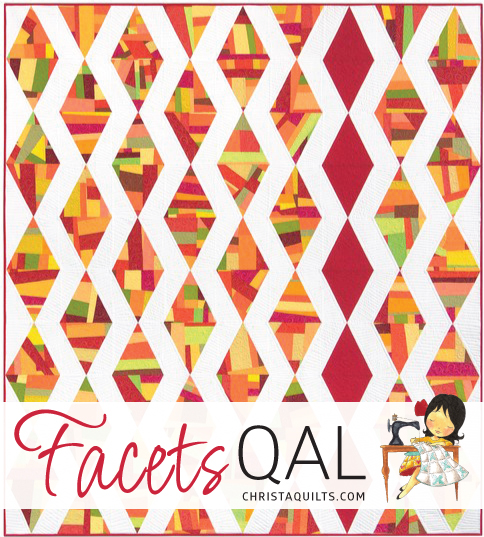
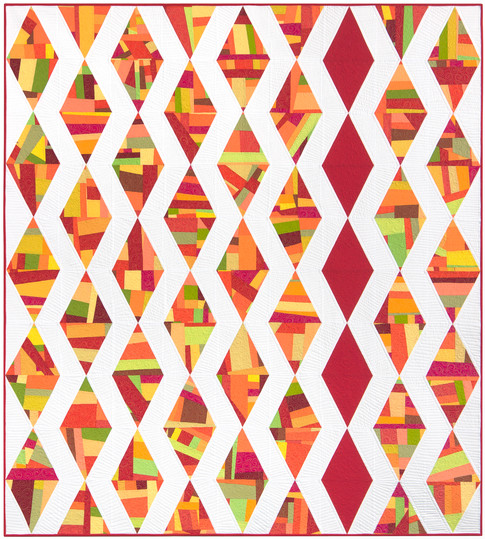 Facets 63″ x 70″ by Christa Watson. Photo courtesy of Robert Kaufman.
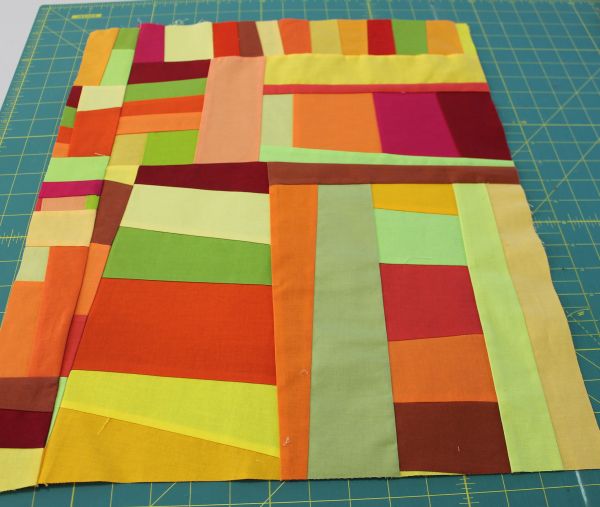
I love coordinated scrappy quilts and improvisational piecing, yet I’m more of a “structured improv” kind of gal. I like to randomly sew together a bunch of scrappy goodness, then create order and structure from the chaos. For Facets, I chose 28 Kona Cottons in warm reds, oranges, and yellows, with some green thrown in for good measure. The palette reminds me of crisp juicy apples!
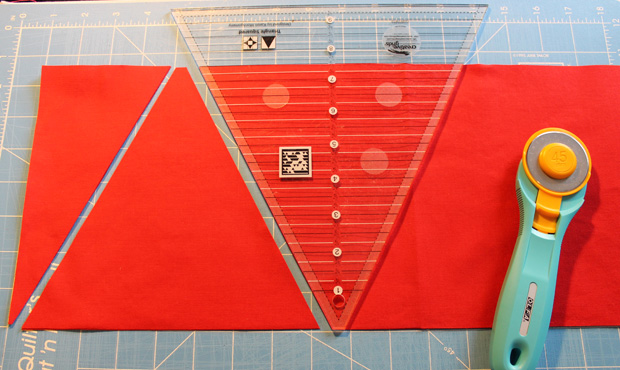
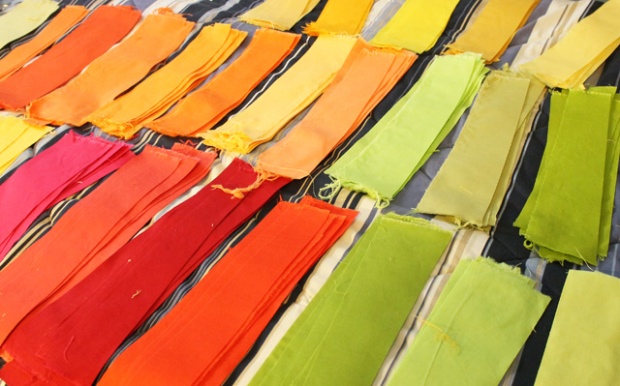 It was such fun to cut up these fabrics into smaller chunks to play with!
It was very liberating to create my own crazy-pieced fabric to work with:
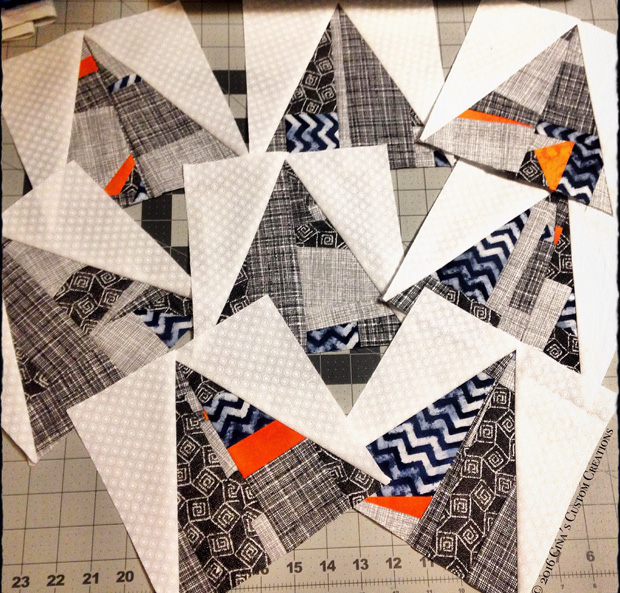
 Randomly sewing bits of fabric together is very therapeutic!
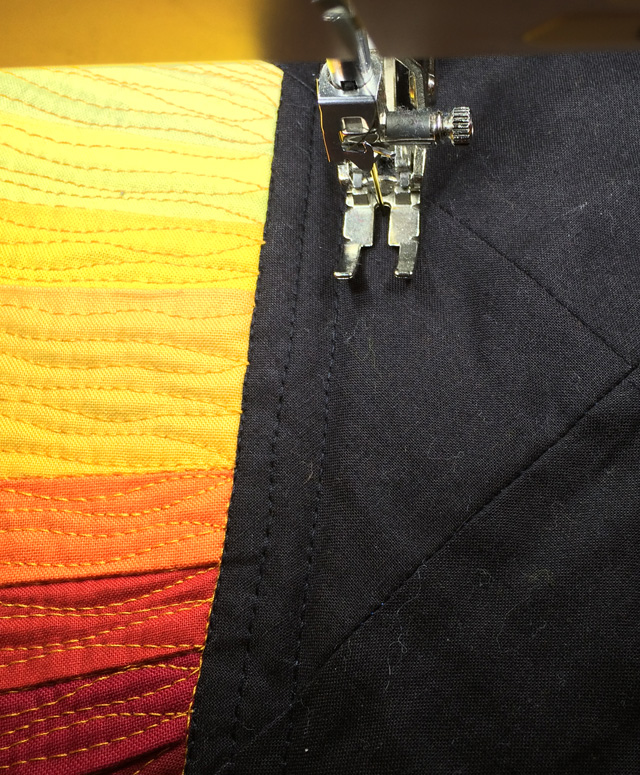
I really went to town with the machine quilting on this one. I used both walking-foot quilting and free-motion techniques when quilting Facets. Whenever I quilt, I like to think about the logical sequence of steps I take before starting. That way, it doesn’t seem too overwhelming.
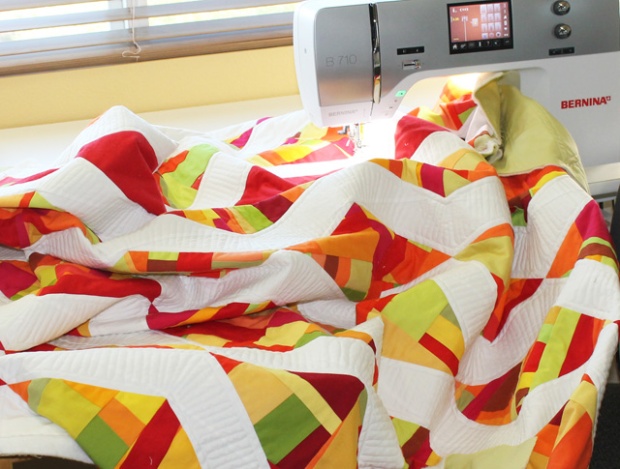 Using my “scrunch and smoosh” method for dealing with the bulk while quilting. There’s an extra table under there which helps hold up the weight of the quilt.
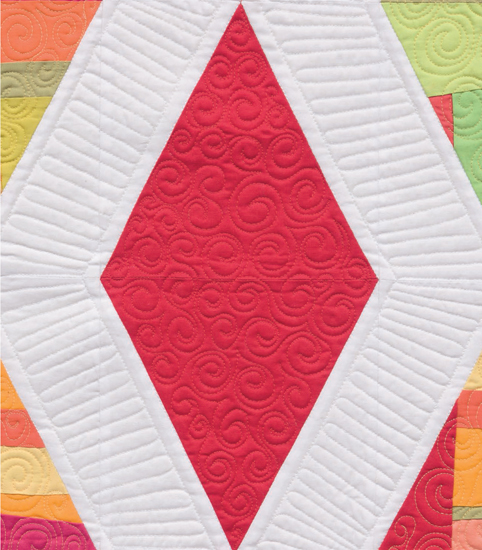
I love quilting swirls, and combining them with switchbacks really creates a lot of movement.
 Photography by Brent Kane.
A Bit More – and a Bonus Giveaway!
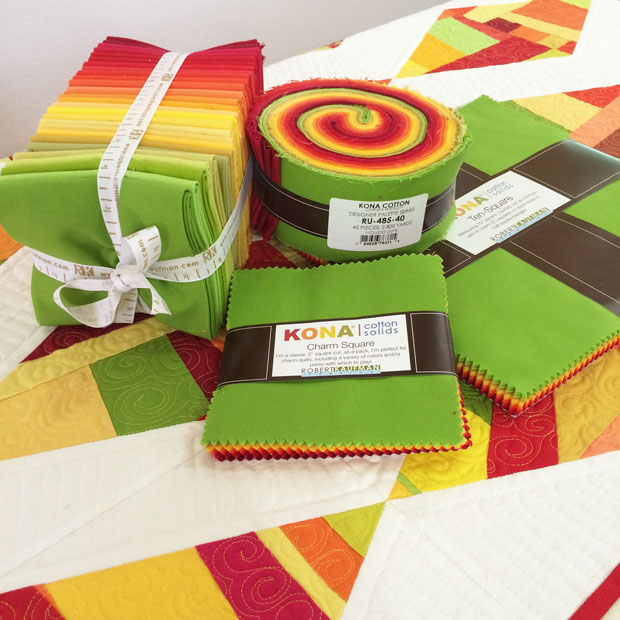
I was stoked when Robert Kaufman decided to add this grouping to their designer palette series this fall. Coming in October, you’ll be able to get your hands on the Christa Watson Designer Palette in fat quarters, ten squares, charm squares, and roll-ups! You can create a quilt just like mine, but of course it will still be different because of the improv element. 🙂
What makes this quilt modern – offset grid layout, improvisational piecing, geometric design with high contrast and graphic impact, exclusive use of flat solids, bold, bright color palette, design goes all the way to the edges, organically quilted machine quilting.
Time for me to complete – 47 hours from start to finish, including the improv piecing.
How would you like to get your hands on a fat quarter bundle of my designer palette?
 The Christa Watson Designer Palette – available at quilts shops everywhere in October!
To enter the giveaway for a 28 piece fat quarter bundle of my favorite Kona colors, just comment letting me know whether you’ve ever tried improv piecing and what you think about it. I’ll draw a winner at the end of the day on Sunday and announce their name on Monday, Sept. 28th.
And remember, don’t forget to vote for your favorite quilt for my QAL in January! Since I know you are dying to ask – yes, Facets is MY favorite quilt from the book. 🙂
Quilting Inspiration from kristy daum

I think my favorite part of this blog hop is seeing all of the amazing quilts from my talented friends! Kristy Daum from St. Louis Victorian and I have been online friends for awhile and finally got to meet up at QuiltCon earlier this year. You may remember Kristy’s amazing pixelated quilts featuring David Tennant as Dr. Who and the lovely Benedict Cumberbatch as Sherlock.
Now Kristy has knocked it out of the park with her version of Facets. I really love it when others really take an idea and make it their own! It was fun watching her instagram sneek peaks, and her final reveal today will take your breath away.
Pop on over to Kristy’s blog to see her version of Facets.
Teri’s Take

The amazing Teri Lucas from Terificreations shared a sneak peak of some Facets blocks on the Generation Q website earlier in the week. She chose to use solid pieces of fabric and did some killer quilting on them! Like me, she prefers to quilt on a home-sewing machine and she is one talented lady!! She’s one of those that I can talk quilting with all day long!
So far we’ve only met in person once, and I can’t wait to see her again at the next event. She’s always so thoughtful and encouraging – just the type of quilty friend you want in your corner. Teri is offering a book giveaway on her site. While you are there, be sure to browse around, and check out her amazing quilting!!
Head over to Teri’s blog to enter her giveaway.
Visit The Quilting Gallery
 Michele Foster is the brilliant name and voice behind the highly popular website the Quilting Gallery. We first met online when I was an advertiser on her site, many moons ago. We have turned that business relationship into a really great friendship and I hope someday soon that we can meet up in person. I mean, if you are like me, you can always use another BQF (best quilting friend), right?
Michele blogs and shares so much inspiration about what’s happening in the quilting community, and she’s has written very nice things about my book over on her blog today. She even scored extra points with me by saying that Facets is her favorite quilt, too! In addition to being a prolific quilter, Michele is an amazing designer and hosts lots of fun clubs on her site. As part of her stop, she’s generously including a fun giveaway of her own. 🙂
Visit the Quilting Gallery blog and enter to win a membership to Michele’s mini quilting club!
Click here for the complete blog hop schedule.
Click here purchase your autographed copy of Machine Quilting With Style.


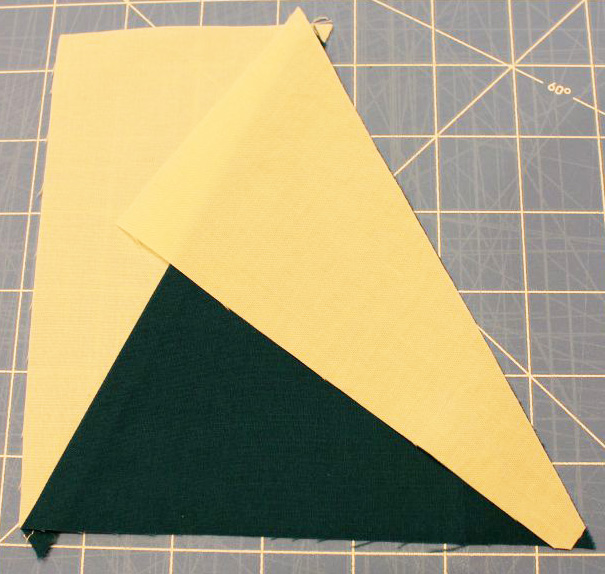


 A piece of improv fabric made from my
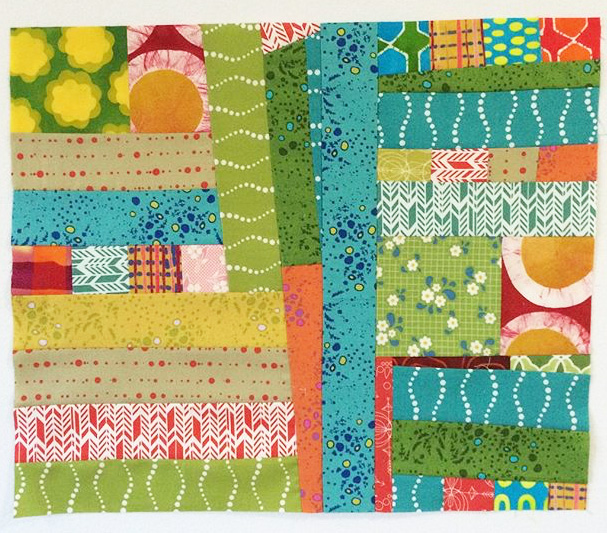


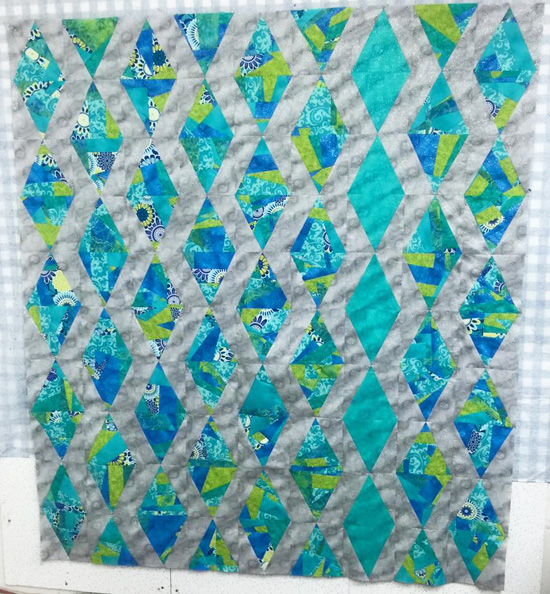
 Linda is using these gorgeous gradations for her quilt. She gets bonus points for photographing it with the book!! 🙂
 Daisy’s quilt will look stunning in batiks and scraps!