This week it’s time for my favorite part of making a quilt – the machine quilting!! Seriously, whenever I design and create a quilt, I enjoy every step of the process. But there’s something about shoving the whole thing under the machine for quilting that is very therapeutic for me.
I prefer to quilt the heck out of my quilts, but contrary to popular opinion, it doesn’t make the quilt stiffer! Just wash it and use it, and it will soften up!

My Aurifil thread stash – I love thread as much as I love fabric!
My favorite thread is Aurifil 50 weight cotton because I love the simplicity of using it for both piecing and machine quilting (and binding, of course)!
So the biggest question people have when making their own quilts is, “how do I quilt it?” Not as in – “what quilting designs do I use?” but as in “how do I actually approach the quilting??” I tackle this one step at a time. I start by “anchoring” the quilt – stitching in the ditch in key areas across the quilt to secure it for more decorative quilting later.

Keep most of the quilt to your left, and add a small table forming an L shape to hold the weight.
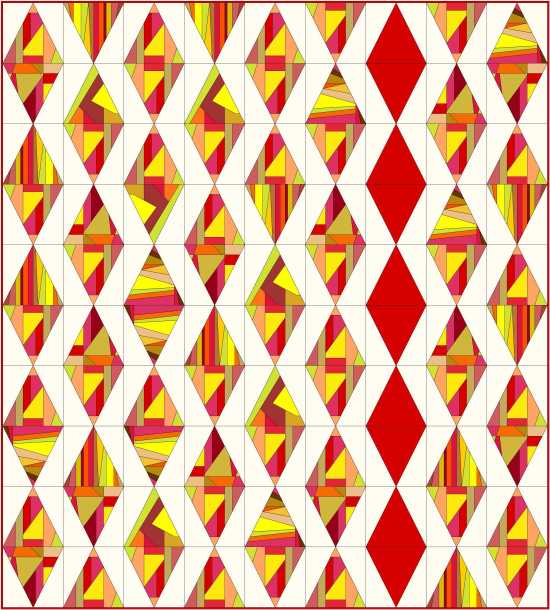
In Machine Quilting with Style on page 95, I’ve included quilting diagrams that show you the order in which to stitch in the ditch on Facets to make it easier to accomplish. Then we go a step further and add straight lines of quilting away from the seams, echoing the ditches to add a pop of texture to the quilt.
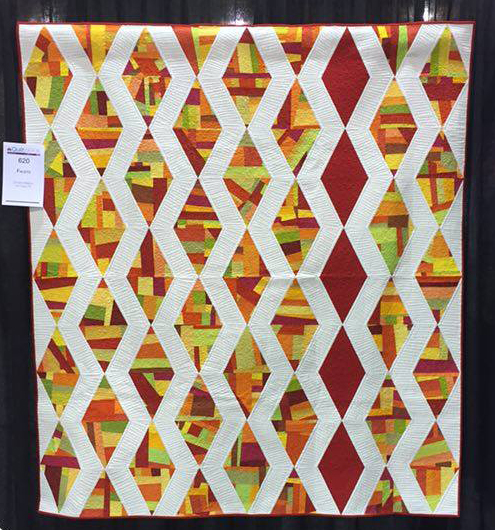
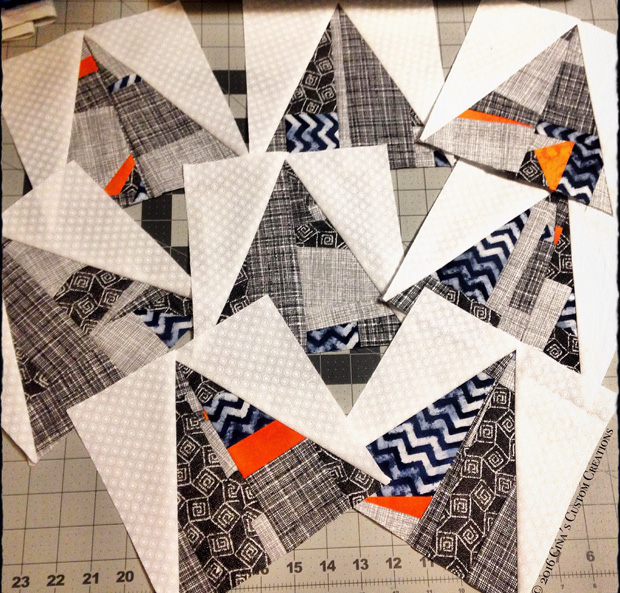
Here’s a great detailed shot of Suzy K’s quilt, stitched-in-the-ditch and echoed, and ready for free-motion quilting next week!

To see more fabulous quilts in progress – pop on over to my Facebook Group: Quilt With Christa
Click here for all of the Quilt Along posts. You are welcome to jump in anytime!


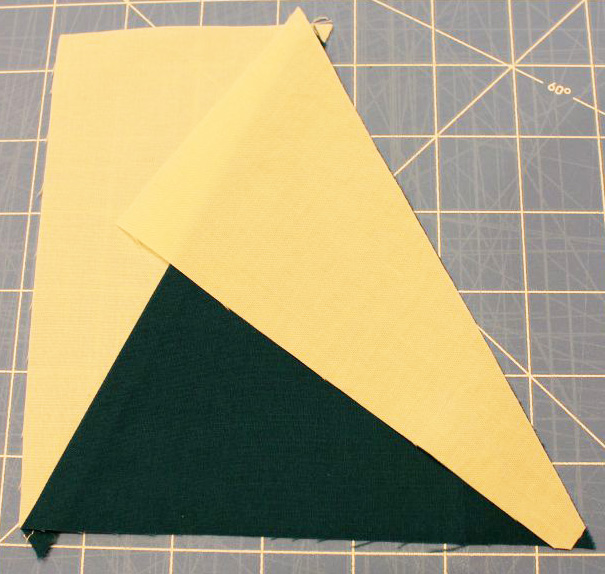


 A piece of improv fabric made from my
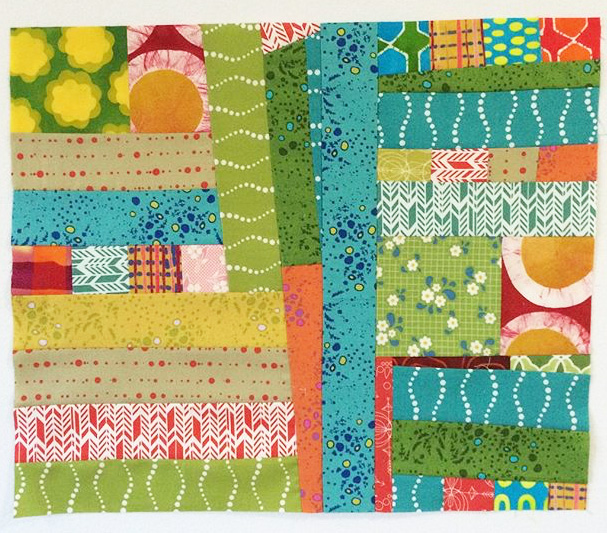


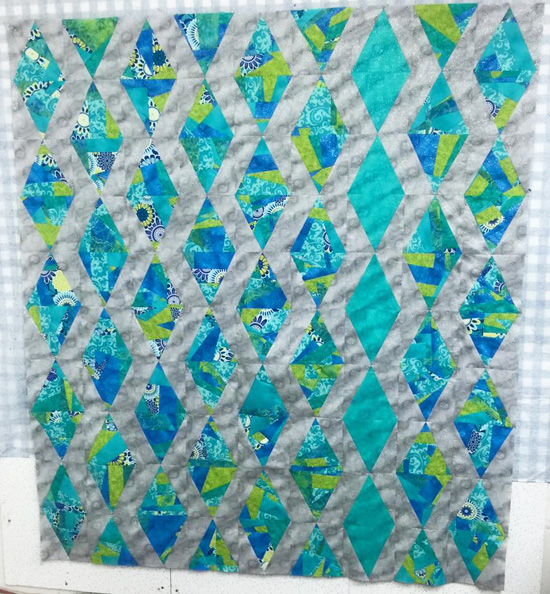
 Linda is using these gorgeous gradations for her quilt. She gets bonus points for photographing it with the book!! 🙂
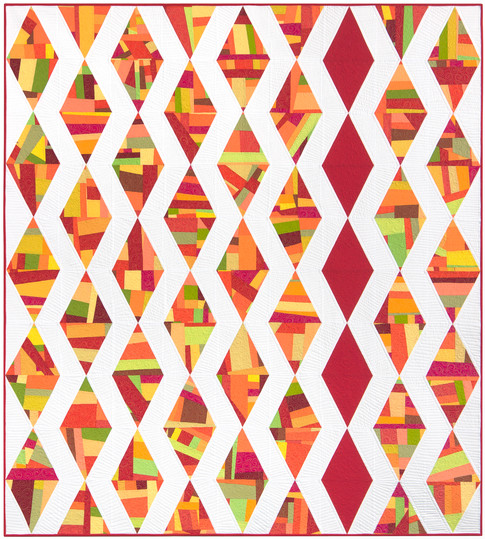
 Daisy’s quilt will look stunning in batiks and scraps!