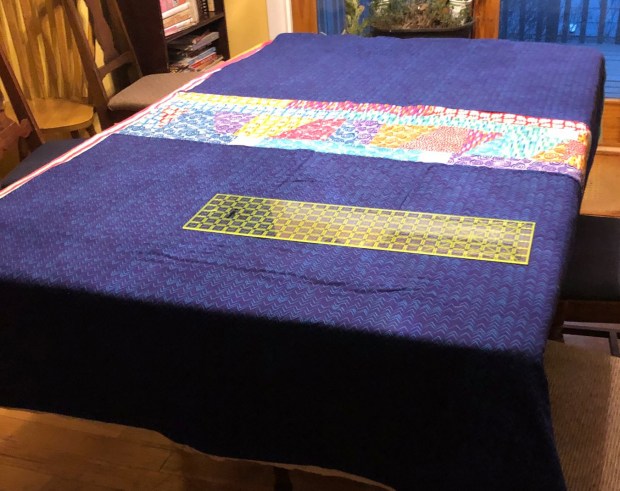
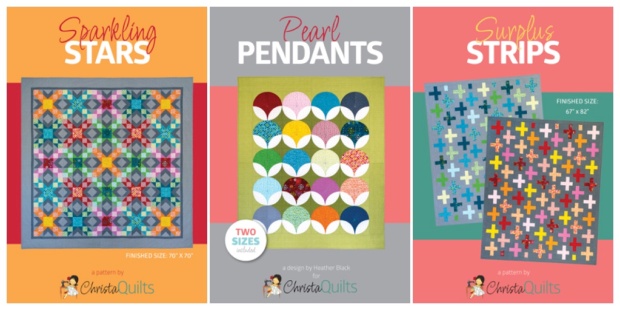
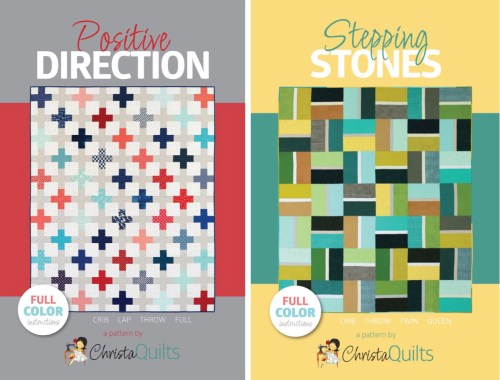
I’ve finally jumped on the Etsy bandwagon!! I set up an account many years ago before we had The Precut Store but didn’t do much with it. I’ve also purchased a few items here and there. But I finally made the push to get my quilt patterns (PDF versions) on the site so you could access them quickly and easily!
Although I still have my print patterns available for sale at shop.ChristaQuilts.com, AND the PDF versions are still available to purchase through Craftsy (Bluprint), with the recent changes they’ve made, I can’t add any new ones. (Instructors were supposed to be able to continue adding new patterns but I haven’t figured out how to do that…) Since I have a bunch of new patterns coming out this spring, I wanted to make sure I didn’t miss out on getting my patterns in the hands of those who needed them.
So will you do me a favor? If you’ve had your eye on a pattern or two of mine, will you go ahead and place your order and leave some feedback? That will allow me to make sure everything is running smoothly and that I can grow my presence on the site.
Just a reminder – to access your PDF pattern once you’ve purchased it, be sure to save it to your computer and then open it up with your favorite PDF reader. Then be sure and keep me posted during your progress. My favorite thing is to see what you make and the fun fabrics you choose!
Can you believe that we are almost at the end of the Blooming Wallflowers quilt along? But not to worry, I have more inspiration coming your way! Next week we will bind our quilts to finish. But in the meantime, check out the fabulous quilts being made and shared in my Facebook group. Everyone featured today wins a free PDF pattern of their choice for sharing!
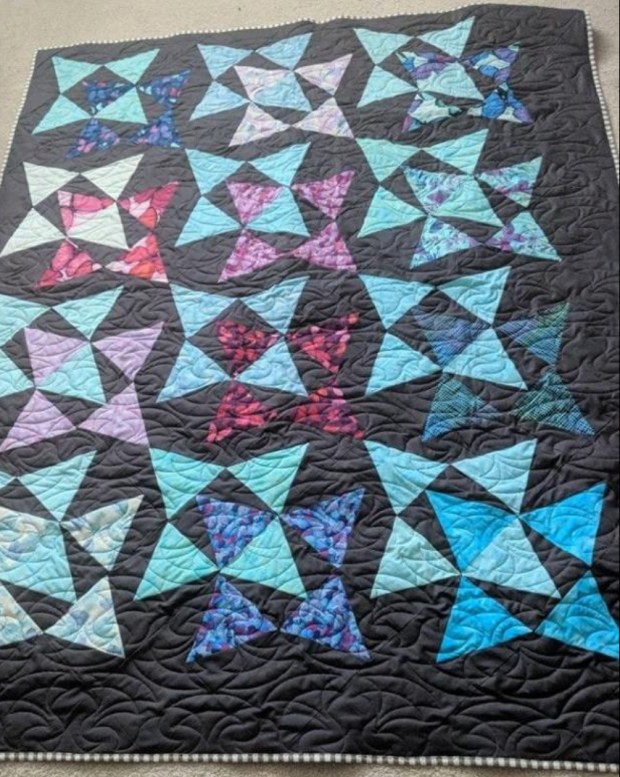
I love how Gina S. Chose soft watery batiks for her version and paired it with a black background. She finished it off with a textural allover quilting design and that binding is to die for!!
Abbie B. recently finished her quilt top and I love her yellow background, don’t you? Remember, you can work on any of my quilt alongs at your own pace, and on your own schedule. 🙂
Lynn L. gets bonus points for practicing her free motion quilting on a test piece before diving into her quilt. This is one of the recommendations I make in all of my classes.
Here’s the way this fun subscription service works: choose a 1 month, 3 month, 6 month or one year subscription and received a fabulous box of quilt goodies curated by some of your favorite designers. They usually include fabrics, a brand-new pattern, and several awesome notions, all for an amazing lower price over what you would pay for them separately. And the more months you sign up for, the better the deal gets!
Each monthly box is like getting a fun surprise in the mail, so be sure to up by Feb 9th! It will ship approximately February 11, and as a special bonus for subscribers of my box, I’ll be offering an exclusive quilt along in March with a brand new pattern that will be revealed in the February box. I can’t wait for you to see it! and I can’t wait for the big reveal, coming soon!!!
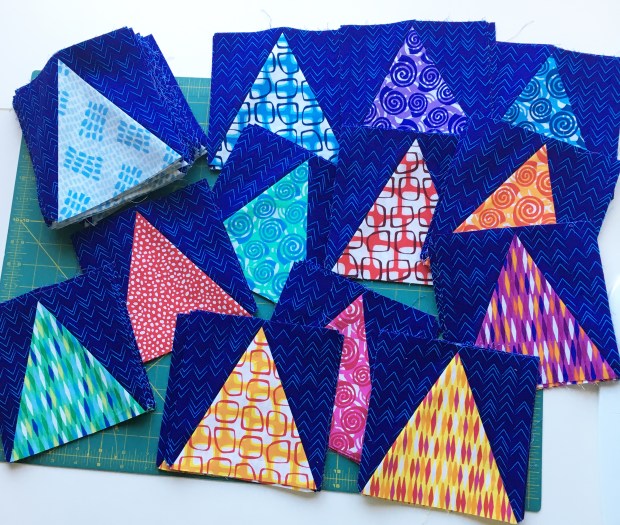
This week it’s time to start sewing our blocks from the pieces we cut out last week. (Be sure to scroll to the end for all of the pertinent QAL links.) And don’t worry if you haven’t started yet; next week will be a catch-up week so you won’t get too far behind!
Anatomy of a Triangle in a square block
Designed in EQ8, using Abstract Garden & Modern Marks by Christa Watson for Benartex
Note that this is the FINISHED block, not including seam allowances
The triangle in the middle is called an isosceles triangle which has two sides that are the same length. Many people confuse this with an equilateral triangle because it looks similar, but it’s not. So take care to ensure the triangle is in the correct orientation when sewing it together. Just remember to keep the blunt edge at the top of the block and you’ll be fine.
The triangles on the sides are called “scalene right triangles” because none of the sides are the same length and it has a 90 degree angle. The triangles are similar to each other except that one is a “left-facing” triangle and the other is a “right-facing” triangle. For ease of reference, I refer to them as triangle pairs in the pattern since you need both to complete each block.
(Silent) Video Tutorial
Please bear with me as I’m still learning how to do videos on my own. So for now, they won’t have sound. As I add videos to the QAL, hopefully they’ll get better each week. Think of it this way: I’m doing this Quilt-Along for YOU, but it’s a YouTube-Learning-Along for ME, LOL!!
Follow along on page 7 of the Blooming Wallflowers quilt pattern for detailed instructions of what I’m doing in the (silent) video below:
Tips to Remember
(1) Notice that the middle triangle has the blunted edge at the top and the two half rectangles have the blunted edge at the bottom. The most common mistake people make is switching the placement of the triangles so be careful not to do that.
(2) Once the placement looks good, pin the units and sew them right sides together. If you are sewing multiple blocks, be sure and chain piece (assembly line sew) all the lefts, then all the rights, etc. I always recommend sewing with a smaller stitch length and pressing the seams open for flatter blocks.
(3) When your blocks are sewn correctly, the top triangle tip will be floating 1/4″ from the the top (for seam allowances) and the bottom triangle tips will go all the way to the edges. Don’t forget to trim off the little dog ears (excess triangles) sticking out beyond the edge of the blocks!
Half of the blocks will be made with the light blue centers while the other half will be made from the assorted colorful prints. See page 7 of the pattern for details.
So remember, you’ll have 2 weeks to finish up your blocks. Next week I’ll share a few inspiration images showing the different block combinations that you all are making. Everyone who gets featured will get a free PDF pattern of their choice, so be sure to share your progress in my Facebook group, or on Instagram using the hashtag #bloomingwallflowersquilt.
Are you ready to dive in and make this dynamic looking quilt? All you need is a copy of the Blooming Wallflowers quilt pattern and you can jump in anytime! See the end of this post for all relevant links.
The triangles used in this pattern are a specific shape and require either the use of the full-size templates included in the pattern, or a specialty ruler. Tri recs is recommended for the smaller sizes or Creative Grids Triangle Squared AND Perfect Rectangle for the larger size. Of course you can use the larger rulers for the smaller blocks, too.
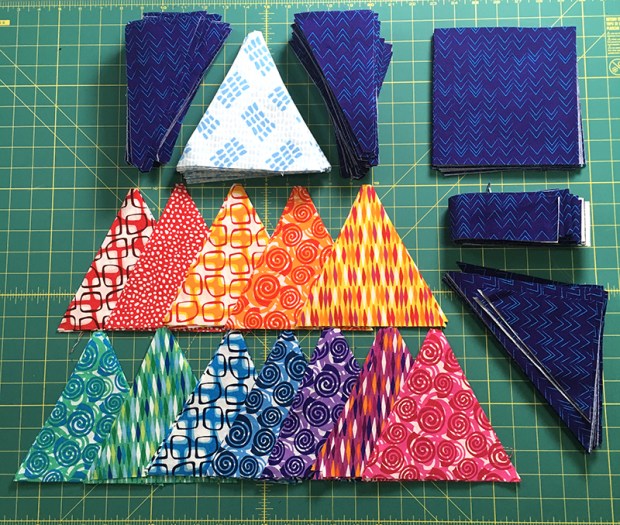
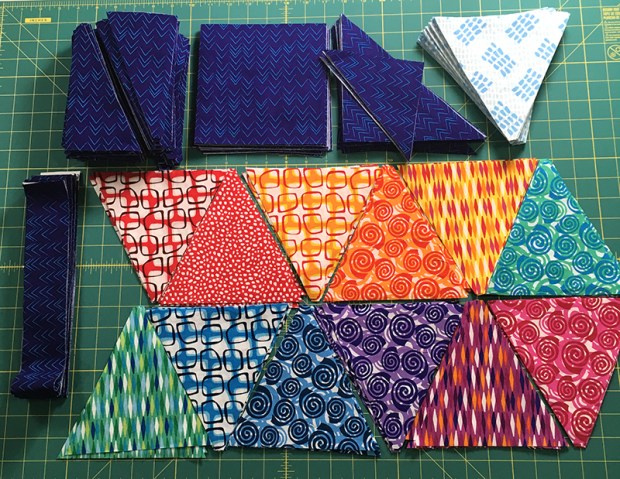
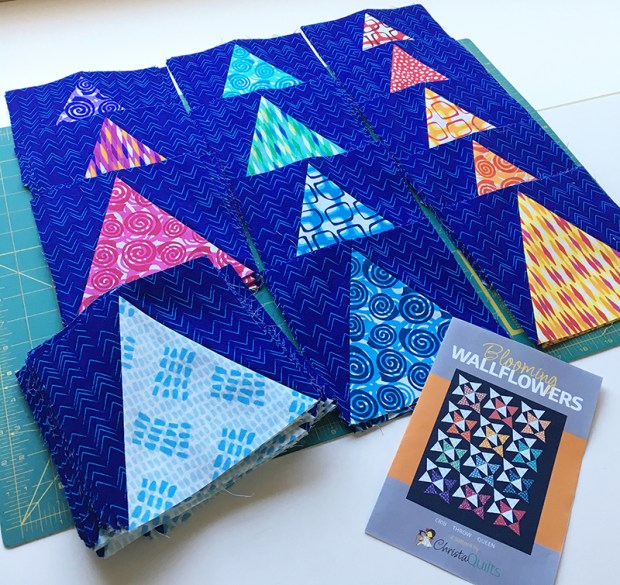
These are all of the cut pieces used to make Blooming Wallflowers.
I used my Abstract Garden fabric line for the “flowers.”
Stack and layer the fabric strips for faster cutting. Follow the chart on page 6 of the pattern to cut the center triangles from the colorful prints. Here’s a quick 1 minute video demo showing how I used the specialty ruler. Notice the position of the blunt end on the ruler.
The background triangle pairs s are cut in the same way except you will want to make sure to cut one left and right triangle at the same time. The easiest way to do that is to make sure the background fabric strips are folded in half. Then you’ll get one pair per cut. See the step by step cutting diagrams on page 3 of the pattern.
Here’s another short video showing how I cut the triangle pairs. Don’t forget to trim off the little triangle tip at the top to ensure proper matching when sewing them together next week. I used the ruler to trim off the left edge of the fabric strip first, and didn’t worry about the direction of the print while cutting.
The rest of the background is pretty straightforward. Follow the chart in the pattern on page 6 to cut extra background squares that allow the design to float, plus the side and corner triangles and the binding strips. See the diagram on page 3 to cut the corner and side triangles.
I love a pretty stack of cut pieces, don’t you?
Once everything is cut, you’ll be ready to sew the blocks together next week! Don’t forget to share pics of your progress in my Facebook group, or on Instagram using the hashtag #bloomingwallflowersquilt.
The move is getting real!! We close on our new house at the end of December and then the real work begins. So, to help defray moving costs I thought it would be a good idea to hold a different sale each week until we are in the new place. I also want to clear out some of my physical inventory so there’s less to move, so stay tuned for that!
However, this week starts with a huge sale on all PDF patterns.
They are all available now for just $5.95 each USD.
I just got word that Craftsy will be making major changes to their site by reducing the number of sellers and patterns available for sale after December 28th. But not to worry, when you purchase a PDF pattern, it’s yours to access forever. I would however, recommend downloading any patterns you’ve purchased and saving the to your computer for easy access.
I’ve been told my shop won’t be affected since I’m a Craftsy/Bluprint instructor. However, no one will be able to add new patterns to the site until sometime next year, so I’ll be working on an alternative place to host them. It’s been on my mind anyway to set up a shop where you can select either print or PDF, so now this lights a fire under me to make it a higher priority.
So until final changes are made, be sure to take advantage of this sale while you can!
Right now I’m currently doing a bunch of “secret sewing” – things I can’t share with you until several months in the future. But instead of going radio silent for awhile, I thought I would fill the time with previous projects that my friends and I have made to keep you inspired.
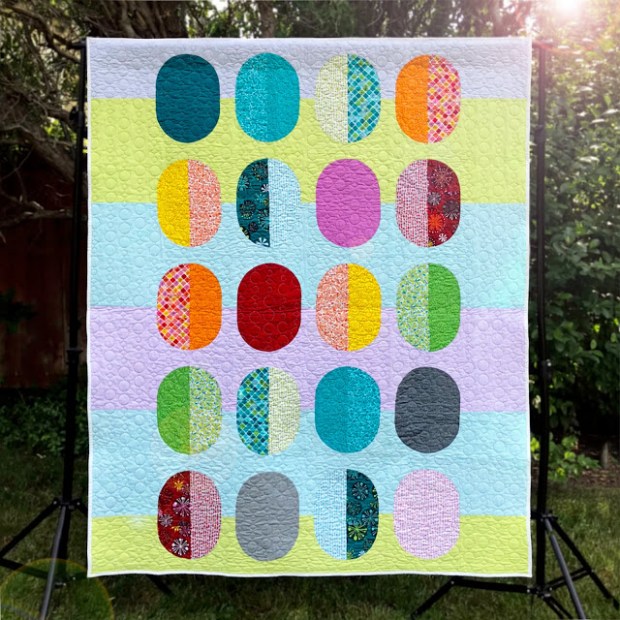
For starters, I’d like to share with you Beads and Baubles – a quilt that my talented friend Heather Black (from Quiltachusetts) made to showcase Fandangle Fat Quarters. I love how she paired the prints with some soft tone on tone Color Weave prints to create a fun stripe in the background.
She named her quilt after the focus print from my collection, called “Baubles and Bits.” (I think these prints together would make a fun, modern Christmas quilt!)
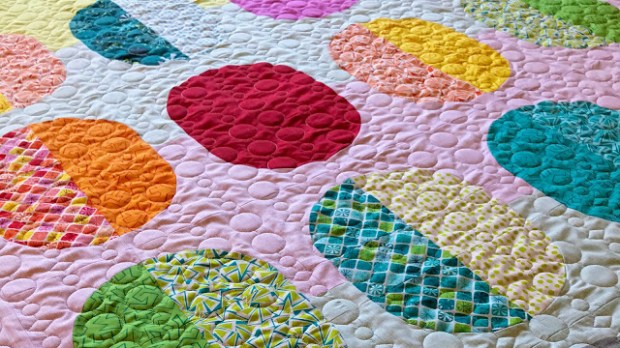
To further tie in the theme, she quilted it with an allover design that’s similar to the “Beaded Curtain” print from the line. I think it’s the perfect motif for this amazing quilt!
Heather created this design with some simple curved piecing and I love how the oval shapes look like beads. She has released this pattern as a PDF version in her Etsy shop and I’d love to see what it looks like in different fabrics, too!
Heather is so talented and I love her modern design sense! She’s made quilts from my fabric before (click here to see her amazing Pearl Pendants quilt) and she’s got several more designs in the works using my current and upcoming lines, too. I can’t wait for you to see them!
And now I have a question for you – have you ever tried curved piecing? If so – how did it go? Leave me a comment as I’d love to know. I’ve only done it sparingly but I love the look!
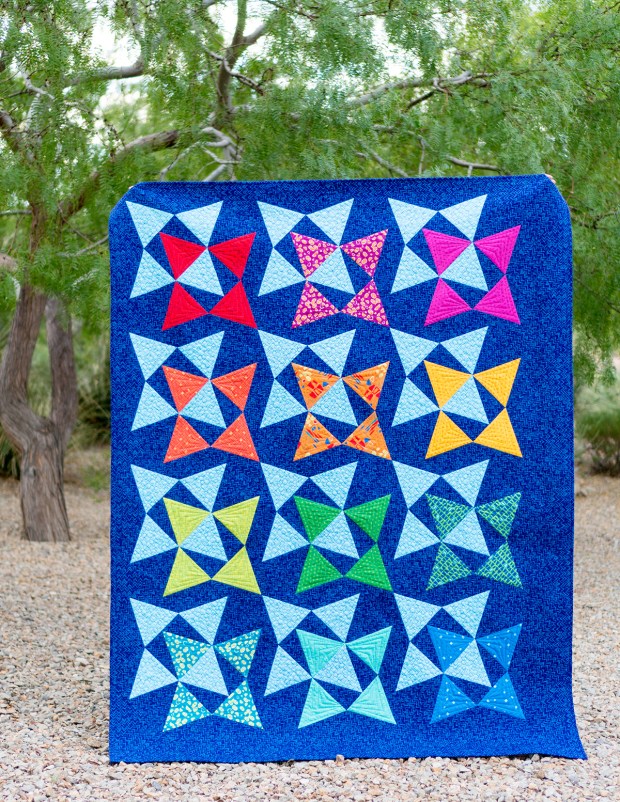
Can I say how much I enjoy doing quilt alongs with you all? It keeps me motivated to design and make new things, and nothing thrills me more than seeing all the variety of quilts that are being made, even when we all start with the same basic pattern. So I’m excited to announce the next quilt along which will start mid January!
We will be making my Blooming Wallflowers quilt from start to finish over 12 weeks. Each Friday starting in Janaury, I’ll share a new blog post with inspiration pictures, bonus tips and plenty of cheerleading to keep you motivated. I’ve built in a couple of breaks to the quilt along, so it should be a nice and relaxing pace, and easy to follow along!
Of course, you can use whichever fabrics you like, but I’ve put together an optional fabric kit which includes all the fabric to make the quilt top and binding as shown above: Fat Eights of 12 different Blooming Roses prints, 1 1/4 yards of light blue Tracks for the accent, and 4 yards of Modern Marks Herringbone Navy for background and binding.
I’ll post the complete supply list and schedule on January 4th and will then give everyone a couple of weeks to gather their materials and supplies before we dive into cutting on January 18th. We will wrap up by the end of March and I’ll encourage everyone to post their progress in my ChristaQuilts Facebook group. After all, doing things with friends is a large part of the fun!
So who wants to join me?? Leave a comment if you plan to follow along, either making the quilt – or virtually in your head!!
Happy Turkey Day!! I’m so thankful to you, dear blog reader for your support you’ve given me over the years. I started this blog on Thanksgiving Day back in 2010 and little did I know that it would lead to what I’m doing today – a full time career in the quilting industry.
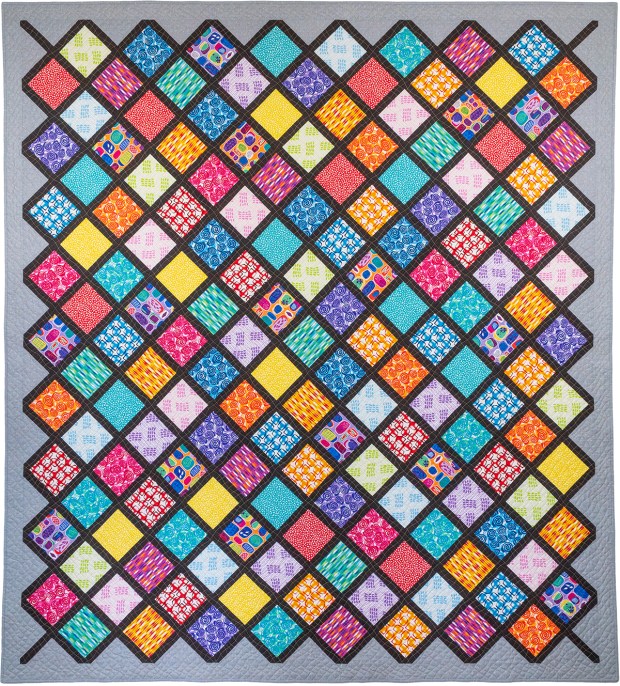
LatticeWork Quilt – Throw Size
On this day of thanks, I’m so happy to be sharing more fun and inspiring projects with you! Take a look at LatticeWork, the 4th and final quilt pattern I’ve released to go along with my Abstract Garden fabric line (which starts shipping to stores in December).
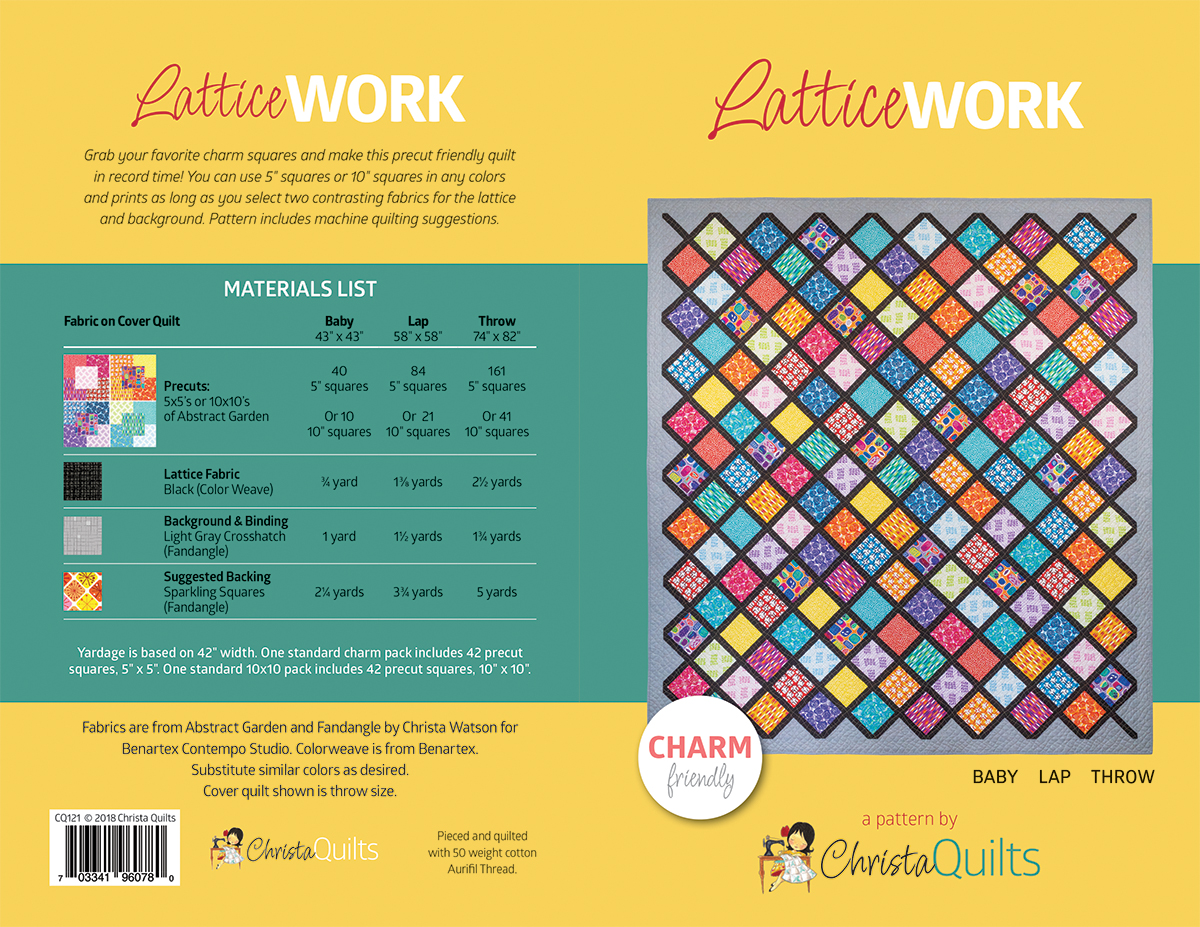
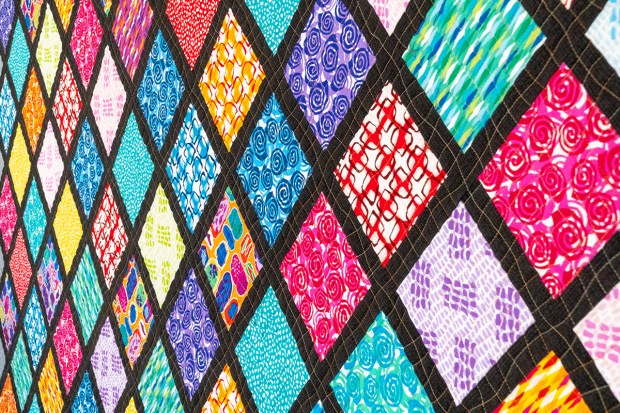
LatticeWork comes in 3 sizes and is made from Charm Packs (5″) or 10″ squares. You can also make it from a bundle of fat quarters with coordinating light and dark fabric. For the Throw Size, I’ve used 4 charm packs of Abstract Garden, but it would look fabulous in Modern Marks charms or Fandangle charms, too. Or you could mix and match them for even more variety!
As with all of my patterns, I’ve included machine quilting suggestions so you can get ‘er done!! For LatticeWork, I quilted one of my favorite walking-foot designs: an allover wavy grid that requires absolutely NO marking of the quilt!
You basically divide and conquer the quilt into a grid: quilt lines in the center of each lattice strip in both directions. Then fill in with more and more lines until you are happy with the line spacing.
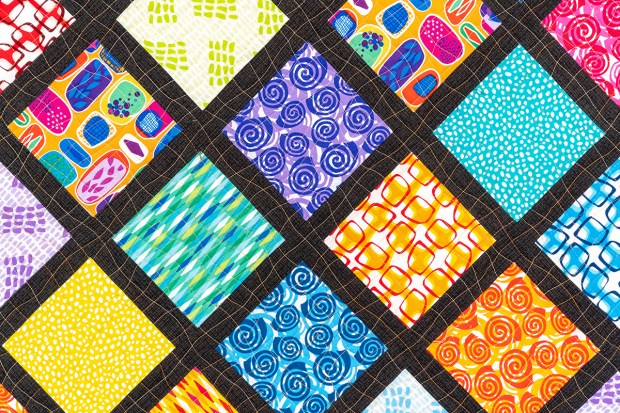
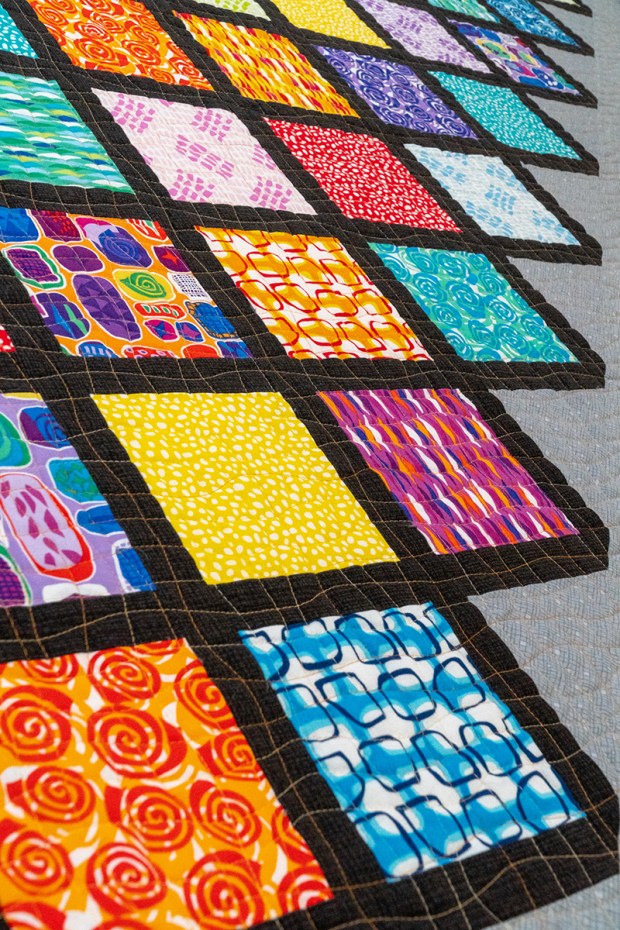
Wavy Grid quilting detail – it’s so easy to do!
If you look closely at the orange “Trellis” print above (the one near the purple, blue and orange spirals) you will see that it roughly mimics the irregular plaid design of the quilting. I love it when I can incorporate my fave quilting motifs into my fabrics!
I chose a tone-on-tone black for the lattice and paired up the bright colorful prints with the light gray Confetti Crosshatch print from my Fandangle collection. The best news is that I just got in more yardage of both of the Fandangle Grays so click here to grab some before it sells out out again!