Today I thought it would be fun to answer the often asked question, how do I get so much done? Or put another way – do I sleep? The answer is a resounding yes! In fact, I’m NOT a night owl and if I don’t get at least 7-8 hours per night, it reduces my productivity big time.

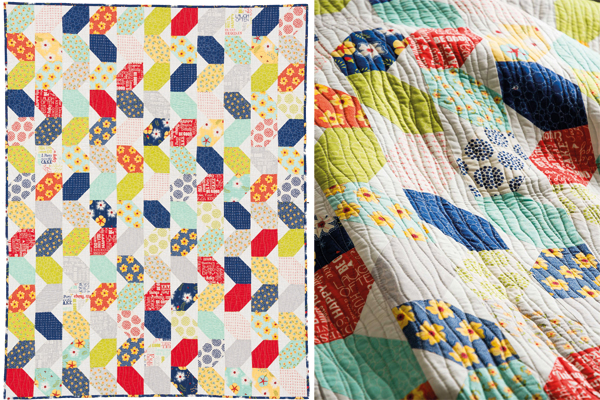
Getting things done: we recently photographed some of my quilts so I can write more in-depth blog posts later. I think about the shots I want, Jason edits them to make them look pretty!
One thing to keep in mind is that quilting and running a business is mine and my husband’s full time job. Plus we have help. It’s taken me awhile to figure out what I do best in our little mom + pop operation: what I need to do myself, and what I’m willing to give up control over. And it’s different for each type of creative person.
For example, when it comes to quilting, I do all my own “stunts.” I design, piece and quilt all of the quilts I make for books, patterns and classes because that’s the most fun part! But I hire out much of the technical stuff to make it all look good.

Behind the scenes: quilting a quilt that will be featured in a magazine next spring.
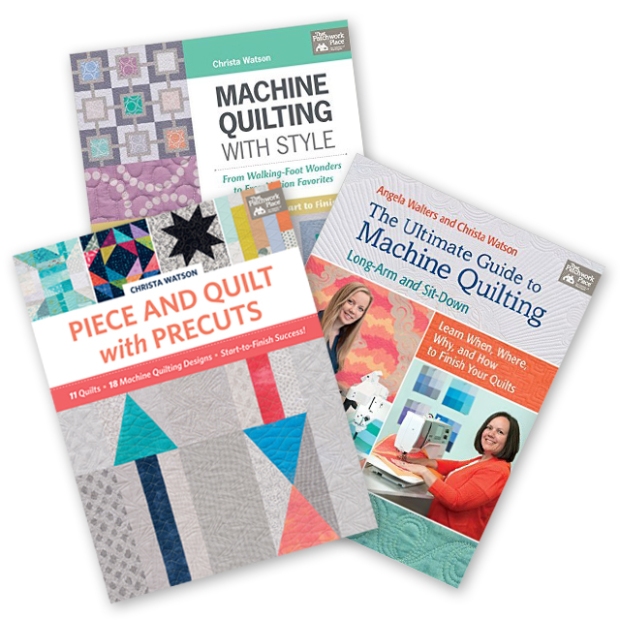
All of the “big” projects I produce is done in partnership with quilting industry companies such as Benartex (my fabric), Craftsy (my online videos), Martingale (my quilting books), and Aurifil (my thread.) This allows me to design and create while tapping into their professional expertise in layout, editing, photography, video production, and marketing.
The only thing I self-publish is my stand-alone patterns, which is probably why I don’t release more of them on a regular basis, LOL!! I have found that I work really well with deadlines, as long as they are imposed on me by others. It’s much harder for me to set my own internal deadlines!!

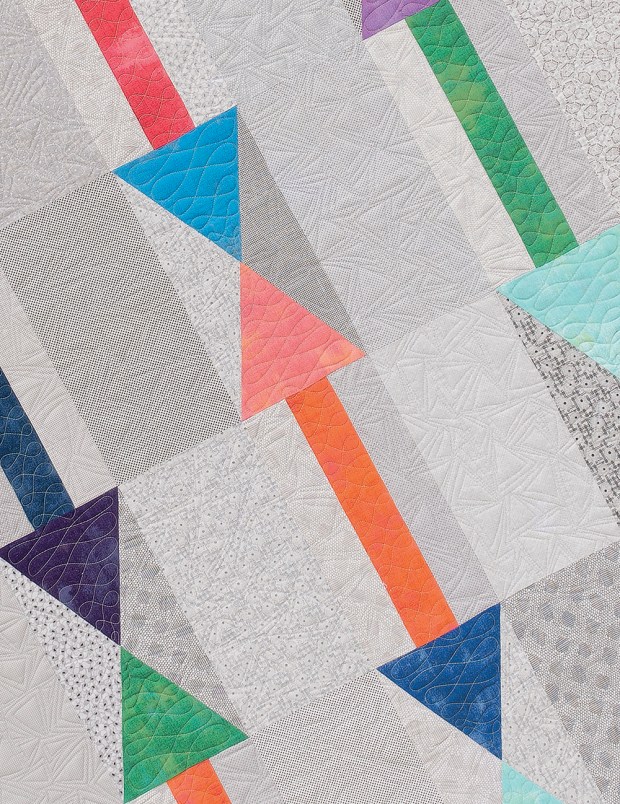
More “secret sewing” – this one debuts in a book collaboration next year – I can’t wait!
A typical work day for me consists of getting up early and getting right to work. I try to do all of my social media (blog, instagram and facebook) first thing, so that I’m not constantly distracted by it throughout the day. (That doesn’t always happen of course, which is why I recently decided to streamline and simplify my social media.) Then I jump into whatever project I need to work on for the day – designing a new pattern, working on a class outline, collaborating with one of my industry partners, and of course, sewing!
I take a break in the late afternoon to get in a daily workout with Jason, and then finish up any additional work in the evening before bed. I stop early enough so that I can get to bed at a decent time, and I usually indulge in an hour of “guilty-pleasure” TV watching each night (so I’m always on the lookout for a great Netflix recommendation!).

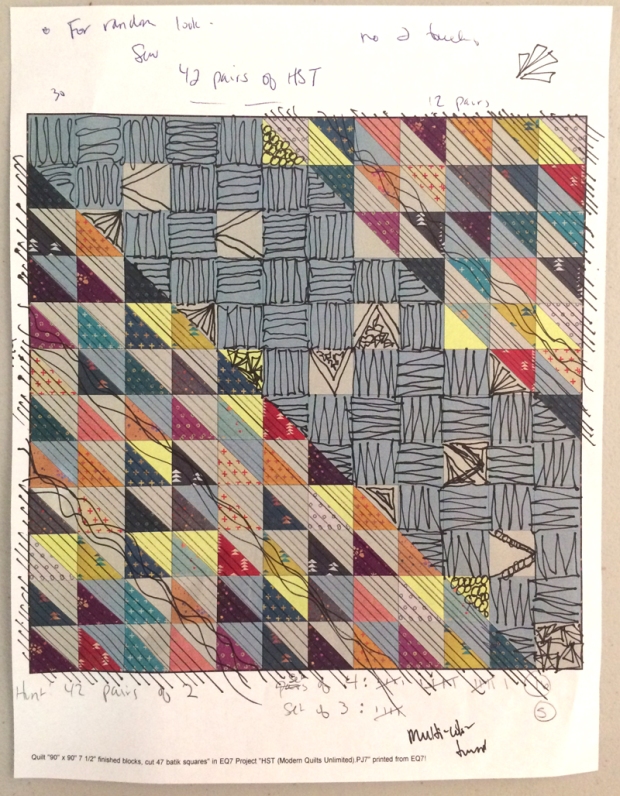
I’m a planner! I design all of my quilts in EQ8 with the fabrics I’ll use before I ever take the first stitch. Often it takes longer to design them than to make them!
My kids are older so they don’t need quite as much attention (my oldest lives on his own and is heading off to college soon, the next son graduates high school next spring, and the youngest, a freshman, is pretty independent although she’s still homeschooled). But because we have a flexible schedule, we can be there for them when they need us and still do all the regular parenting stuff. Plus they have all worked for us at one time or another, so that’s been a great family dynamic.

These guys are our pride and joy: Jason, Jenna, and Ryan. We enjoy taking them out to lunch on a regular basis and love that they are adventurous eaters!
One thing that I’ll confess right now is that I DON’T do much cooking or cleaning. The kids help a lot with cooking and we have weekly subscriptions to those healthy meal kit places (like Blue Apron, Freshly, etc.) which prevent us from resorting to fast food – or worse – salt filled frozen meals. About two years ago, we hired a cleaning service that comes in every other week to help us with basic housekeeping (in addition to the kids’ weekly chores). That’s the best investment we’ve ever made because I’d much rather hand bind a quilt than clean a toilet!!
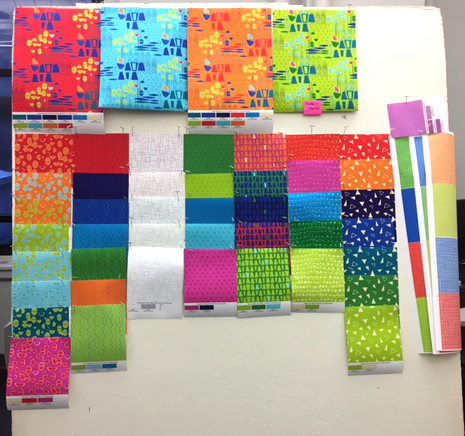
Sneak peek of the design process while creating Modern Marks. Look closely and you’ll see several prints that didn’t make the cut! Maybe they’ll resurface in the future…
I’m very organized and I’m also a list-maker and schedule-keeper. I’m one of those people who really gets satisfaction from checking off an item in my to-do list, and I don’t mind rearranging my priorities on a daily basis if I can’t fit everything in. I’ve learned over the past few years to give myself more time than I think I need to complete a project, and I can’t stand being idle. So I’m always either planning, making, or thinking, and at times it can be hard to turn it off.
I think one of the secrets to how I get so much done is that I make big goals, but then break huge tasks down into daily steps so that I can work on a monumental project a little bit each day. My personal philosophy is that I never think that anything is impossible – most things just take time, patience and perseverance to get them done.

Book and pattern editing can be a tedious, lengthy process!
So in an nutshell, that’s how I get things done. Often times, things that I want to do end up morphing into something else, and many ideas that I have don’t come to fruition. The key is to be flexible and roll with it rather than giving up and quitting. Any time I get in a rut or feel like I have creative block (which can happen) the most useful thing to do is look back at what I’ve accomplished, and give myself pep talks when needed.
I hope if there’s something out there you really want to accomplish, you’ll set a goal for yourself and make it happen!

I do a LOT of hand binding while flying across the country for teaching events. I snuggle up to a window seat, cuddle up with my quilt, and turn on headphones to shut out the world. Yes you CAN take needles and small scissors on an airplane with no problems!!
And now, it’s time for me to move on to the next item on my agenda for today – sewing!! (Just think, one of those fun things I’ll be sharing months in the future is being worked on a little bit today, and tomorrow, and the next day, and the next…..)


 Vicki took some of her leftover scraps and pieced a Frequency block (also from the book). Her plan is to make one block from each of the quilts in the book to make a sampler quilt. I think that’s such a clever idea and can’t wait to see it!


 I’ll be working with my new Modern Marks collection from Benartex. I’ll offer bundles & quilt-along kits for pre-order soon, just in case you want to use the same fabrics as me.